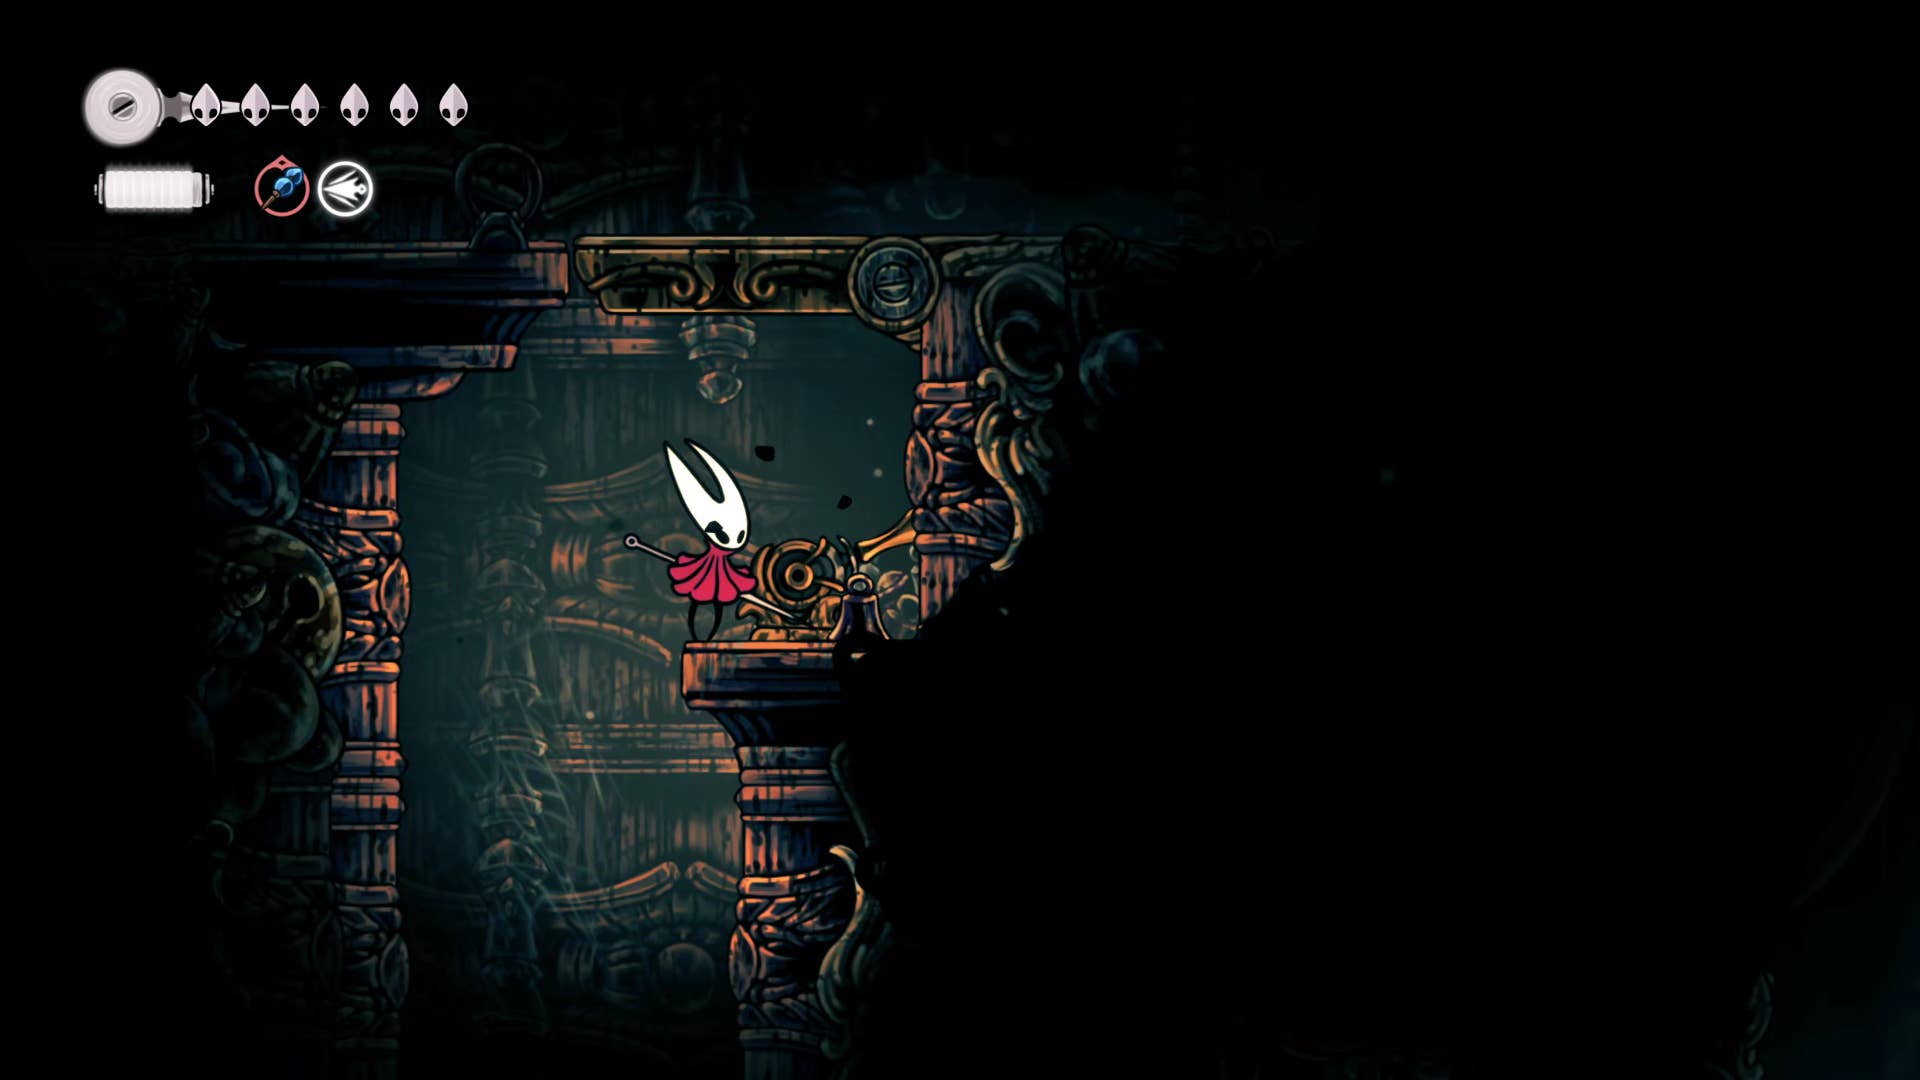
Are you wondering how to save the ghost Bell Heart from the curse in Hollow Night: Silksong? Previously on a walkthrough, we recommended resting on a bench there to soak your toes in the bell heart. But in doing so you have encountered a very eerie sight – dozens of pilgrims are strung with silk threads, and at first glance look attractive and immobile. There is a powerful curse in Bel Heart, and it is up to you to save its inhabitants.
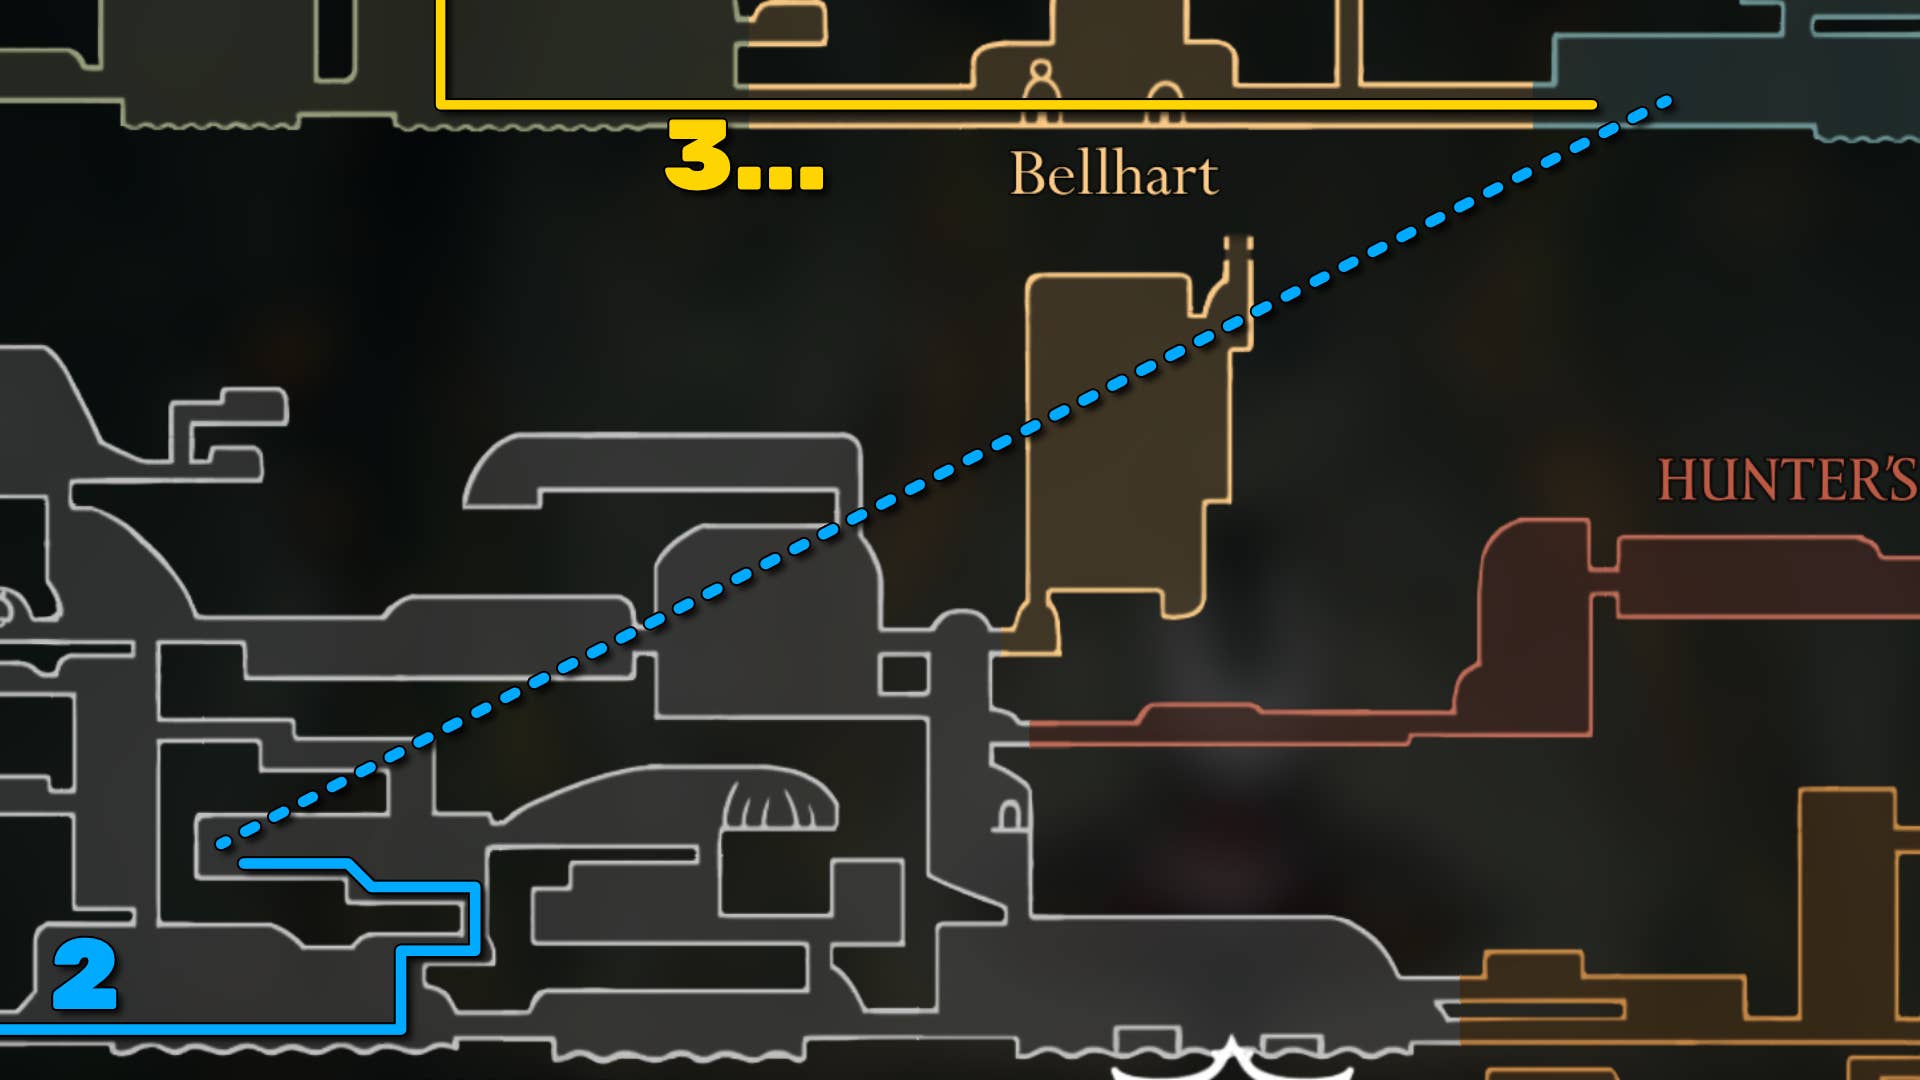
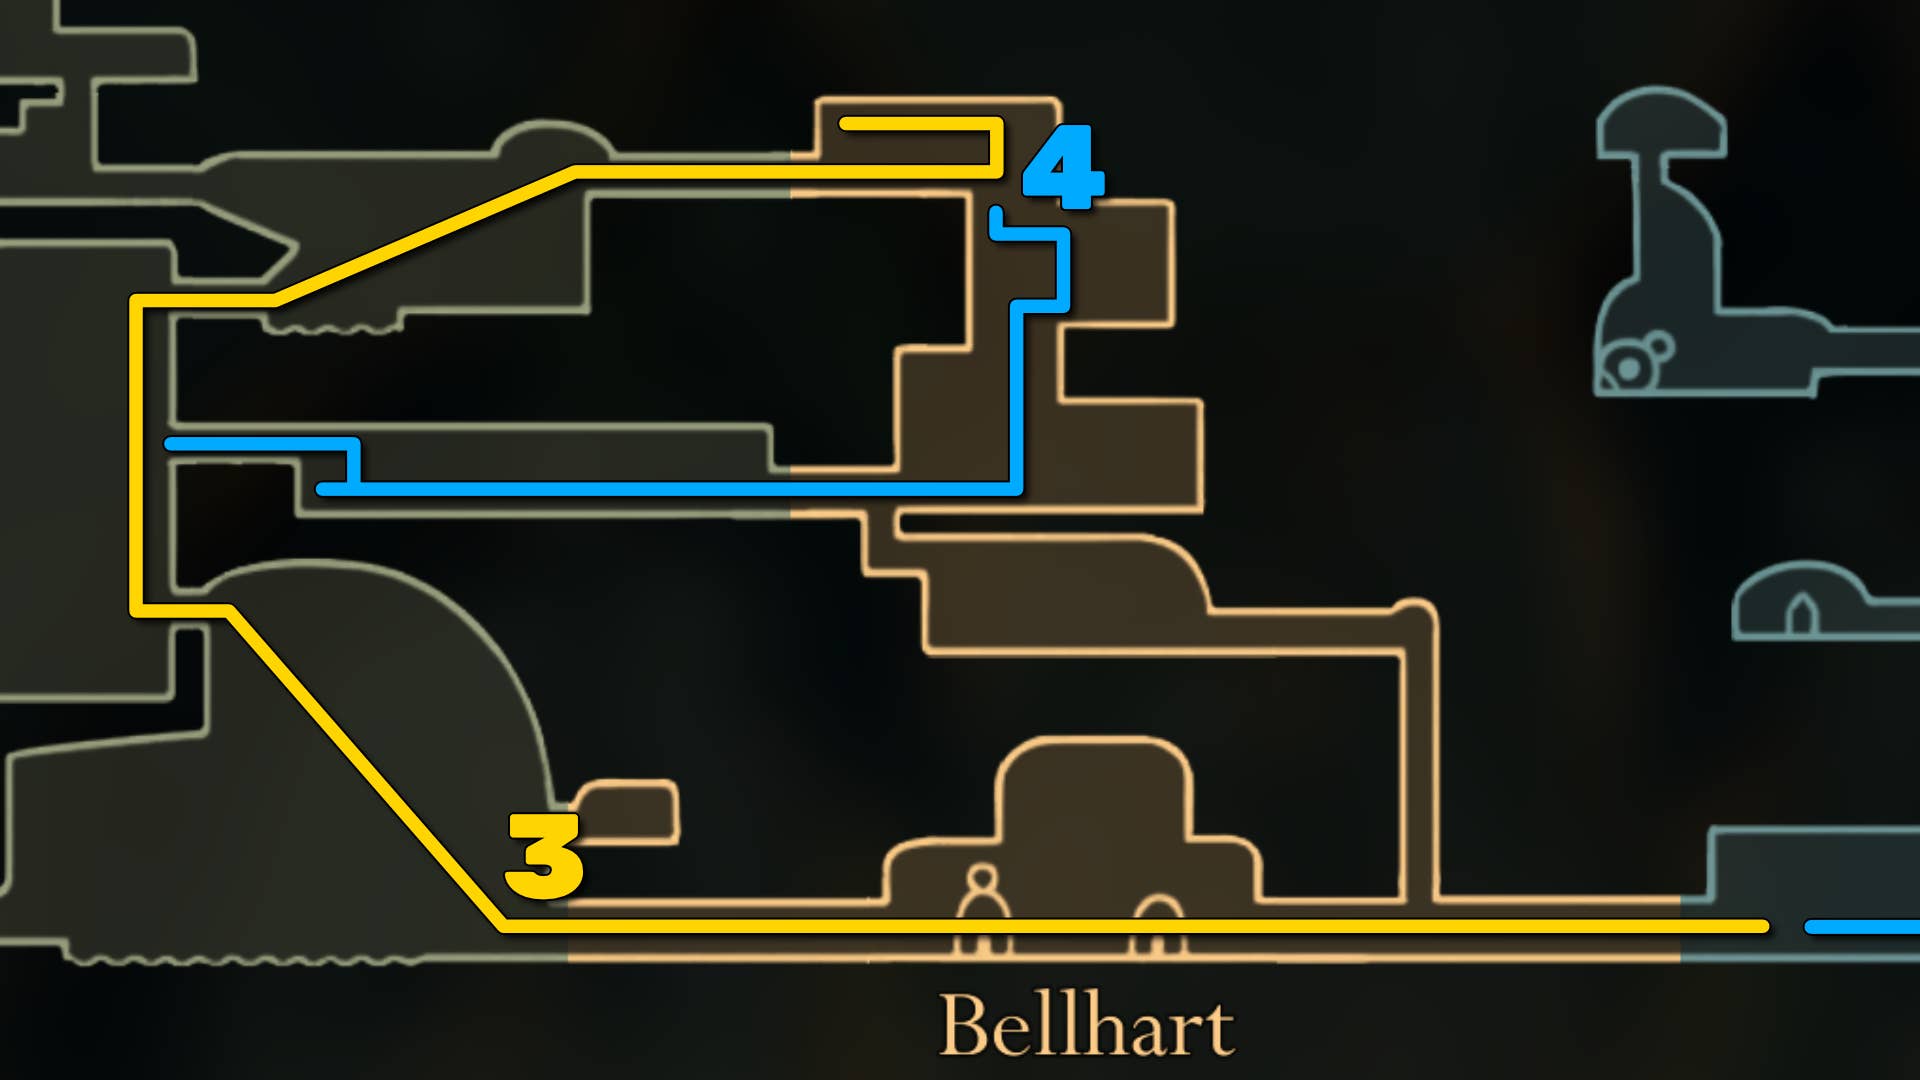
Work on this task accurately Part 11 of the Silksong Walkthrough. Here we will show you how to explore the top and bottom Belveen, sandwiched between the towns of Belhart, and key points you can find inside. Finally, we show the people of Bel Heart how to cut off those cursed relationships by defeating the (seemingly) powerful bosses at the center of everything.
Do you need a walkthrough in another area of the game? Check out Hollow Knight: Silksong Walkthrough Hub!
Bell Heart Walkthrough Steps:
- Buy a mask shard on the bone base.
- Travelling with a flea caravan.
- Rescuing the chisels of North Belvaines.
- Get Porsip Heart #6.
- Return to Greyroot.
- Enter South Belbaines and meet Belbarite.
- Unlock shortcuts to the bone marrow.
- Defeat the widow to unlock Needlyn.
- Tell everyone at Bell Heart.
- Get a sharp needle from Plinney.
1. Buy a mask shard at the bottom of the bone.
If you haven’t already, it’s the best time to go back to the bottom of your bones and buy a mask shard from trader Pebb. So far, if you’re following along with our walkthrough, we’ve already collected four mask shards to upgrade your biggest health, but we don’t have time to start working on the next mask.
For reference, if you missed it, the previous four mask shards are:
2. Travelling with a flea caravan.
Eagle’s eyes between you may have noticed that if you follow this playthrough, you have already found five lost fleas needed for the quest in Fleamaster Mooshka. In fact, you found 7 of them! Yes, there are more fleas remaining to find in Silkson, but now it’s a good time to go back to the bone marrow flea caravan.
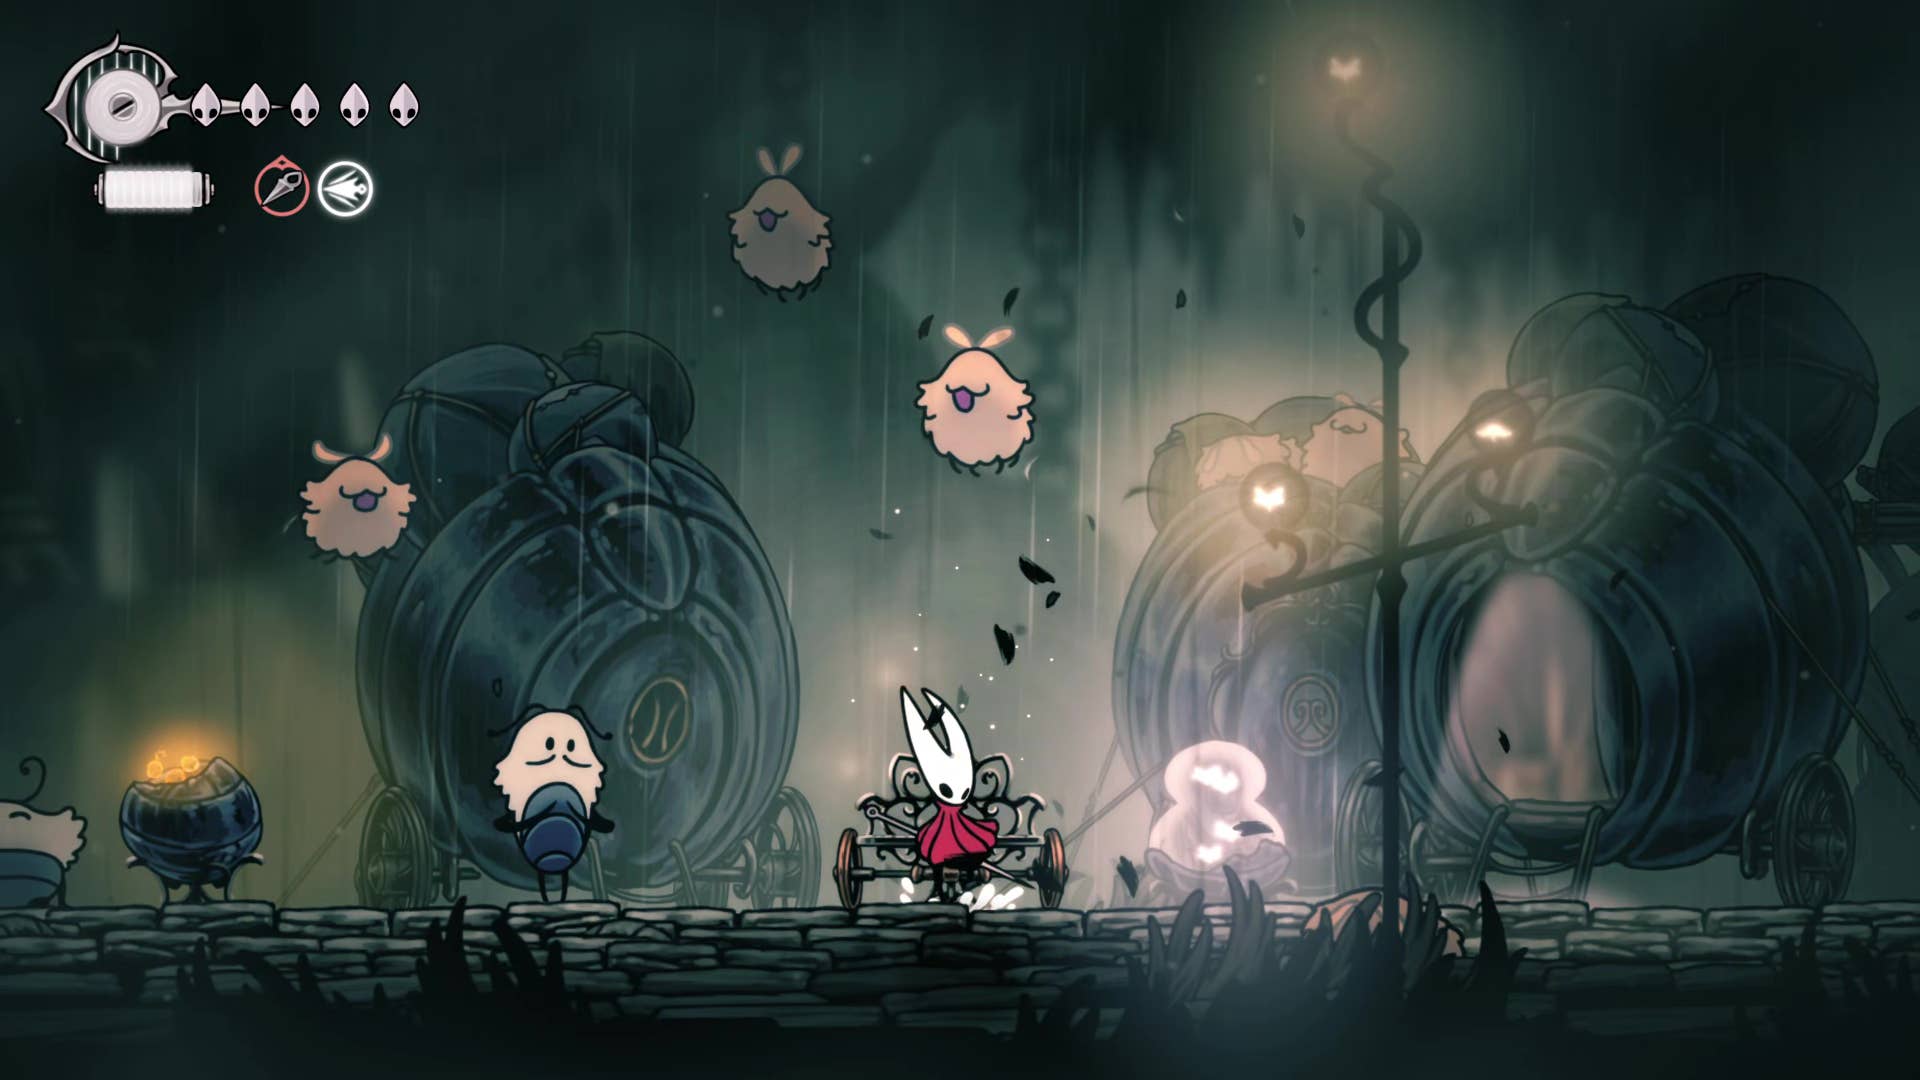
Talk to Mooshka and he will inform you that they will move to the highlands and ask if you want to ride with them. Go ahead and accept – after a short cutscene, you are transported to a new caravan home on the outskirts of Greymore.
In fact, it is on the exact opposite of Bell Heart from the way you entered it in the part before our walkthrough. Fancy!

When you arrive, talk to the various fleas. In particular, look into the foaming brew next to Grishkin and unlock the new consumable tool, Flea Brew! This is included in the weapon’s tool slot (red slot), but it is a buff rather than a weapon, which increases movement and attack speed for a short period of time. You will see that it will help you meet in the future.
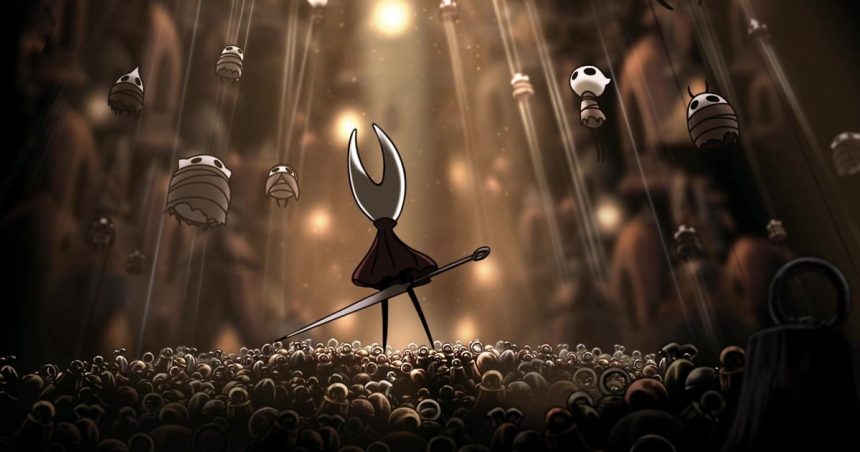
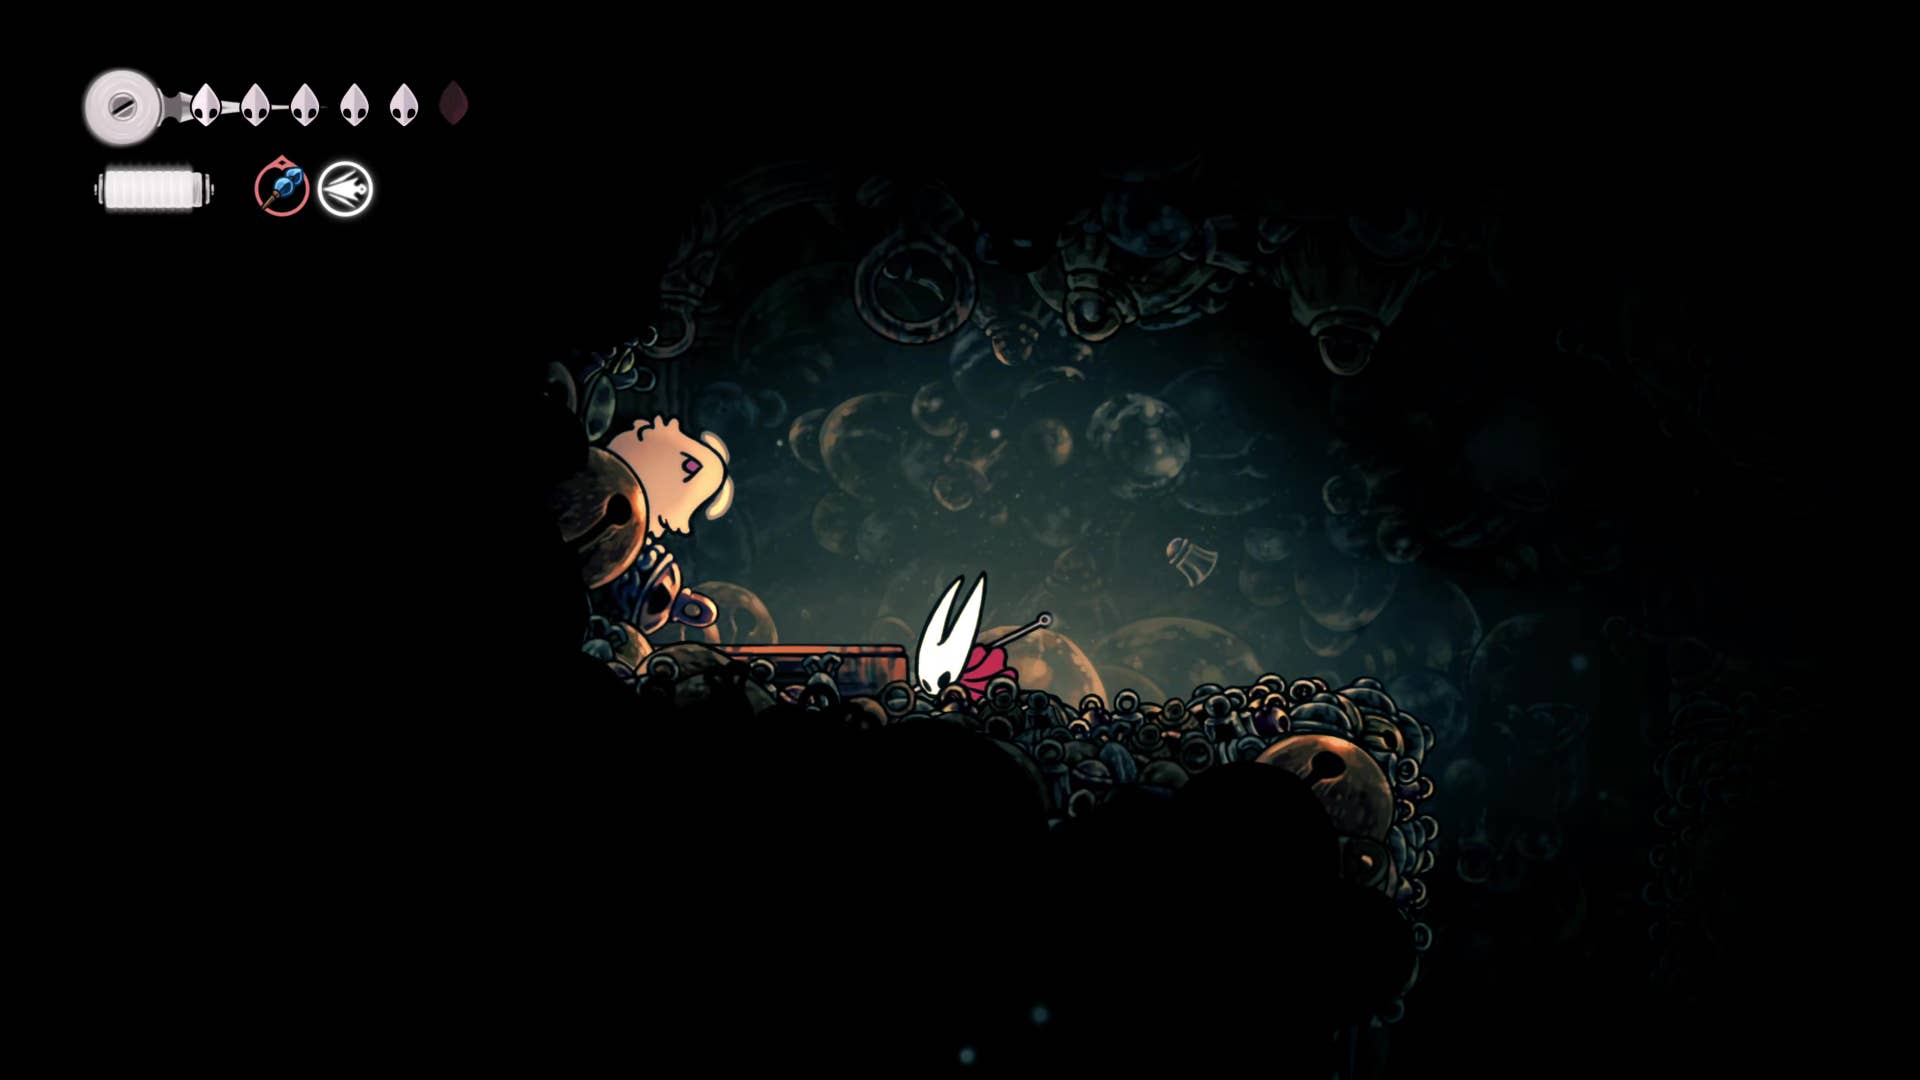
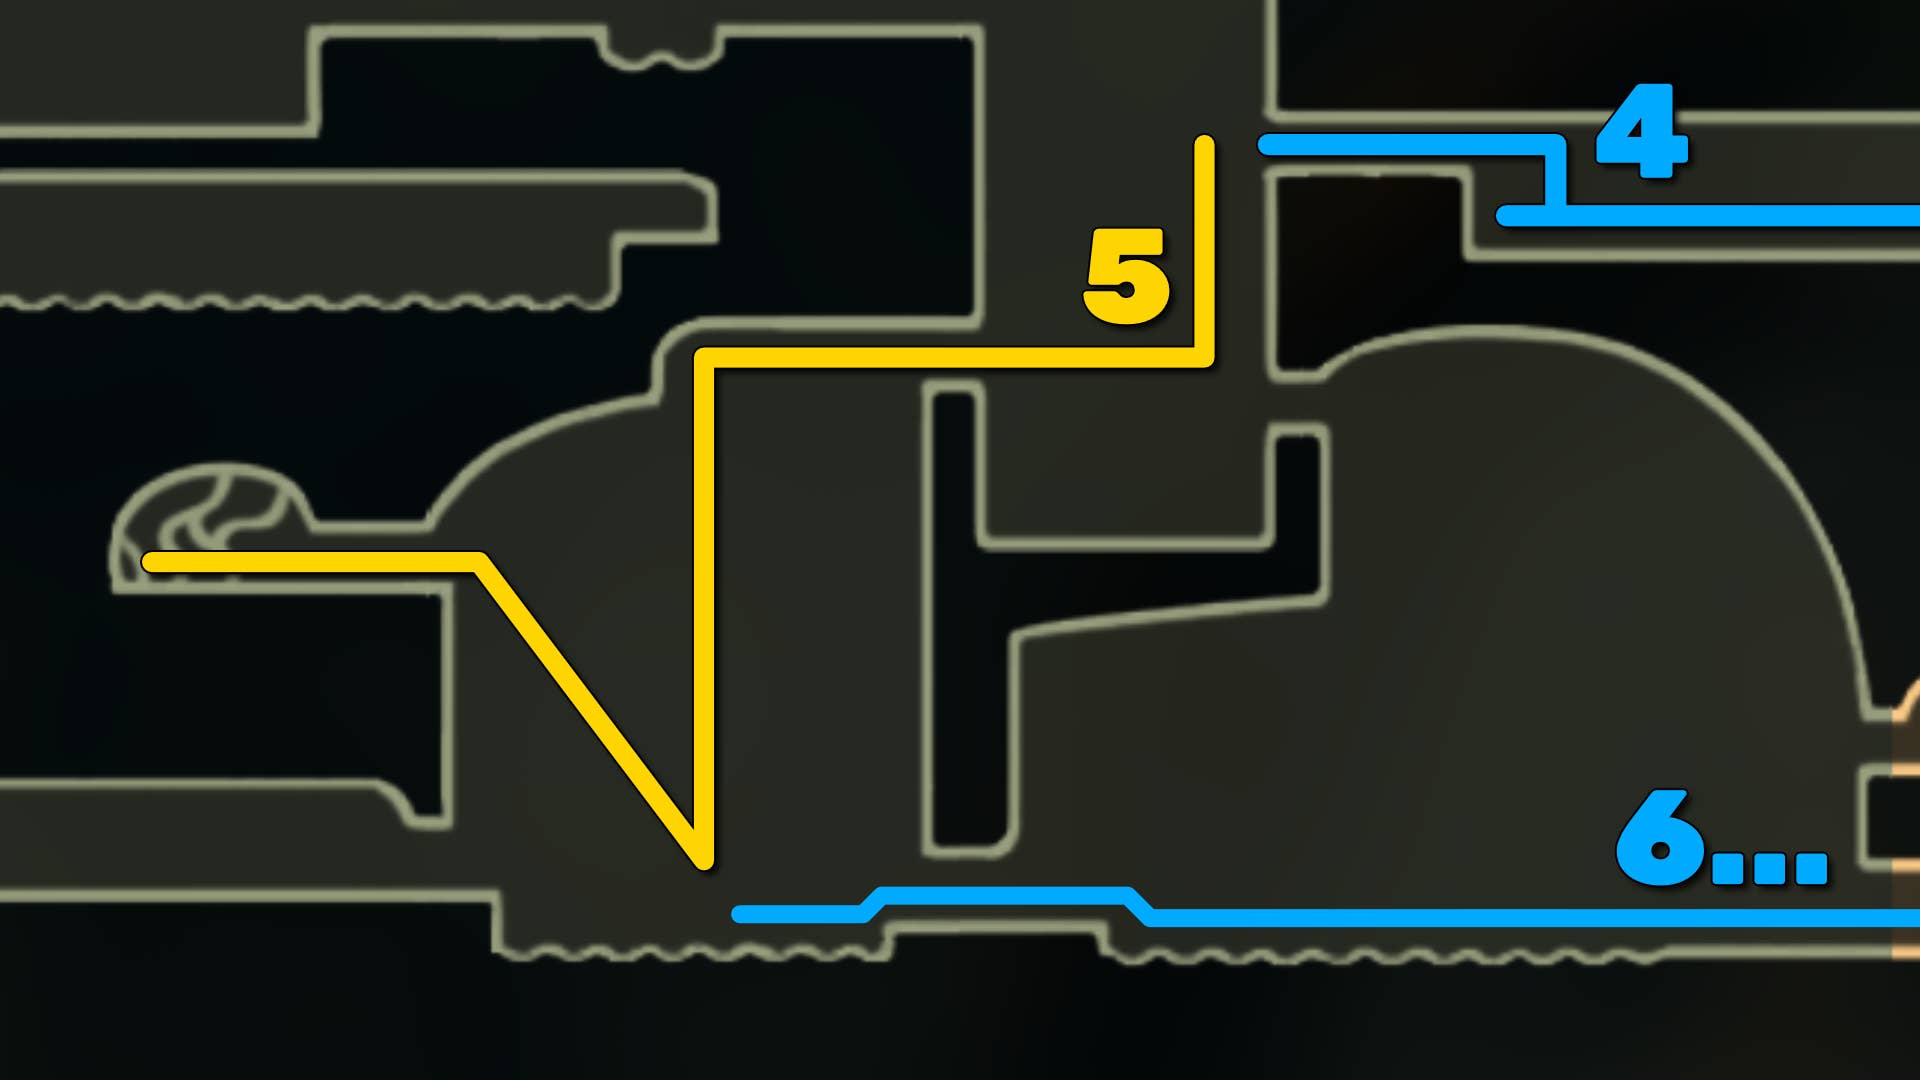
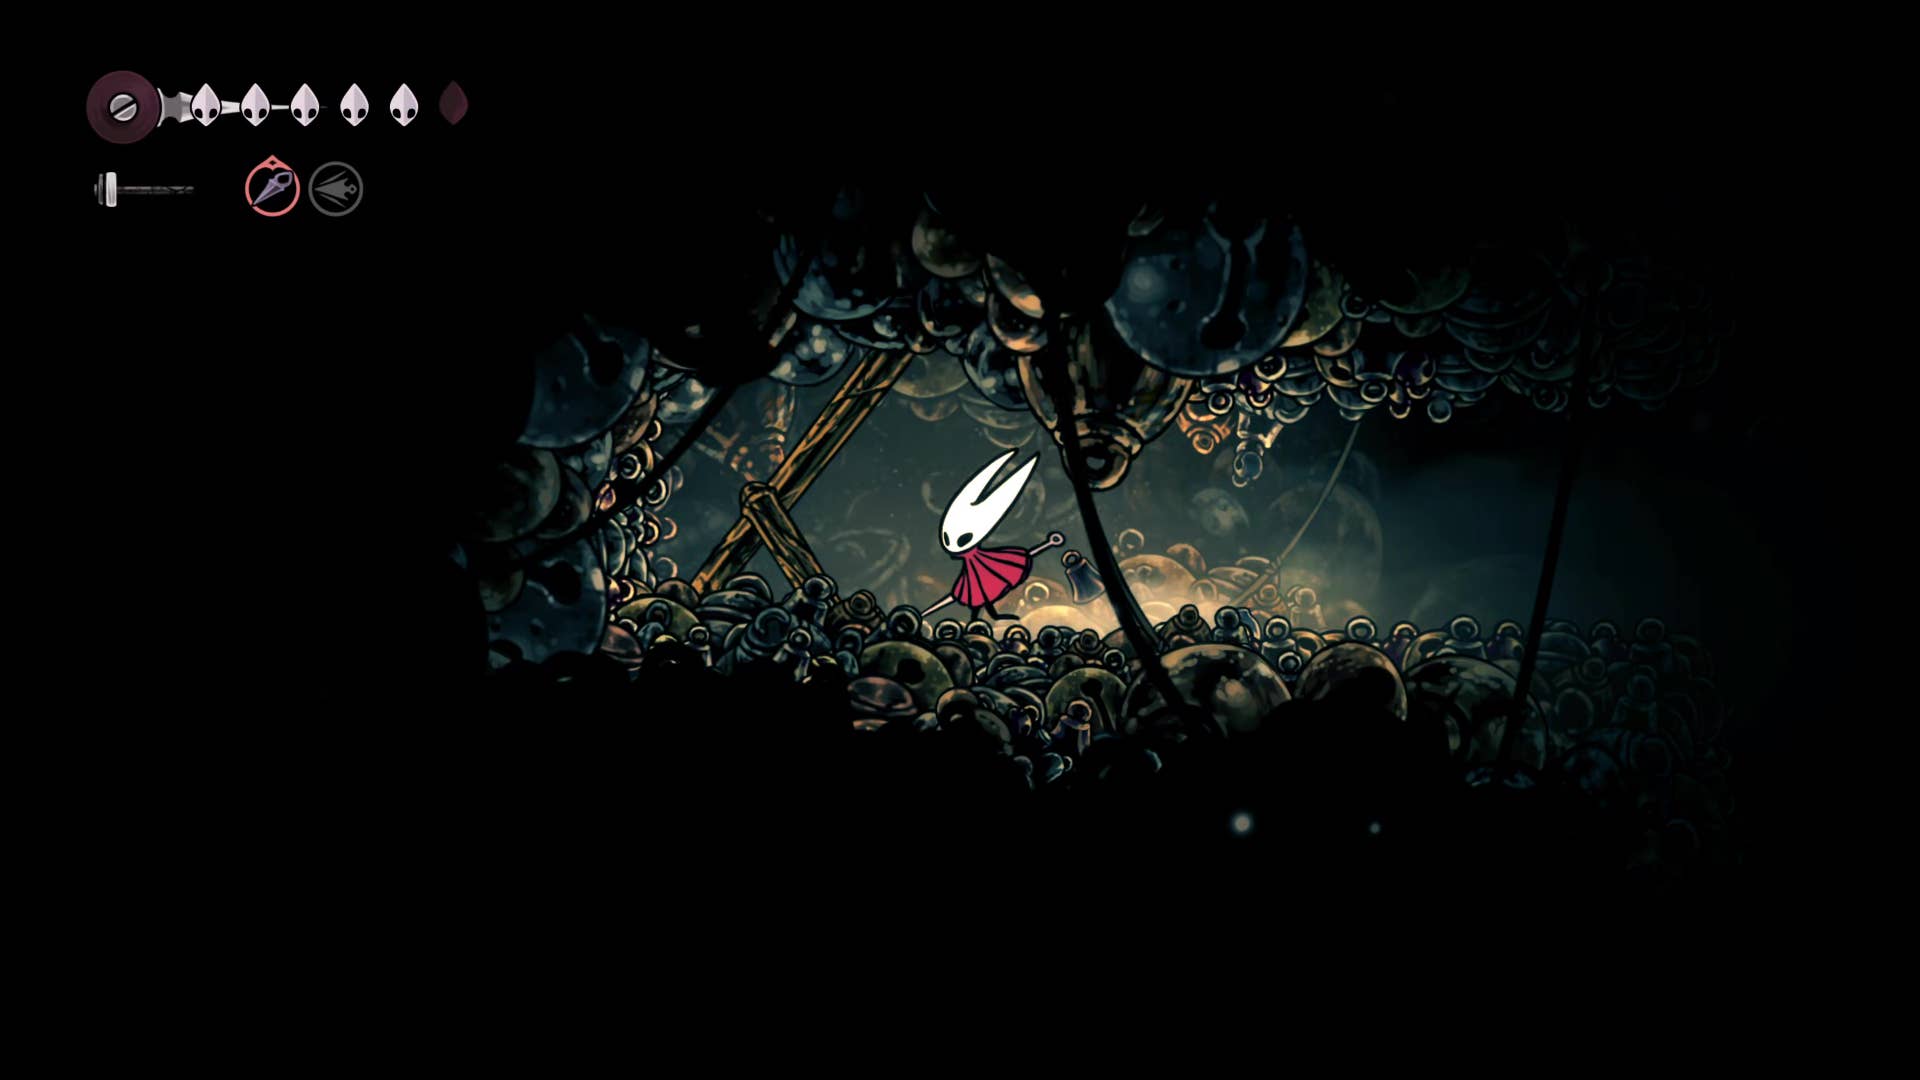
3. Rescuing the chisels of the Belvaines in the north.
Return to Shellwood and take the elevator next to it and head to the bench. Take the elevator to the top and head to the top of the next room. Slams the trembling bell wall to unleash the entrance to the velvene above the bell heart.
In these dark tunnels, you will need to fight a bellhead spider creature called Furms and a large winged variation that moves up and down the paths within the tunnel. Just slash those big things to kill them – they won’t actively try to hurt you.
After completing the first winged Furm, climb all the way to the top of that path and jump to the left where you can find a trapped flea that you can rescue.
4. Get PORYIP HEART #6.
Continue down the northern Belvein tunnel and crush new passages. Sometimes it may be necessary to slide one of the walls patrol in a winged Furm. If you have spent the correct time in descent, there is always a alcove that the duck can make to avoid damage.
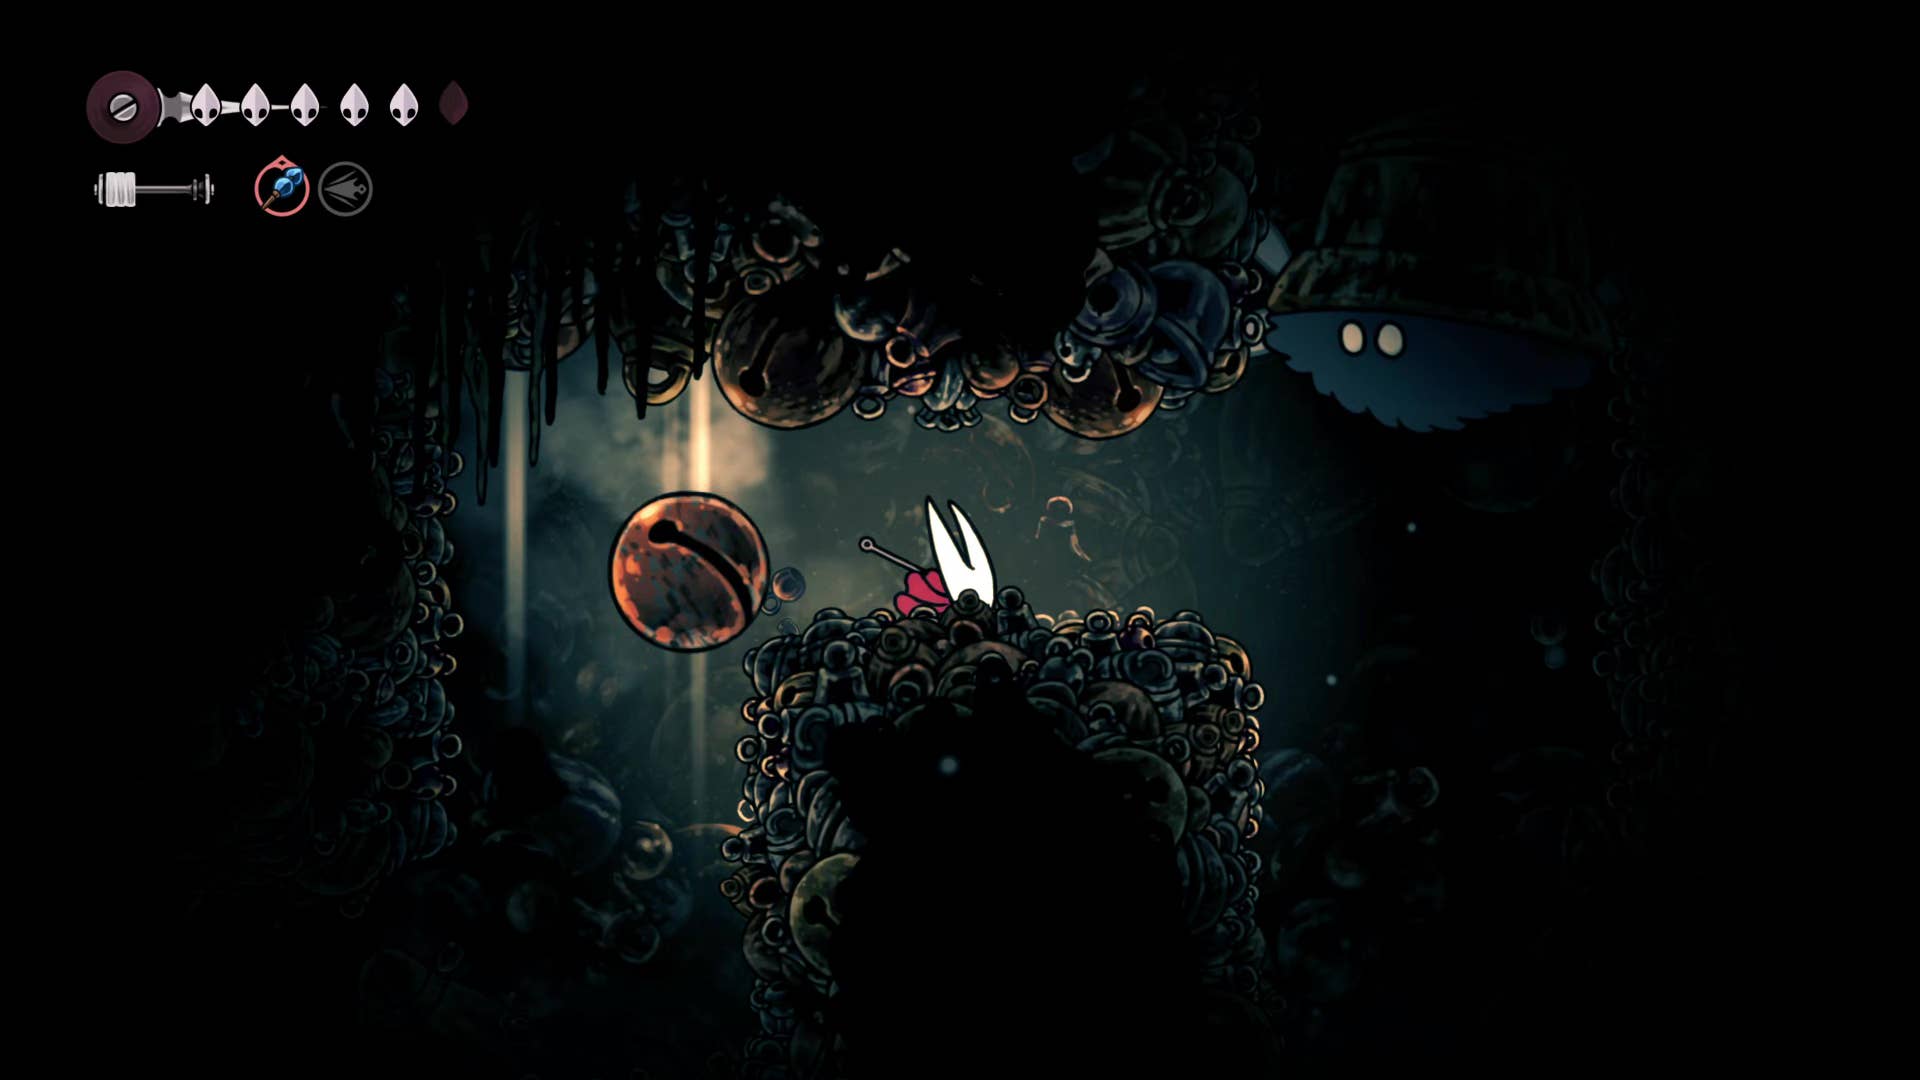
Soon you will reach the drop with two large circular bells waiting to fall on you from above. Attack the bells to remove them, drop down the wall on the left and play the path back to the new part of Shellwood.
On the left is a few grapes at ground level. Destroy them and reveal the final Polip Heart for Grayroot’s quest. Once you’ve destroyed the plants and gained a heart, you’ll find a way to go back to the main part of Shellwood by passing the vine above you on the left.
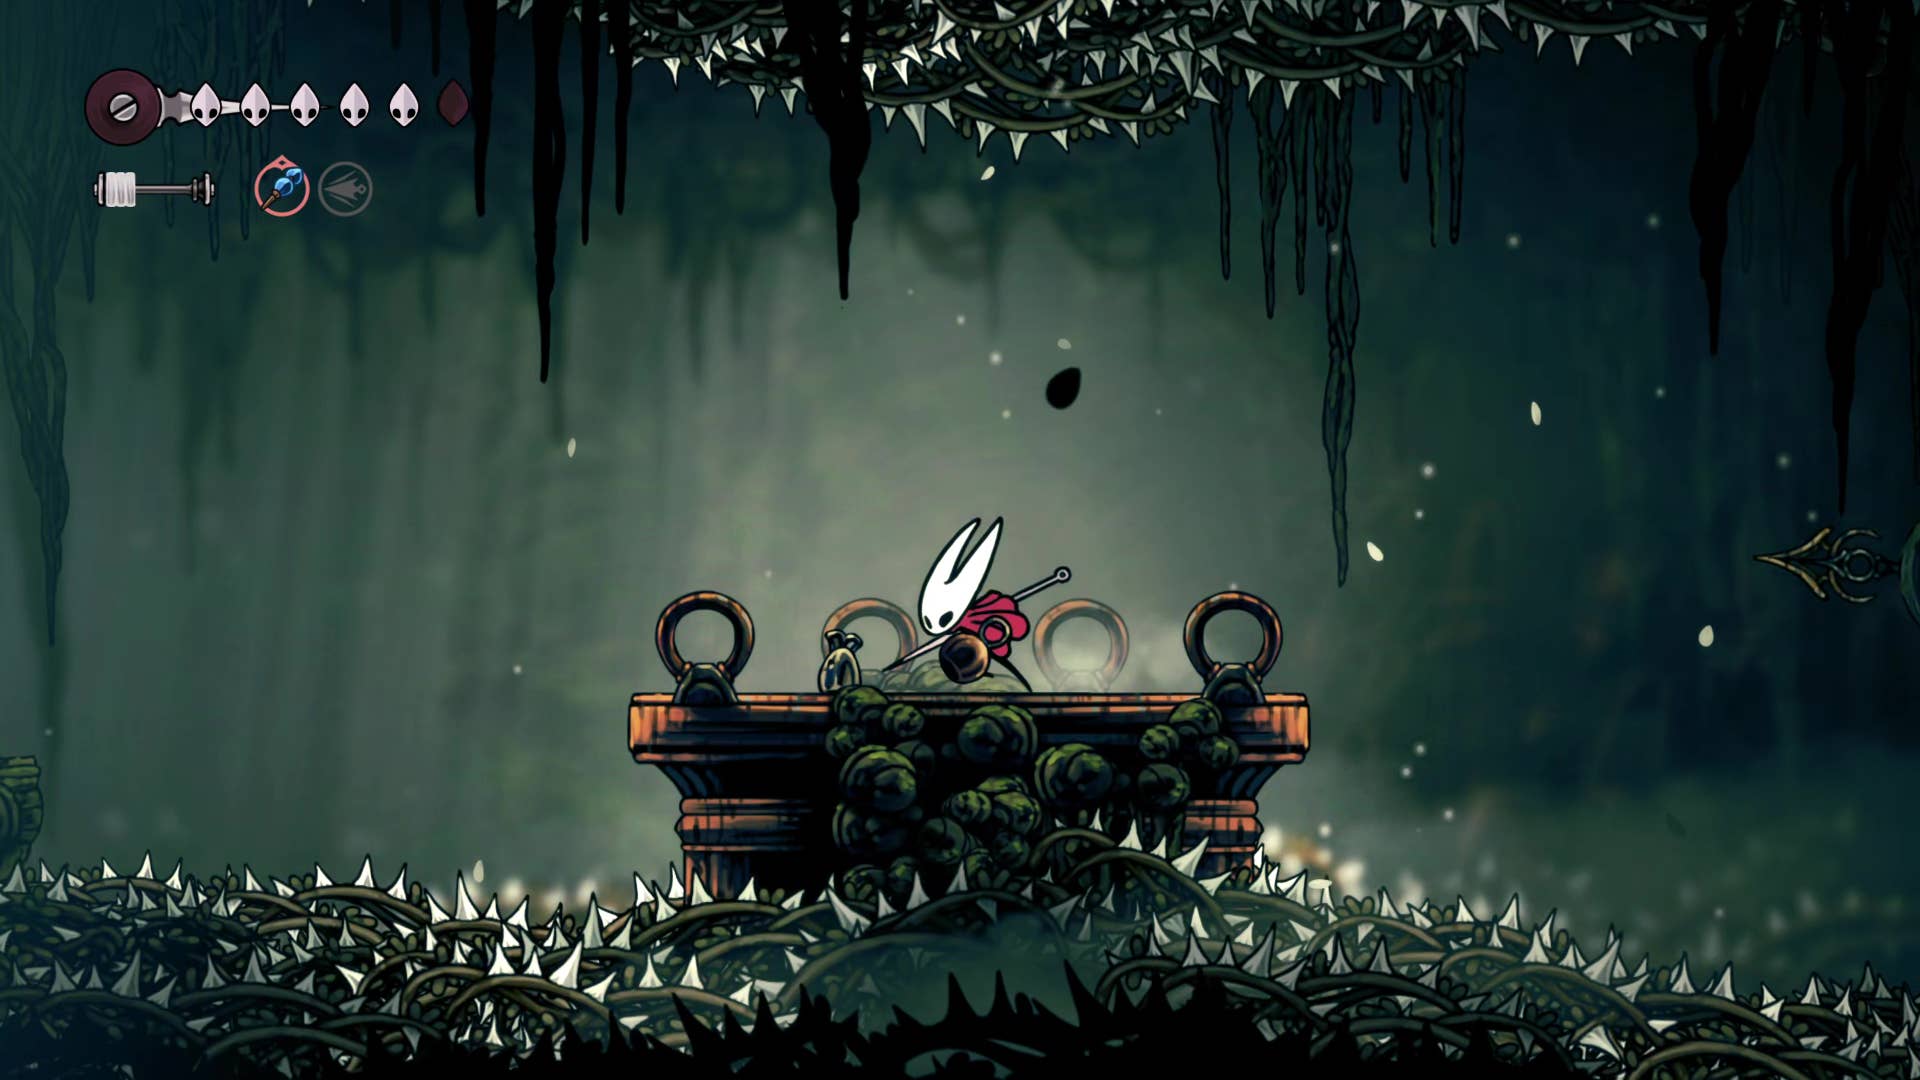
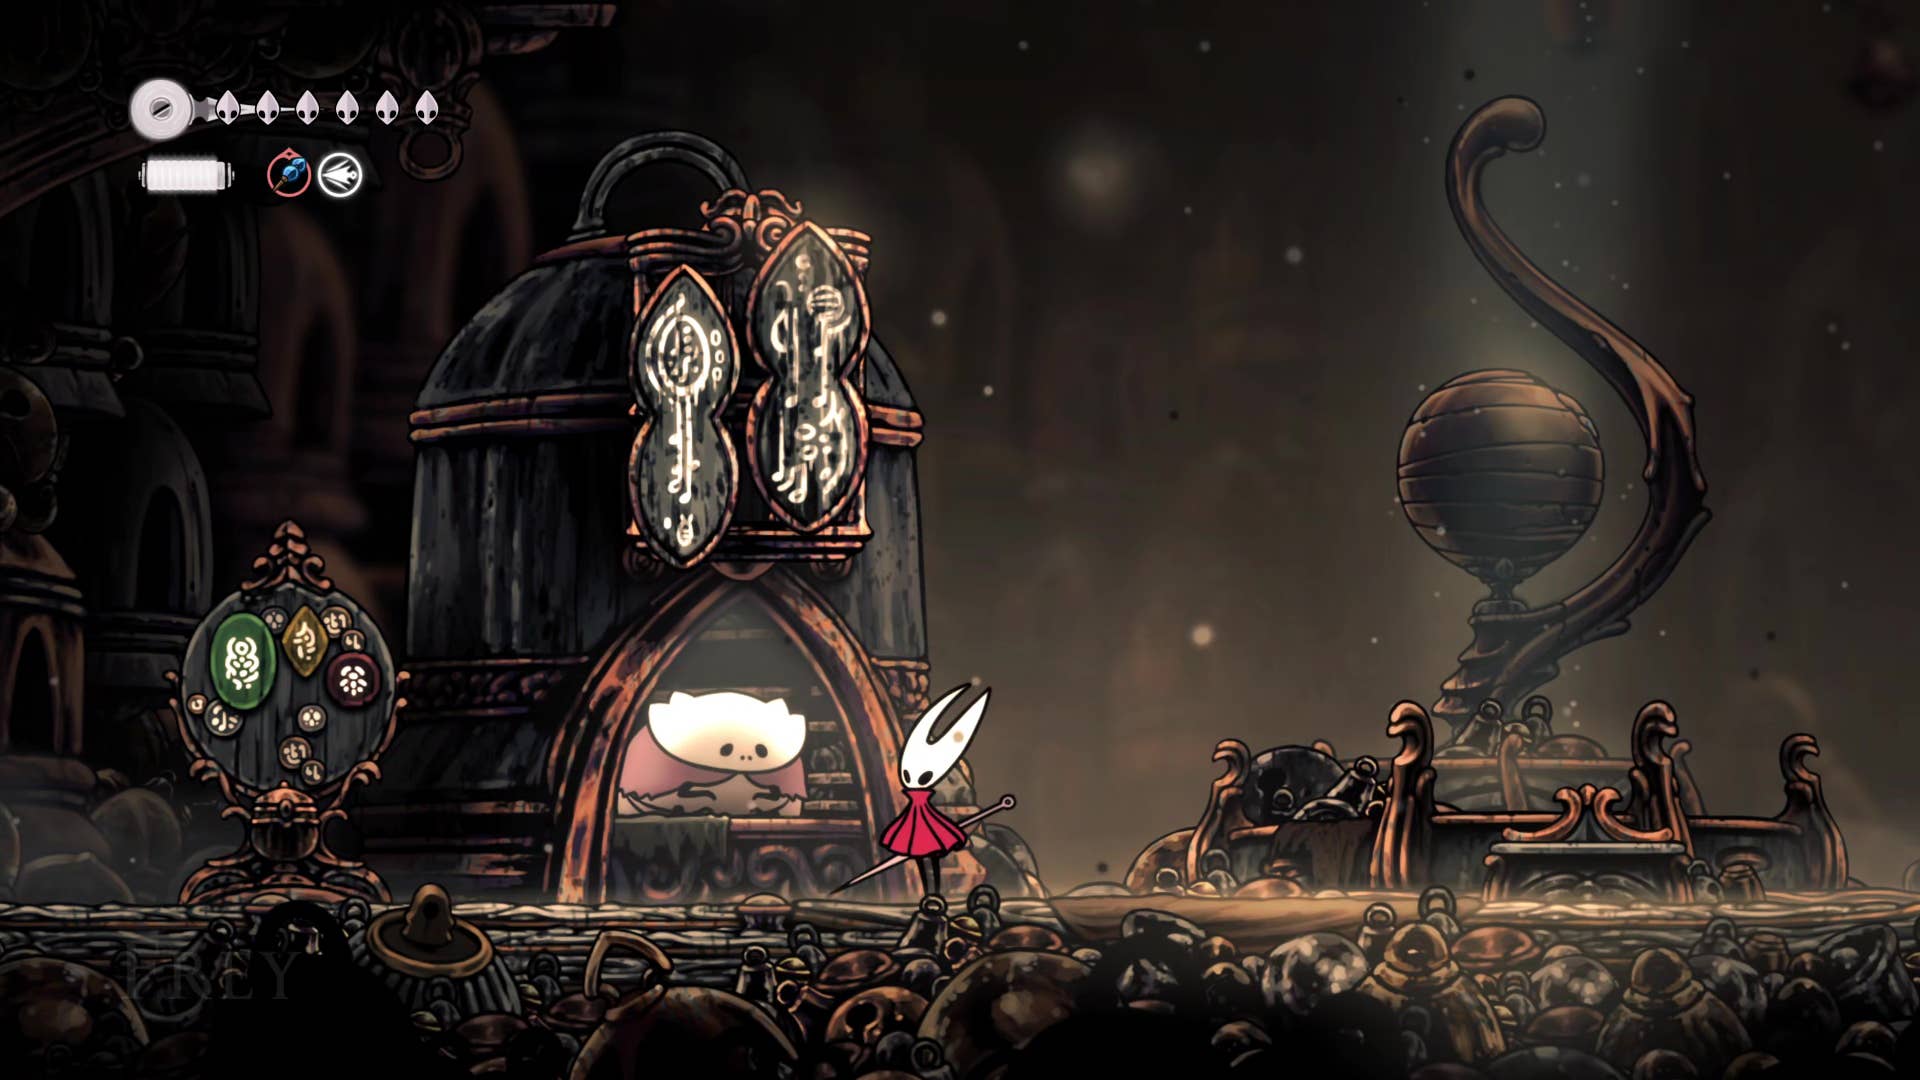
5. Return to Grayroot.
Now that we’ve gathered all six PROPIP hearts, we’re back to Grayroot, in the heart of Shellwood. When you incorporate Polip Heart and complete the quest, you will receive rewards with Polip Pouches. This is a blue slot tool that applies venom (effects that deal short damage) to all equipped weapon tools (such as long pins).
However, I would recommend equipping that blue slot with something else for the moment, as you will need to use Plasmium Parallels in your weapon slot for boss battles.
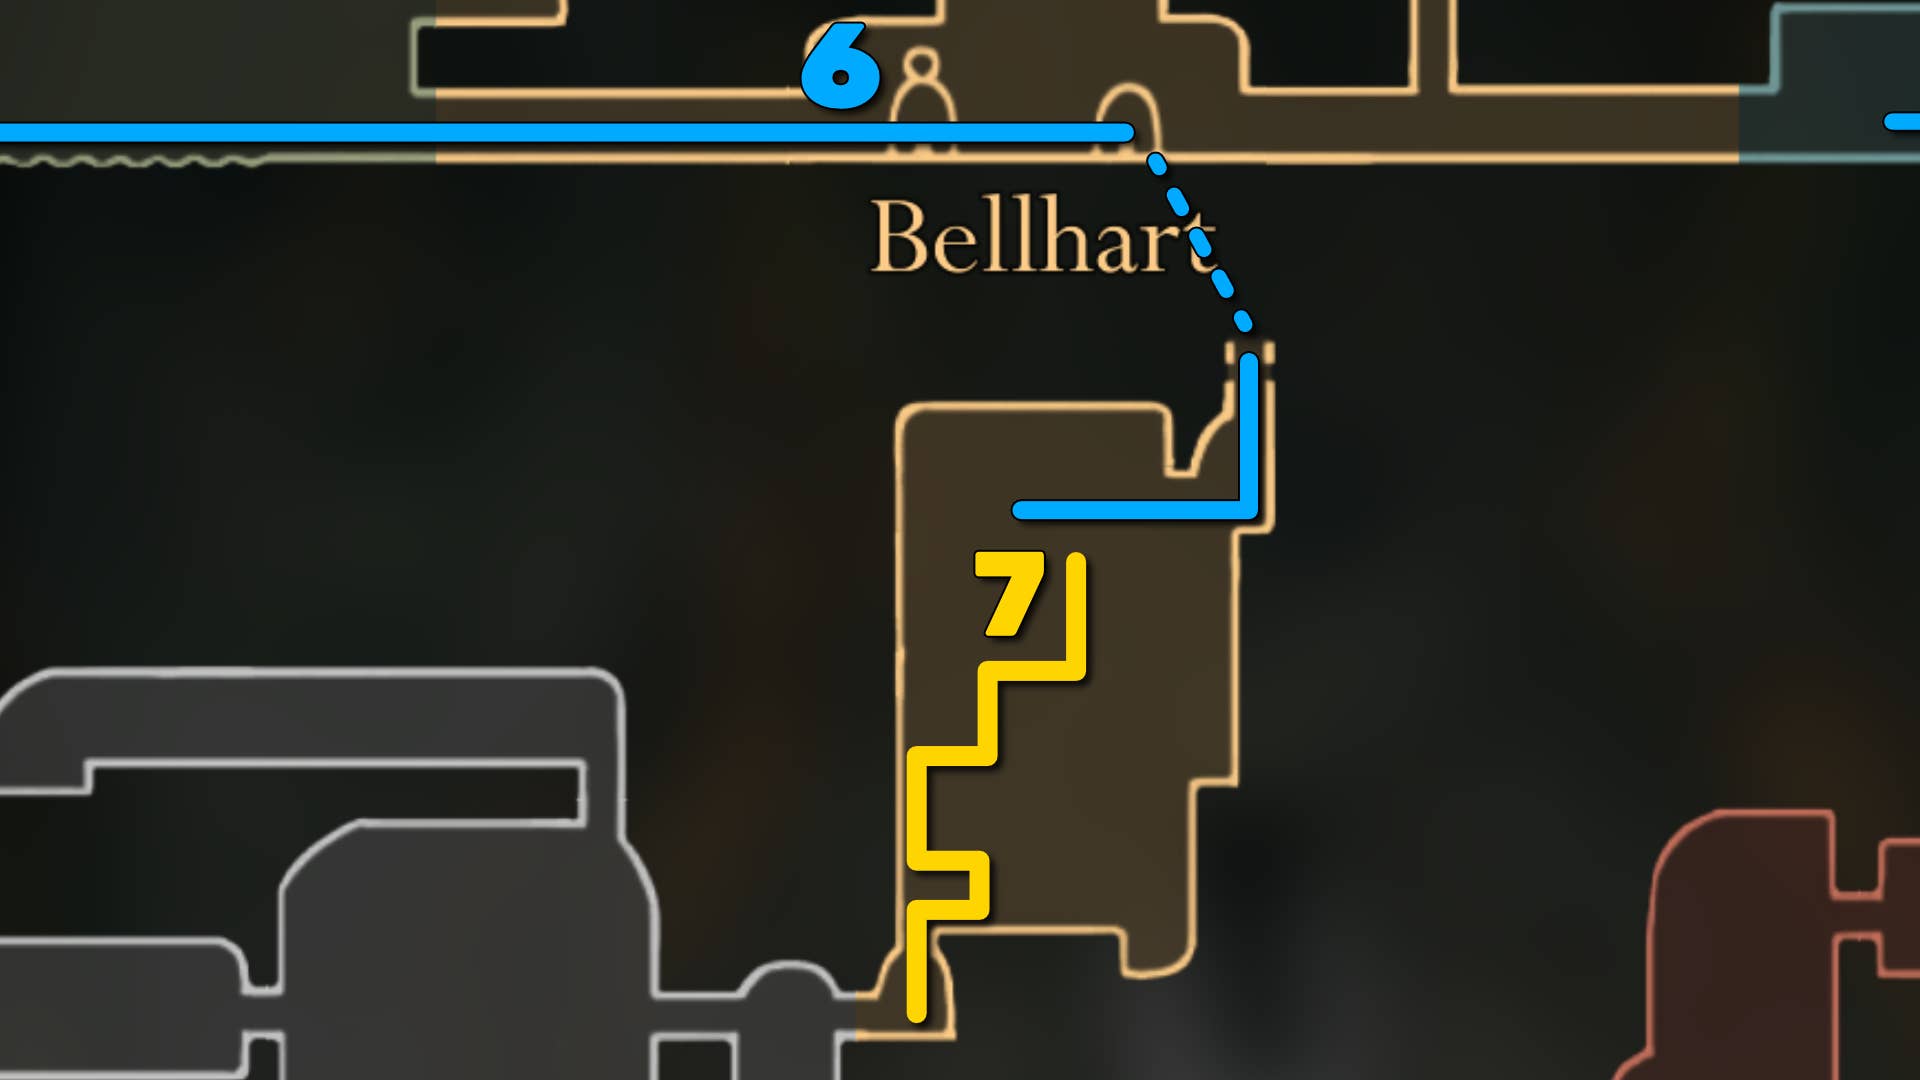
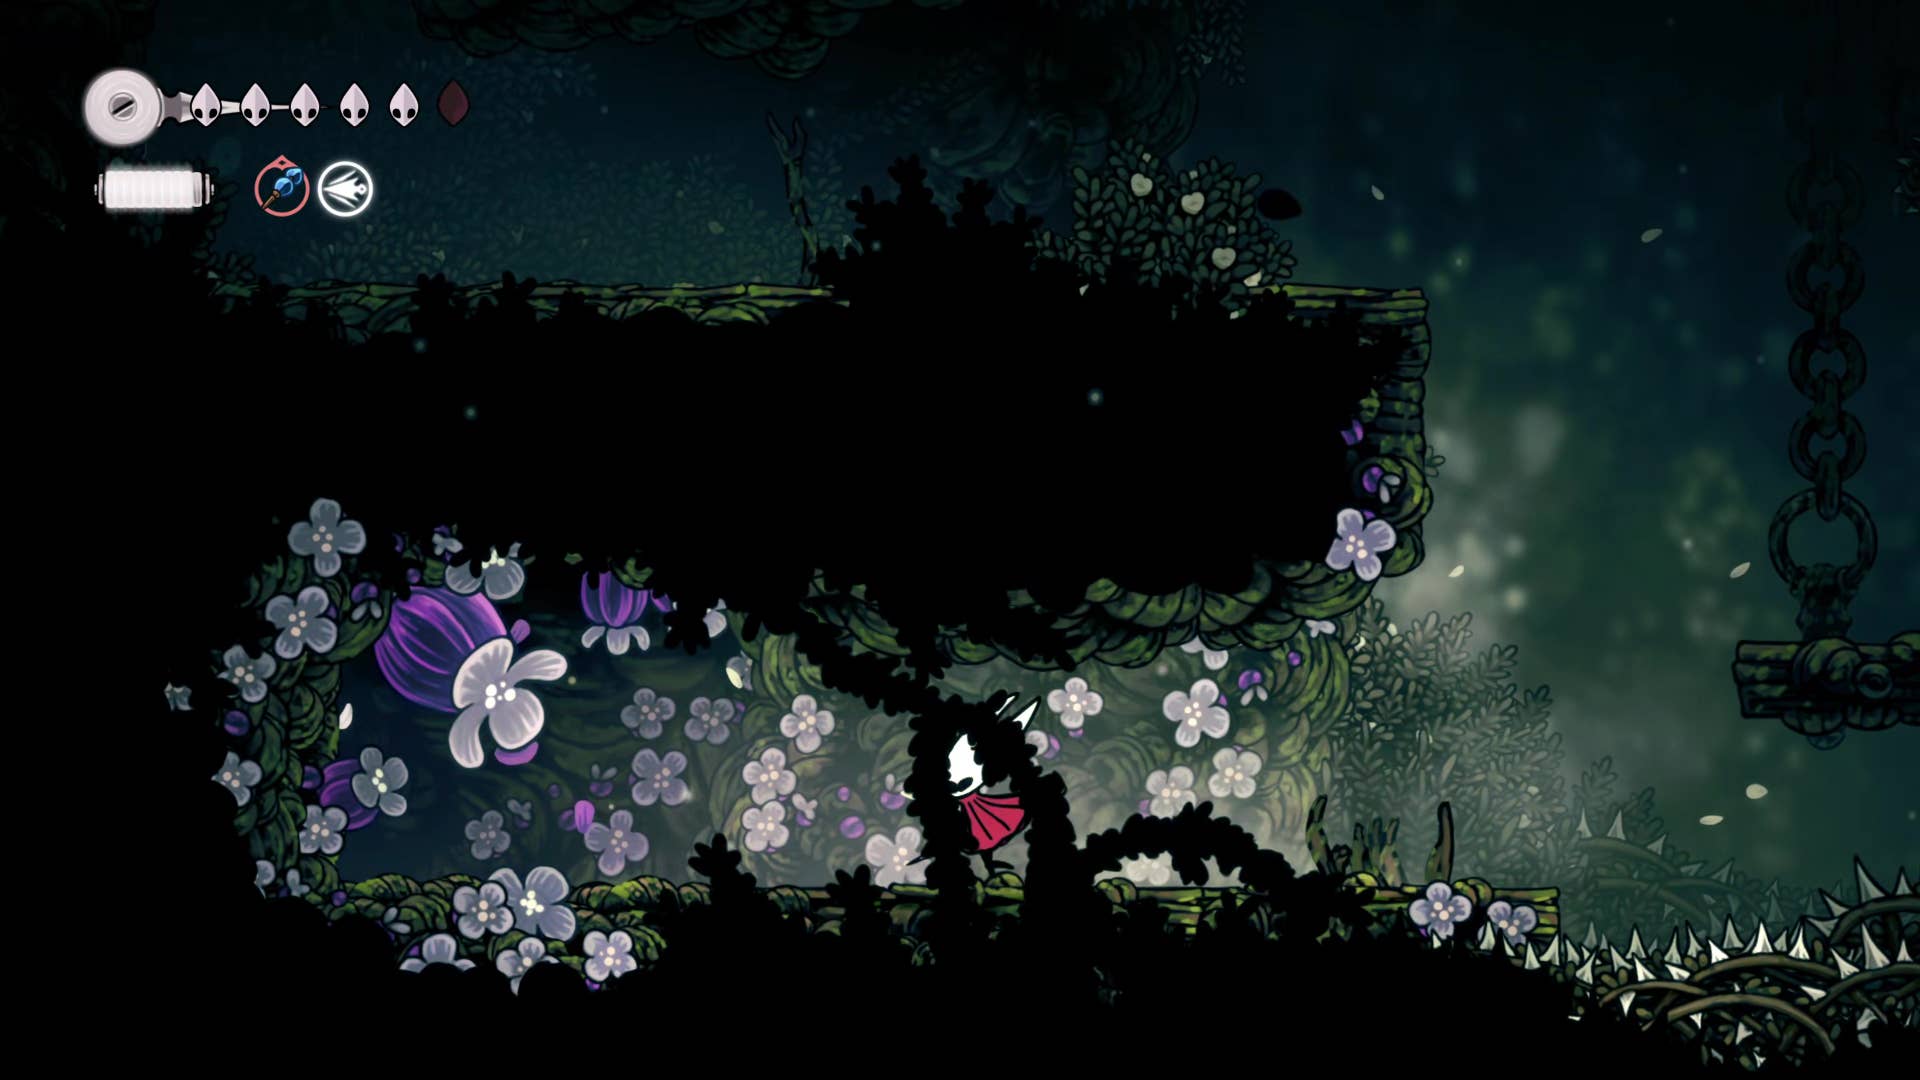
6. Enter South Belbaines and meet Belbarite.
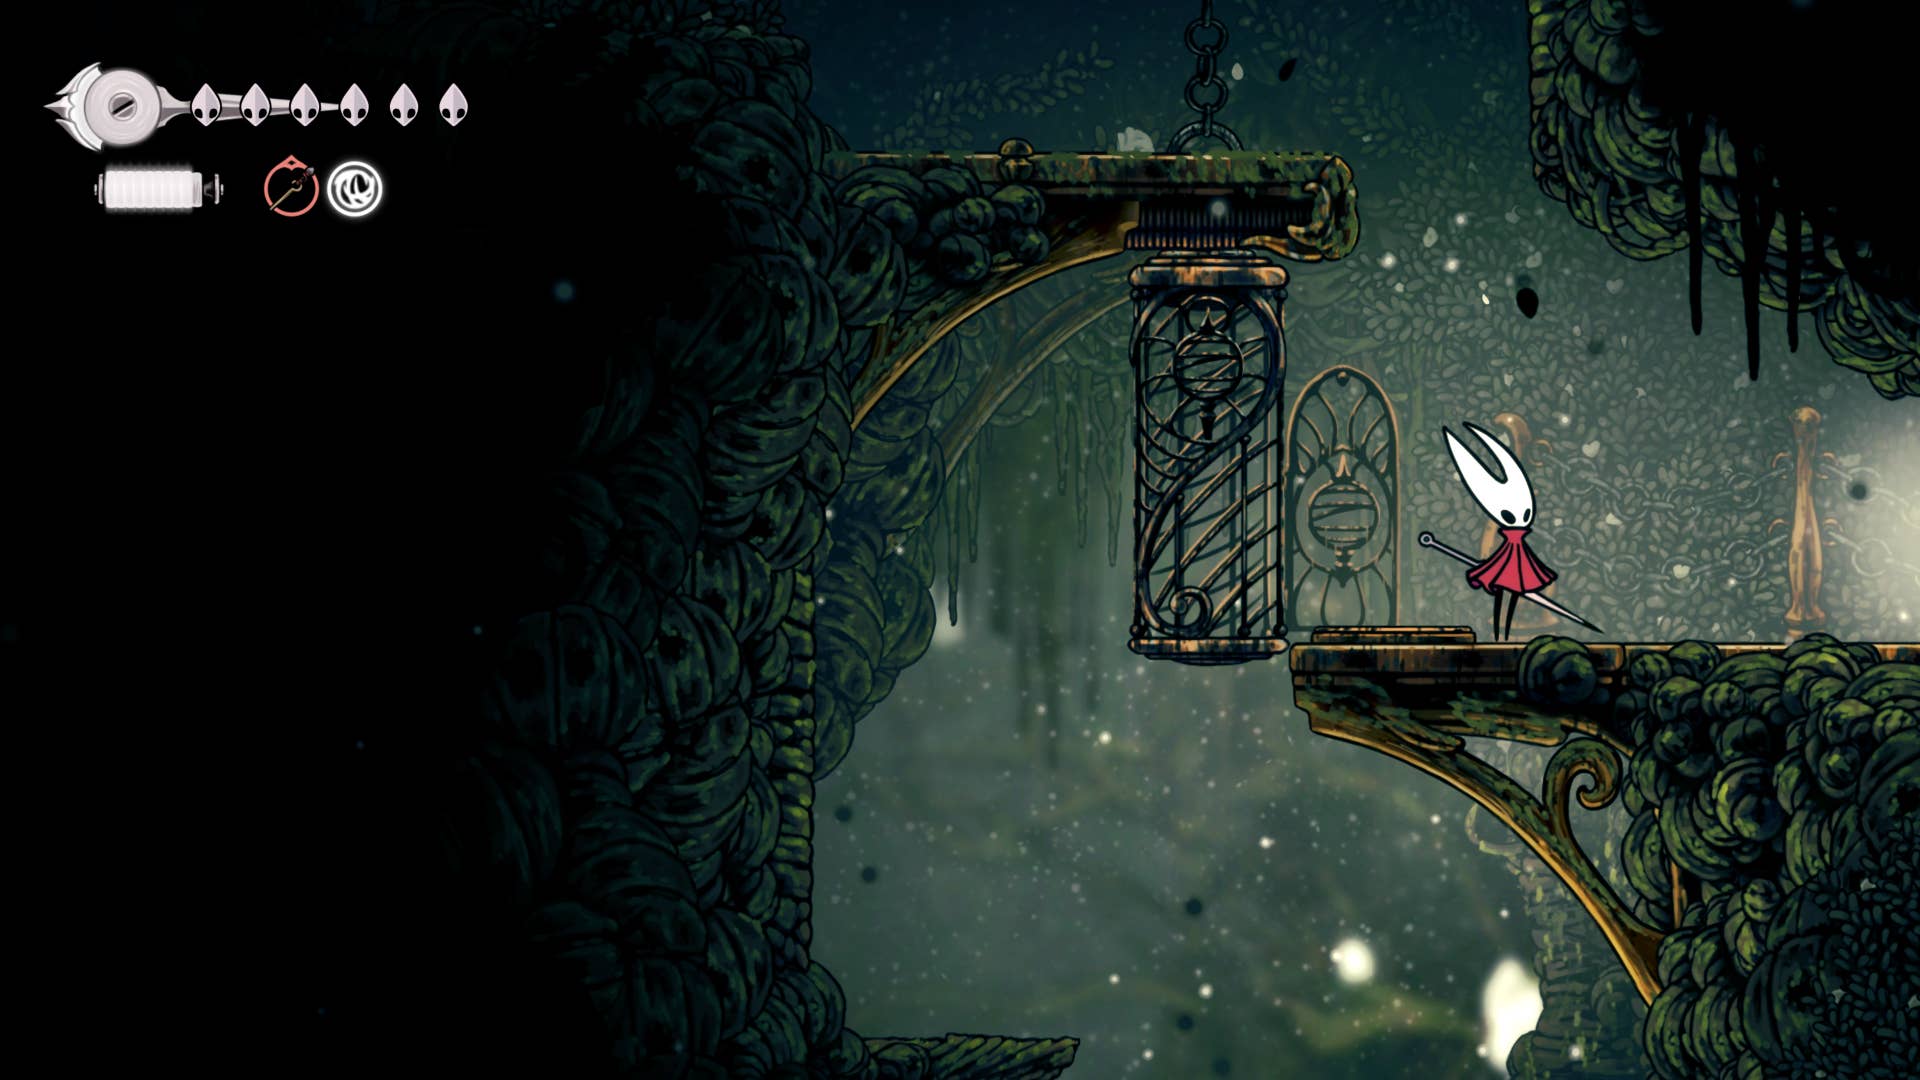
Now, go back to the bench in the centre of Bell Heart and rest there. Enter the building on the right and you can unlock the Bellway of the 80 Rosary. Then turn and head right, passing the wall on the right through the ground wall to reveal the passageway to the south Belbaines below Belhart.
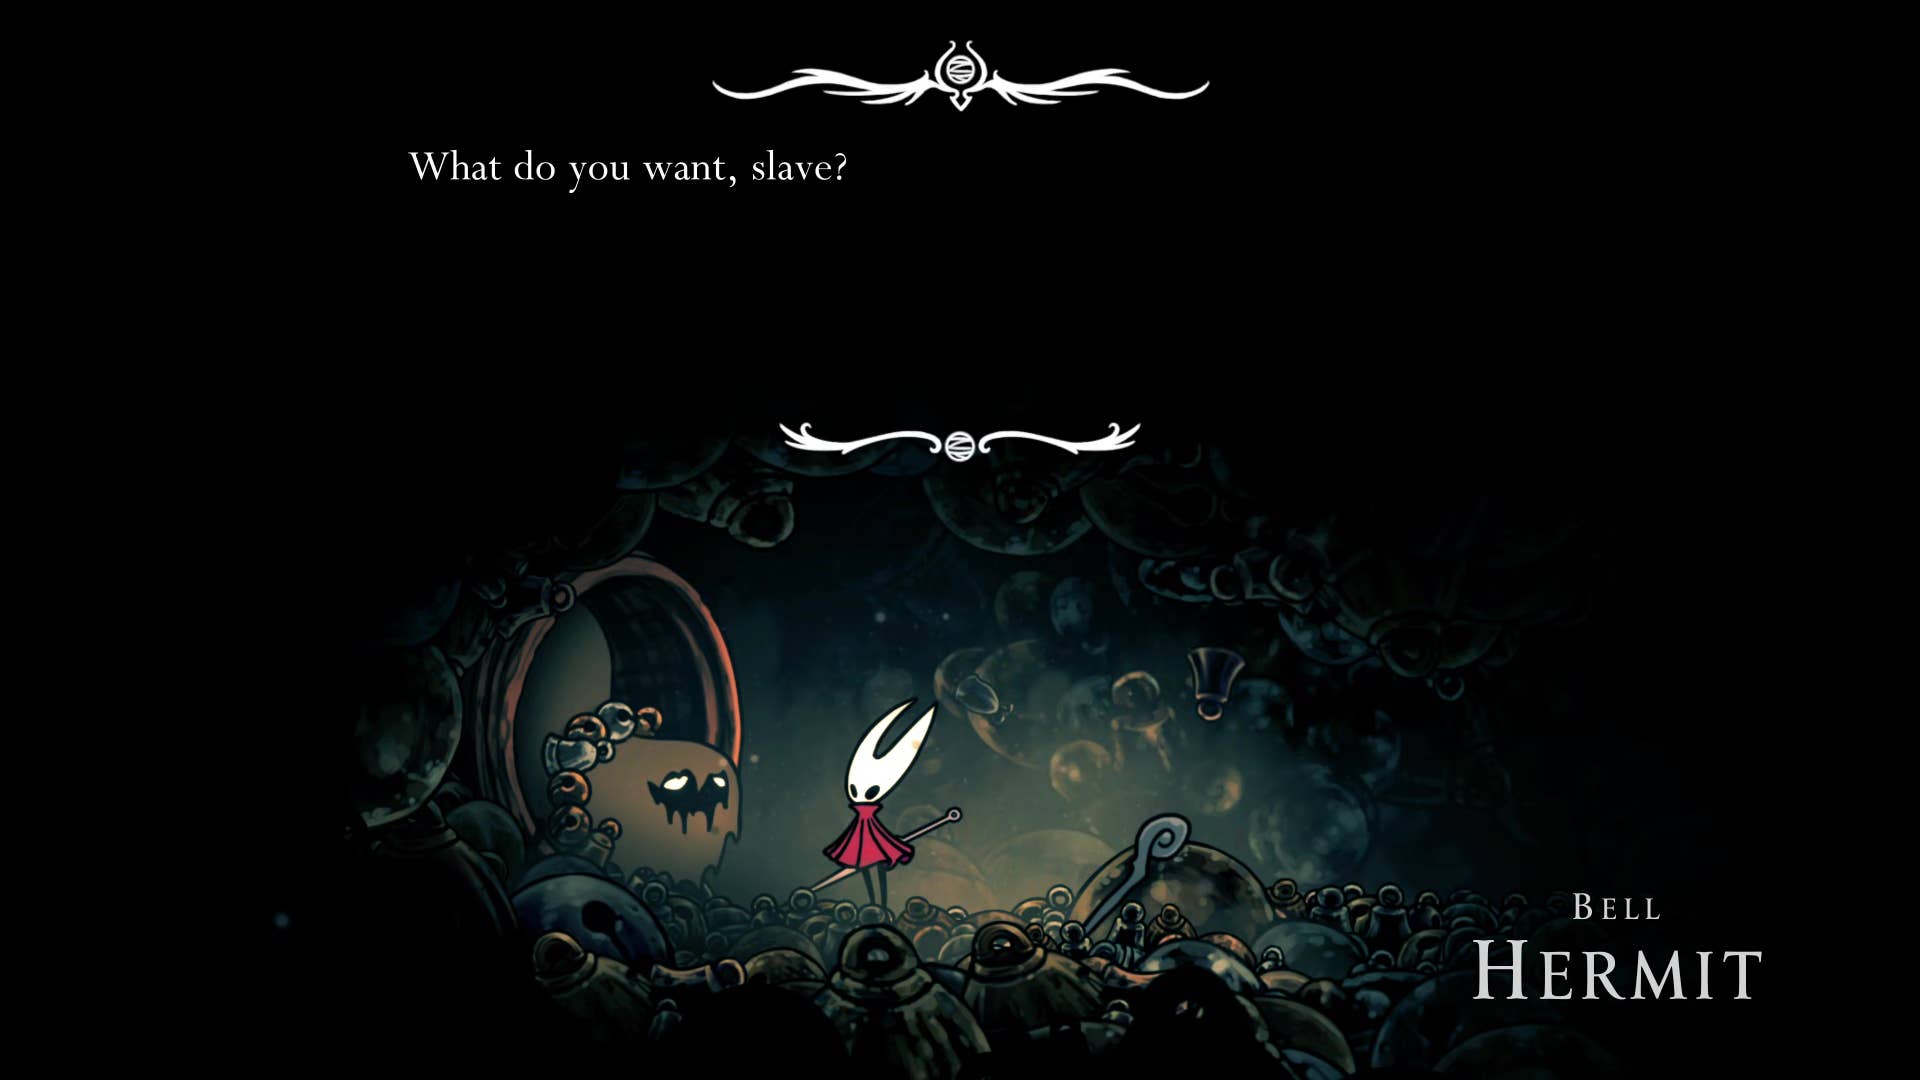
Go down to the bottom of the starting ledge, head left and head to meet Bell Hermit. You can’t really interact with him at this point, but remember him later.
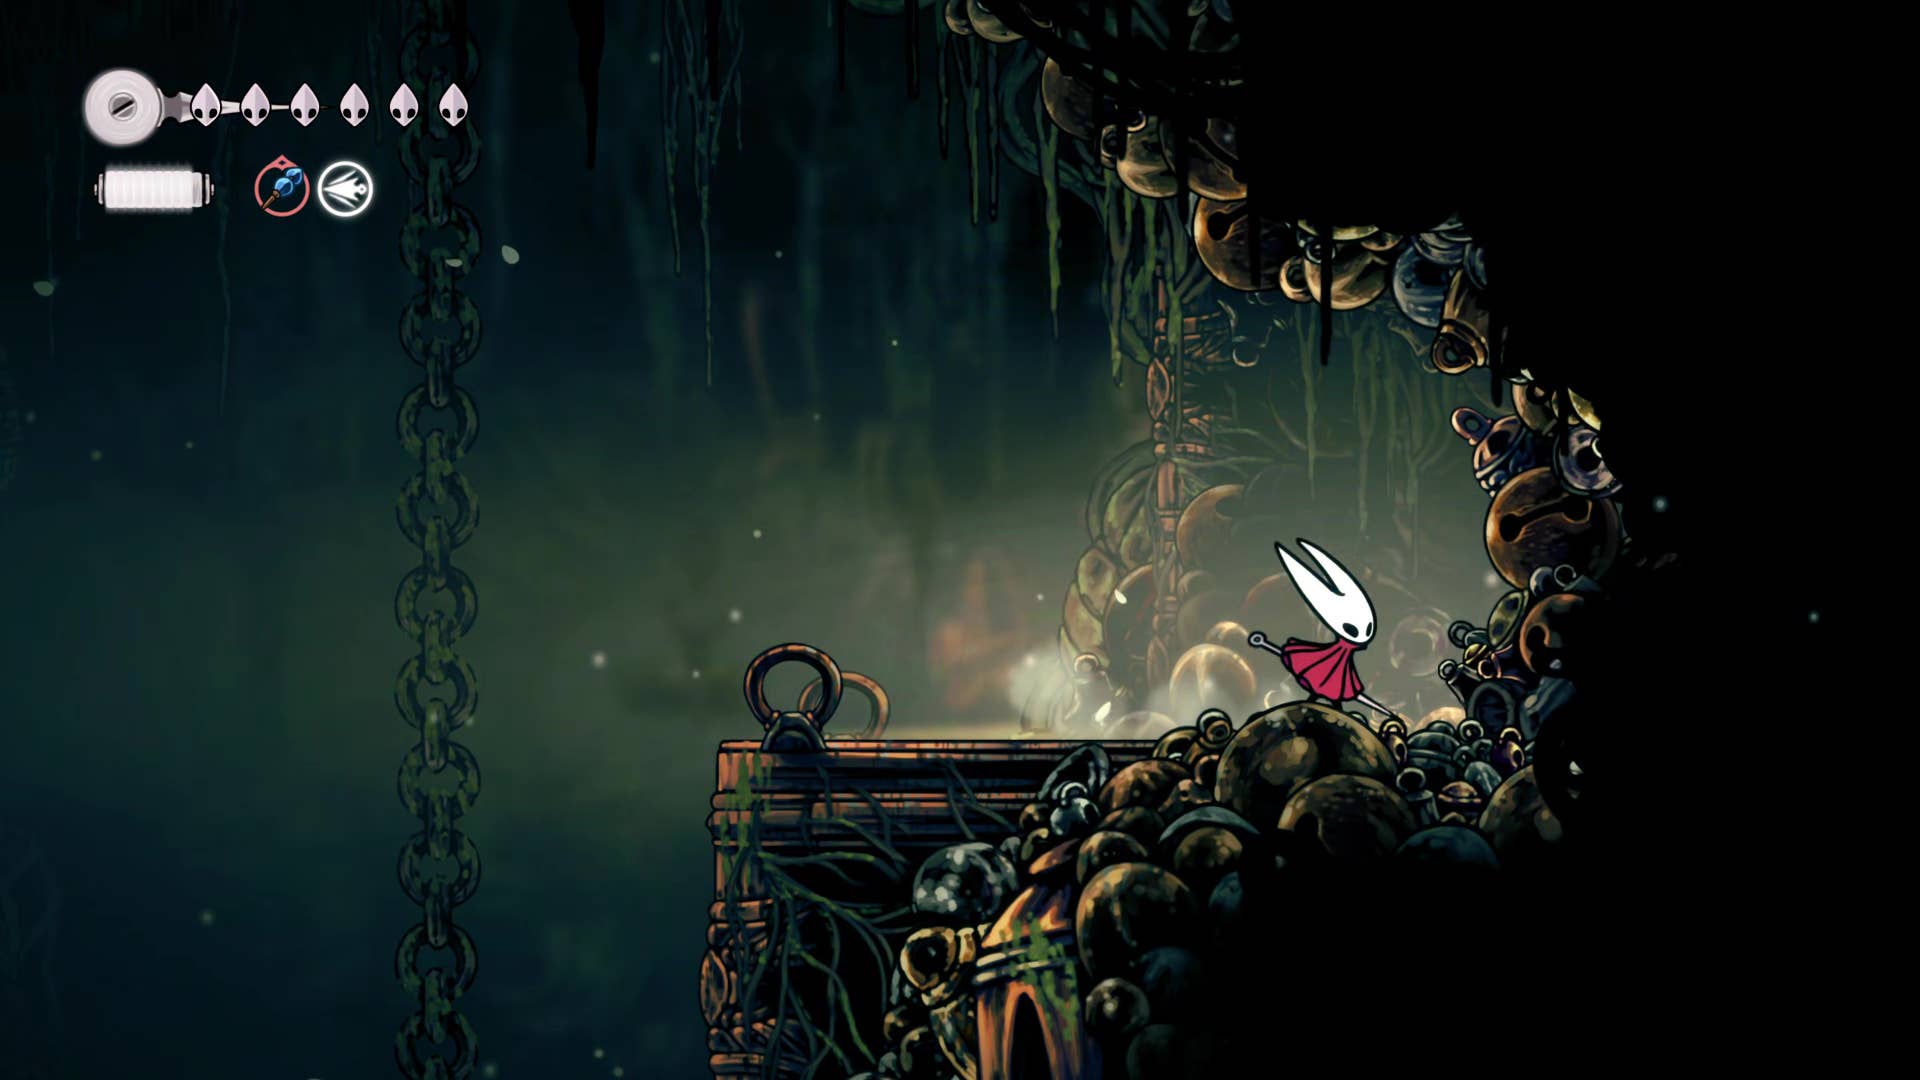
7. Unlock shortcuts to the bone marrow.
We will thoroughly explore these tunnels and dig further south. As you descend further, beware of the sections of the ground to collapse and reveal the spikes.
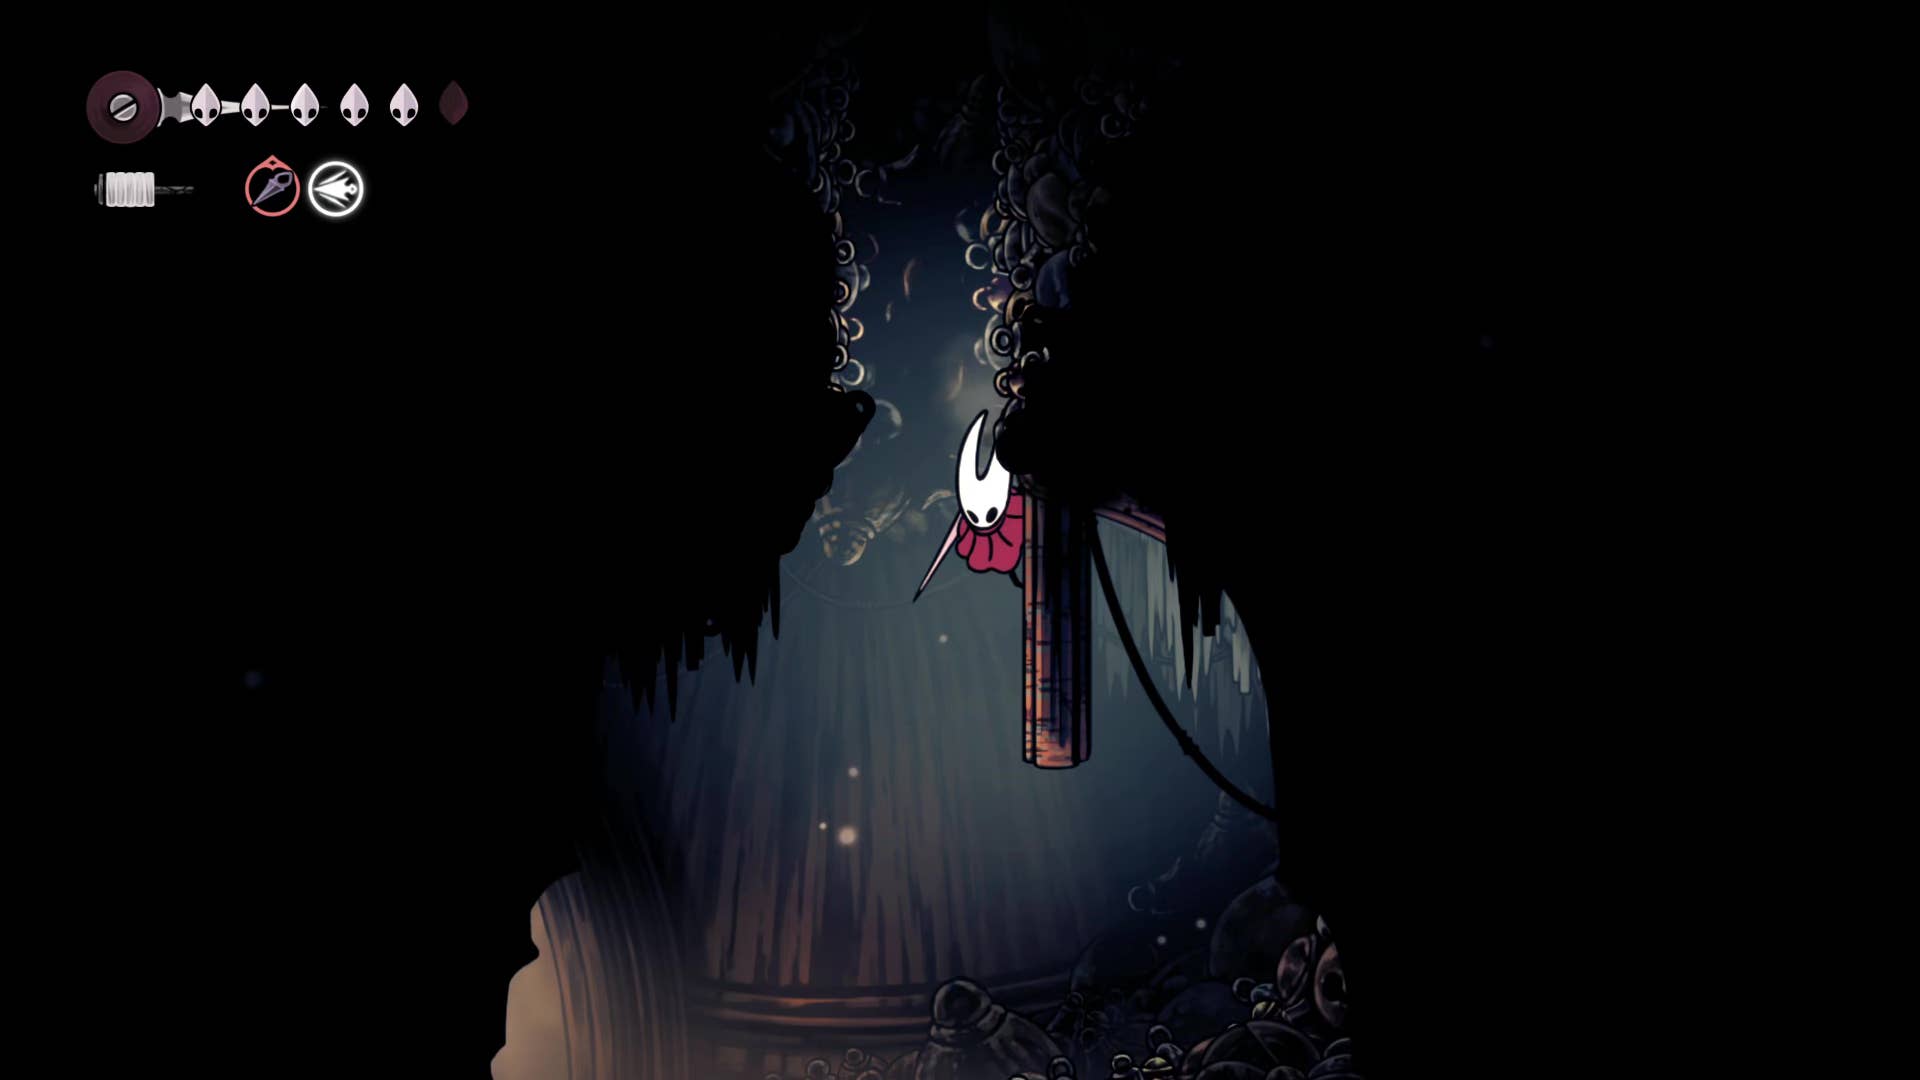
You will eventually reach a section at the edge of the left path supported by a fragile wooden beam. Destroy the beam and return the shortcut to the top of the bone marrow.
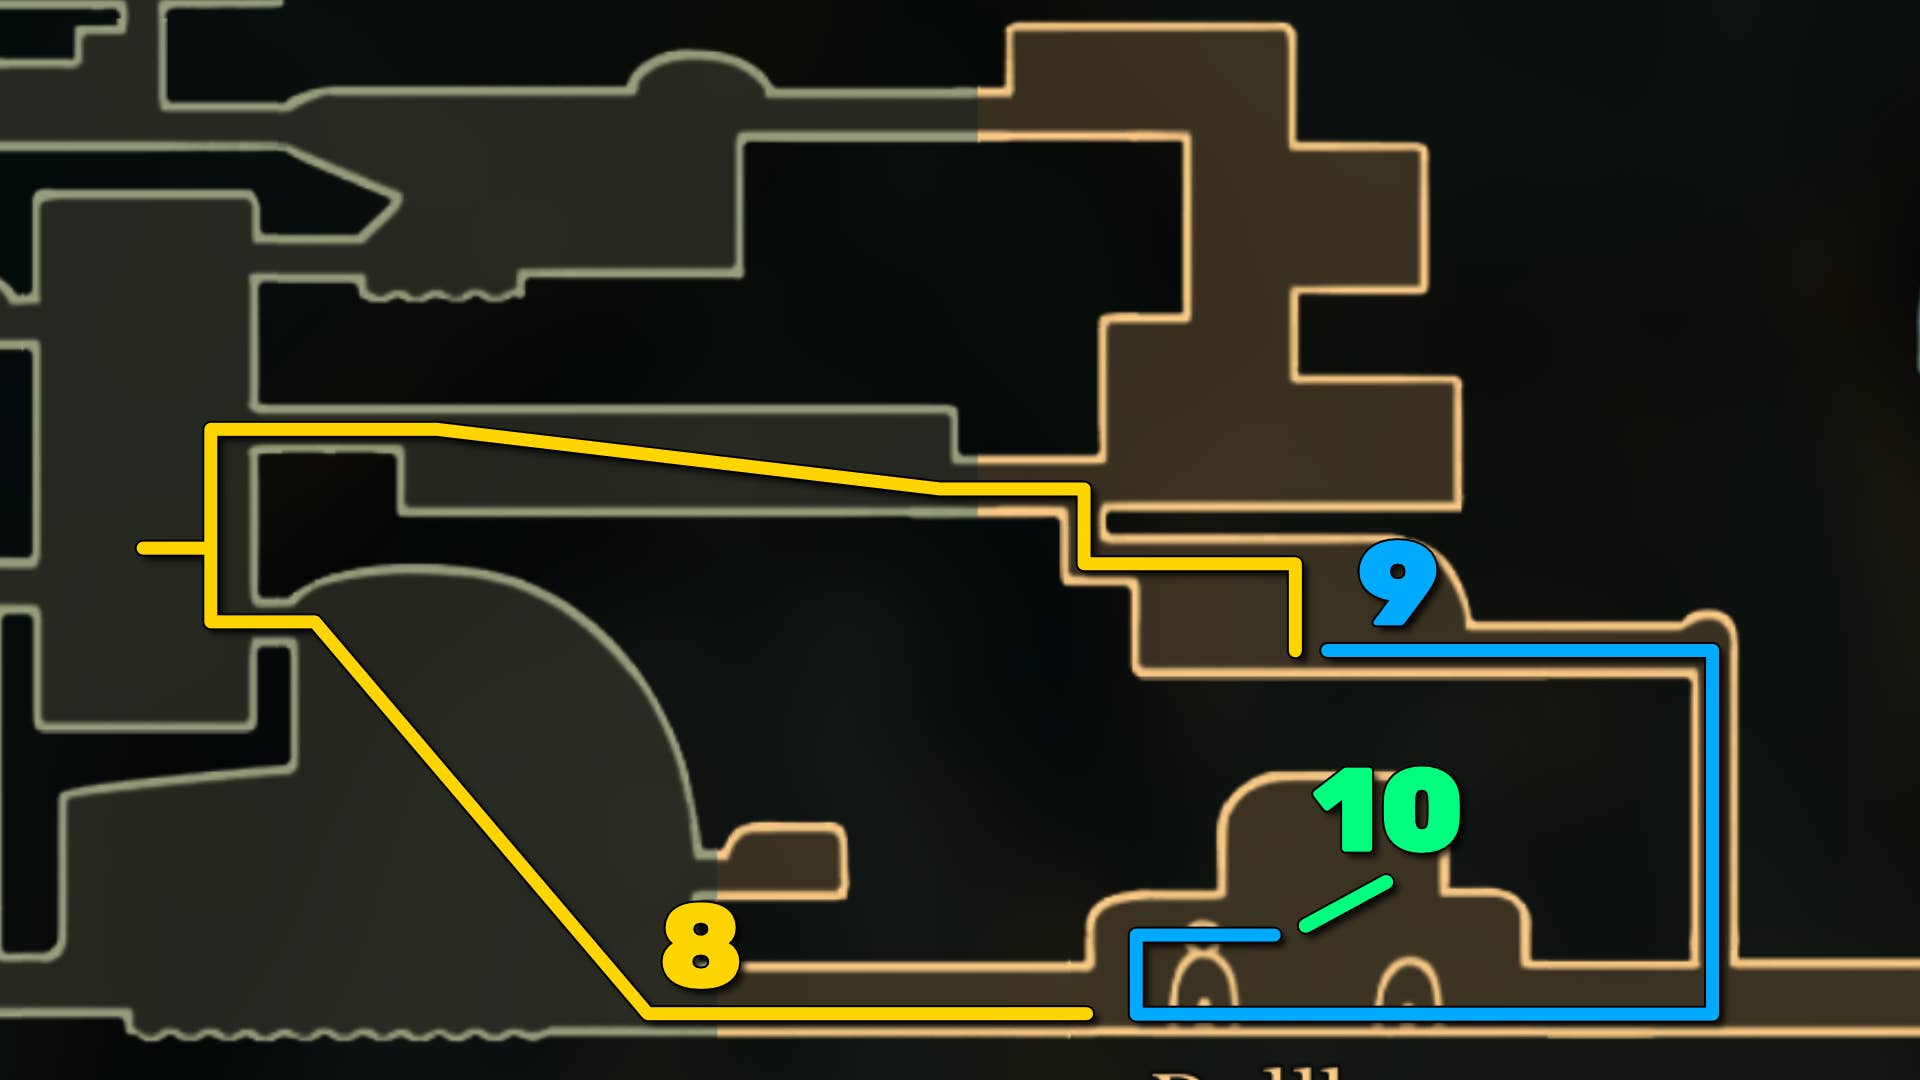
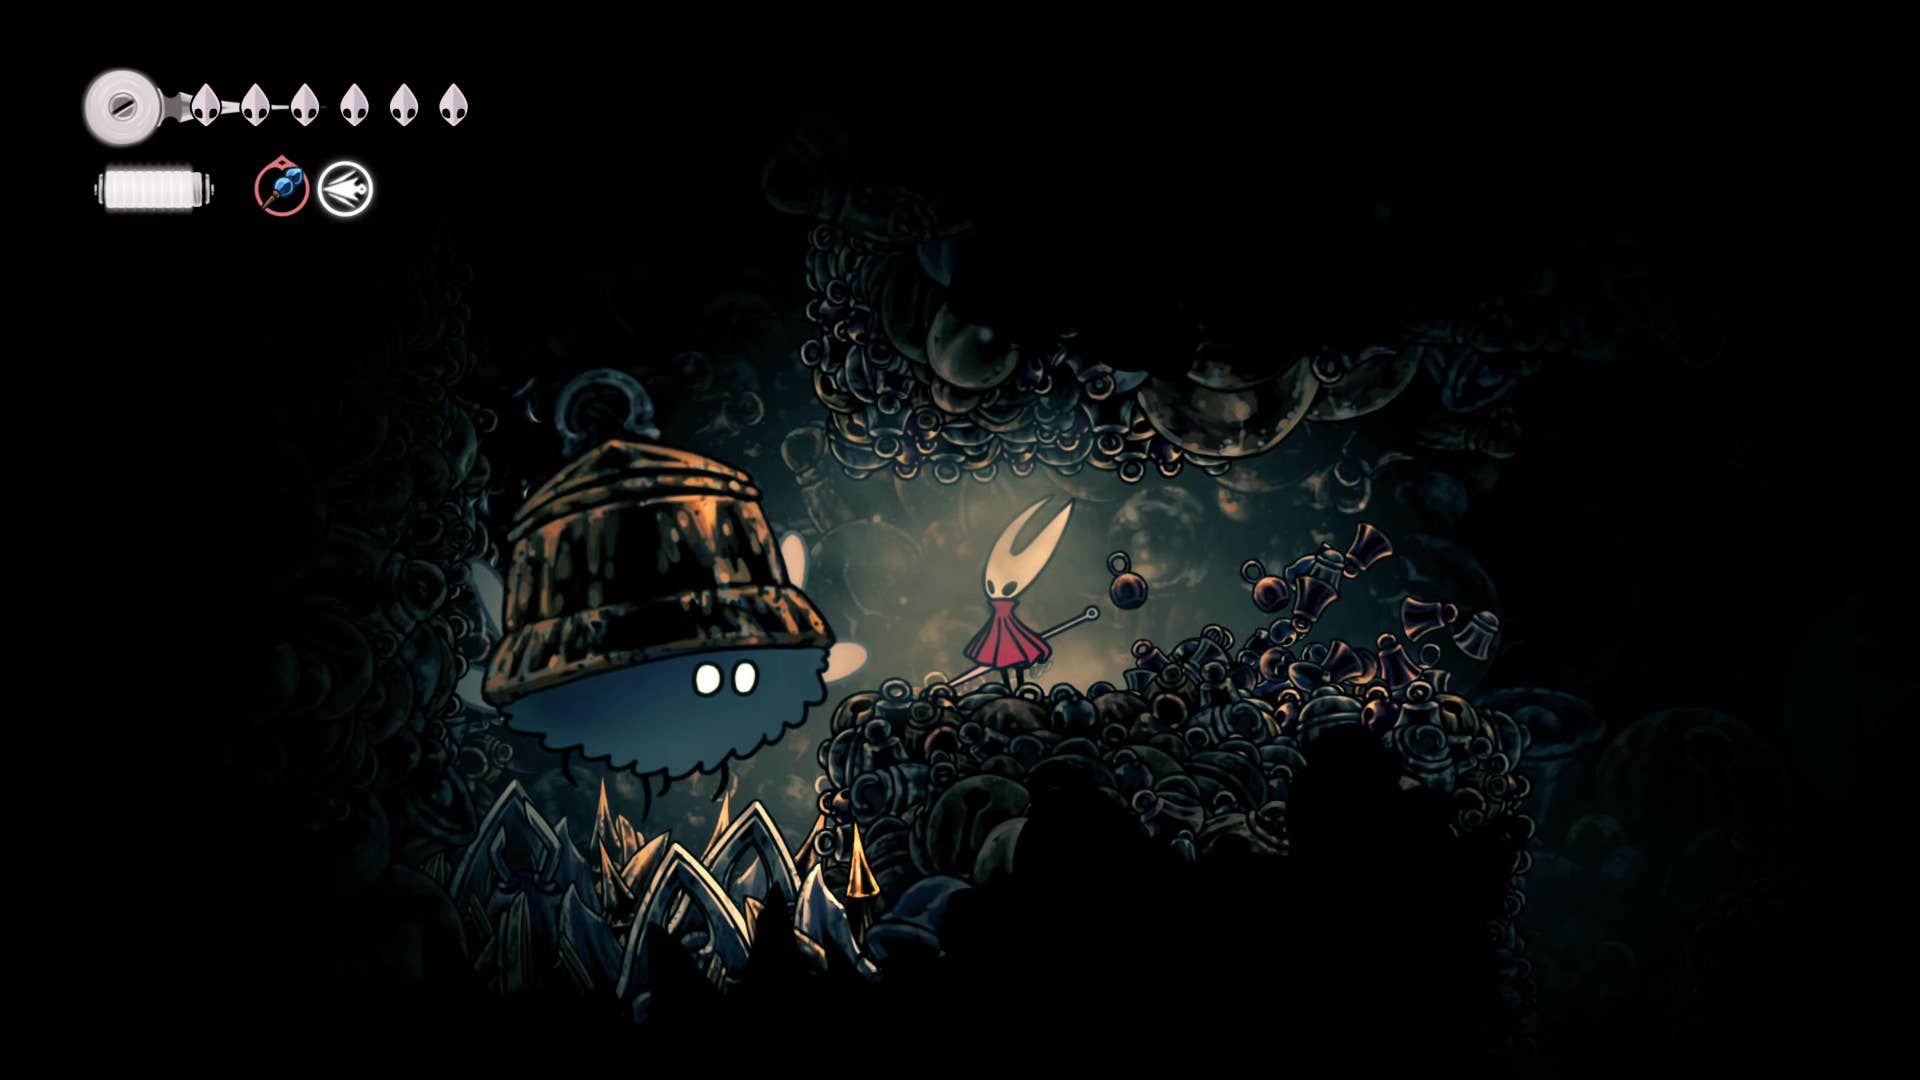
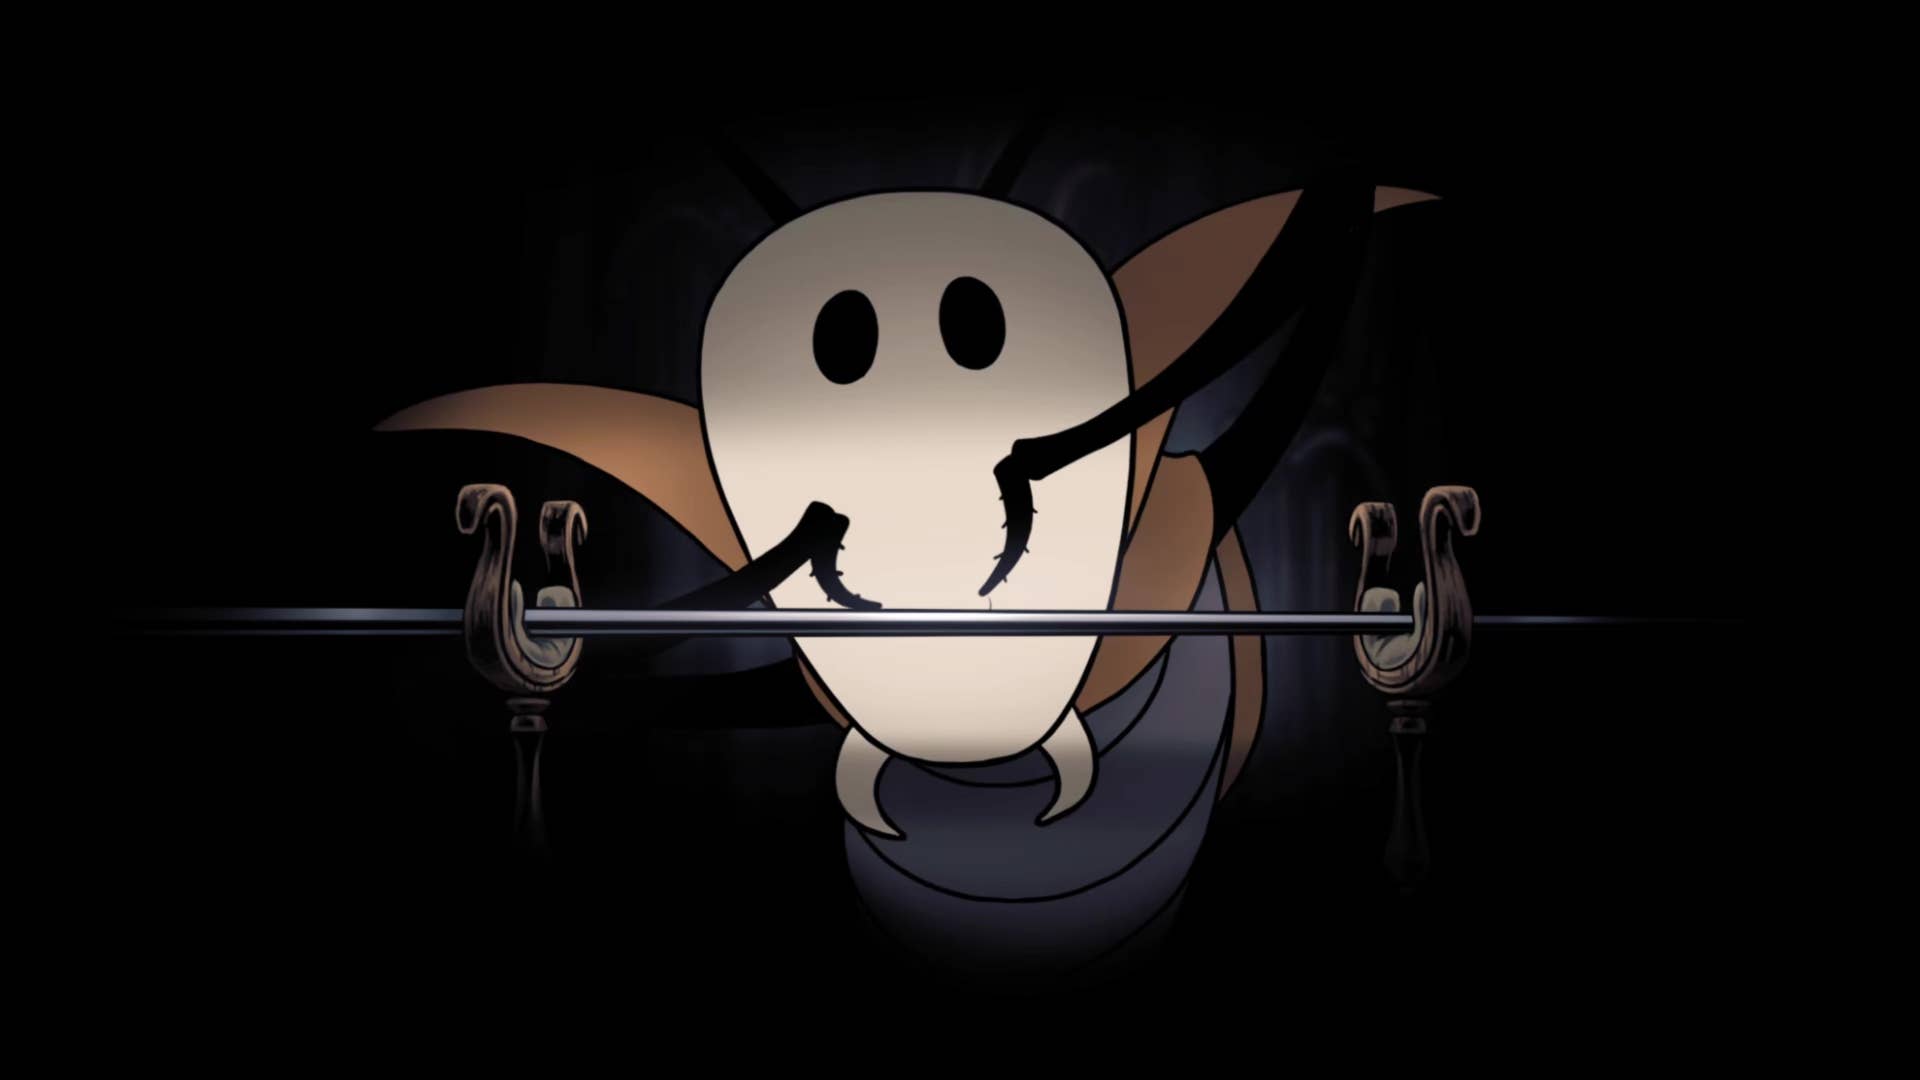
8. Defeat Widow and unlock Needlin.
For the main event. Return to the Shellwood bench by the elevator, where you can rest and offer easy respawn points for boss battles. Next, you’ll return to Belvaines via the way you leave it (the road right next to the final Polip Heart).
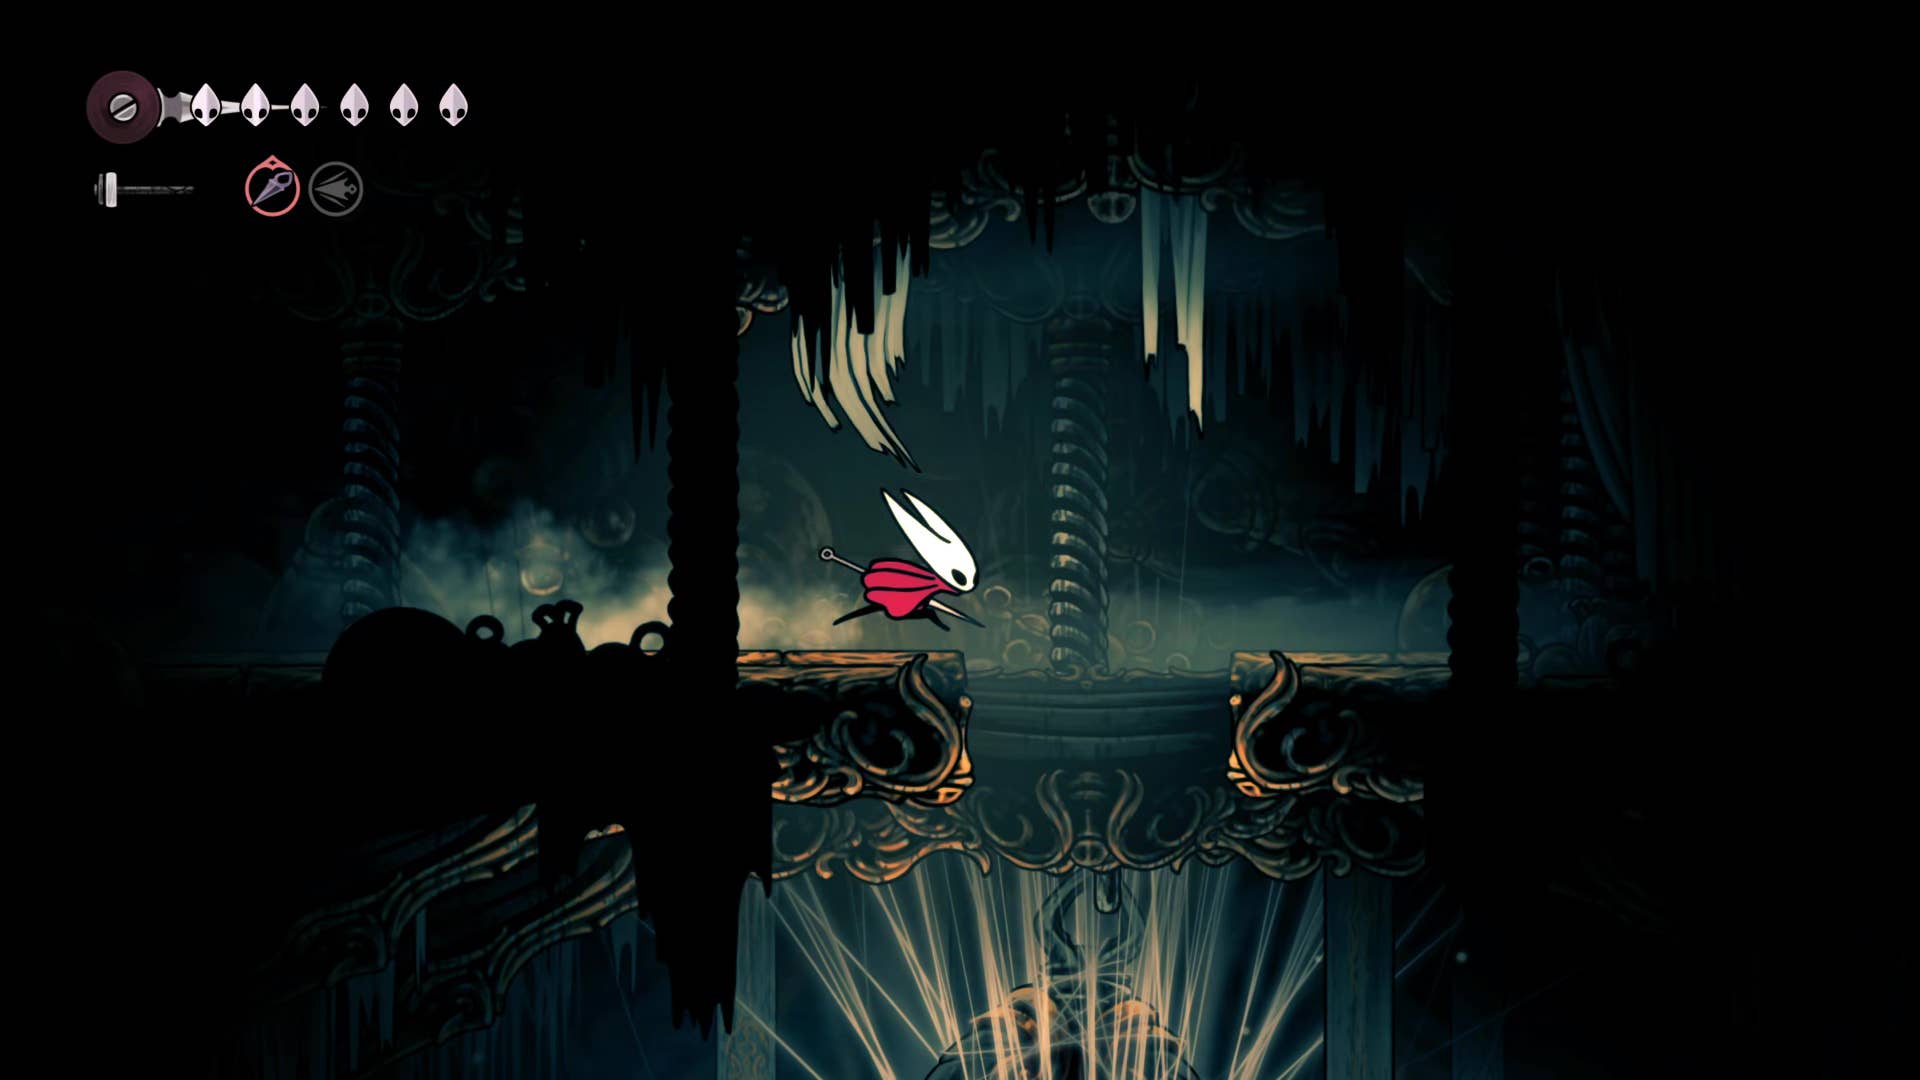
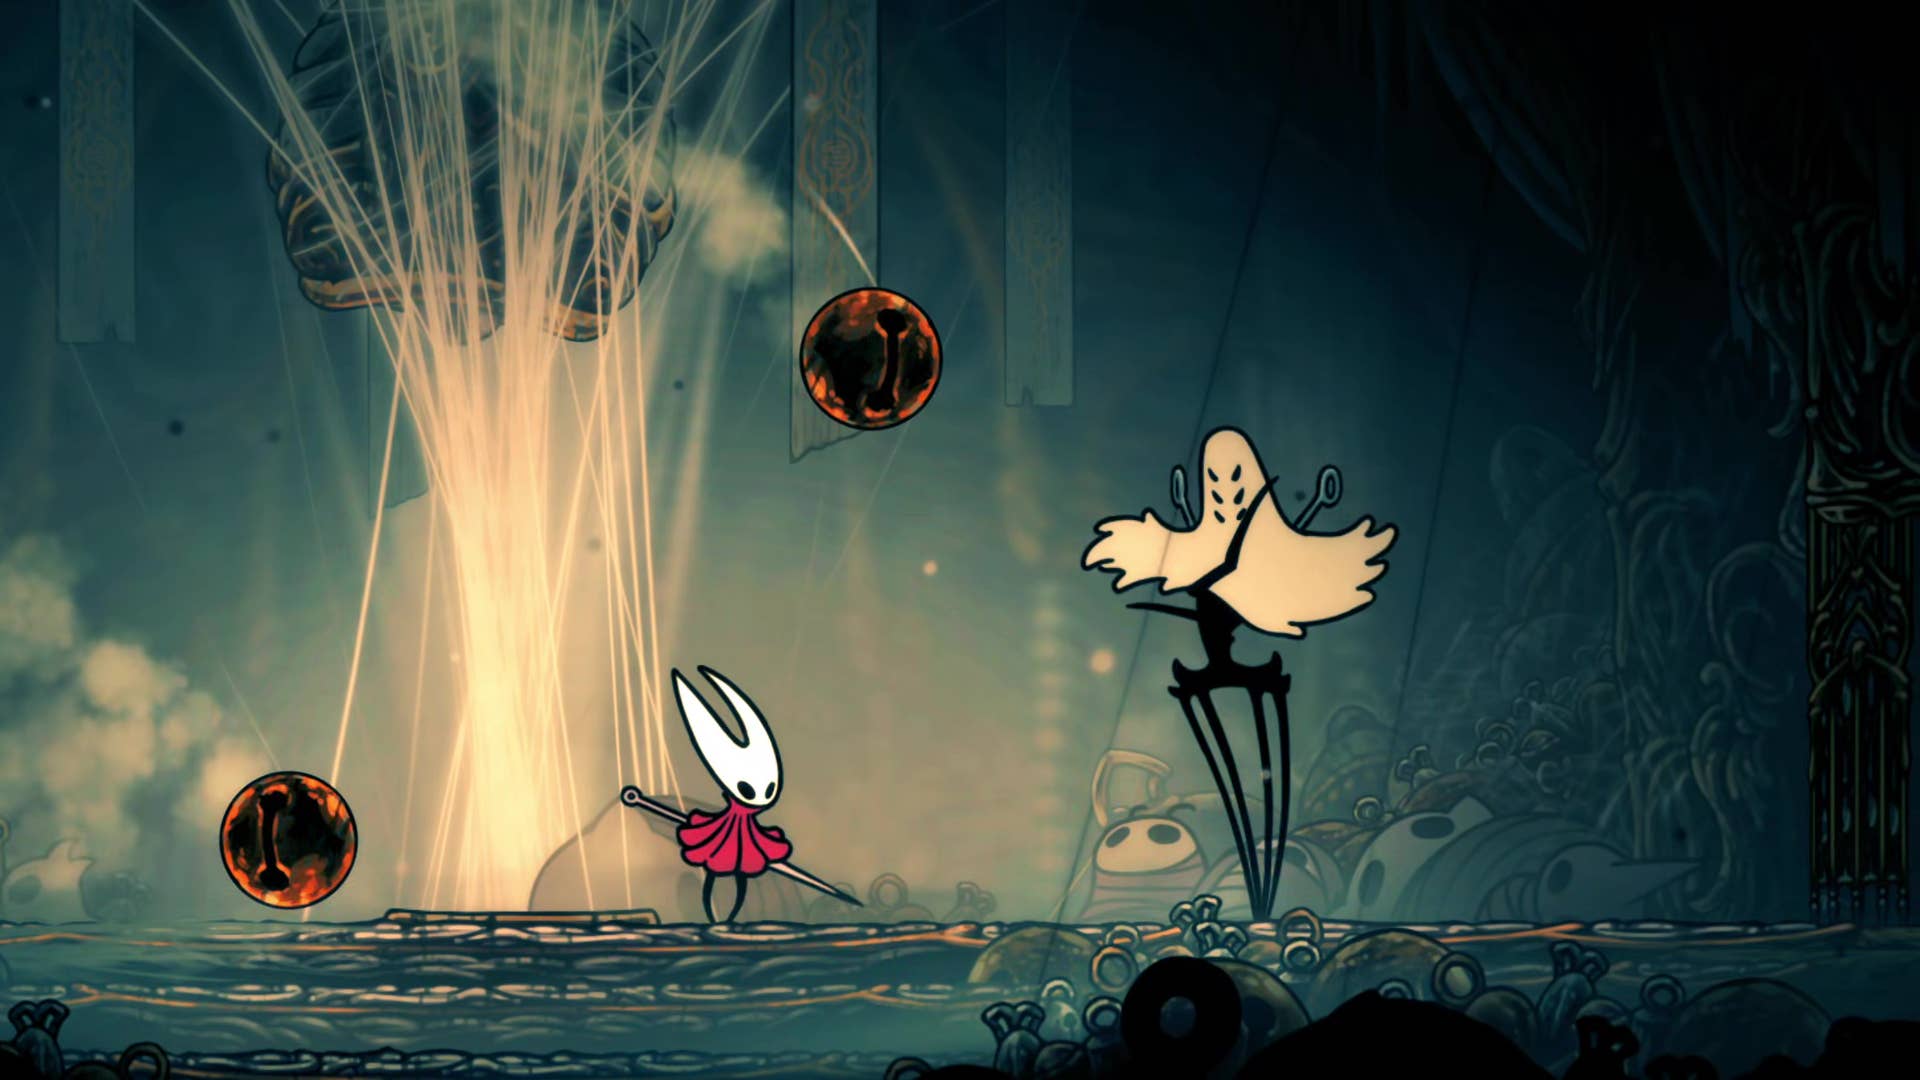
Go all the way to the right and fall into the hole. Follow the path below and stop at the boss arena and encourage a brief exchange with a scary Weaver enemy called Widow. The exchange will quickly become hostile, so be prepared for a challenging battle.
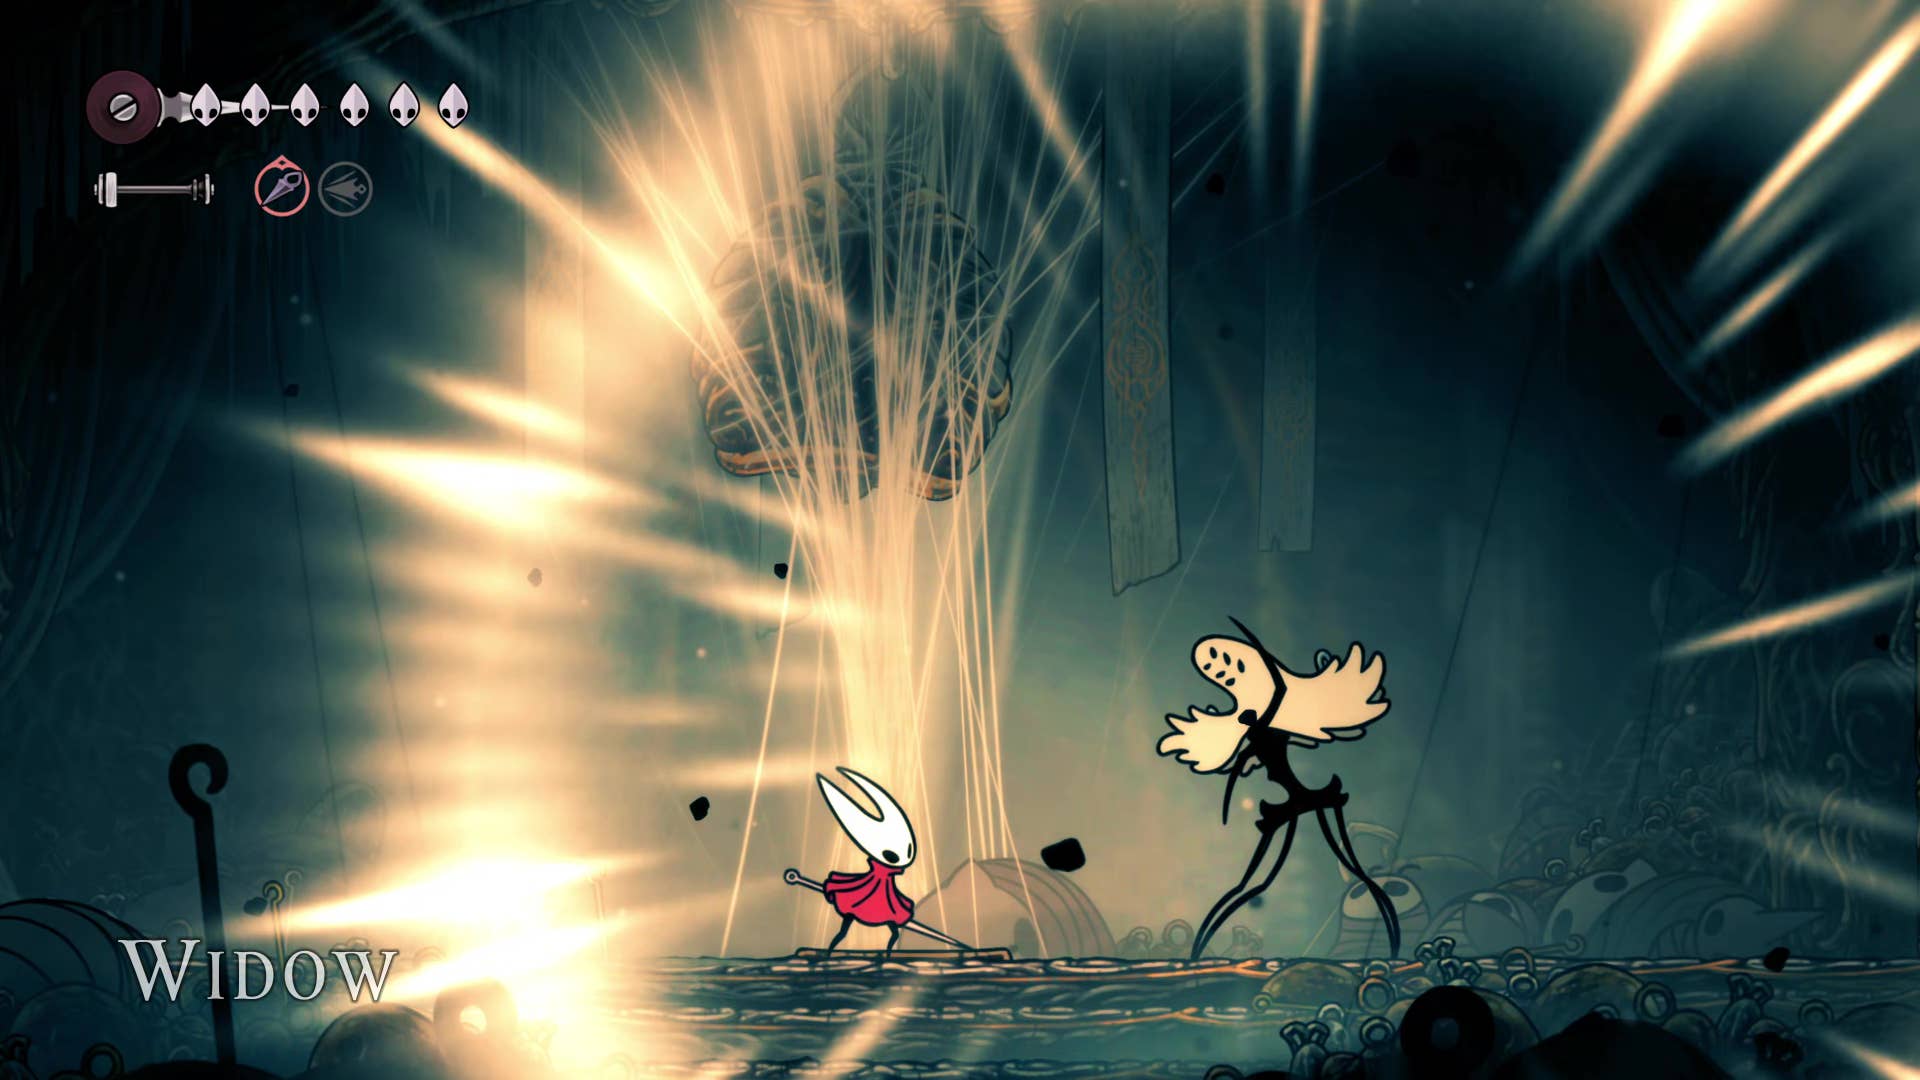
A widow is a serious step in difficulties from the previous bosses you faced. She moves so fast that you can’t punish her attacks much. And if you don’t know what to do at a particular moment, there’s a fair amount of damage guaranteed. Don’t be tempted to use plasmium yet – save it in her final stages.
The obvious first step is to pay attention to the silk chains that show the trajectory of the incoming bell attack. The diagonal is the most difficult. The bells bounce at strange angles, so when you see them coming, it’s best to run far away.
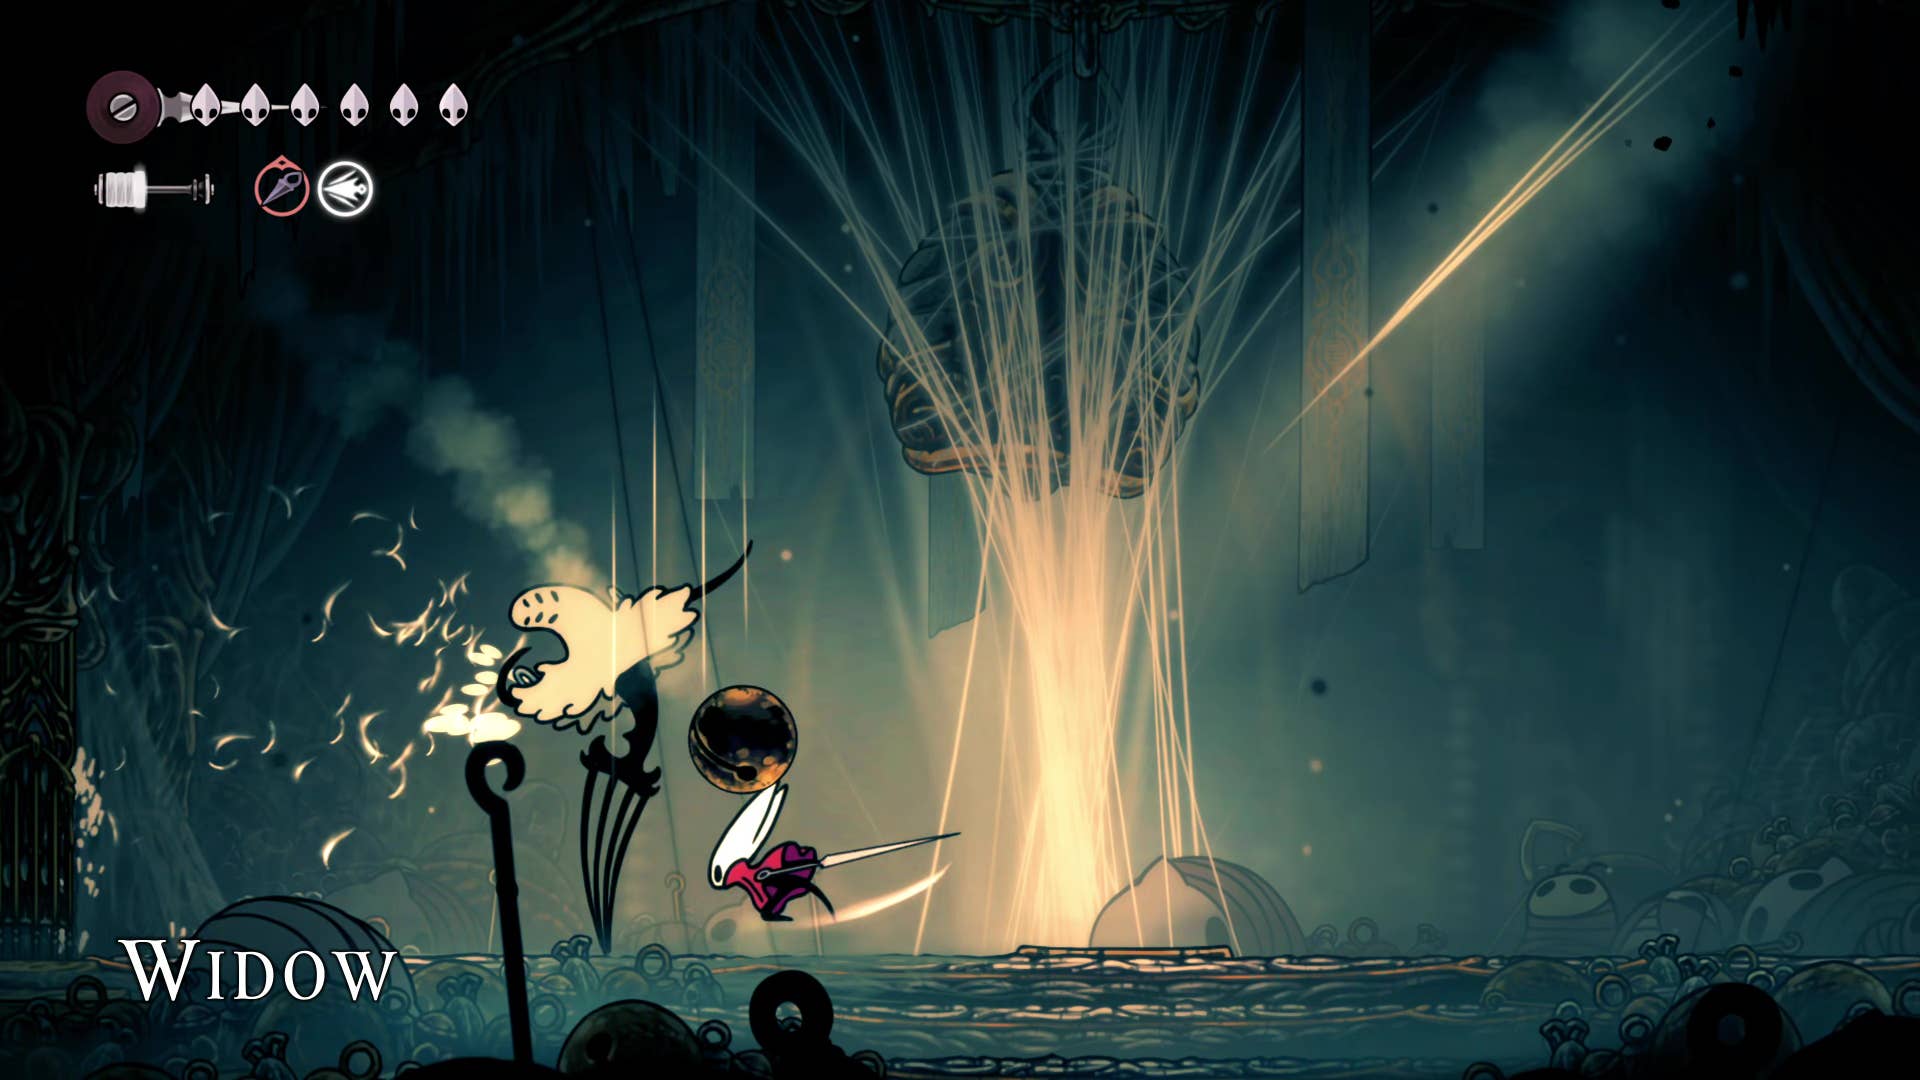
When the widow craps along the ground and summons the spikes, you need to run to the wall where she disappeared, then to the closure of the wall there (and similarly possible float).
Her other bread and butter attacks are slashes that go diagonally down, followed by a charge attack on the other end of the arena. Evade the first and jump over the second. Do not try to get attacked during this combo. She moves very quickly and is responsible for hurting herself instead.
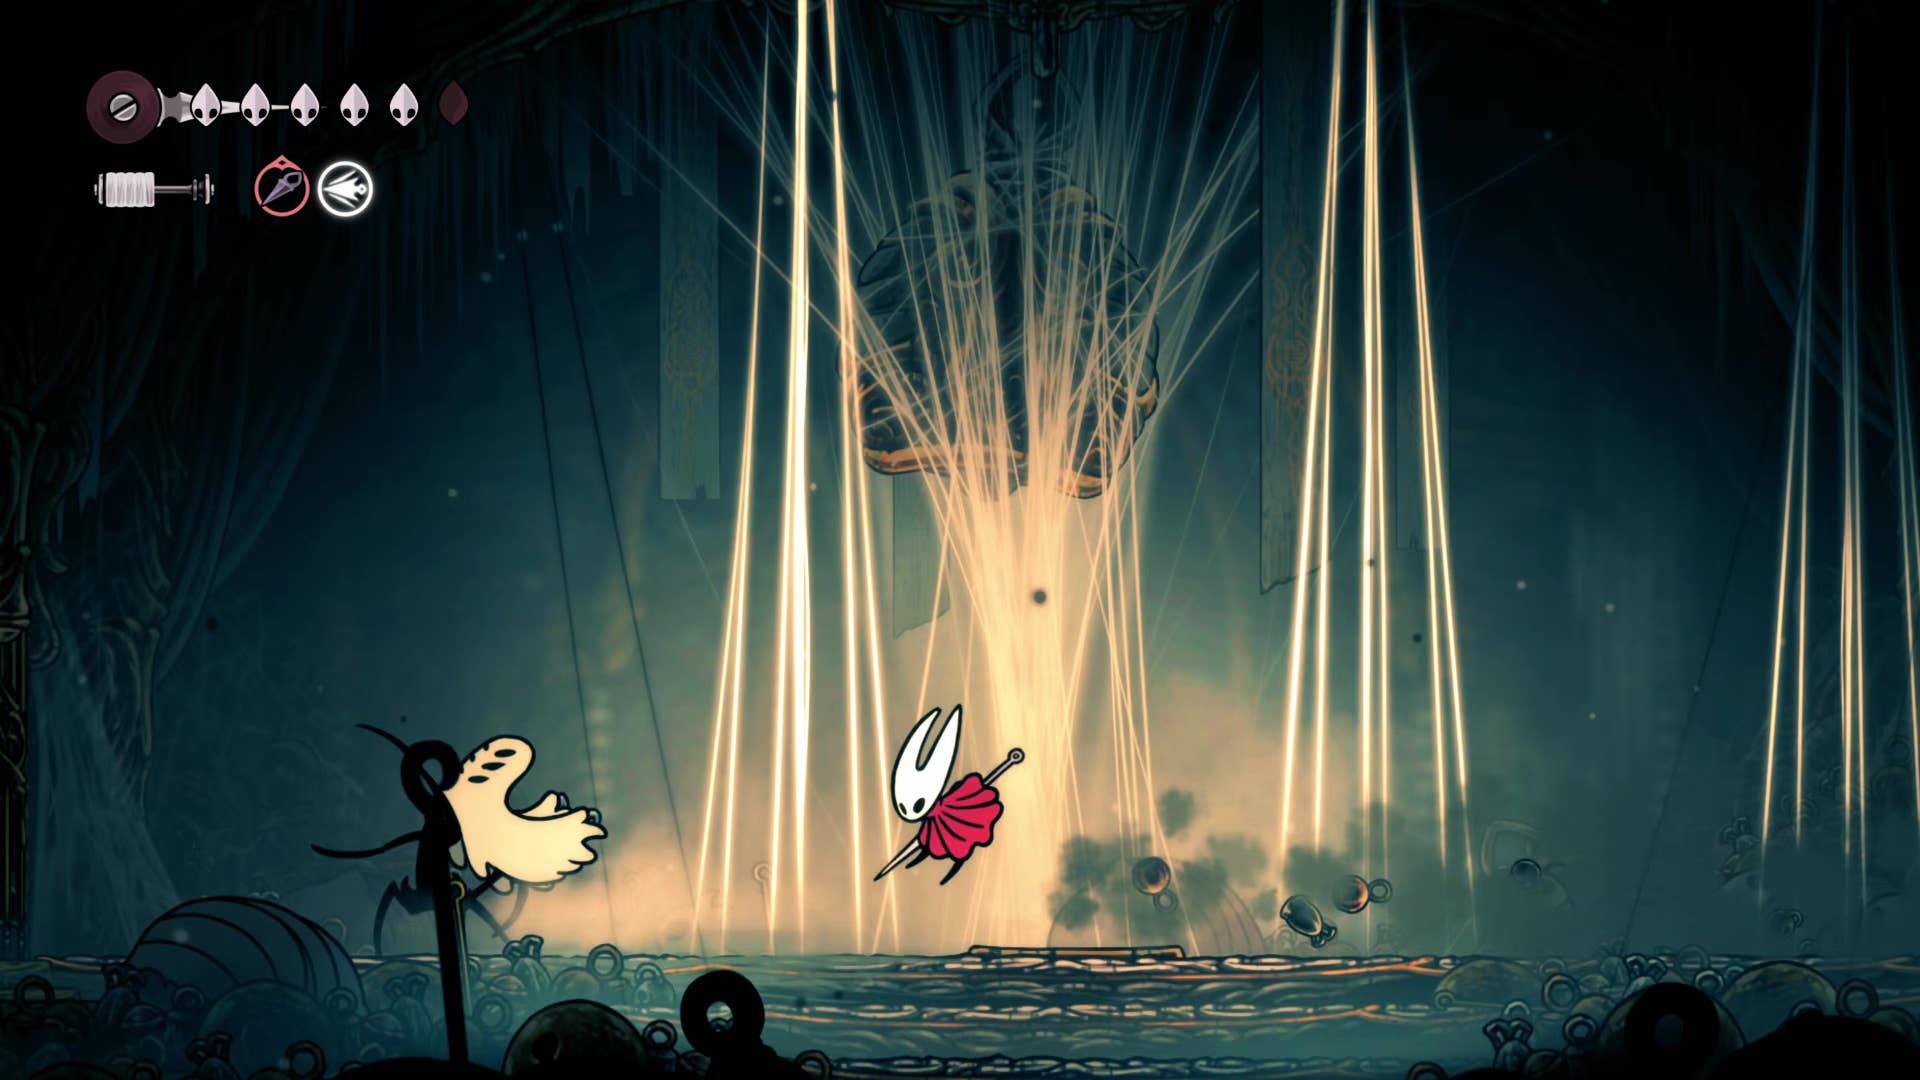
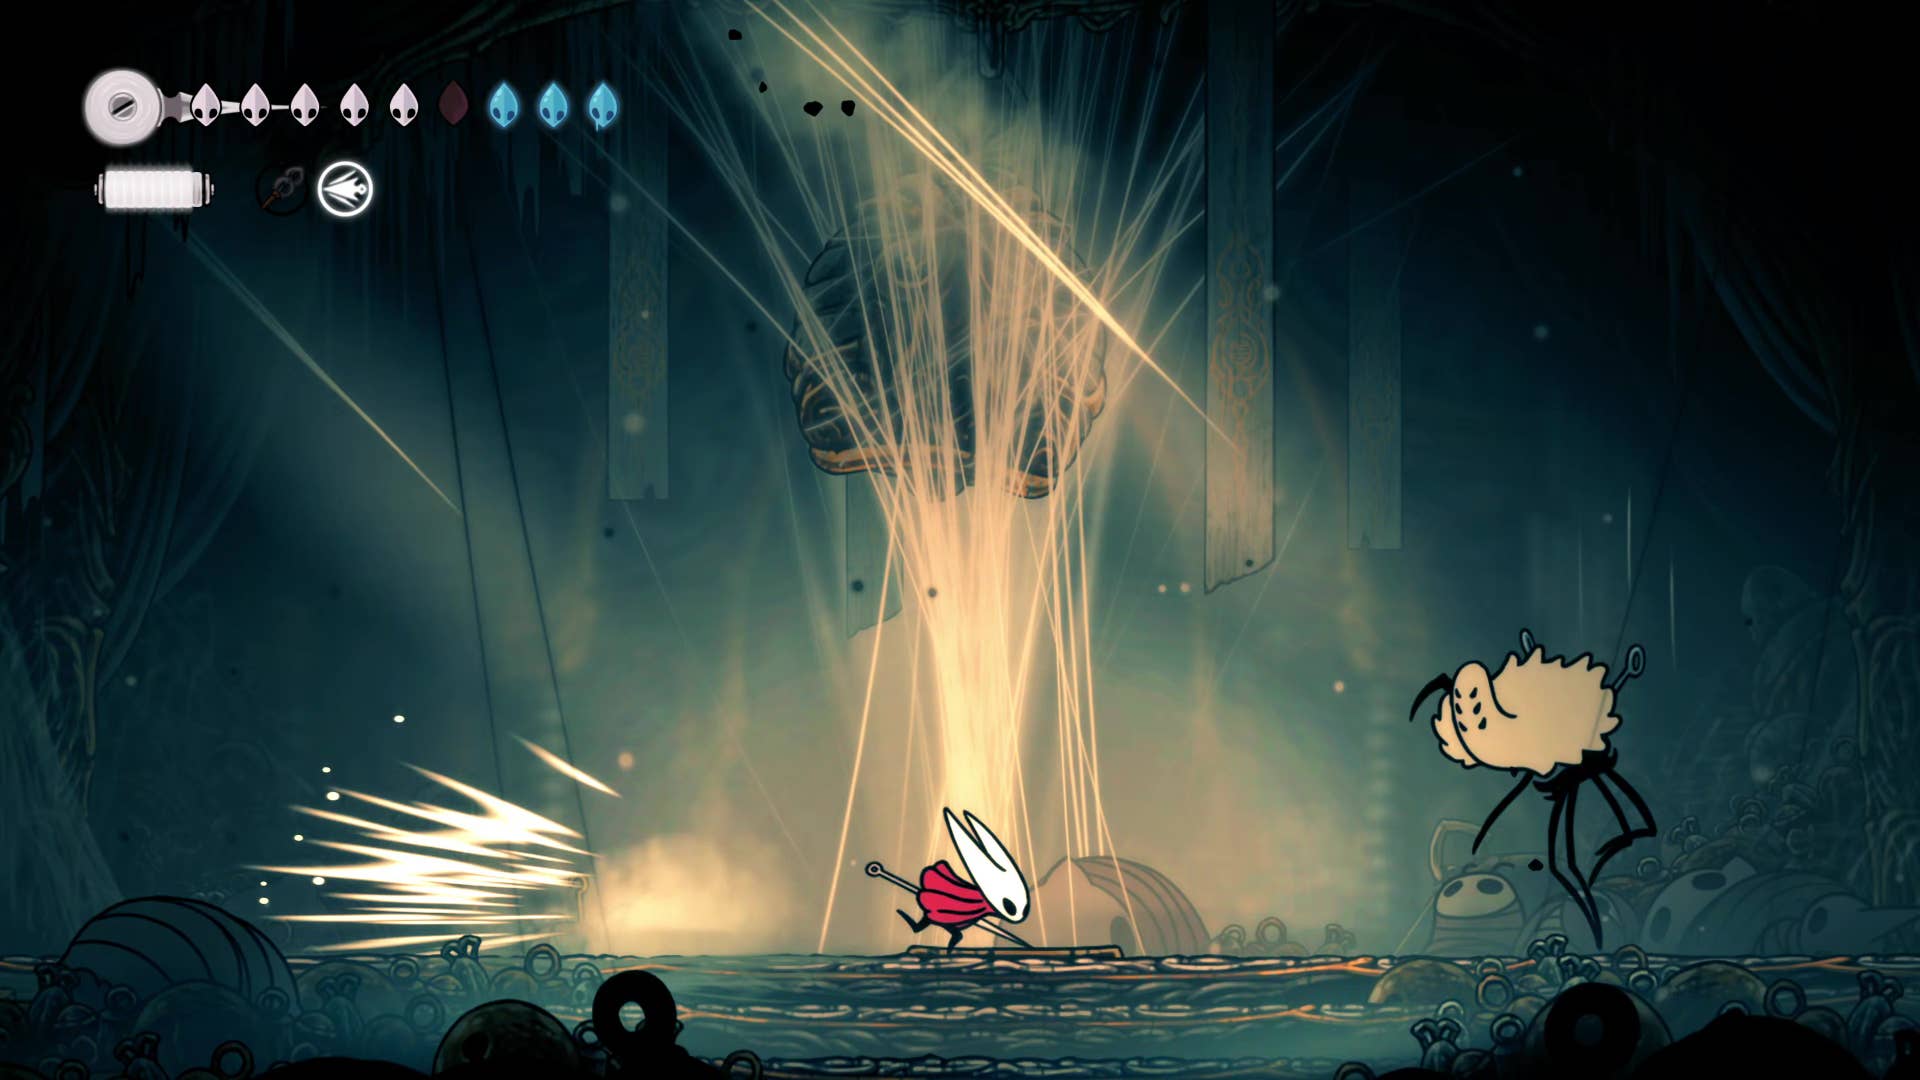
When you appear to have killed a widow, she disappears. But after a while she returns to her furious final stage, during which she sends a huge number of bells on you while carrying out all the other attacks. With that window before she returns, fully consumes the plasmium spots and gives you three temporary hit points – you need them.
Even with extra health, this stage is challenging. Place the widow on one side of the arena and the other side to give yourself the maximum amount of maneuvering space. Hit her as much as you can without sacrificing your safety and ultimately you will take her down.
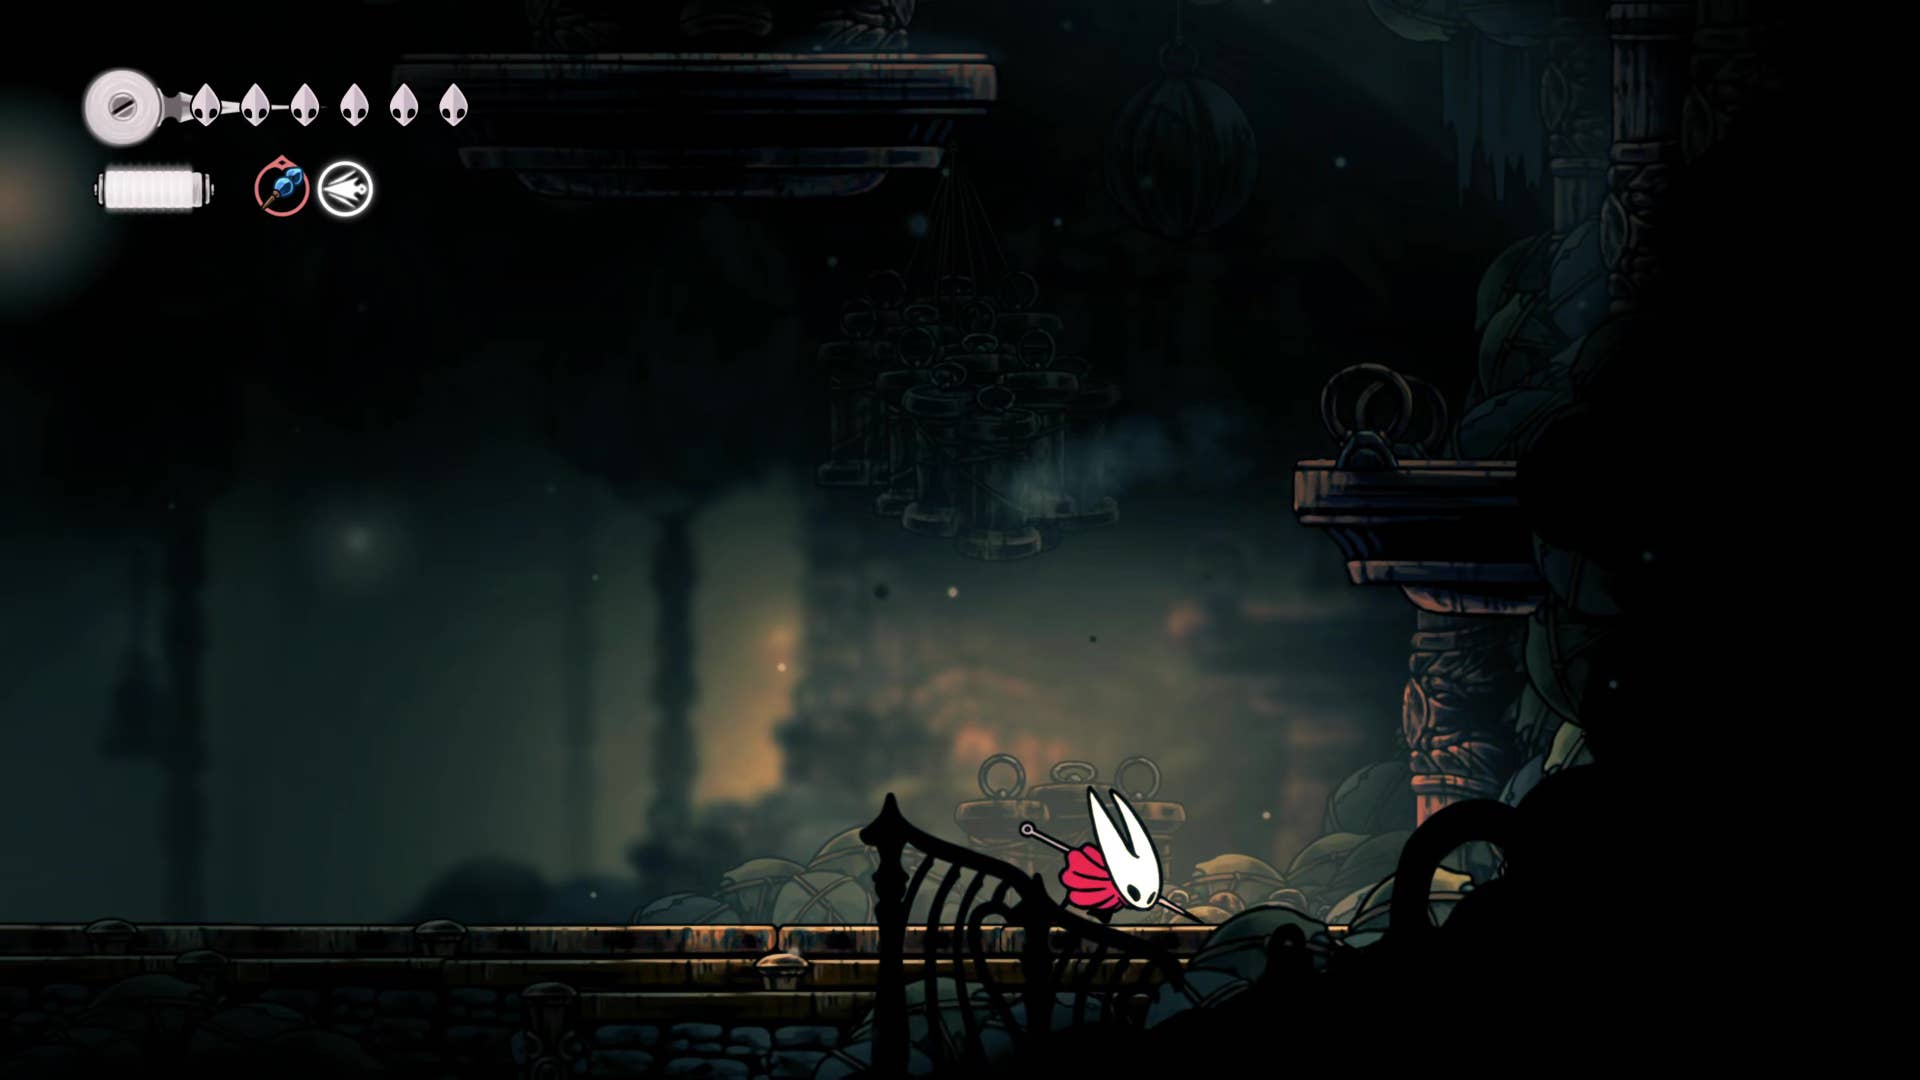
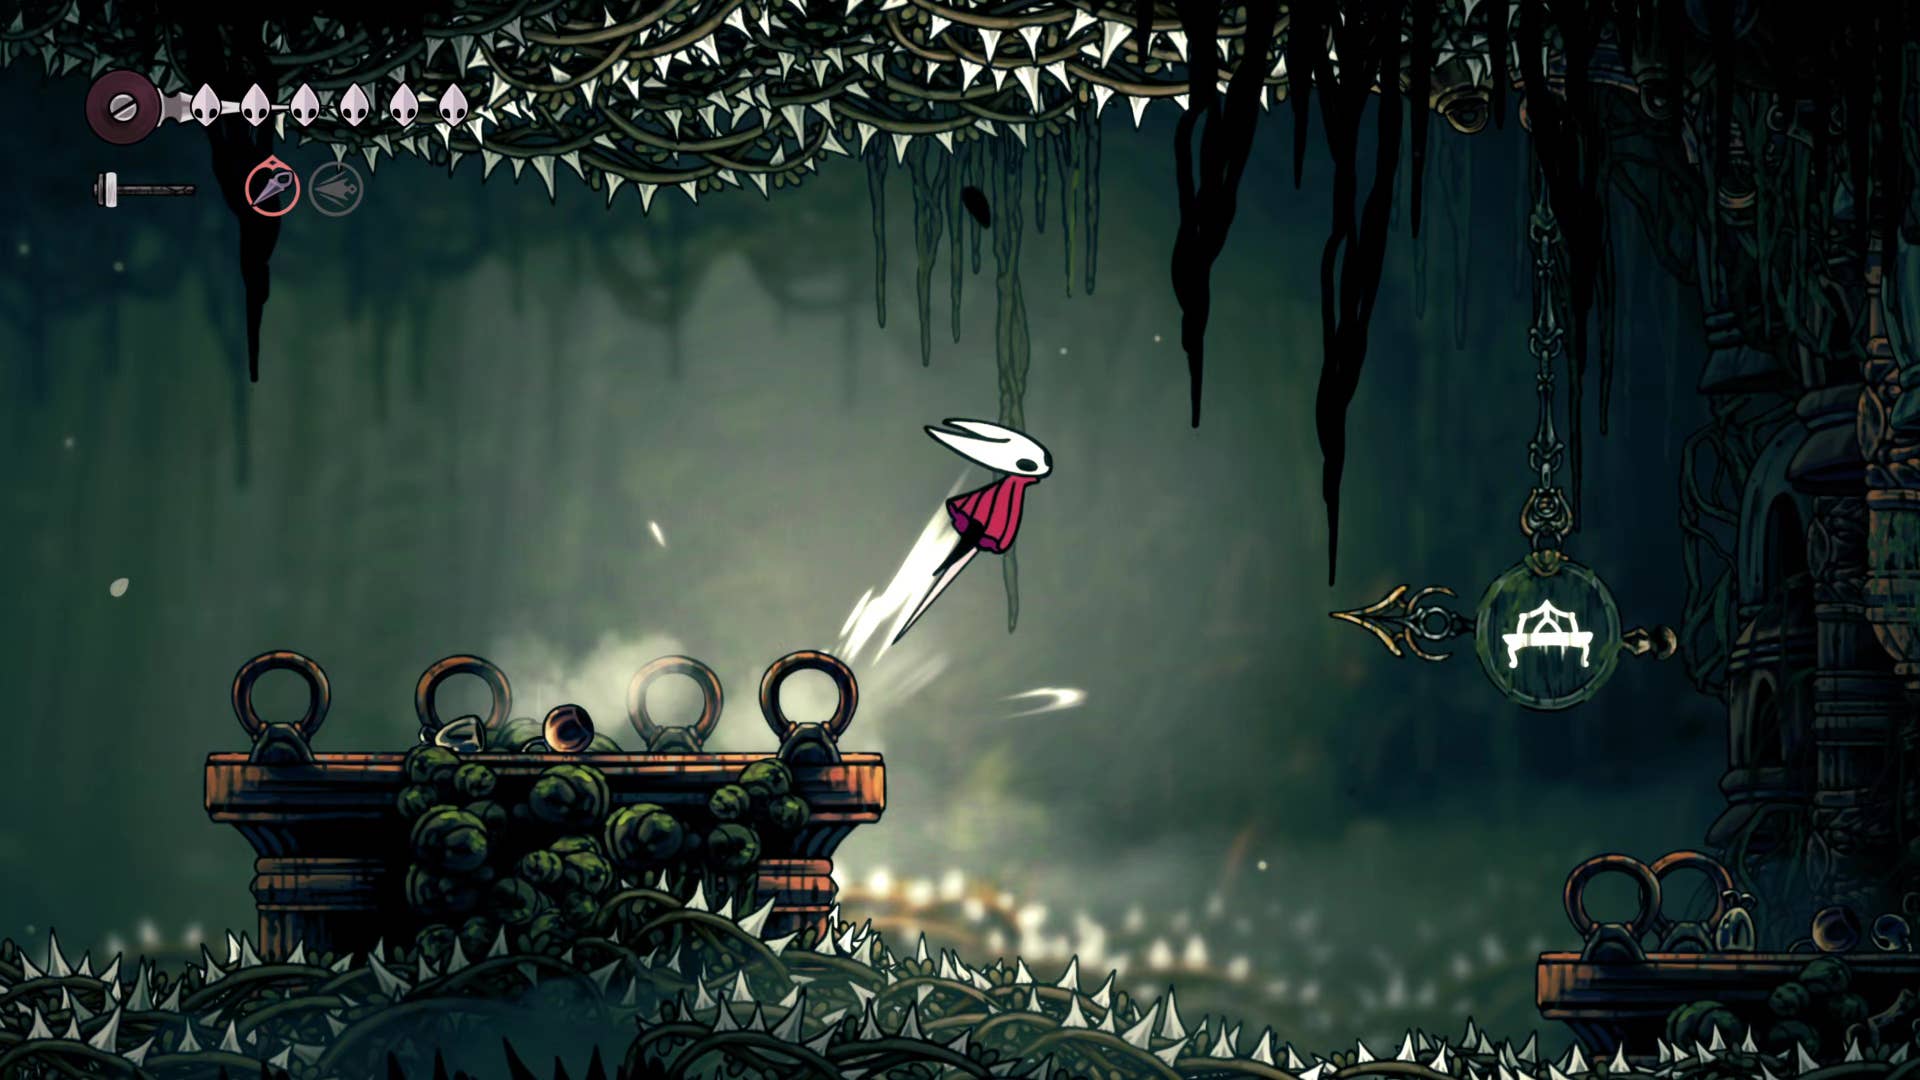
When a widow is killed, you tie up a new skill: Needlyn. This lovely new ability allows you to play music with the needle. This allows you to open specific passages, especially in new areas.
Climb the Silk World platform (which this time includes several wall climbing elements) and play Needlin when you are instructed to open the door at the end. At the end of the pass, you pick up an item on the ground and reappear in the Falroom.
9. Tell everyone at Bell Heart.
When you wake up again, rest on the arena bench. Using the path on the left, open a shortcut in the tunnel above, then double back and head right, returning a shortcut that is closer to the Bell Heart itself.
Luckily, the town’s silk curse is now broken, and life is (almost) restored. Spend time talking to the residents of Bell Heart, look at Wishwall and accept all the quests that have appeared there.
You can also reach the higher level via the left shelf. There you can talk to Relic Seeker Scrounge and spin the lore items you’ve found so far.
10. Get a sharp needle from Plinney.
The final step in this section is to talk to Pinmaster Pliny, on the right side of the house in the Scrownge at the higher level of Bell Heart. He is in his own house, and when you talk to him, he gives his thanks in the form of weapon upgrades, turning your base needle into a sharp, high-damaged needle.
Then talk to Prinny again. You can accept his quest to find some oil from within the Citadel.
Congratulations! You defeated the powerful widow and reached the end of part 11 of the Silk Song walkthrough. What’s next? Of course, part 12!
(TagStoTranslate) Hollow Knight: Silksong (T) Action Adventure (T) Indie (T) Nintendo Switch (T) PC (T) Platformer (T) Team Cherry