Hollow Knight: Are you trying to get through Silksong’s Wormways? So far, if you’re following our walkthrough, we’ve already seen a bit of the Wormway as we proceeded towards the Wanderer’s Chapel. This time we’re exploring most of the wormway tunnel above to reach the next major region of the game.
Follow the steps below A quick and easy walkthrough on the WormwayIn the meantime, we also point out important discoveries such as the Shakra location on the Wormways map and another flea to rescue!
Do you need a walkthrough in another area of the game? Check out Hollow Knight: Silksong Walkthrough Hub!
Wormway Walkthrough Steps:
- Take the bottom bone elevator to the wormway.
- Climb onto the wormway shaft.
- Save the hidden fleas.
- Buy a Wormway Map from Shakura.
- Get a dead bug wallet.
- You reach the entrance to Shellwood.
1. Take the bottom elevator to the wormway.
Just when we last left off, you defeated a savage beast in the chapel of beasts deep inside the hunter’s march. Now you need to go back to the bottom of the bone. The fastest way is to go through the shortcut you’ve returned to the deep dock and use the deep dock bellway to move quickly to the bottom of the bone.
The next step is to re-enter the wormway, but now you have quick step skills and the path to the entrance is faster than before. Take the elevator at the bottom of the bone to the top and climb from the screen.
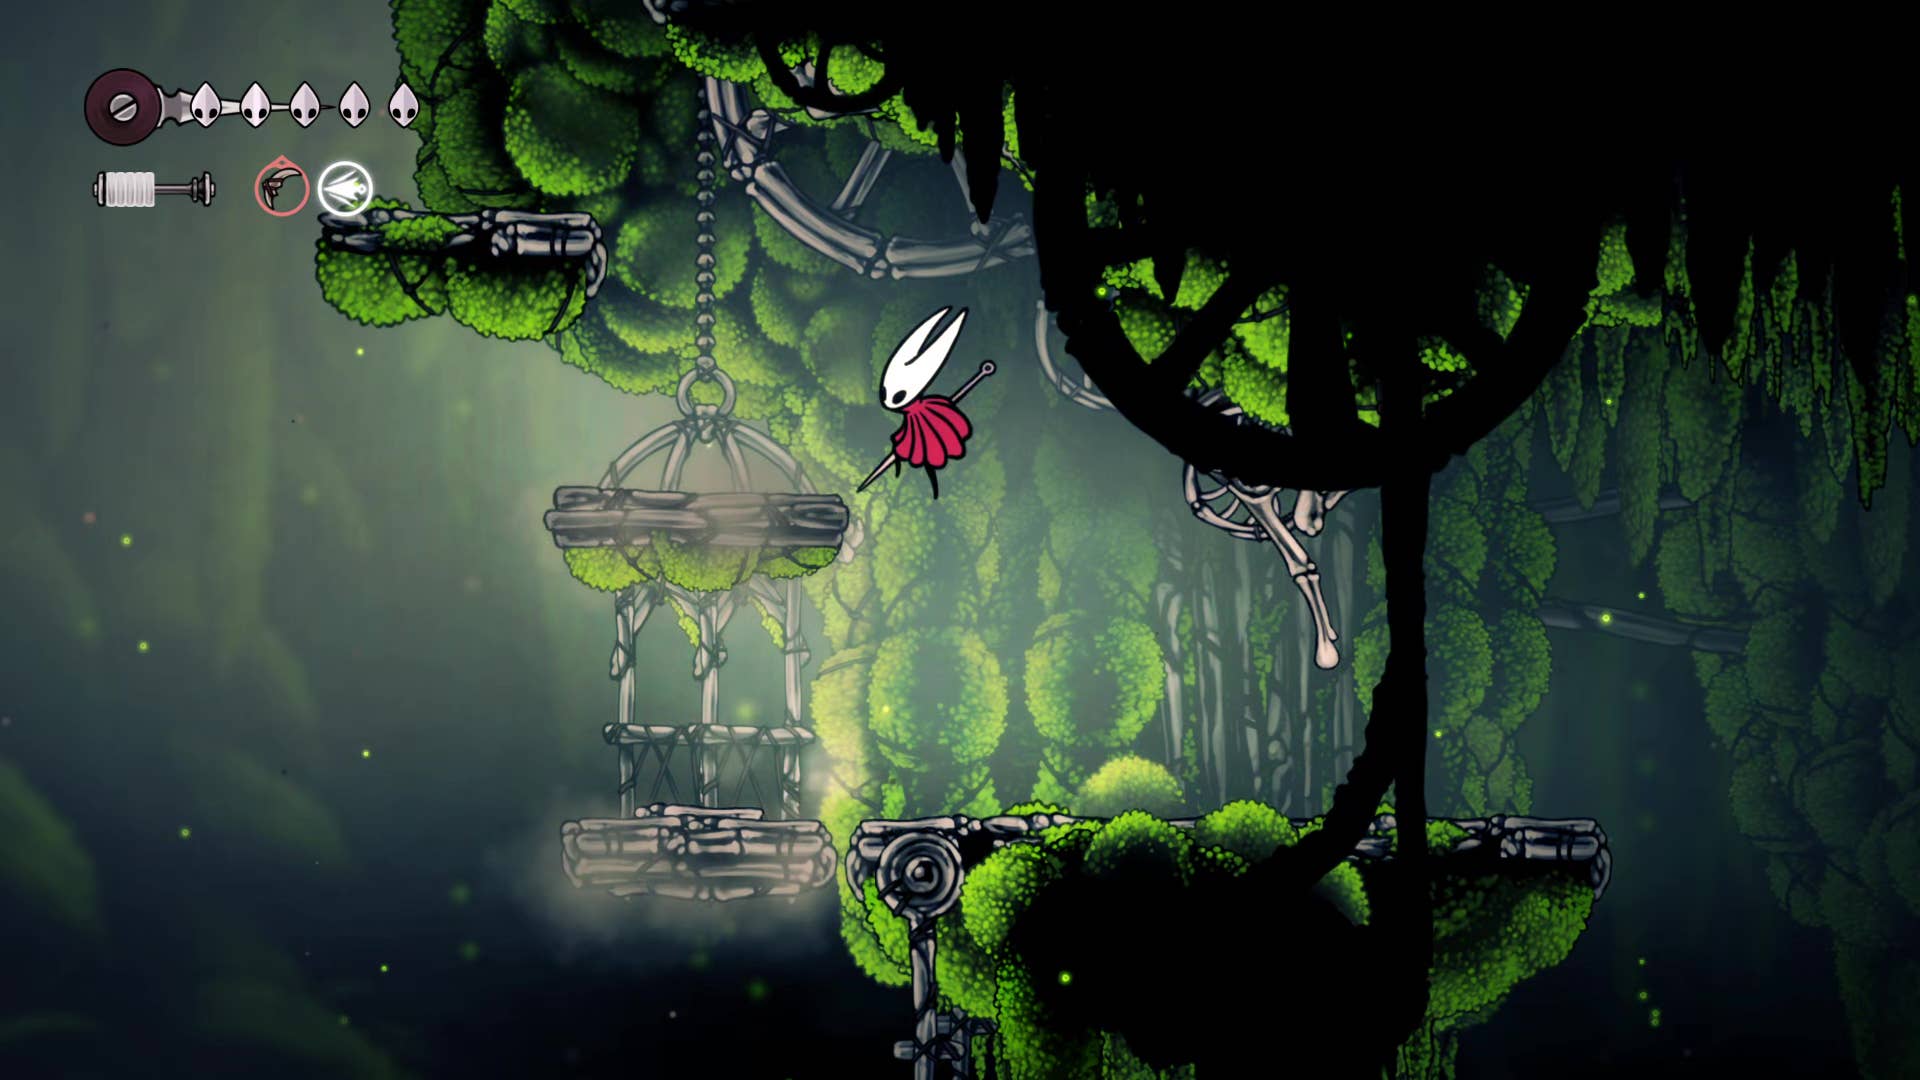
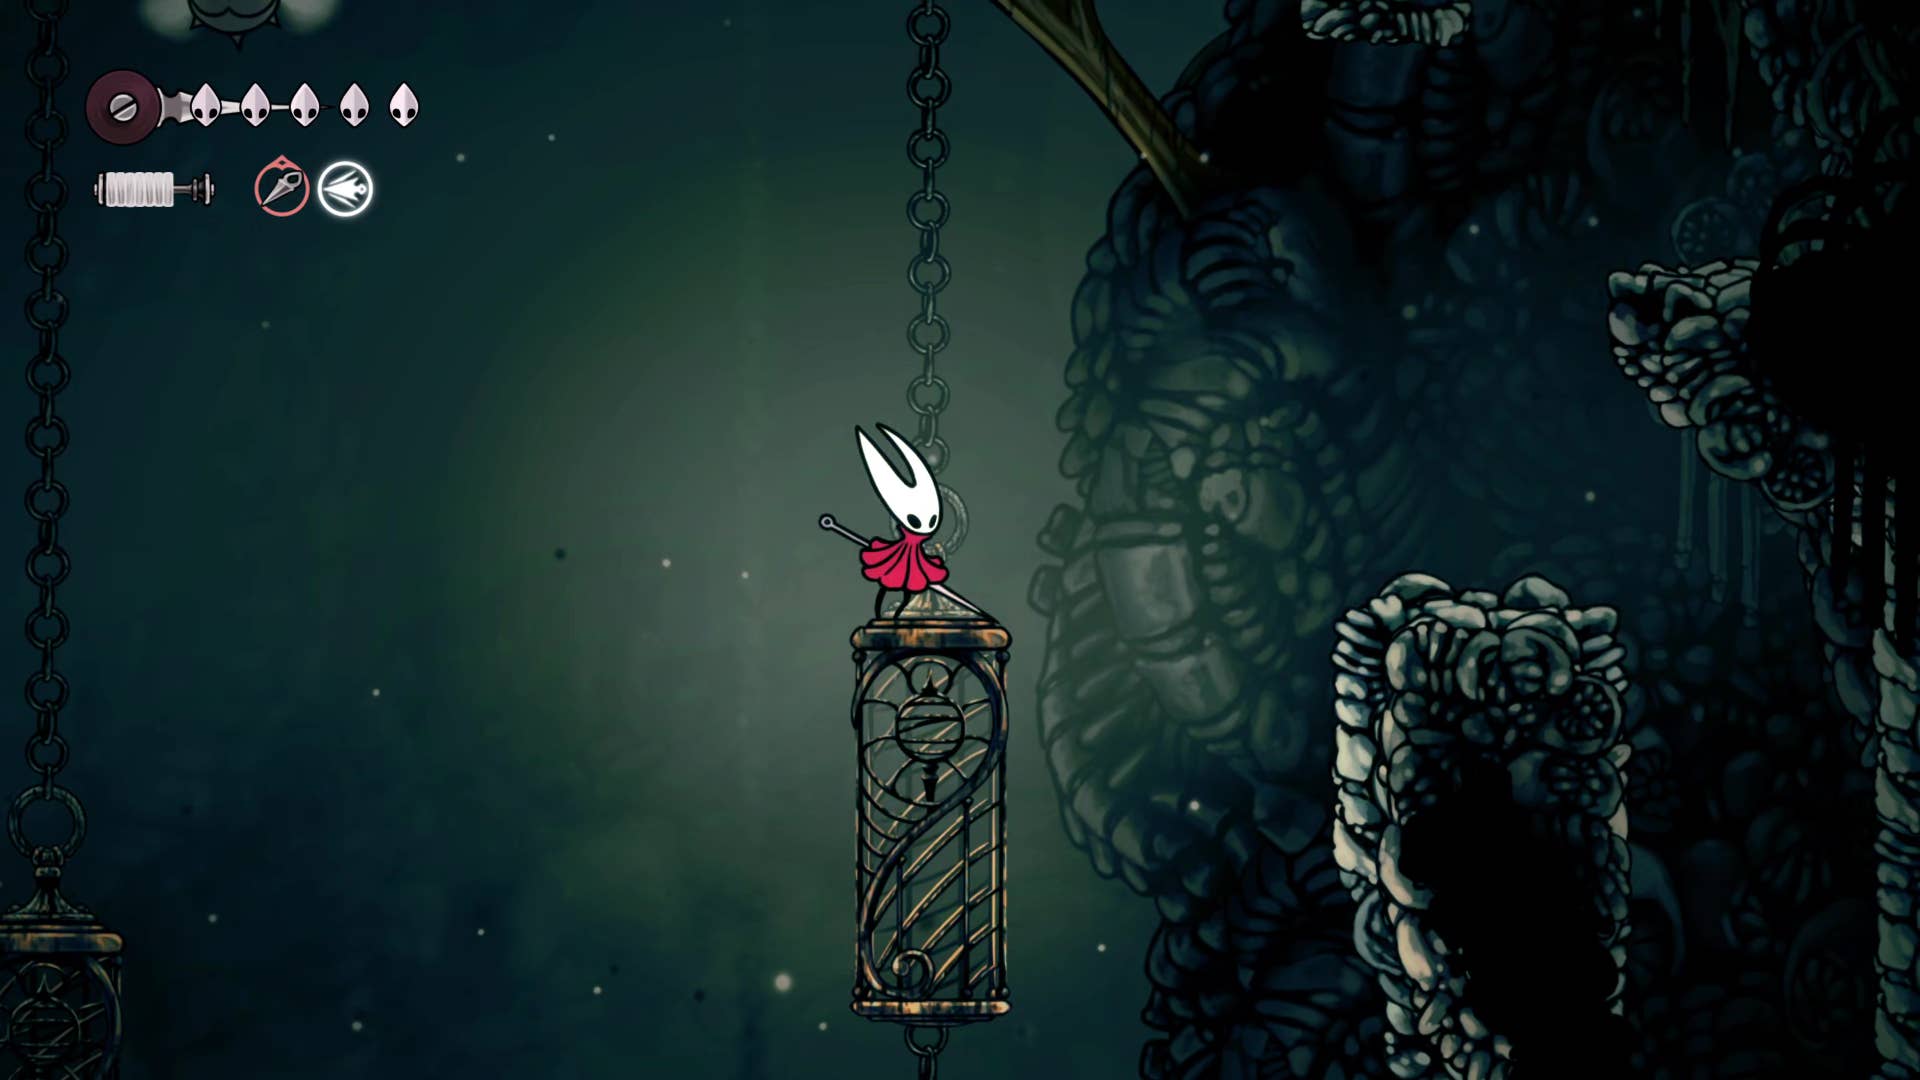
At the sign, jump to the shelf on the top left, then to the cage. From there you can jump left and jump into the entrance to the wormway. If you haven’t killed the Guardian Cragler on the ceiling at this point, feel free to do so (or run past him, I’m not your boss).
In the next room, you will need to go through the unlocked door with a simple key to enter the wormway.
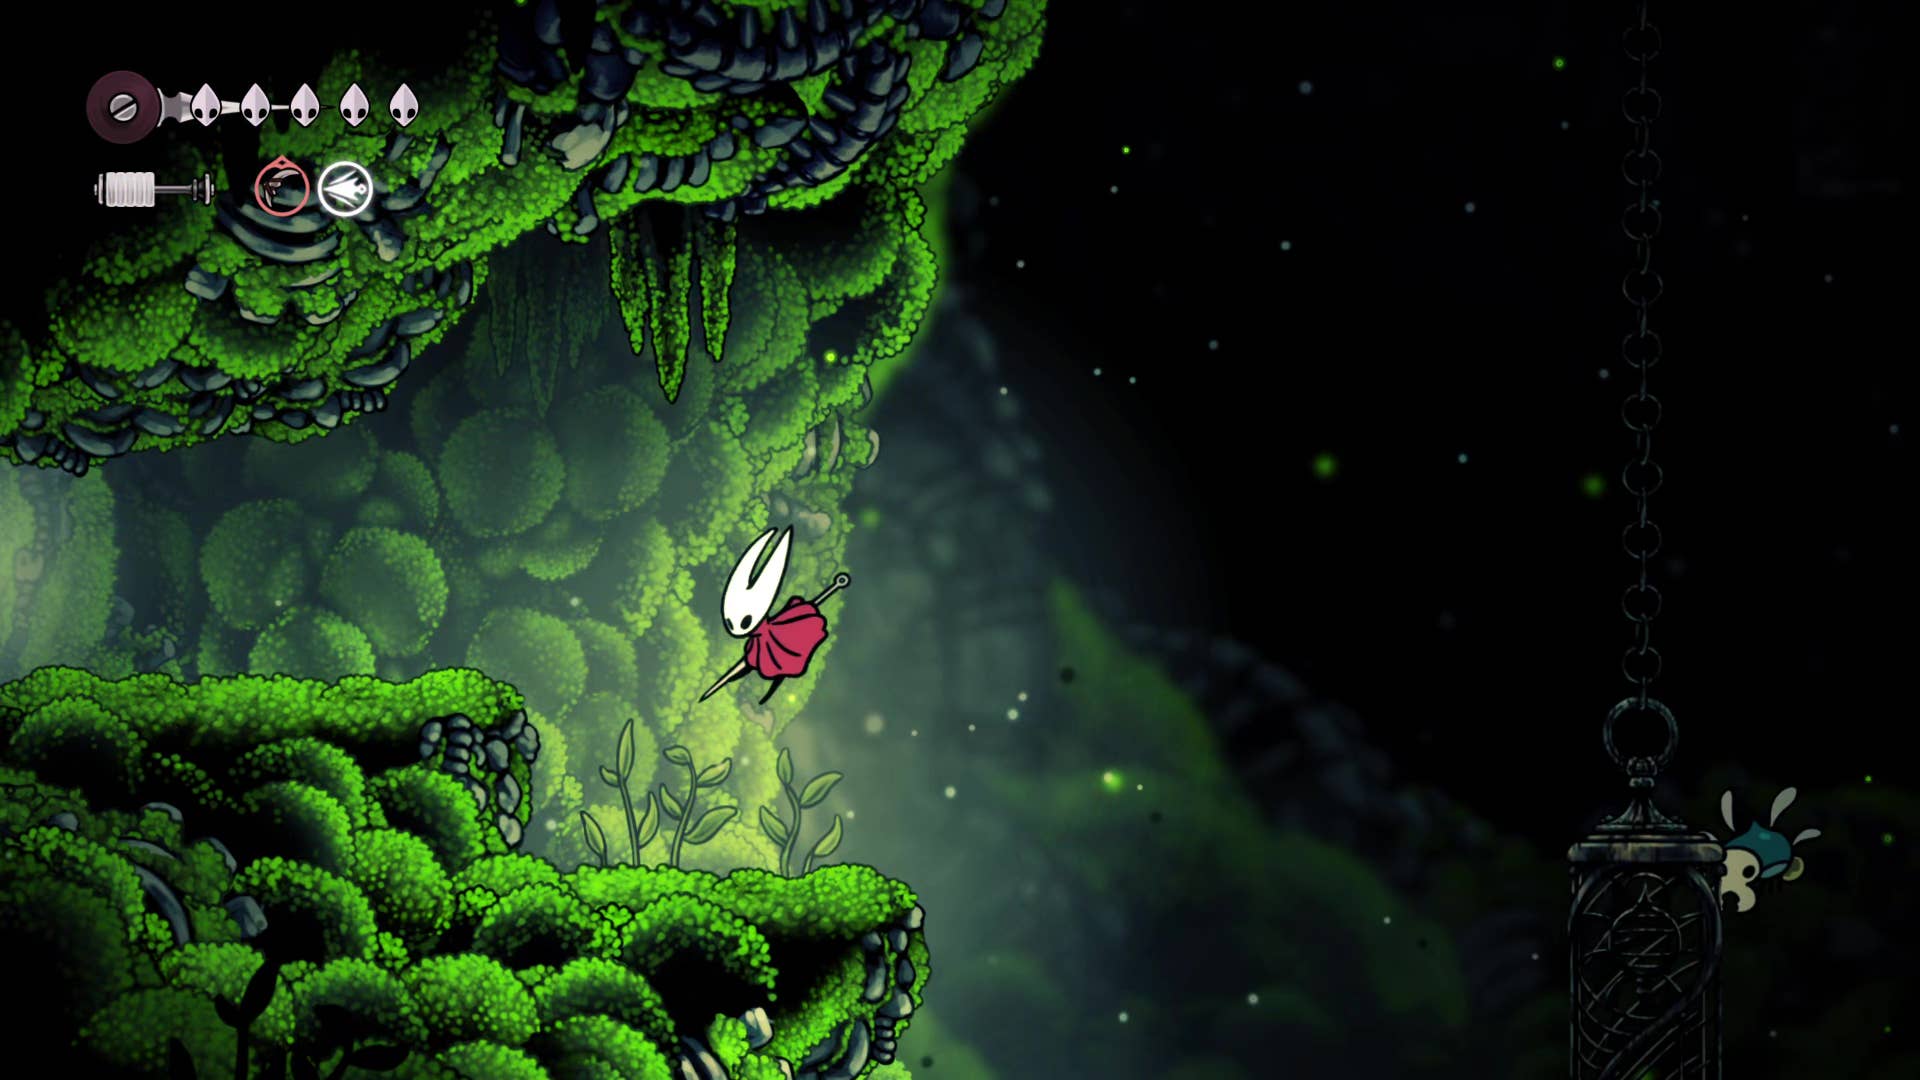
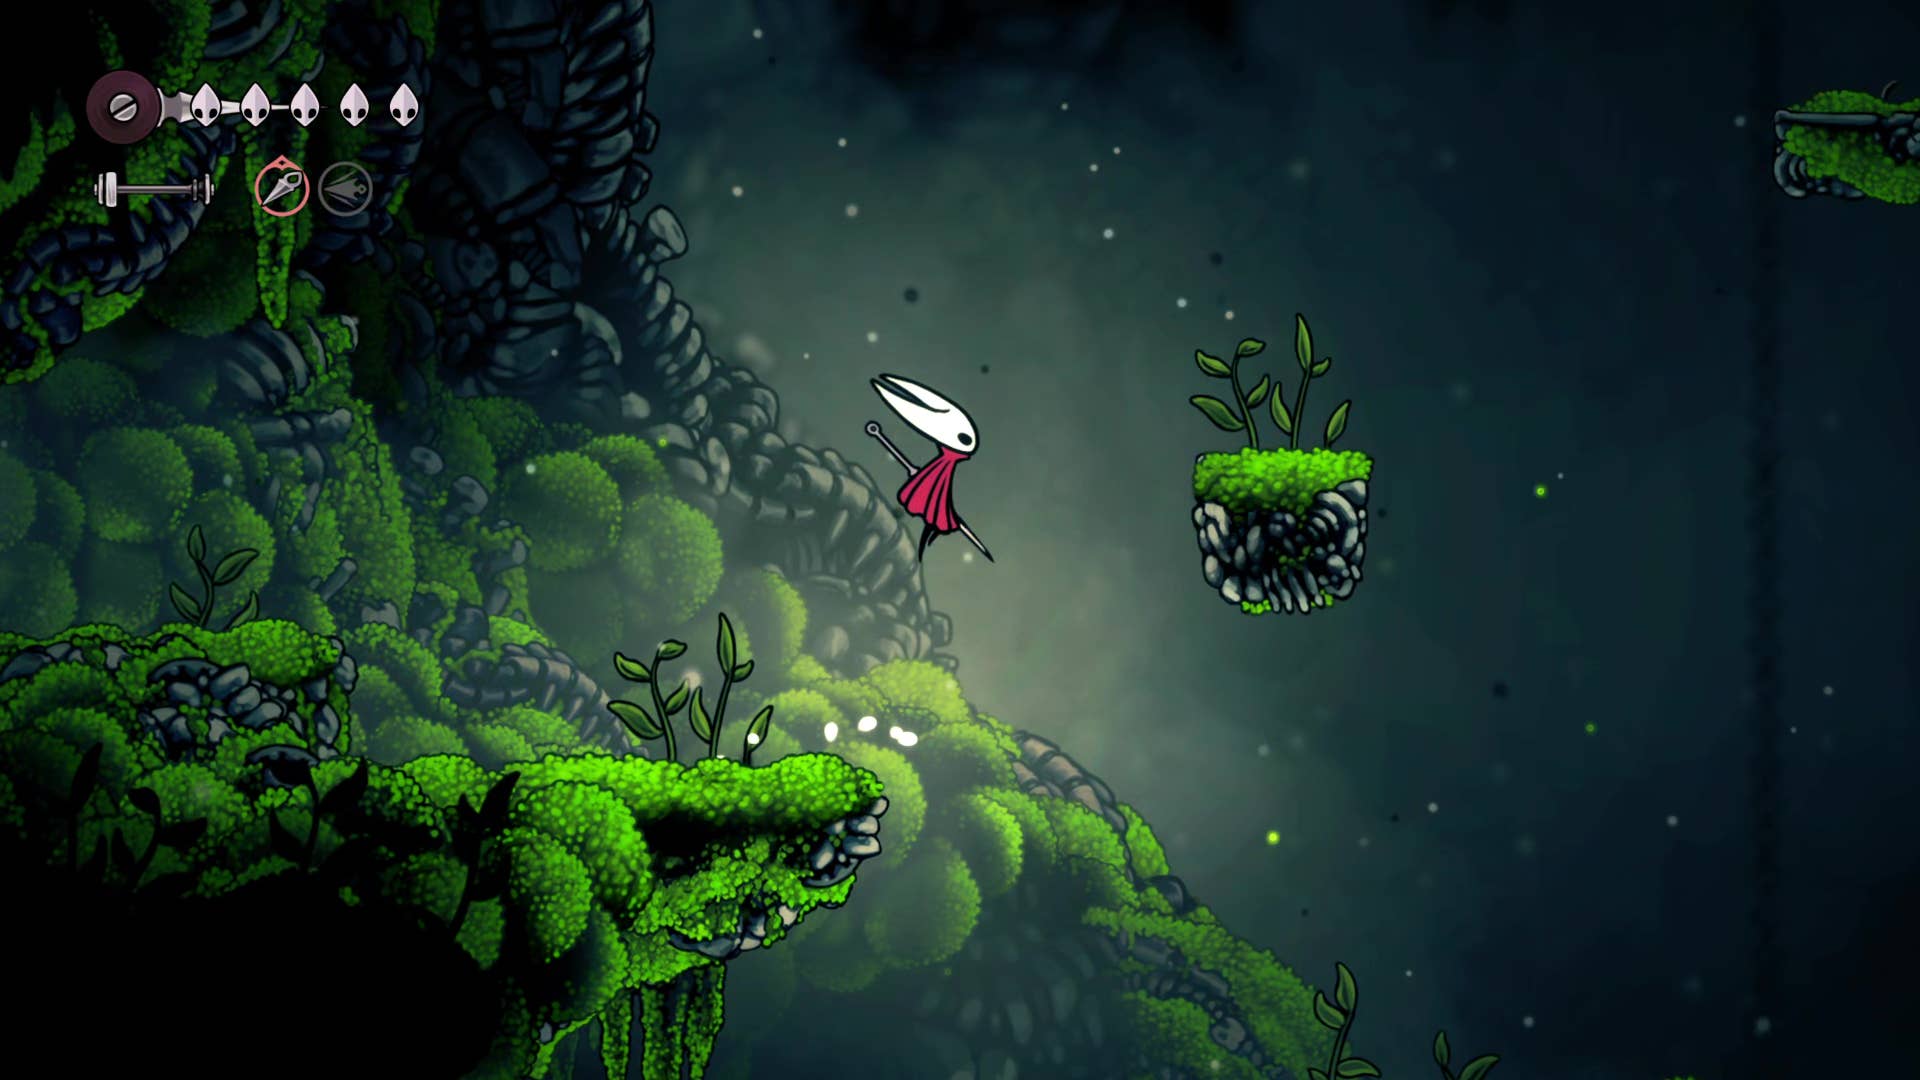
2. Climb onto the wormway shaft.
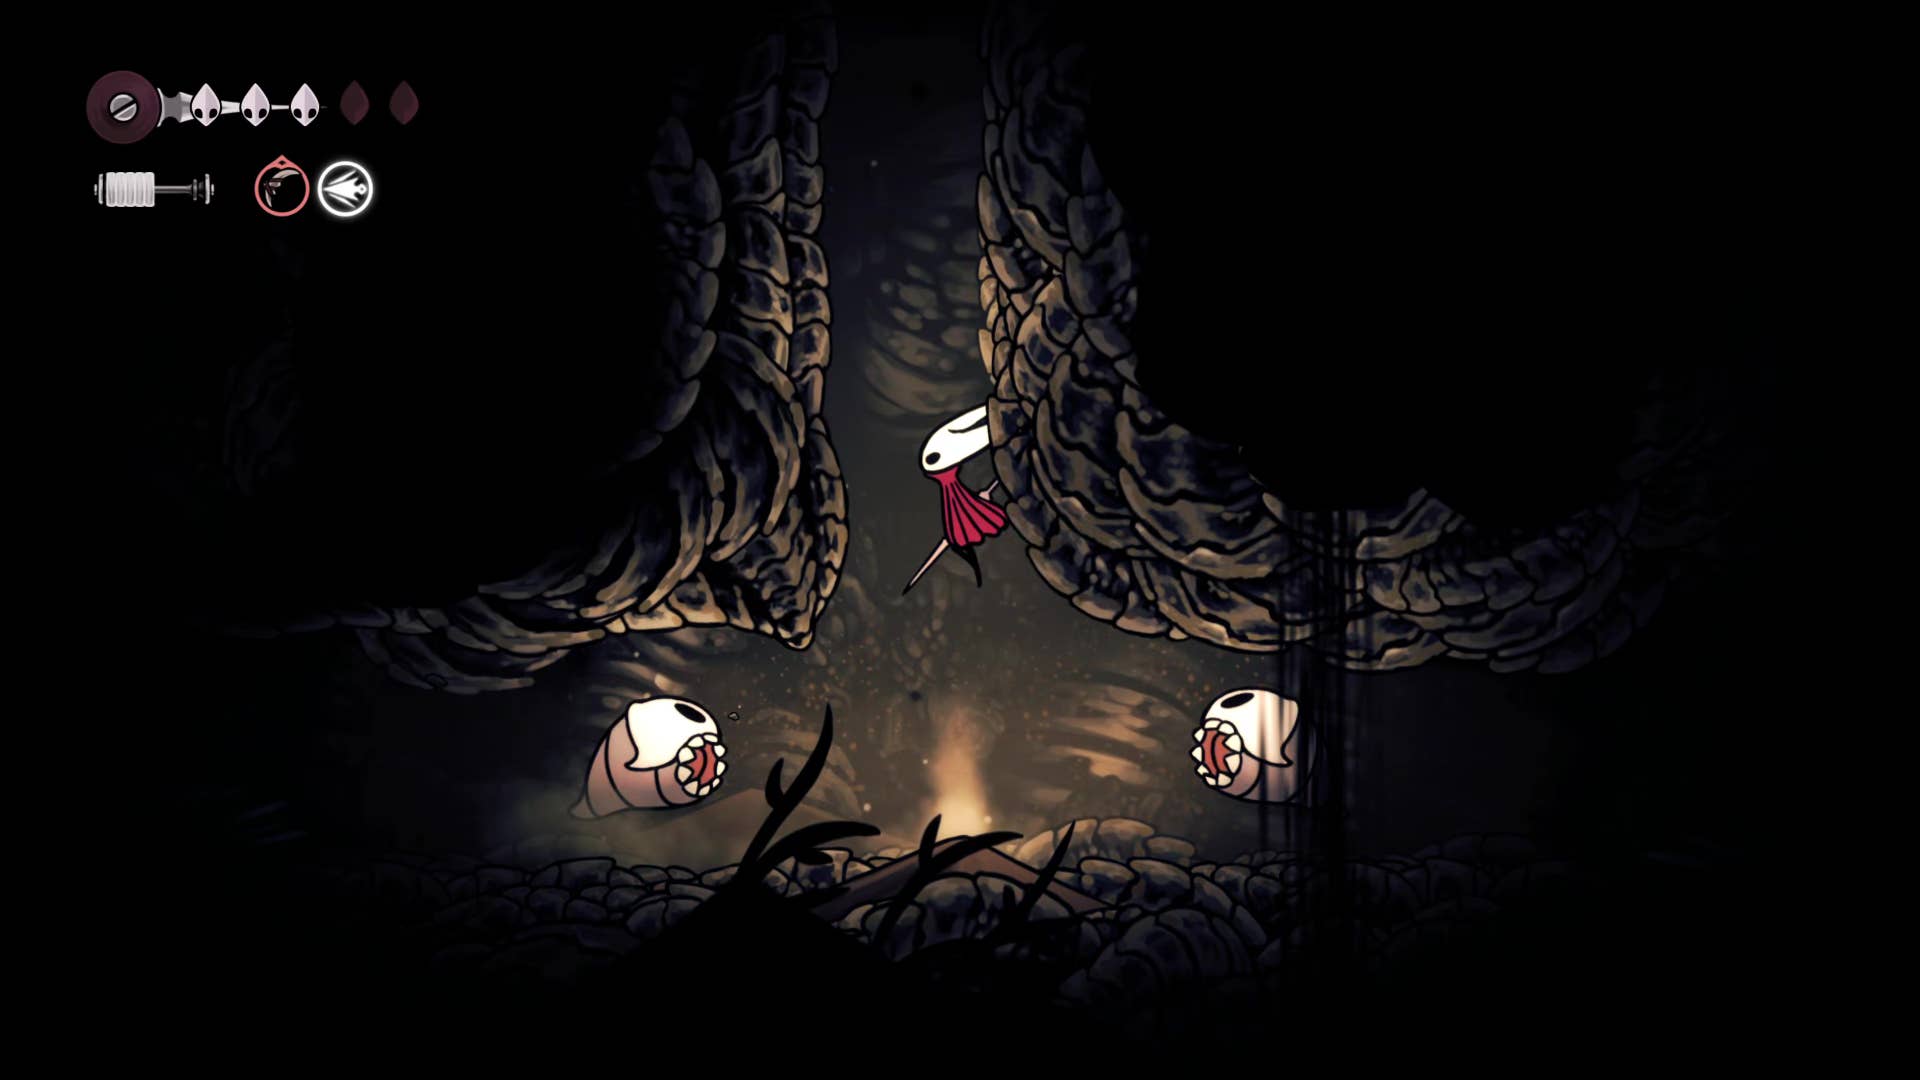
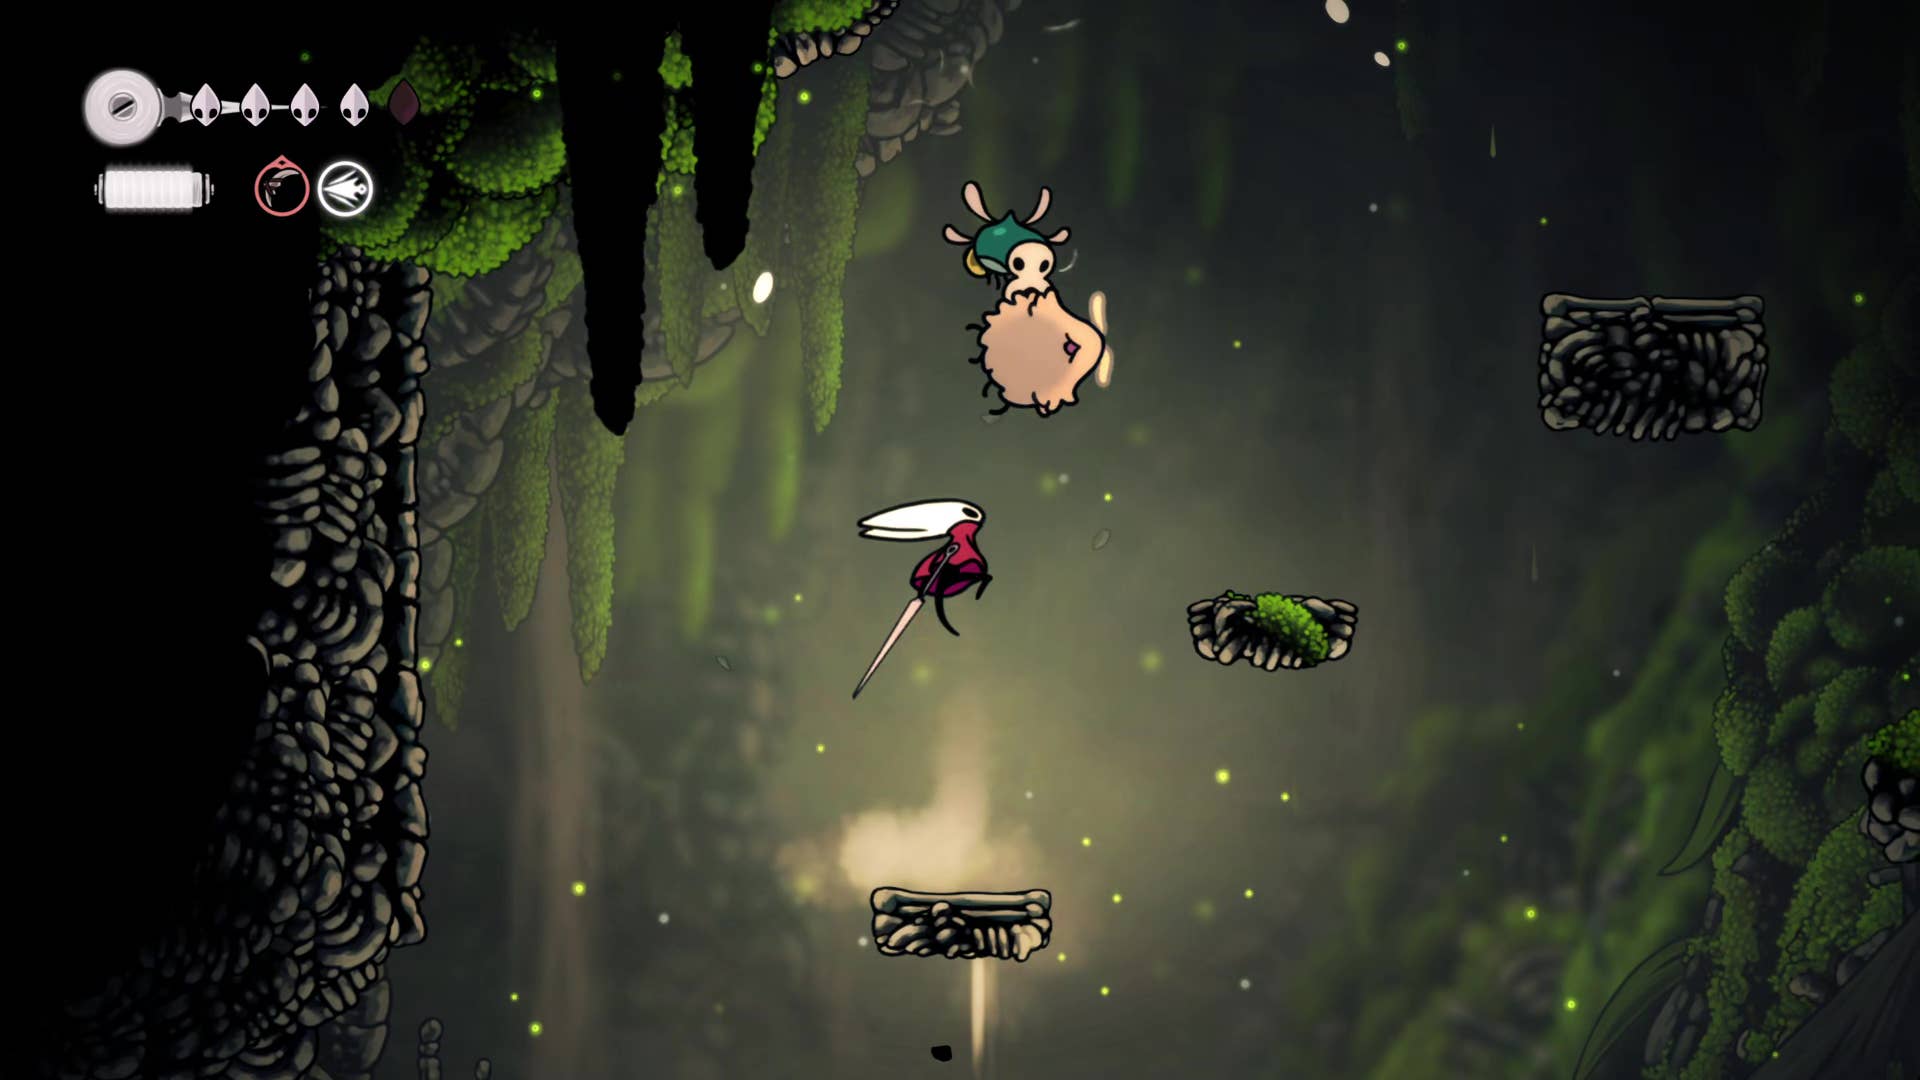
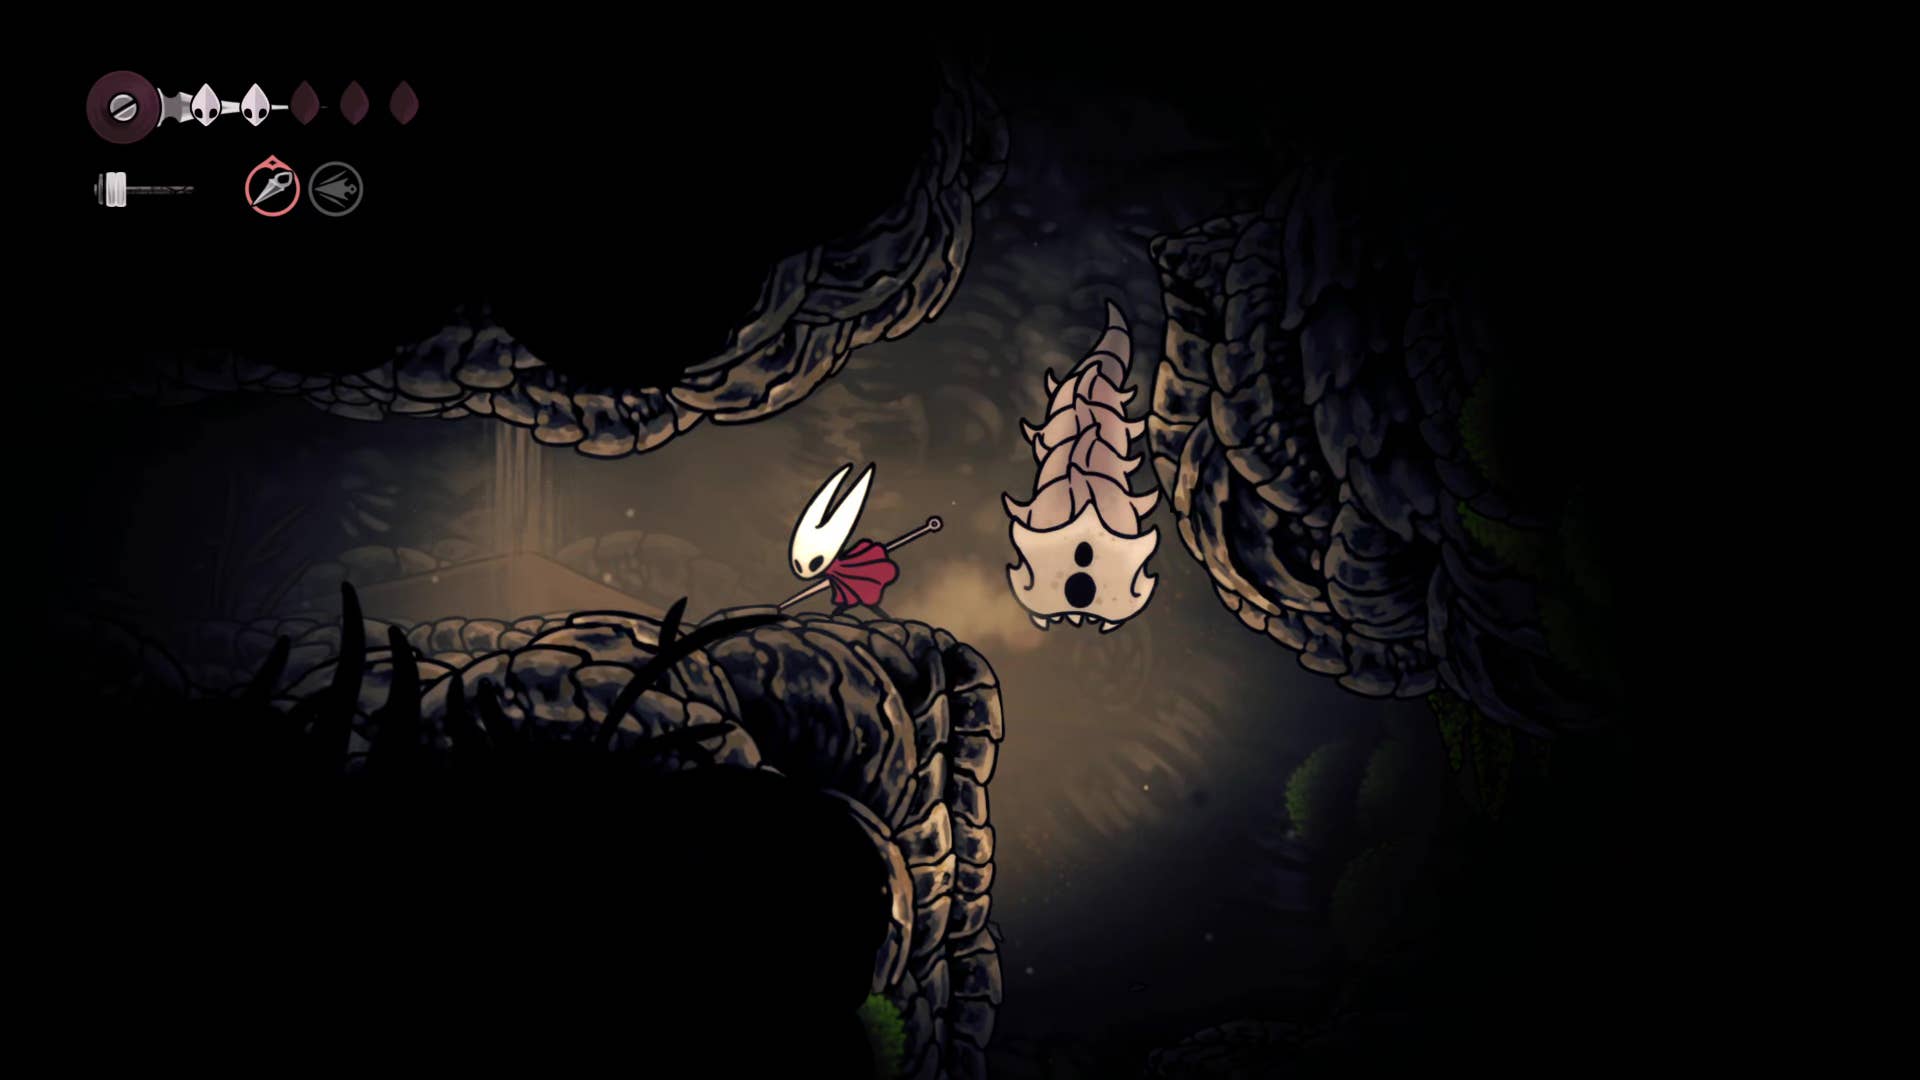
Once inside the Wormway, head right and jump over the hole you’ve previously returned when you reached the Wanderer’s Chapel. Use the air dash to quickly pass the worms and raise them off-screen.

Here you can head left to see what’s there, but it’s an empty sandbox with a door that doesn’t reach above you at the moment. Instead, go right and follow the path before you, avoiding the small Gromm rings that charge you by burping worms and yourself. Jump over those little guys and keep moving, killing them isn’t worth your time.
Tip: Don’t forget to heal the worms!
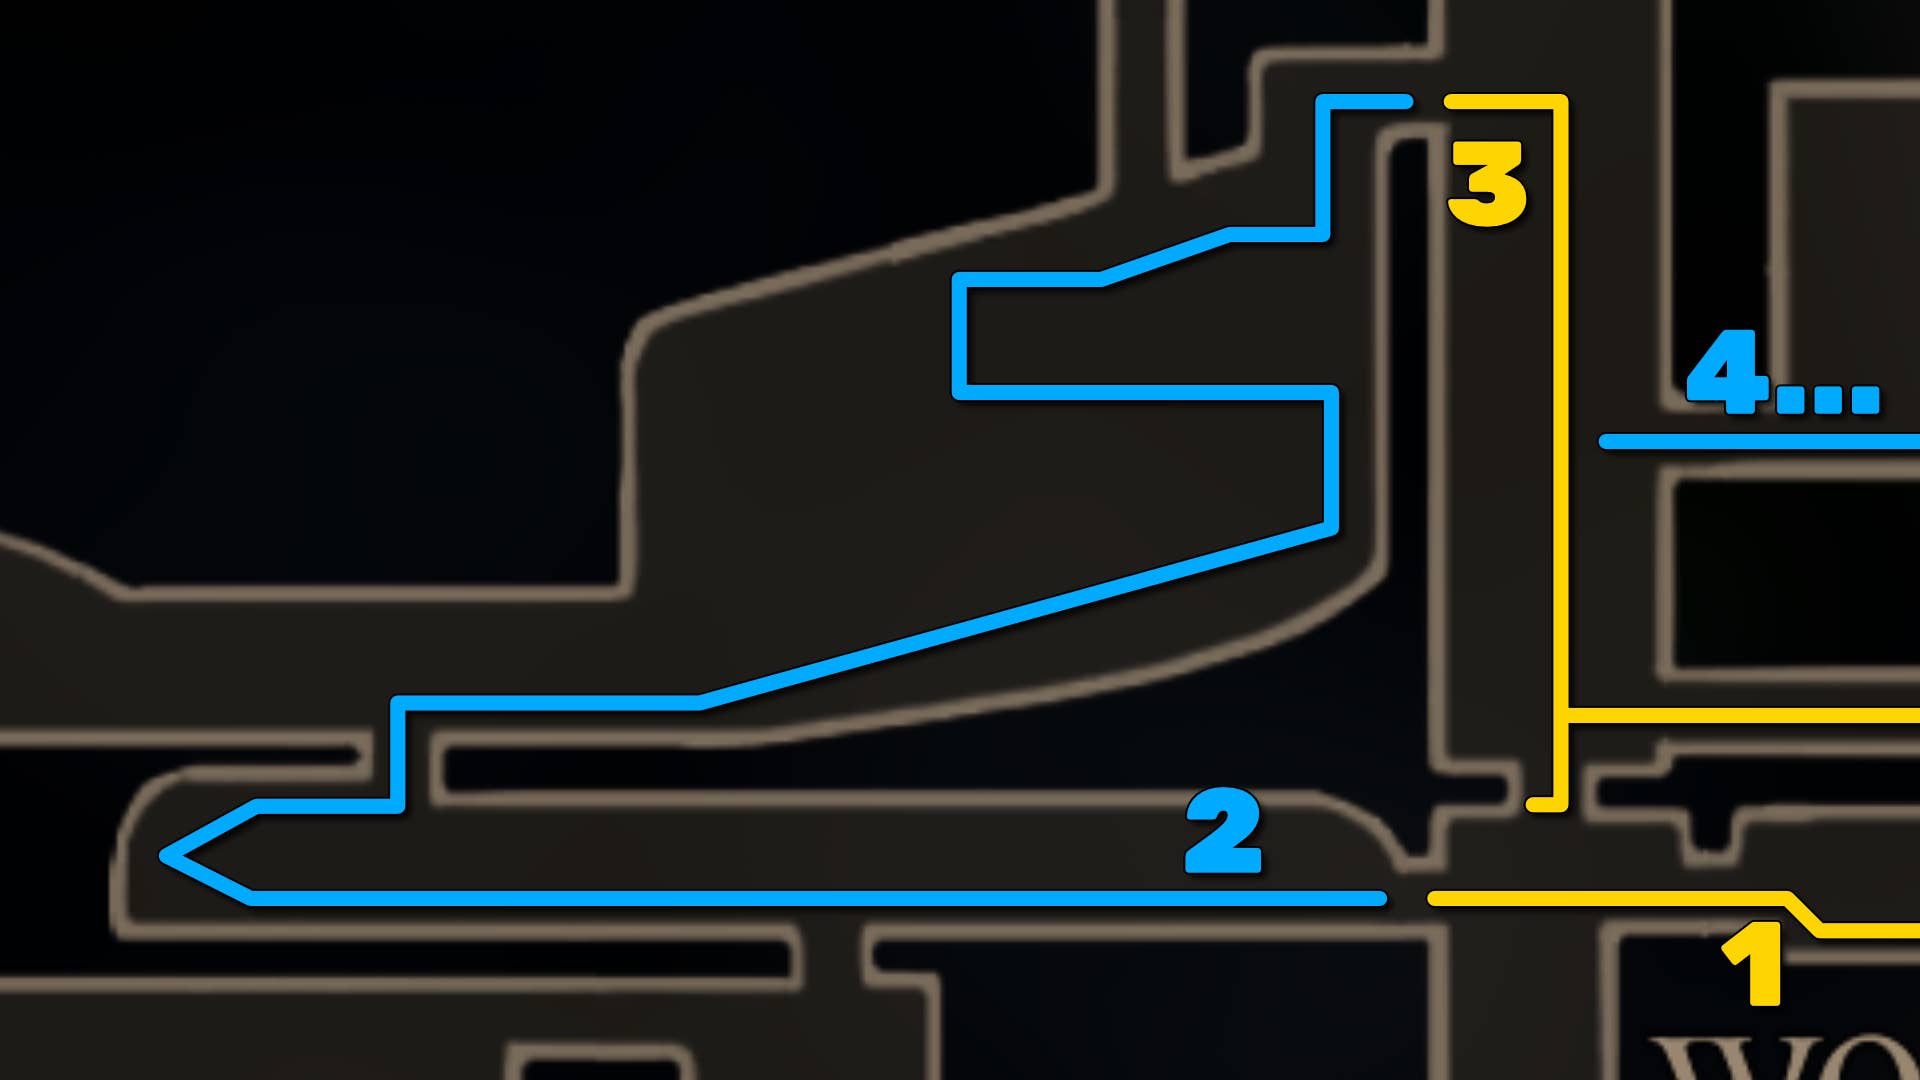
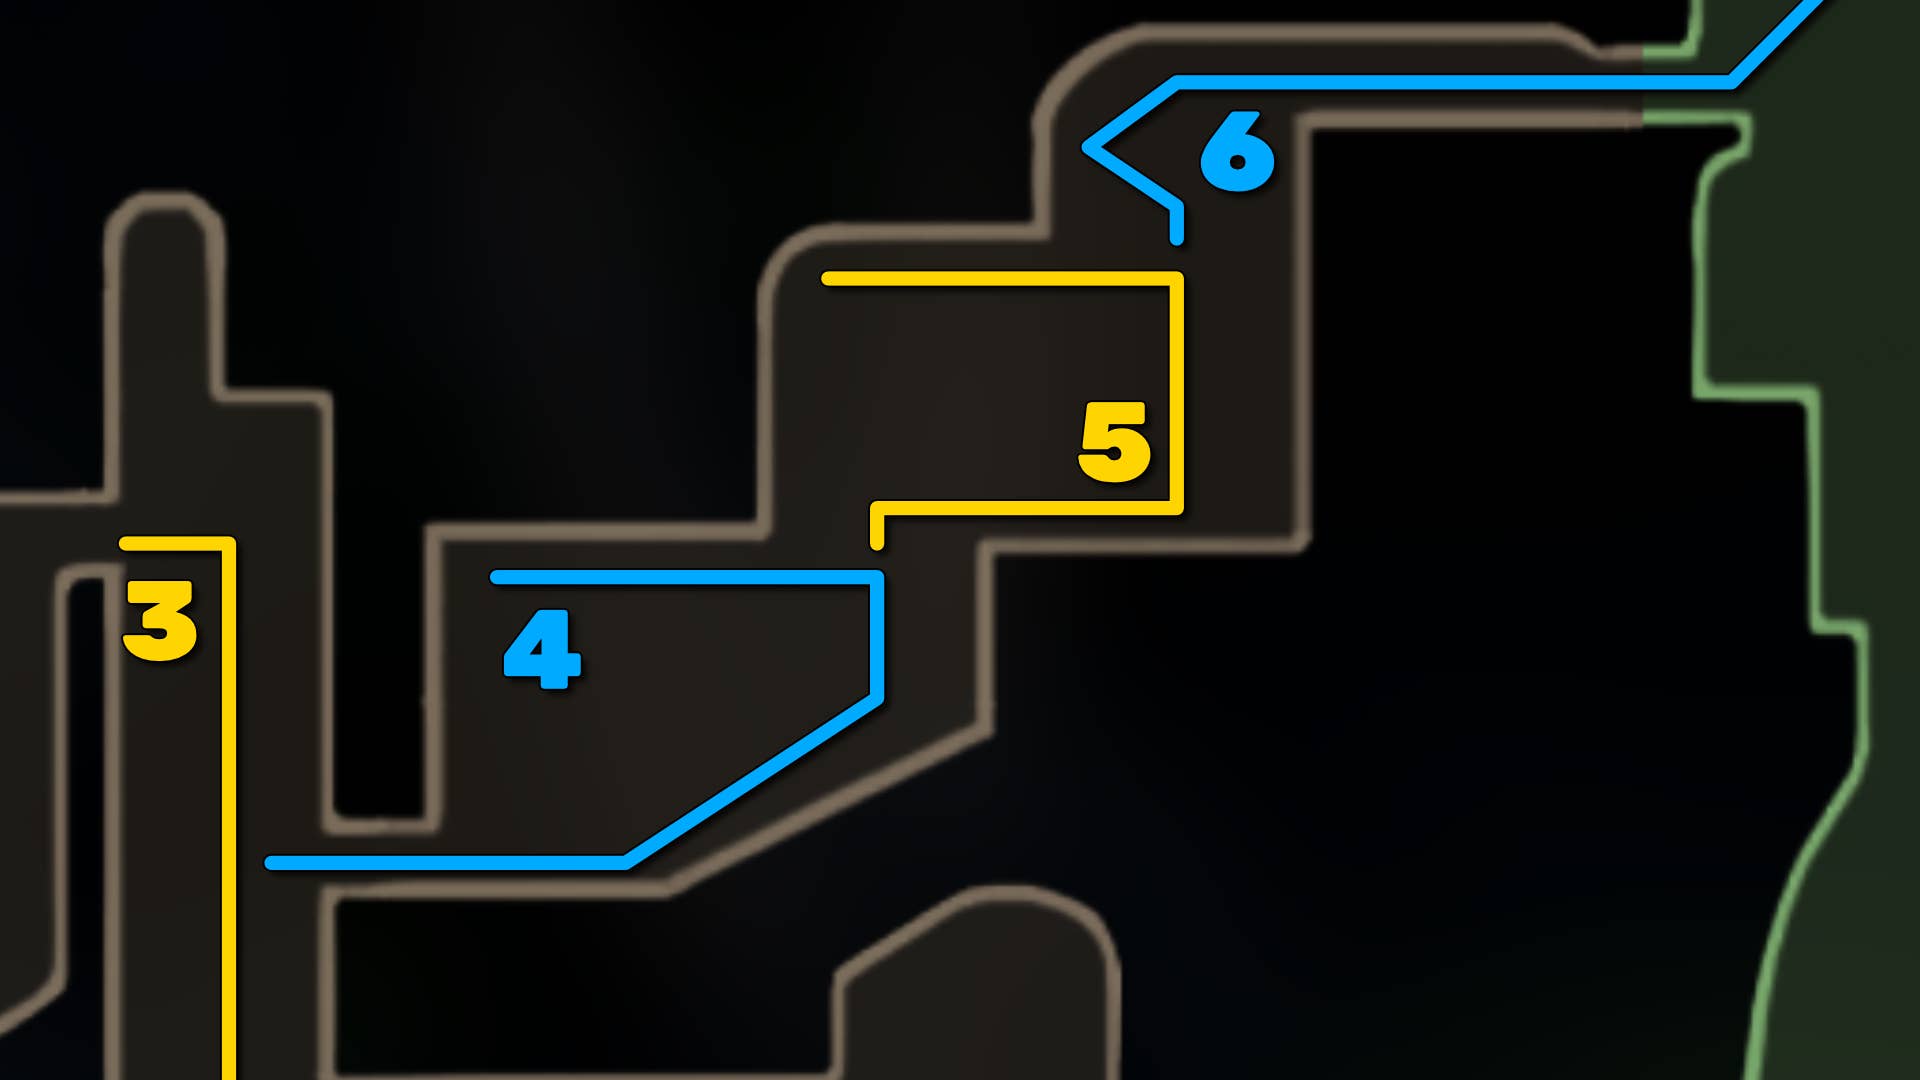
Once you reach the far right, you will need to timing up the wall during the worm’s descent. Then head left and stop below the second gap above you. Two Gromm rings appear on both sides of you to charge. Jump over them and head left to the next descending worm. Again, you need to carefully climb the walls between the worm descent.
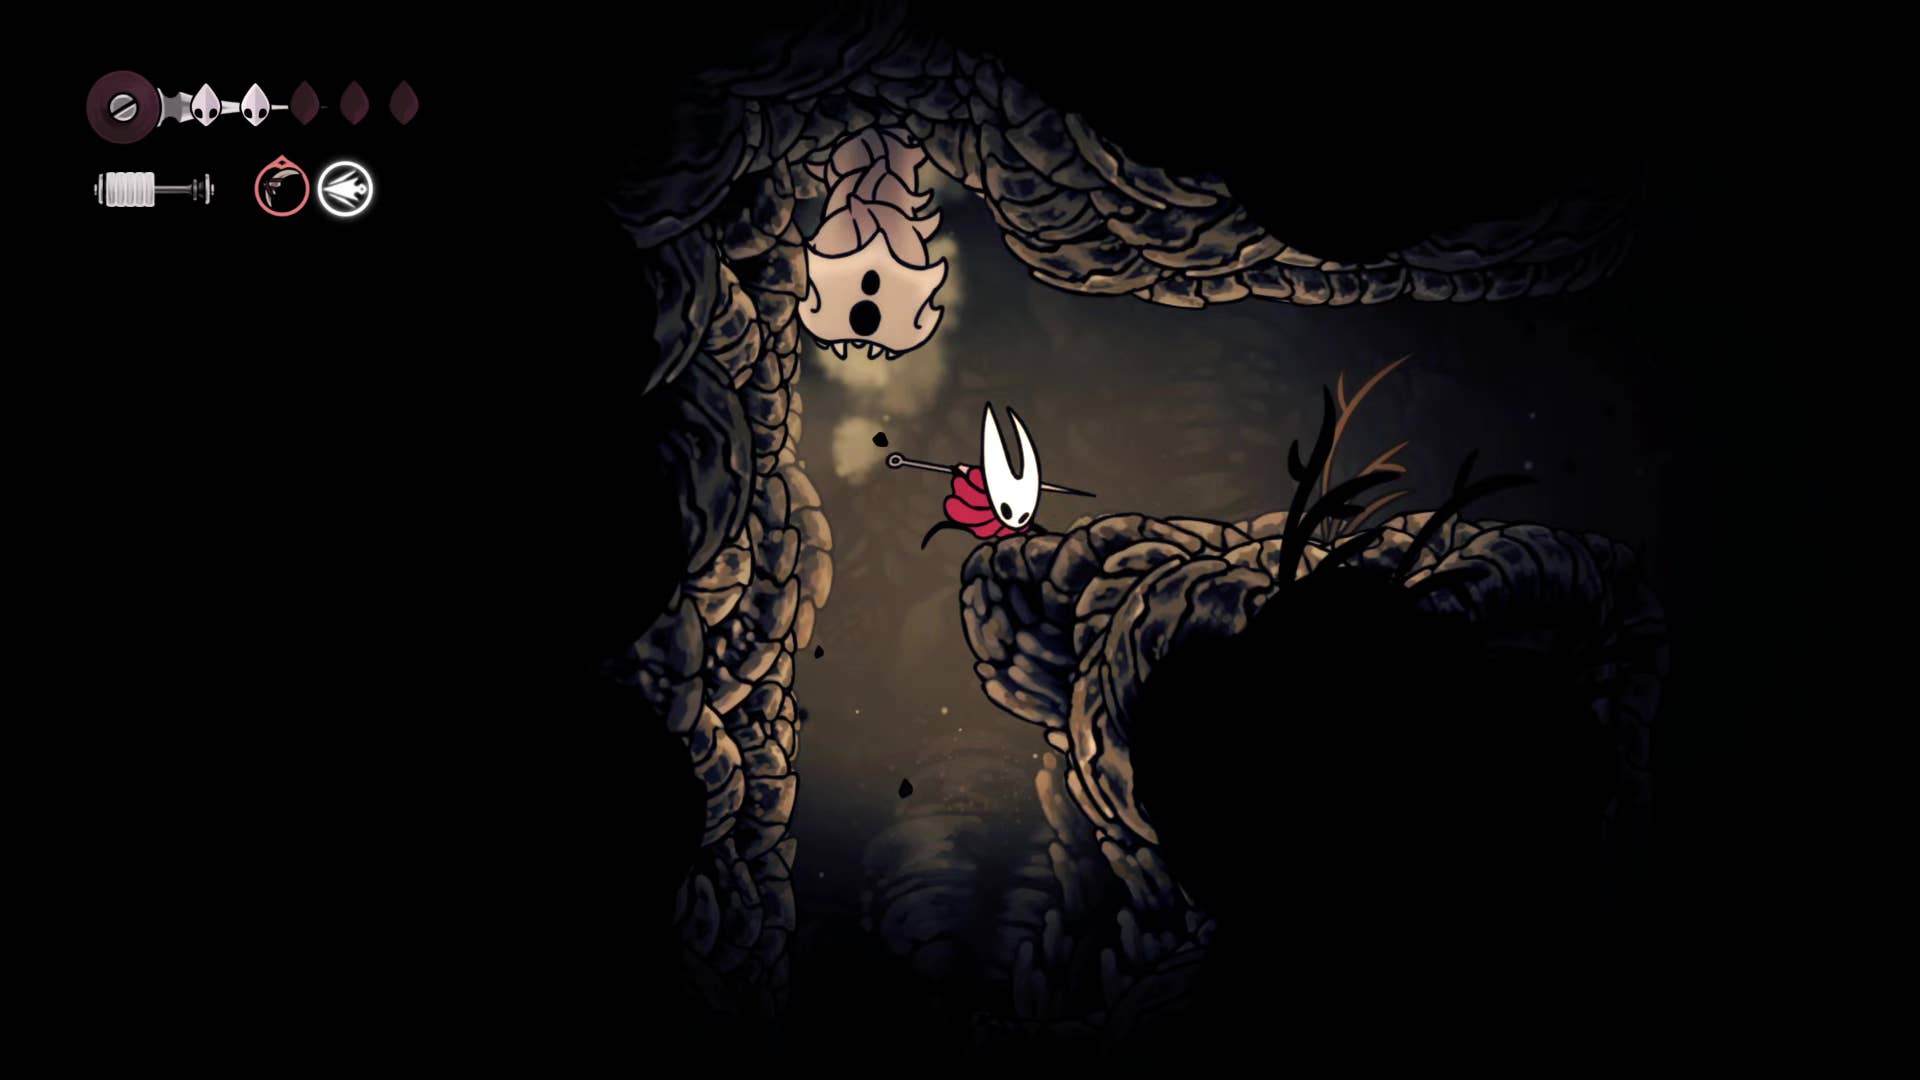
Follow the path to the right to the next room.
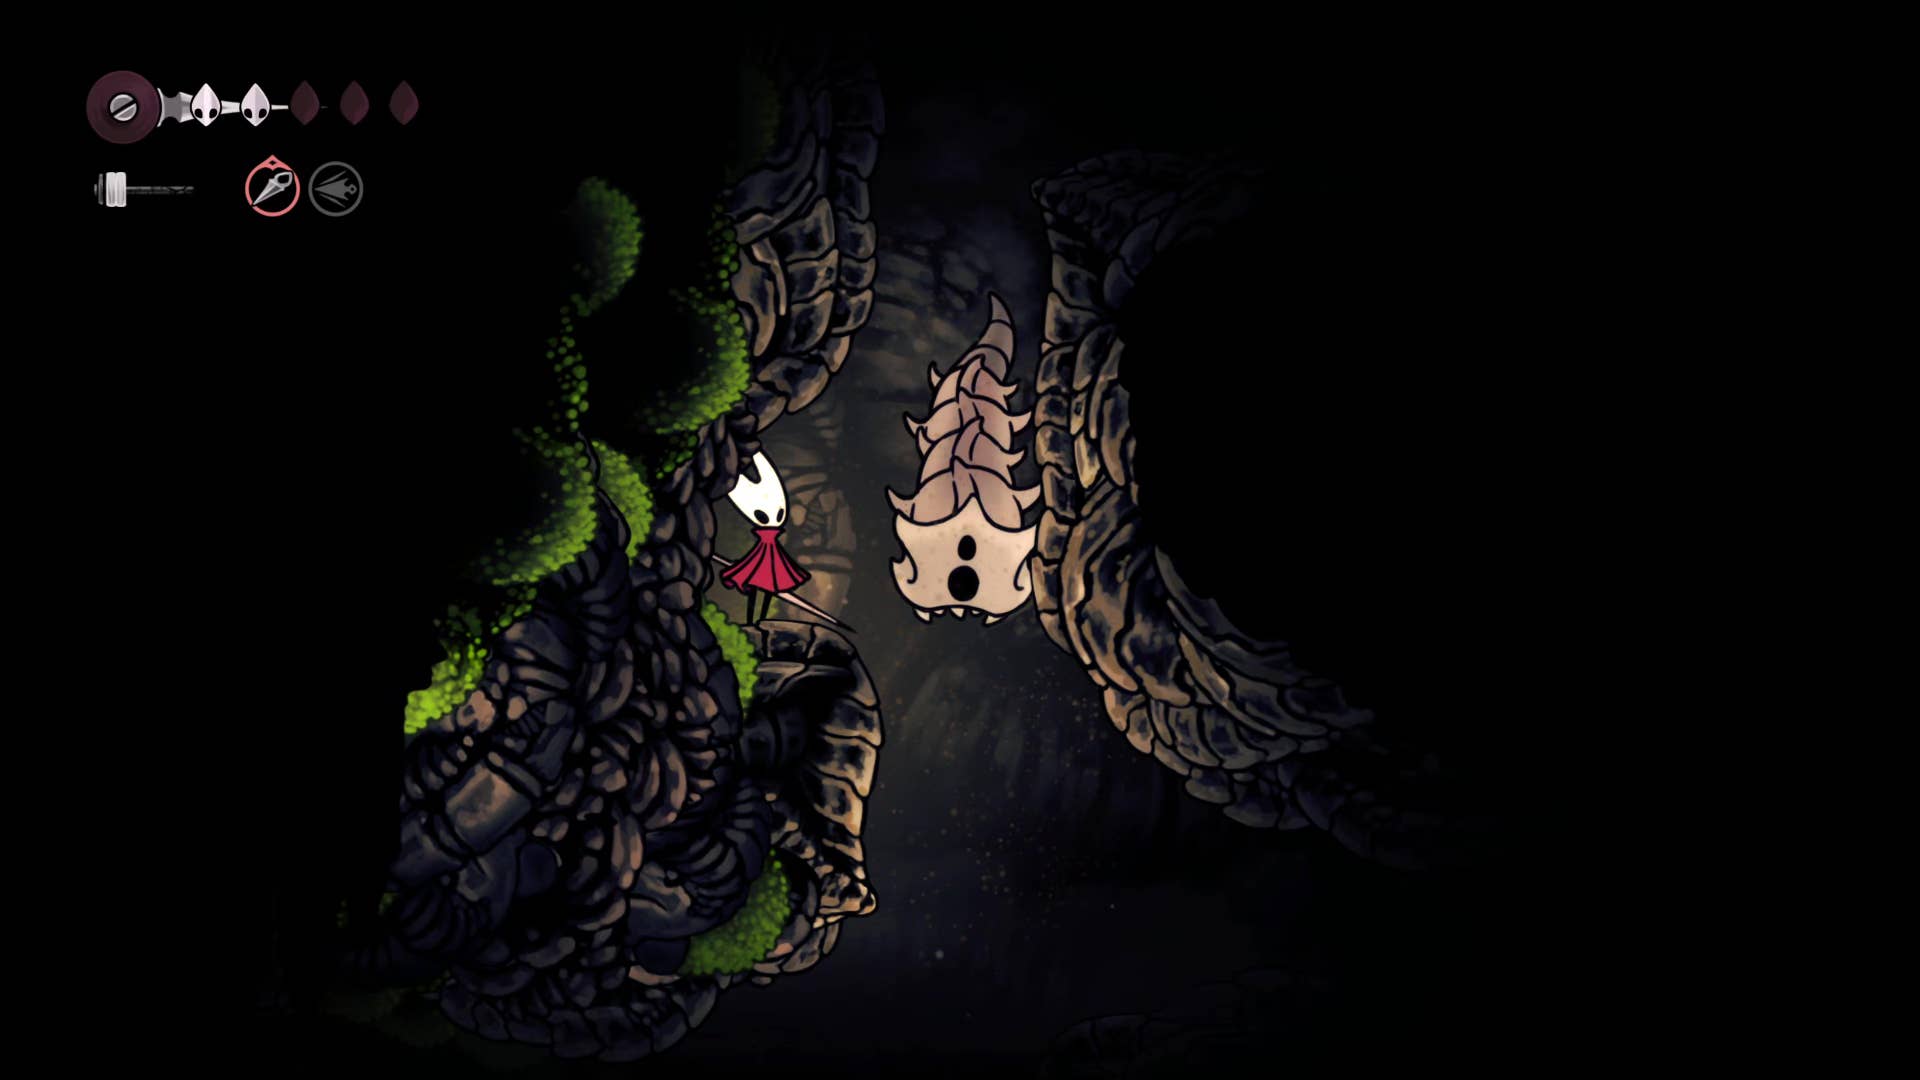
3. Rescue the hidden fleas.
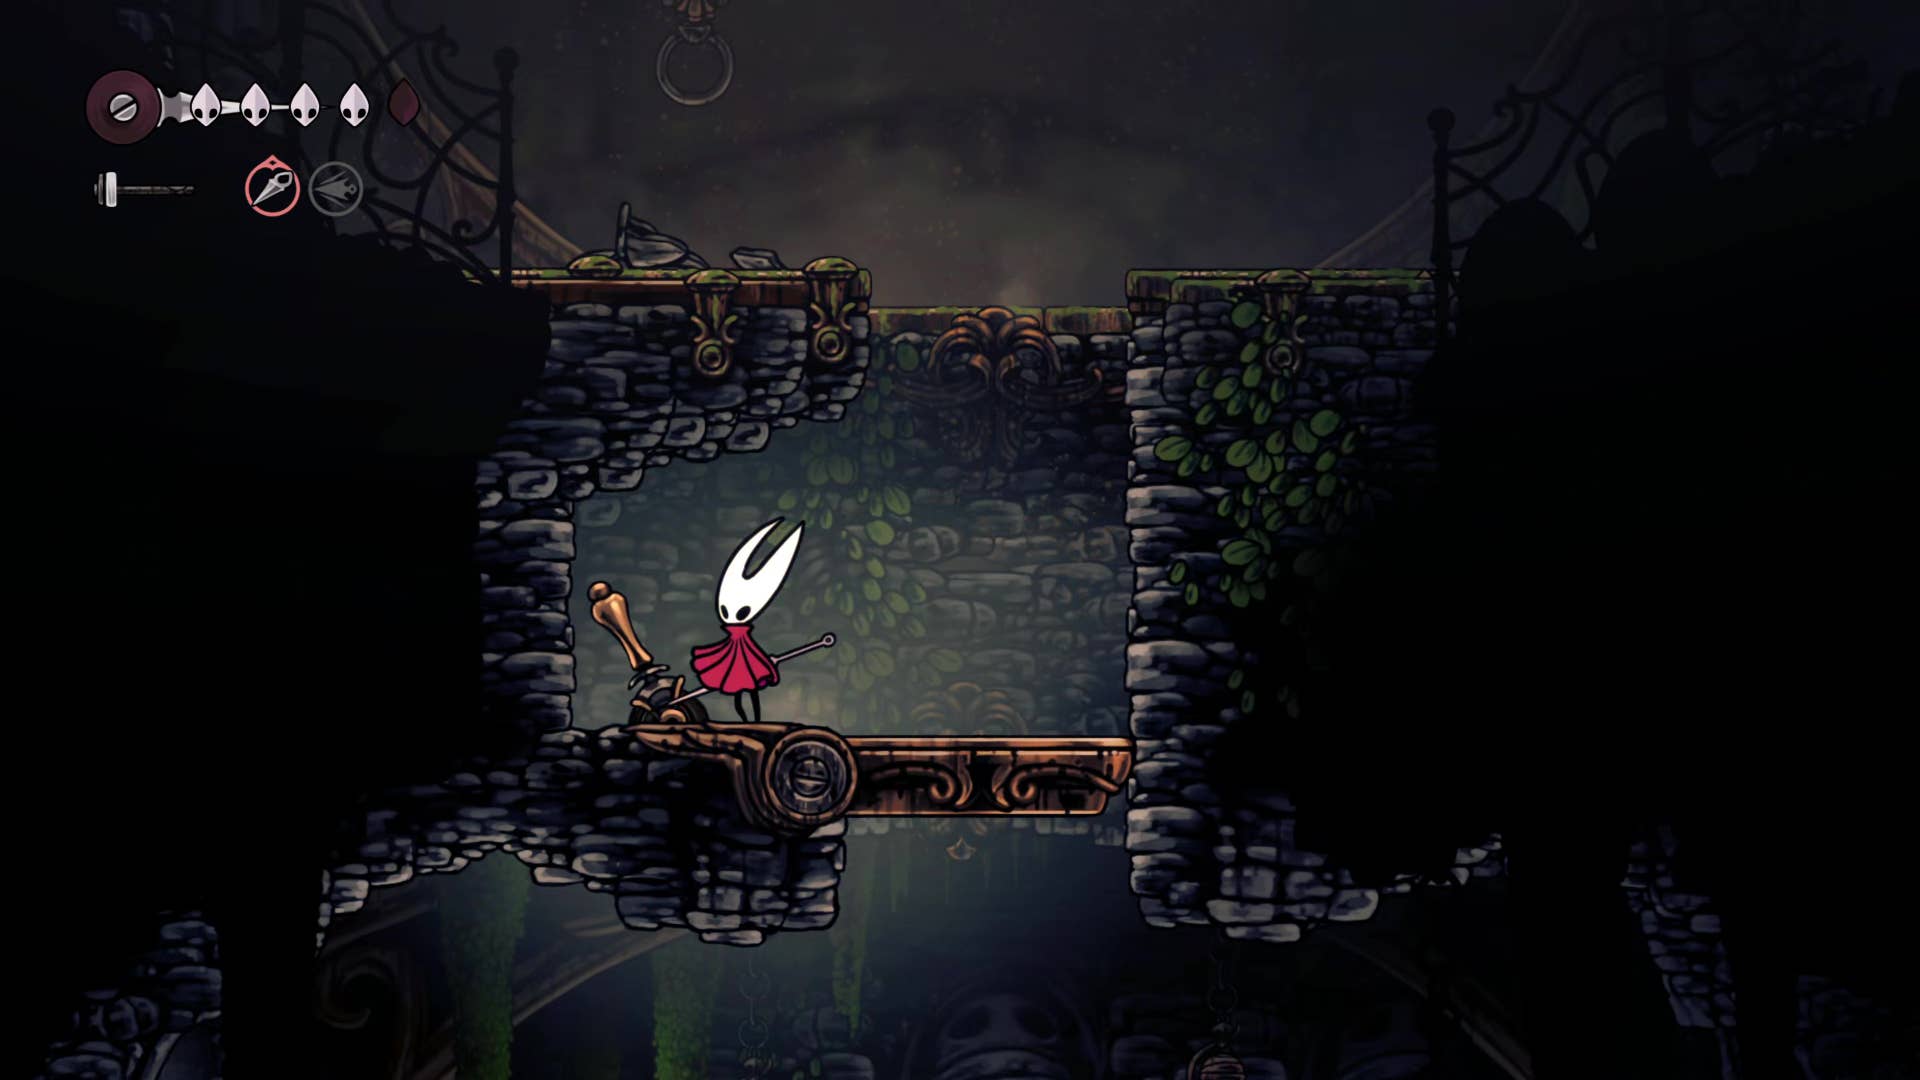
The room you are currently in is a vertical connection shaft. You will find a shortcut that drops at the bottom of it (sends a winged pilgrim bell tower) and returns to the start of the Wormway. Flick the lever, but don’t actually put it down. Alternatively, you will need to repeat all of Step 2 to back up.
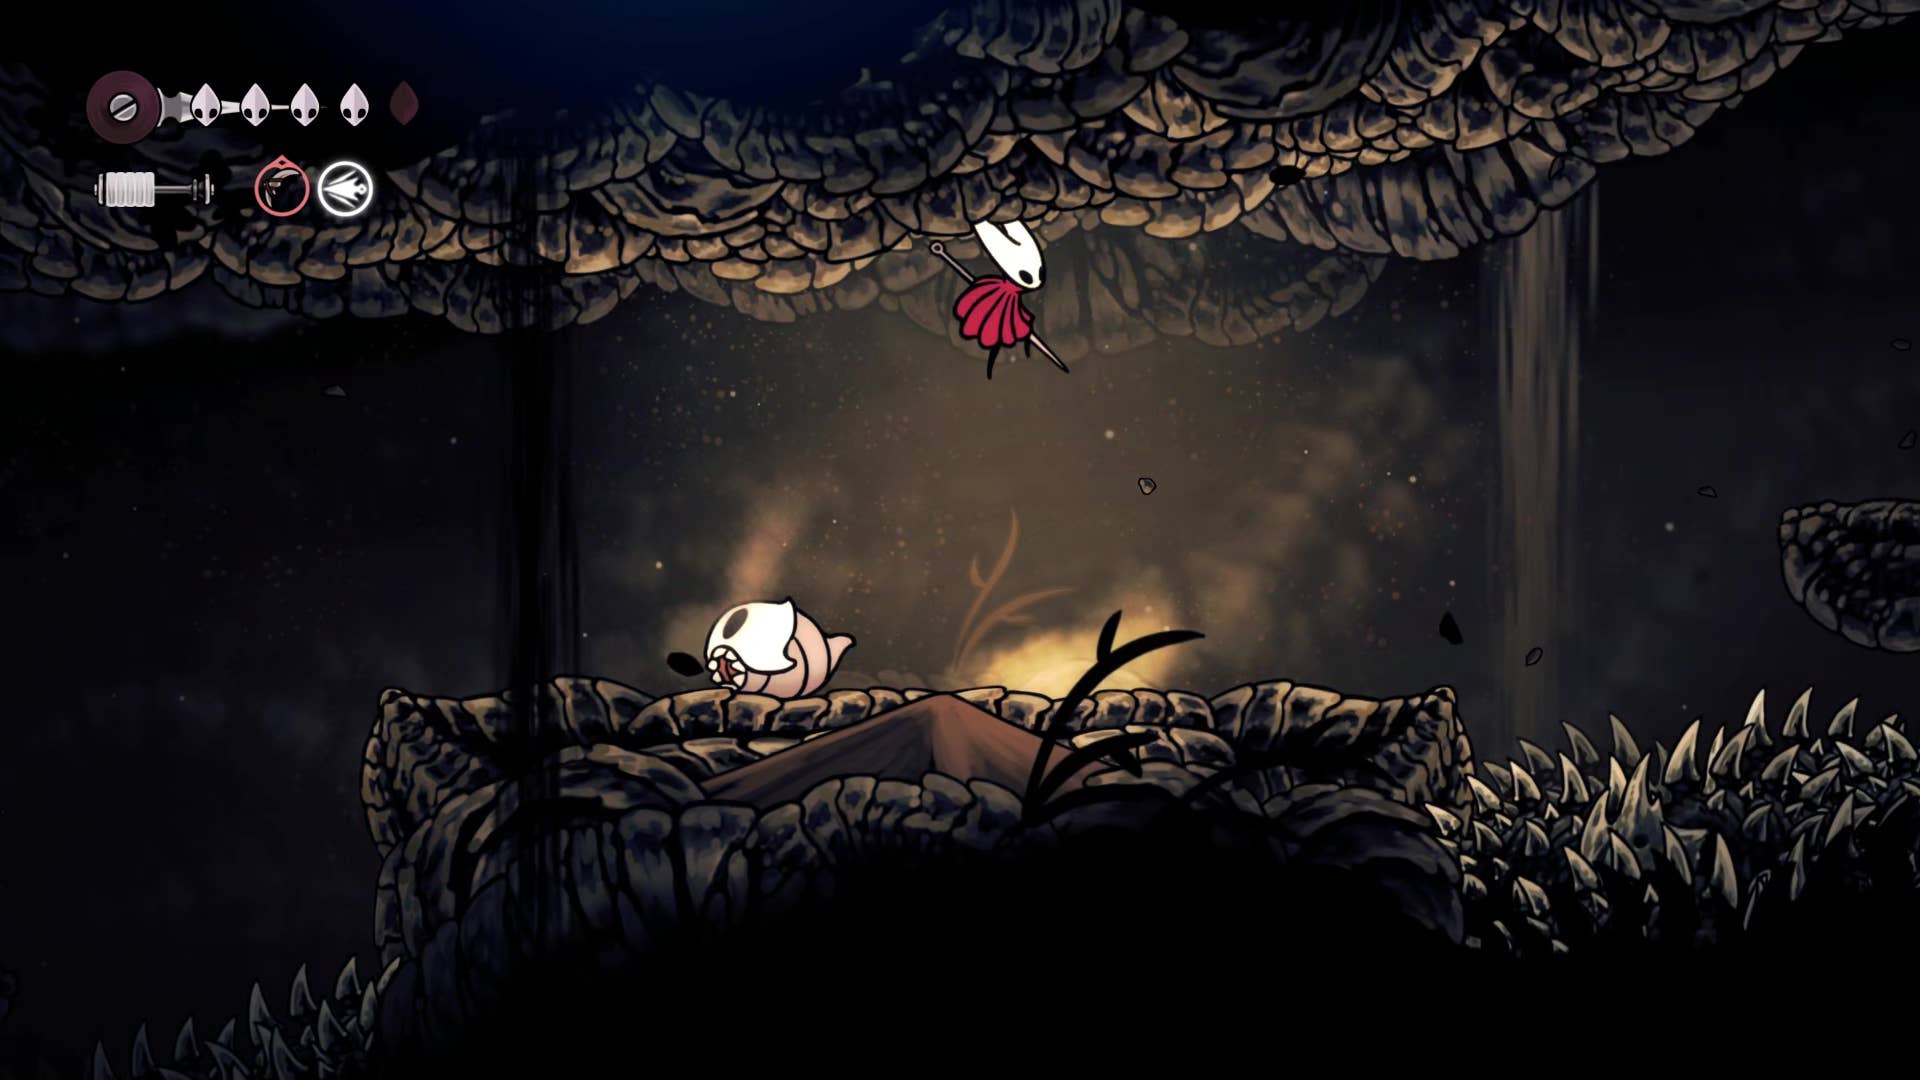
Next, return to ground level on the shaft and attack the wall on the right to reveal a secret passage.
This passage leads to a small room where the fleas get caught up in knid’s grasp. Kill knids and other enemies in the room and give the fleas freedom. Fleadom, if that’s the case.
4. Buy the Wormway Map from Shakura.
Exit the secret passage and climb the vertical shaft room along the way until you can reach the next exit on the right. Climb the crumbling platform and enter high to find Shakura of the two left-hand passes.
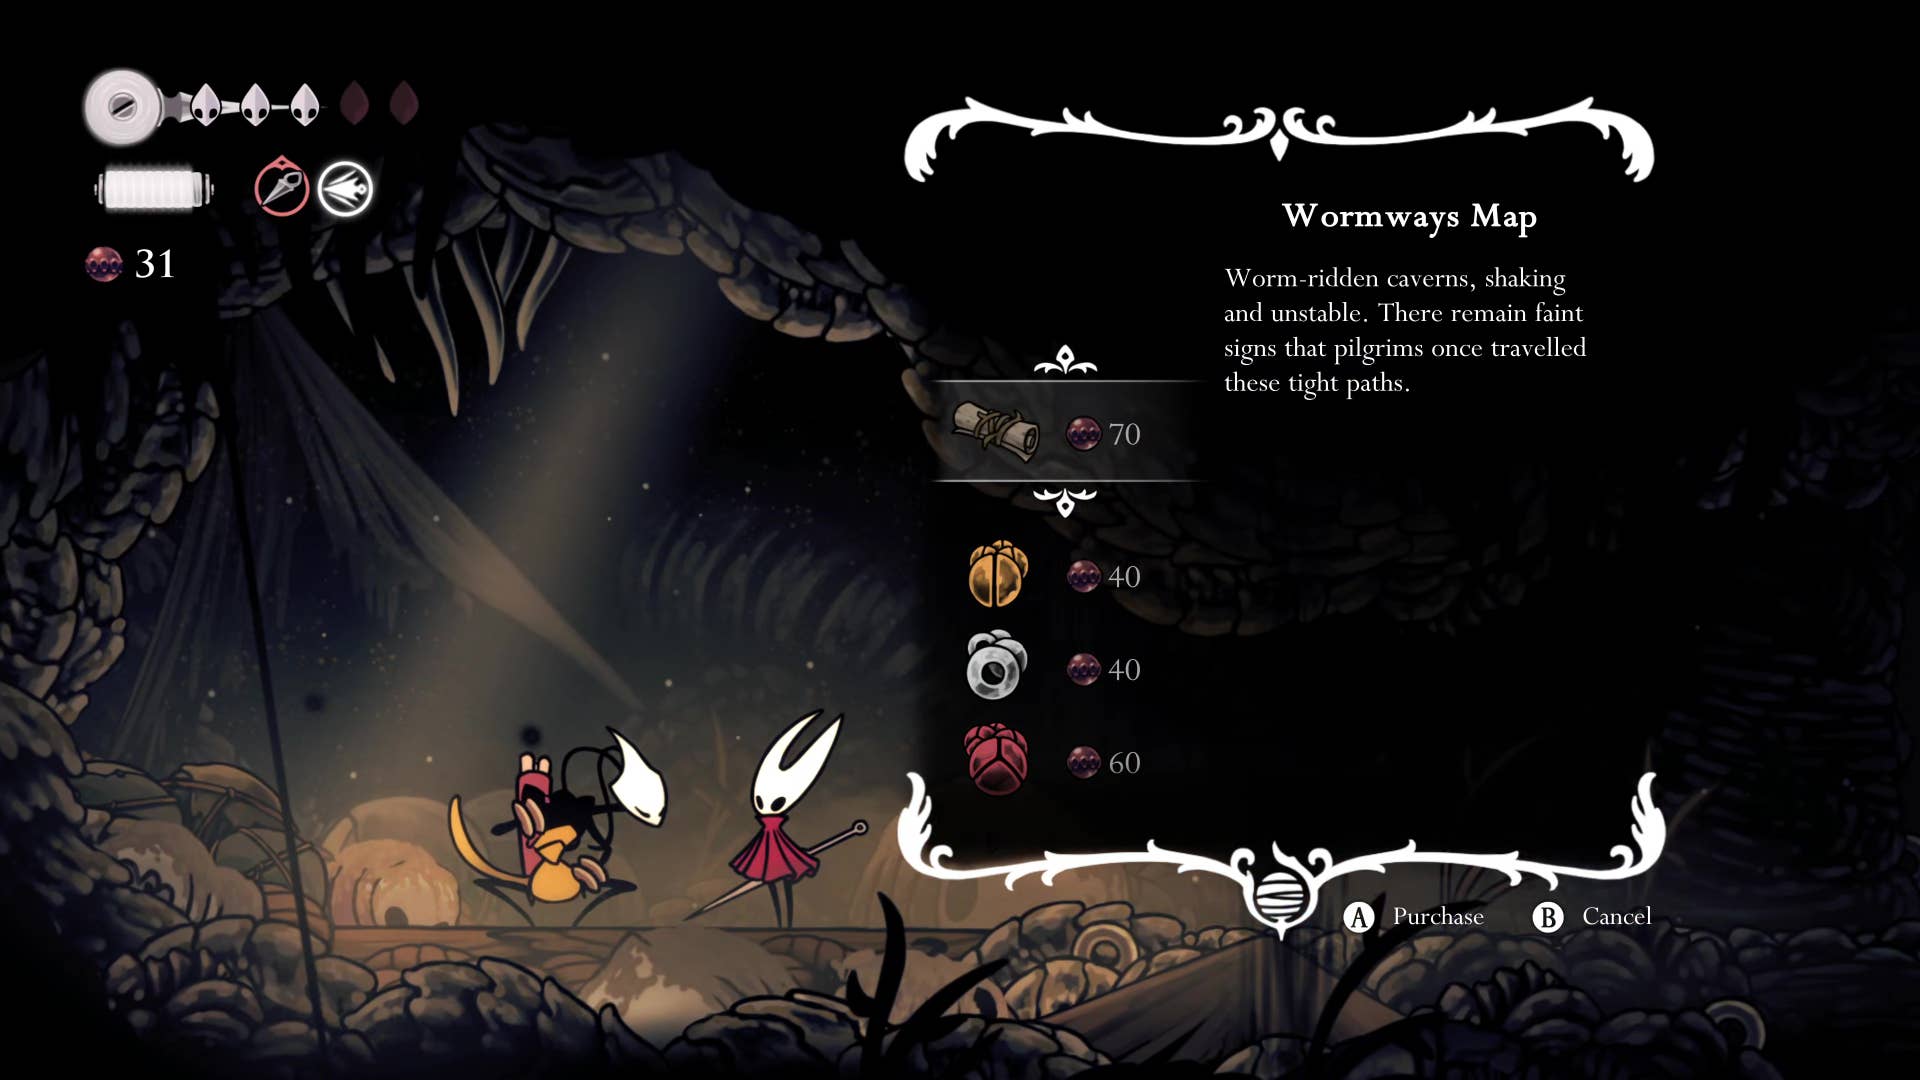
Shakura teaches us a little more about her quest to find her master. You can then purchase wormway maps at 70 Rosary.
5. Get the wallet of the dead bug.
Once you have the Wormway map, jump towards the top right shelf where you found Shakura. Dodge more falling worms and then climb into the passage where the final worms are falling, but not yet up. Just below the top is the path on the left. Follow this and you will find an item on the pilgrim’s corpse.
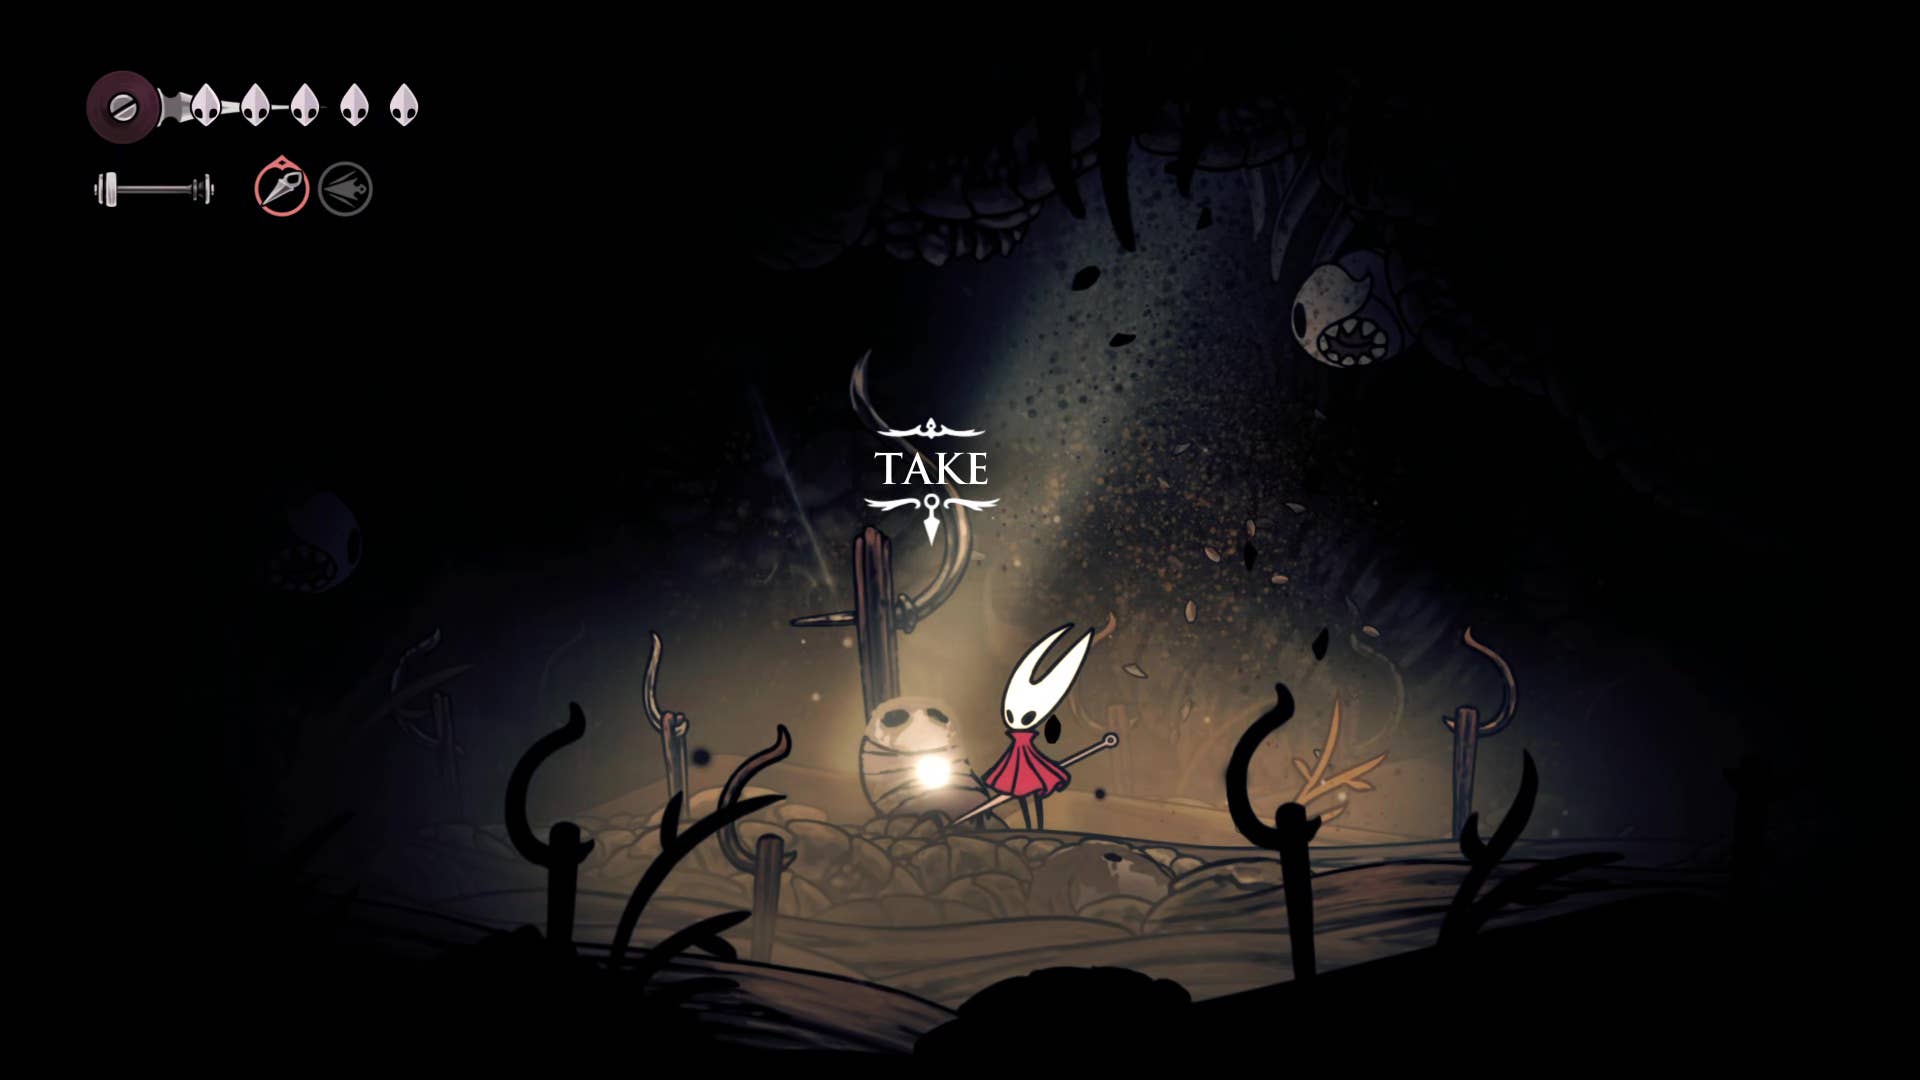
Once the worm is evaded or killed, plunder the items and get a wallet for the dead bug. This is a yellow slot tool (same as a compass). This allows you to hold the rosary when you die, rather than drop everything.
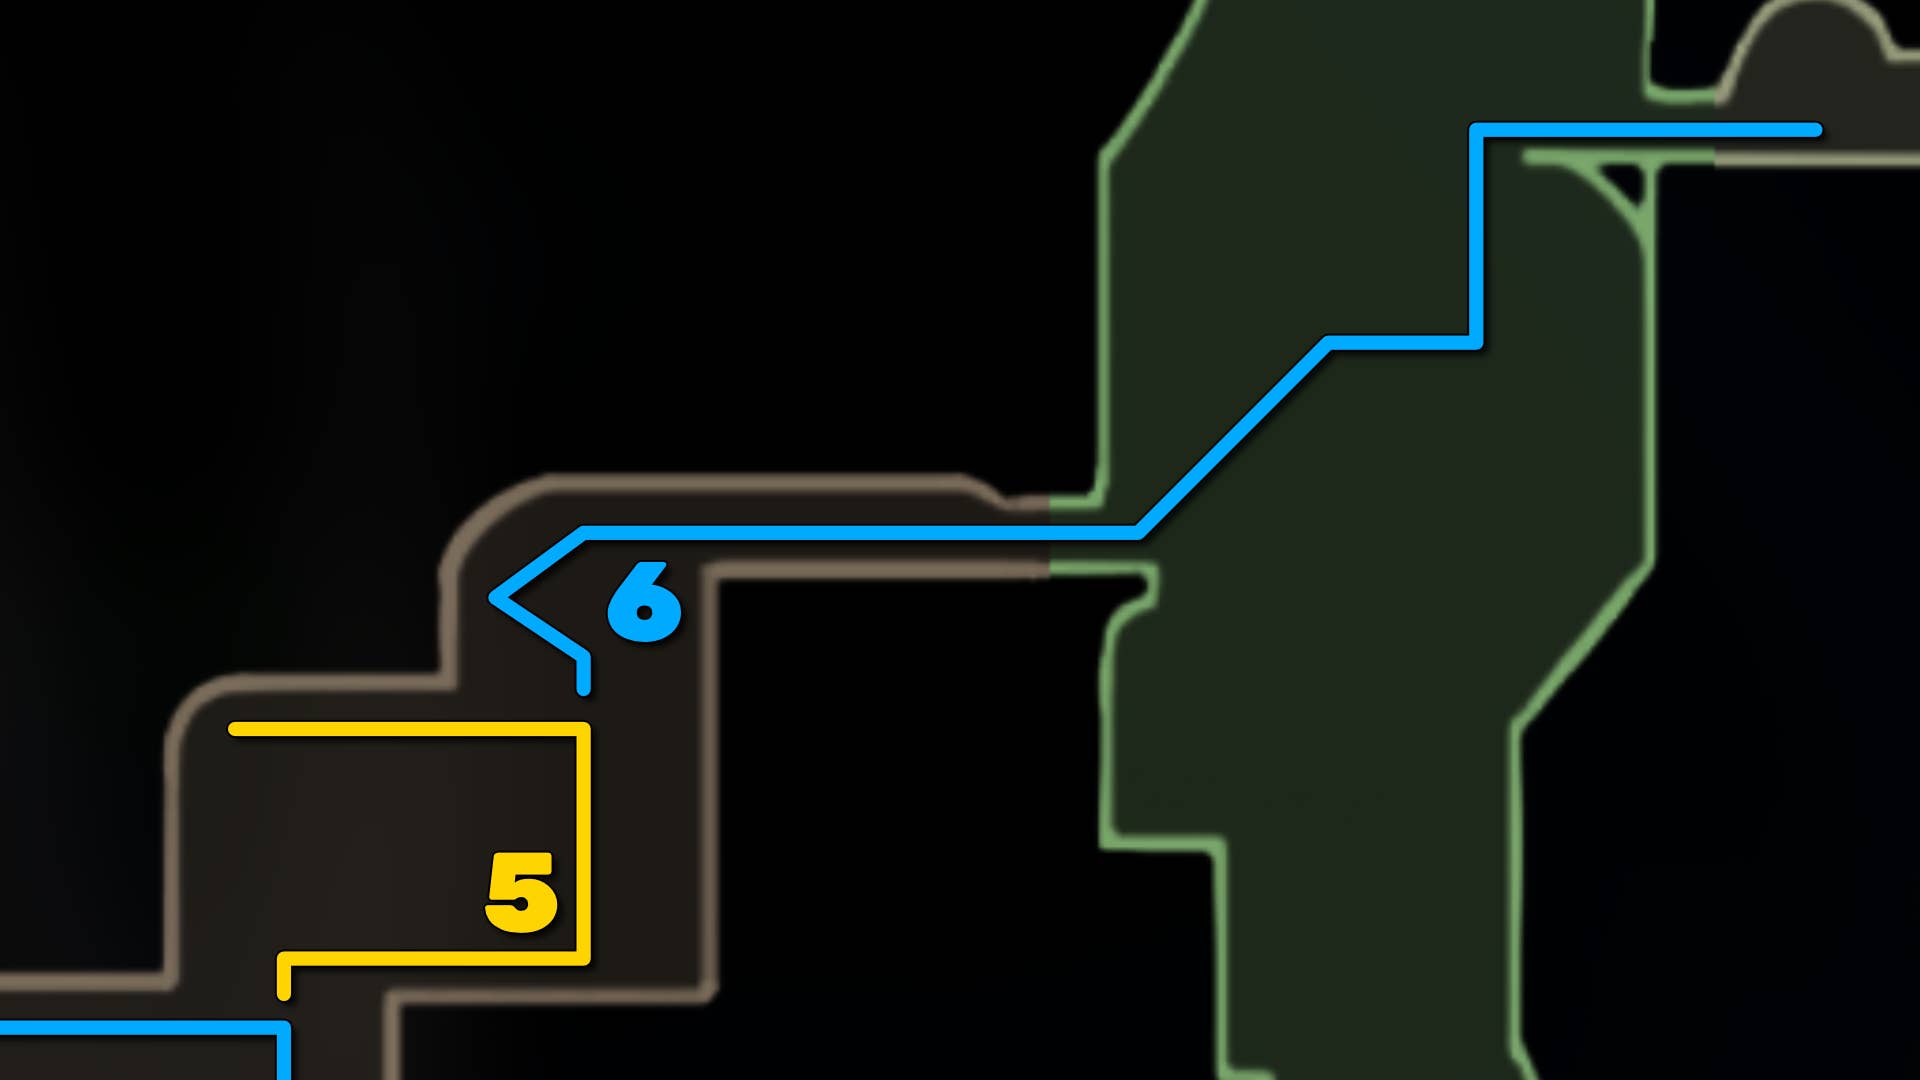
6. Reach the Shellwood entrance.
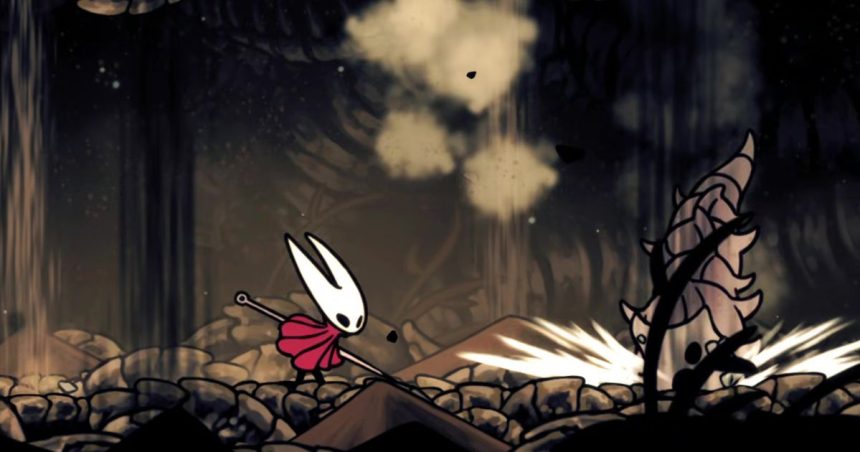
Backtrack and climb to the top of that last worm passage. Jump over the spikes, sprint past the rest of the worms, then go off-screen and reach the outside world again. For now, say goodbye to Wormway! I’ll go back later.
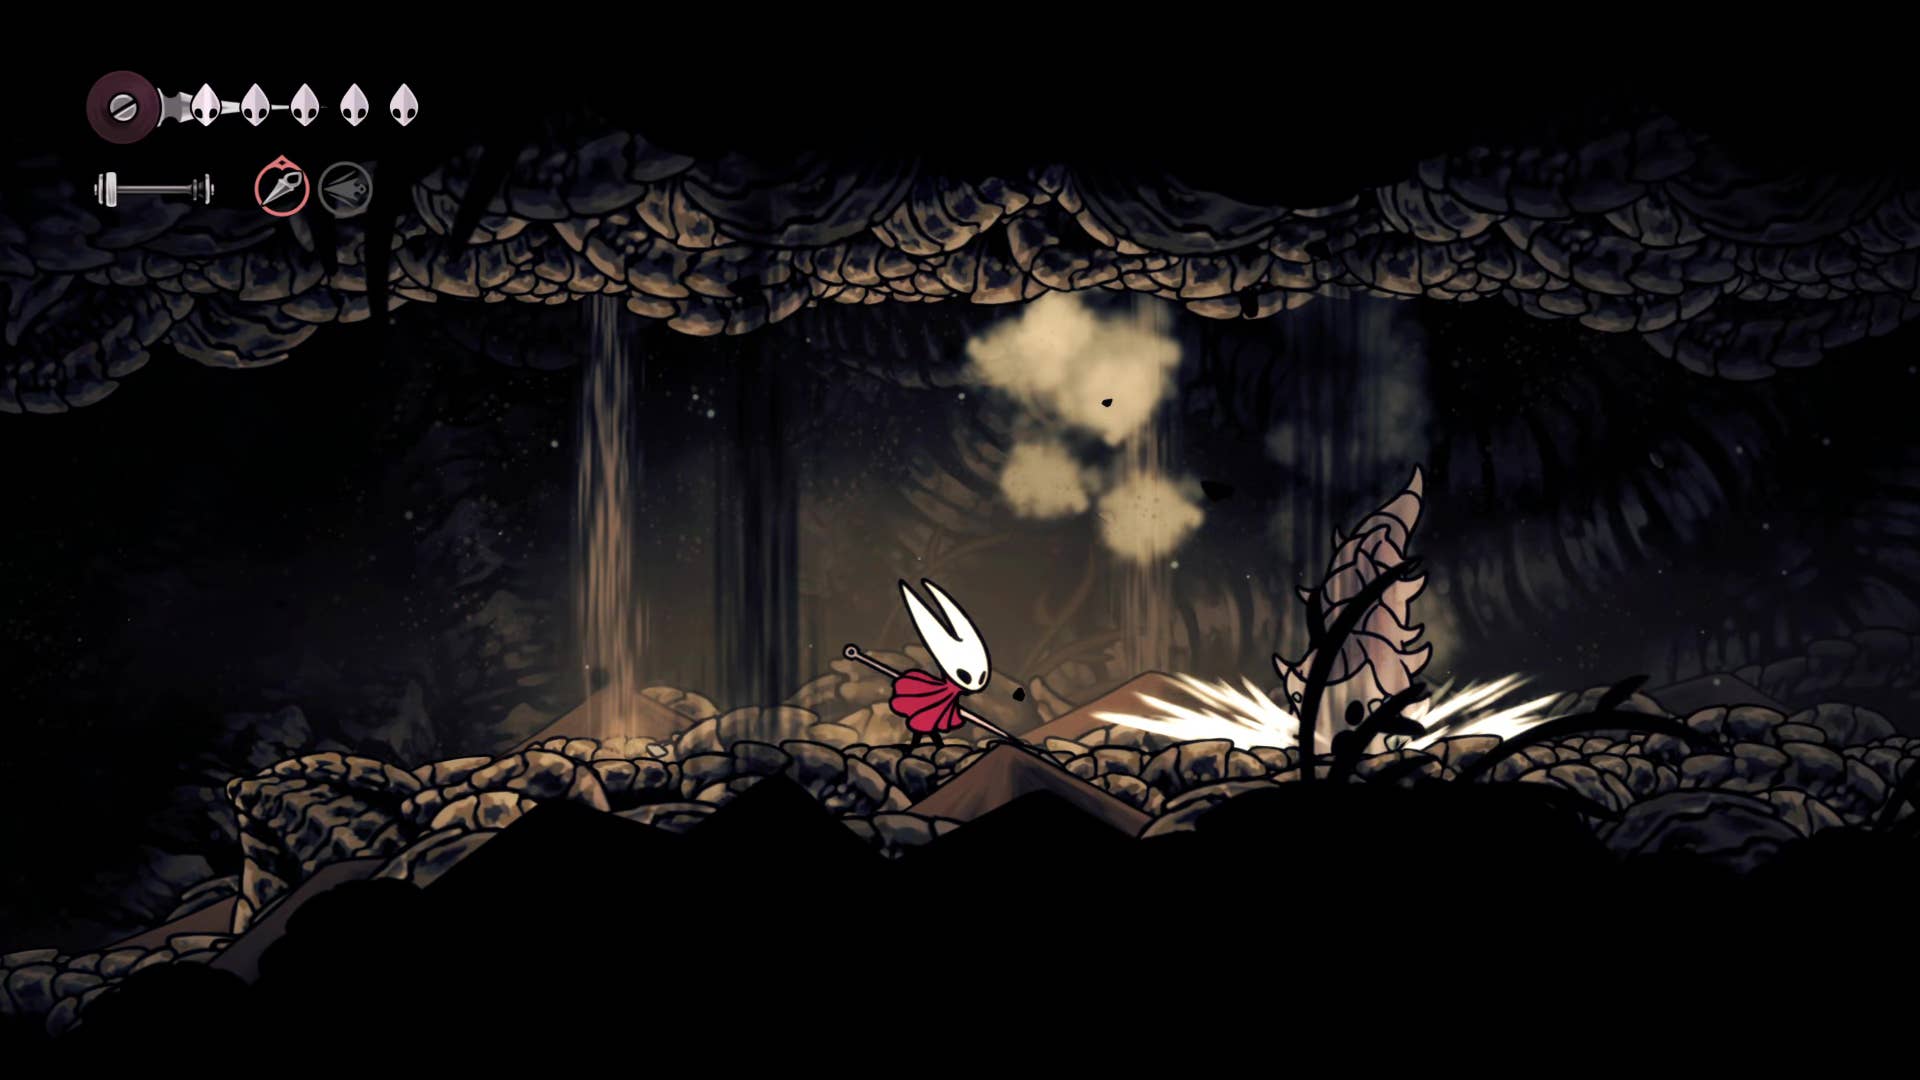
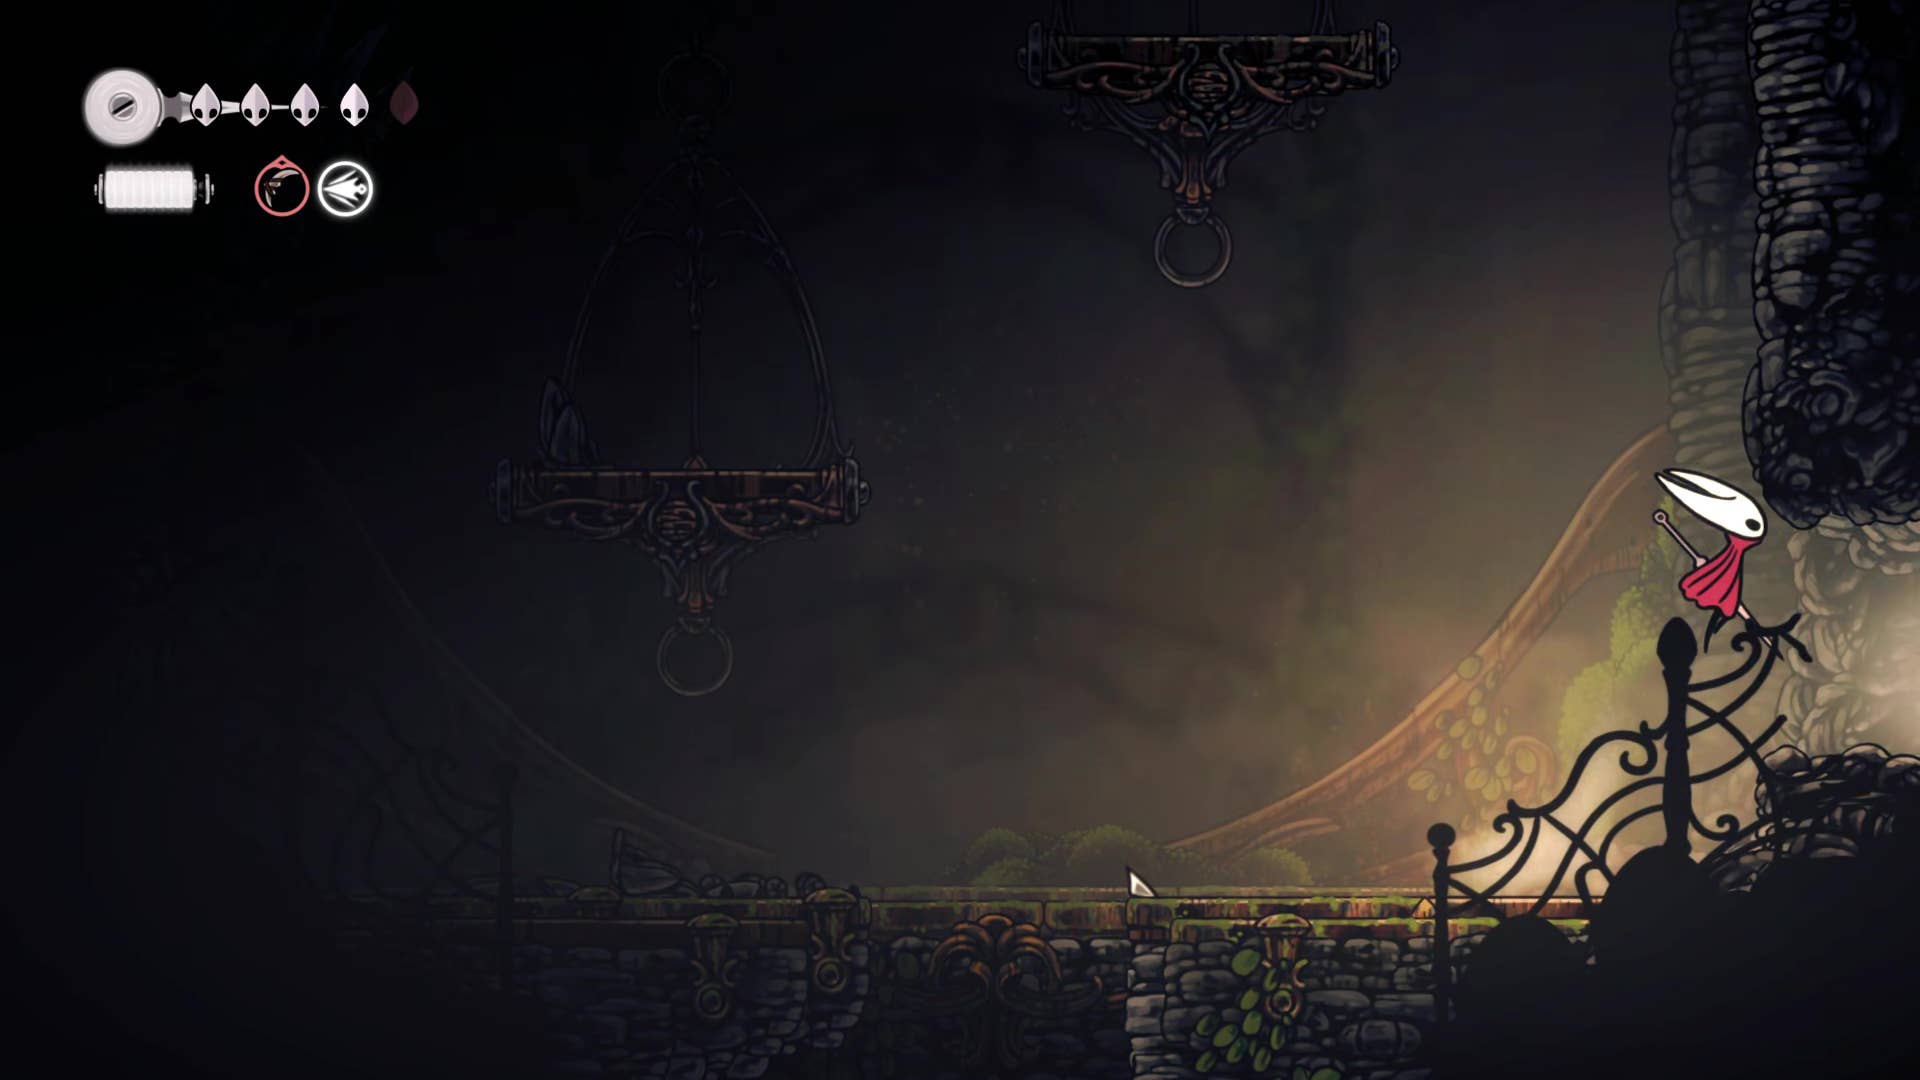
Below is the platform section, and the most likely falling means a very long journey, returning to the bottom of the bone. So take it slowly and carefully.
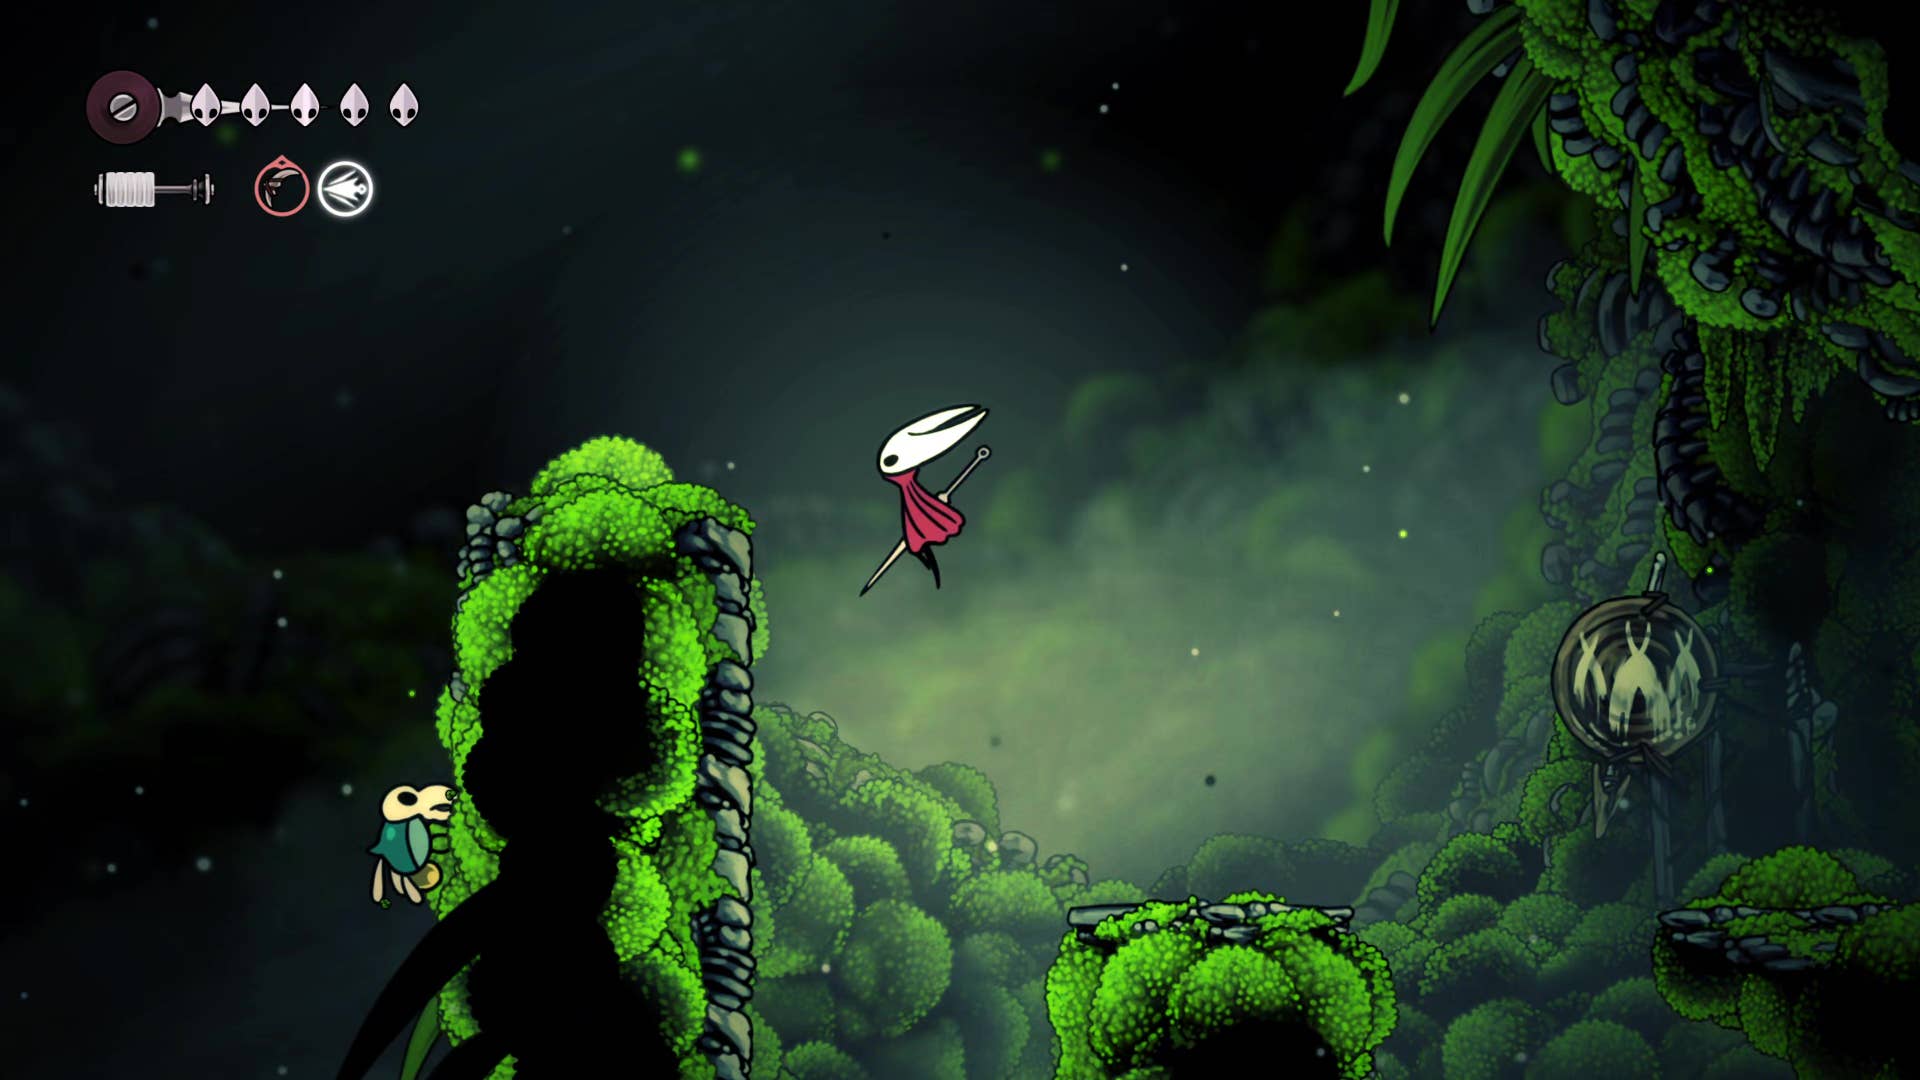
It hangs across the shelf as far as possible above. Near the wall on the right at the top there is a hole that can be climbed upstairs. Head to the next room and you can pay 60 rosary to unlock the bench (advice is recommended if you can afford the rosary).
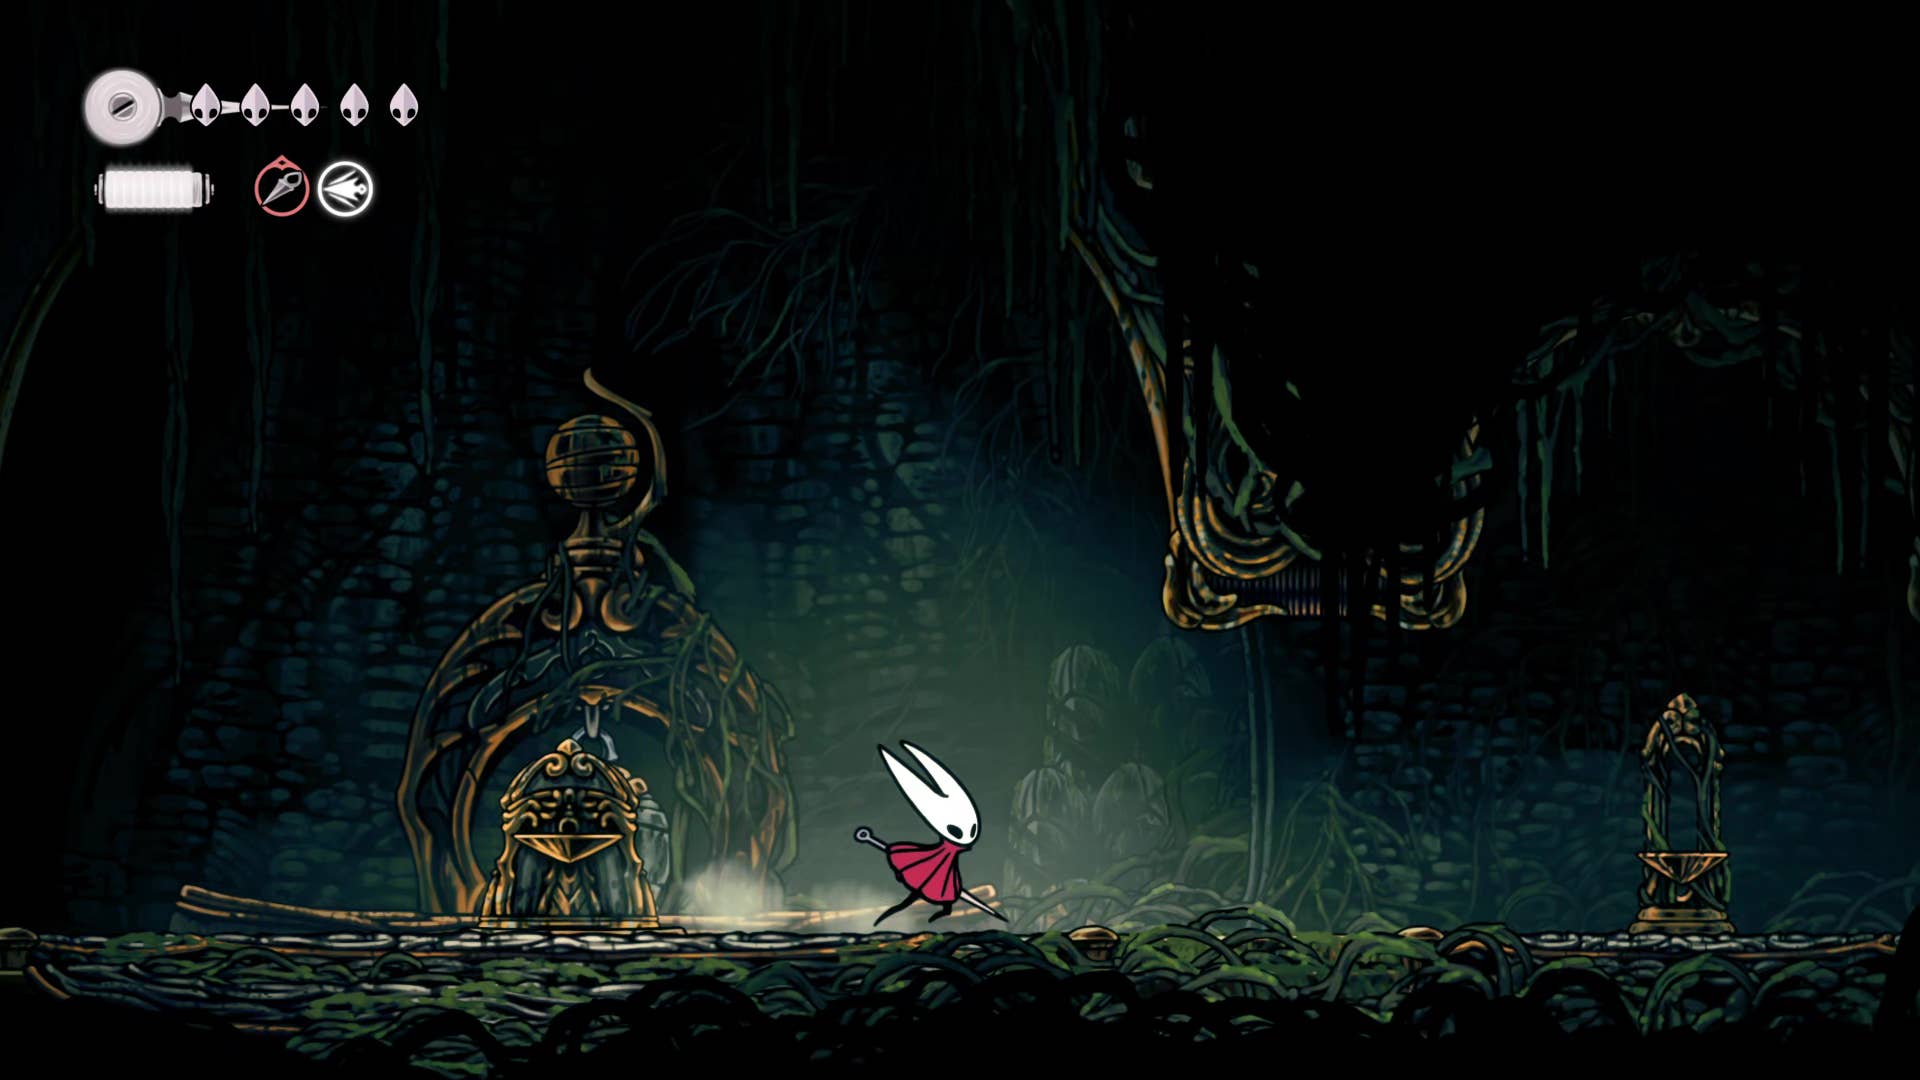
This is the entrance to Shelwood. There were several different ways to get into this new region, but Wormway offers a quick path to the starting bench to do the world-saving issues. Take a well-earned rest and prepare some new enemies in the next part.
This chapter is all. Well done to get through the wormway! Join Part 9 of the Silk Song Walkthrough to learn the best path through Shelwood’s strange and dangerous lands.
(TagStoTranslate) Hollow Knight: Silksong (T) Action Adventure (T) Indie (T) Nintendo Switch (T) PC (T) Platformer (T) Team Cherry