Hollow Knight: What should you do before you rise up the elevator at the end of Act 2 of Silkson? At this point, we are nearing the final credits for Silkson. Don’t worry, the (hidden) Act 3 awaits us afterwards, but it’s a good time to return to the world of Farroom and tie the loose ends together before you play triple melody and reach the highest point of the finale.
in Hollow Knight Part 32: Silkson Walkthroughstep by step through a handy checklist of quests, collectibles and side activities, making sure you’re as strong as possible before ascending into the cradle.
Do you need a walkthrough in another area of the game? Check out Hollow Knight: Silksong Walkthrough Hub!
MISC Quest 3 Walkthrough Steps:
- Complete the second Sentinel quest line.
- Complete the BroodFeast quest.
- Complete the Courier quest.
- Finishes the fantastic taste of Falroom.
- Unlock your bell home.
- Complete all Wishwall Quests.
- Buy all items from all shops.
- Join Eva.
- A complete challenge for Roddy.
- Please fill out the hunter’s diary.
- Put your hands into all your collectibles.
- Dueling with Shakura.
1. Complete the Second Sentinel quest line.
If you’re following this walkthrough, now I’ve collected all three cogheart pieces in a Citadel and assembled them into a single cogheart. Here are three places again in case you missed it:
- Cogheart Piece 1: The choir room is located in the room on the left above the Citadel Spa.
- Cogheart Pieces 2: With whispers, under the path leading to the stage.
- Cogheart Piece 3: At Memories just above the East Side Map Room.
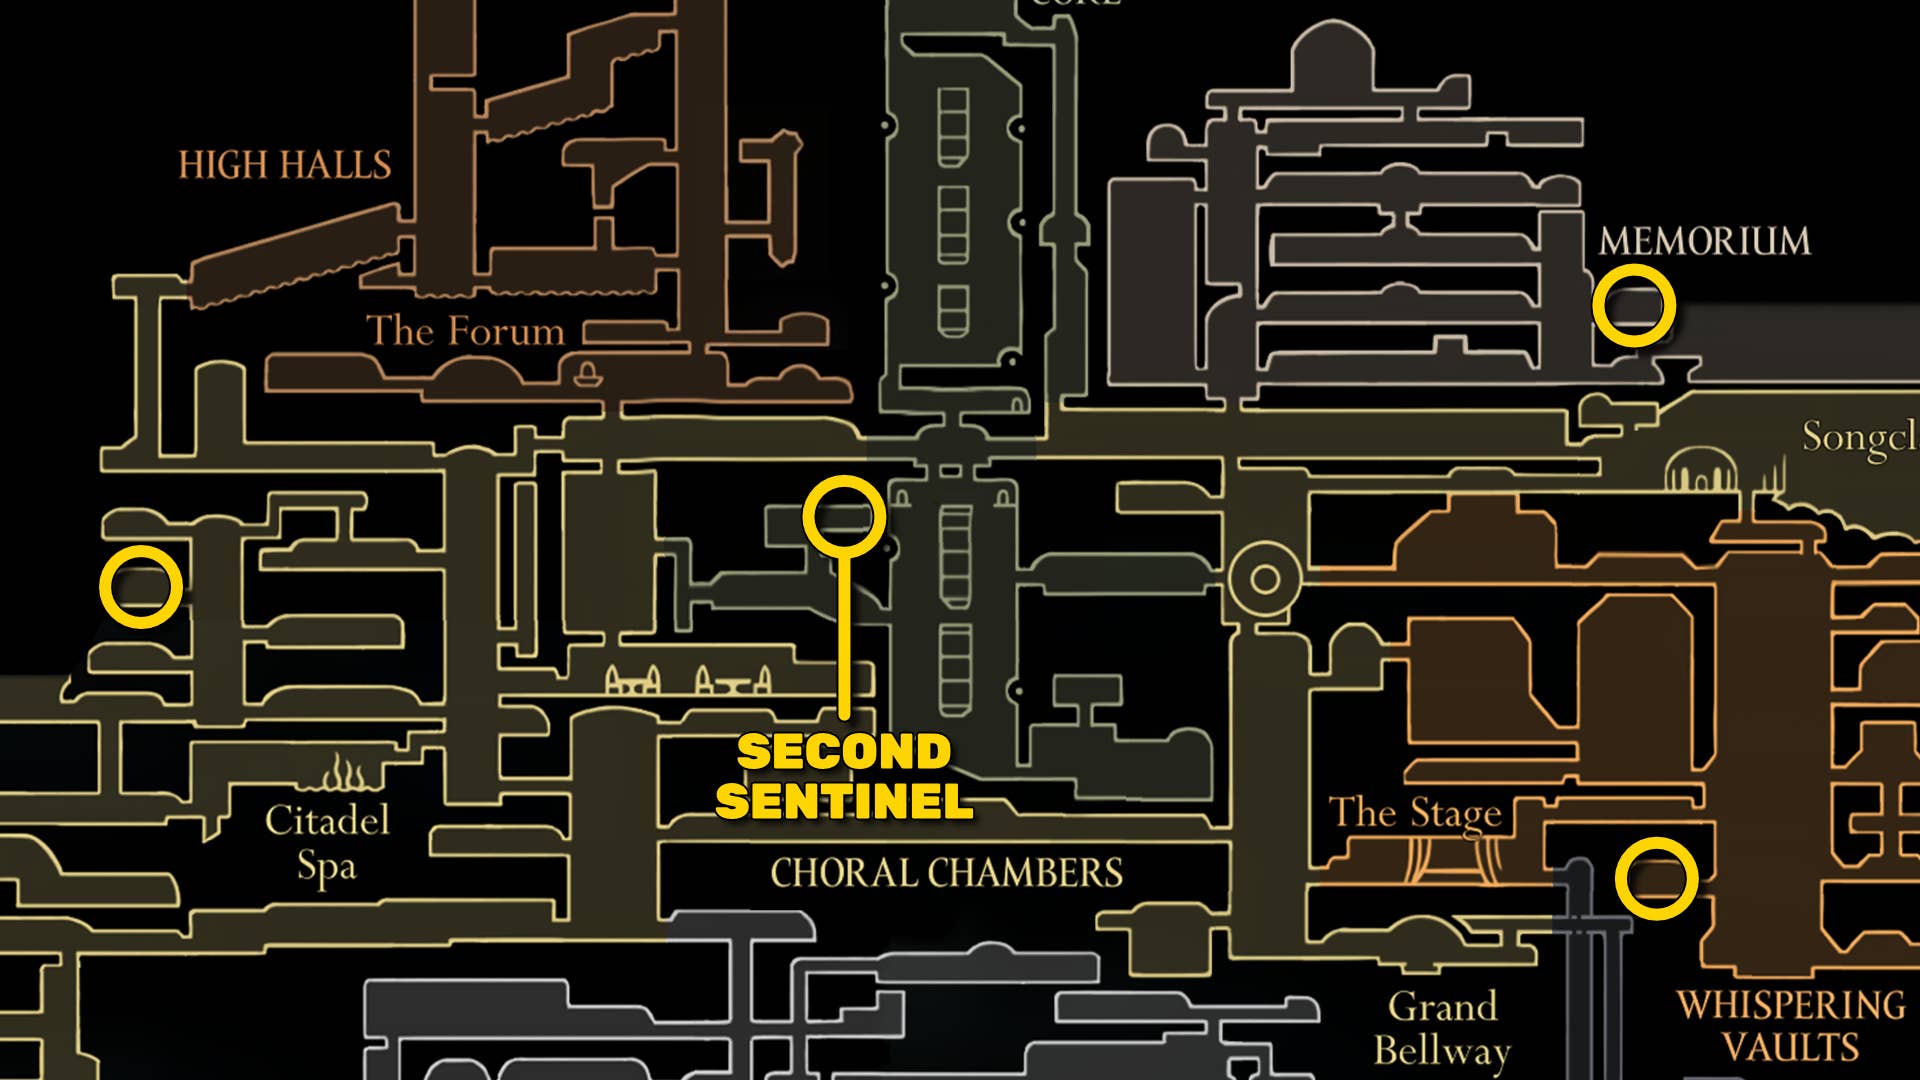
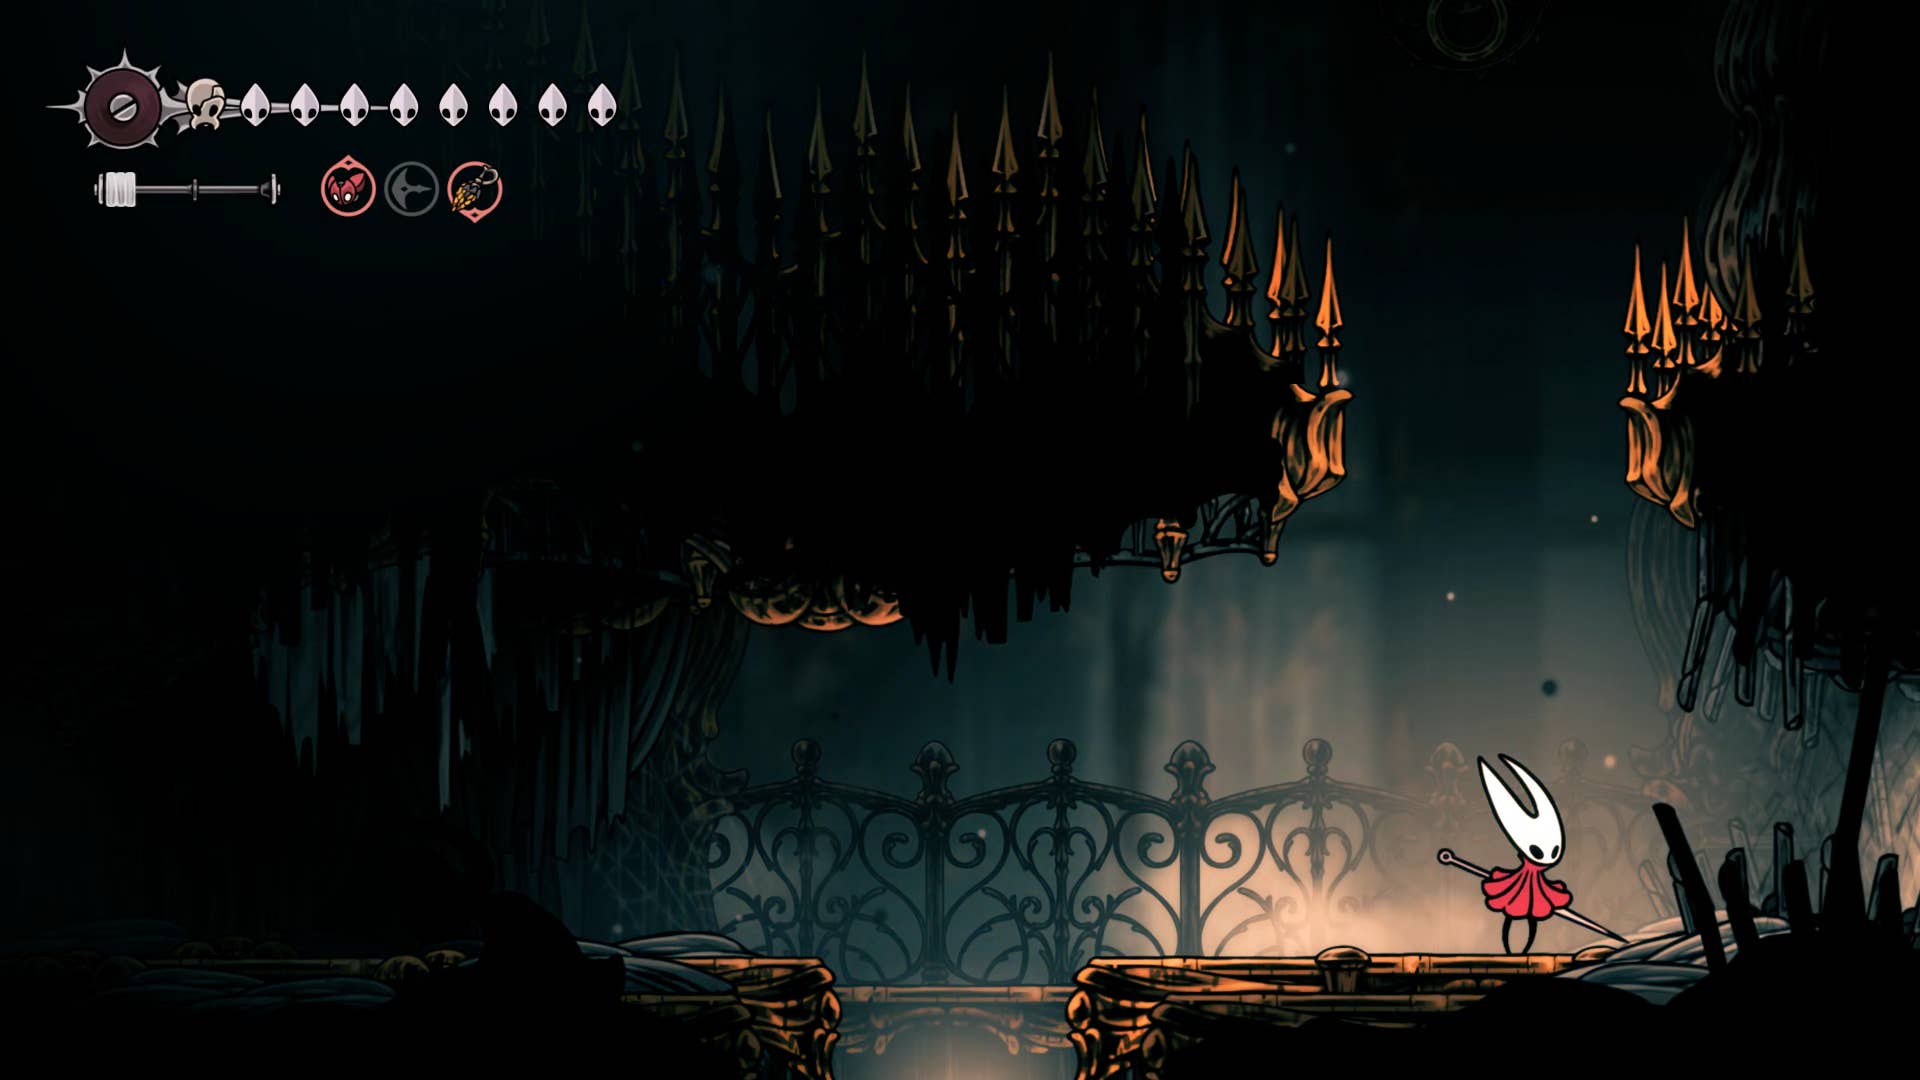
With all three Cogheart pieces gathered together, head towards the bottom of the Cogwork core and take the only exit on the left. In the next room you can double jump through the hole in the ceiling and break down the wall on the right to find the second sentinel, a compartment containing the automata.
Break the glass and wake up by inserting cogheart into the second sentinel. Then it disappears.
Here, Garmond and Zaza fight just as they have done before, looking into the marked location on the map below and finding the second sentinel again. After each fight, the second Sentinel will zoom and zoom before you get the chance to talk to it, but that’s fine. Try to find him at least twice in any of the following locations:
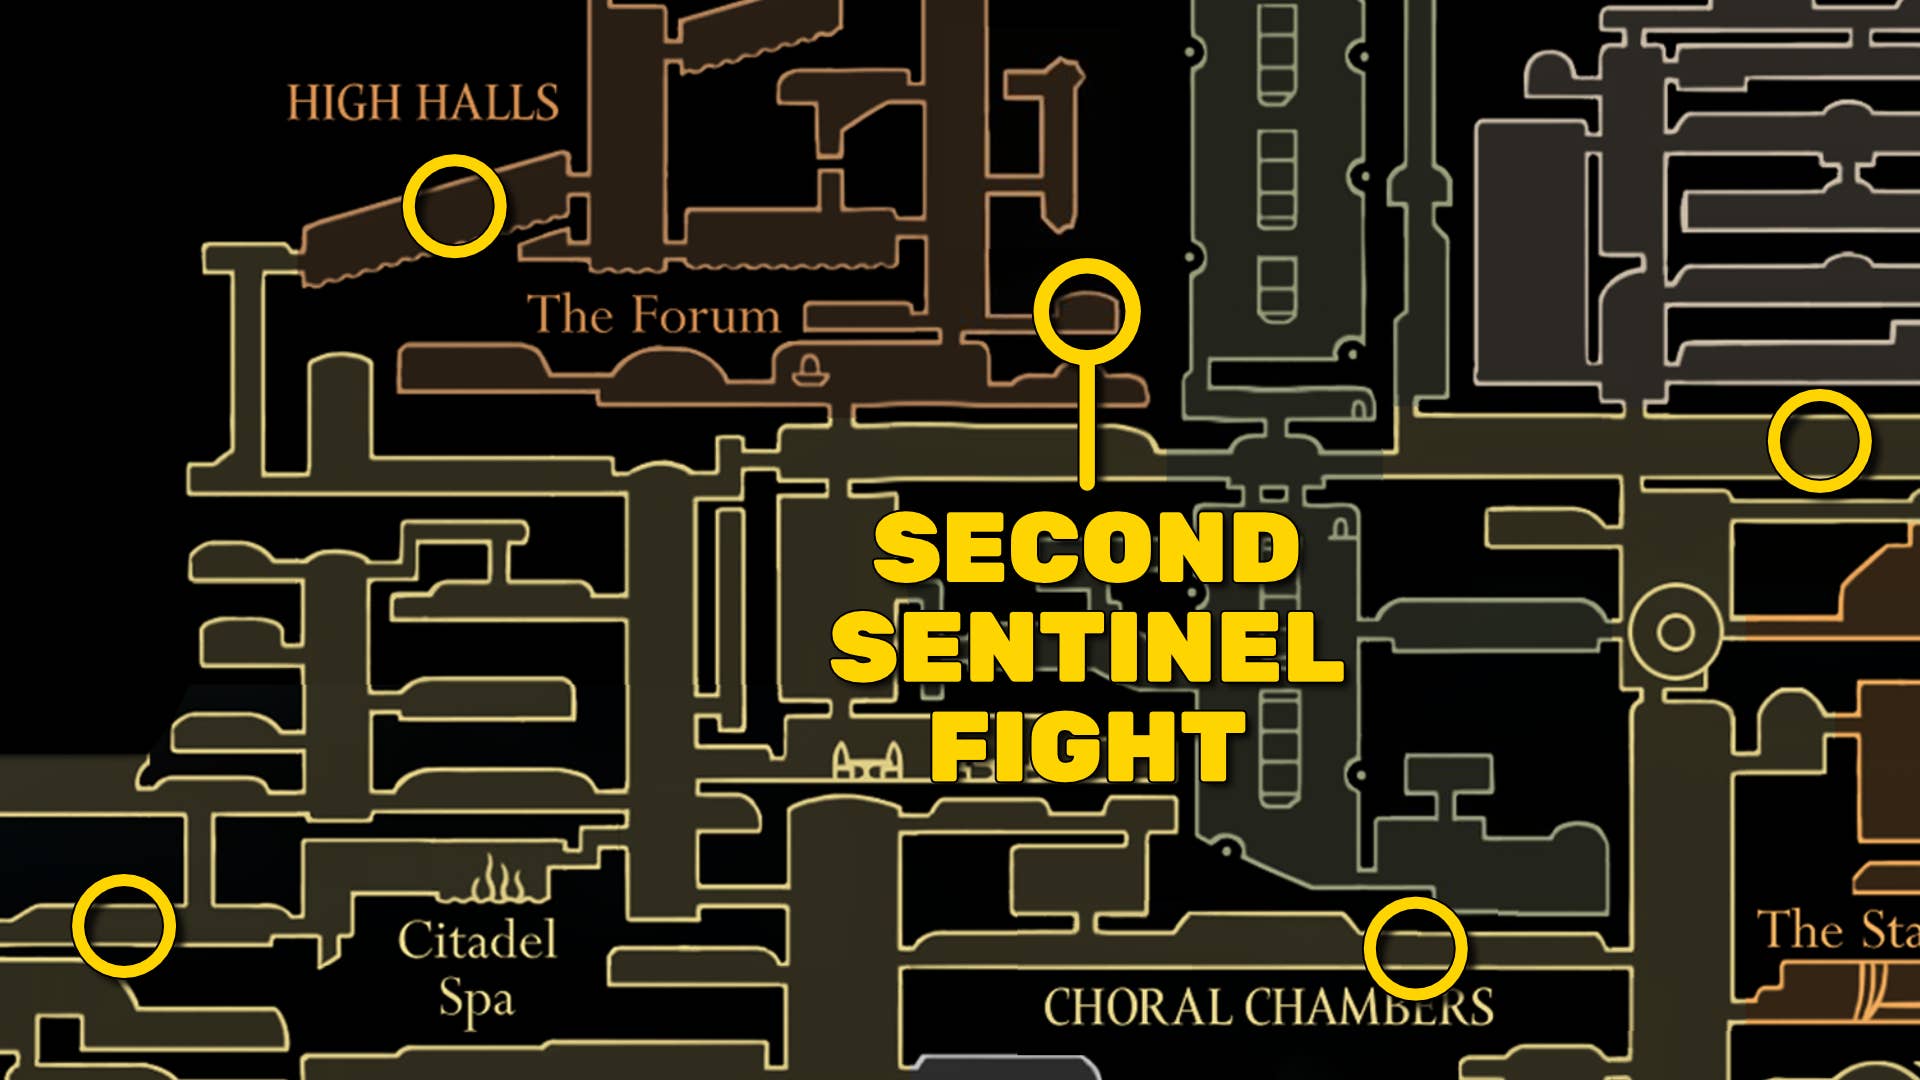
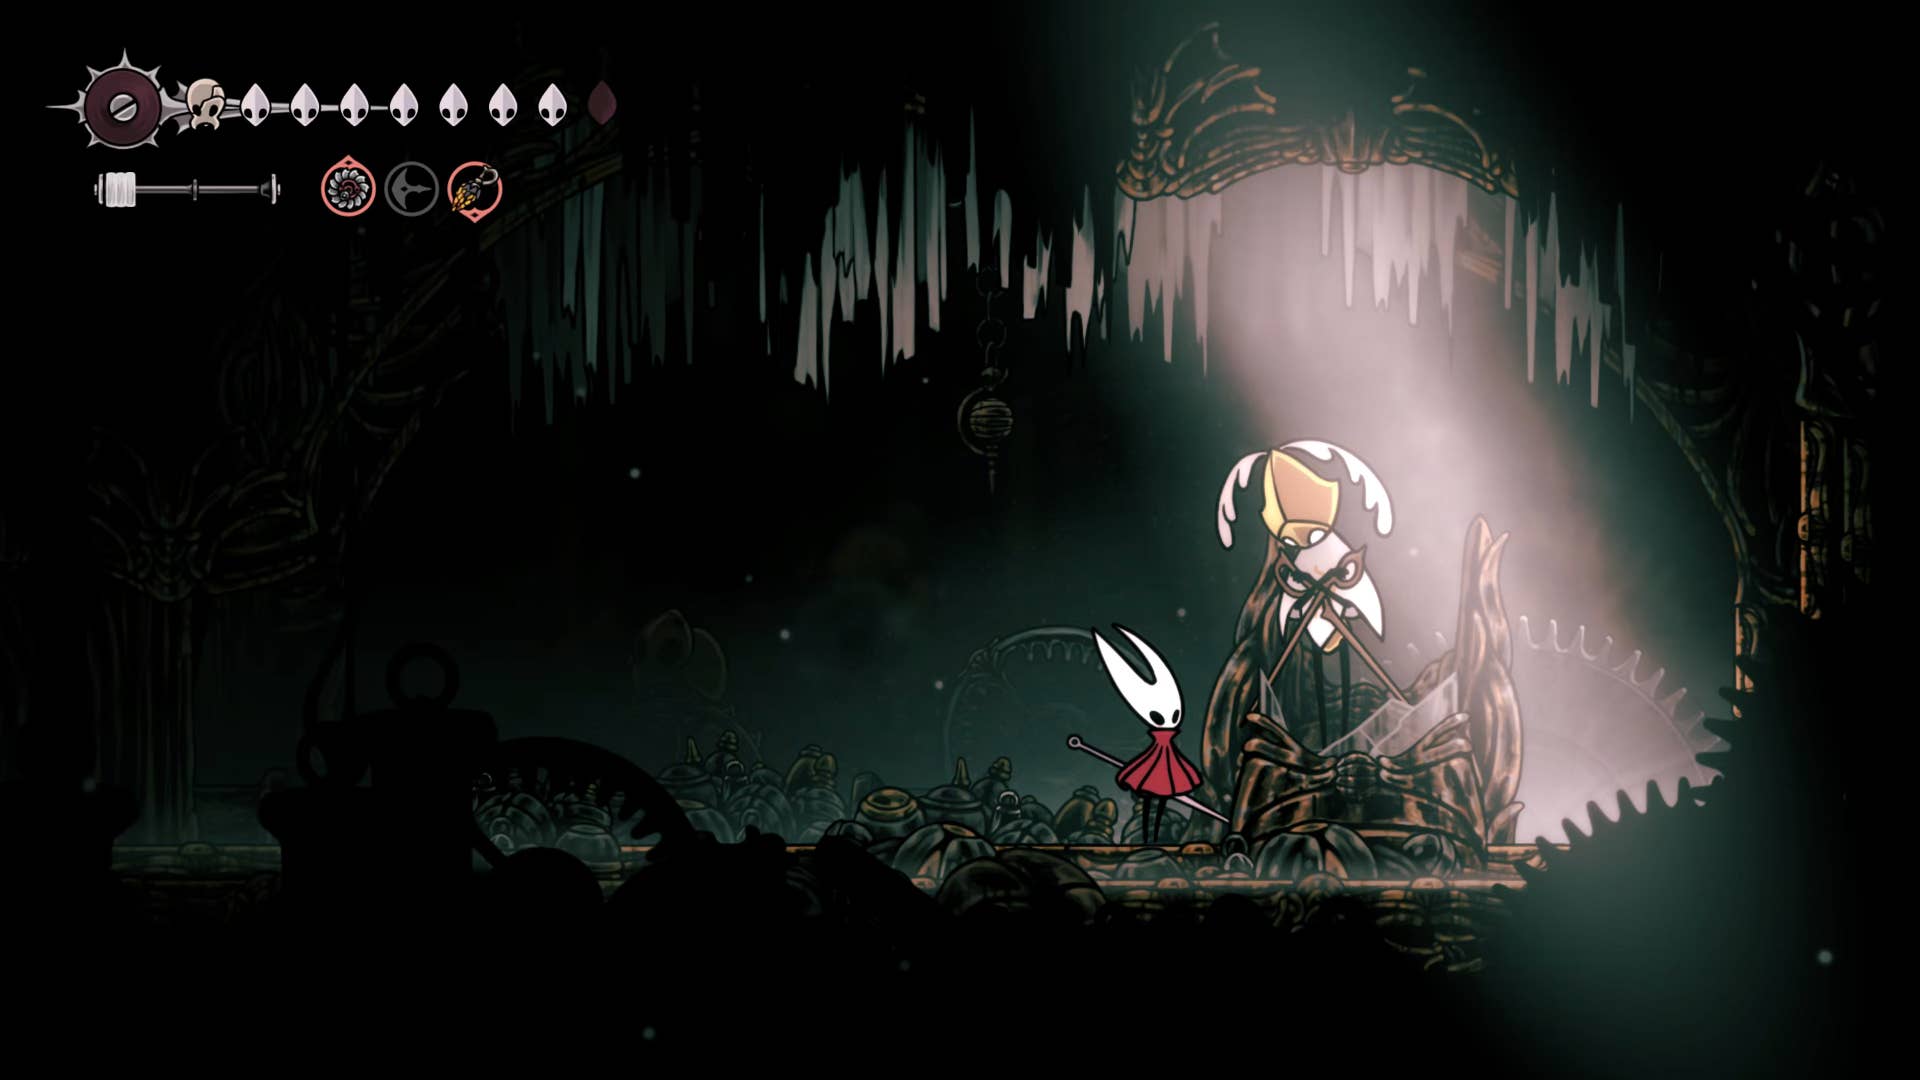
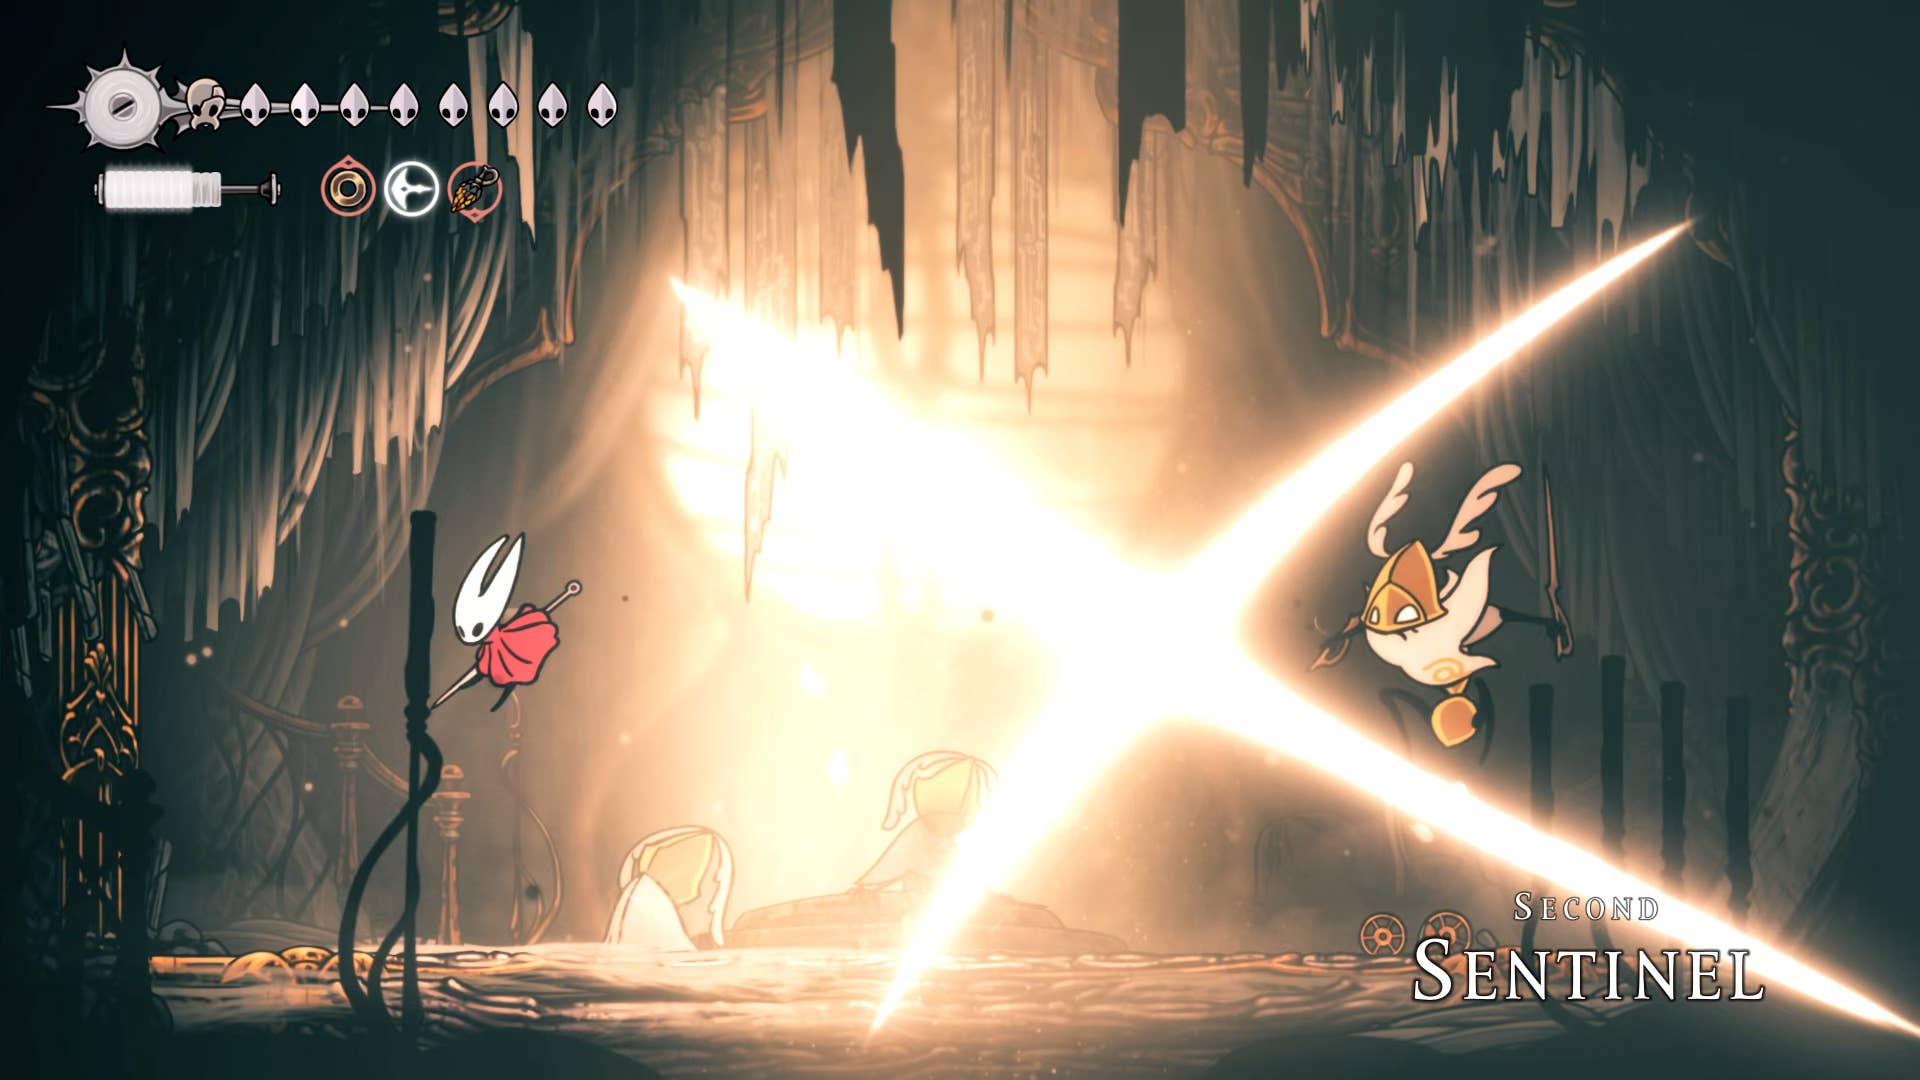
Once that’s done, head to Songclave Wishwall and find the final audience wish left in the second Sentinel. Go through the east shortcut to the high hall and climb outside the Bellway Room. You will find a new route heading towards the right.
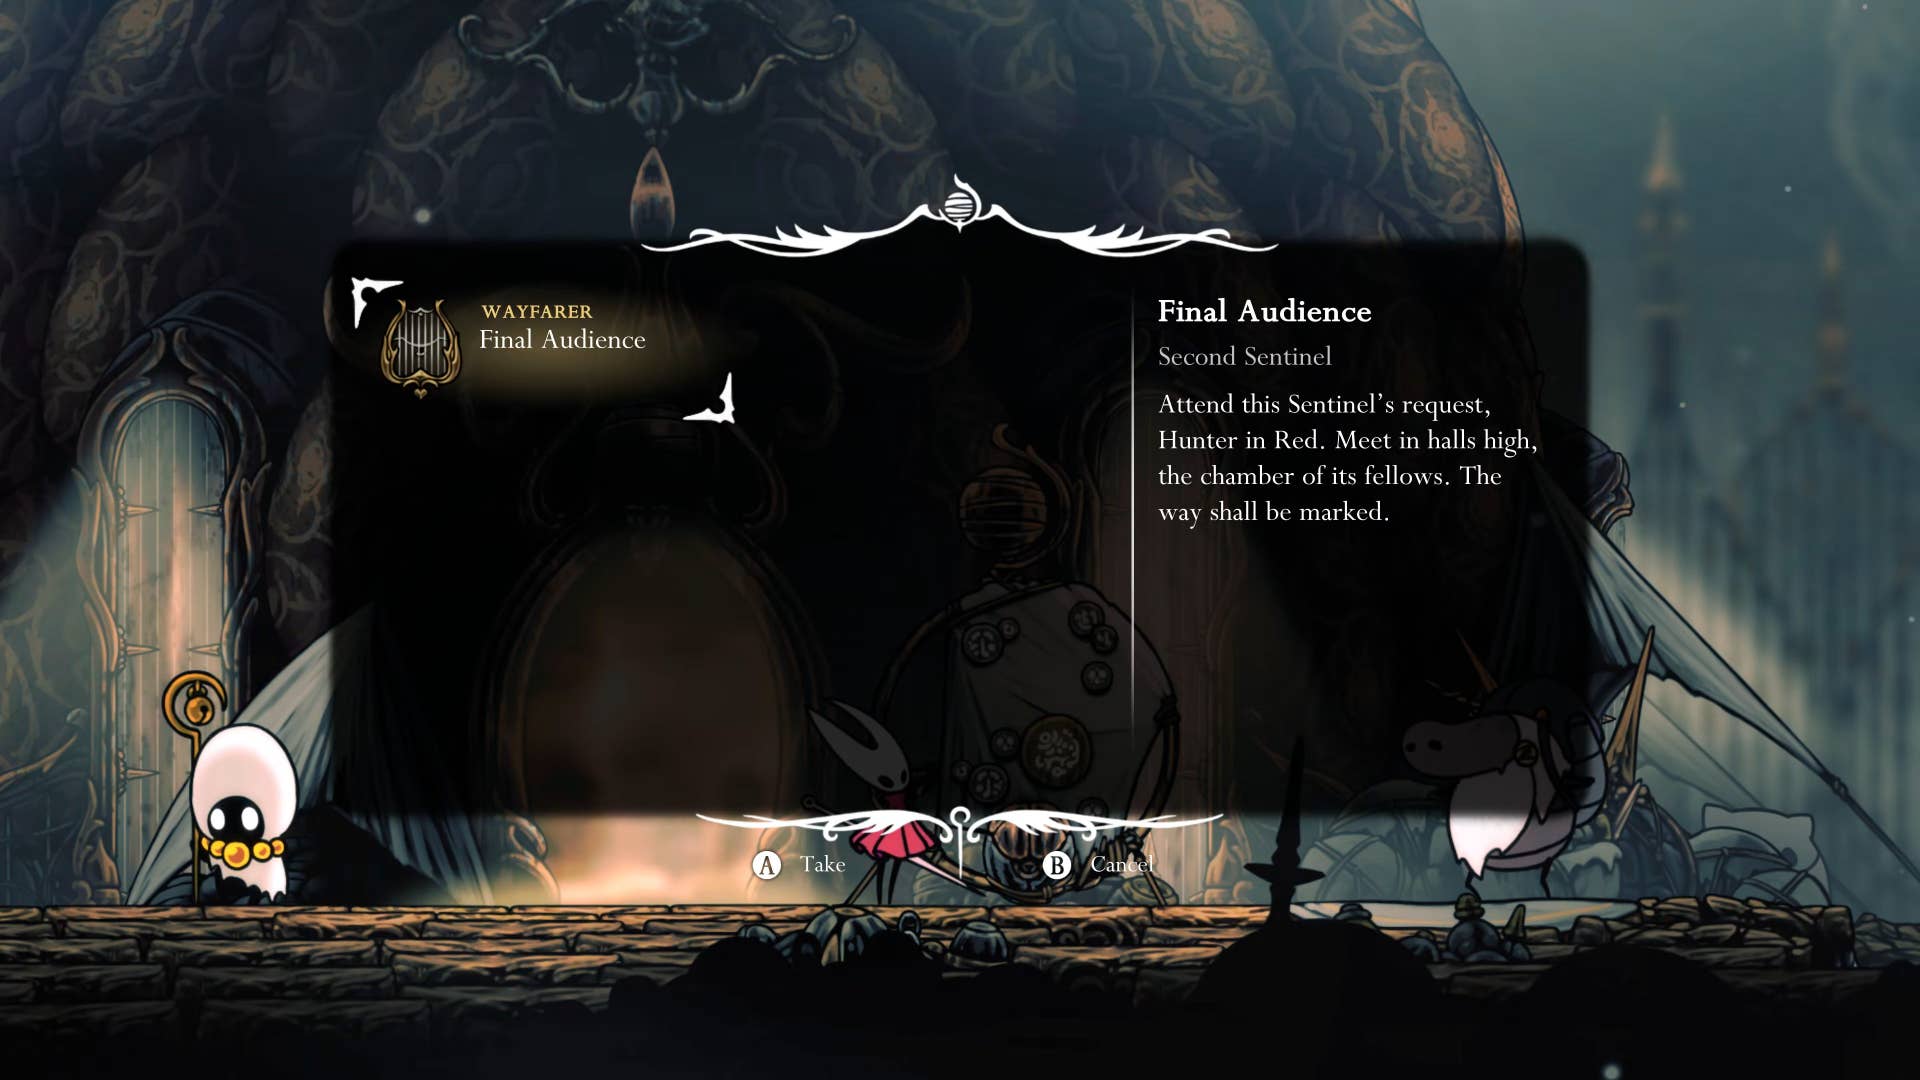
Talk to the second Sentinel and he will challenge you to a duel. It’s a fun battle, this. Sentinels have the ability to chase things like races and phantoms, swung quickly, block and fight back.
Much of this fight depends on properly distancing yourself from the Sentinel. Keep half the width of the arena away from him. That way you’ll have time to respond to his attack. The trick afterwards is to find a moment when you can dash and punish him before retreating again.
Pogo attacks are effective as long as he is already in the middle of an attack. Don’t continue pogo after he’s finished. Because he can jump upwards very quickly and hit you if you dawn.
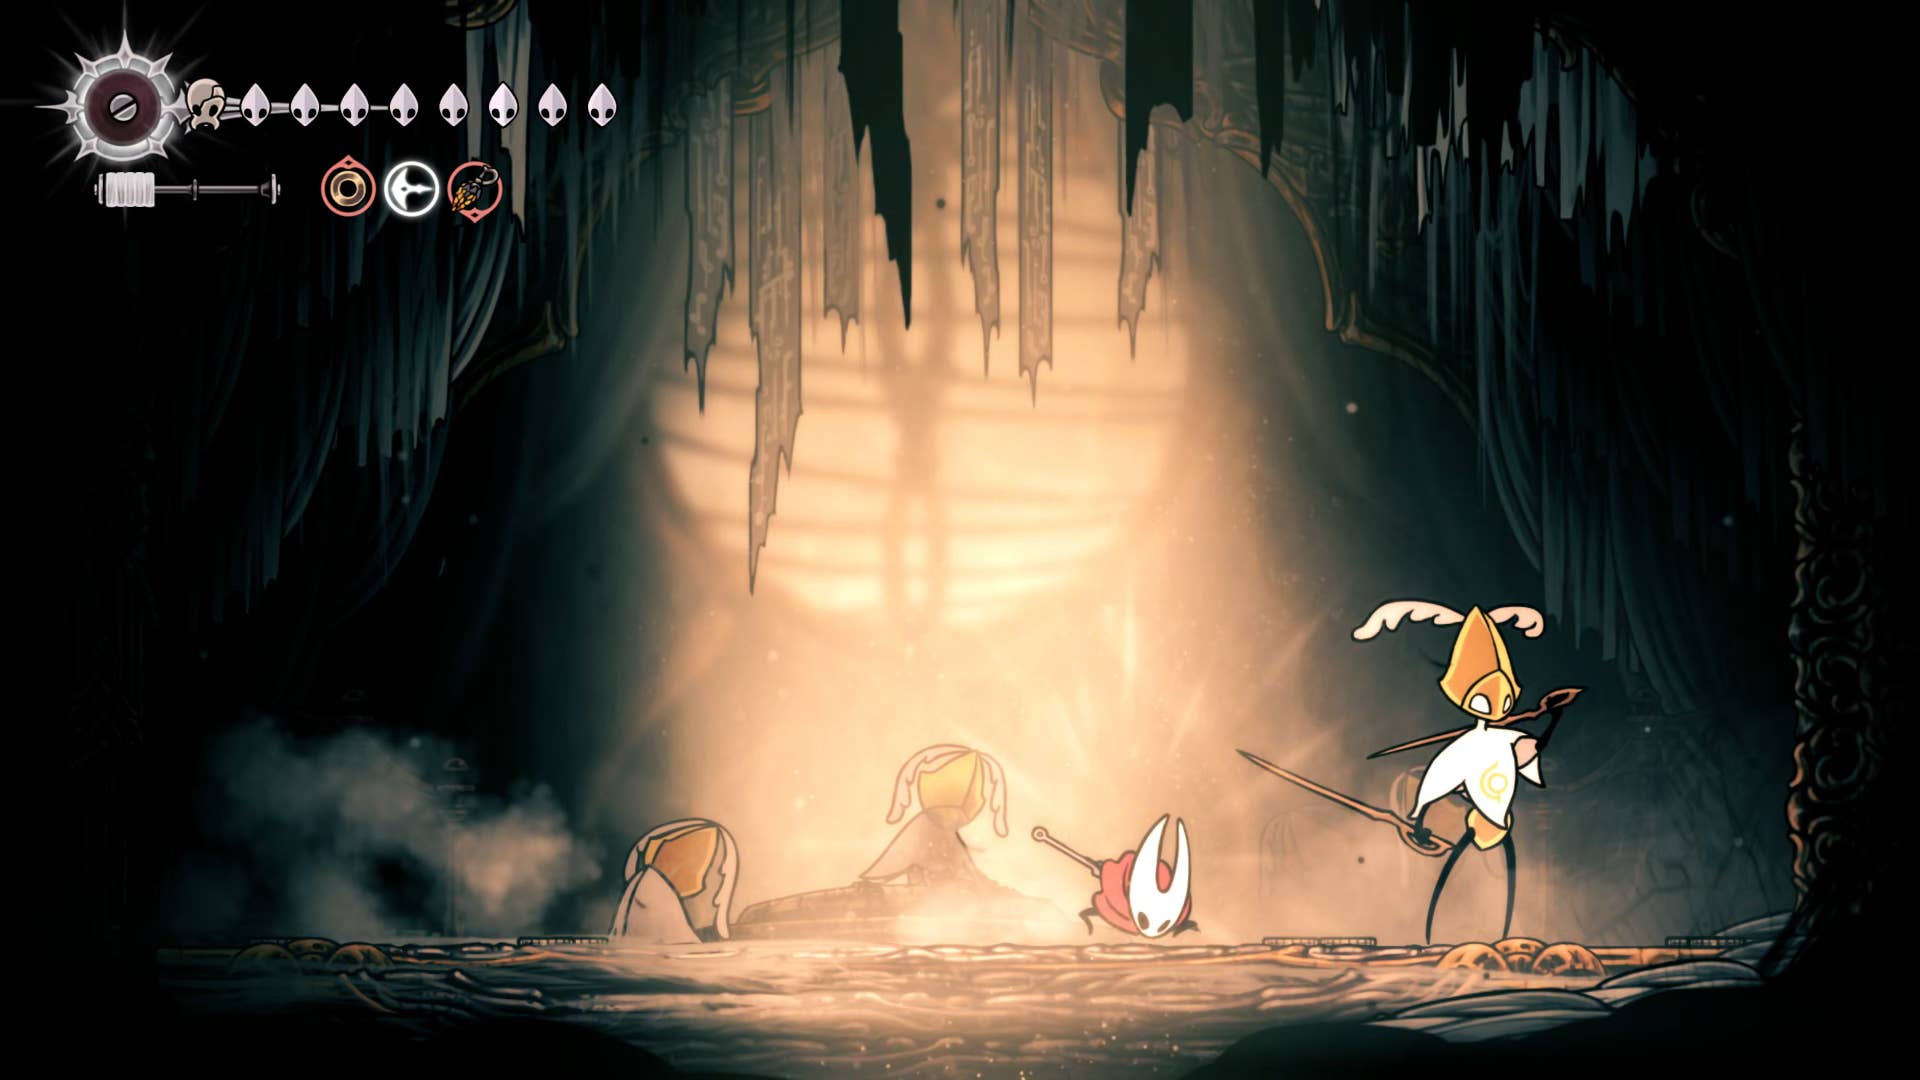
When you defeat him, he considers you pure and innocent, and the quest is complete. Your Reward: Reserve Binding Tool, a very useful item for difficult battles, and can heal once, even if you don’t have enough silk to do so.
2. Complete the broodfeast Quest.
The BroodFeast Quest is next. Really you can continue this quest quietly while doing other things. So I mention it early. The decaying duct huntress is given to you this quest and is tasked with collecting burnt, shredded and skewer organs.
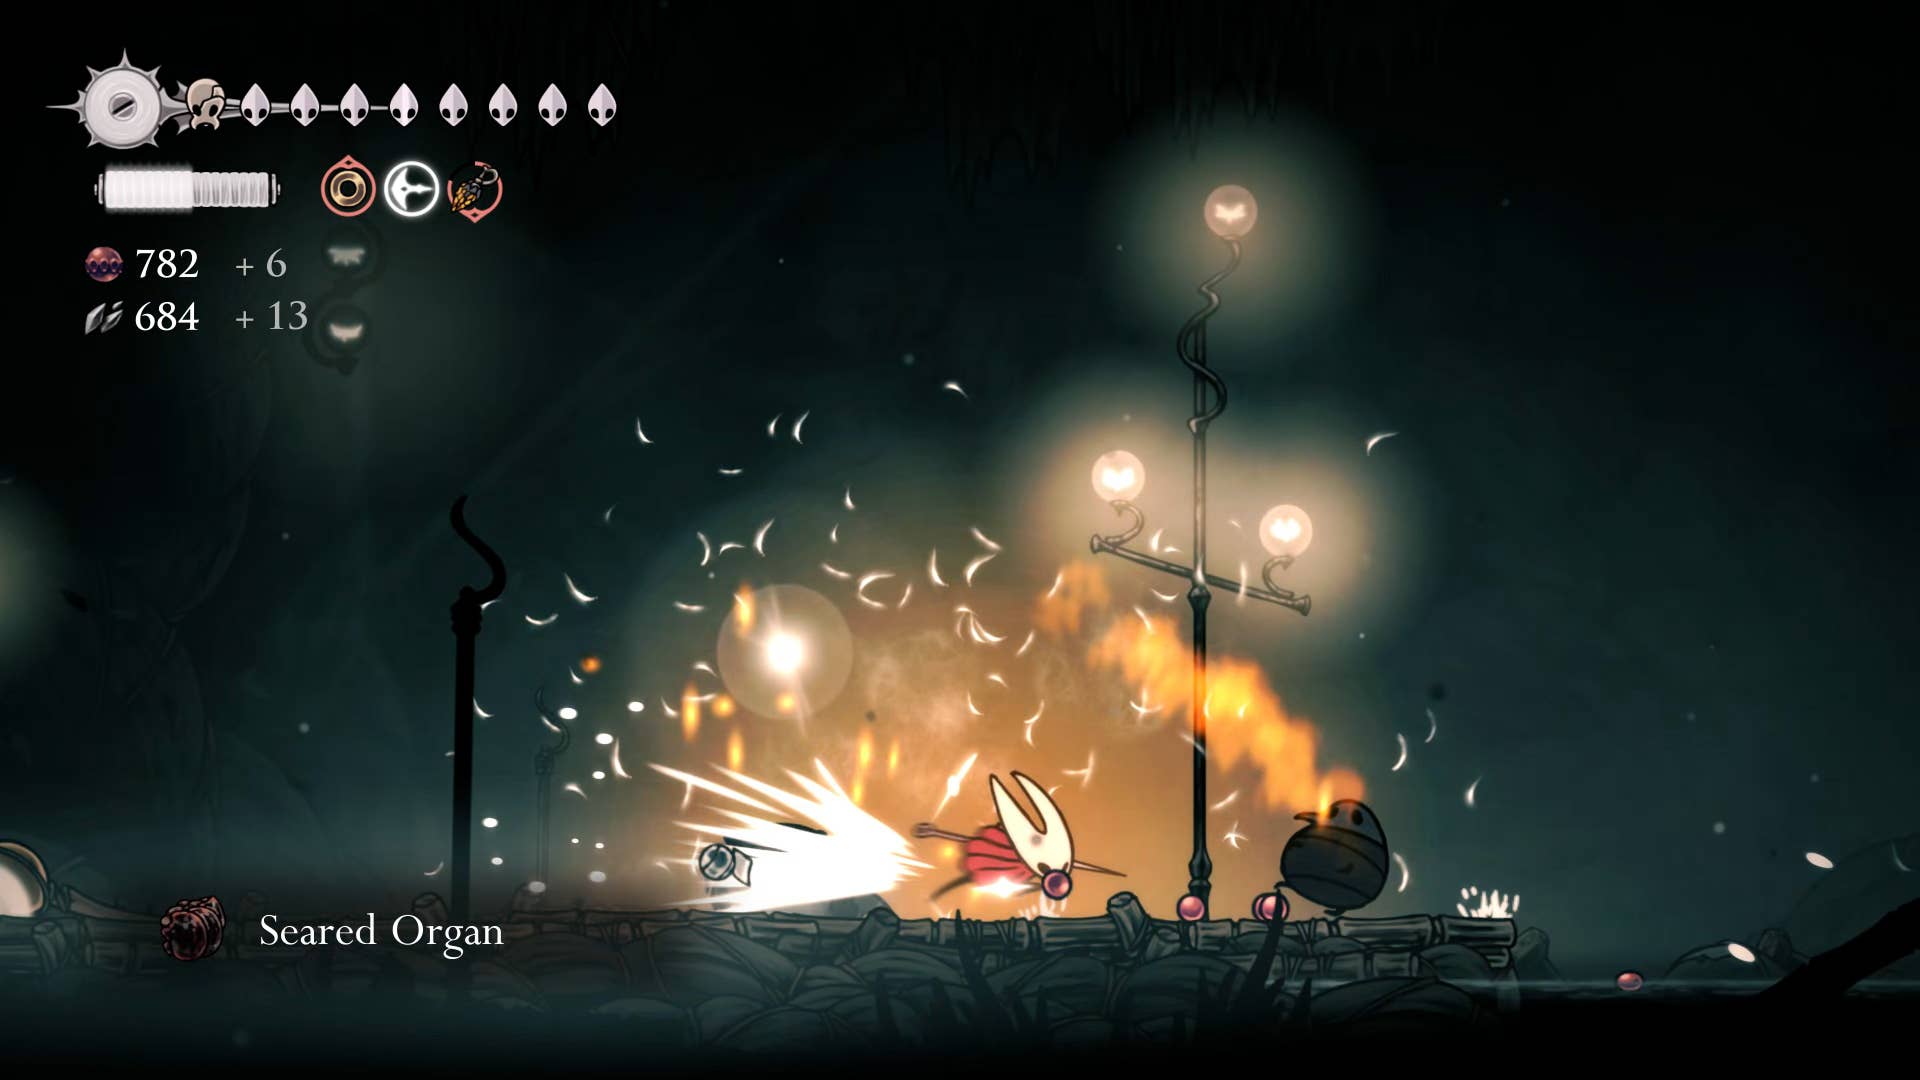
This quest is about killing enemies using tools (or very specific attacks). The key to this quest is to be forced to drop different types of organs by killing enemies with different types of tools. The tools you need to use for each organ type are:
- Burning organs:
- Flintslate (recommended)
- Pinpiro
- Voltvesels
- wispfire lantern
- Shredded organs:
- Delver’s Drill (recommended)
- Conchcutter
- Sawtooth Circlet
- Cogwork wheel
- Architect Crust Charging Attack
- Beast Crest downward attack
- Grilled organs:
- longpin (recommended)
- Sting wound
Once you have all the necessary organs, you can return to the rotten Duct Cave Huntress at any point, and use up the conversation and complete the Broodfeast quest. As a reward, she bequeaths you LongClaw. This is a tool that slightly (but notably) increases reach of all melee attacks.
3. Complete the courier quest.
If you’re following this walkthrough and doing some Wishwall quests on the side, you may have partially (or fully) completed this next step. Questlines have now been available from the “My Missing Courier” quest since you defeated Widow and defeated Friedbell Heart.
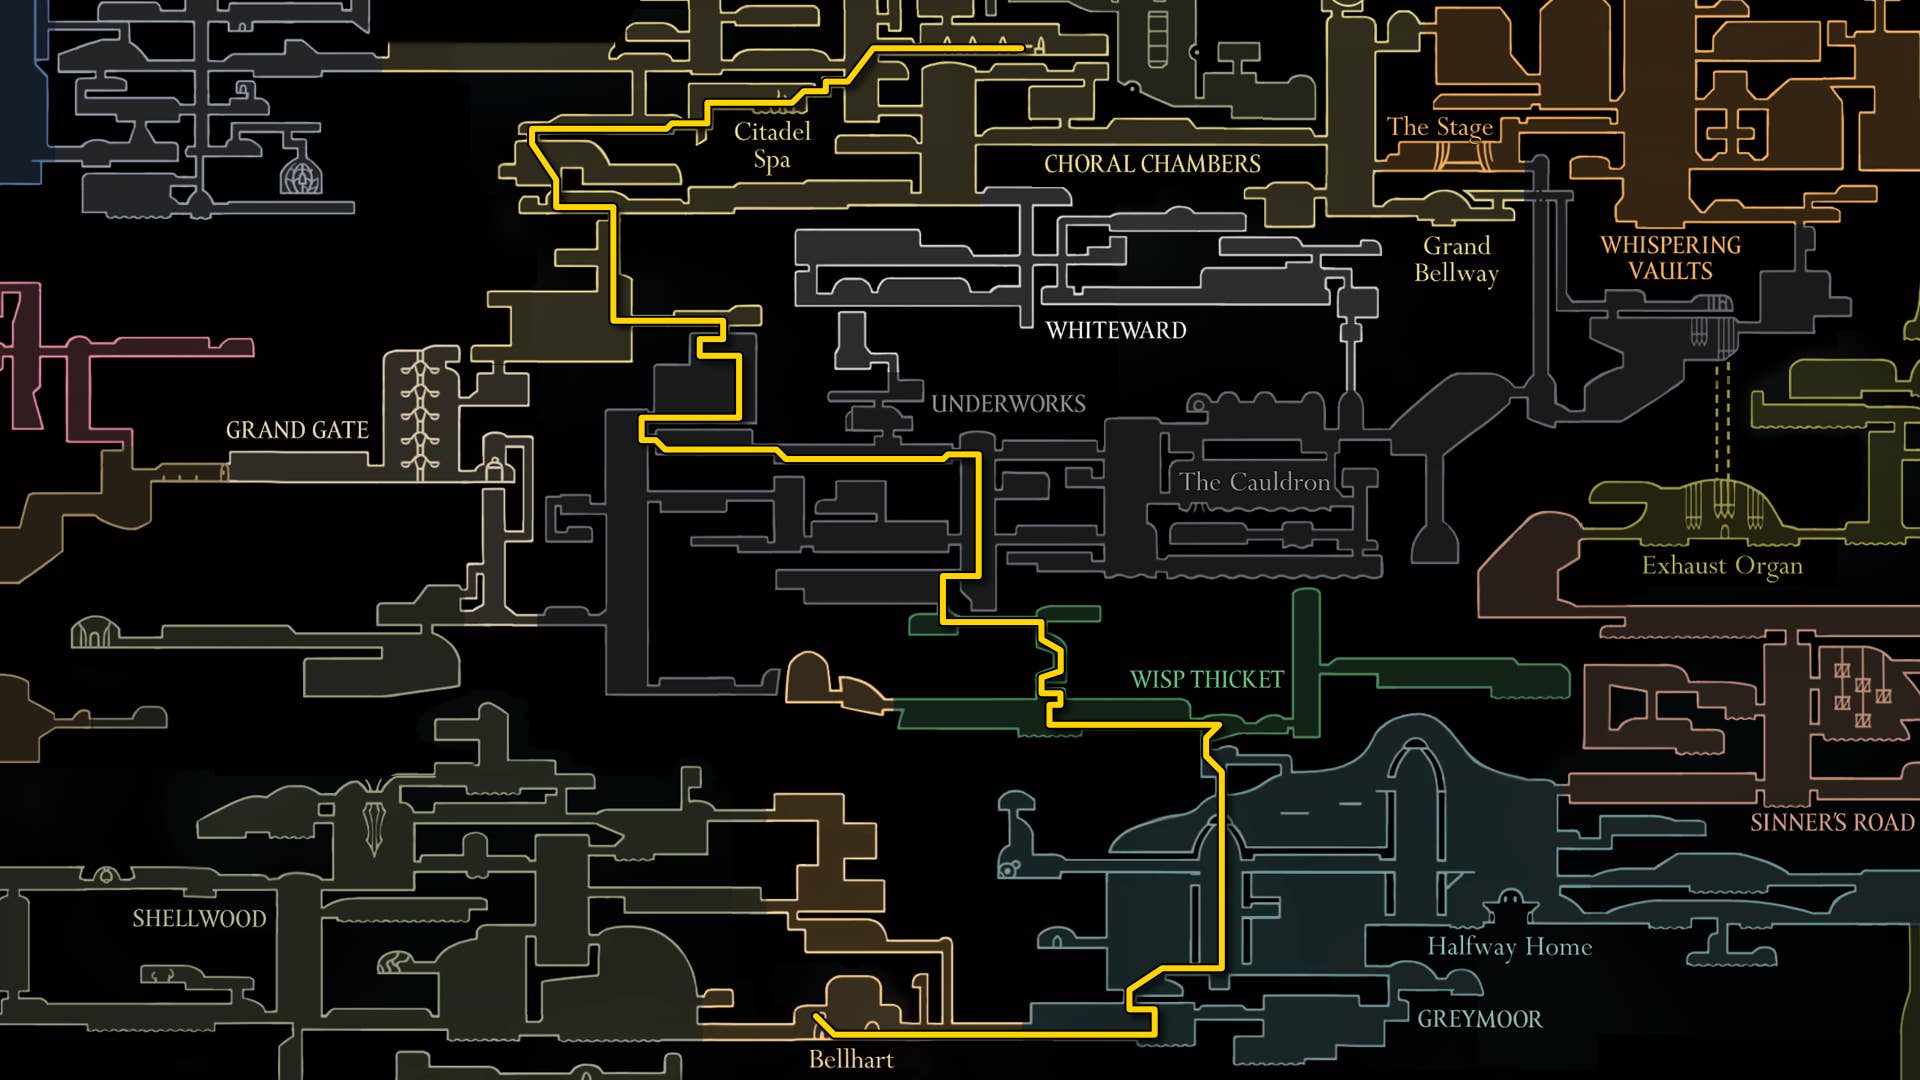
The “missing courier” in question is Tip, who can be on the left side of the giant outer shaft above the bottom of the bone, roughly halfway between the two entrances to the wormway. Fall from above to reach them and kill the creatures that cover them.

If you do this, you will find another wish on the wishwall of Bell Heart – “My Missing Brother.” Tip has a brother called a pill. To find them, head towards the path of a sinner. You know a big room with all the wooden frames, can you find Crull and Benjin on the right? Head to the top left of that large room and save the pill from attacking enemies.

You can save both couriers and talk to them at the higher level of Bell Heart. They offer a variety of repeatable courier quests that require you to safely transport your cargo to different locations without using fast travel and without too much damage (or cargo breaks). However, some of these quests are one-off and include other NPCs and their quests. For example, the quest to deliver the Queen’s egg to Styx on Sinner’s Road. And another delivery tied in the next step…
4. Finishes the fantastic taste of Falroom.
It’s time to finish the fantastic taste of Farroom Quest and regain the pale oils that the faithful Margwyn has maintained under the locks and keys. If you are following this walkthrough, you already have two of the five ingredients you will need: pickles of Muckmaggot and Crustnut. Others are fairly easy to get, so deal with them now.
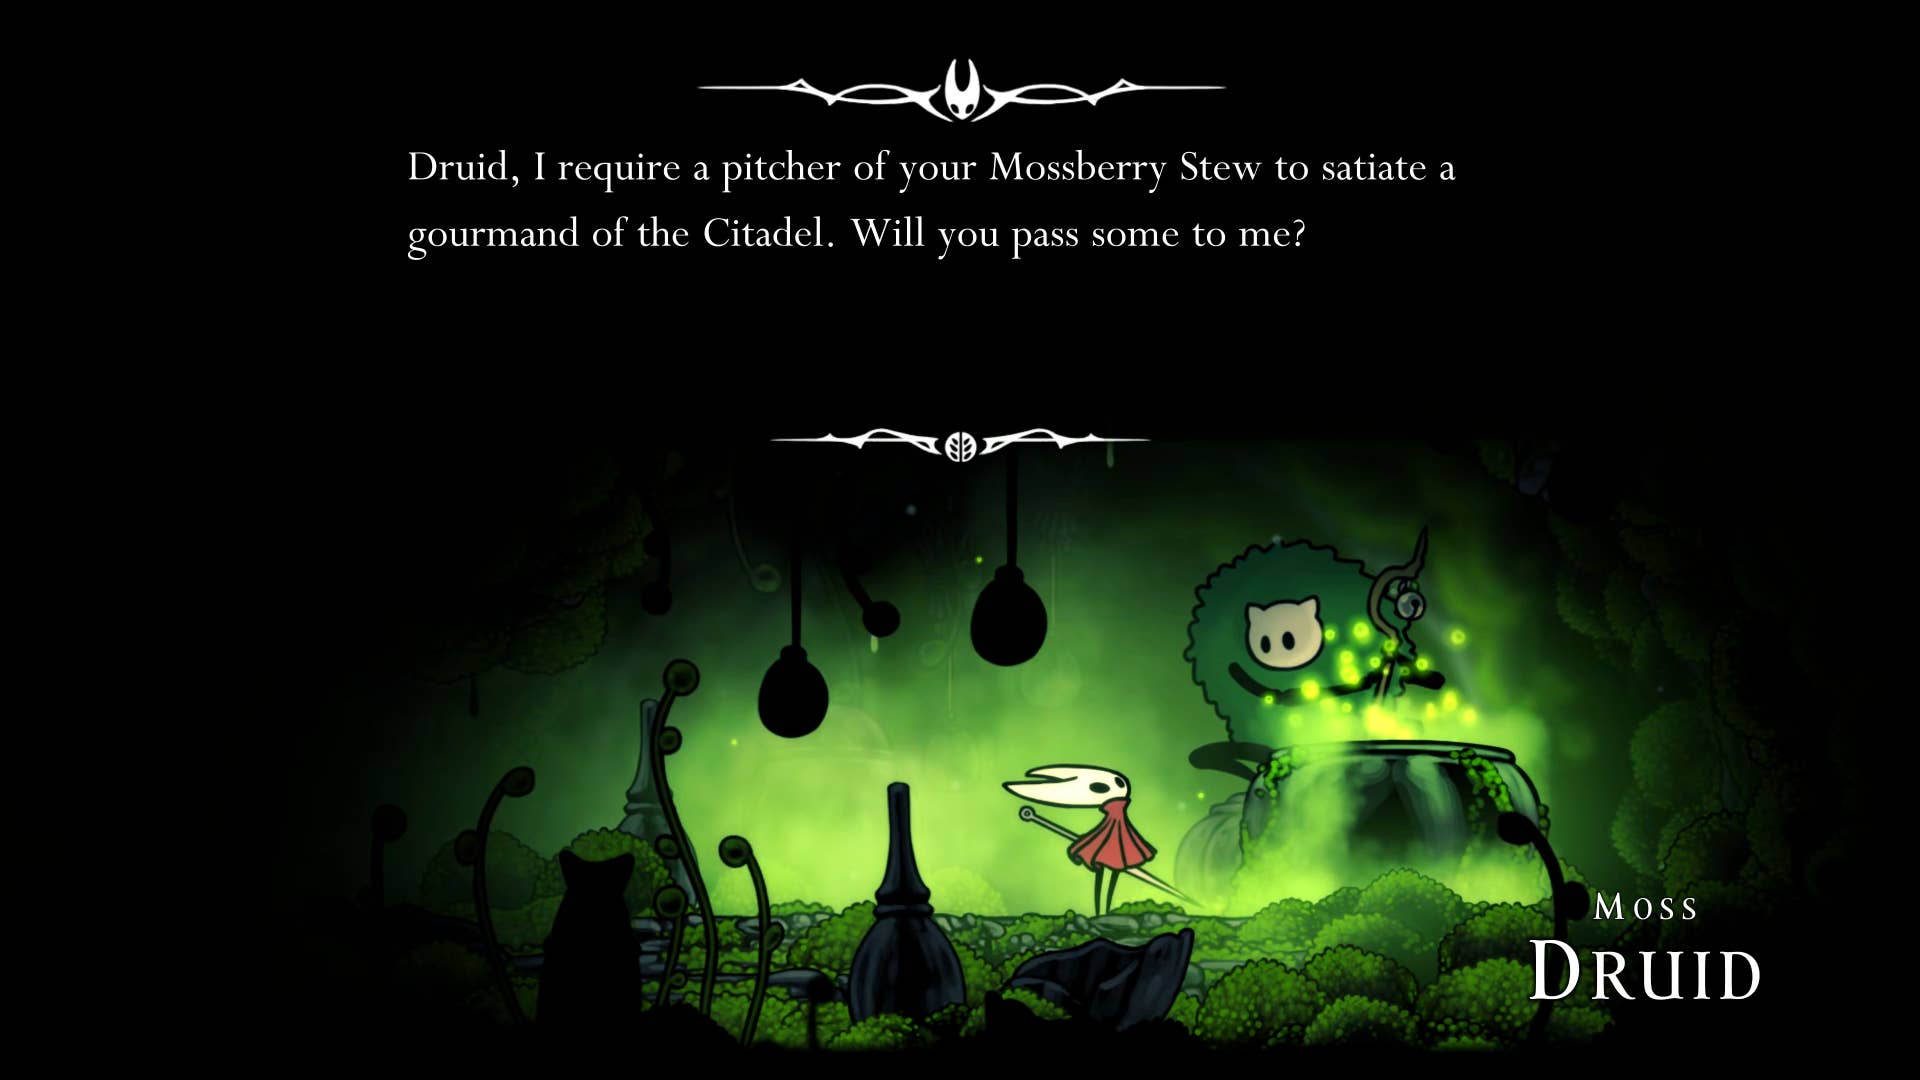
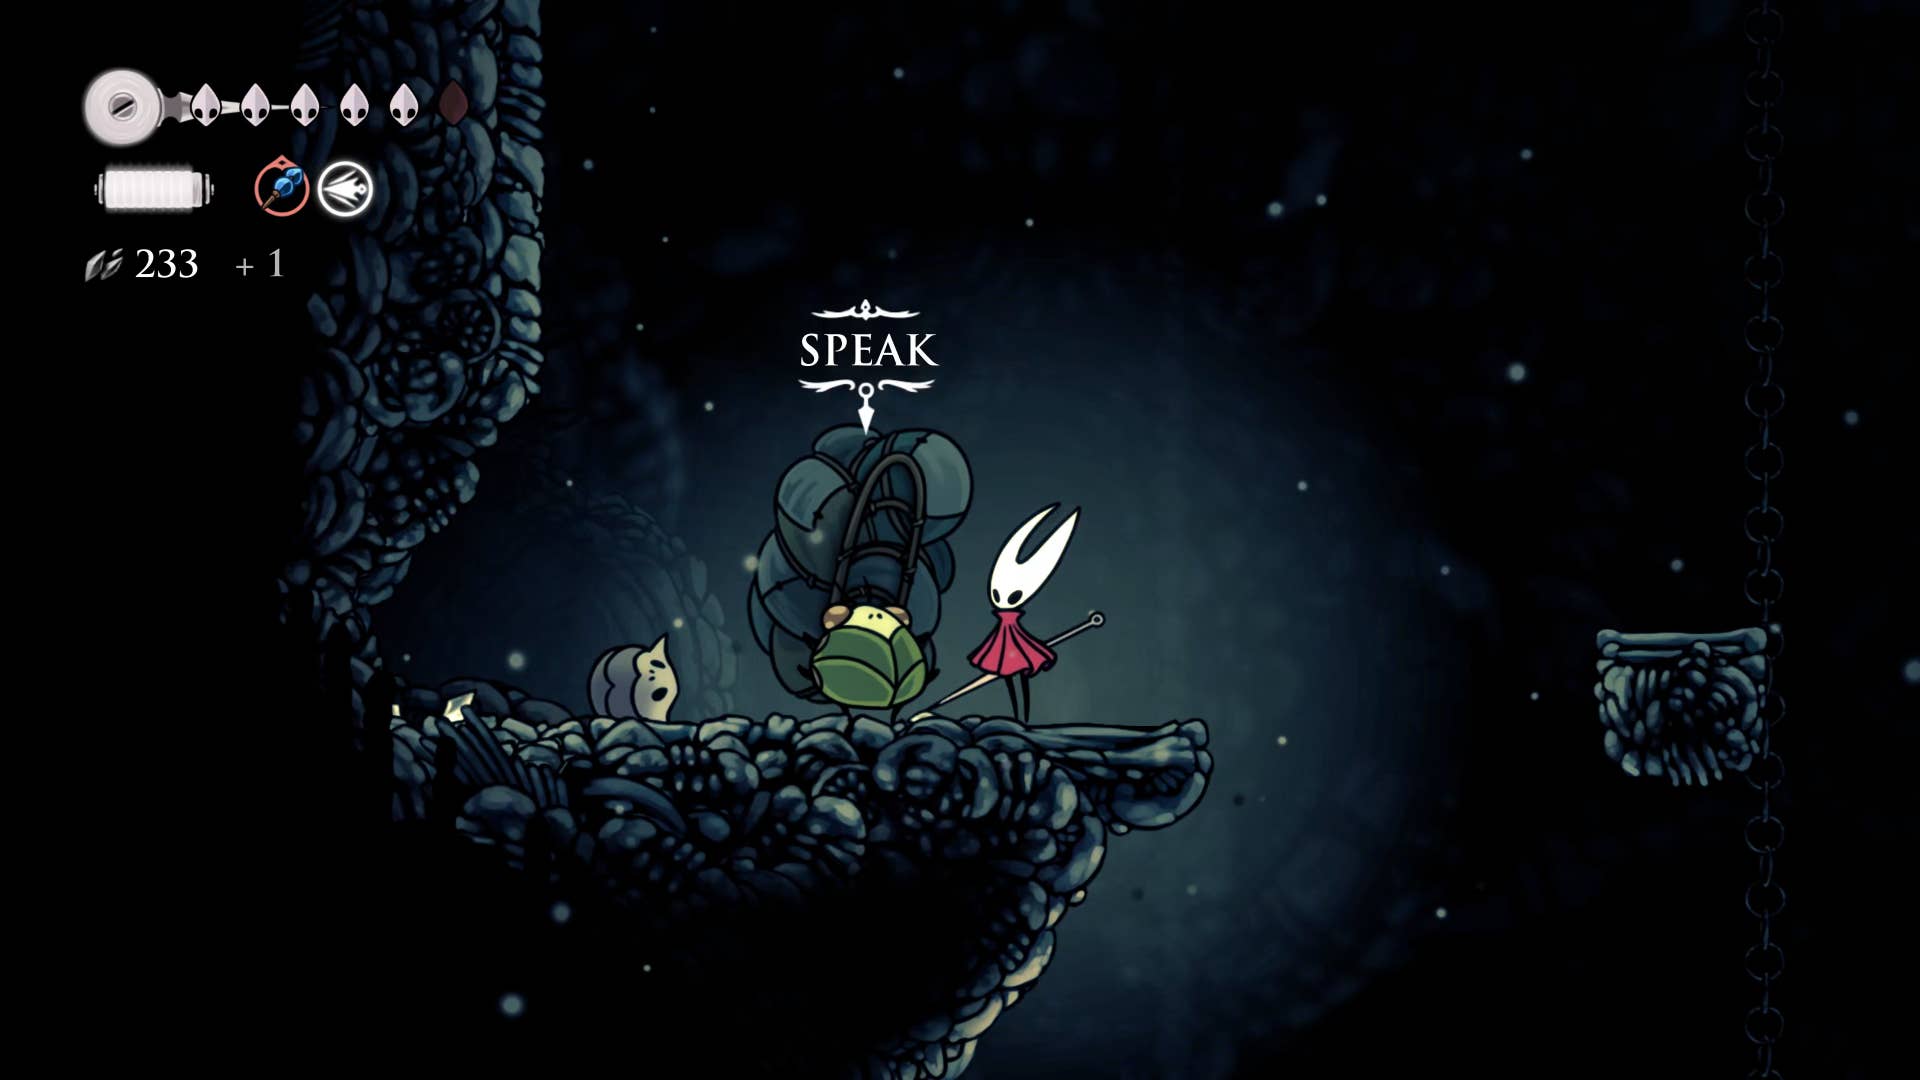
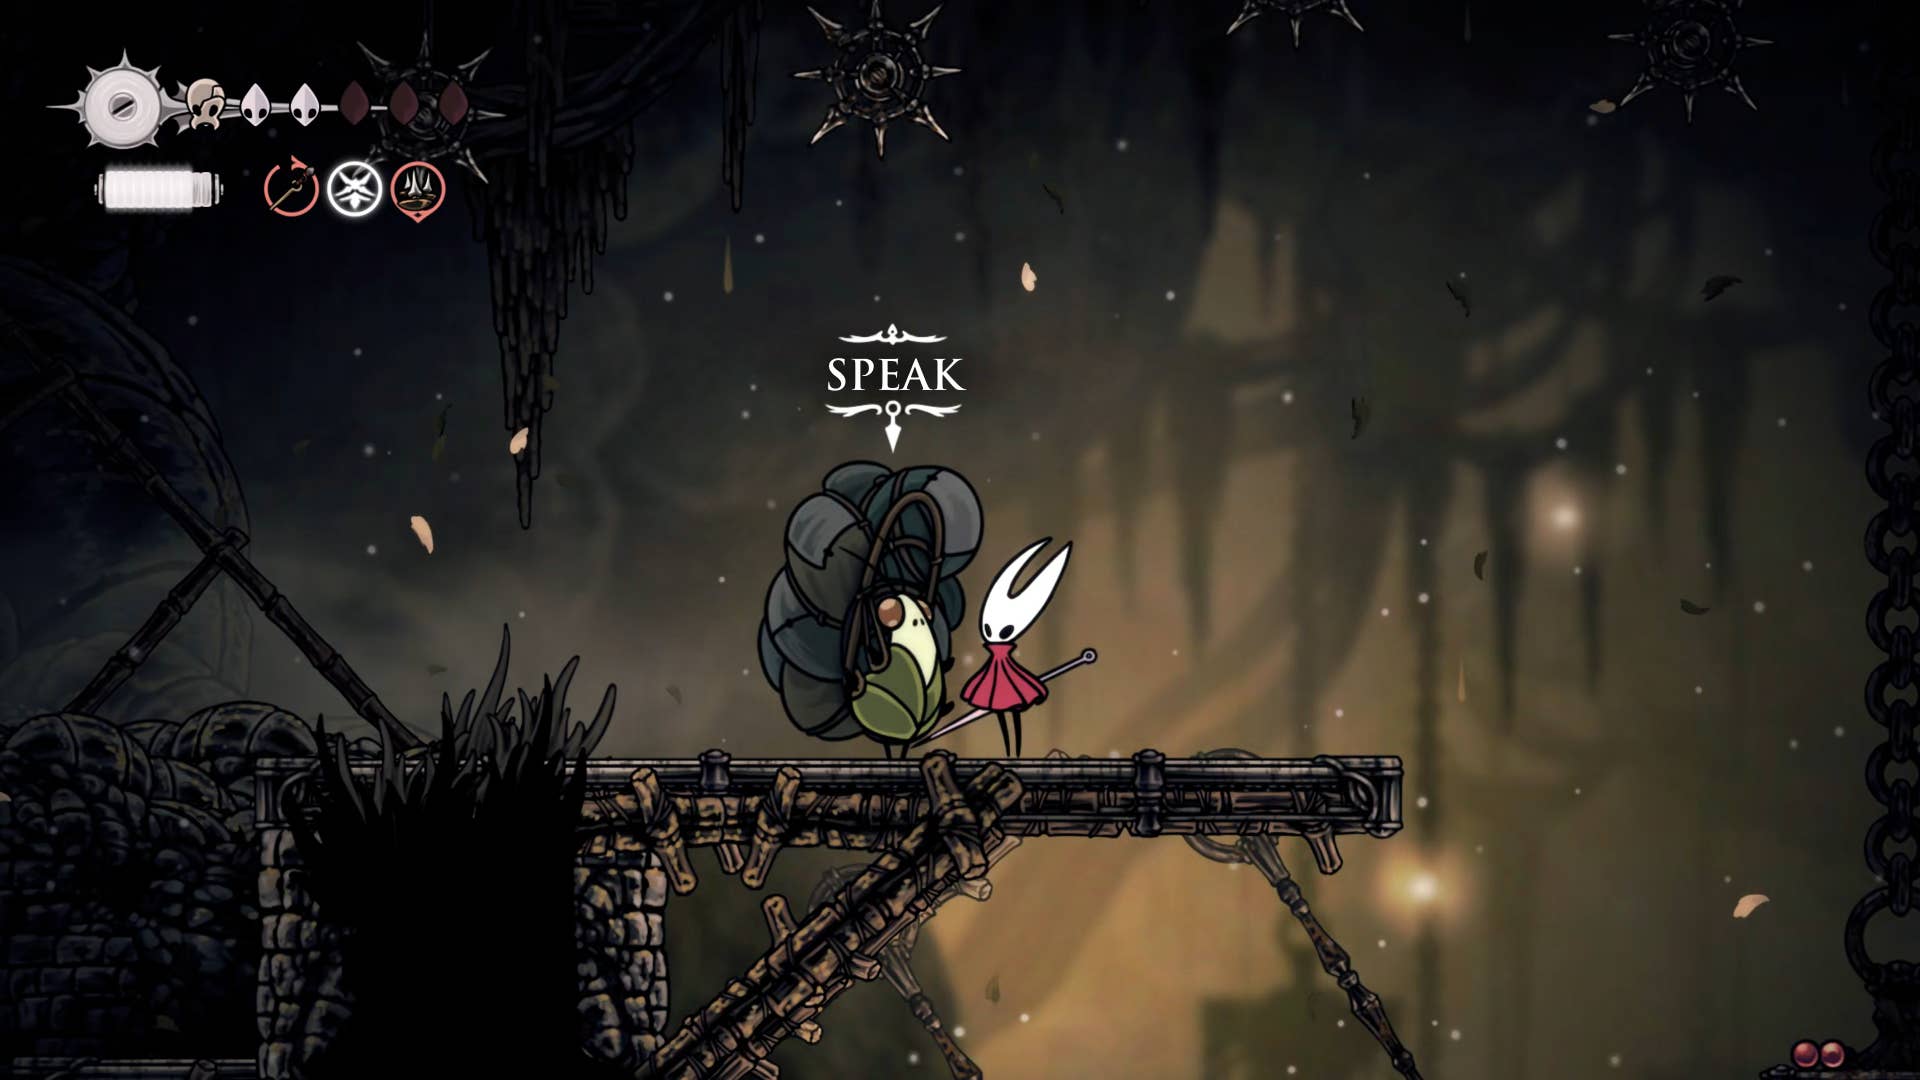
To get the Mossberry stew, head to Marrow Bellway and climb a little higher to visit Moss Druid. She will provide you with mosberry stew for free.
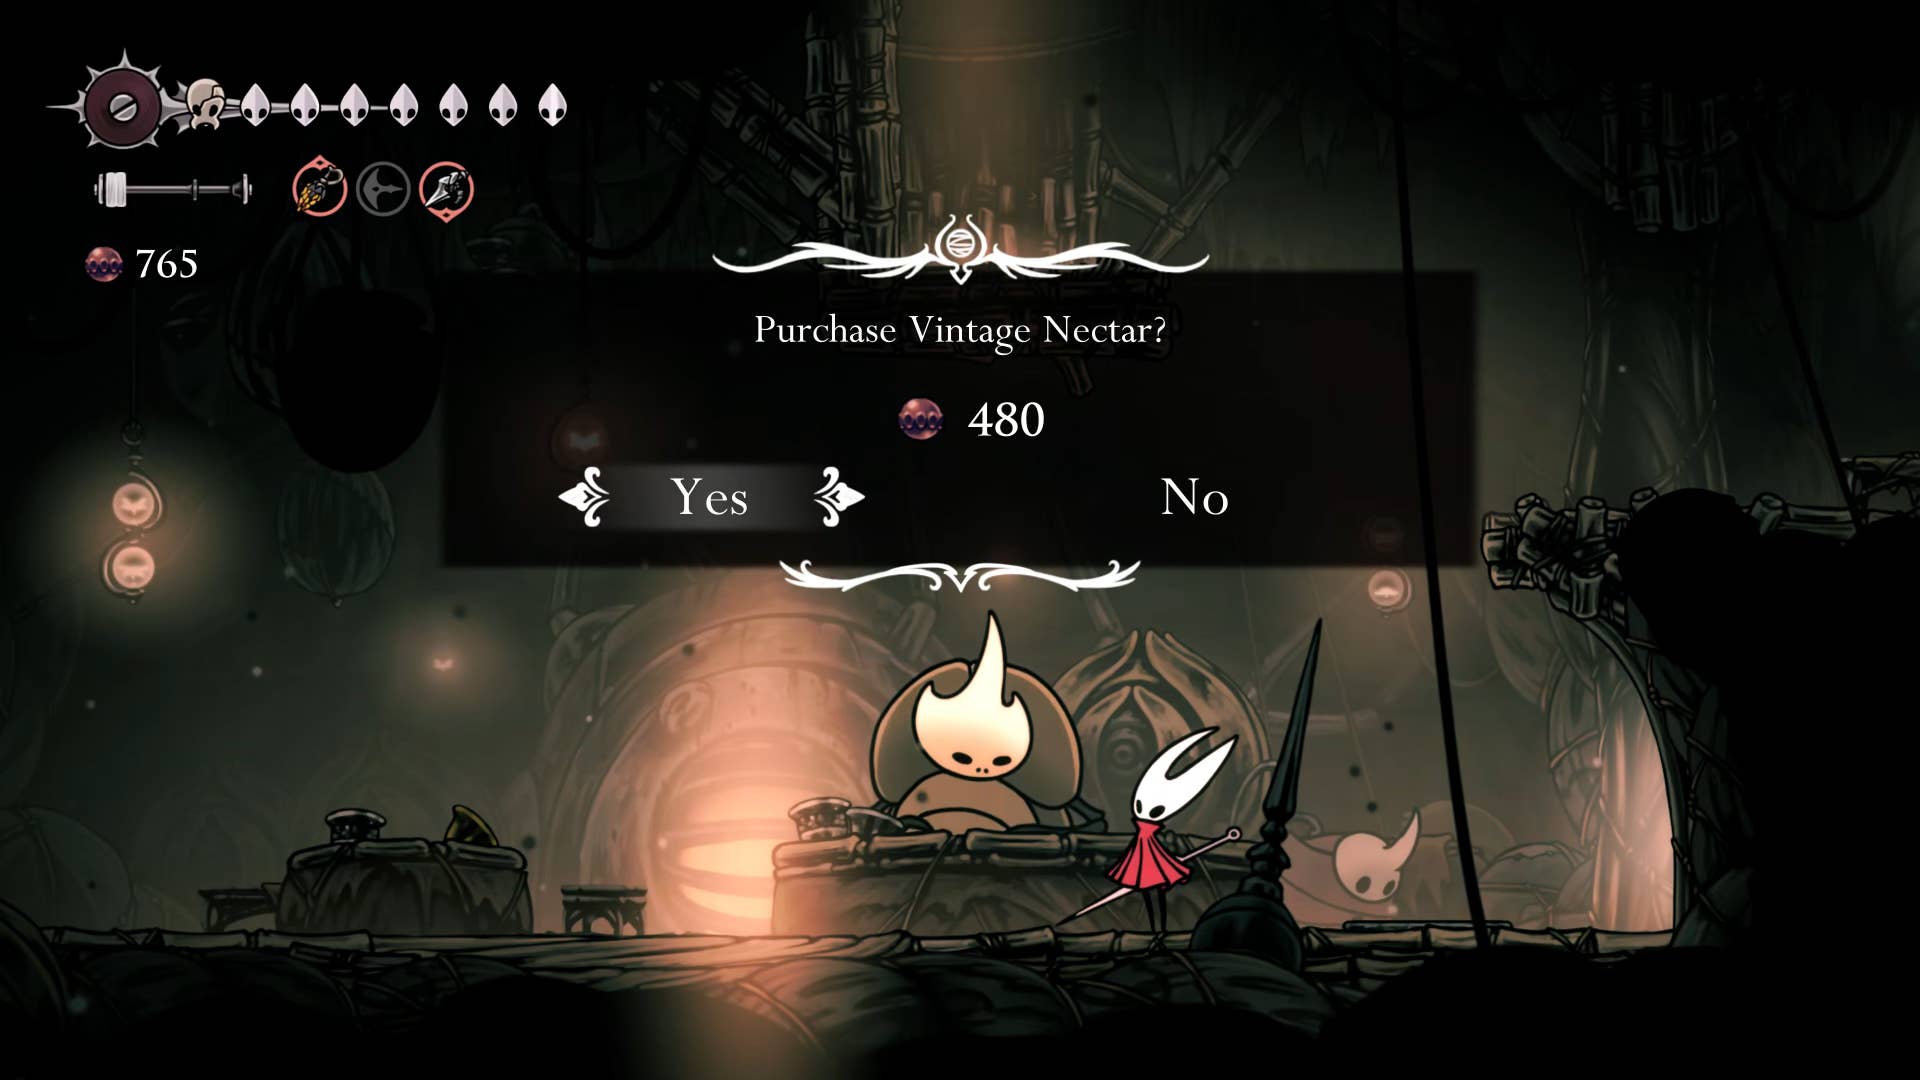
Next, head to the middle house of Greymoor and talk to Creige. Ask him for vintage nectar and pay him a rosary of 480. He opens the way to the basement below. Be careful – this is actually a disguised arena battle. If you descend and go to pick up nectar, you will be attacked by a wave of ant enemies, including Skarjard, near the edge. By this point in the game, they should not bring you many problems.
Finally, you need to talk to Bell Heart Courier Tip and Pill and ask about the courier. This serves as one of the Tip and Pill Courier Quests. You will need to reach the faithful Melgwyn in the loyal director’s room in the choir room at Bel Heart. There are also strict restrictions based on the “freshness” of the meat. This is the best route to take:
Once Rasher arrives unharmed and faithful Mergwin, there he presents him with all the ingredients and he prepares a meal for his master, Grand Gourmand. After that, he will allow you to take the pale oil – then you will need to immediately return to Plinney and get another weapon upgrade for the low price of the 450 rosary.
5. Unlock Bell Home.
While you are in Bell Heart, it is when you have obtained a permanent settlement here (if you don’t have one yet). To do this, you will need to complete both Bell Heart’s donation hopes (“Bel Heart Recover” and “Bel Heart Glory”).
The first donation quest will appear as soon as you defeat a widow, give Scrusing a relic, and receive an upgrade of the first damage from Plinney. The donation amount is 250 rosary.
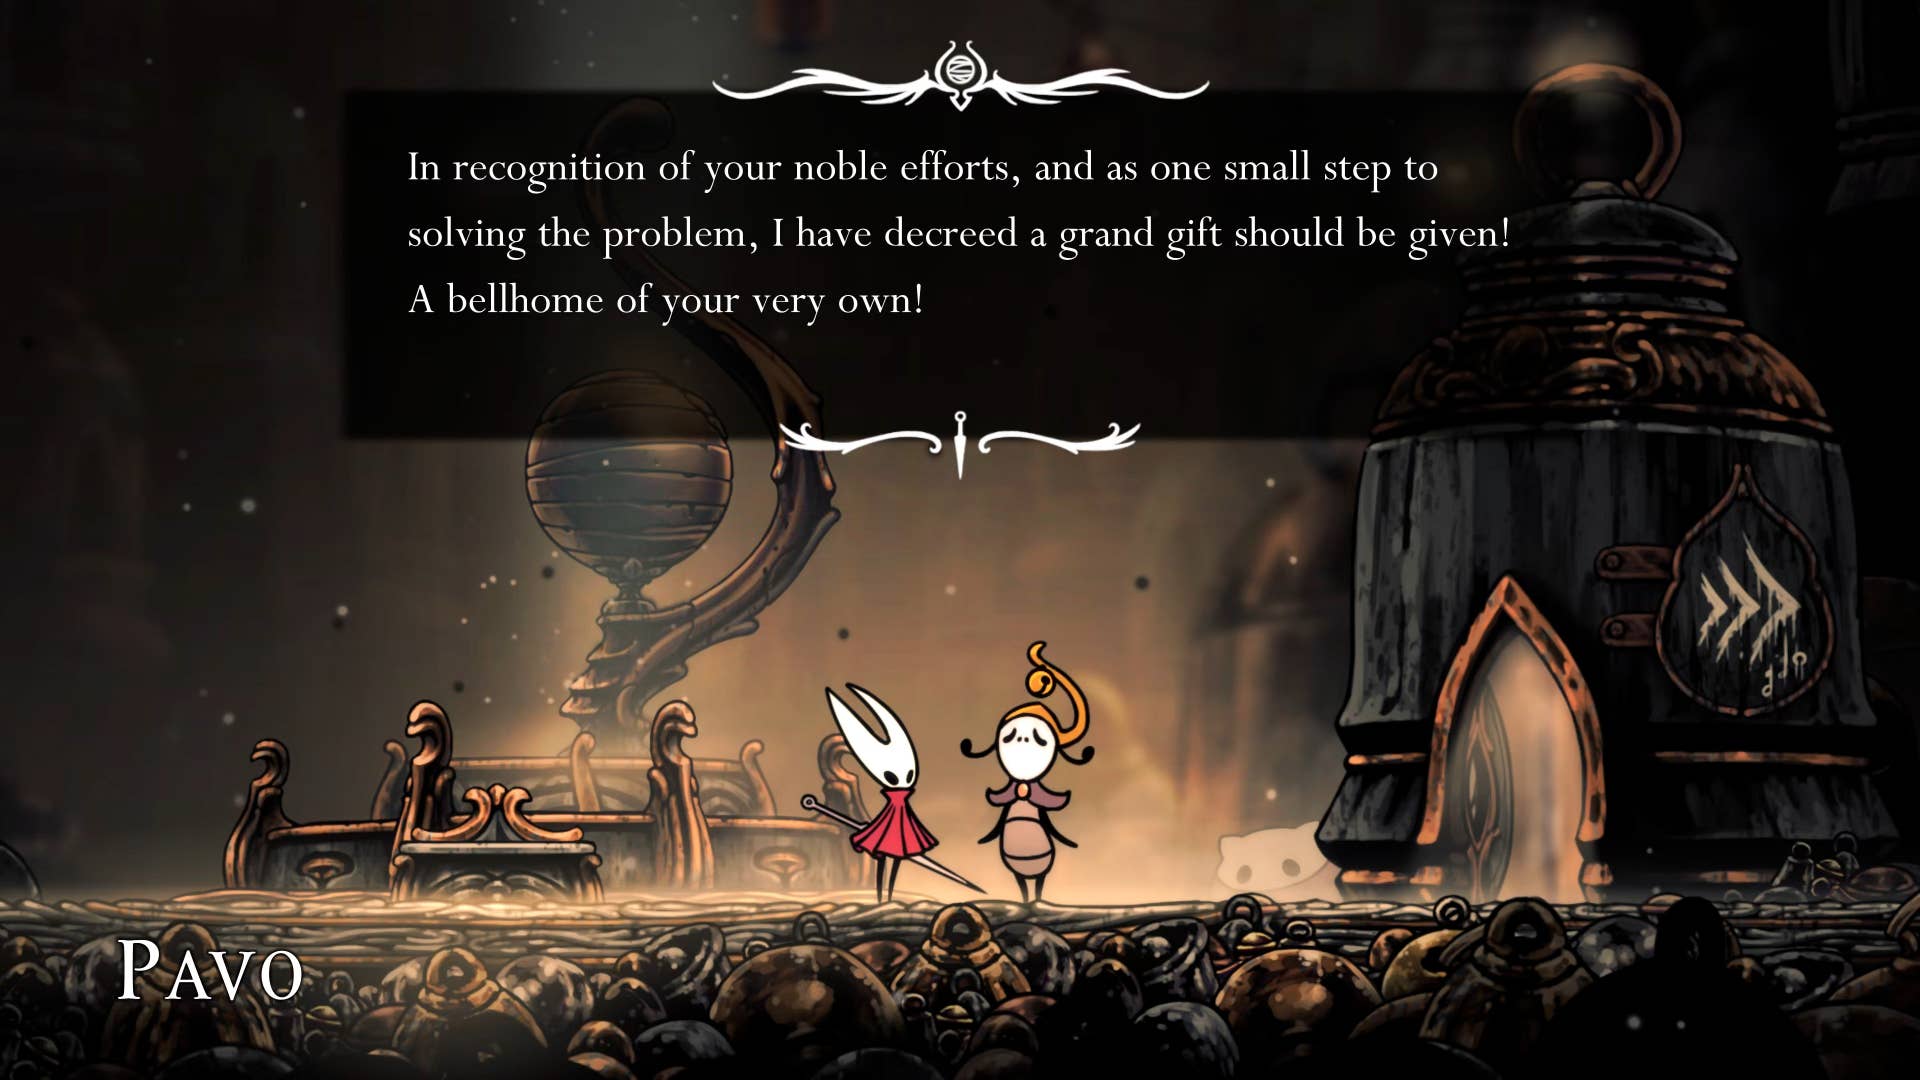
The second donation quest appears some time after completing the first one, and you will need to donate 400 more rosaries. Once you’ve done this, reload the area and talk to Pavo, a sing bug near the Bell Heart Bench. He gives you the key of Bell Home, allowing you to unlock the Bell Home on the top left at the top of the Bell Heart.
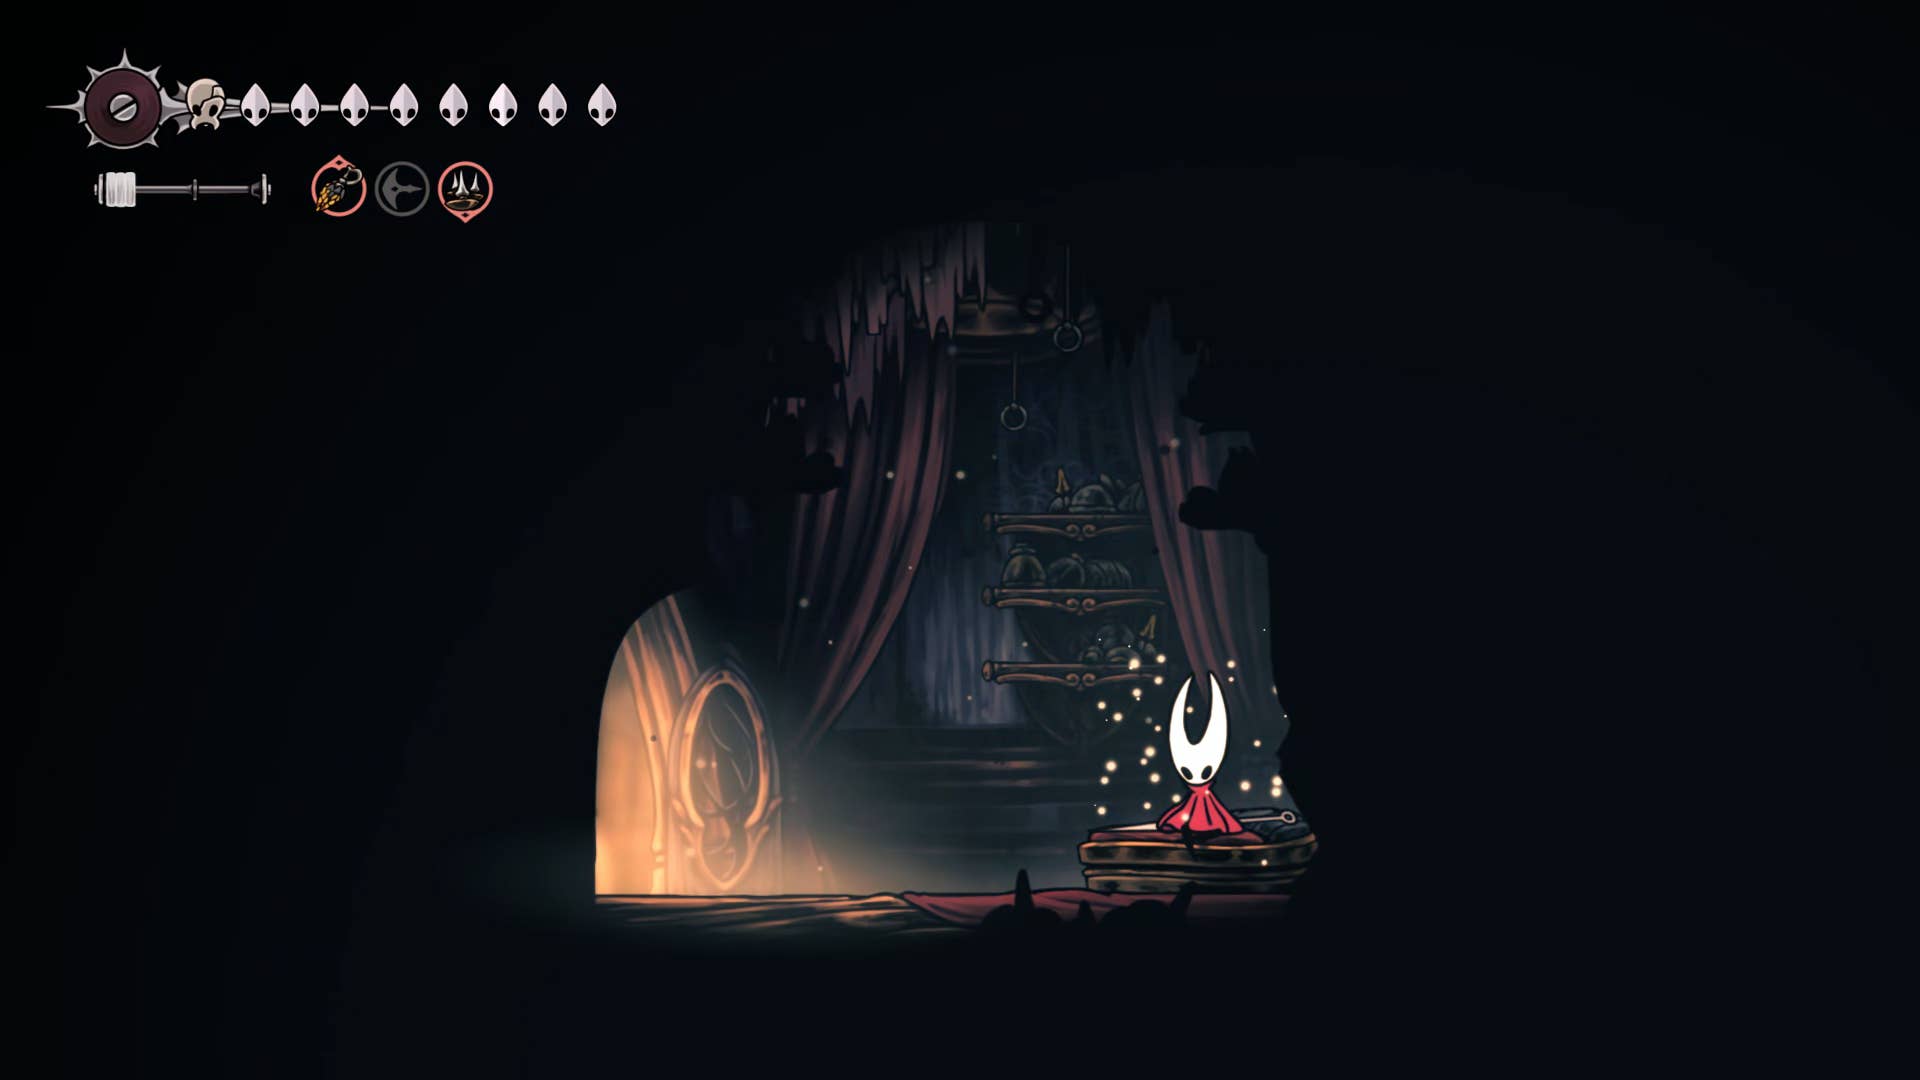
Inside, you can access the bench. You can also assemble gustiariums. This allows you to read about all the resources and substances we have discovered so far. You can also talk to the shopkeeper Frey below to unlock things better inside and outside the Bell Home, such as personal spas, desks and some decorative items.
6. Complete all Wishwall Quests.
Now we are wider – if you don’t want to reverse the stones before rising to the final boss battle of Act 2, you need to spend time completing various Wish Wall Quests in all three settlements: bone base, Bel Heart, Songclave.
Most of these quests are pretty simple so I won’t guide you through all of these quests, but here’s the complete list of all wishes you can complete before the end of Act 2:
| Quest | position | Previous Quest | reward |
|---|---|---|---|
| Bone bottom repair | Bone base | none | none |
| Pilgrim’s attire | Bone base | none | Rosary necklace |
| Life-saving Bridge | Bone base | none | The bridge was built |
| Volatile thin strips | Bone base | none | Memory Rocket |
| A terrible tyrant | Bone base | none | Heavy Rosary Necklace |
| Icon of hope | Bone base | none | Hornet statue |
| Silver Bell | Bel Heart | none | Rosary necklace |
| My missing courier | Bel Heart | none | Frey’s shop expands |
| My missing brother | Bel Heart | My missing courier | none |
| Queen’s Egg | Bel Heart | My missing brother | 260 Rosario |
| Liquid lacquer | Bel Heart | Queen’s Egg | 650 Rosary |
| Clear Crawbug | Bel Heart | none | Craft Kit Upgrade |
| Pin Master oil | Bel Heart | none | Weapon upgrades |
| Bel Heart Repair | Bel Heart | none | none |
| The Glory of Bell Heart | Bel Heart | Bel Heart Repair | Bellhome key |
| A wild beast fly | Bel Heart | none | Mask shard |
| Build Songclave | Songclave | none | none |
| Fine pins | Songclave | none | Heavy Rosary Necklace |
| Wandering merchant | Songclave | none | Jubilana’s shop |
| Perfume for the injured | Songclave | none | Spool Fragment |
| Choir cloak | Songclave | Songclave builds Fine Pins | Heavy Rosary Necklace |
| Enhance your Songclave | Songclave | Build Songclave | none |
| The Lost Merchant | Songclave | Enhance your Songclave | Jubilana store expands |
| Mourner | Songclave | Enhance your Songclave | Heavy Rosary Strings |
| Final Audience | Songclave | Awakened the second Sentinel | Book a binding |
| Lost fleas | Bone marrow | none | Trip to Greymore |
| Berry picking | Moss Home | none | Druid’s Eye |
| Flexible spines | Distant field | none | Drifter’s Cloak |
| Polip’s ritual | Shellwood | none | Polip pouch |
| Ritual of Regeneration | Shellwood | Polip’s ritual | none |
| Intrusion operations | Shellwood | Ritual of Regeneration | Witch’s emblem |
| Falroom bug | Houses on the way | none | Upgrading the tool pouch |
| Cockroach | The way of the sinner | none | tack |
| Alchemist’s assistant | Wormway | none | Plasmium Phial |
| The wonderful taste of Falroom | Choir room | none | Light oil |
| Bread – Fast | The corrupt duct | none | longclaw |
| The end of the trail | Any wishwall | Meet Shakura everywhere | Throw the ring |
7. Buy all items from all shops.
Similarly, if you want to be as strong as possible ahead of the final boss, now is a very good time to build a large supply of rosary and buy all single purchase items in every store. The shop in question is:
- Peb (bone base)
- Forge Girl (Deep Dog)
- Mort (Farfield)
- Spotted Scarl (Hunter’s March)
- Frey (Bel Heart)
- Grandle (blasted step)
- 12th Architect (UnderWorks)
- Jubilana (Songclave)
Of particular interest are upgraded items such as spool fragments and especially mask shards. Additionally, Frey’s multi-binder, Forge daughter’s magmabell, Mote’s weighted belt, and patchy scald fracture mask are one of the most powerful and essential tools in silking. very Even a little.
8. Bind Eva.
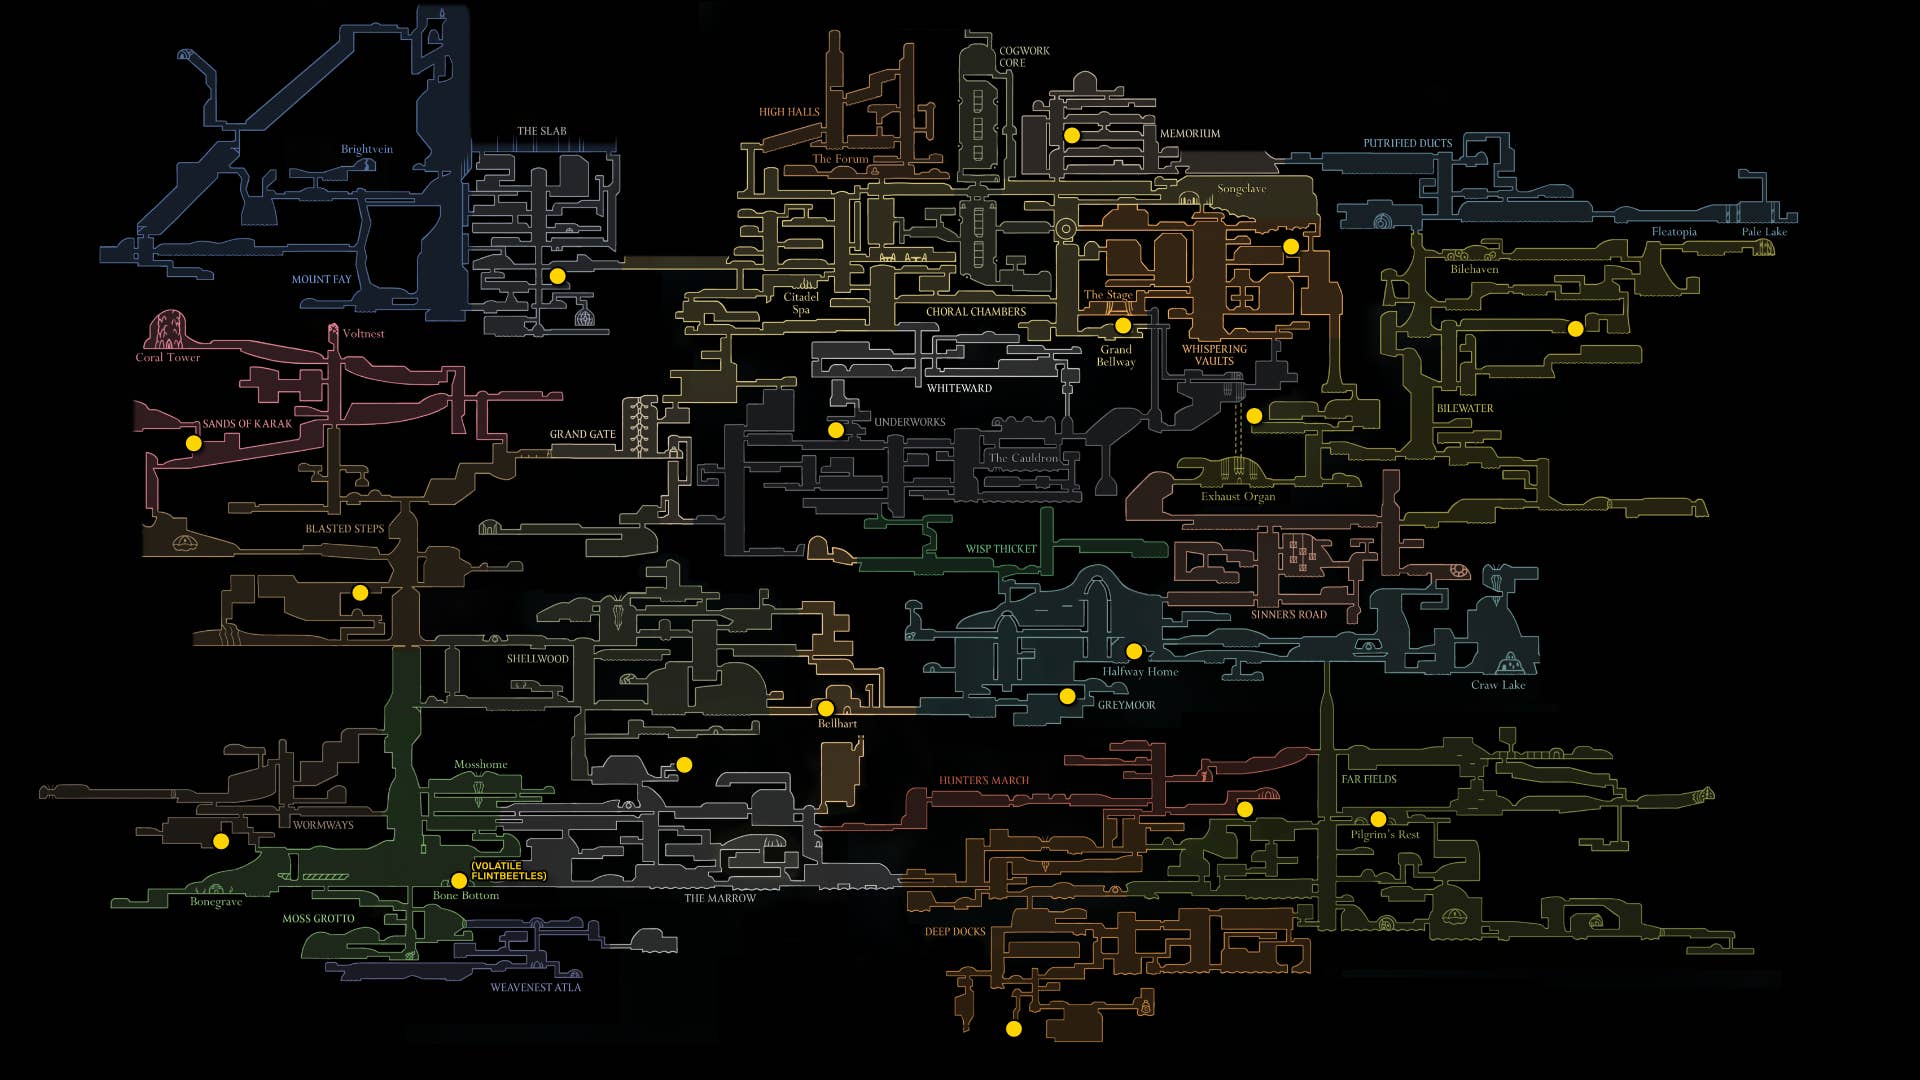
At this point, you will need to find all 18 available memory rockets before the end of Act 2. This should be enough to completely unlock all slots in every crest. This is a map of all memory rocket locations in case one or two are missing.
At this moment, unlock all slots in all the crests, unused slots. Once you do that, move quickly to the bottom of the bone, descend into the cave of Moss, open the Needlin door and weaven Atla.
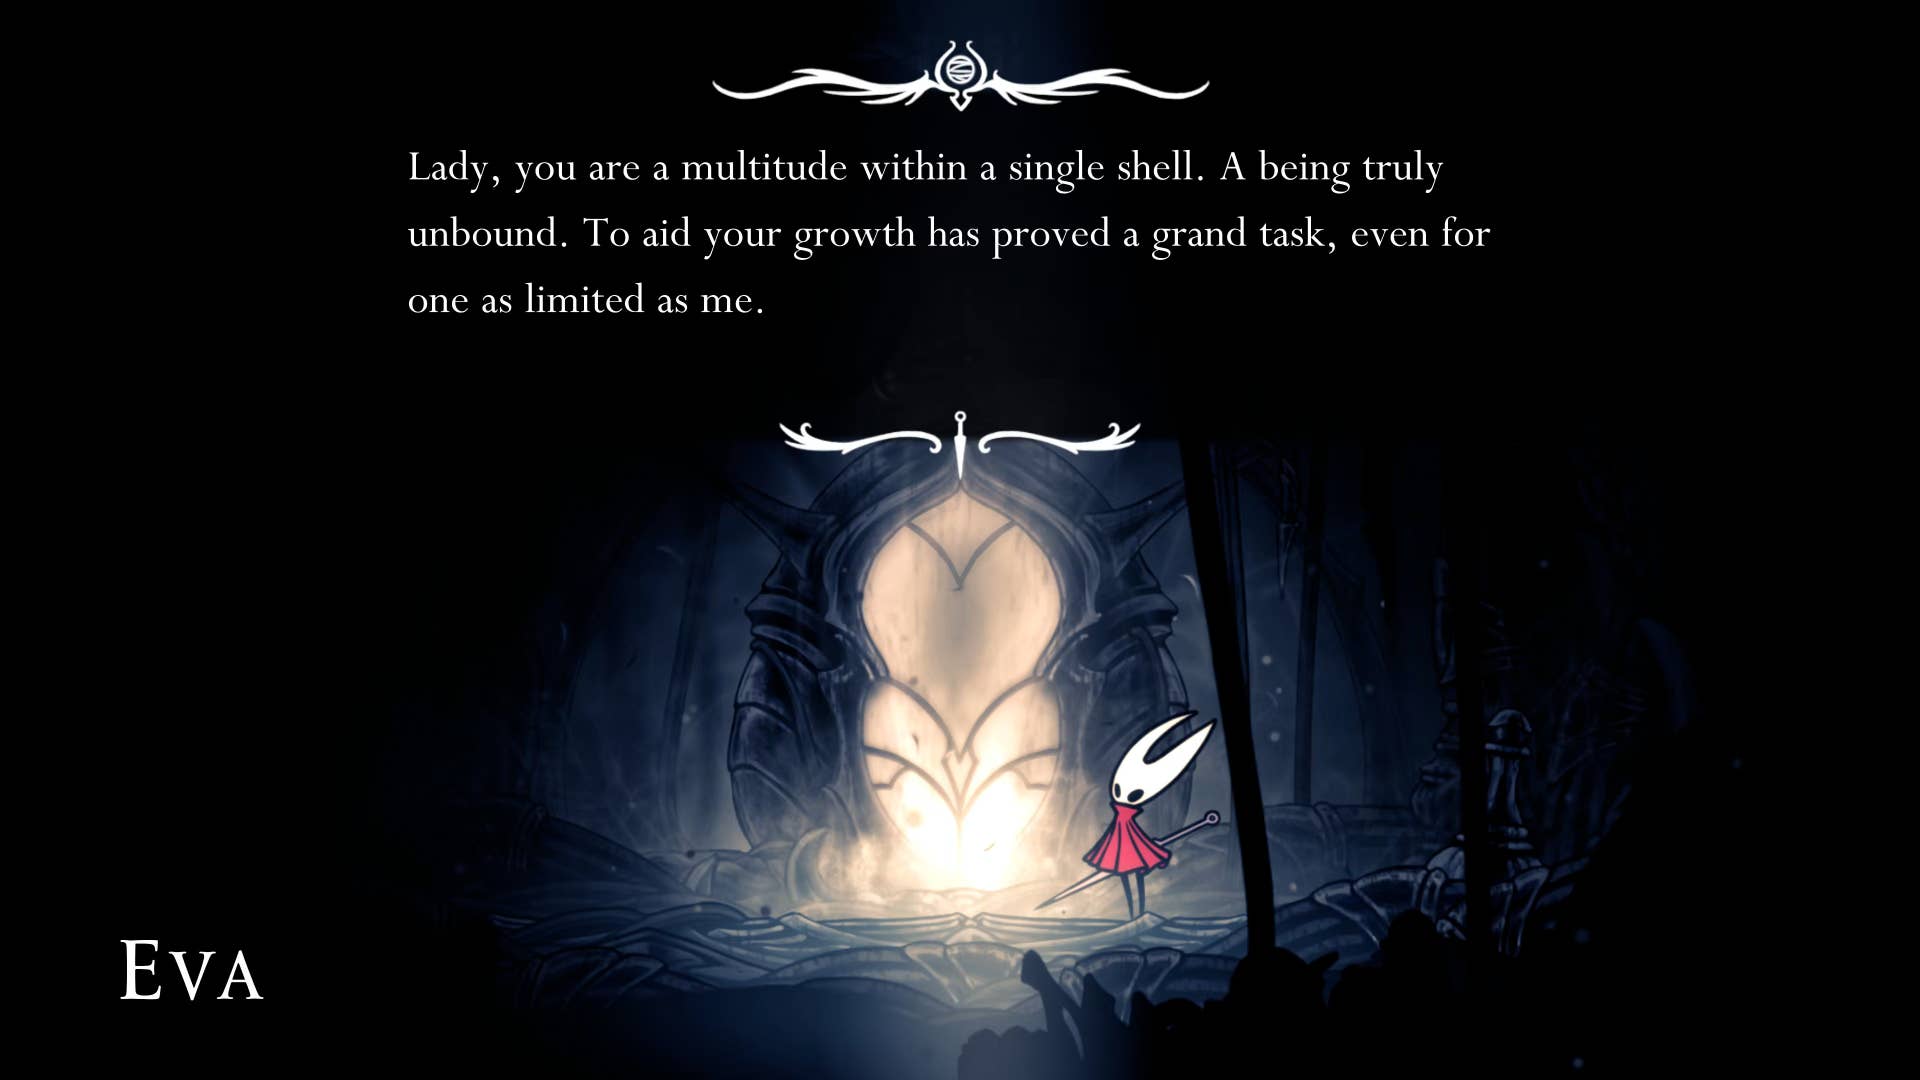
Using a teleporter, reach the bottom of weavenest, head right and visit the mysterious Eva. Using all 18 memory rockets, she will reward you with plenty of rewards (if you haven’t been visiting her in a tentative manner).
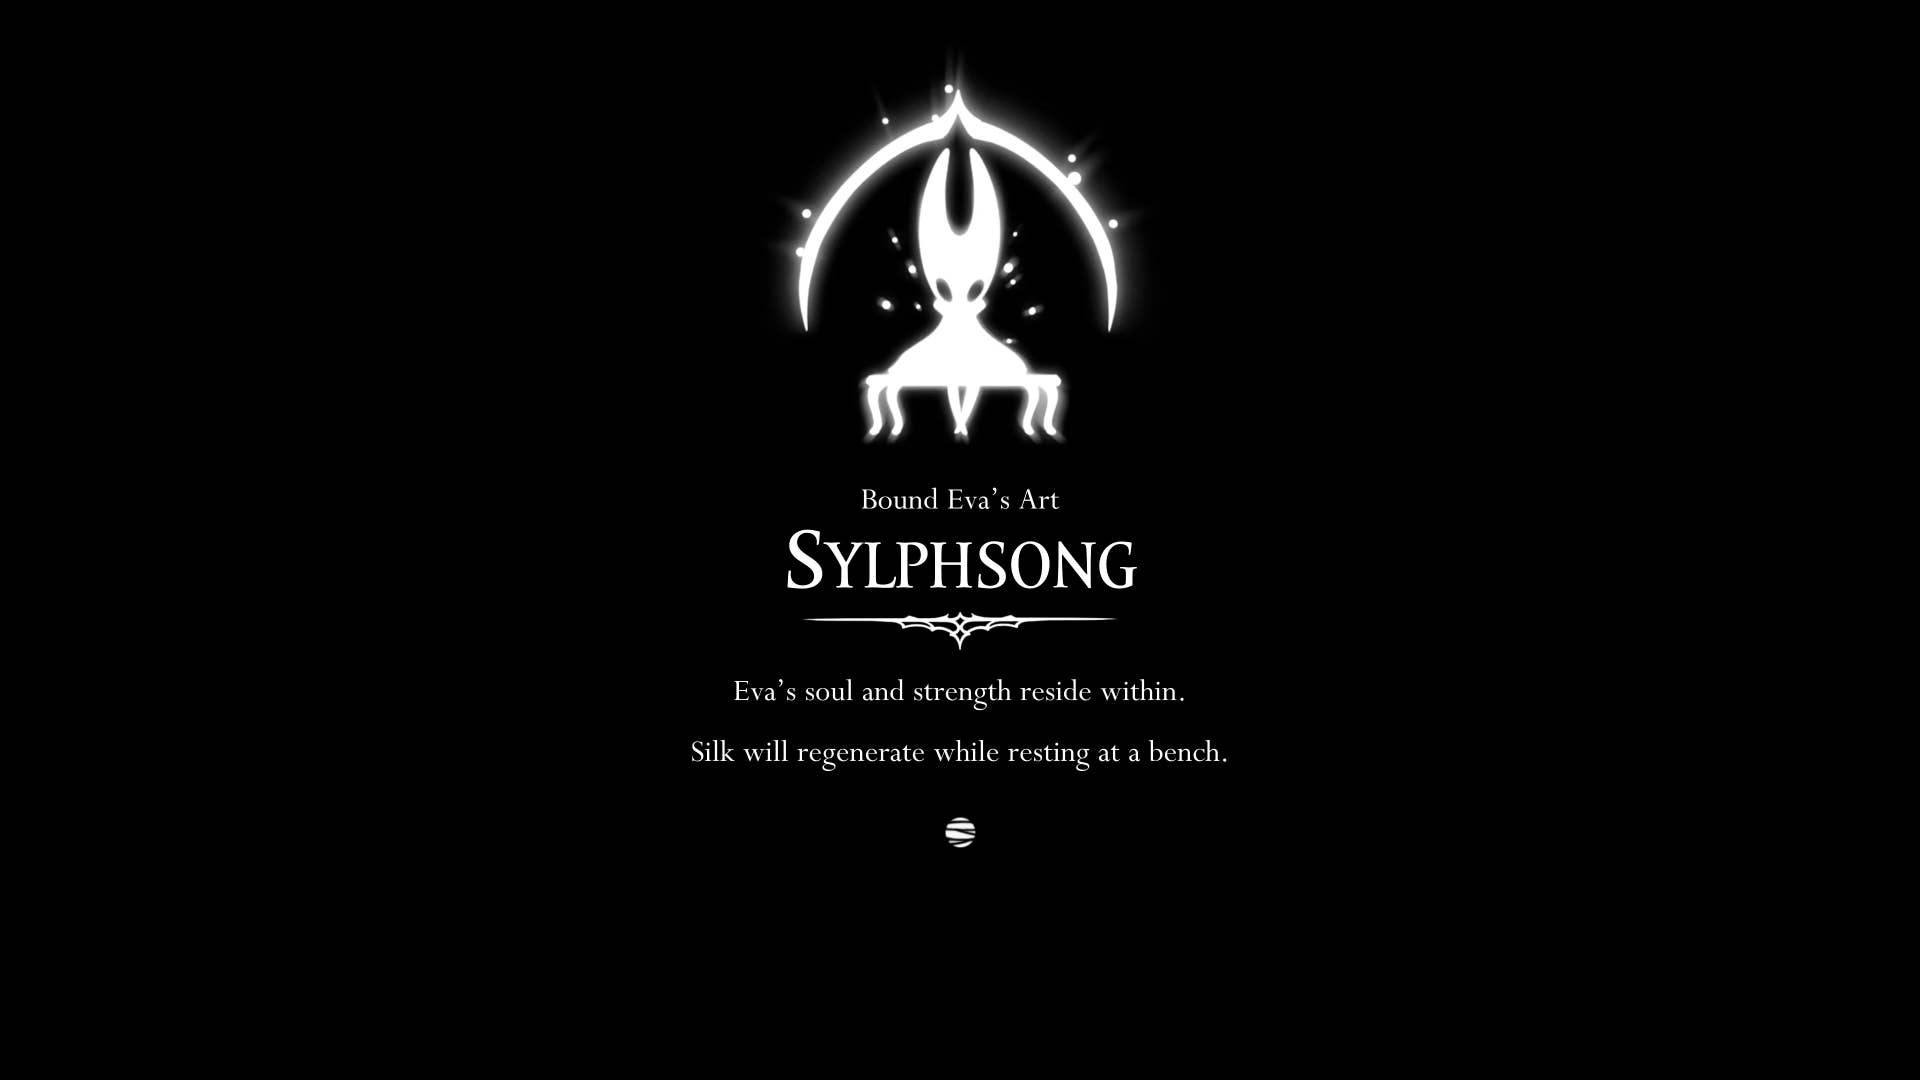
But the real reward is that after getting and using all 18 memory rockets, Eva asks her to tie her down. Then you will free her from her strange imprisoned being, and she will provide you with an incredibly powerful Sylph Song ability, a passive ability that allows Silk to regenerate while resting on the bench.
9. A complete challenge for Roddy.
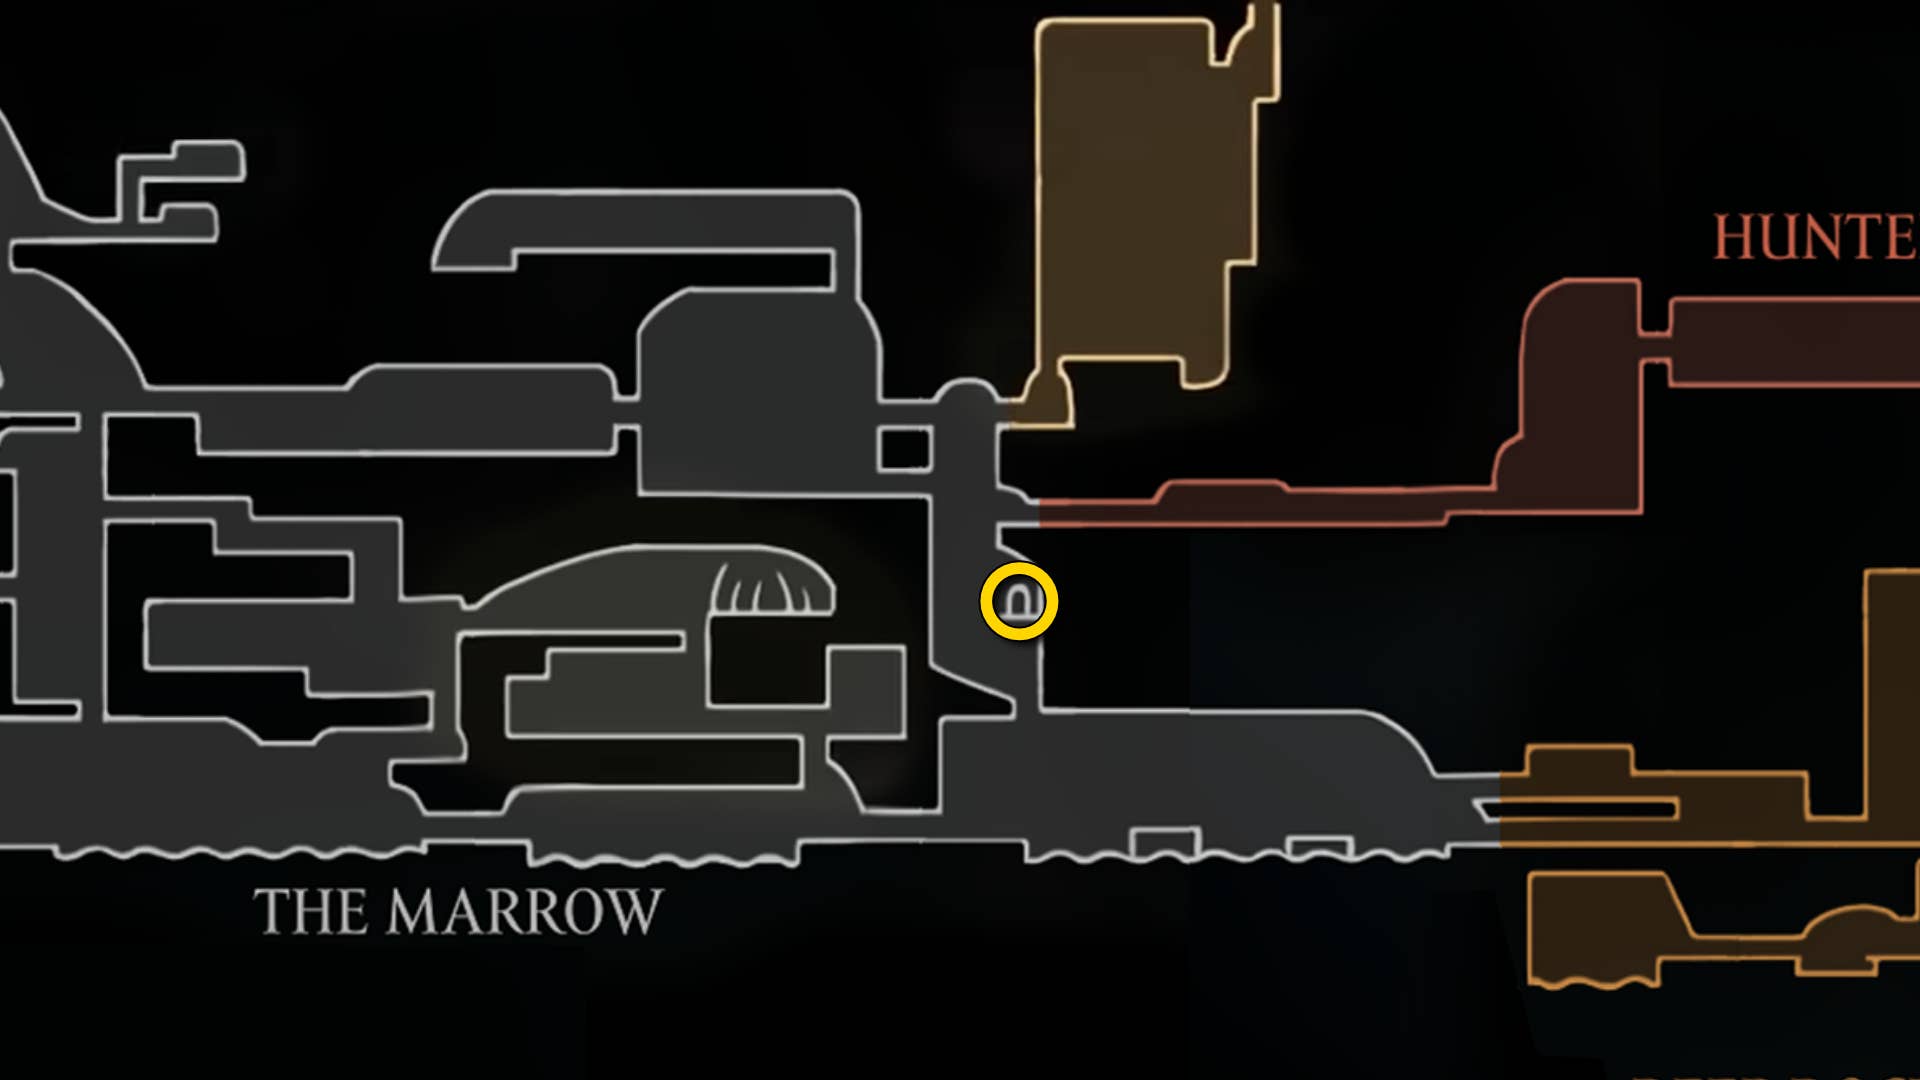
Remember that little prison you first met (and released) in the bone marrow? By this point, it’s been so long since it was taken over by the NPC Rody who set up a mini-game to throw darts there to try.
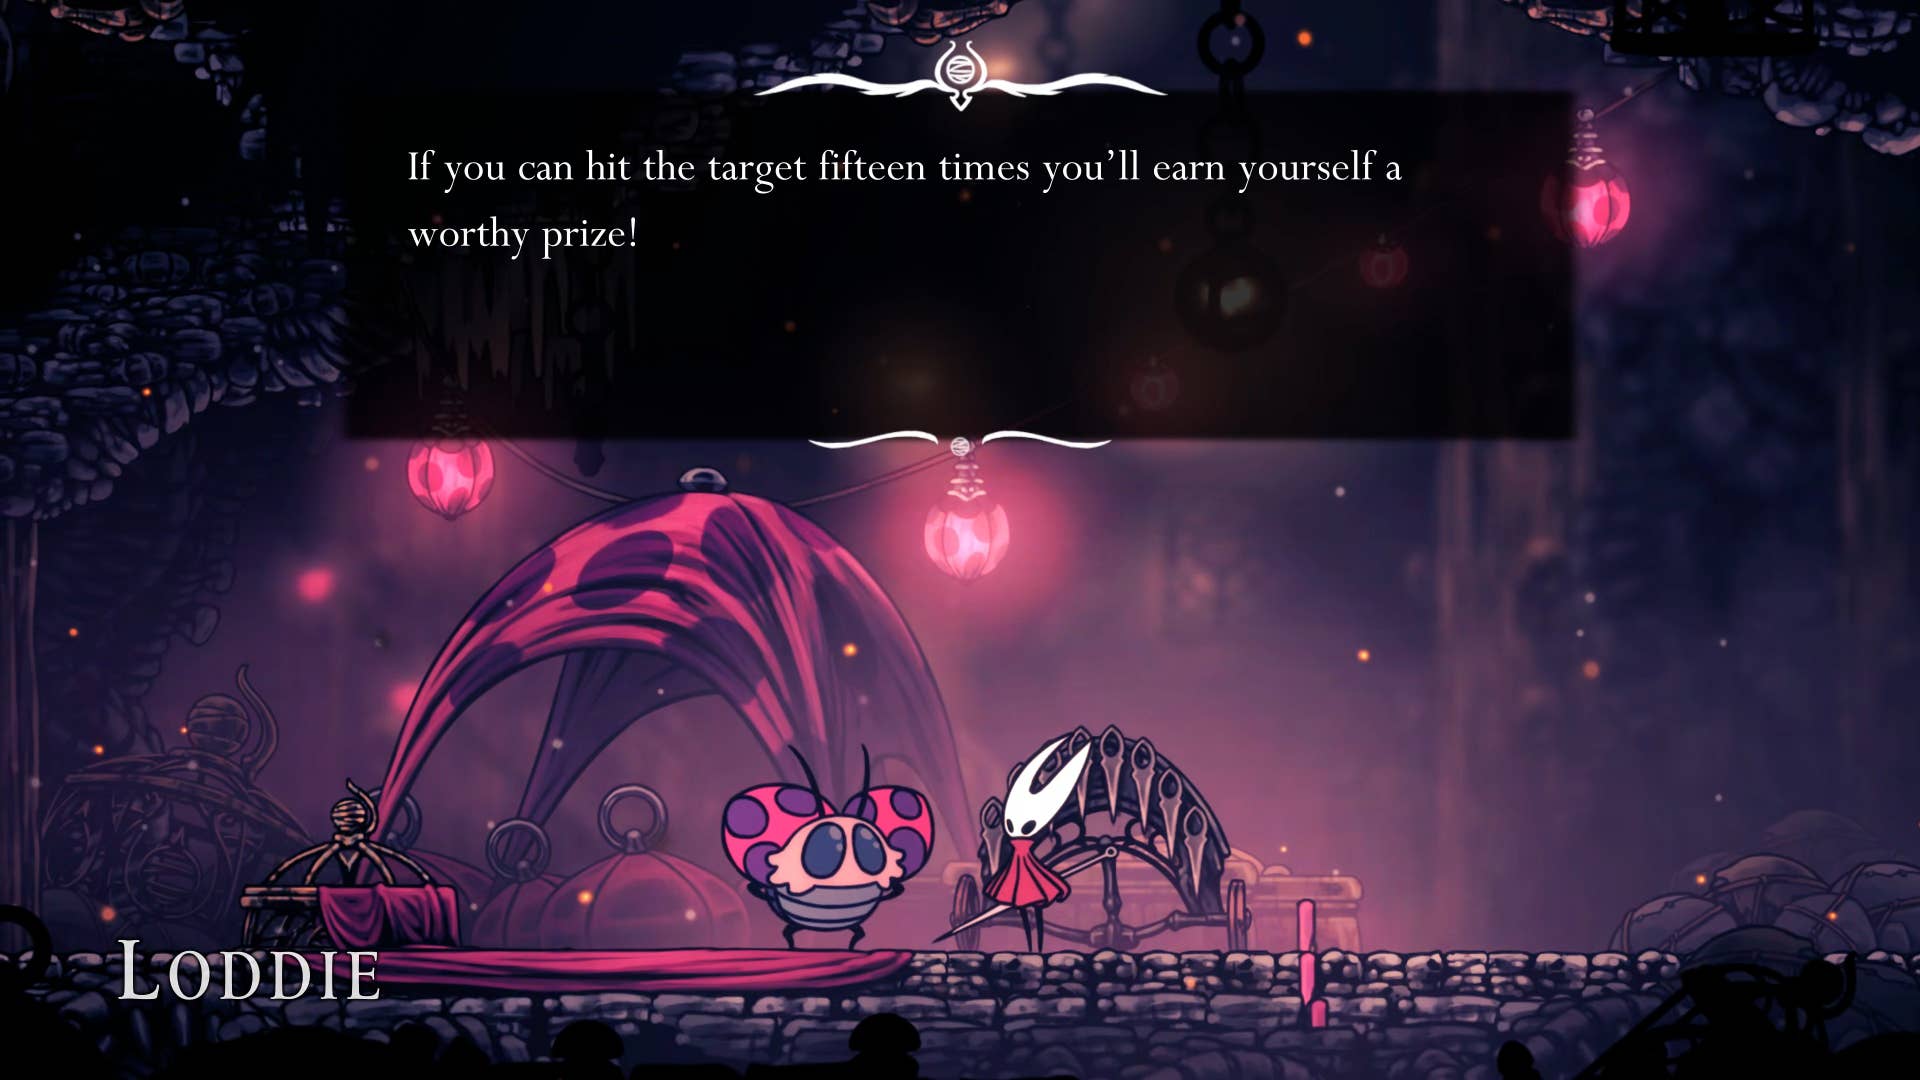
Heading to prison – in case you forget, it is just below the path that leads to the hunter’s march. Talk to Roddy and start the mini-game. There you will need to use slow darts to attack late bird targets. Only jumps are allowed – you cannot cross the red line at your feet. Or you will be disqualified.
Once you hit the target 15 times, Roddy will reward you with a tool pouch upgrade. After attacking the target 25 times, he hands over the heavy rosary necklace. The downside is that you have to pay a Rody 25 rosary every time you try the challenge. That asshole.
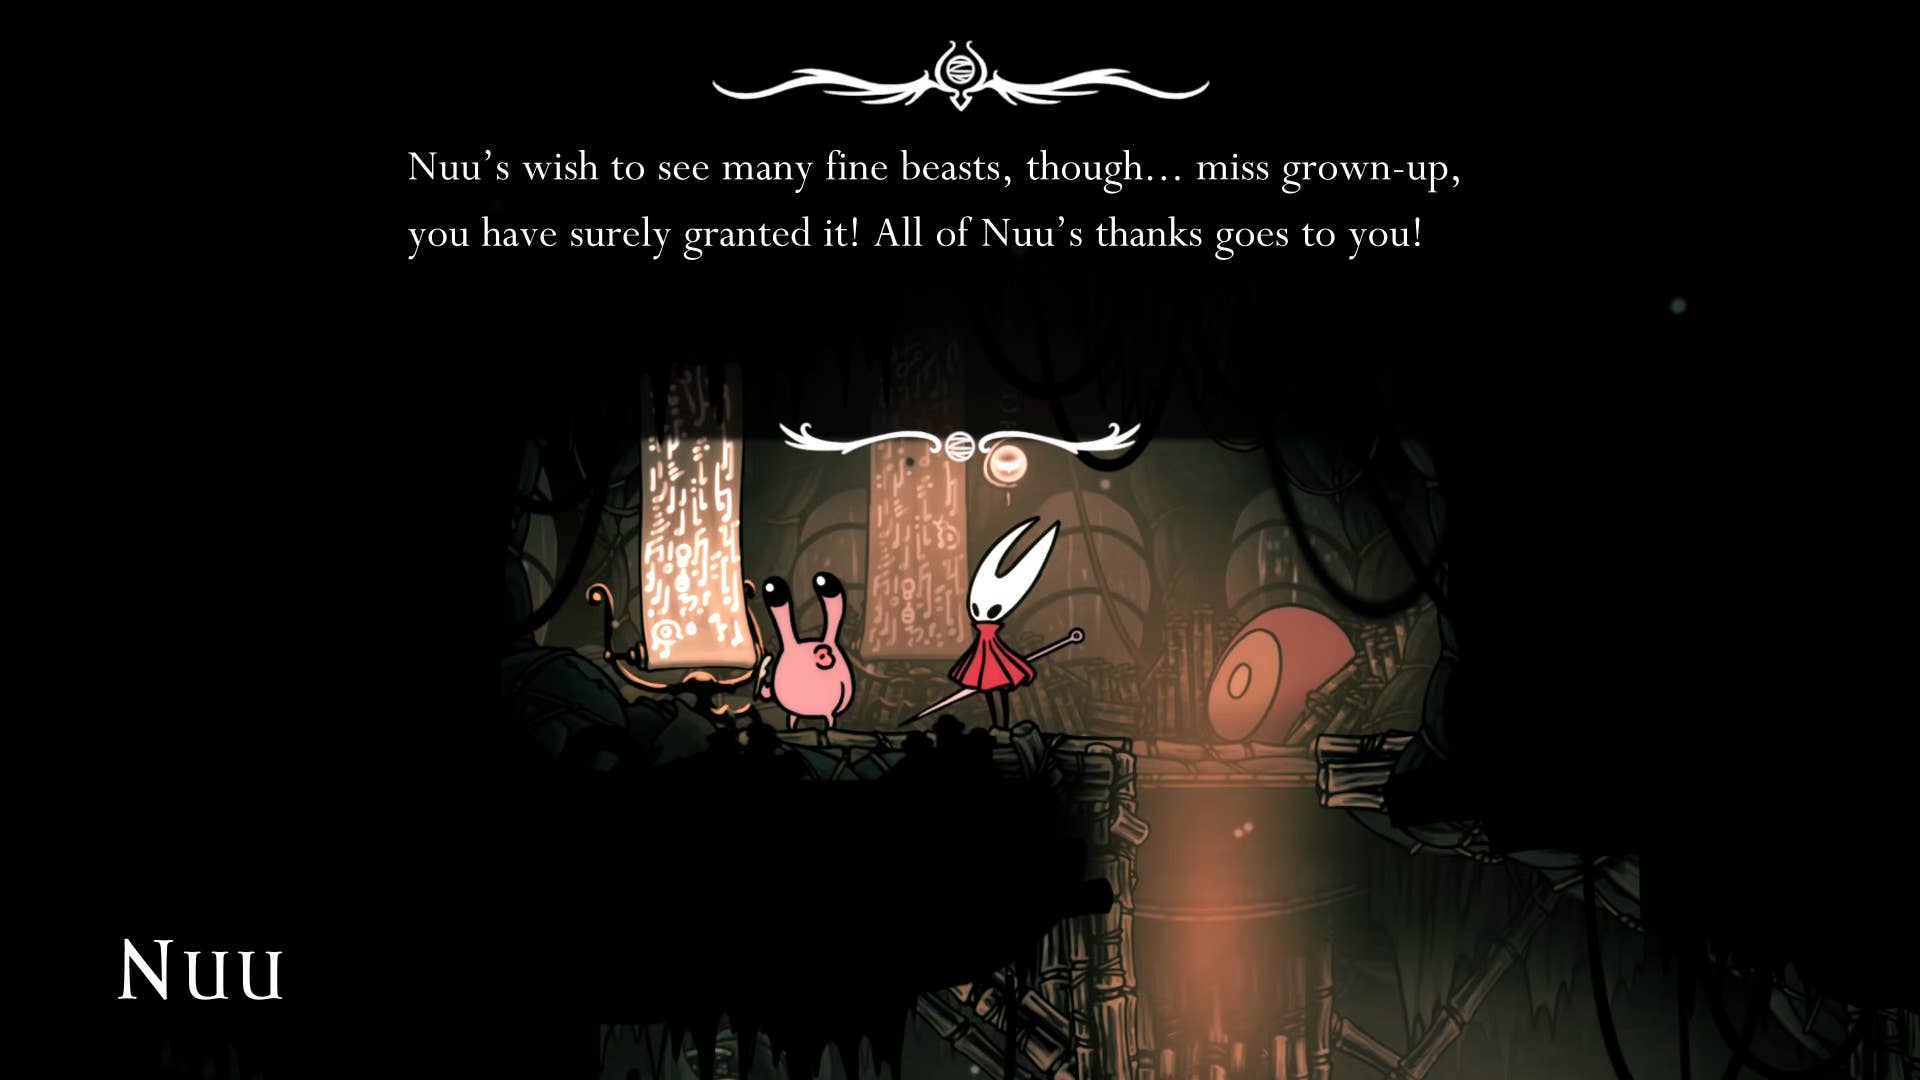
10. Please fill out the hunter’s diary.
Nuu’s Hunter’s Journal is of course a compilation that keeps you fully filling out Act 3. But at least, if you haven’t done it yet, you’ll need to add 100 enemies to the journal to complete the Nuu quest. Once you have 100, talk to the wildebeest again at the house along the way. She will provide tool pouch upgrades for your troubles.
If necessary, you could spend time ensuring that you unlock all the entries of the enemy in ACT 1 and ACT 2, but this is very time-consuming and does not have to be completed before the end of Act 2.
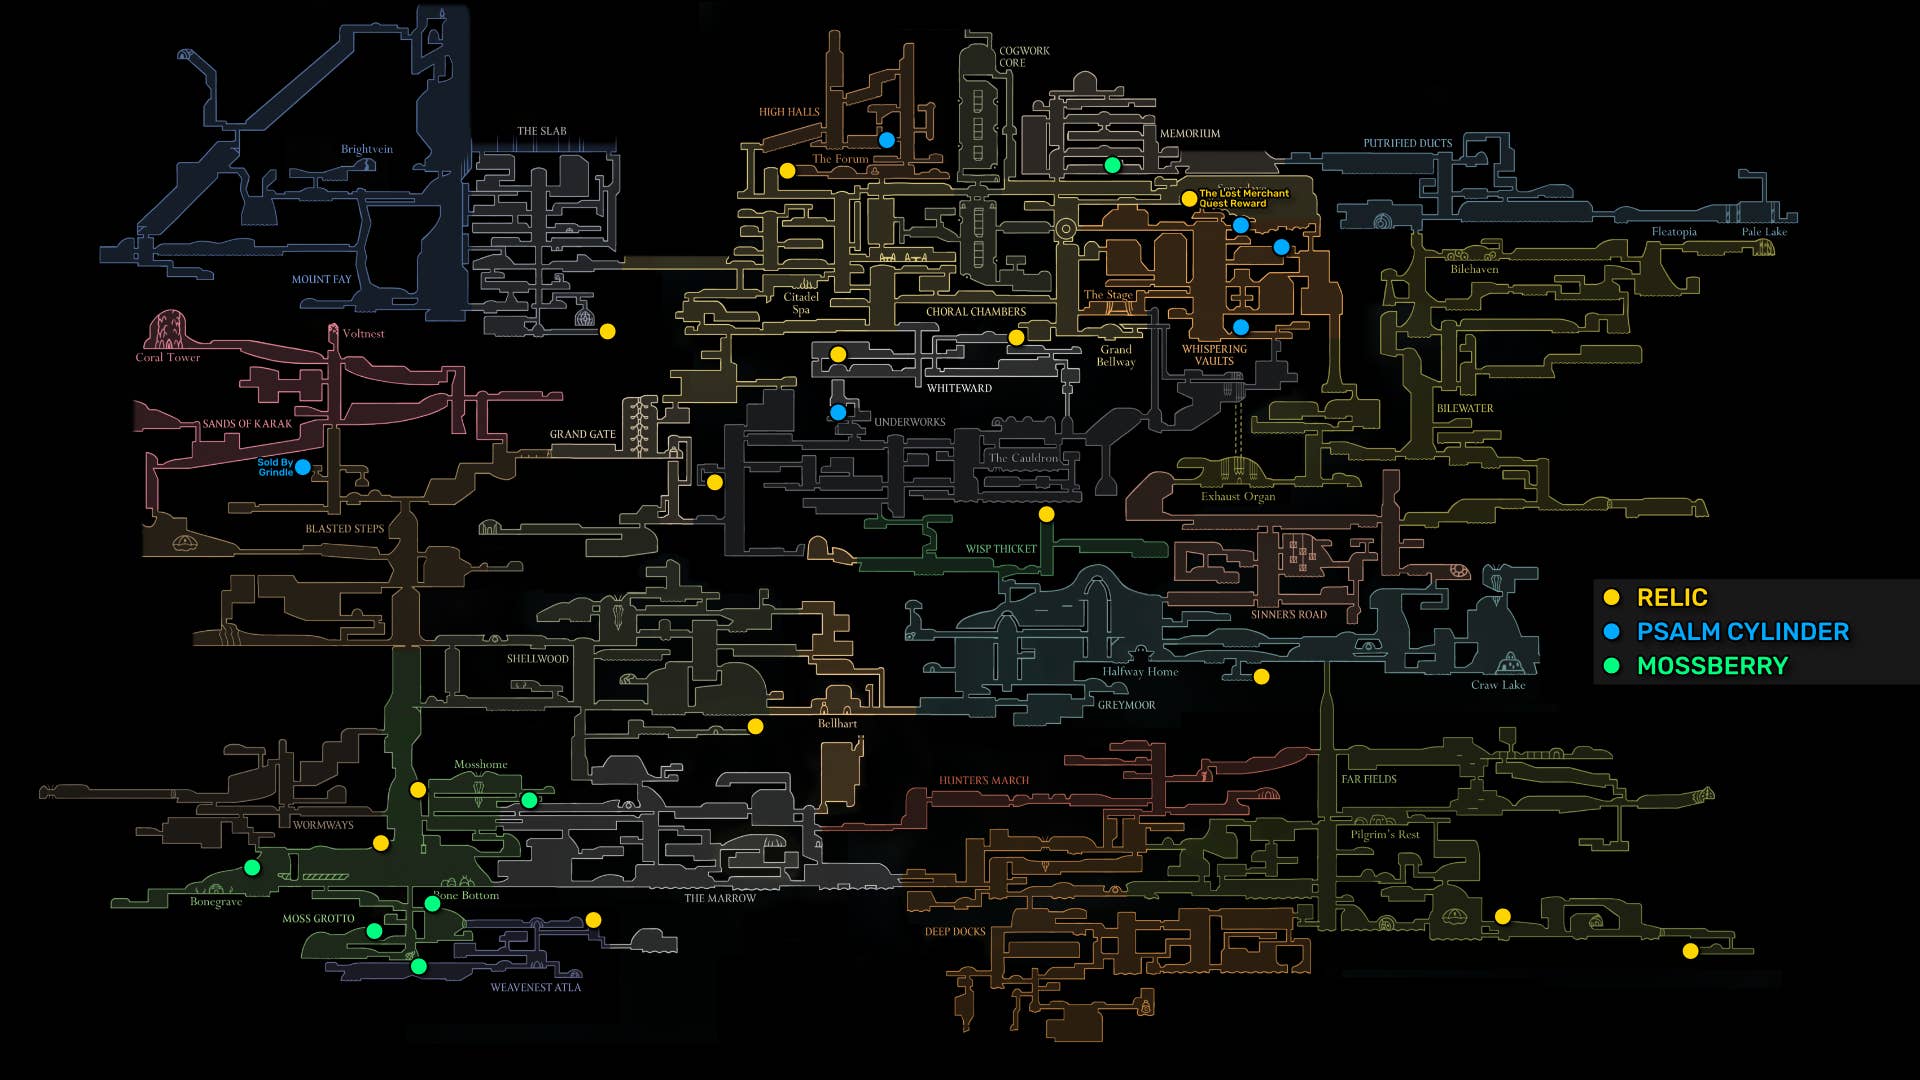
11. Put your hands on all the collectibles.
Another thing you can do at this point is to hand over all the collectable items to the relevant curator for completion. Collectibles are:
- Mosberry
- Relics (Bone Scroll, Choral Commandments, Weaver Effiji, Rune Harp)
- Poem Sal Cylinder
Mossberries must be passed to Moss Druid in Mosshome. The final reward is to upgrade your Druid’s Eye Tool to the more powerful Druid’s eyes.
Others simply provide a rosary as a reward for each relic or poem sal cylinder handed over (each sprints through the Bell Heart and the Ball Keeper Cardinius in a whisper). Please refer to the map below in case you missed it!
12. Dueling with Shakura.
I’ve almost completed everything that I’d completed before reaching the end of Act 2. One side of the task remains. A friendly duel between one of the biggest warriors in the Farroom and one of your biggest allies.
This is only available once you complete Shakura’s final wish quest. Head to the Greymore area, just next to Bell Heart, a flat section of the land where the flea caravan once was. Here you can find one of the Shakra throwing rings on top of the ground stick. Attacks it and makes a bell noise and summons Shakura from her hidden location in Bell Heart.
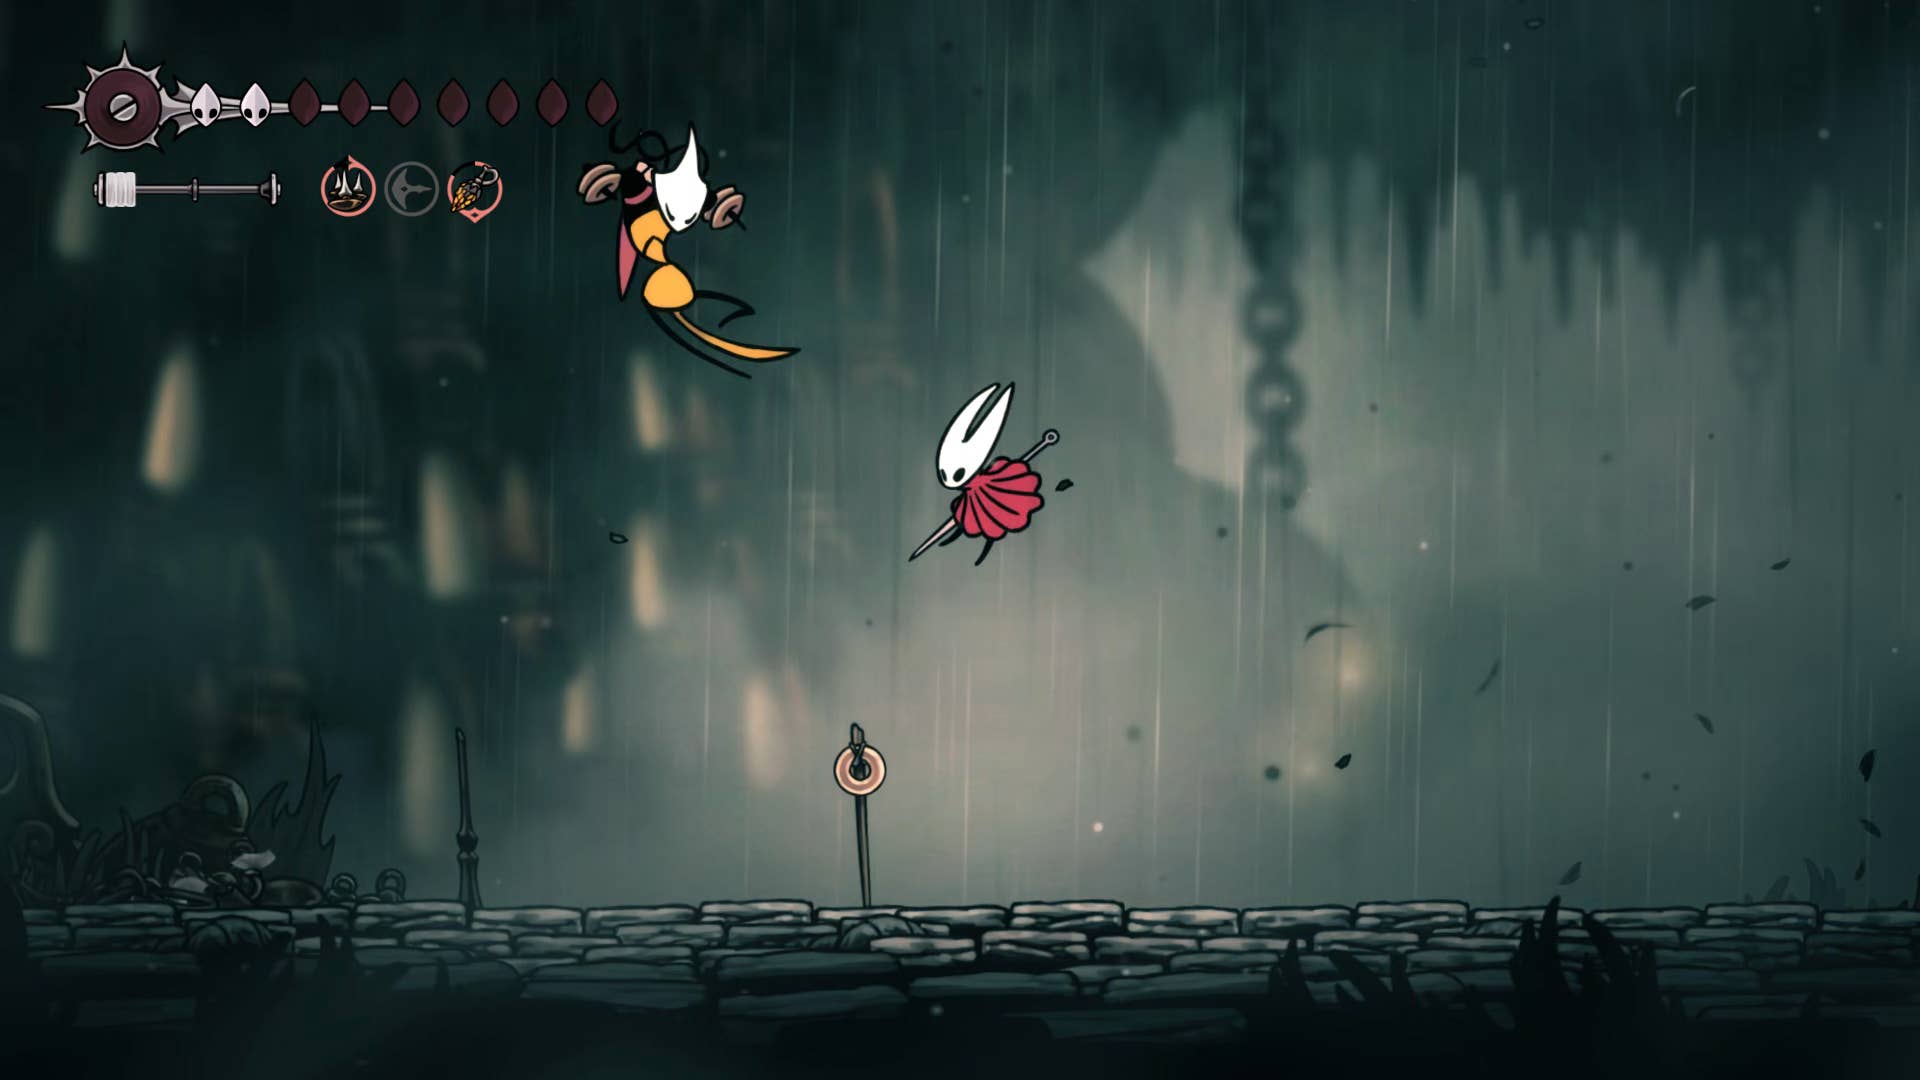
She challenges a duel here. There are no rewards except for adding Shakura to the Hunters Journal, but it’s a very enjoyable battle to prepare you for the future.
Shakura moves very quickly, and her constant barrage of throwing the ring can be hard to read at first. Thankfully, she only has one phase and doesn’t have a particularly high health pool, so if you beat the rhythm it won’t take long to beat her.
Are you okay. All of this busy work has now gone out of the way, so I think it’s time to play three songs and face the finale of Act 2. Join Part 33 of Silk Song Walkthrough.
(TagStoTranslate) Hollow Knight: Silksong (T) Action Adventure (T) Indie (T) Nintendo Switch (T) PC (T) Platformer (T) Team Cherry