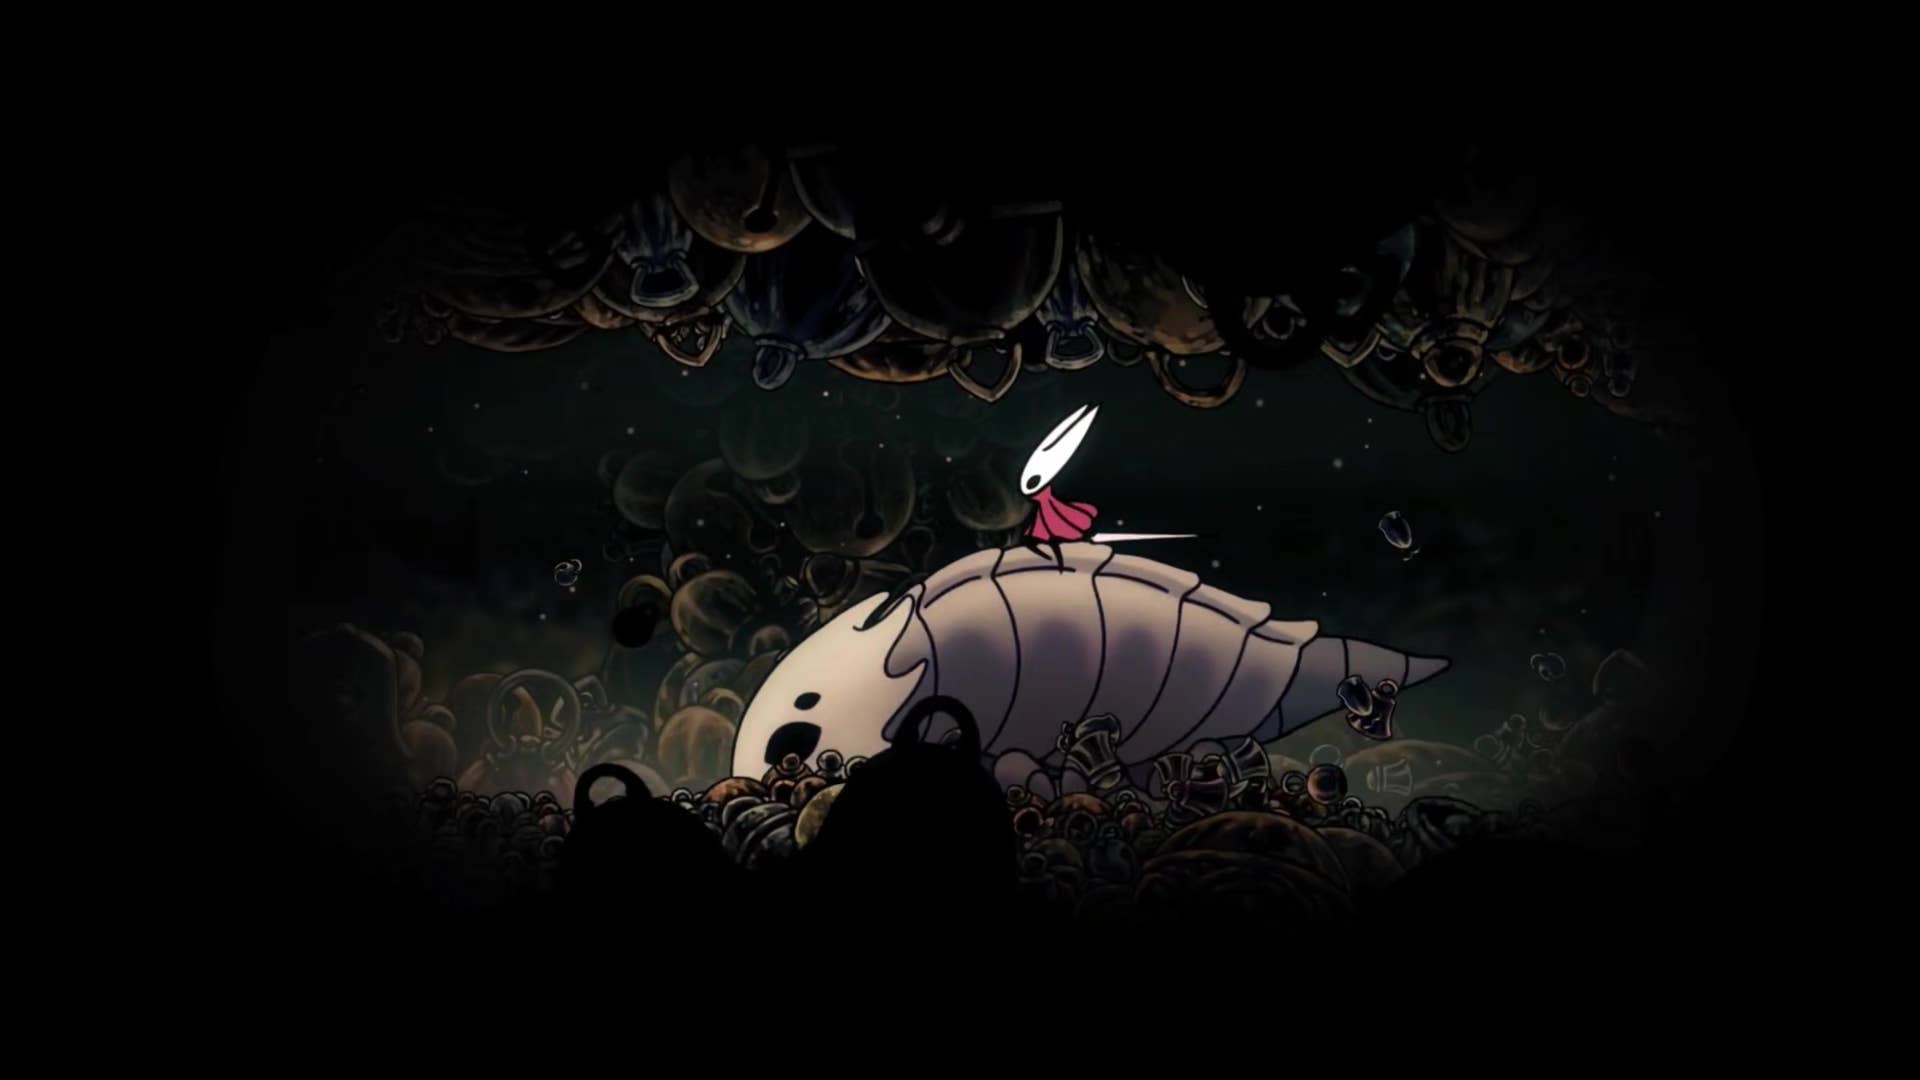
Are you looking for part 3 of our silk song walkthrough as you dig deeper into the bone marrow? In part 2 of the walkthrough, you have led you along the western edge of the bone marrow to reach a higher area of Moss Home and unlock the first skill, Silkspeare. However, there is still a lot to explore in the marrow east.
in Part 3 of the Silksong Walkthroughshow you how to conquer all your bone marrow in an orderly and intuitive way. It will show you where you can rescue the first chisels, find the first craft metal, and explore the beginnings of a brand new, even more demanding region.
Do you need a walkthrough in another area of the game? Check out Hollow Knight: Silksong Walkthrough Hub!
East Marlow Walkthrough Steps:
- Meet Moss Druid and complete her quest.
- Freely (and fight) trapped creatures.
- Go back to the bottom of the bone and check the wishwall.
- Rescue the first flea.
- Collect the first Craftmetal.
- Head up towards the hidden chest.
- Enter the prison and the free Grandle.
- Unlock the shortcut and return it to the bottom of the bone.
- Cross the lava and return to the deep dock.
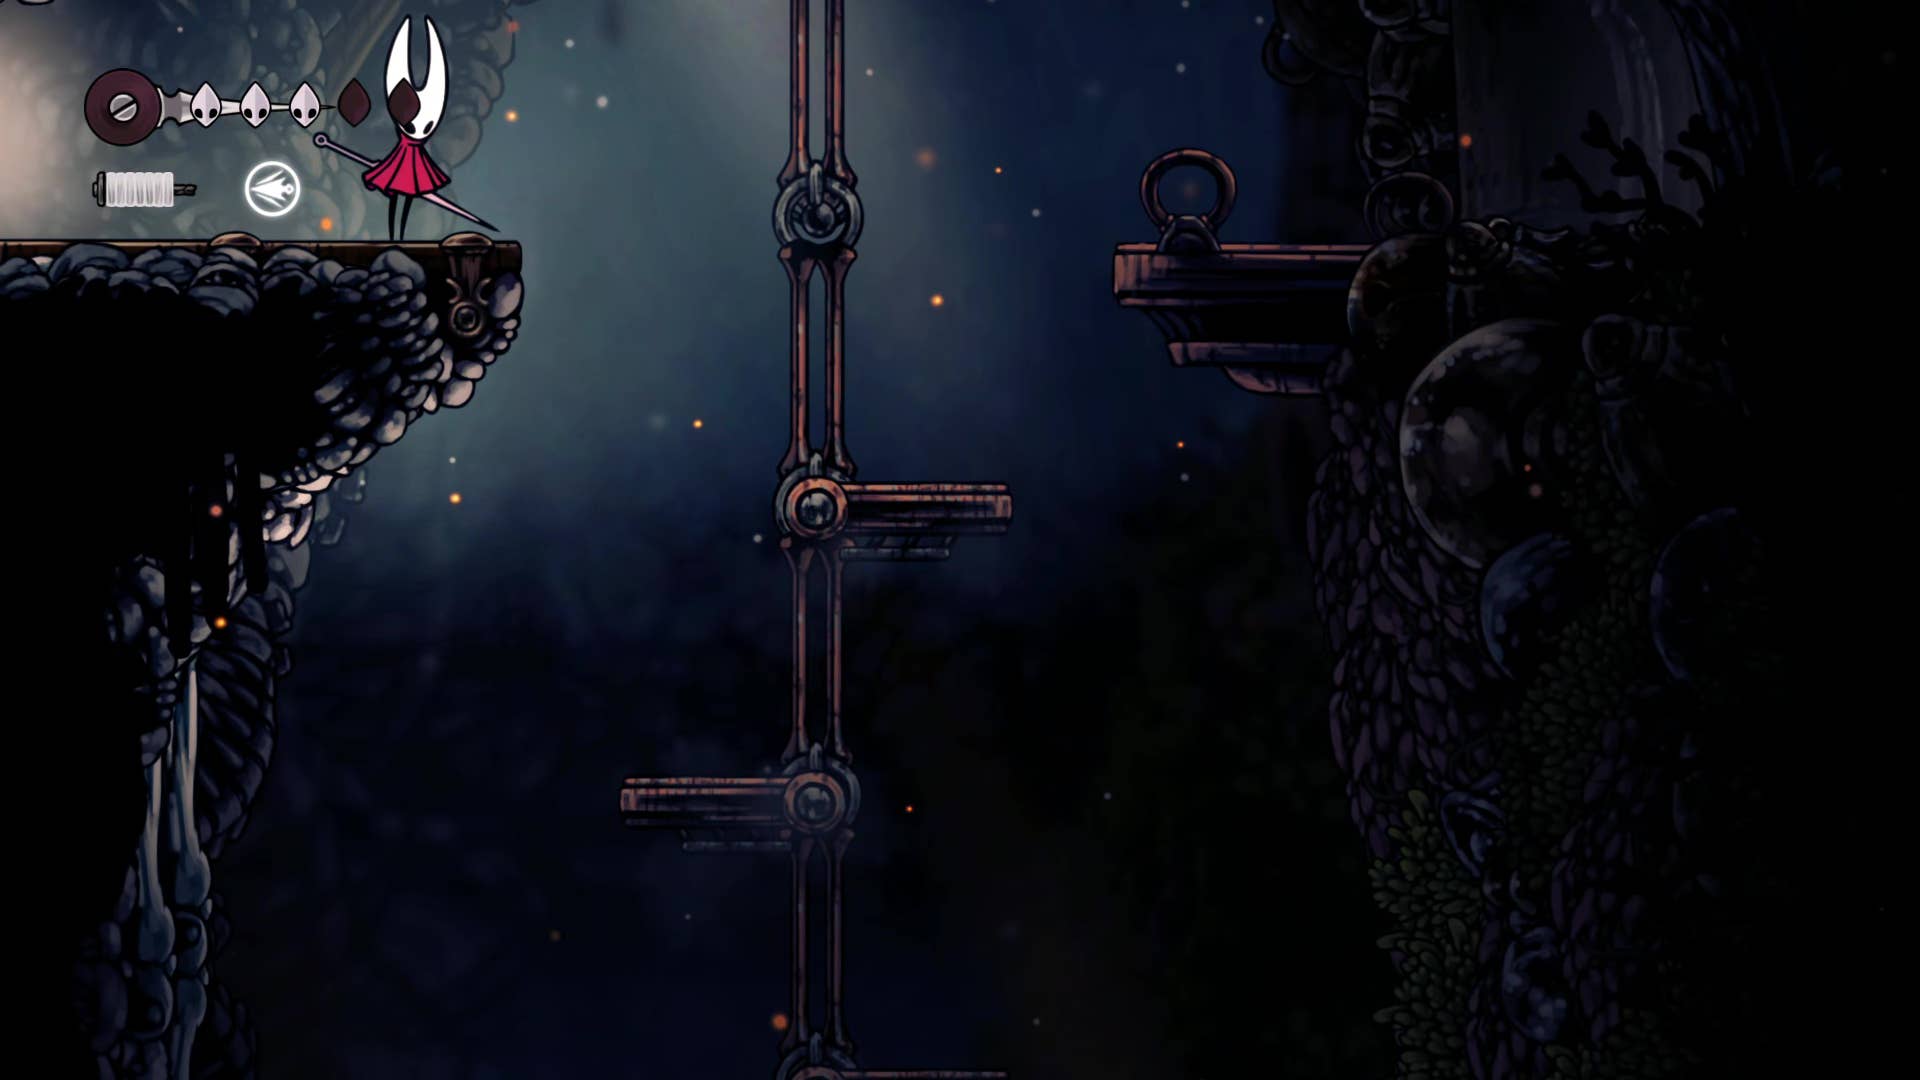
1. Meet the Mosdruid and complete her quest.
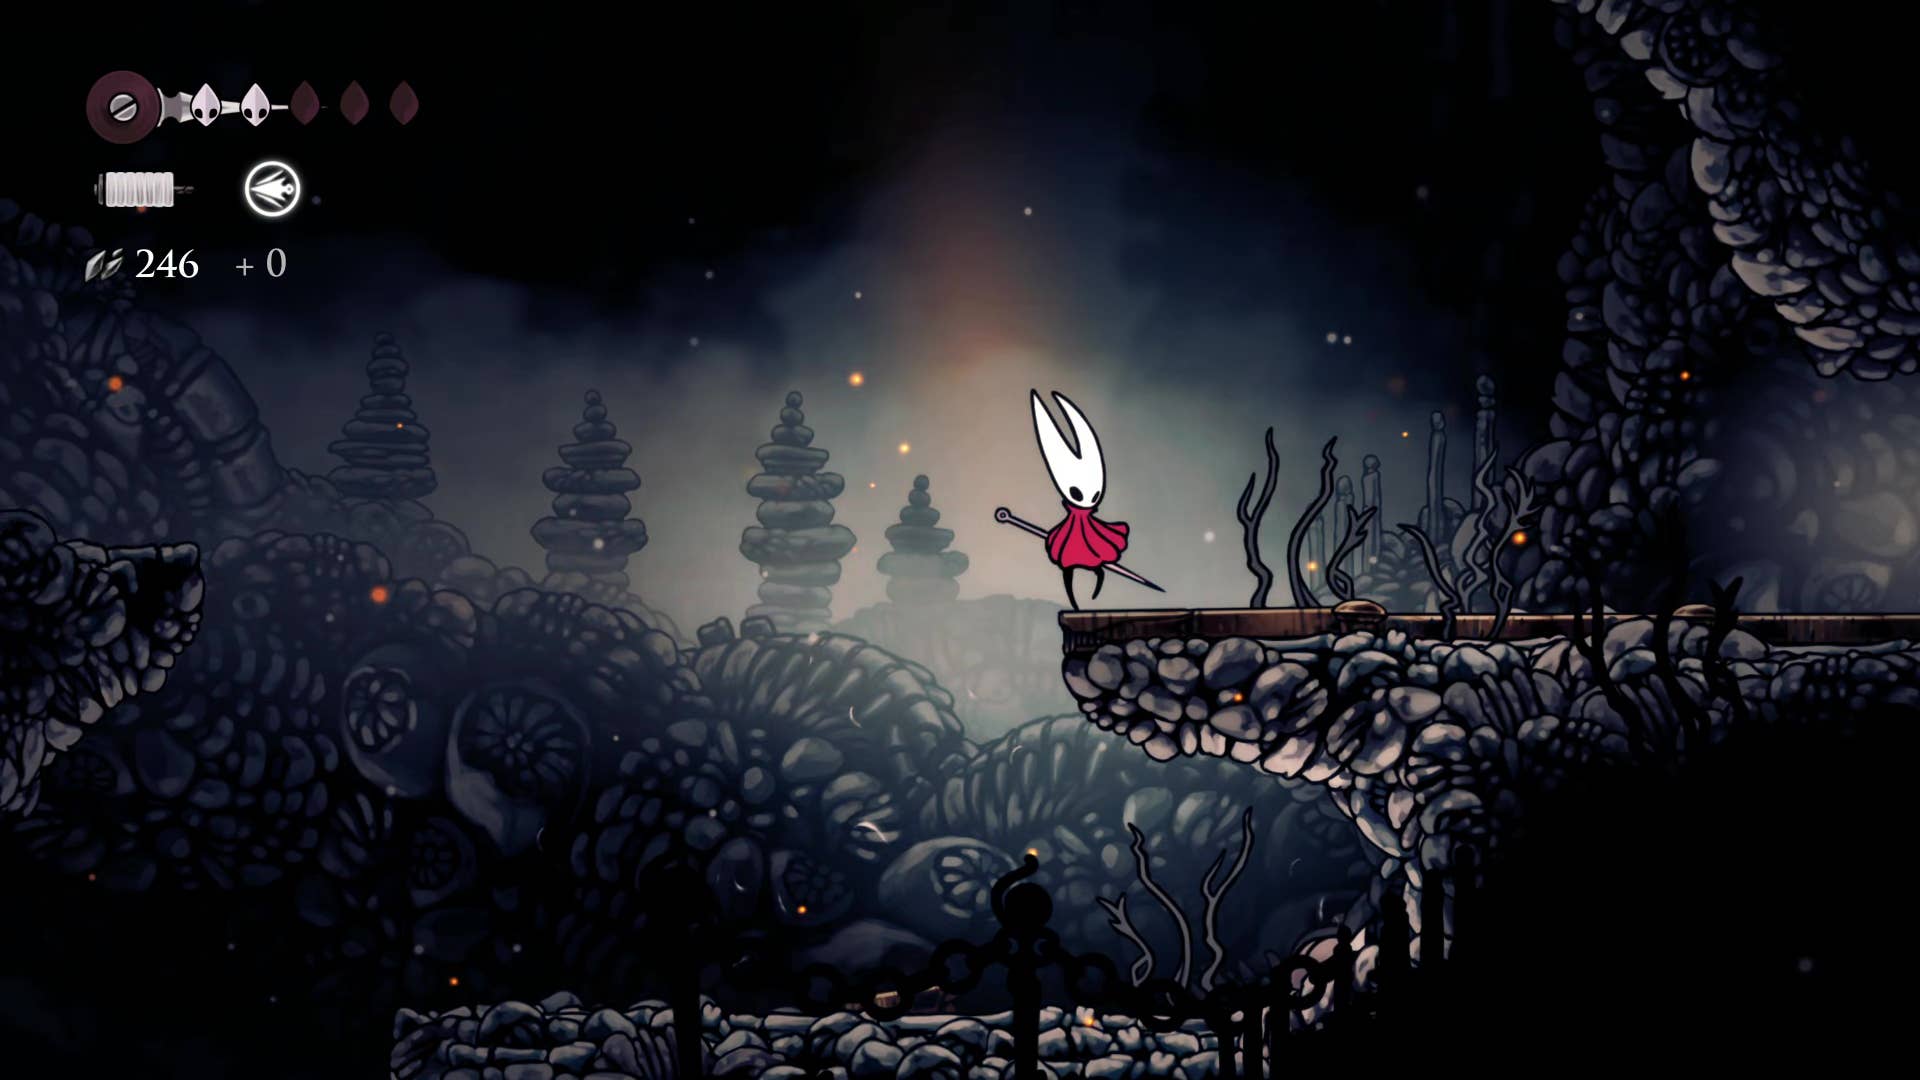
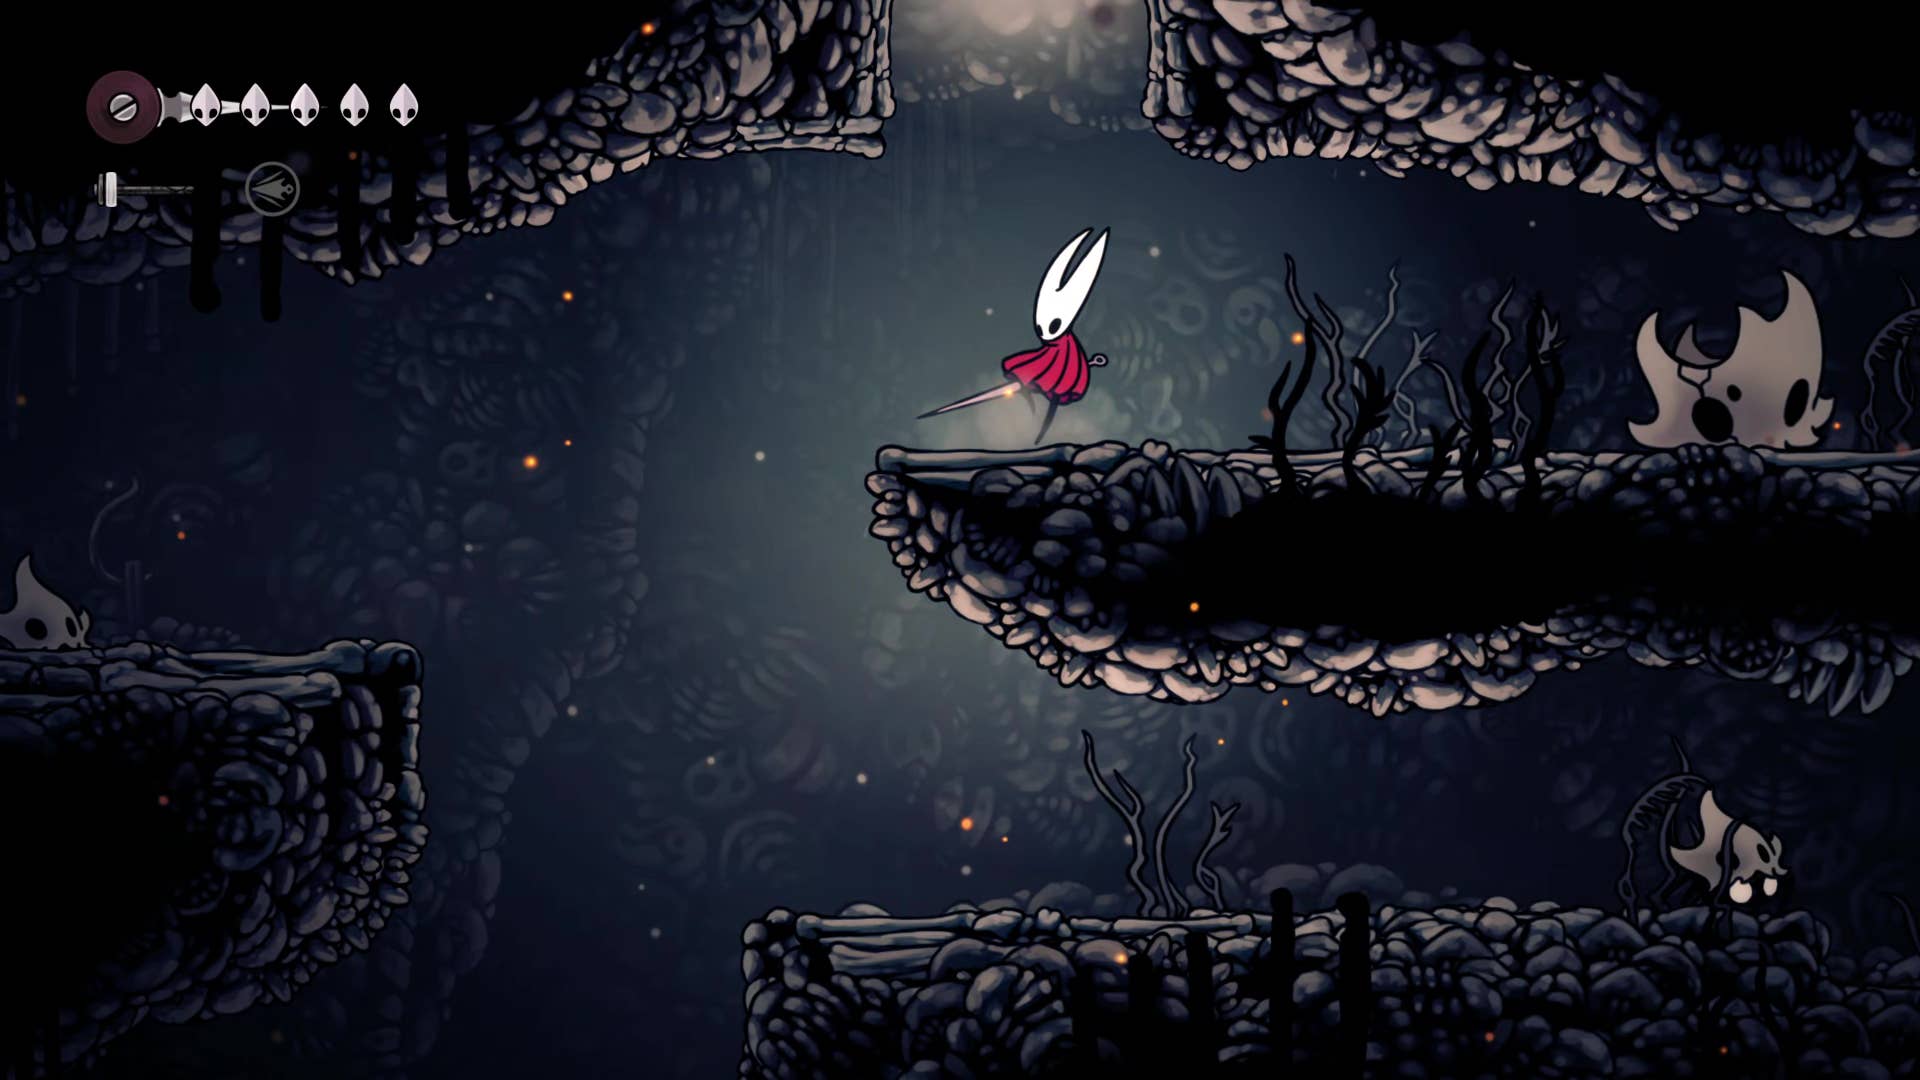
From the unlocked monument of Silkspear, head left across the platform and find the webbing. Unleash Silkspeare with RB to destroy and pass through the webbing.

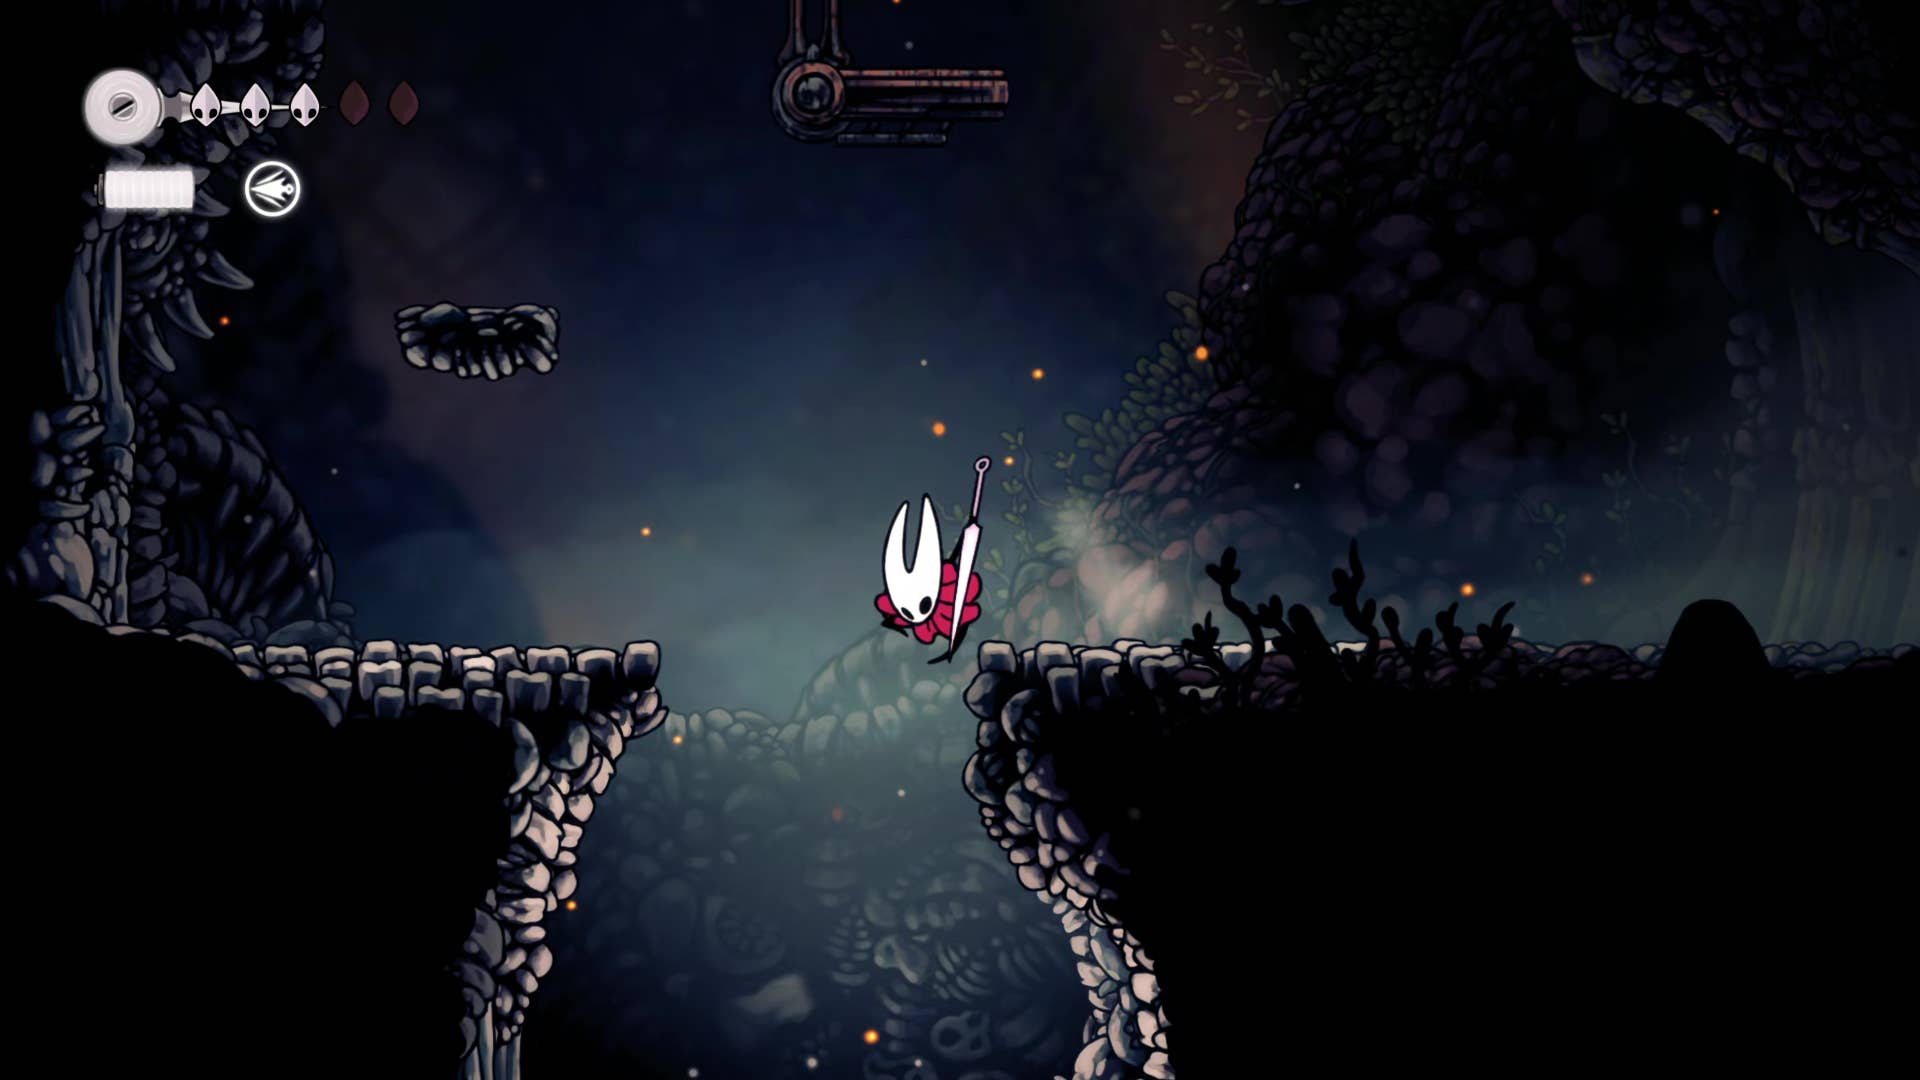
Follow the downward path (keeping attention to the spike trap), collect the frayed rosary string from nearby bodies, then cut the rope and drop it on the ground. Head to the right side of the room and you will find another patch of webbing. Destroy it and jump through the hole to enter the room on the right.
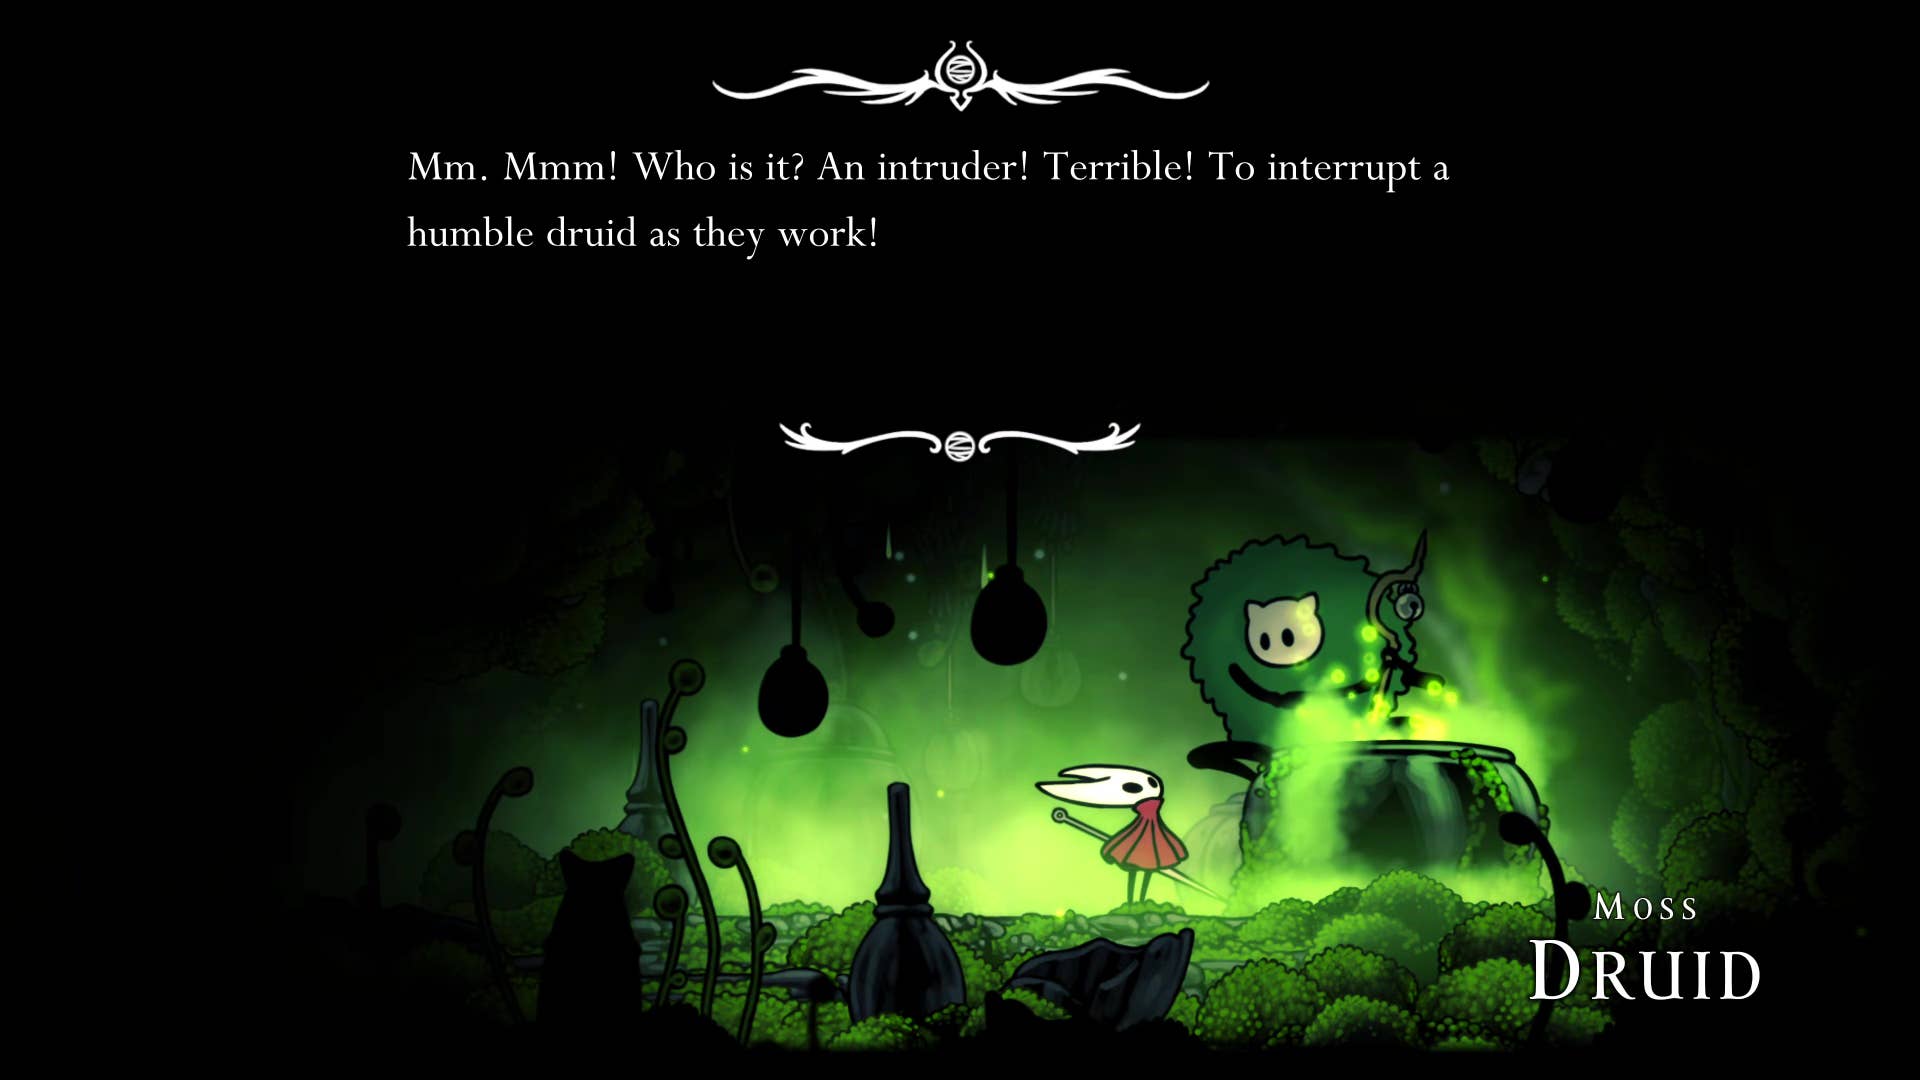
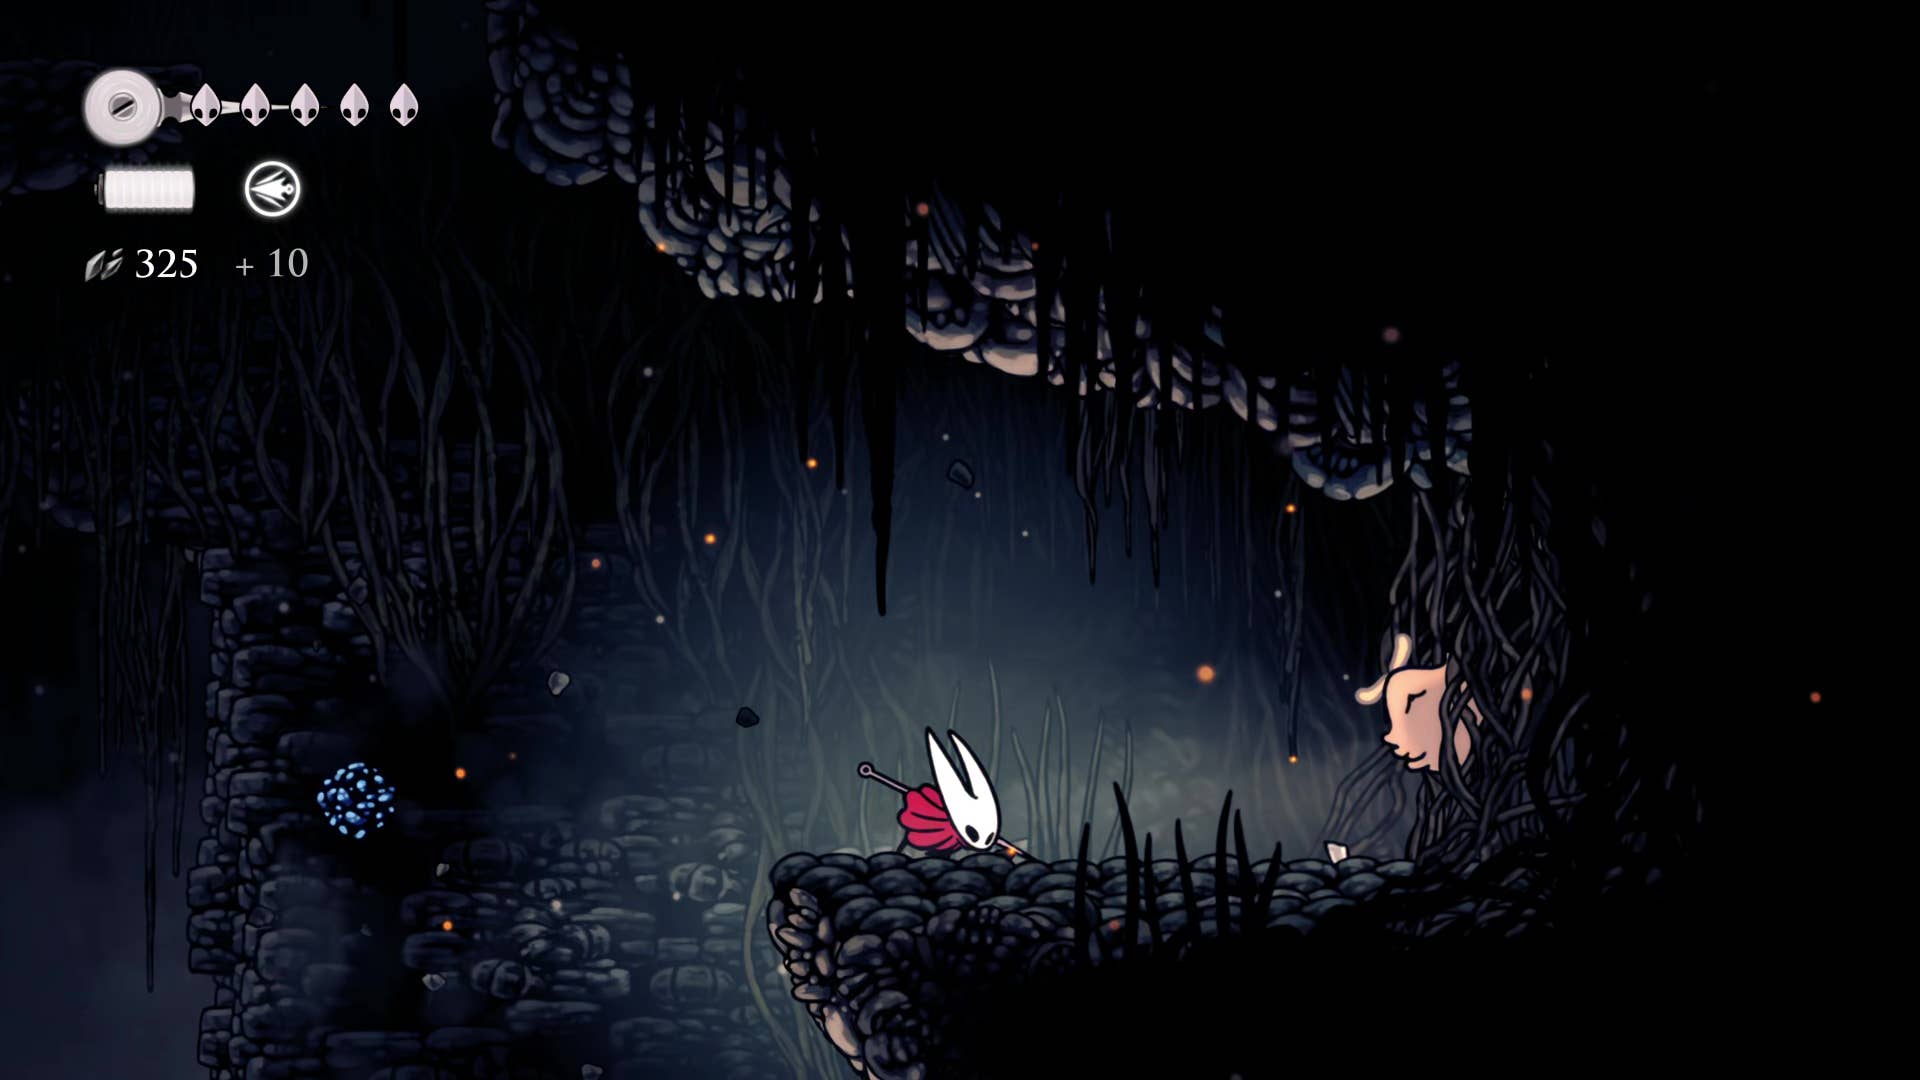
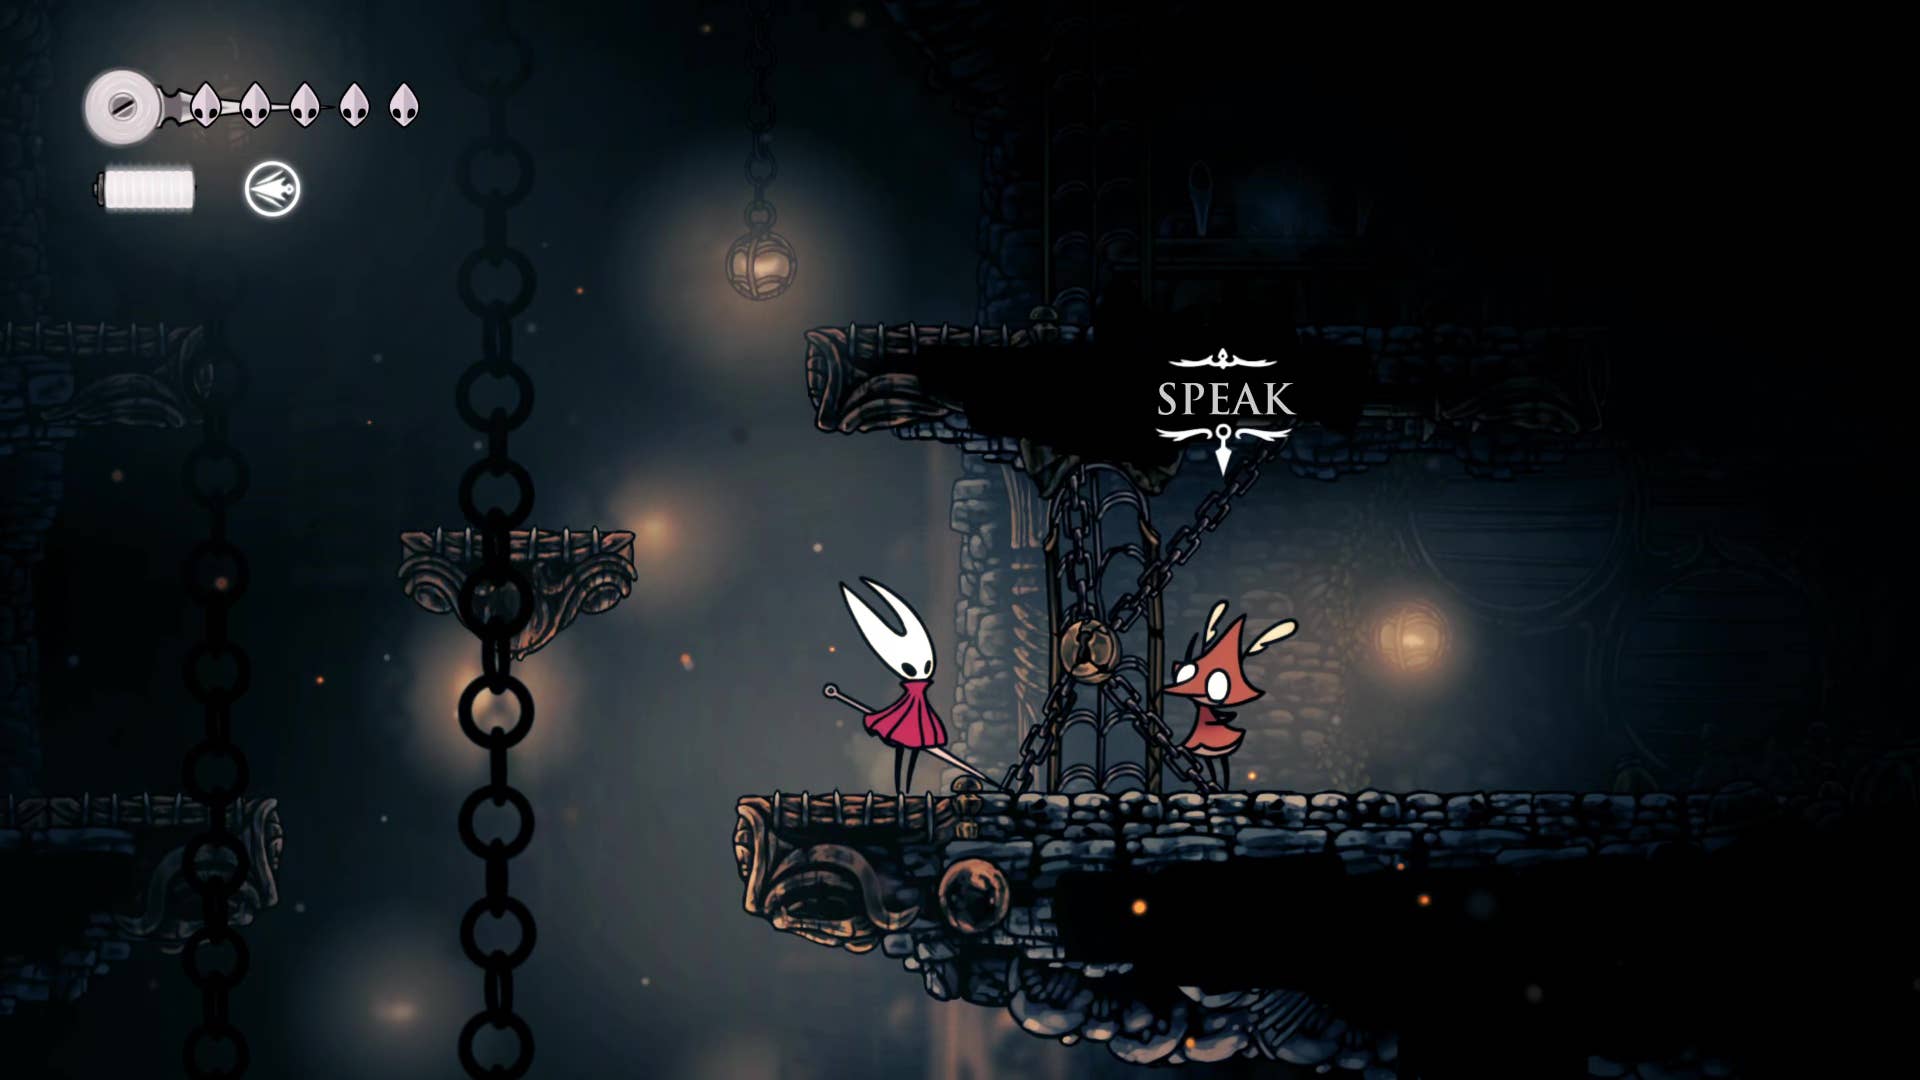
After resting on the bench, I walk a little further and meet the Mosdruid. Talk to her and embrace her quest to collect three mossberry – the little berries you’ve collected so far. If we’ve completed everything so far in our walkthrough, we should already have three, but if not, it’s another very close.
Finish and immediately drop the hole down. Then, again descend the shelf and walk straight down the wall to the right, and through a small secret territory. Inside is a flying enemy that can kill another Mossberry if necessary.
Whether you do it now or later, once you have three Mossberry you can talk to Moss Druid and receive Druid’s eyes as a reward.
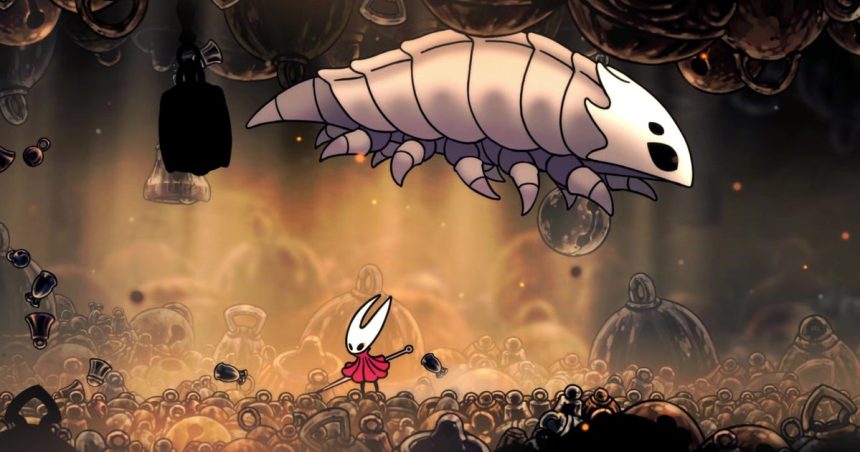
2. Freely (and fight) trapped creatures.
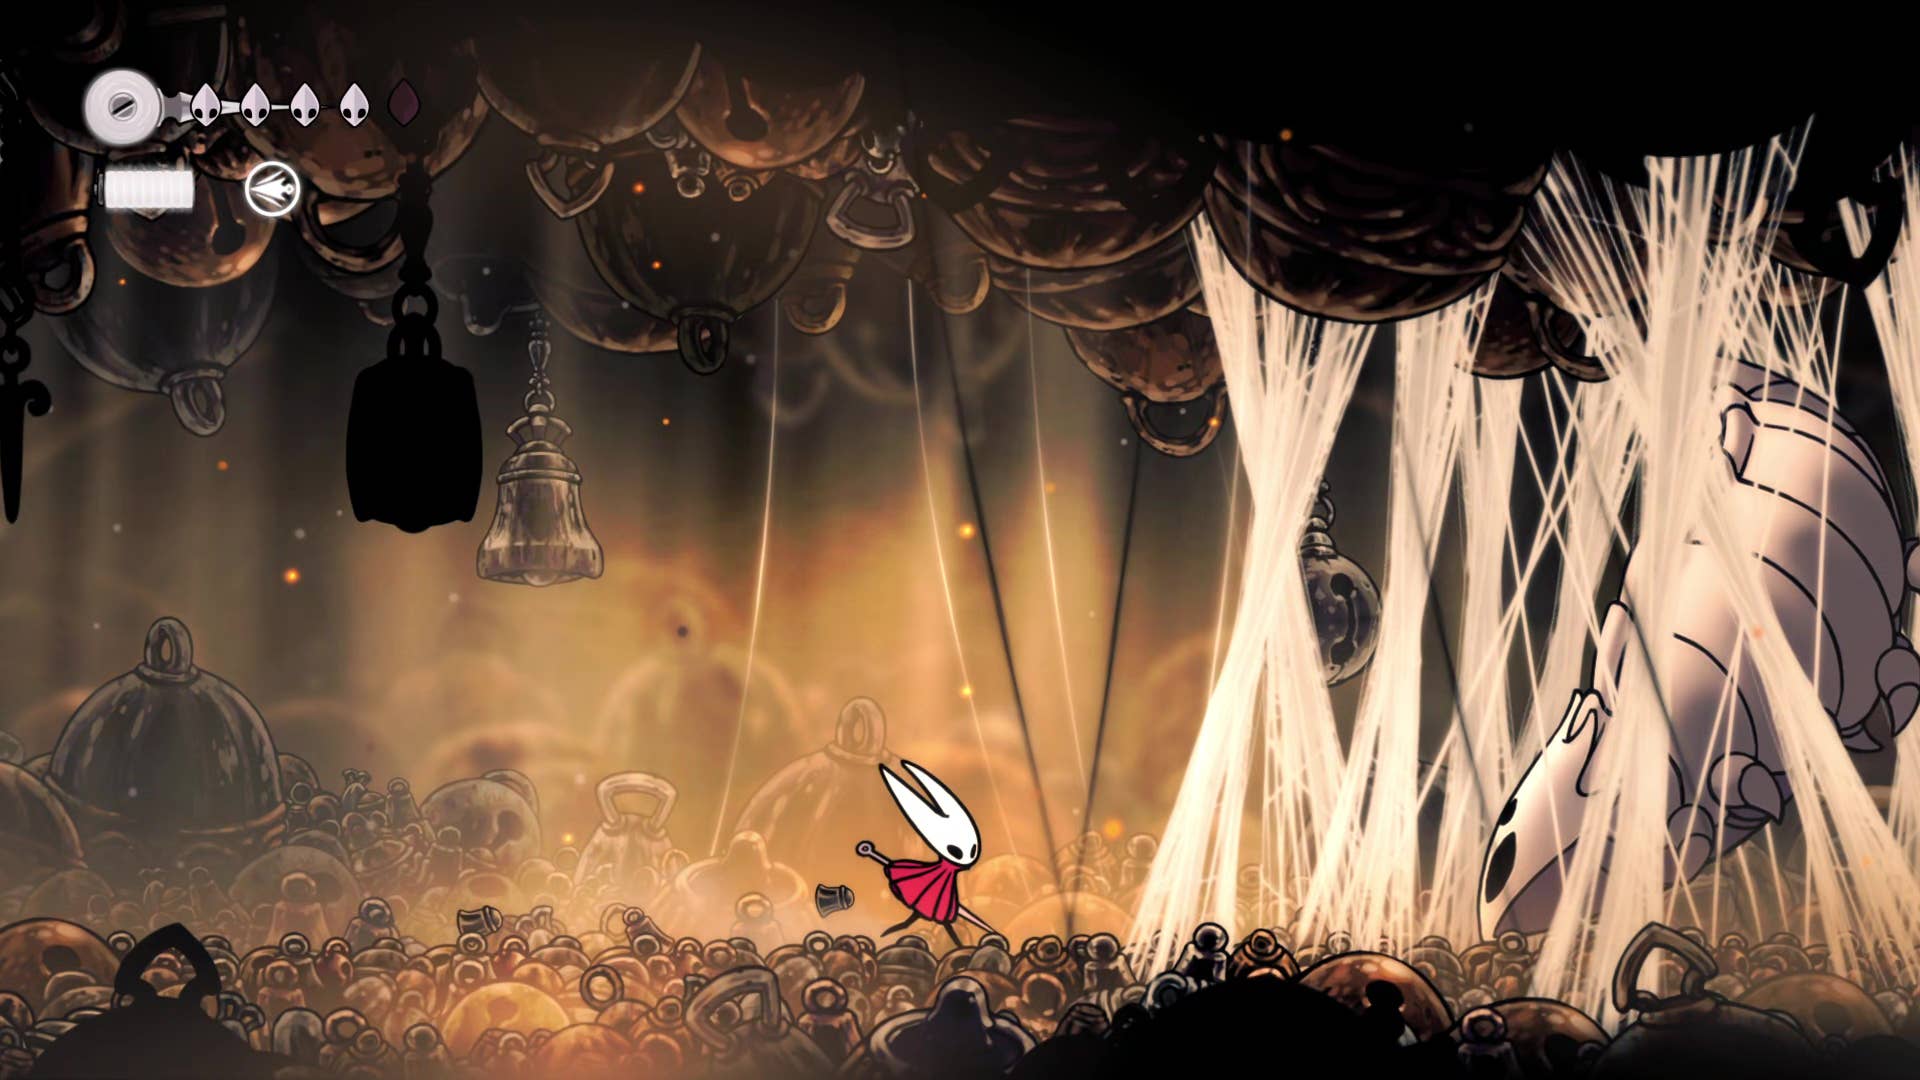
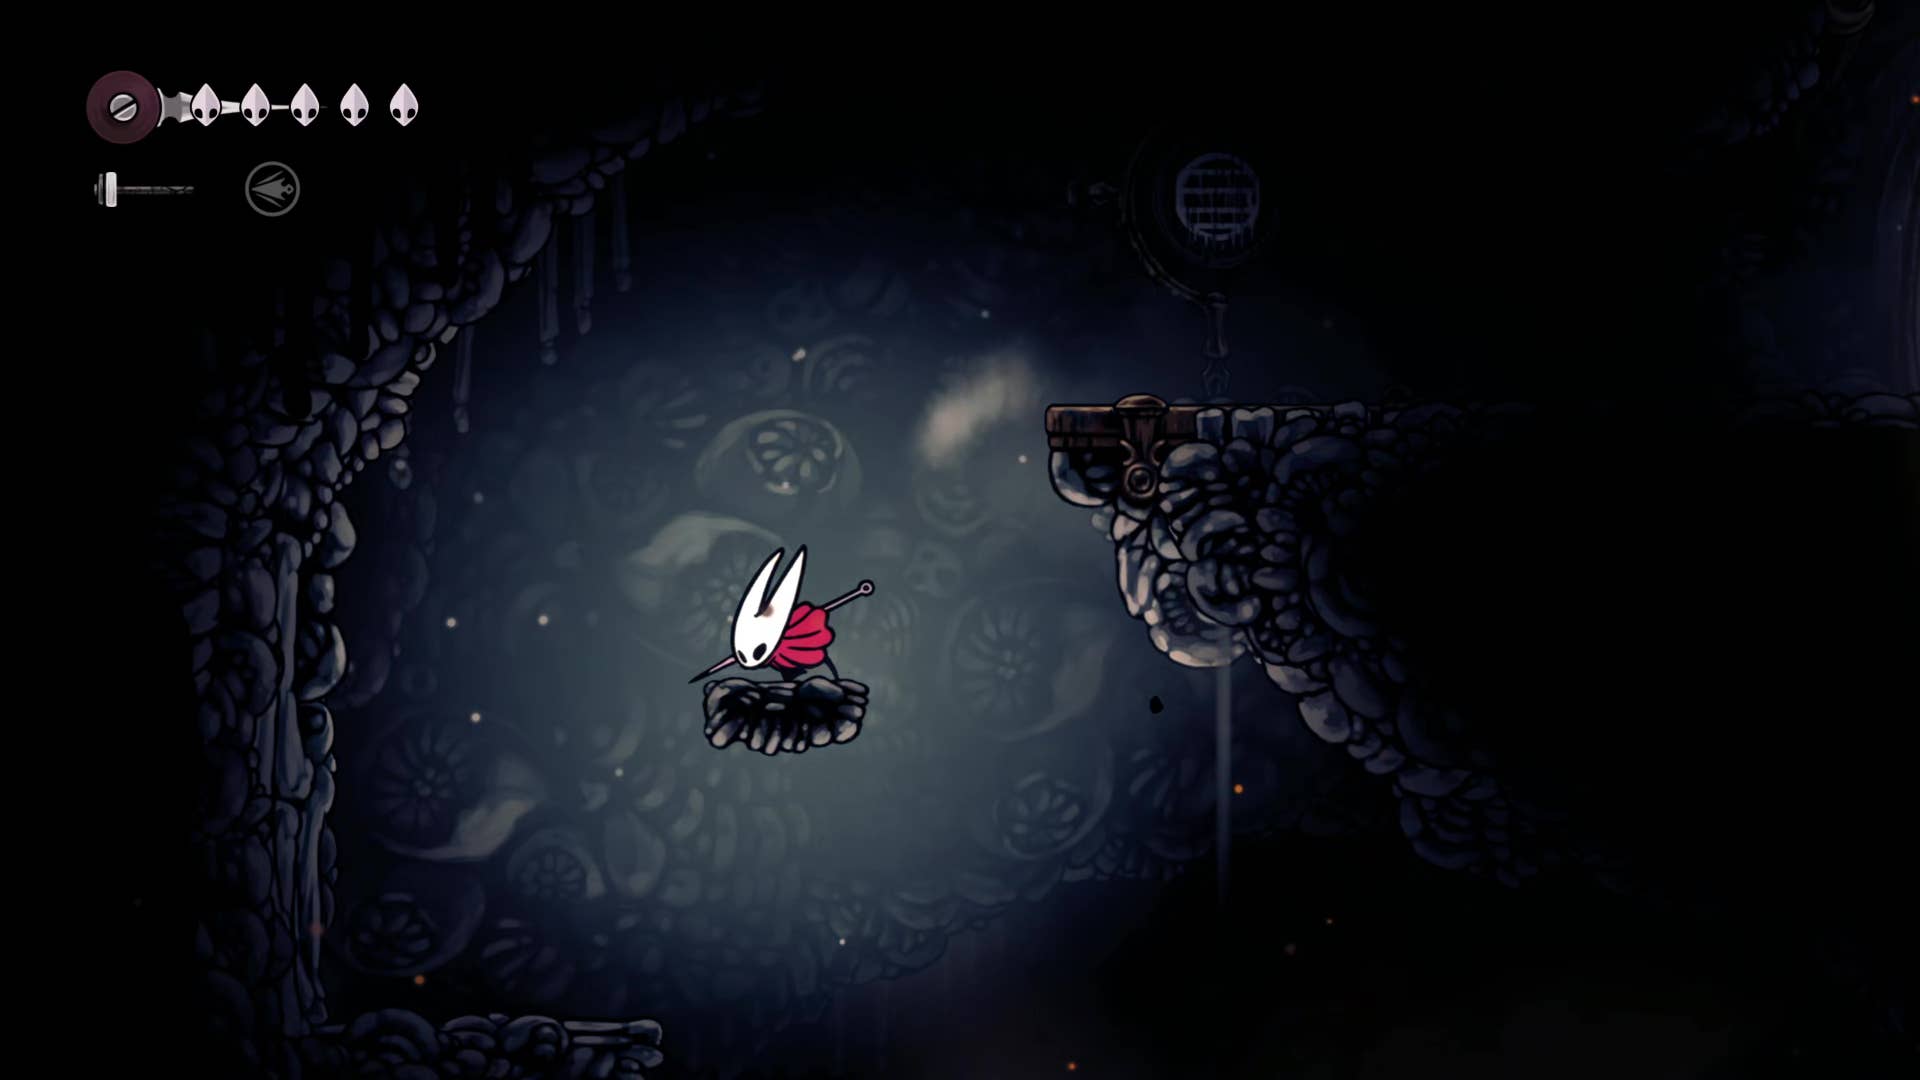
Go out to the left of the hidden area with Mossberry and descend to the bottom of Moss Home. Head right and find a large creature trapped in the webbing again. If you have less silk, don’t forget that you can hack it with webbing to restock it. When ready, send Silkspeare to Webbing to unlock the creature.
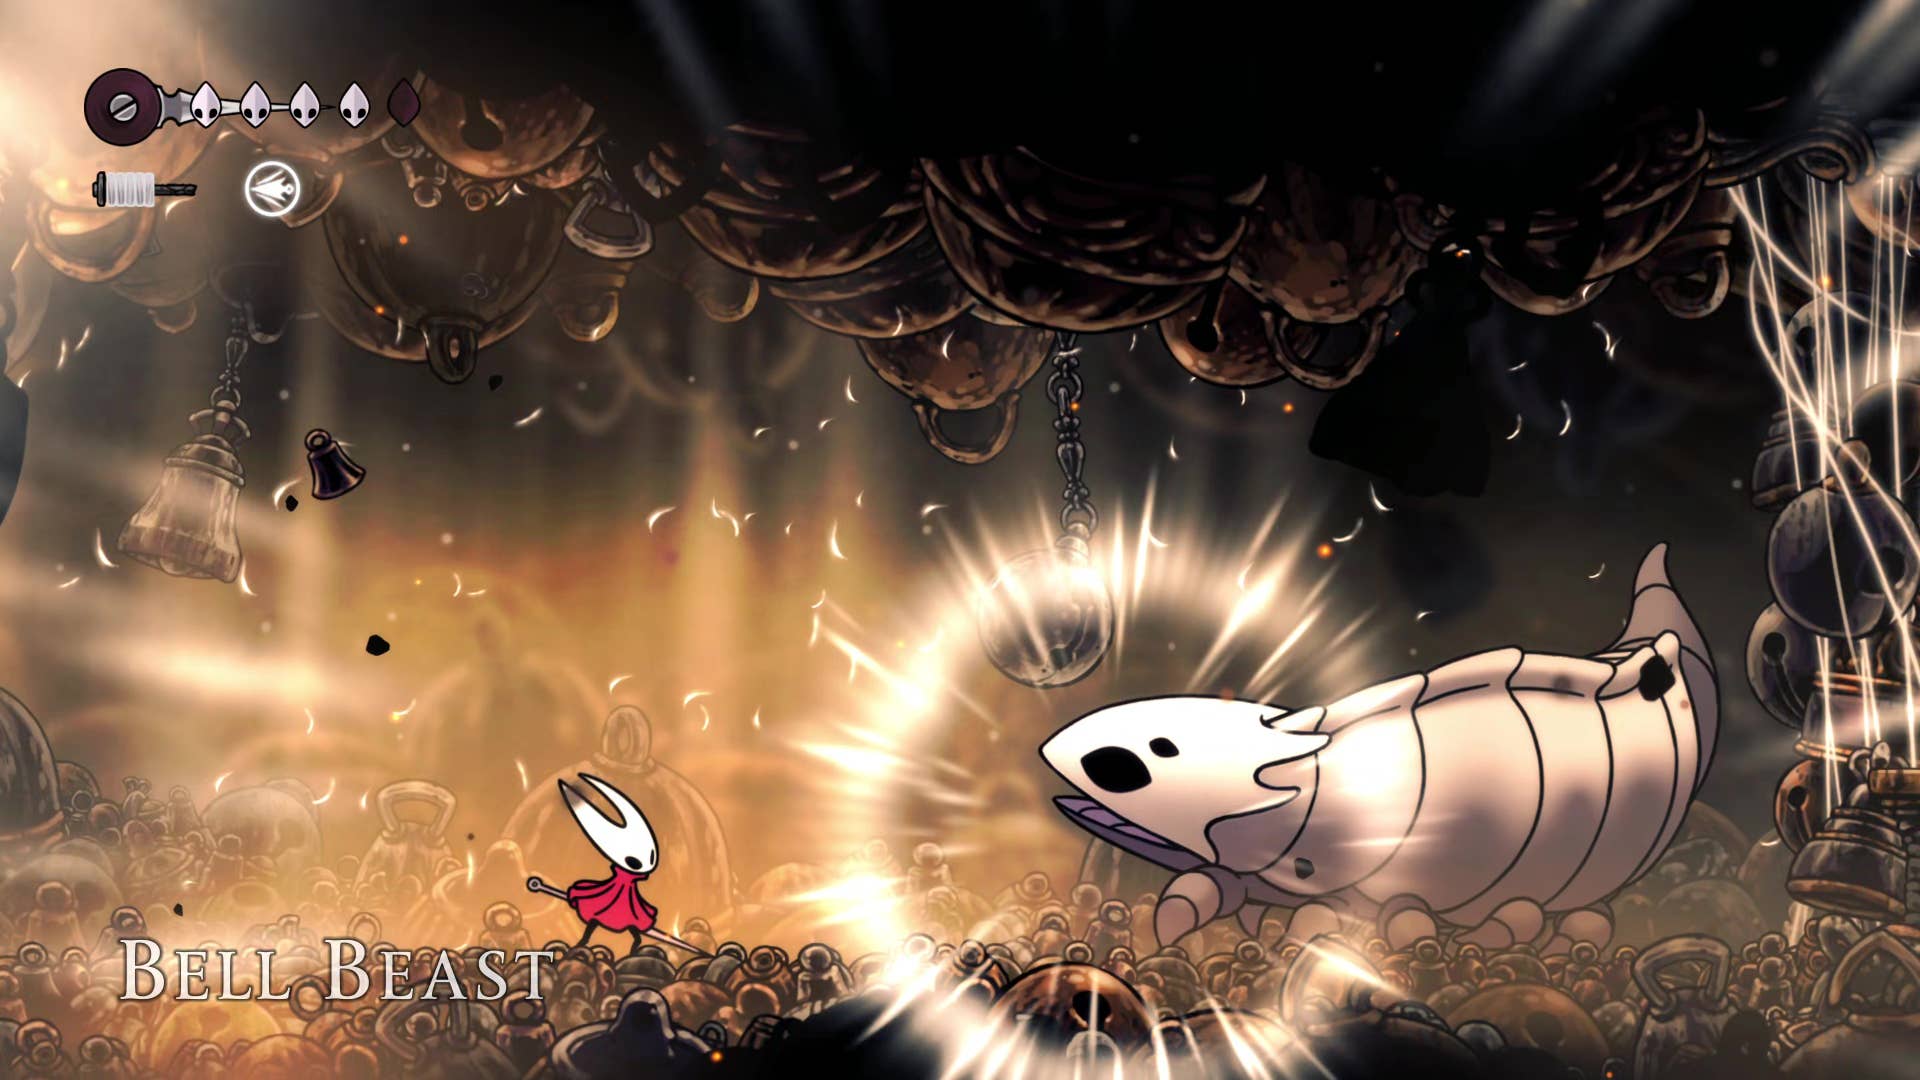
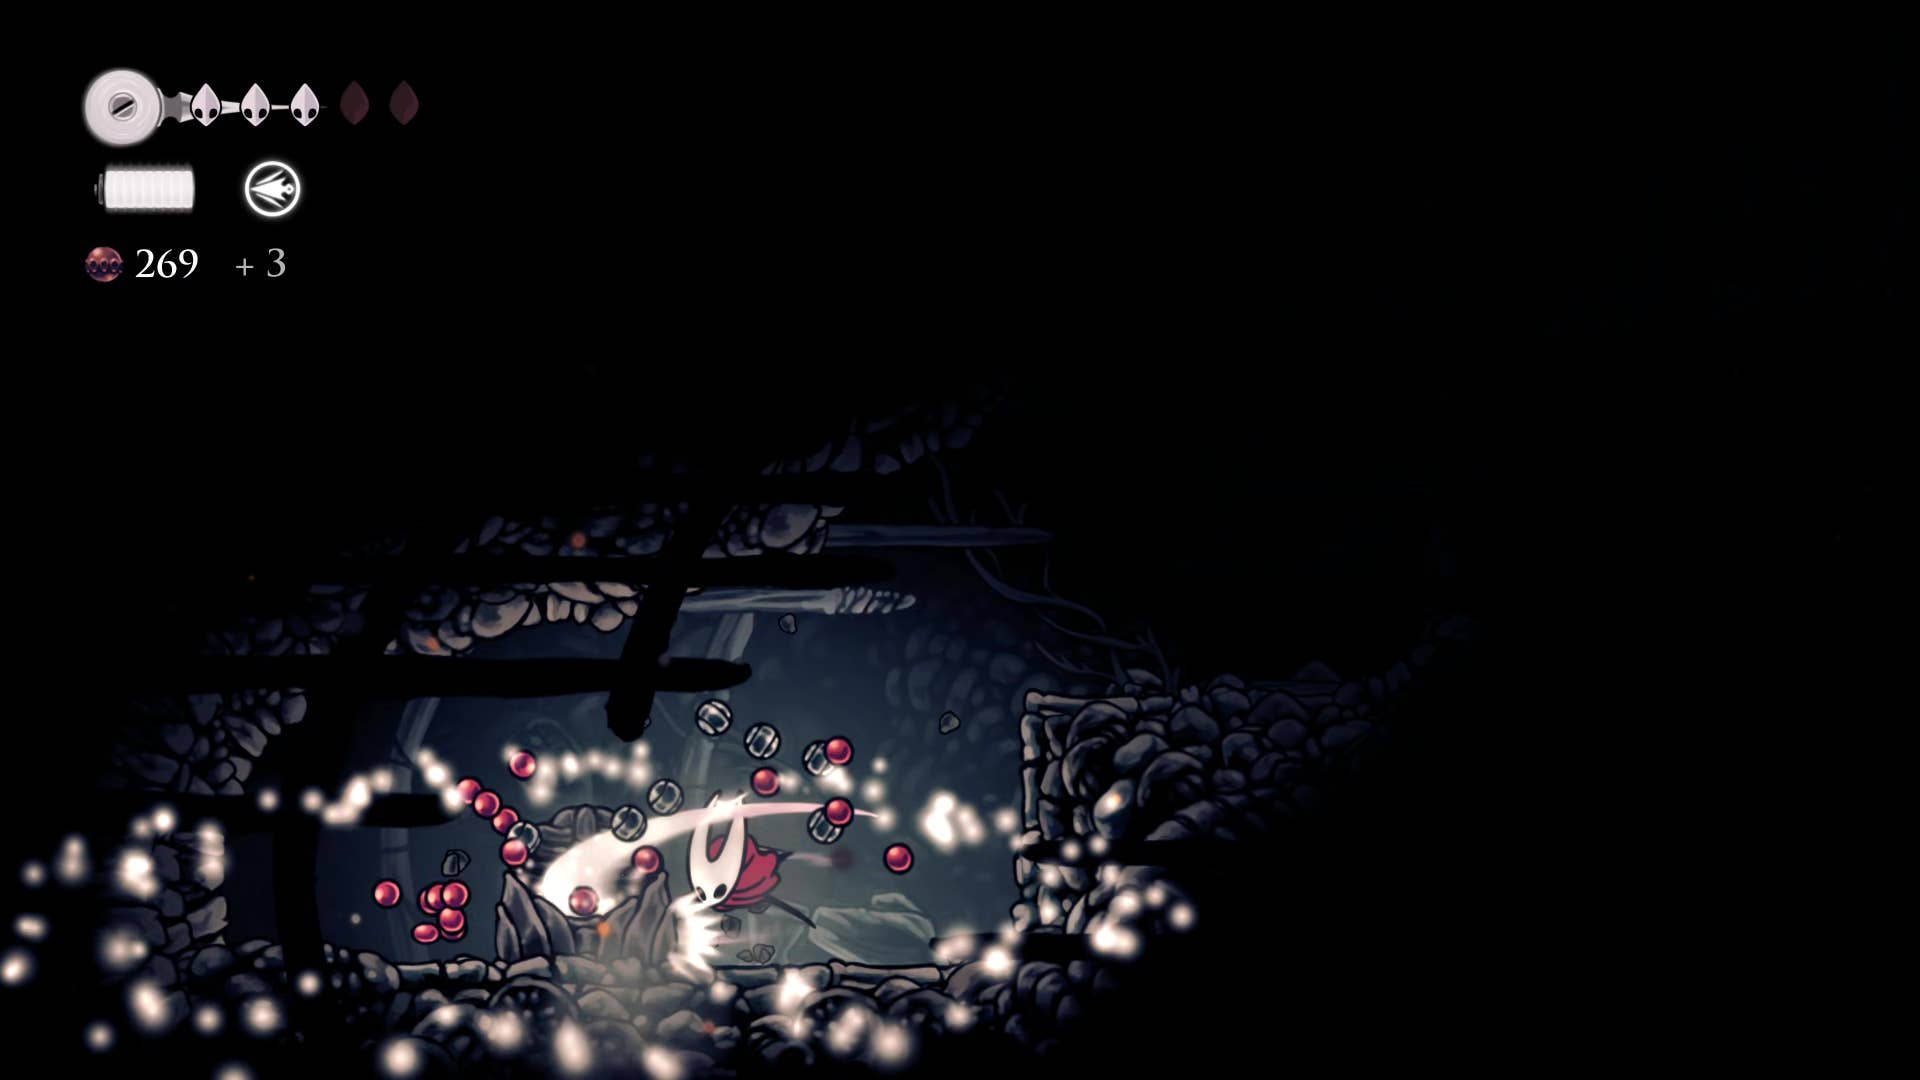
surprise! It’s a boss battle. Belbeasts are pretty intimidating enemies early in the game, but you’ll hear the roar and understand that for each attack quite quickly. If you want to charge along the ground, jump and remove it from the pogo. If a roar sounds are heard before they appear, they will jump, so leave it grounded and then punish it. Things become more annoying in the second phase when you start sending bells that bounce back at you with each attack, but as you keep moving, you will reduce your bell beasts without too many attempts.
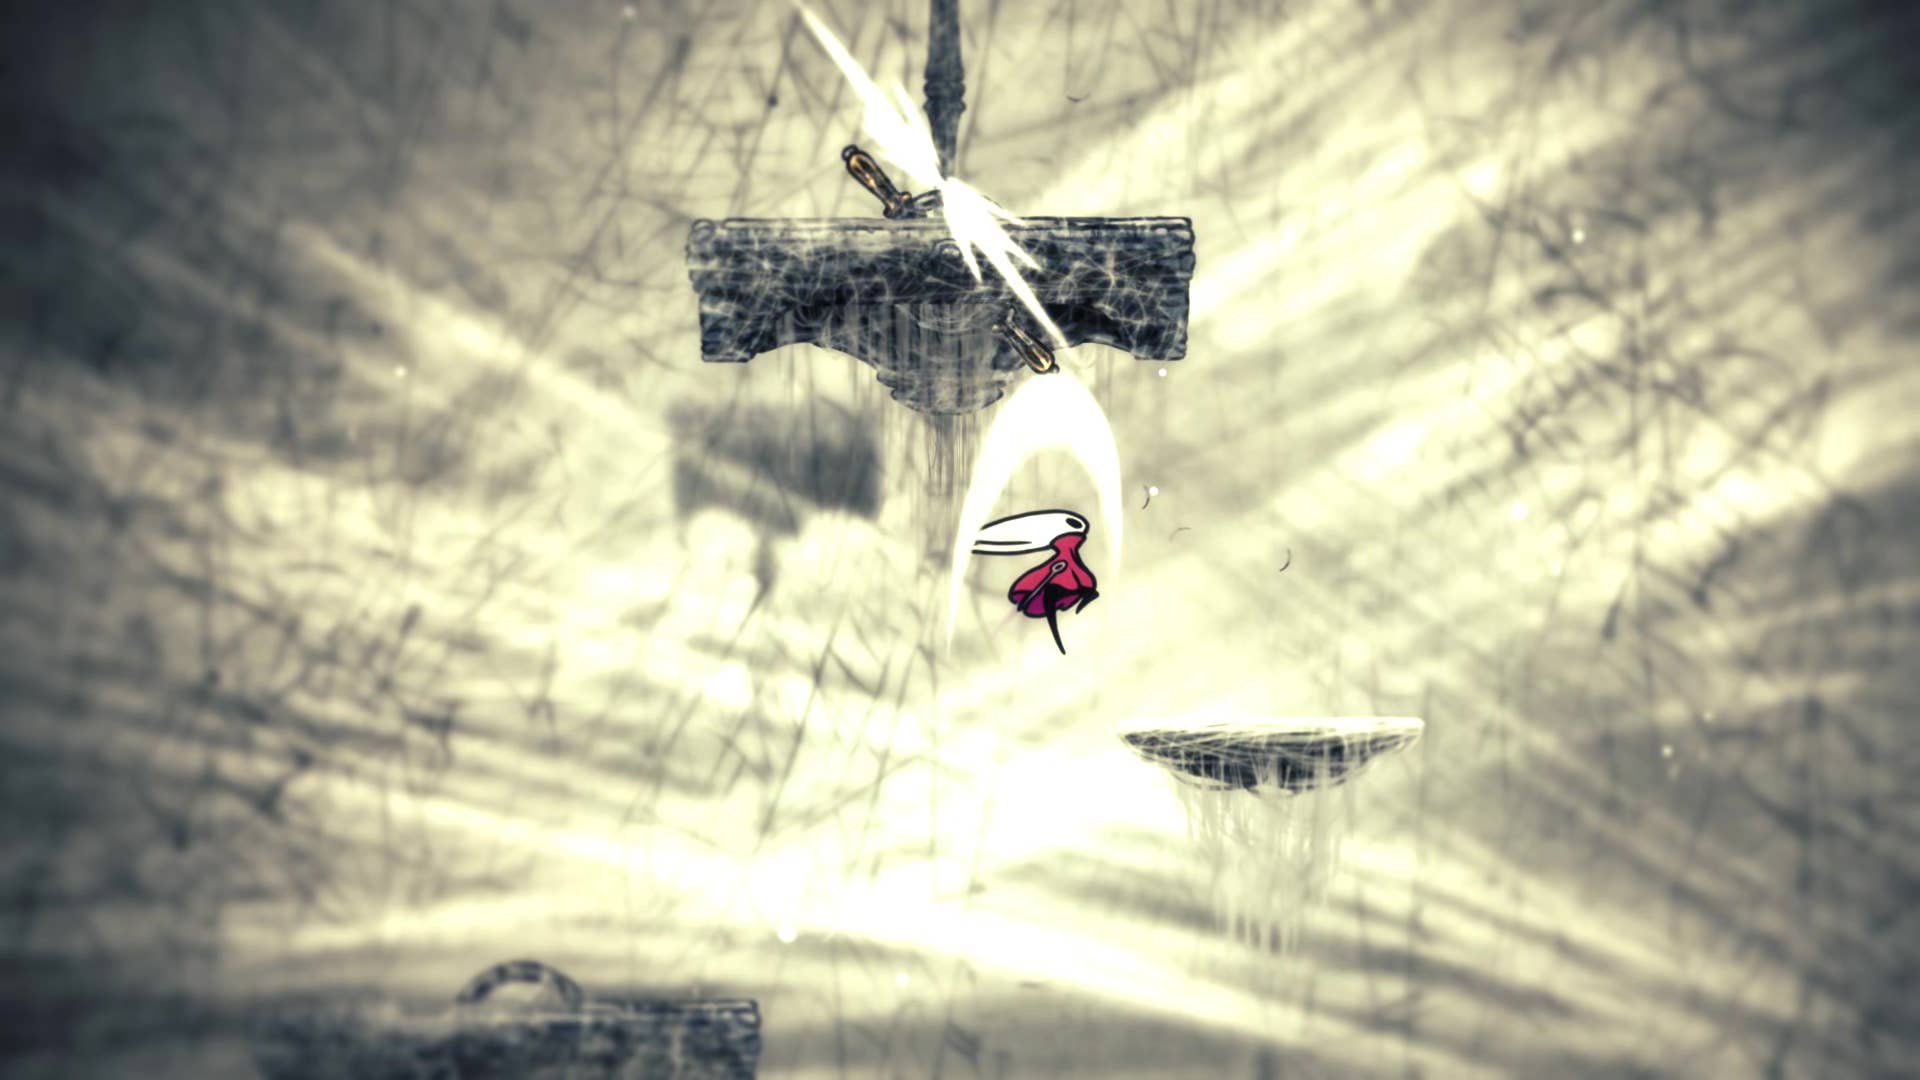
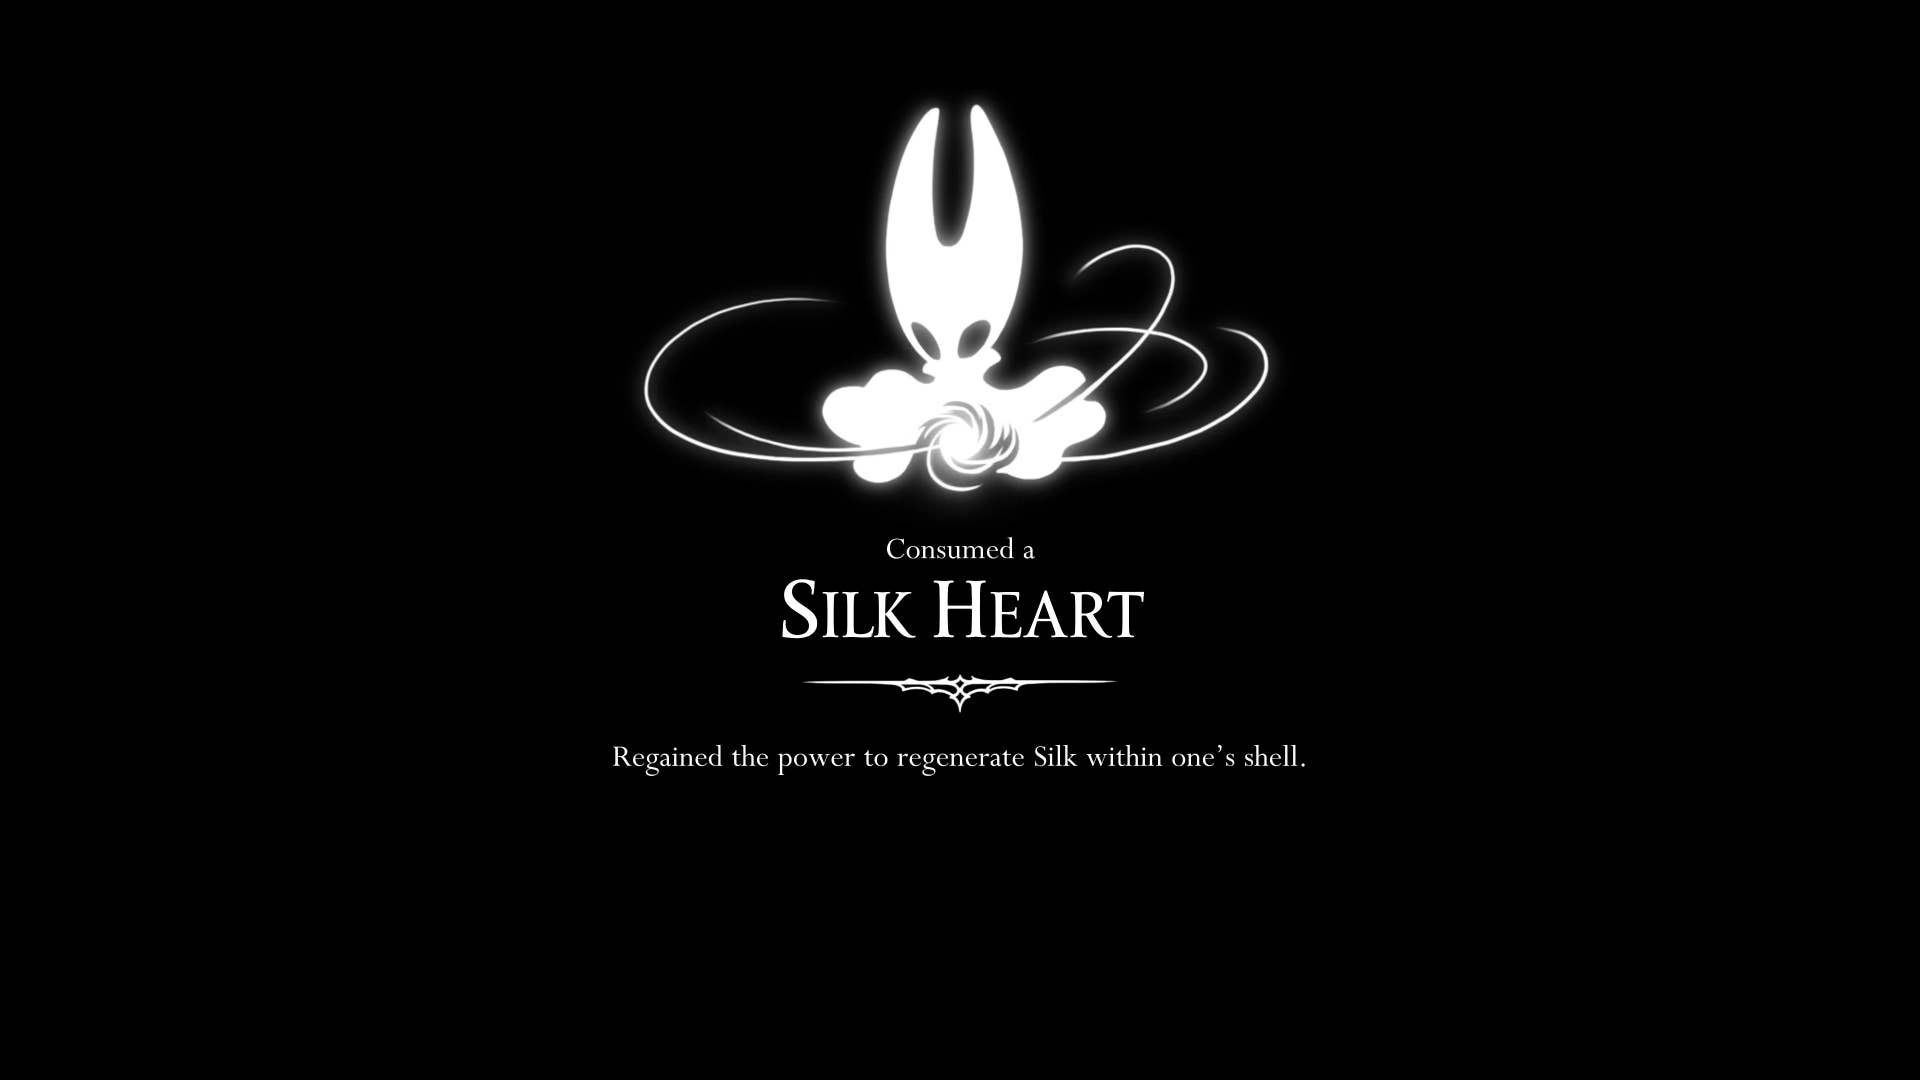
With the Belbeast defeated, collect the silky balls of light that appear and you are temporarily transported to the strange dimension of silk. Climb the platform to the top and repeatedly attack the elevator platform to climb. Returning to Falroom you will gain the Silk Heart and automatically regenerate the Silk when it reaches zero.
3. Return to the bottom of the bone and check the wishwall.
Belbeasts are now friendly and can be used like the old stags of the first Hollow Knight to move quickly through the set locations. Riding on the Belbeast, you’ll return to the bottom of the bone, interacting with the newly constructed Wishwall and doing some extra quests. You should have enough shell shards to give Flick’s wishes right away, so go ahead.
Other quests include killing 12 pilgrim enemies and looting them for shawls. This can be done at any time – just head to Moss Home when you’re nearby and do a little pilgrim.
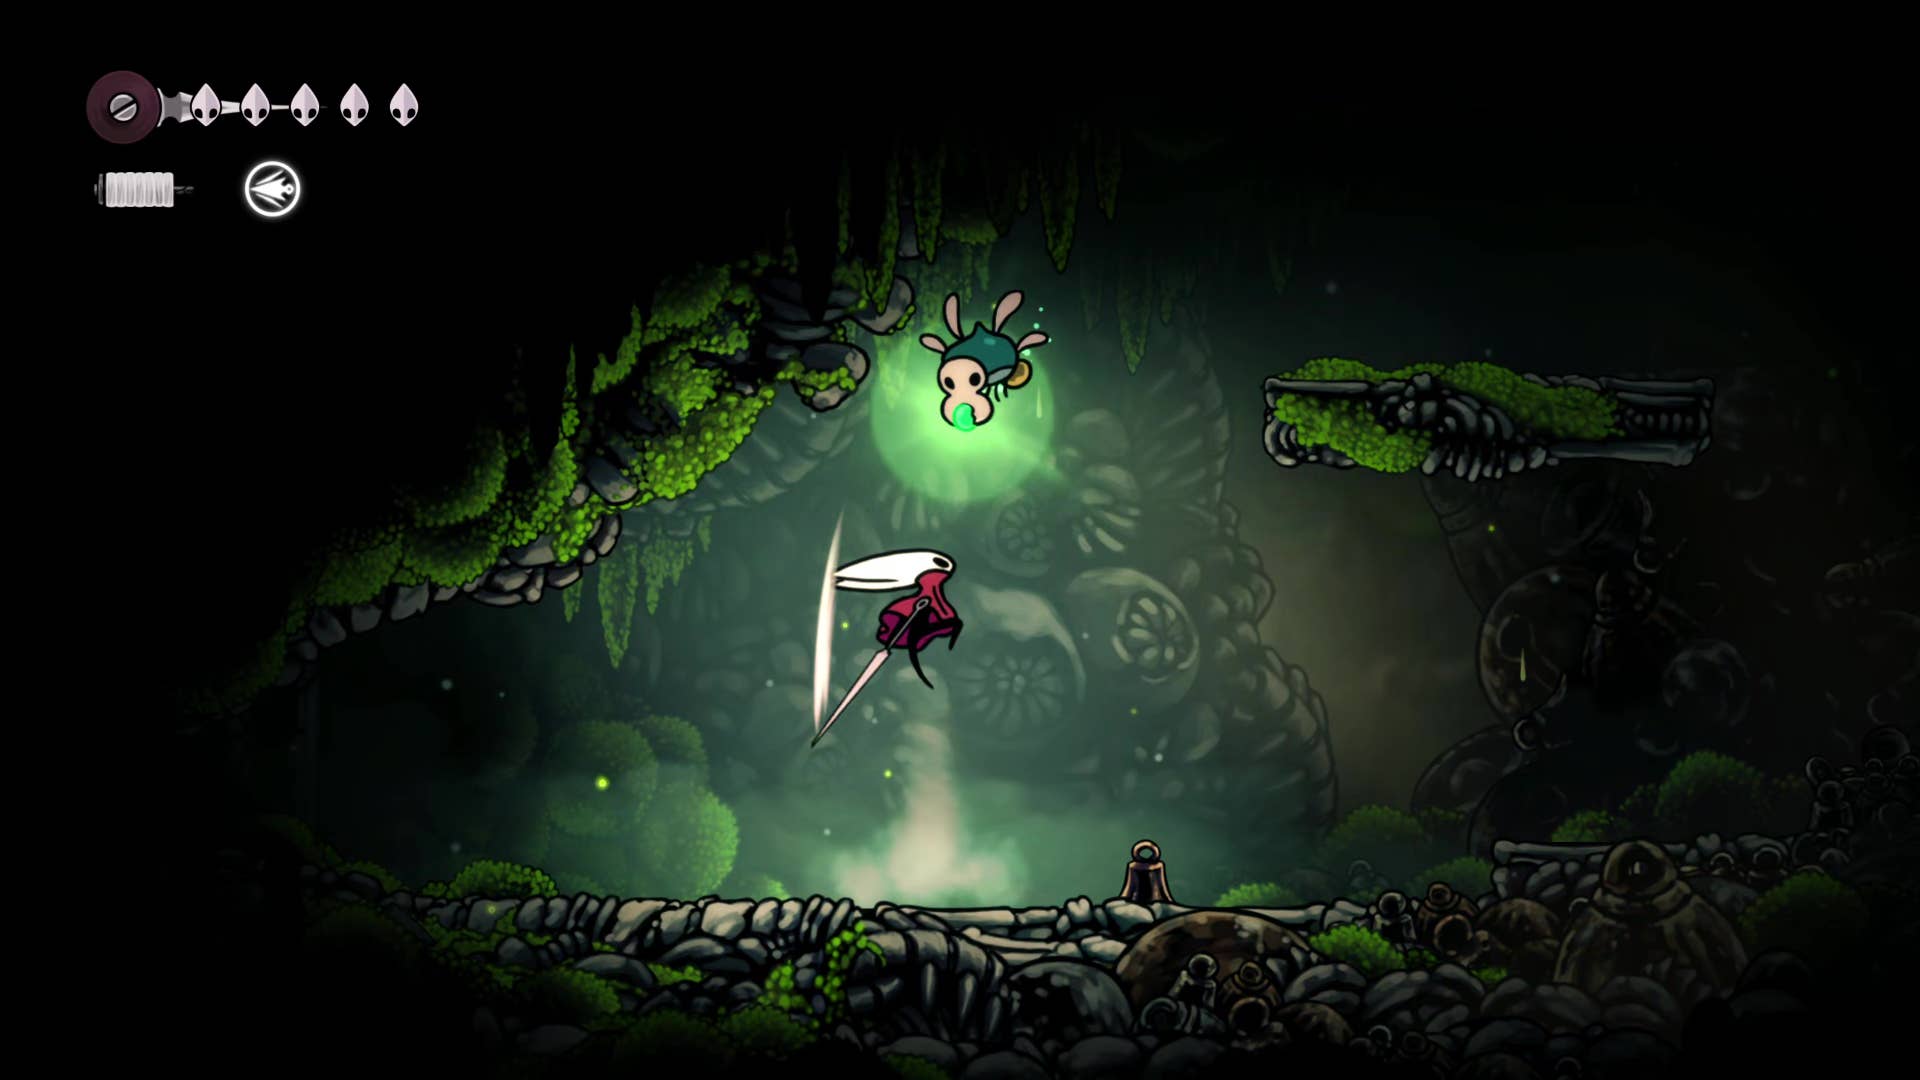
4. Rescue the first flea.
When you’re ready, ride the Belbeast and head back to Moss Home. Head right and unlock the bench by tapping the lever in the small room. Push against you and use the shelf in the next room to move past countless enemies and climb to the left.
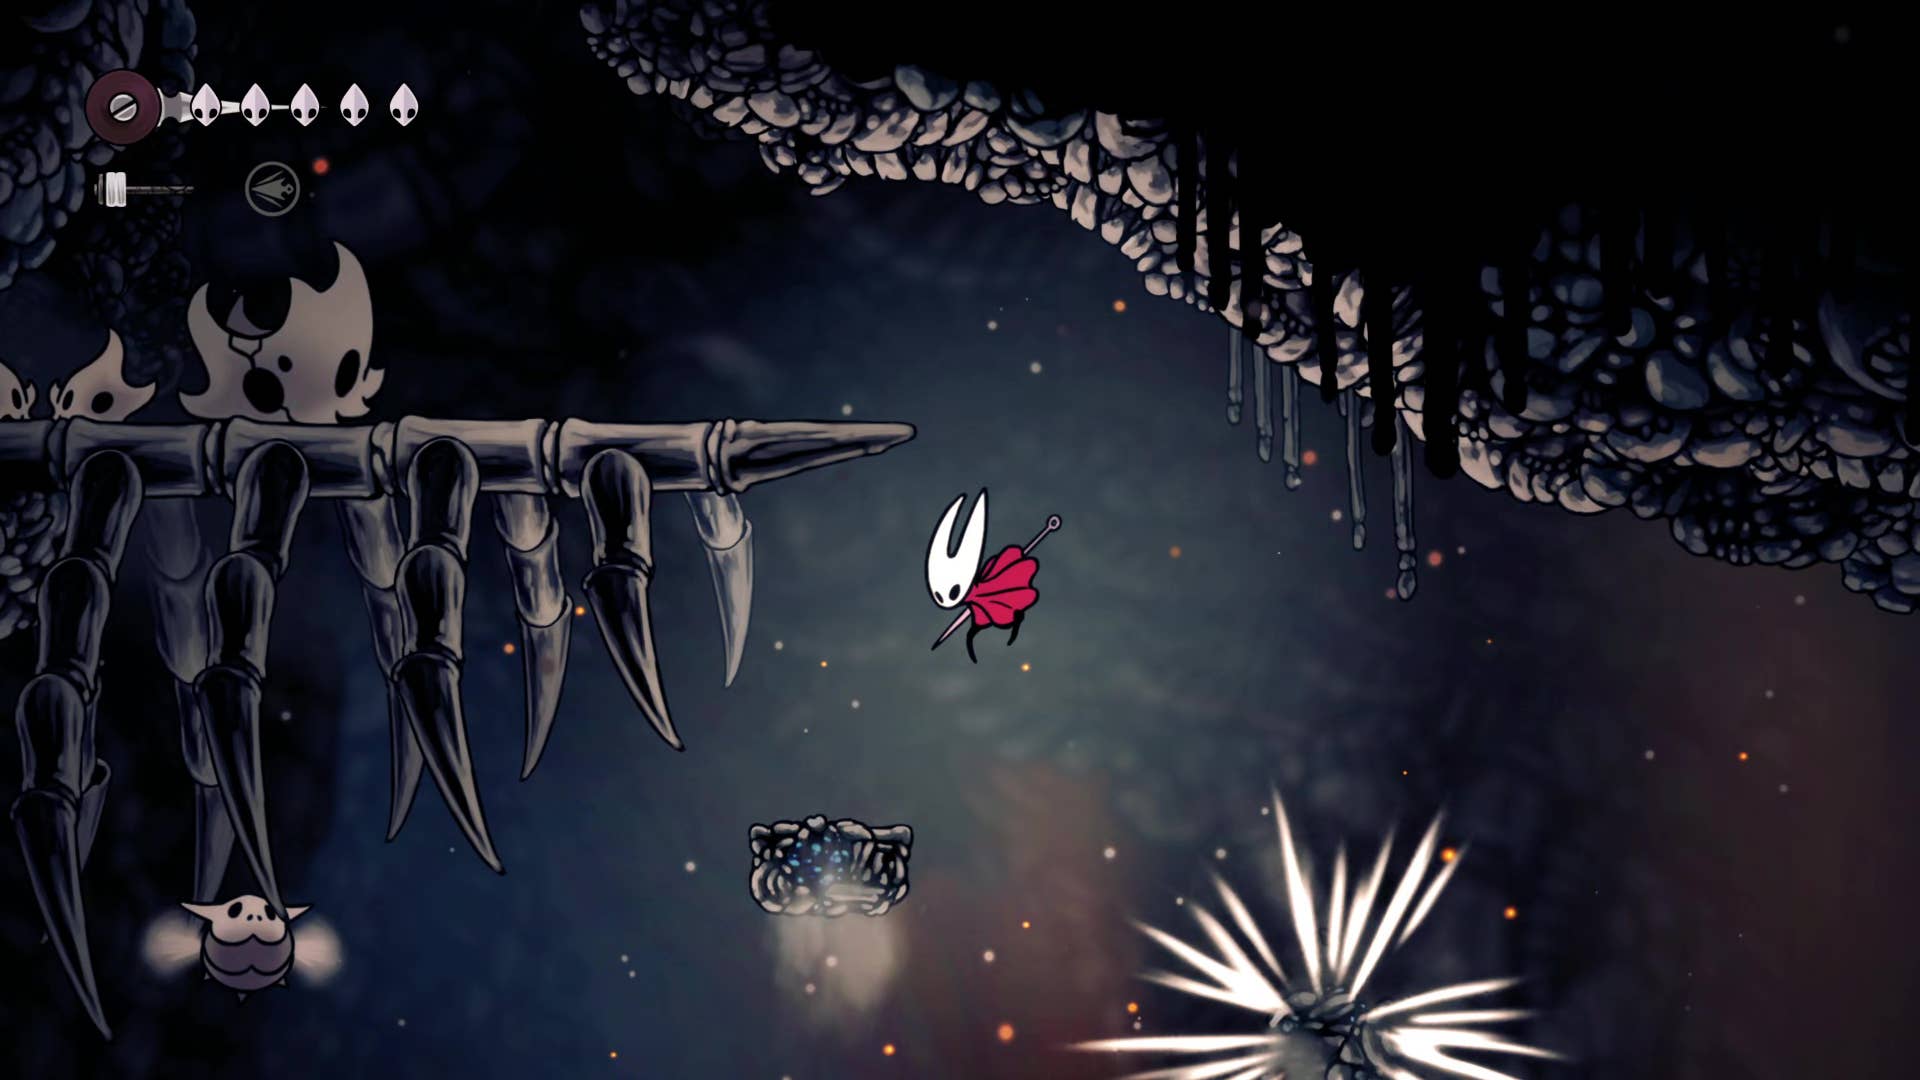
Head to the next room and follow the path to the left, crossing the spike. Continue all the way to the top of the platform, head right and towards the shelf on the right side of the area. This shelf has some chisels trapped in grapes. Attack the grapes to release the fleas.
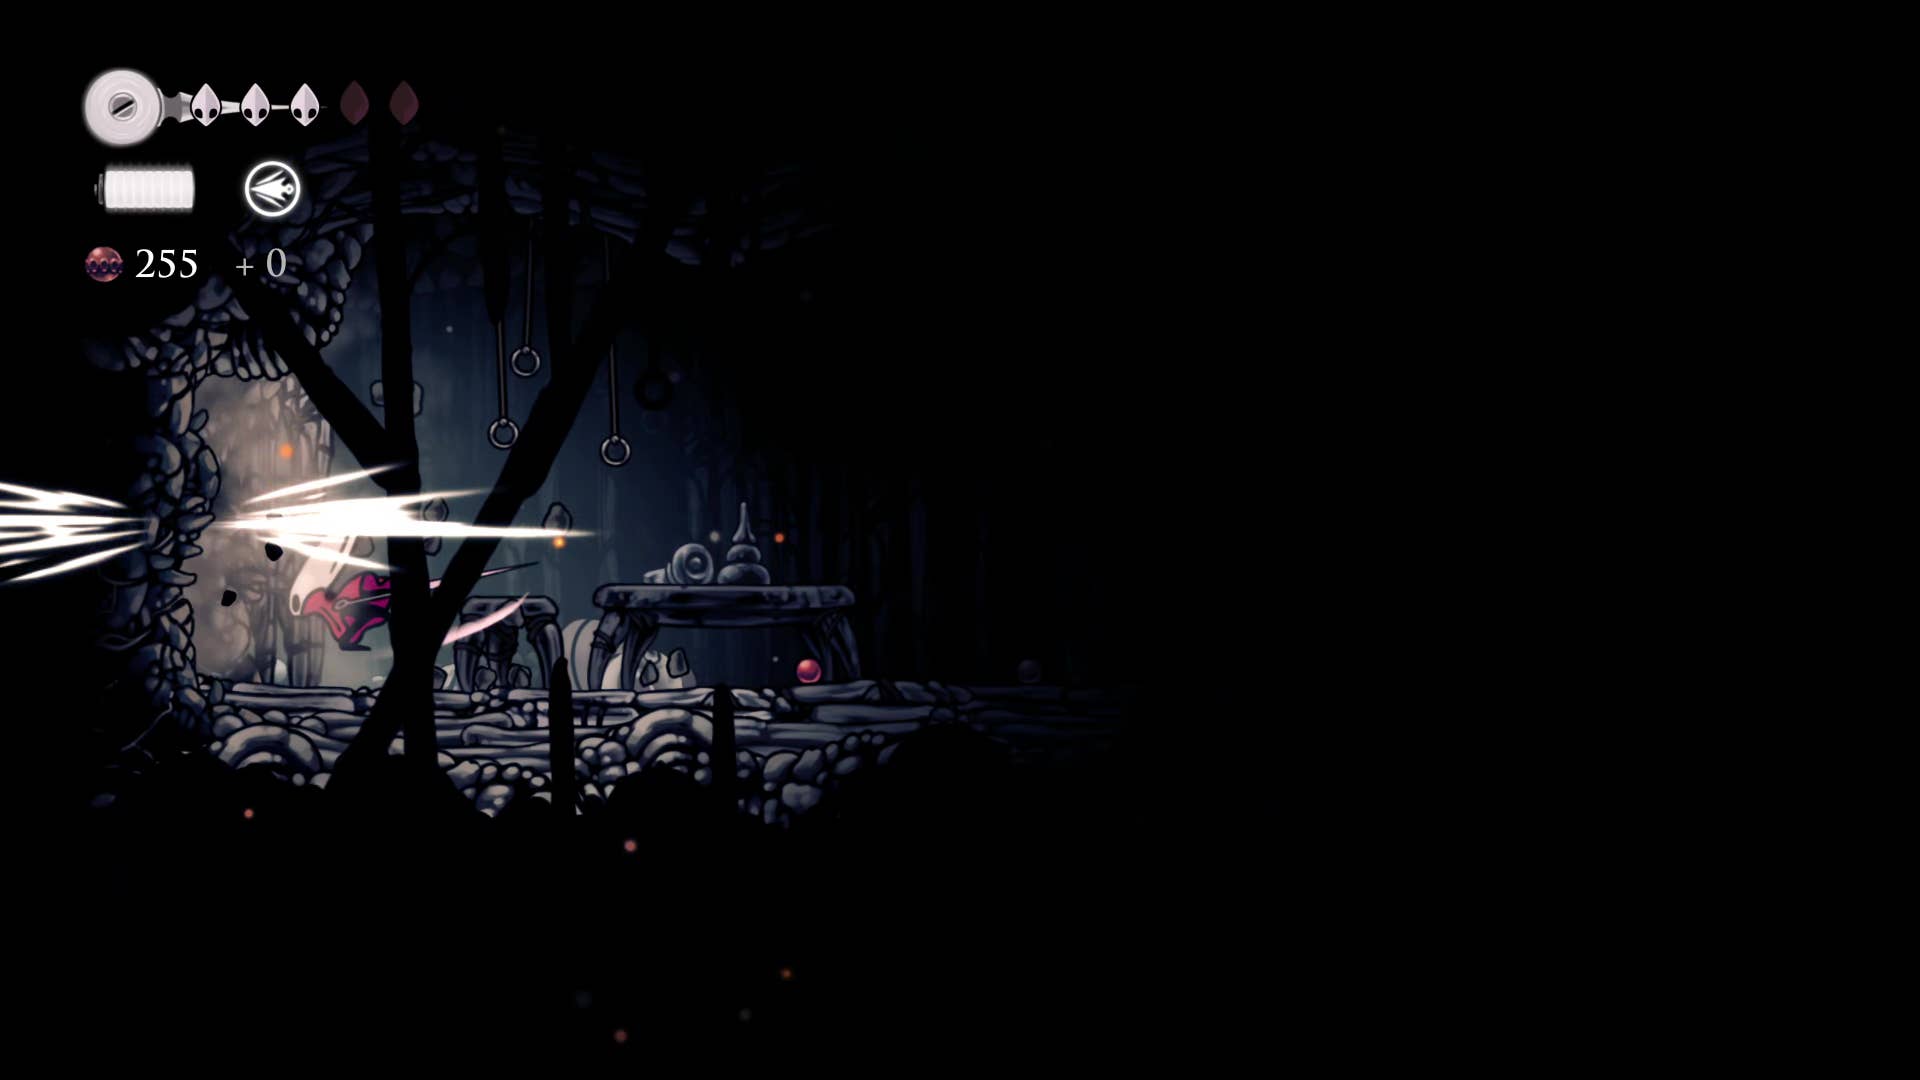
5. Collect the first Craftmetal.
Go back to the bottom of the room and leave your way. If necessary, you can make some lore and strange noises before checking the room on your right, but for now there’s nothing else to do in this room.
Once you’ve leveled down on the bench, head past the lever, leave the long room and follow the path to the right until you enter one of the strange red plants that can be used to pogo bounce.
Go down to where the pilgrim enemies are patrolling, kill it, then attack the glowing orange wall on the left. Stand behind, explode, then proceed down the path to the bottom. You will hit the other orange glowing rock and quickly return to near the spikes.
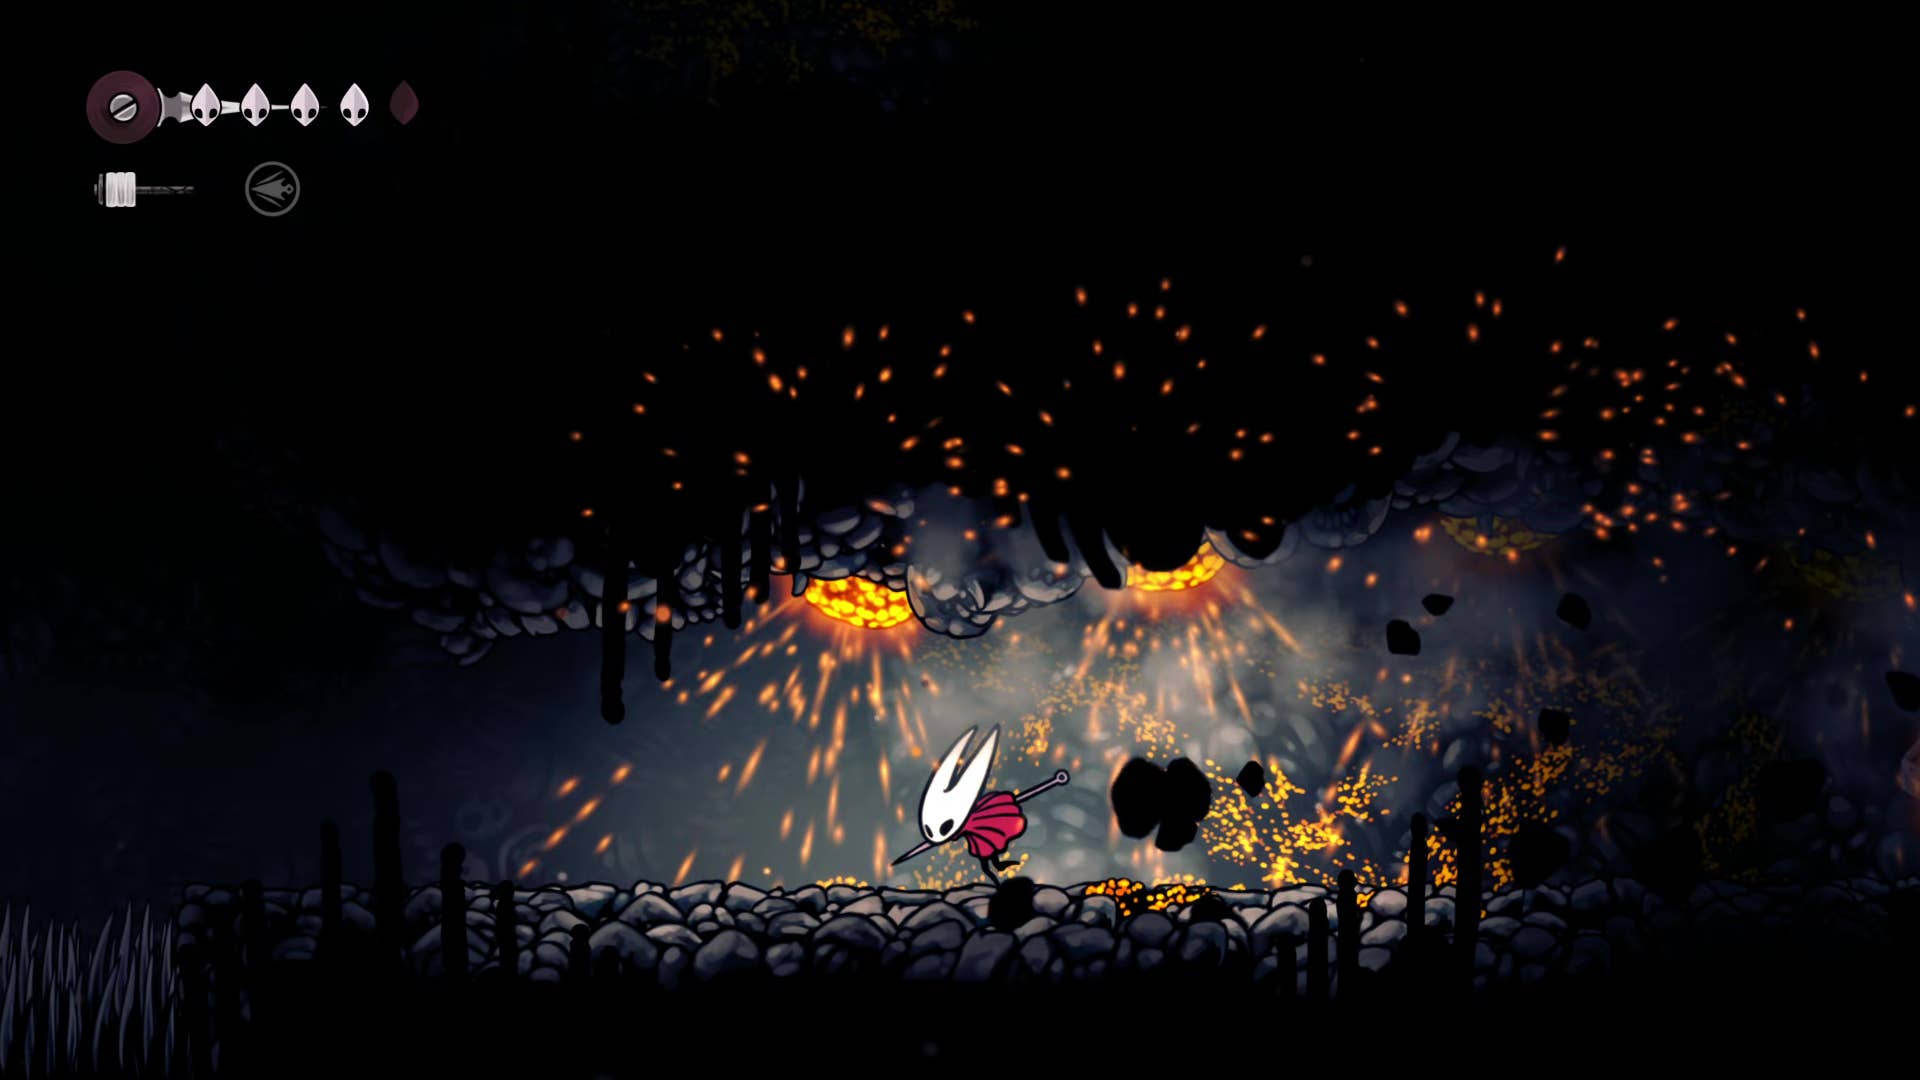
It heads to the edge of the wall again and attacks it to loot your first Craftmetal – an important resource to unlock and upgrade weapons later!
6. Face up towards the hidden chest.
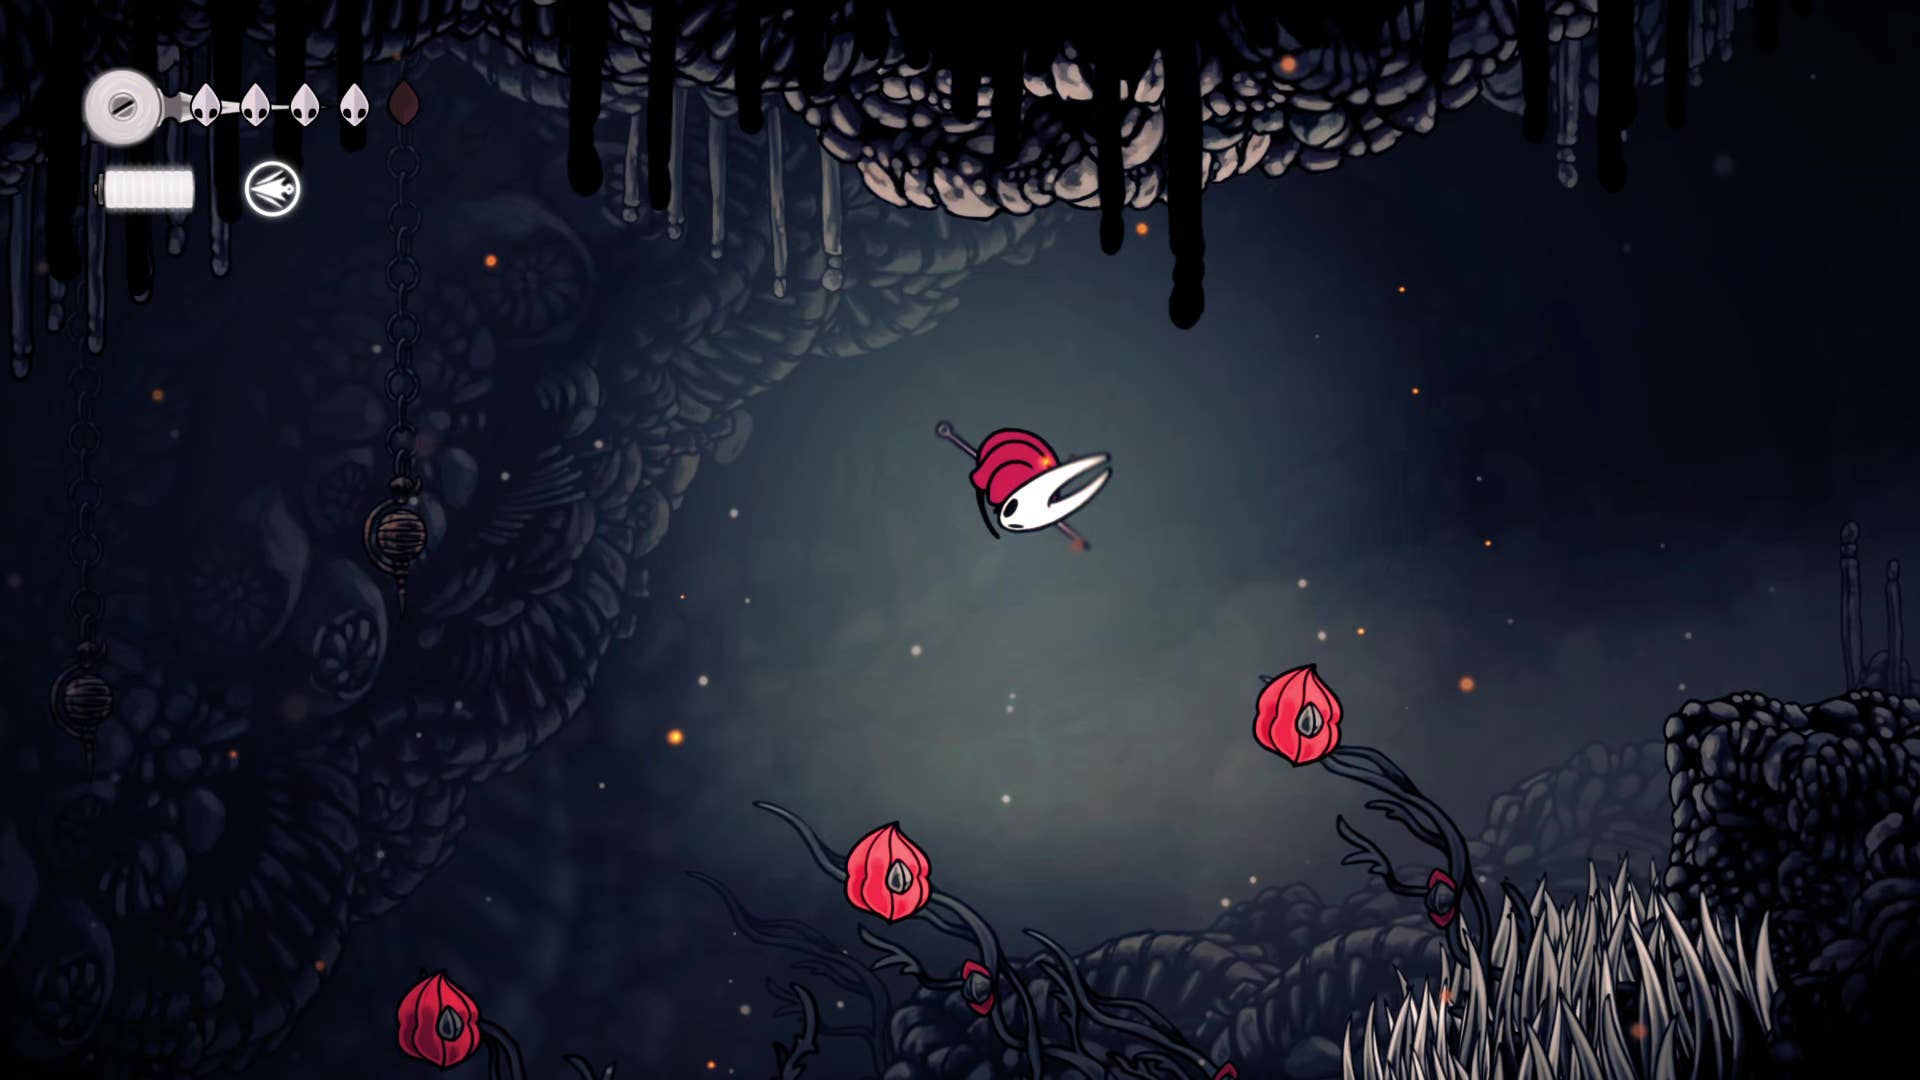
This next optional step will take you to a hidden chest filled with rosary – it is worth navigating at this point. Return to the main area of the room and leave the pogo from the red plant to reach the top platform. Climb all the way to the top (you’ll need to do repeated pogons to get there, but you might need to practice a bit).
Climb into a small room with hanging rosary beads and attack the hidden passageway by attacking the wooden wall on the left. The next thing is to have a bit of a hard pogo on top of the spikes, but once you reach the end of the pass you can plunder the breasts below and take lots of merchandise. After that, you go back to the way you came and fall into the previous room.
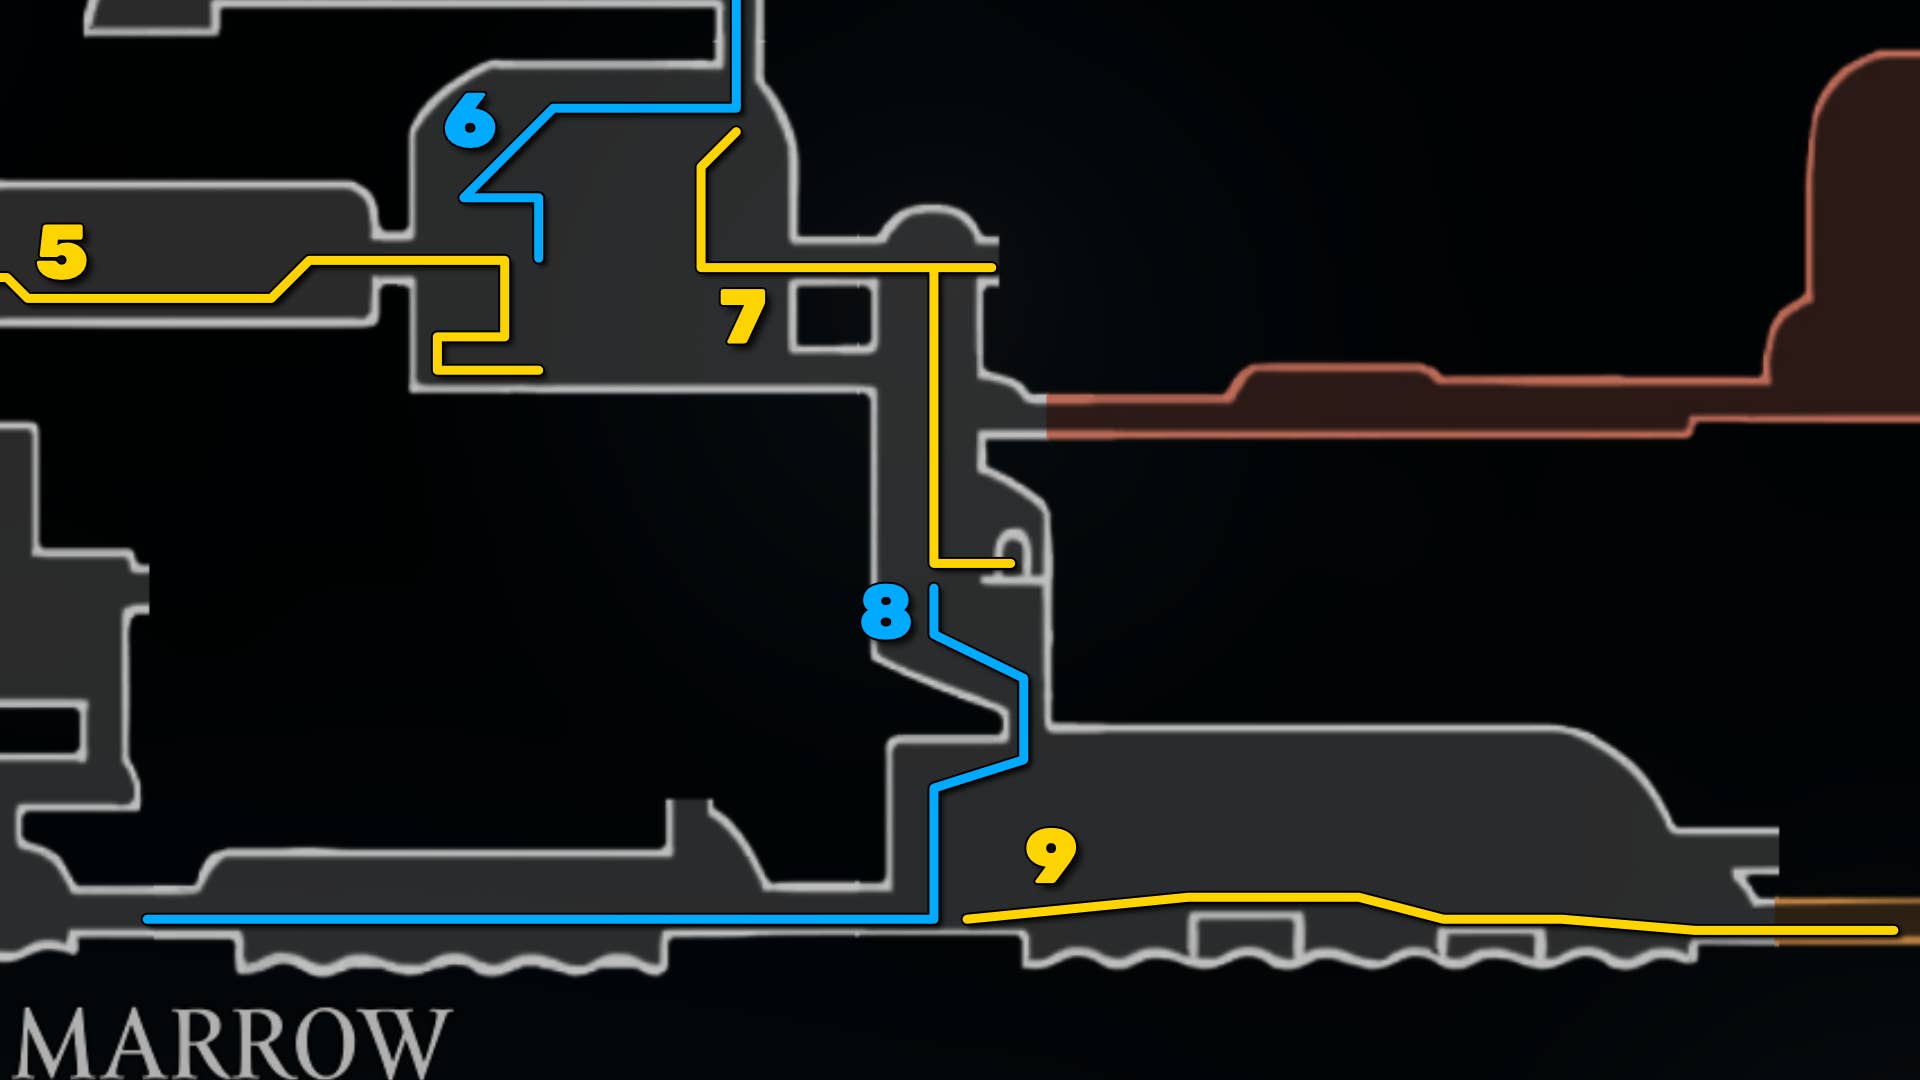
7. You will enter prison and enter the free Grandle.
It falls slightly to the left and attacks an orange rock buried midway through the wall. It explodes, then climbs, climbs again, seeking a cache of shell fragments. That’s done, drop to the bottom and head right.
In the next room, jump an odd lever over you to attack, dropping the intermediary seat through this vertical aisle. You can jump straight to the exit and attack the Bell for the Rosary. Next, go back and drop the bottom hole. For now, ignore the two passages on the left and right – the left hand will return you to where you were before. Meanwhile, the right hand presents a tricky boss fight that protects the new region that is best left for now.
Enter the big door on the right at the bottom and you’ll find yourself in some sort of prison. Rest on the bench and use the shelf above to climb into the cell. On the left is a cell that opens and breaks to fight enemies, and on the right is a new NPC called Grindle.
Grindle says he was imprisoned in pickpockets and asks you to free him. Go ahead and attack the door and release him. You can talk to him again, and the Hornet warns him not to try anything. Then, jump to the top shelf and you can plunder the new weapon tool: Straight Pin. Equip while you rest on the bench. This handy tool allows you to fire up to 12 throwing daggers for quick and safe damage.
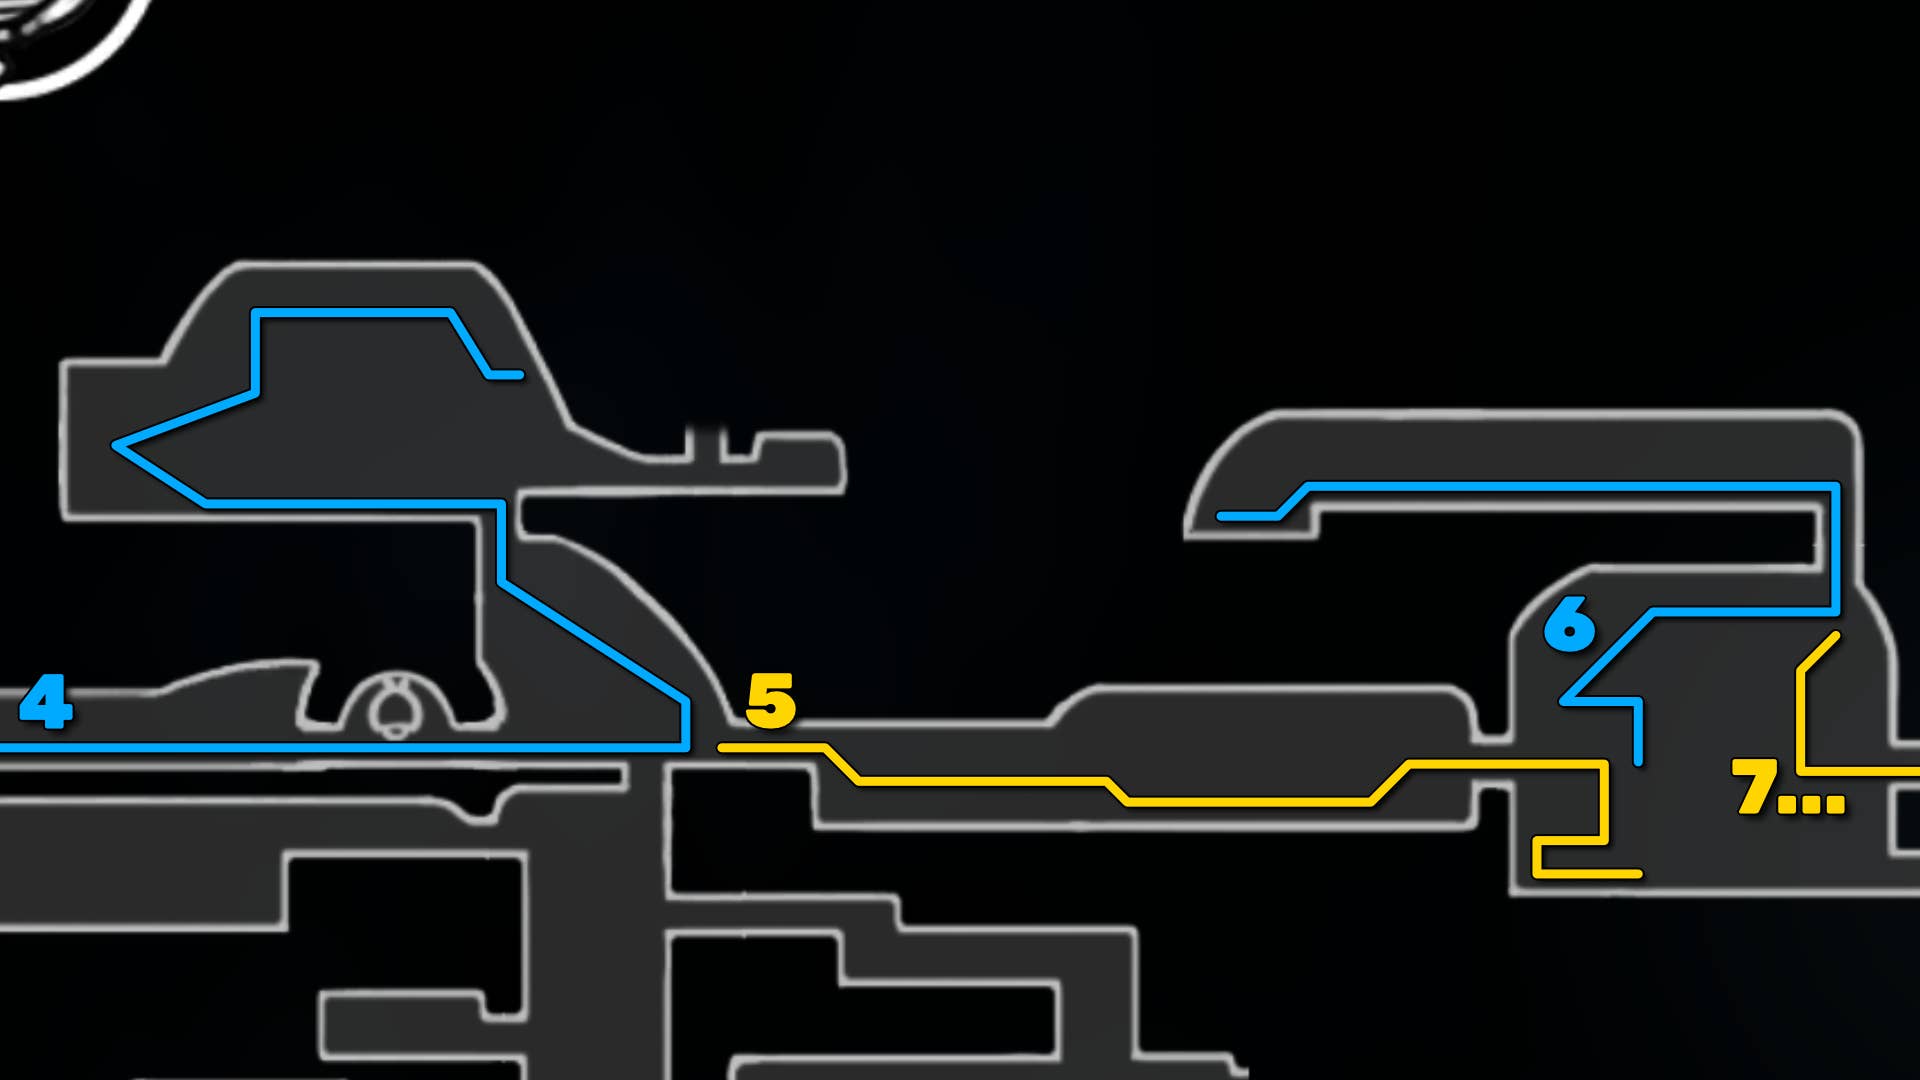
8. Unlock the shortcut and return to the bottom of the bone.
Leave the prison and pass Spikes and descend to the next room. Stay on the left side of this room and descend very far. There is an outlet marked by long teeth on the ceiling and floor.
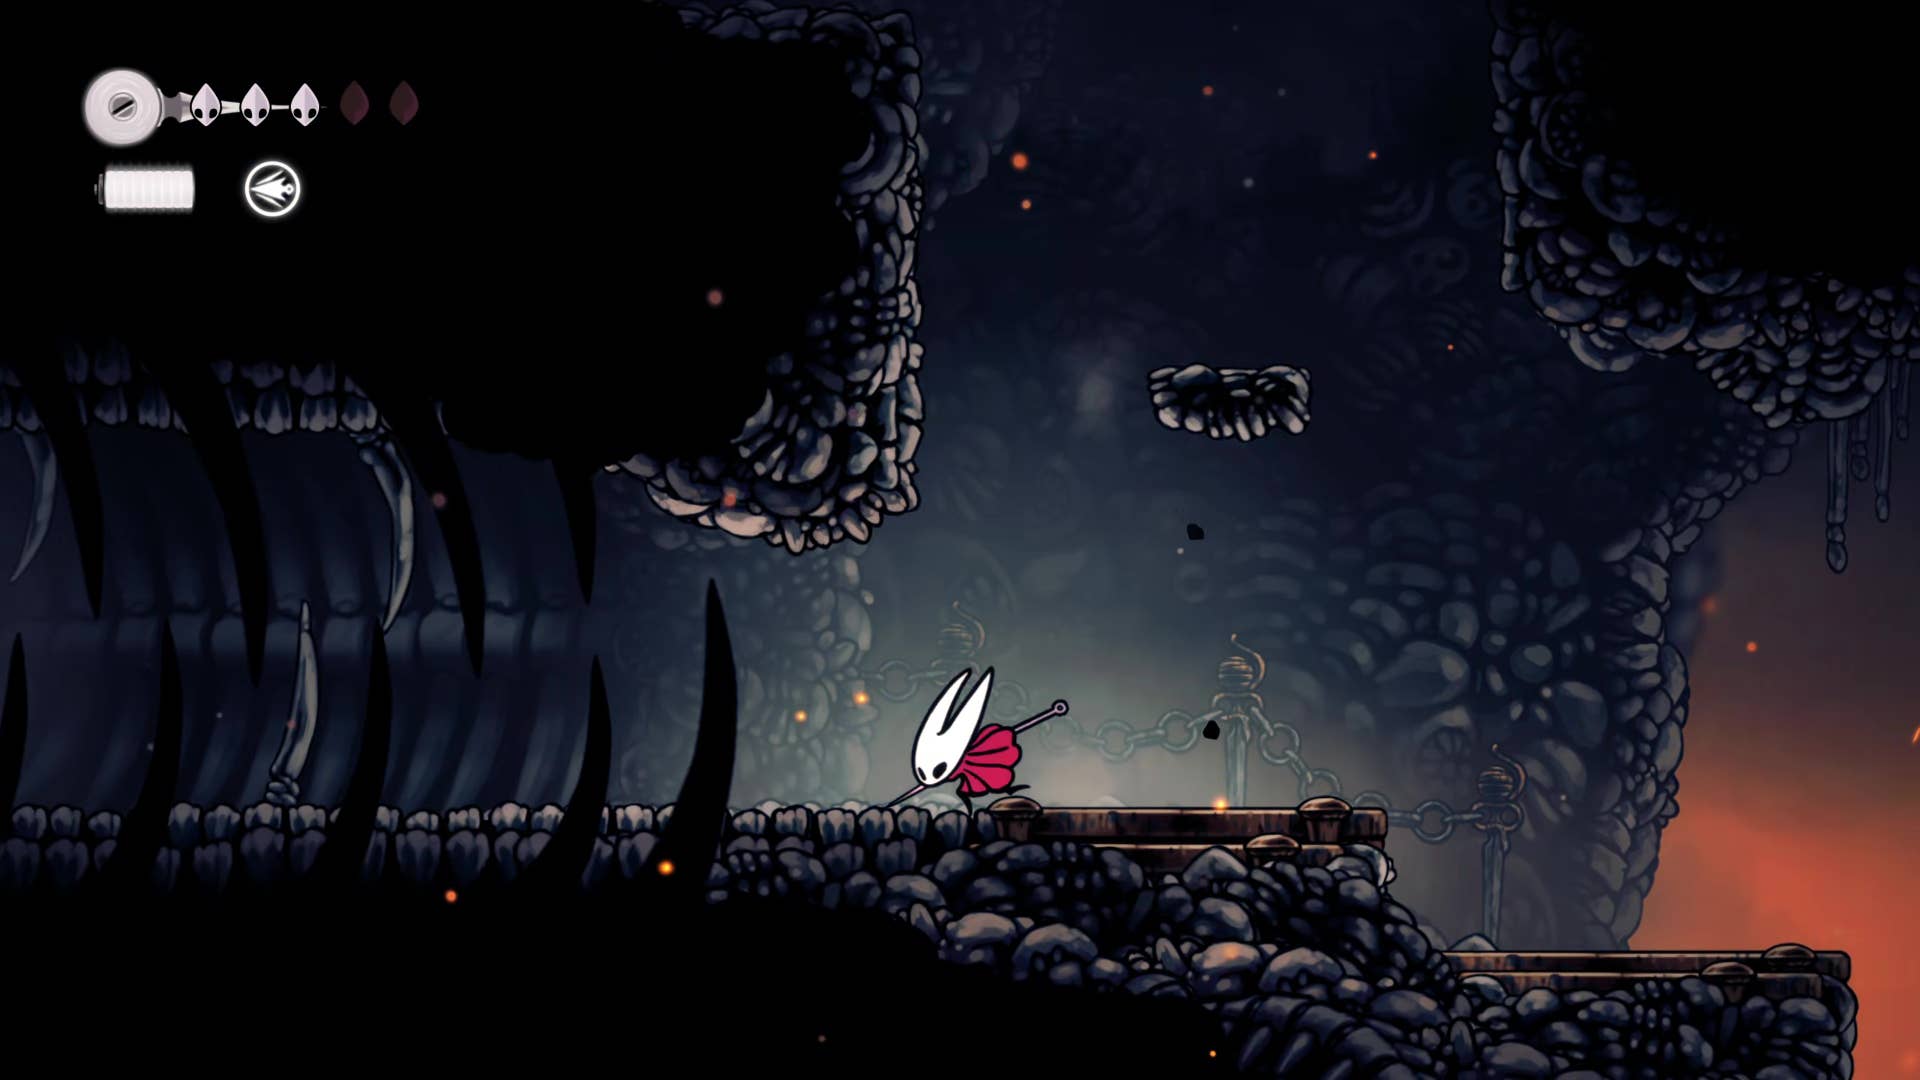
In the next room, stand on a pressure plate to unlock the shortcut. This is a moving platform that crosses the lava and returns towards the bottom of the bone. If you want to get back there right now, feel free to do so. The mobile platform becomes active by pushing one of the two buttons down in the direction you want to move.
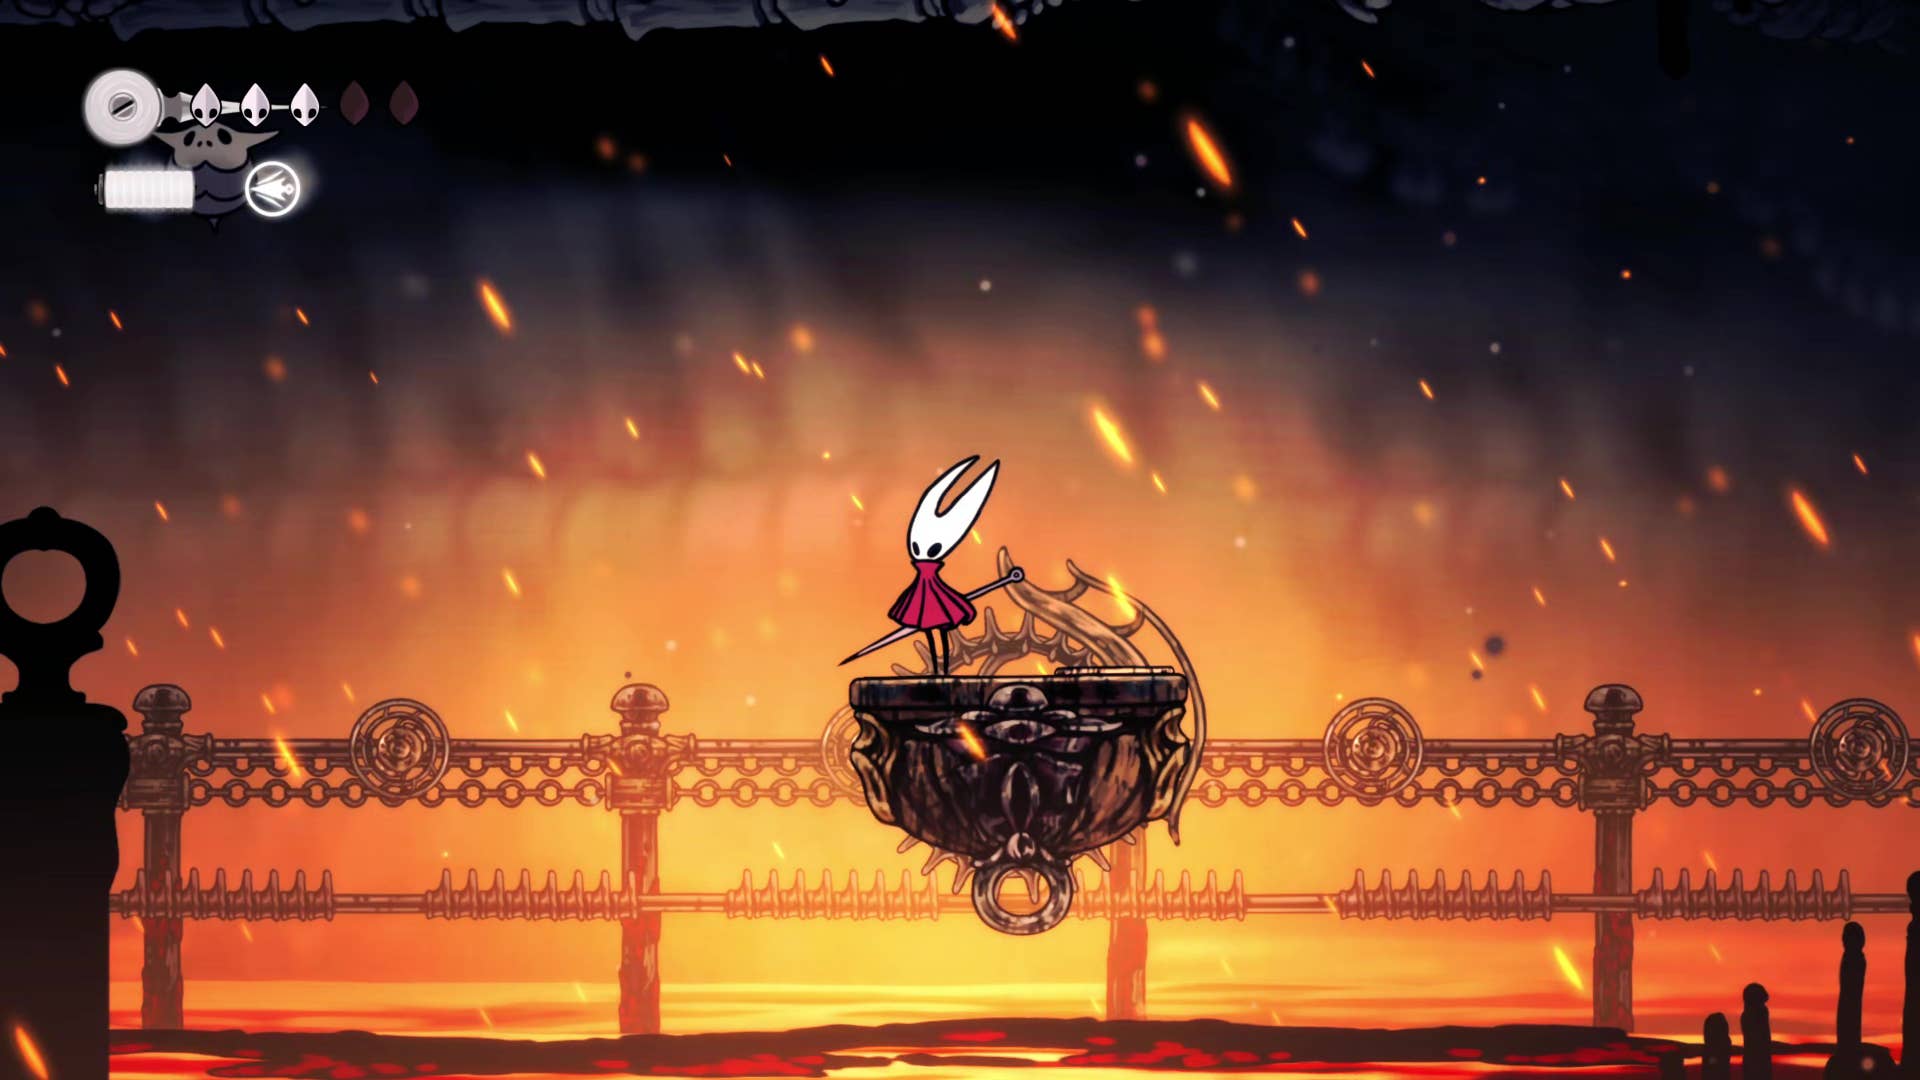
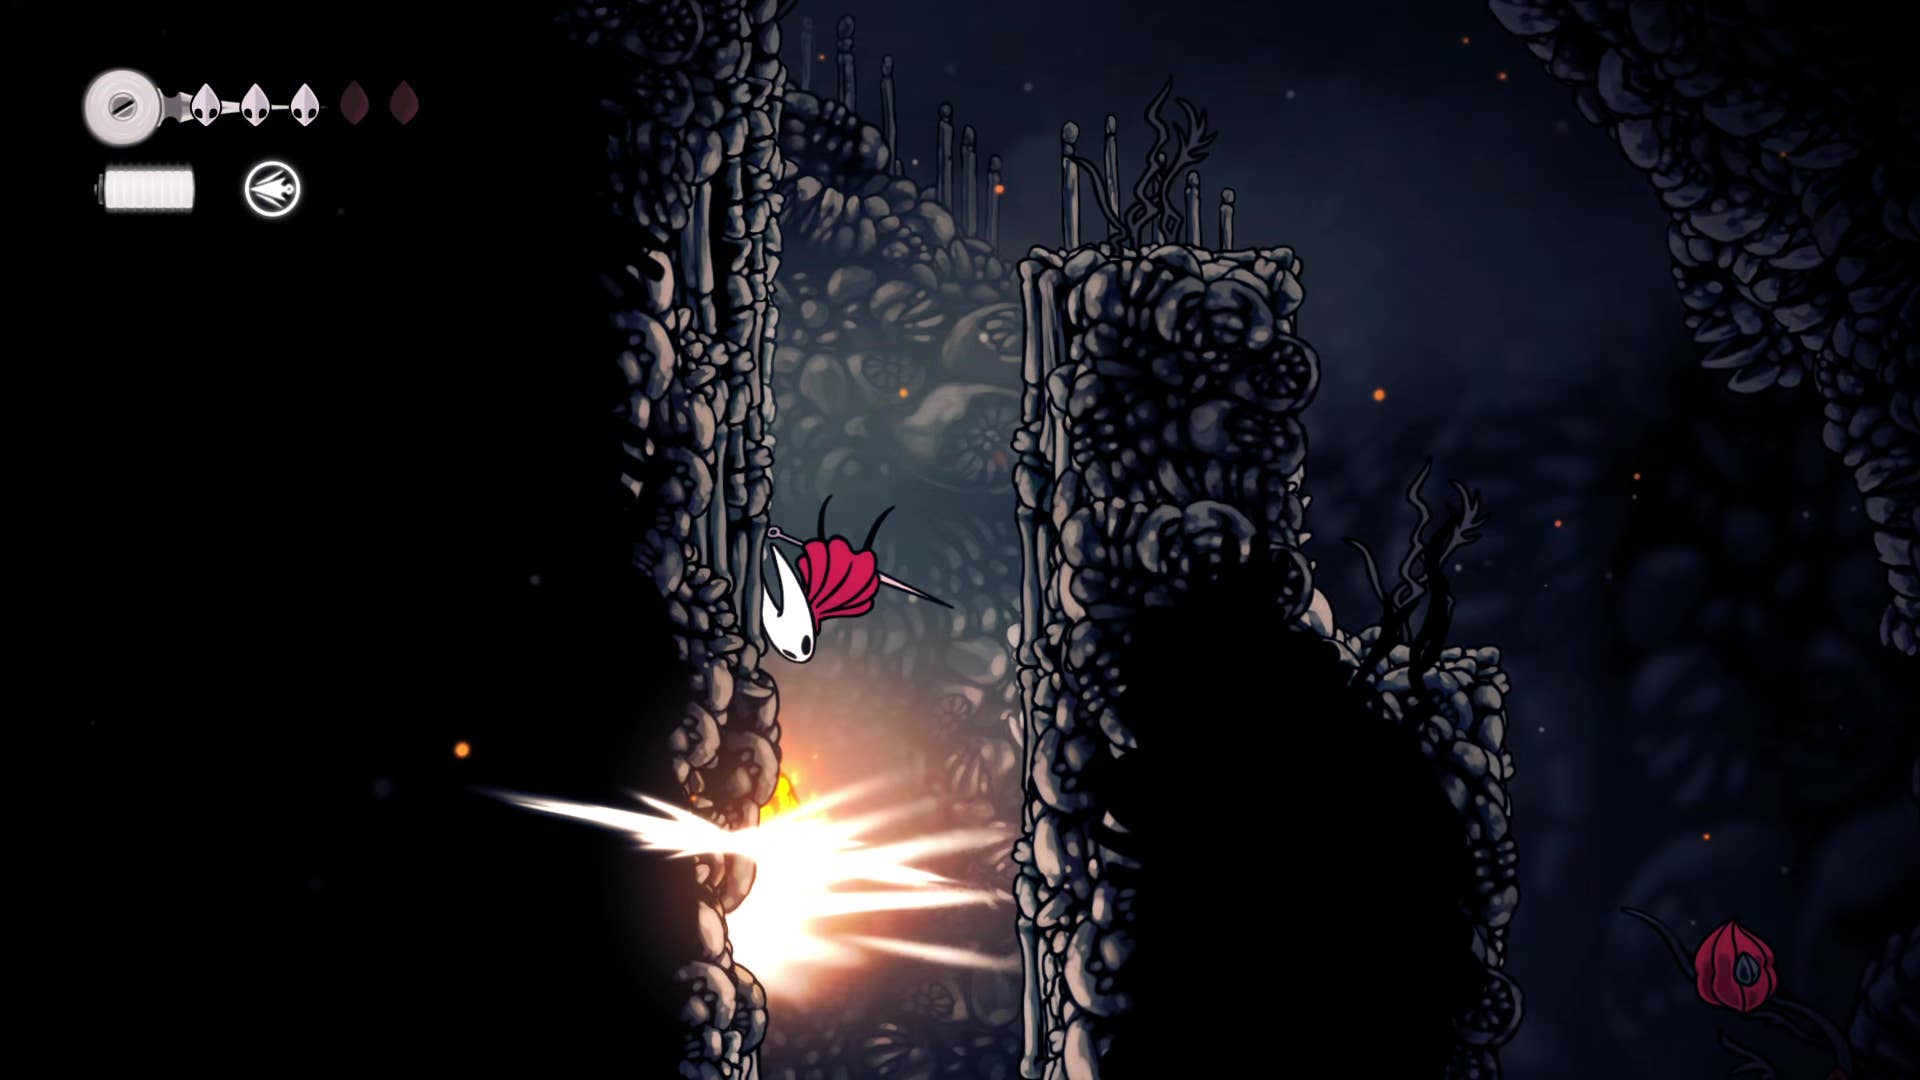
9. Cross the lava and return to the deep dock.
The final step in this part of the walkthrough is to go back to the right. It comes out of the toothy entrance and uses a metal platform above the lava to keep moving correctly. Be careful of the enemies in the Bell helmet. Because they attack quickly and have decent range. Flying variants will fire balls of lava at you, but you can attack them at the right moment and shoot the ball.
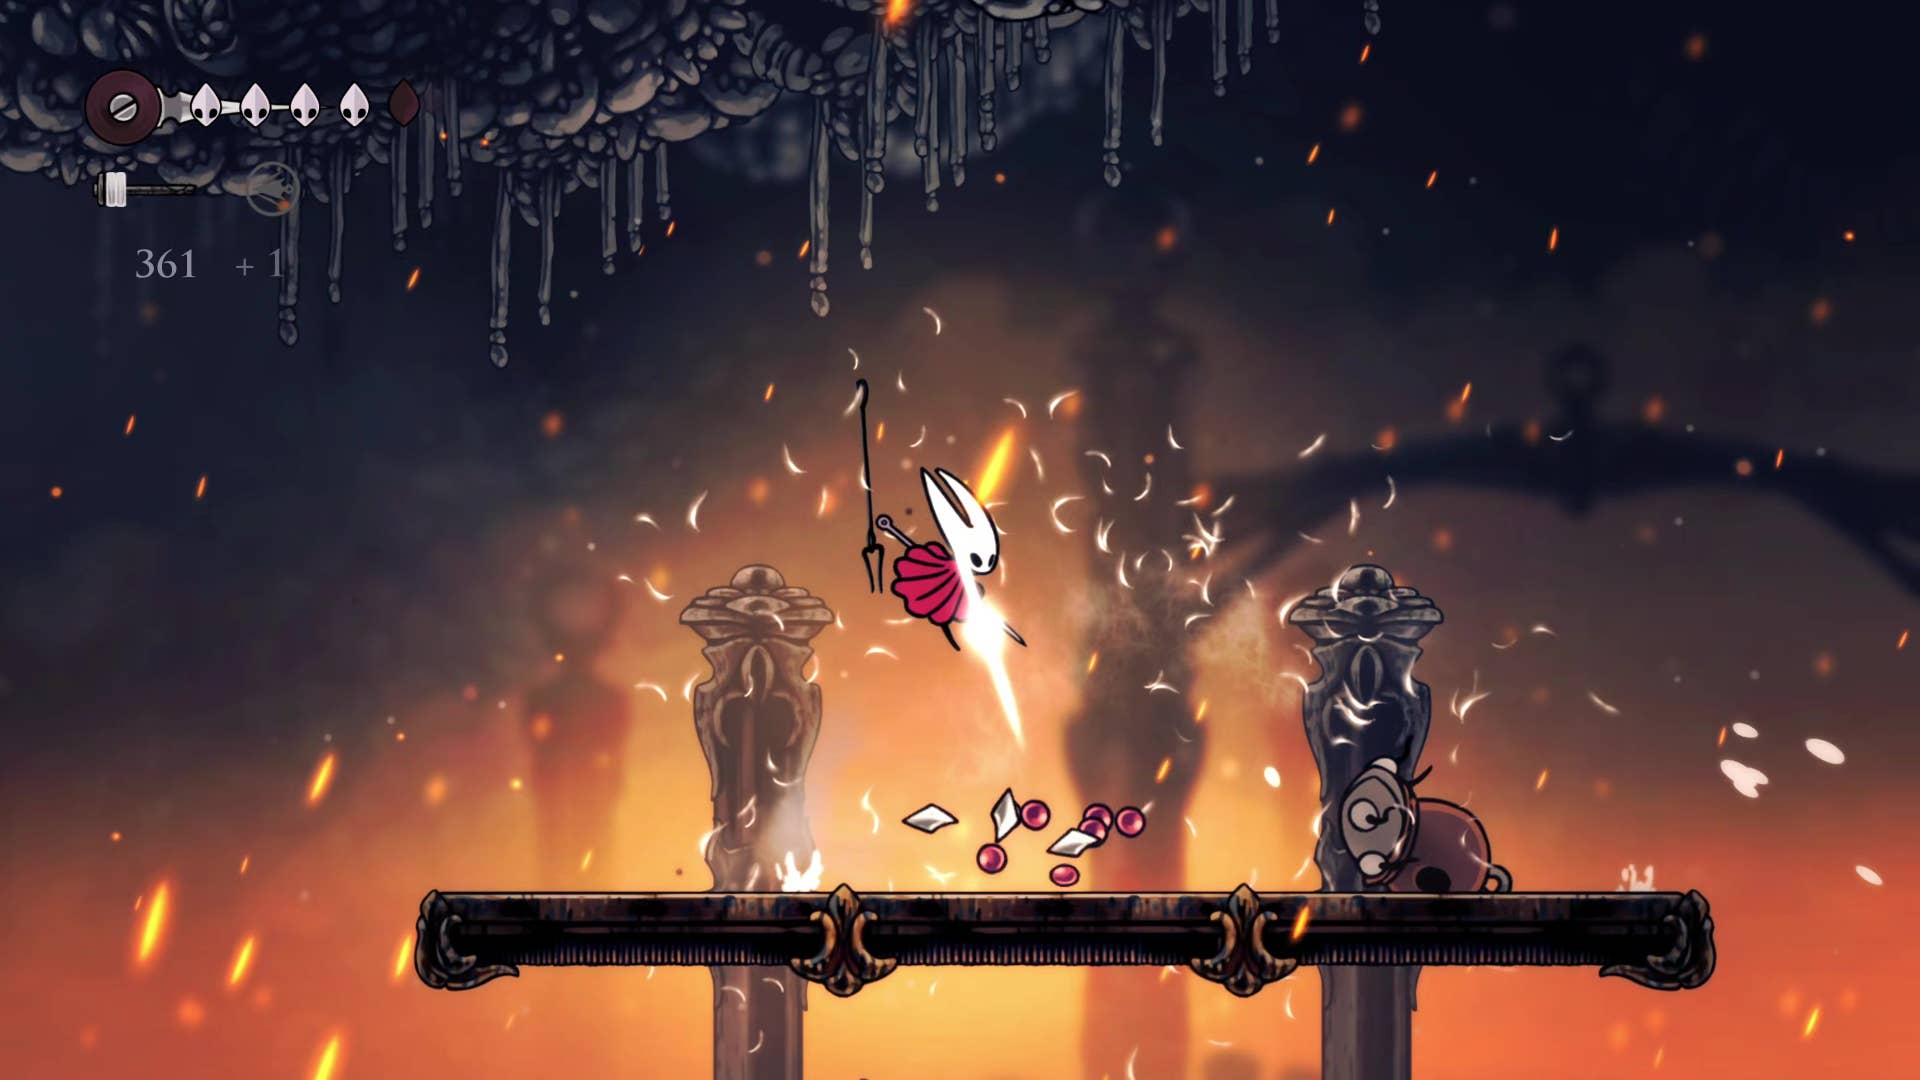
Continue to move to the right and you will find an off-screen exit. This pass will take you directly to the Deep Dock, the brand new region of the game.
That’s for this section of our walkthrough. To avoid getting lost in the darkness of the next area, be sure to follow Part 4 of Silkson’s Walkthrough and go through the intimidating, deep docks.
(TagStoTranslate) Hollow Knight: Silksong (T) Action Adventure (T) Indie (T) Nintendo Switch (T) PC (T) Platformer (T) Team Cherry