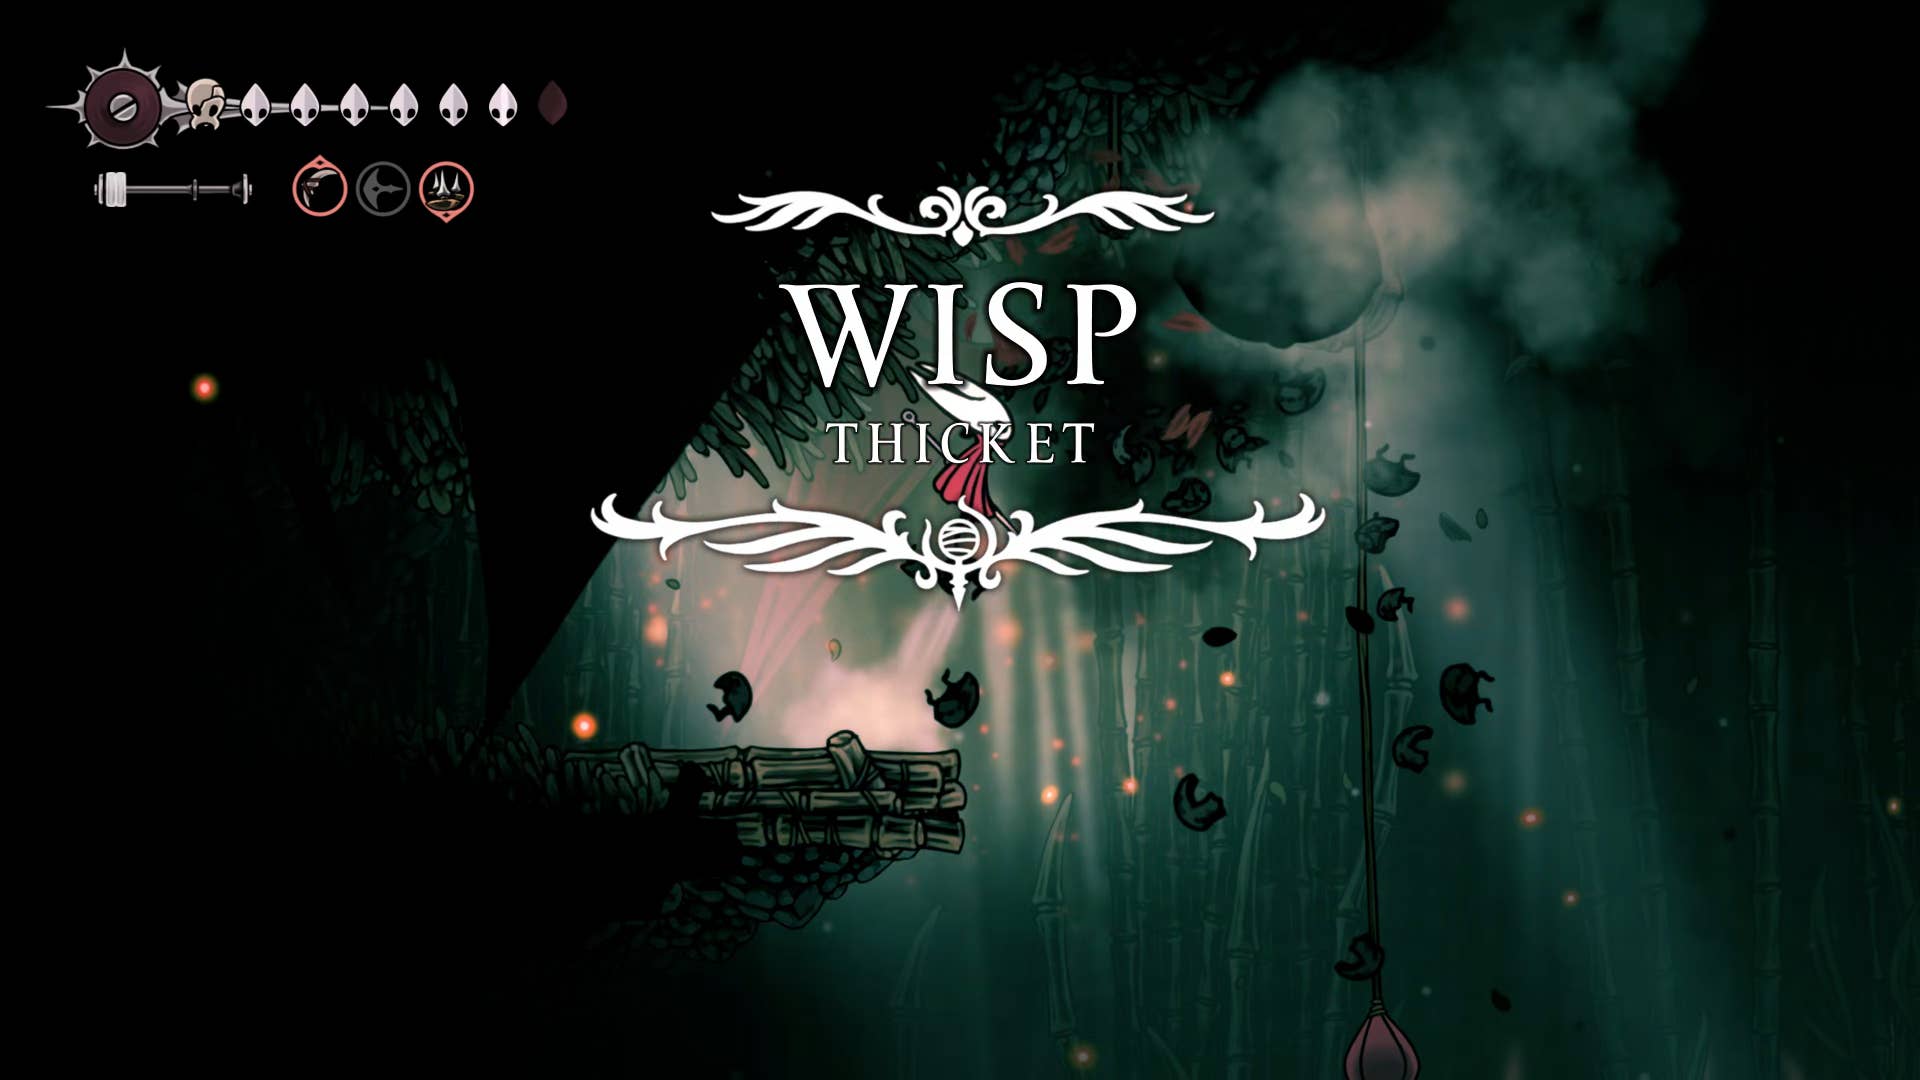
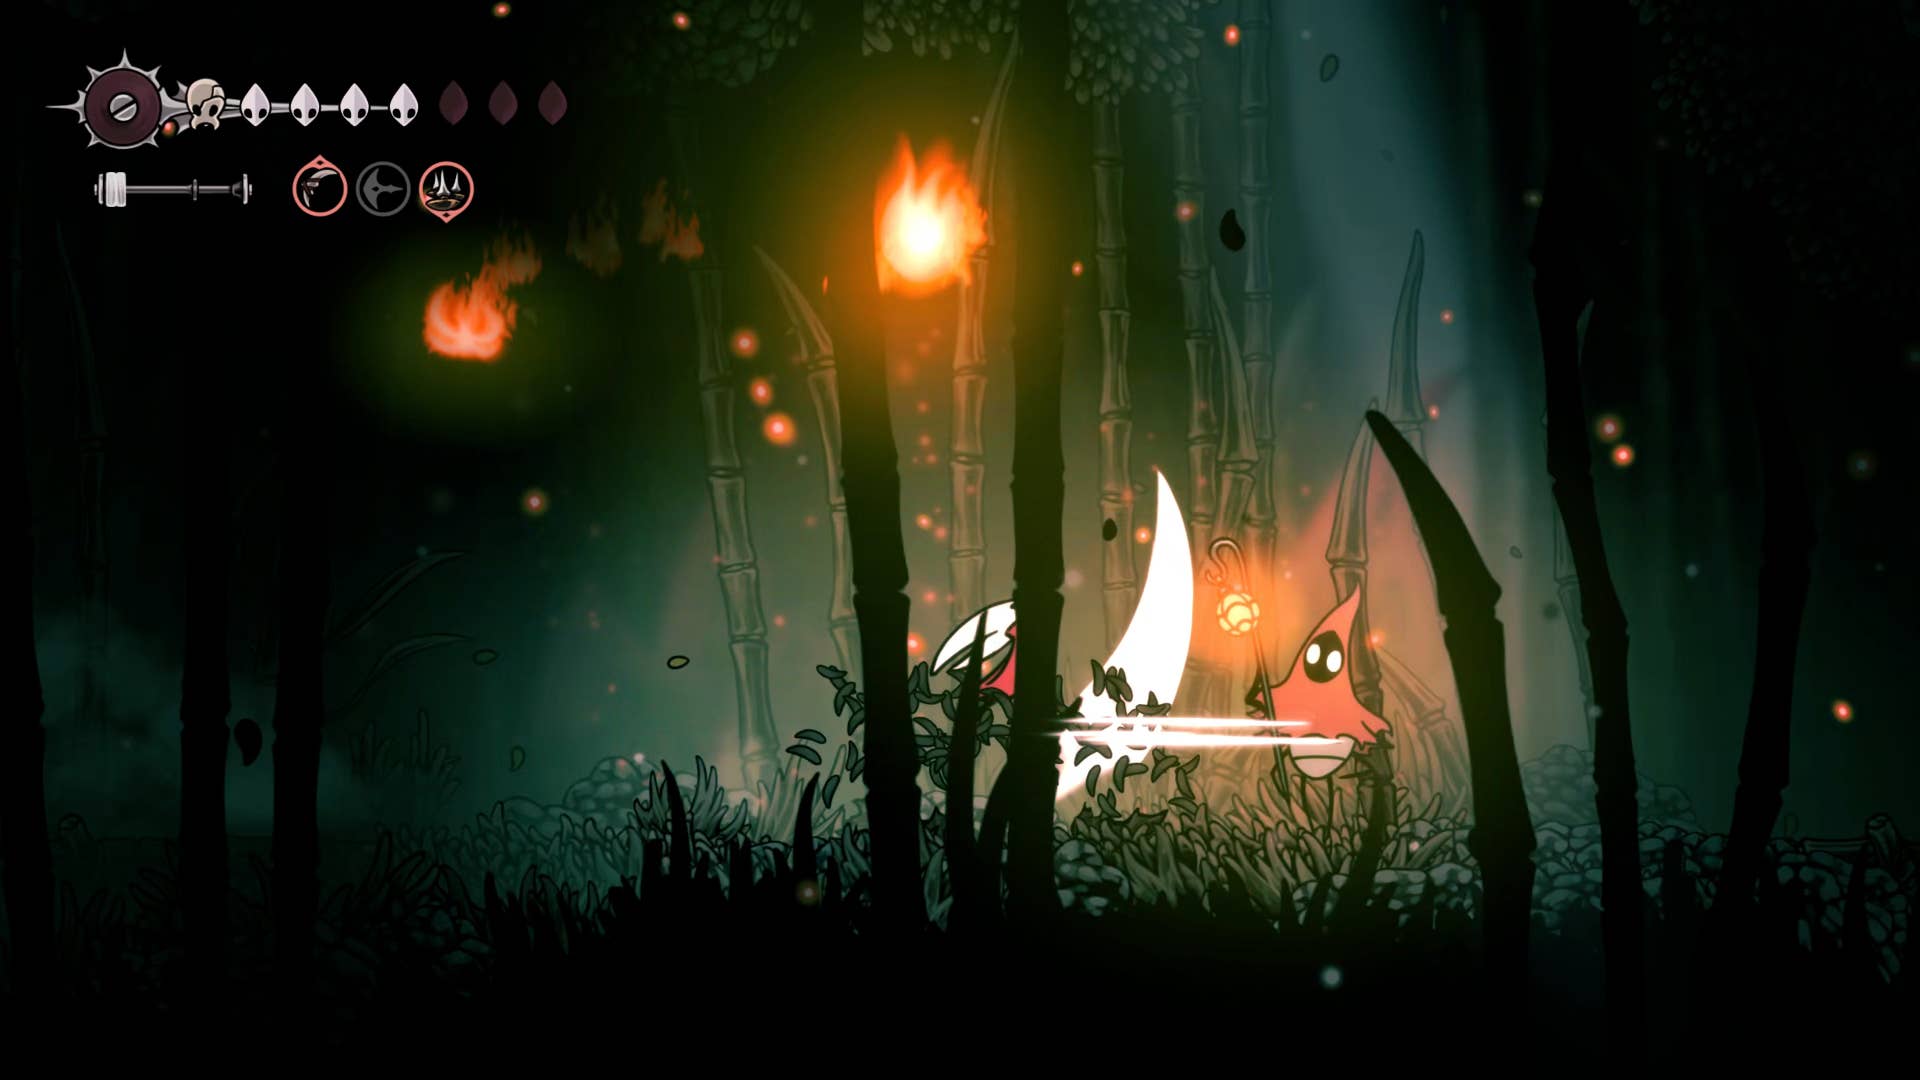
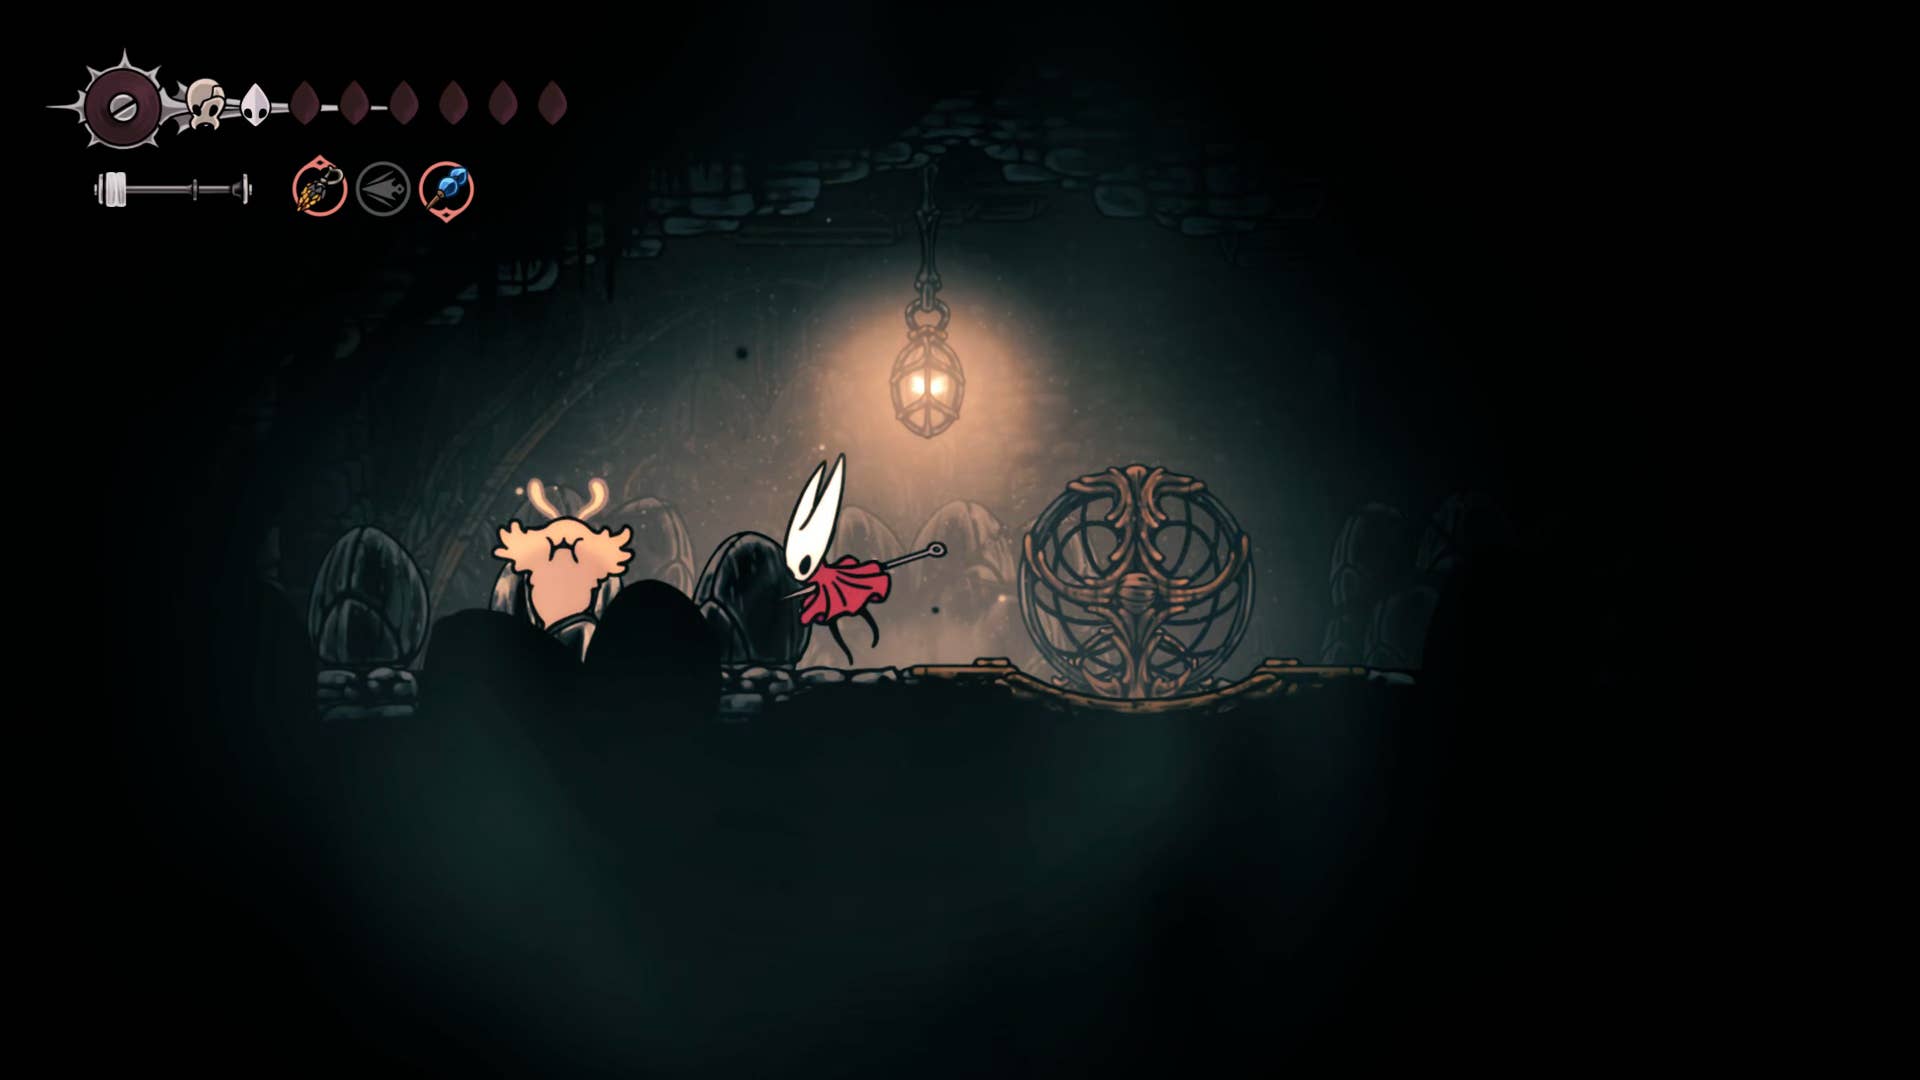
Want to pass through the Whisp Bush Area of Hollownight: Silkson? One of the dozen regions of Silksong is surrounded by secrets above Greymoor, and it is entirely possible to exit and finish the game without knowing it is there. I’ll talk about the bushes of the Wisp – the small, dense, dark areas of the jungle are home to many ignited pilgrims led by one of the game’s most memorable bosses, the Father of Flame.
in Part 25 of the Silksong Walkthroughexplain how to reach Wisp Phestet with the help of your new athletic ability. And I will allow you to take this small area step by step and discover everything you have to offer before you face the Father of Fire.
Do you need a walkthrough in another area of the game? Check out Hollow Knight: Silksong Walkthrough Hub!
Wisp bush walkthrough steps:
- Enter Wisp Phestet via Greymoor.
- Unlock the right side of the bench.
- Get the bone scroll above.
- Reach the mask shard in the east.
- Defeat the Father of Fire.
- It will invade underwork.
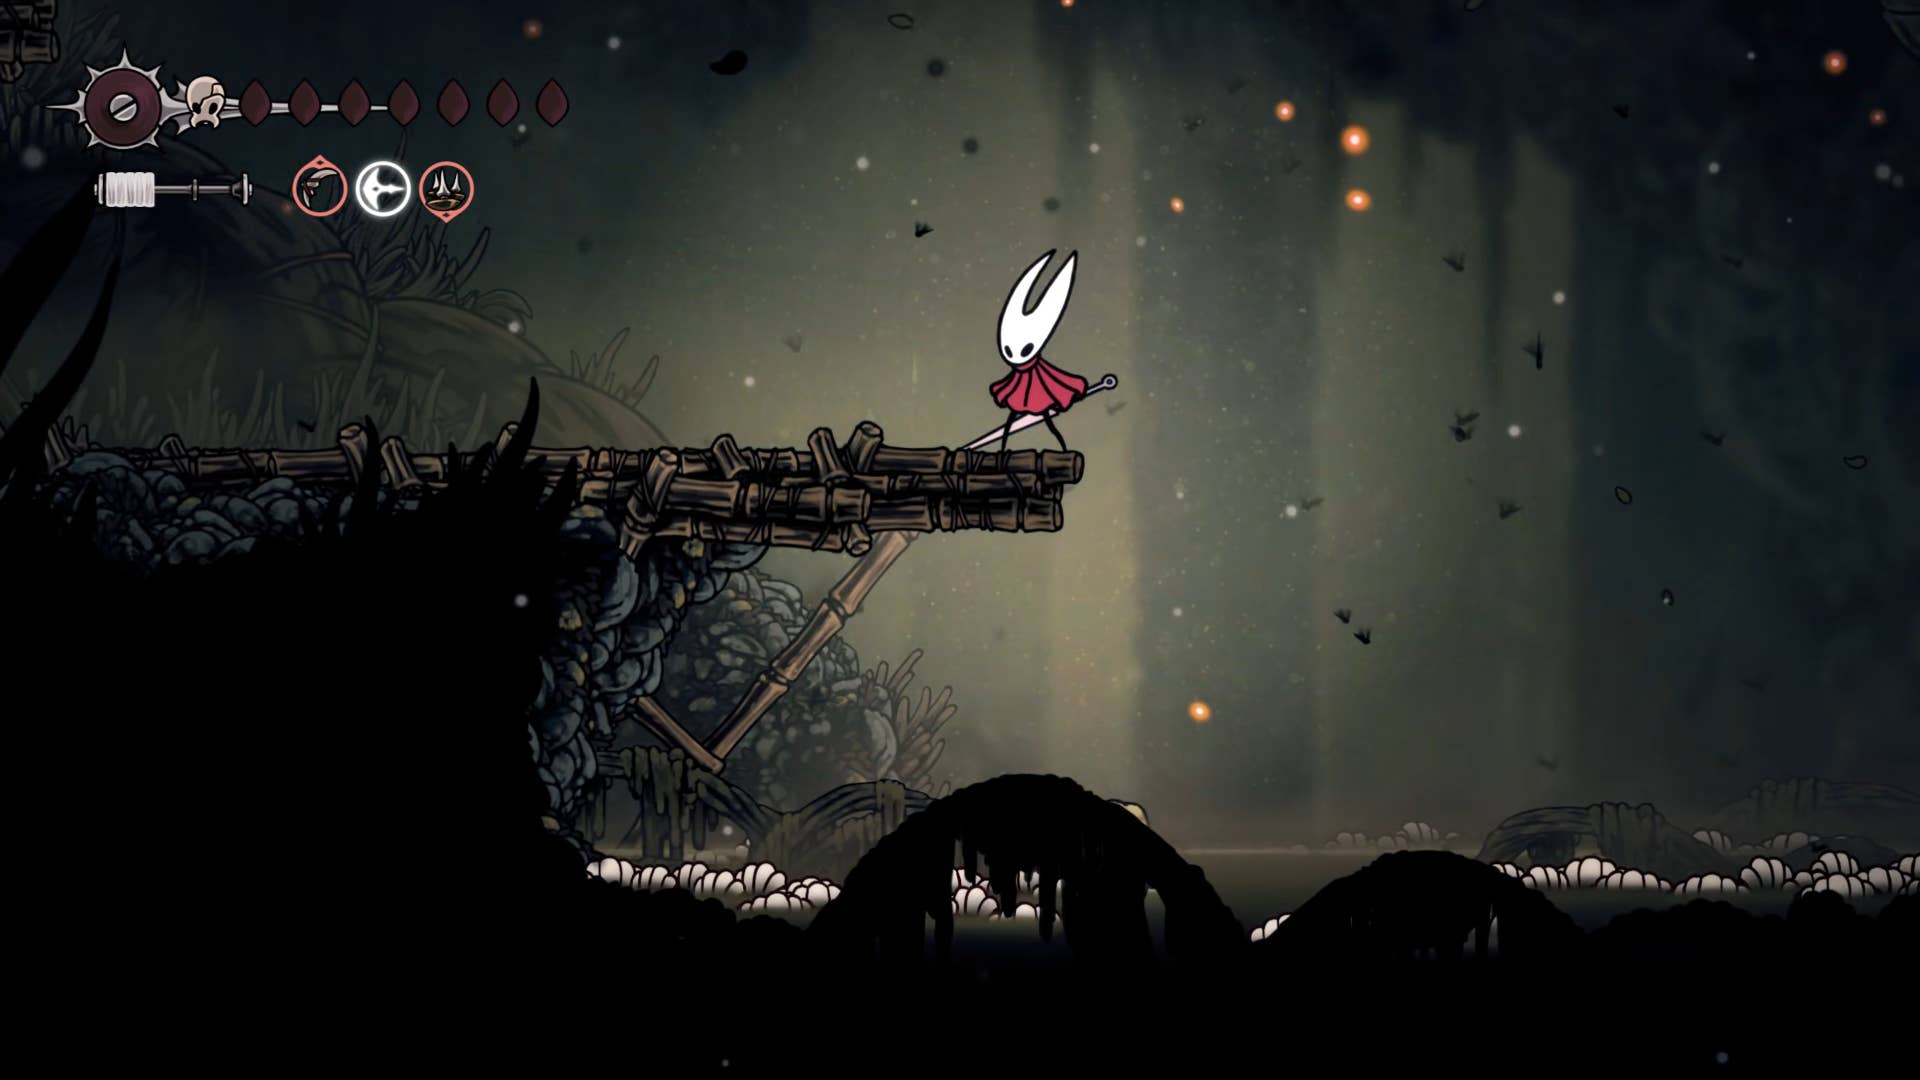
1. Enter the Wisp bushes via Greymoor.
There is only one pass in the wisp bushes (at this time). This means reaching the top of the Greymore. Move quickly to the Greymore Bellway and head towards the western windmill.
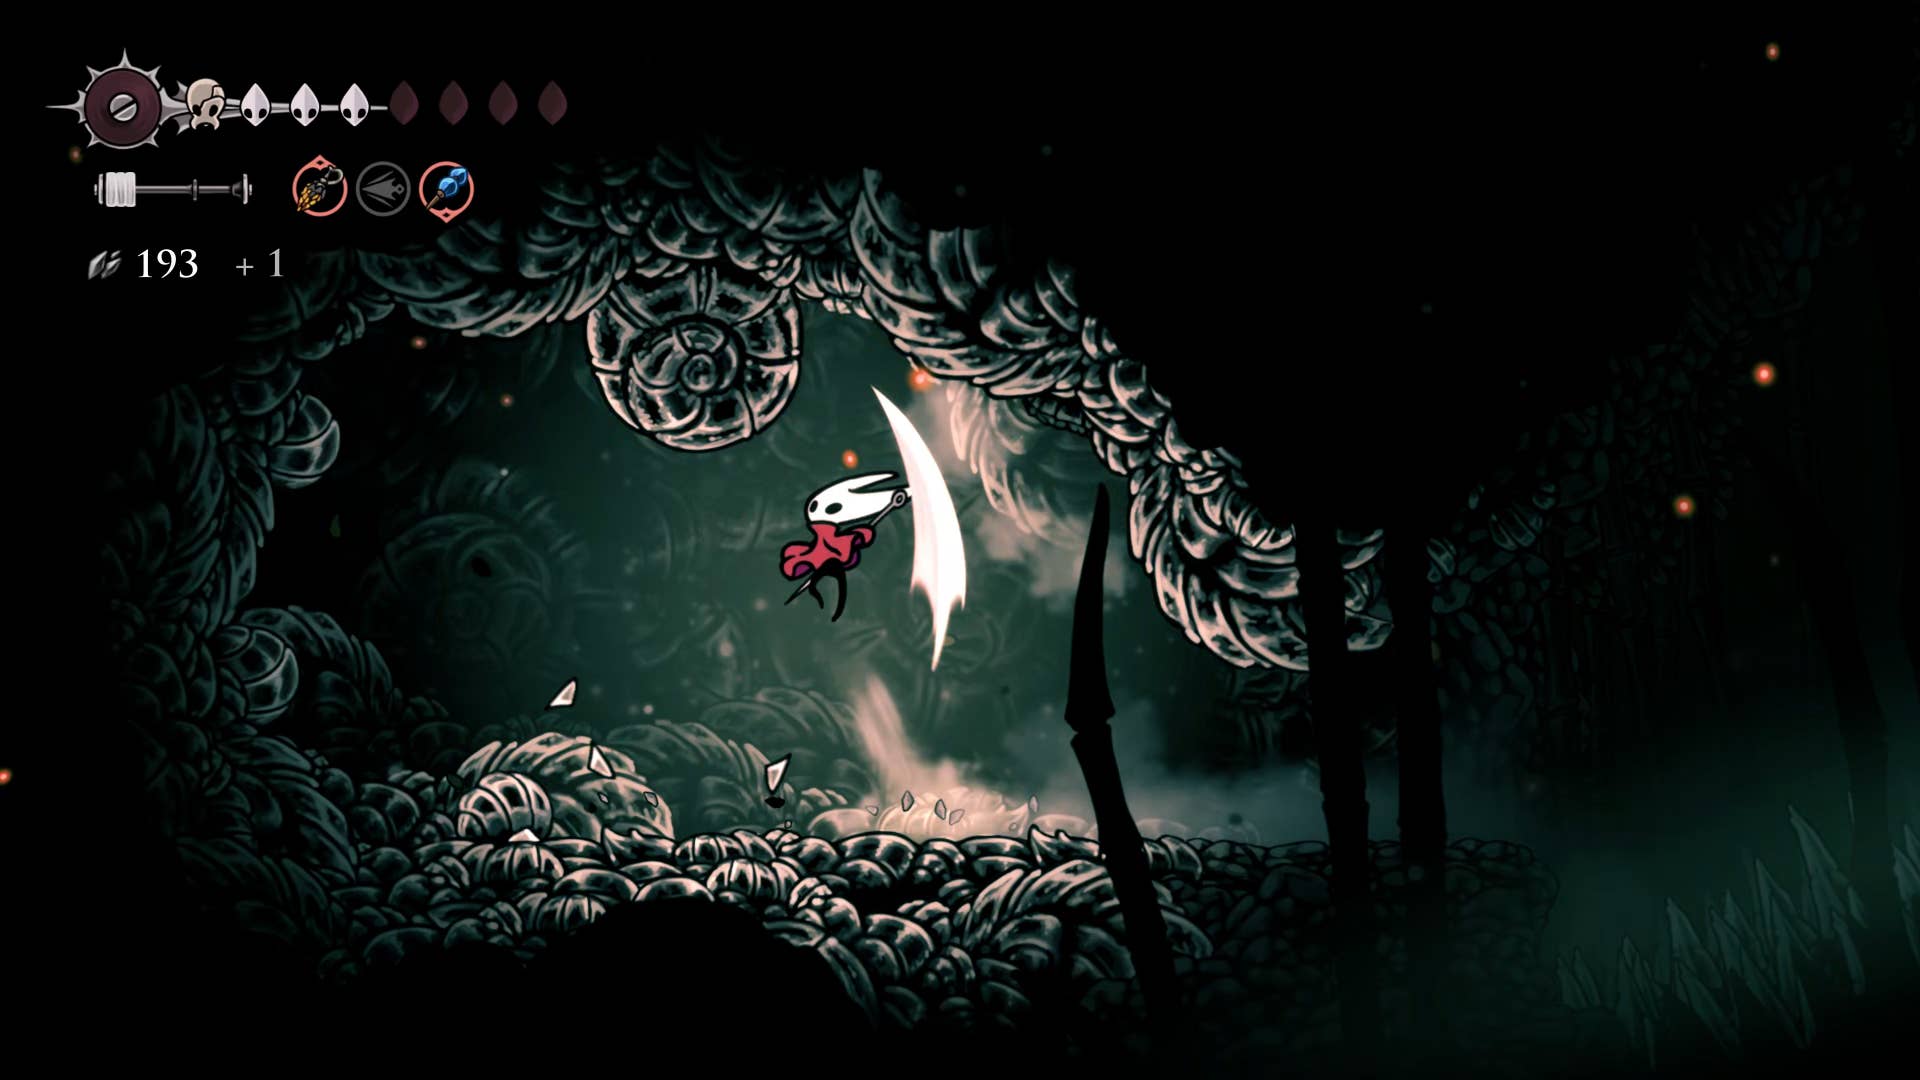
You can climb the tower all the way up, at the top (where previously lost chisels were found), exit the roof and continue climbing the ledge above. Once you reach the top where you can begin to see red light in the air, double jump to the vertical wall in the upper left corner, partially hidden by the leaves. You can grab it against the wall and climb further from here.
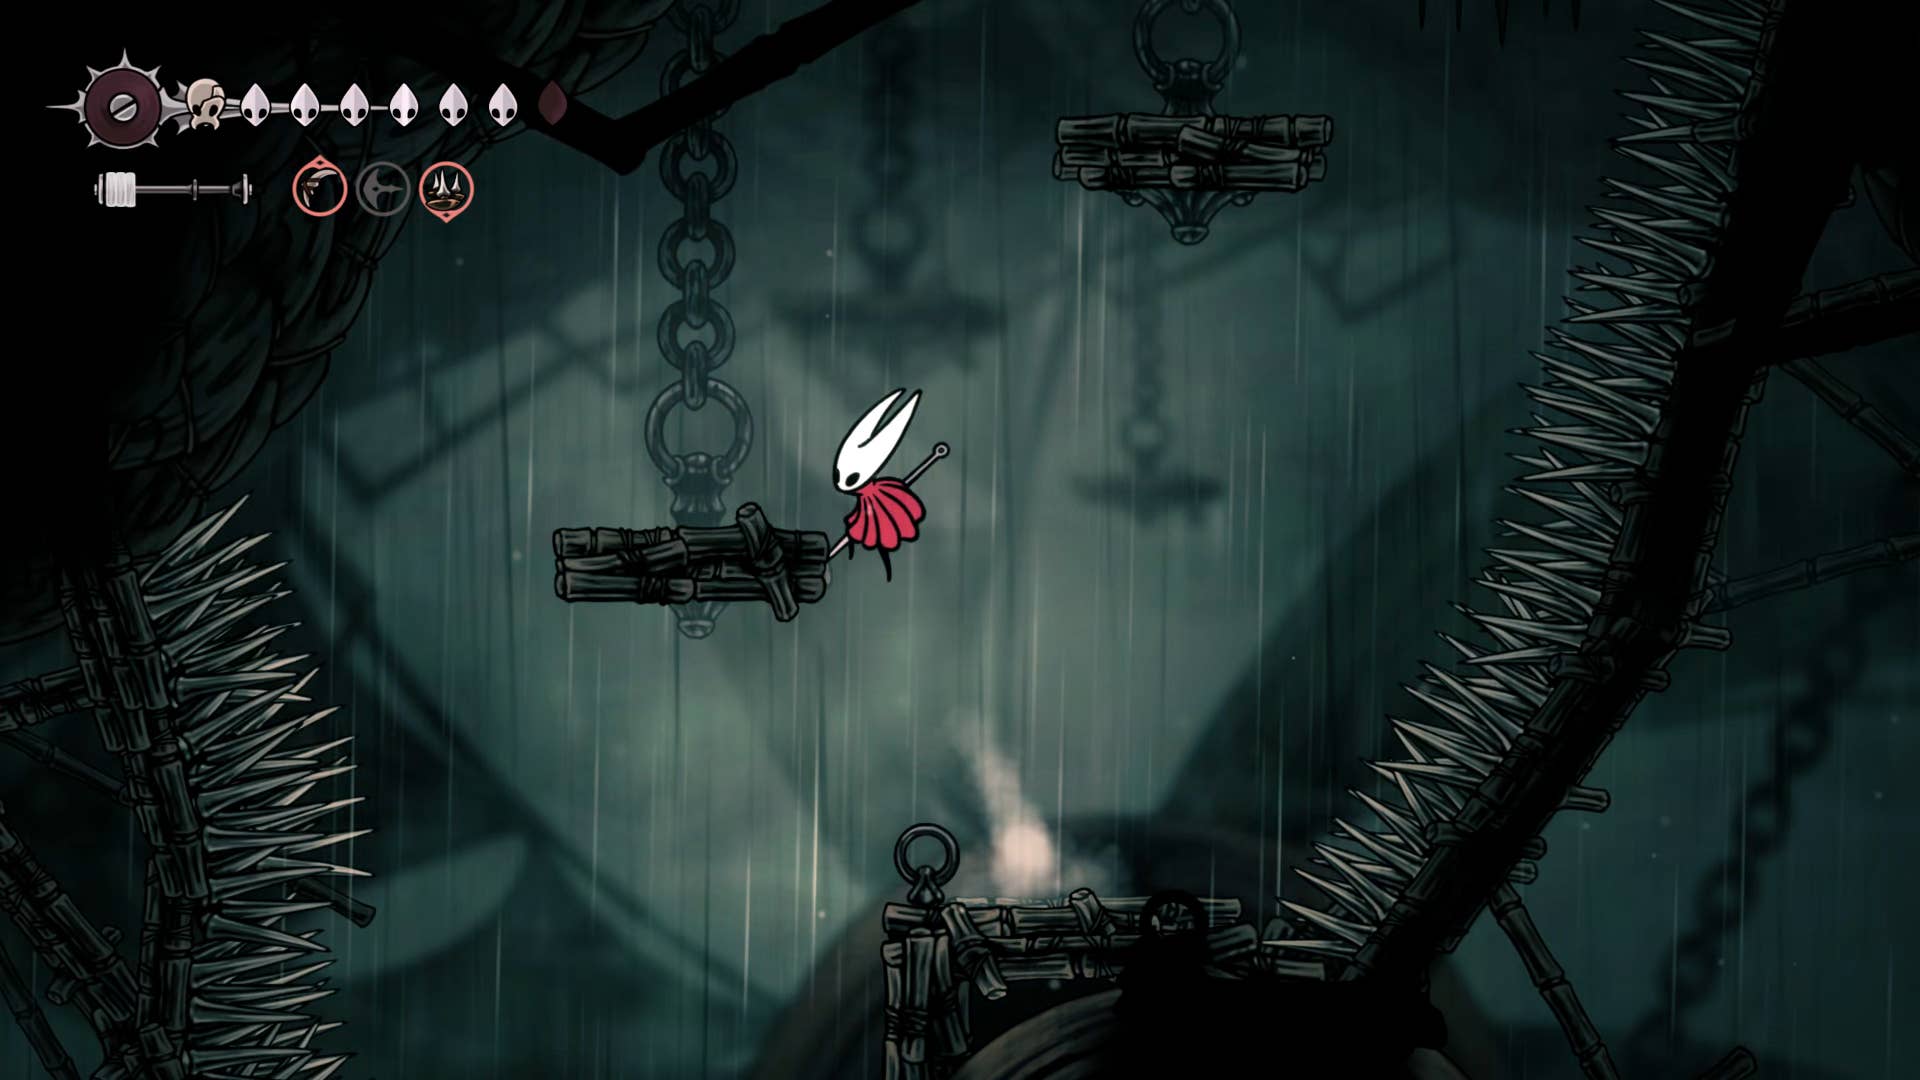
At the top, dash into the double jump and hanging bulb, then unscrew the pogo and reach the higher platform on the left. You are now at the starting point of the Wisp bushes.
2. Unlock the right side of the bench.
The first thing you need to do is jump over your right spike and jump onto the shelf over there. In a few more steps, you have some hanging bags above you, one of which has something quite prominently visible from its side and looks like a bench.
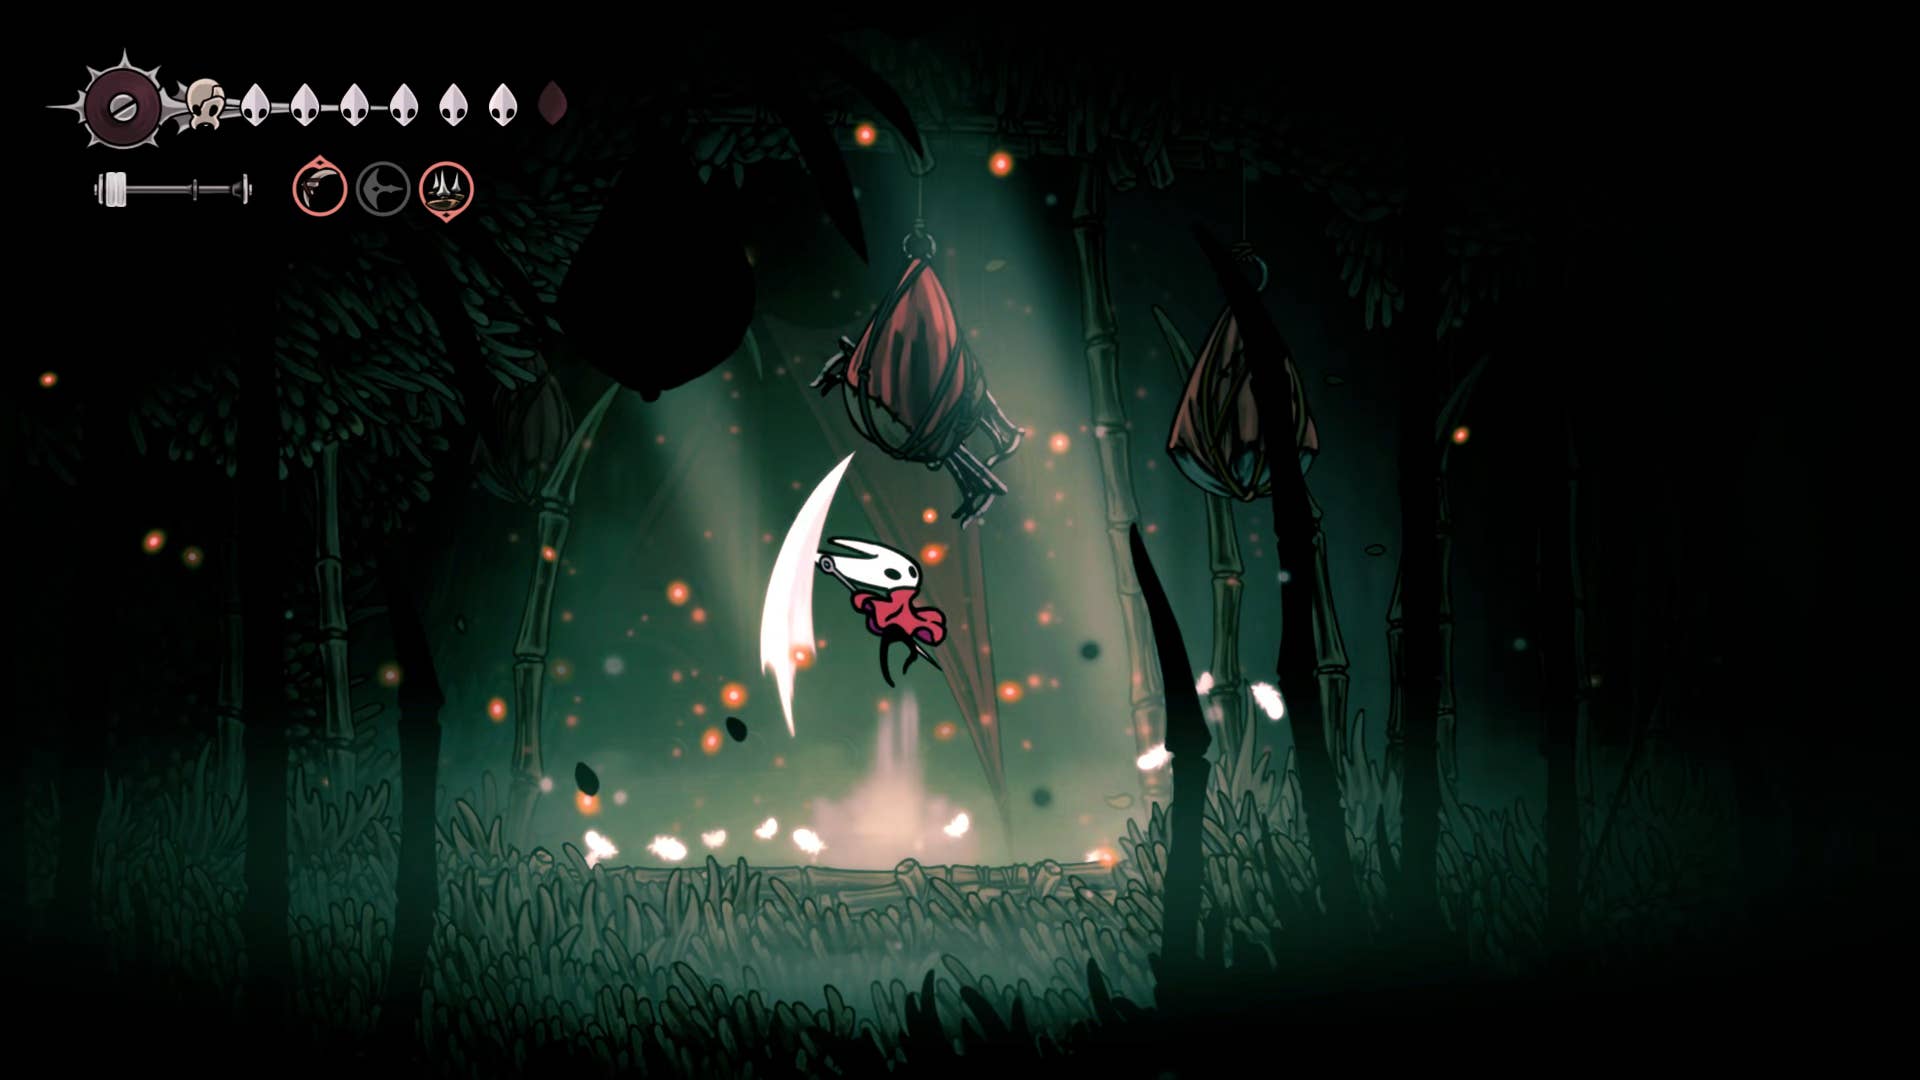
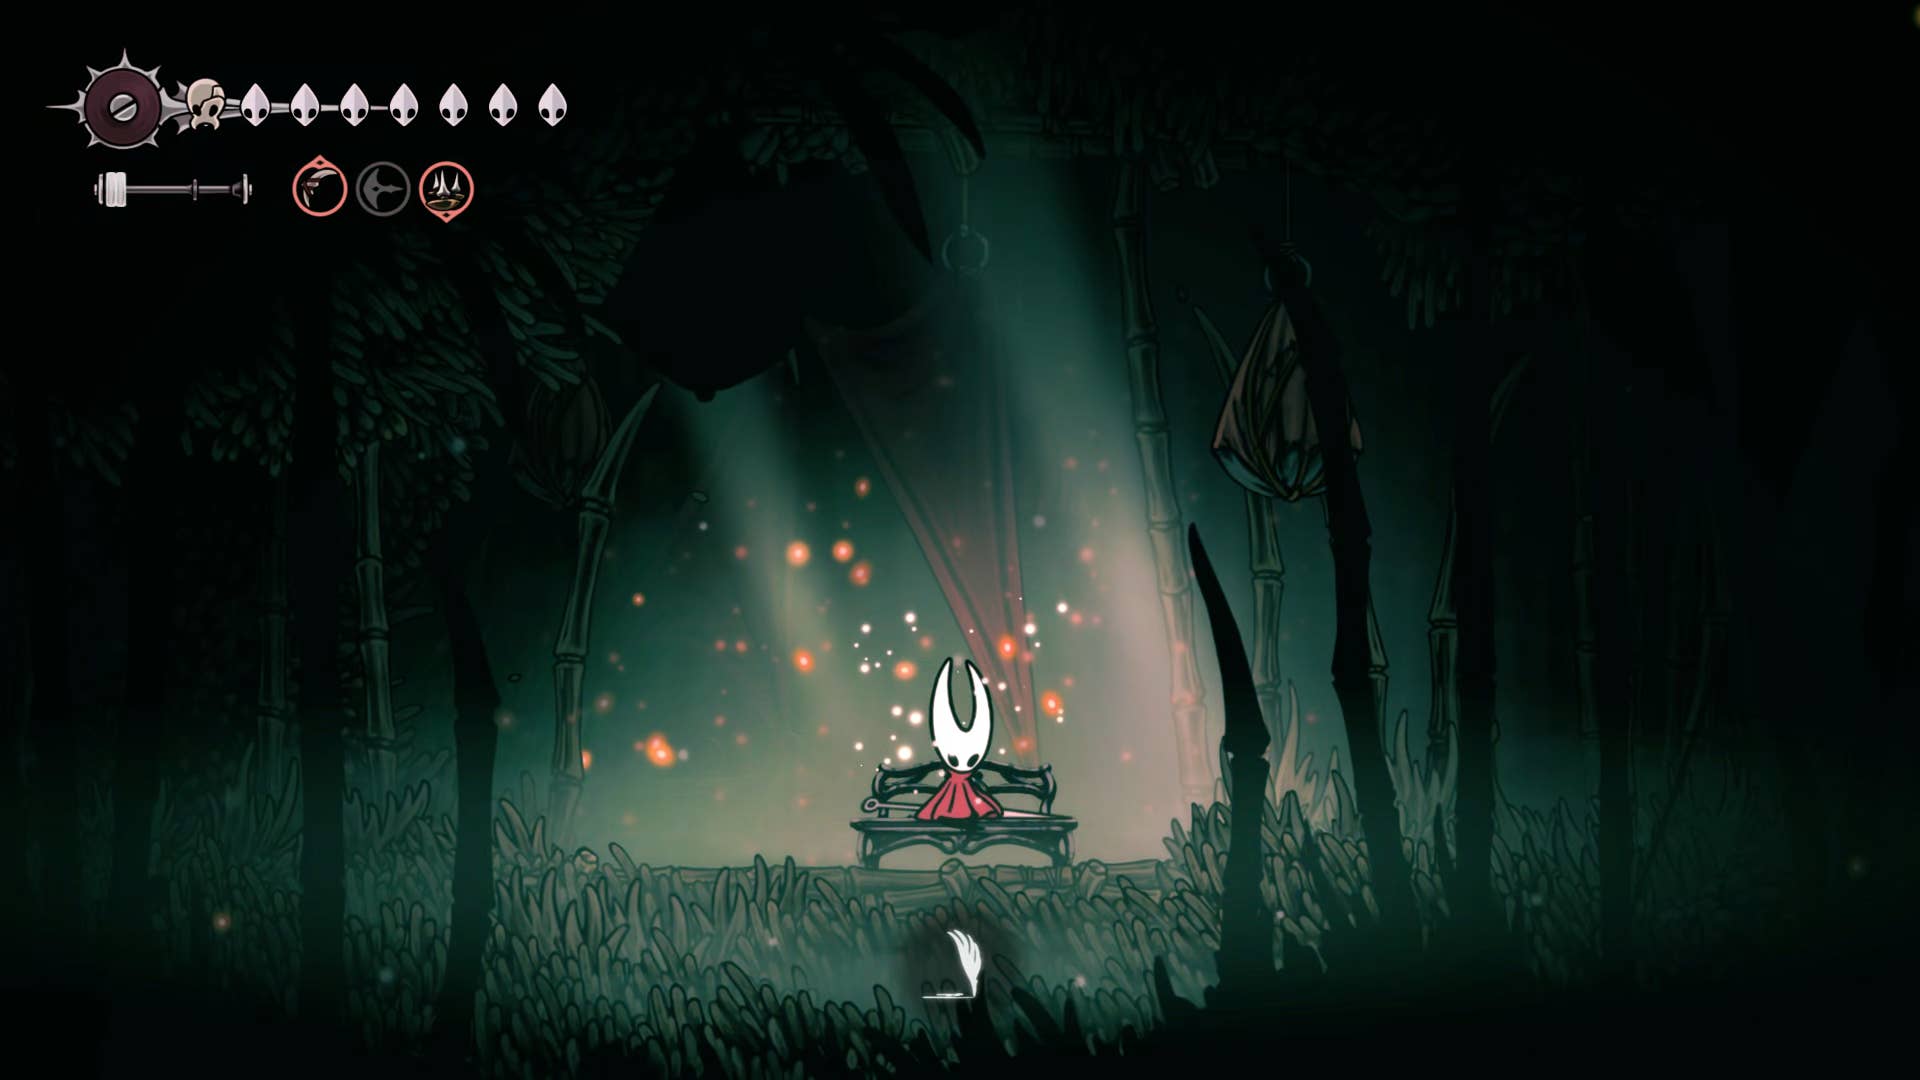
Attack the bag until it breaks and drop the bench to the ground. Now you can rest on the bench and use it as a new, even better starting point within the area.
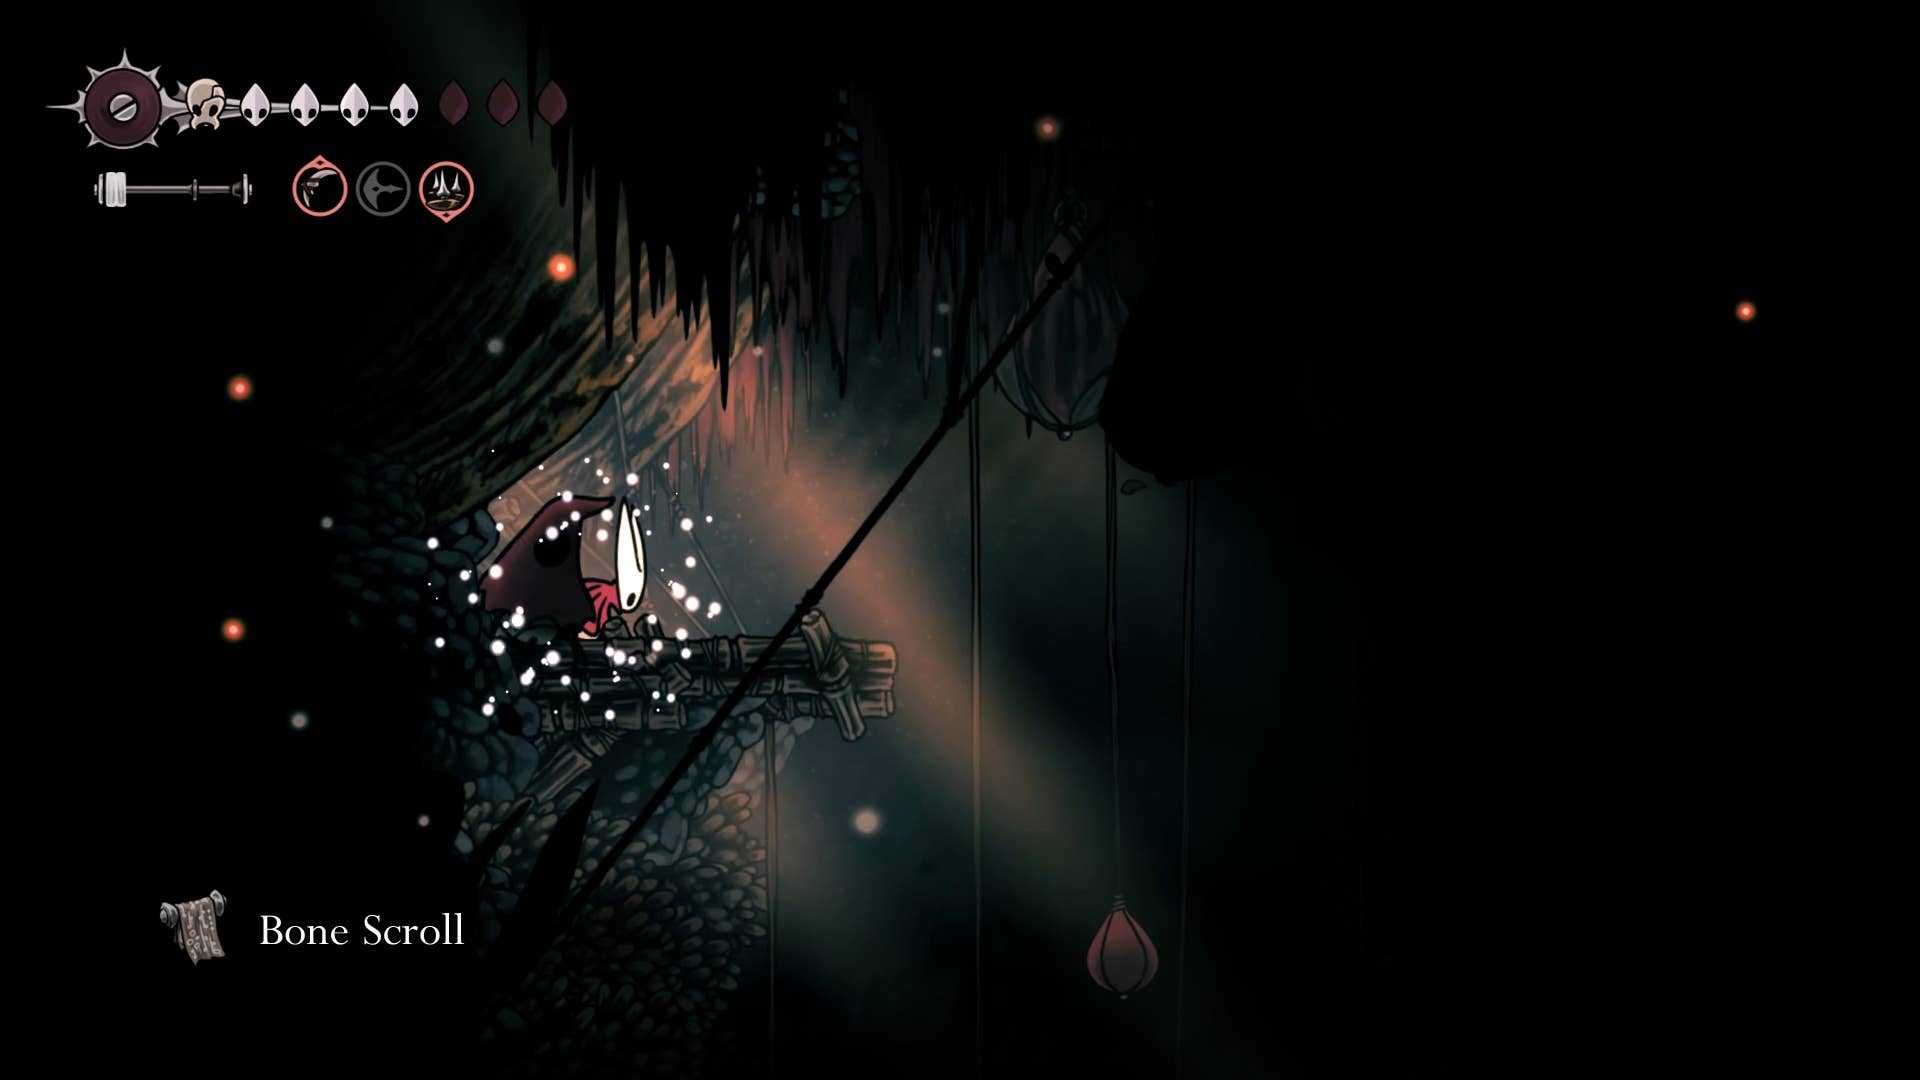
3. Get the bone scroll above.
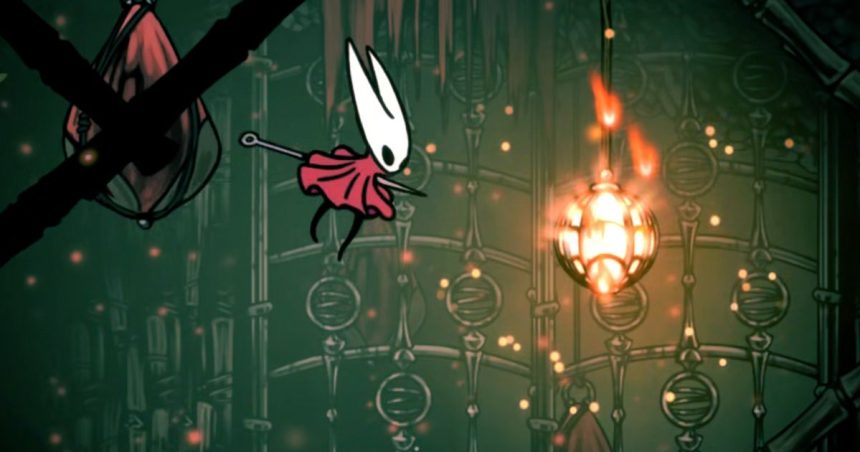
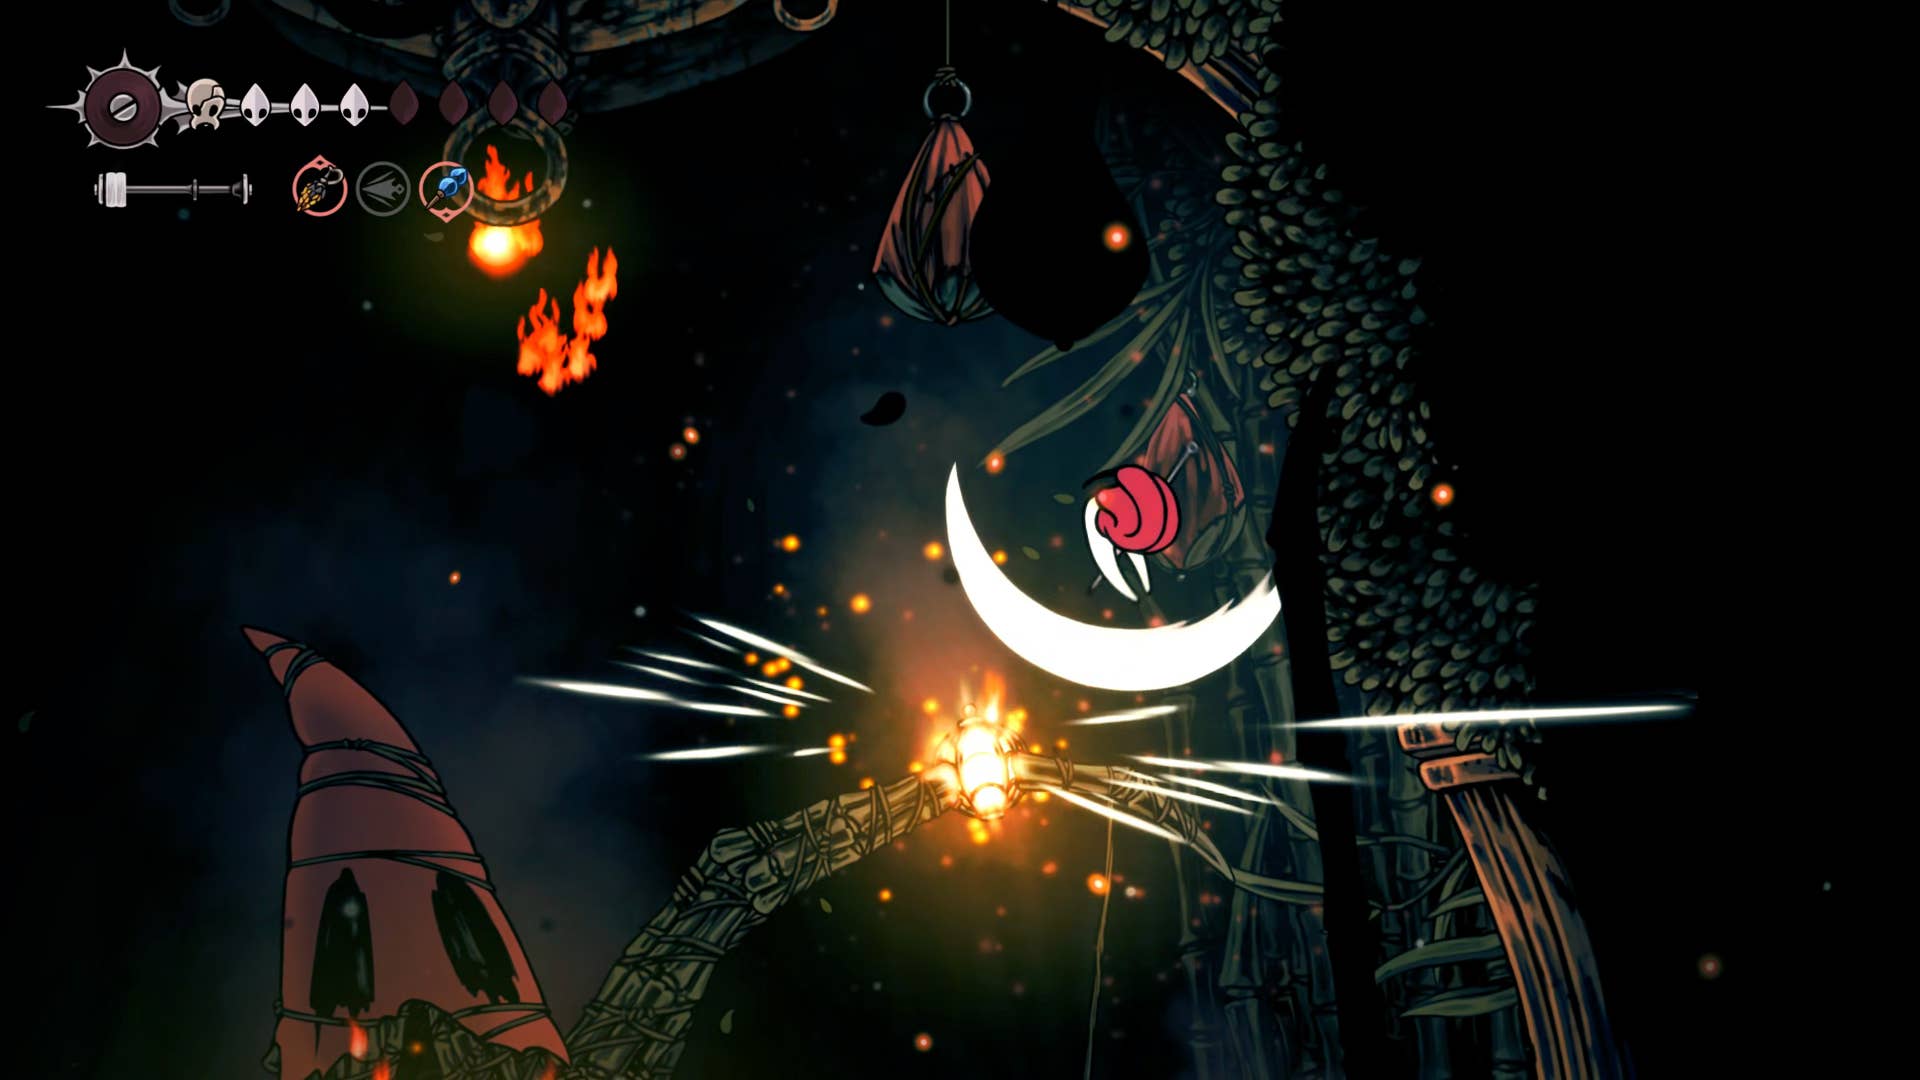
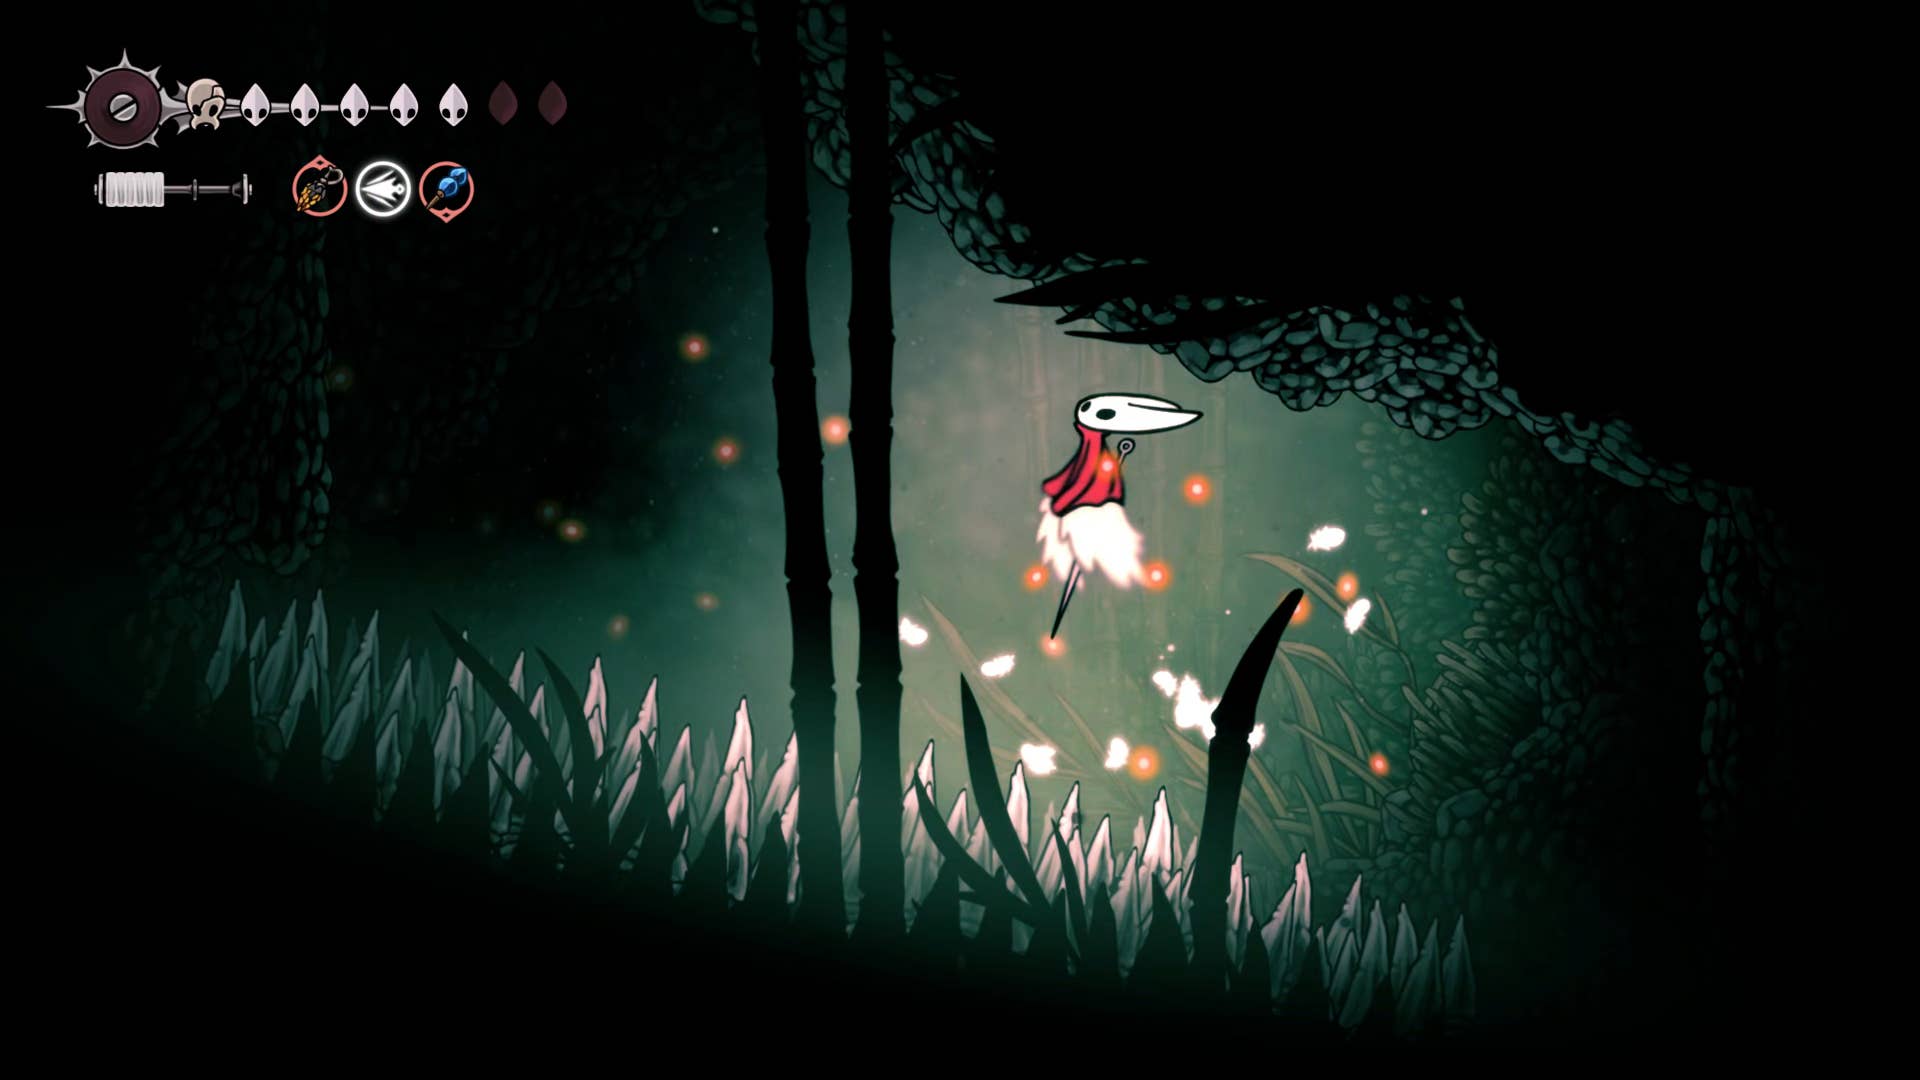
Go left and start climbing the shaft beyond. In a short way, contact the first WISP lantern. These lanterns often produce wisps – immortal, fiery projectiles that fly around a bit before you take care of them towards you with a big, fiery explosion.
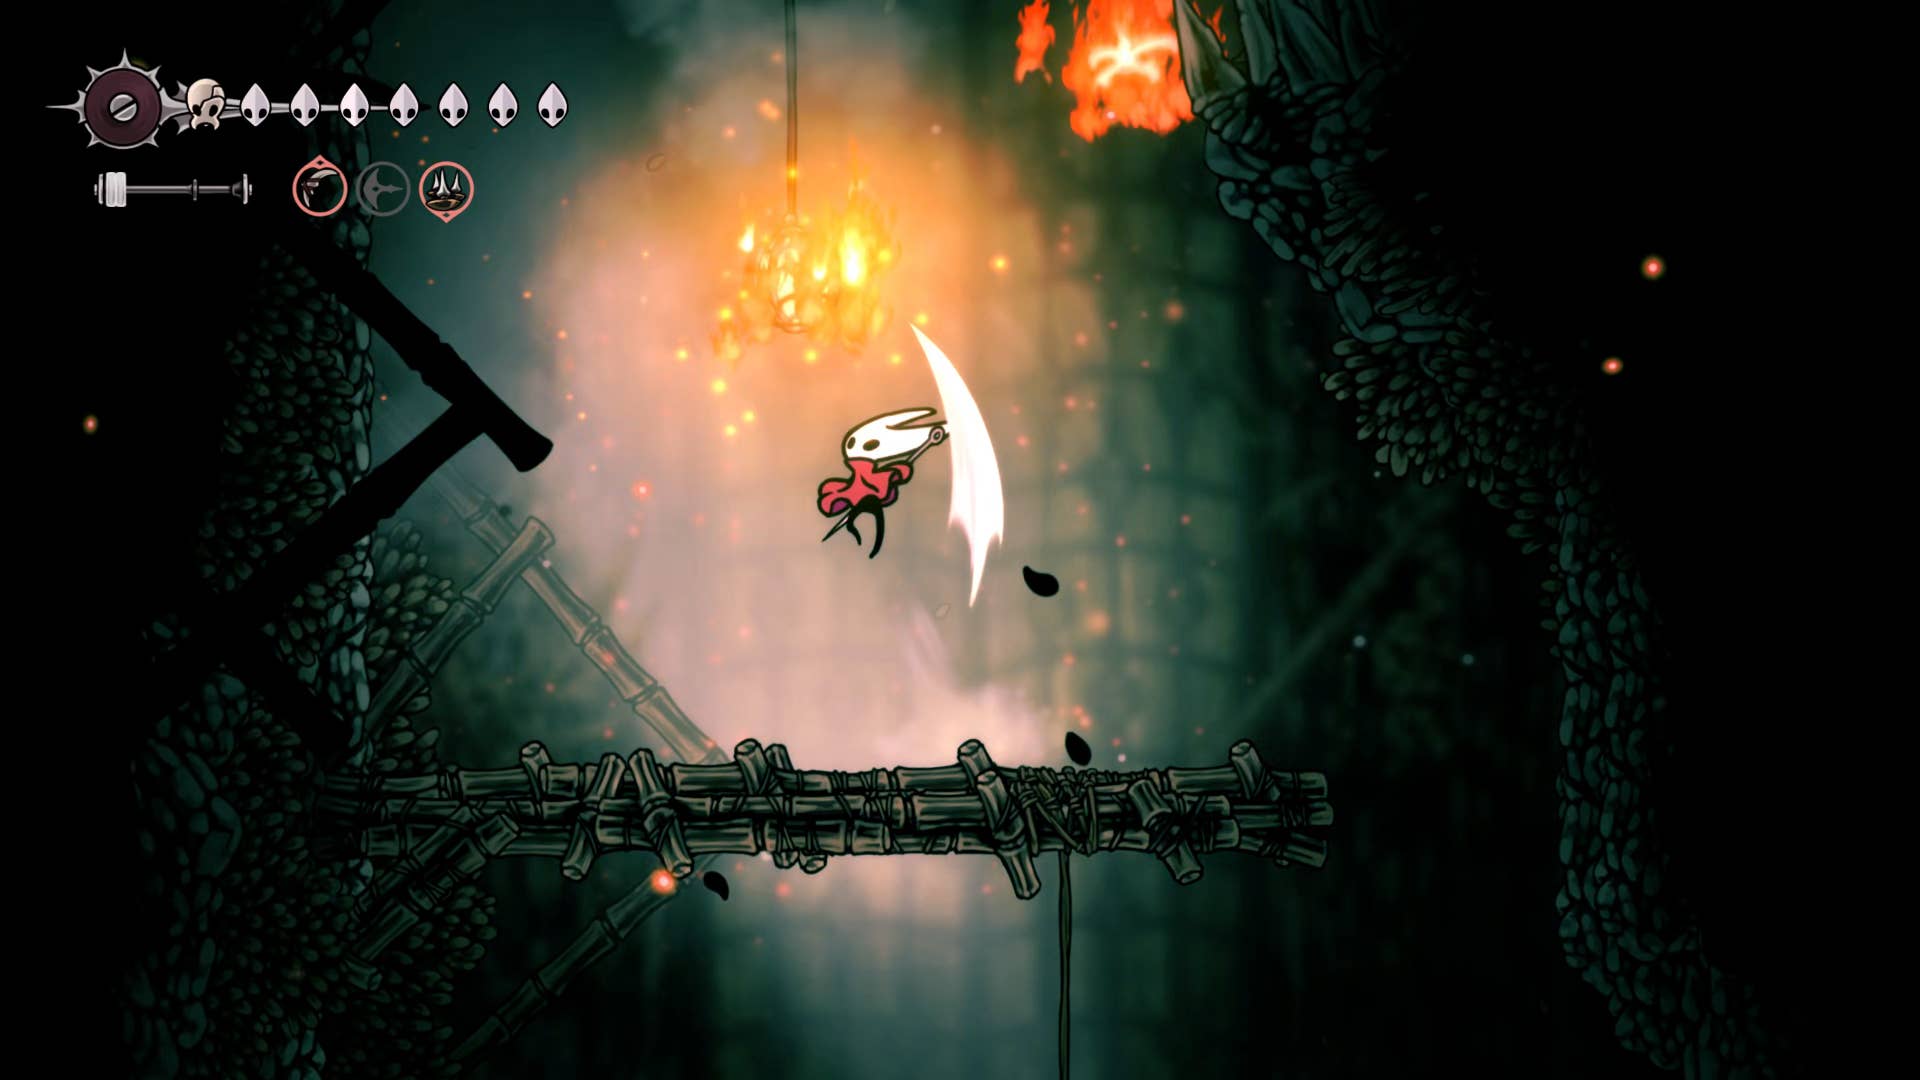
The key point here is not to try and attack Wisps itself. Attack the flames that generate them. In this case, the WISP lantern.
If necessary, try climbing the red light bulb with a pogo. On the top platform, retreat and climb the left wall through the ceiling to reveal a secret passage. At the top, you can plunder bone scrolls from the top shelf on the left, past more pogotable light bulbs.

4. Reach the east mask shard.
Then drop down on the front shelf and go to the right. In the next room, you will be in contact with a burning bug immediately. A teleporting enemy holding Whisprintemps, creating Wispse and attacking constantly. These guys are annoying to fight, and I often run past them, but you can stay and kill him if you wish. It takes longer than risk.
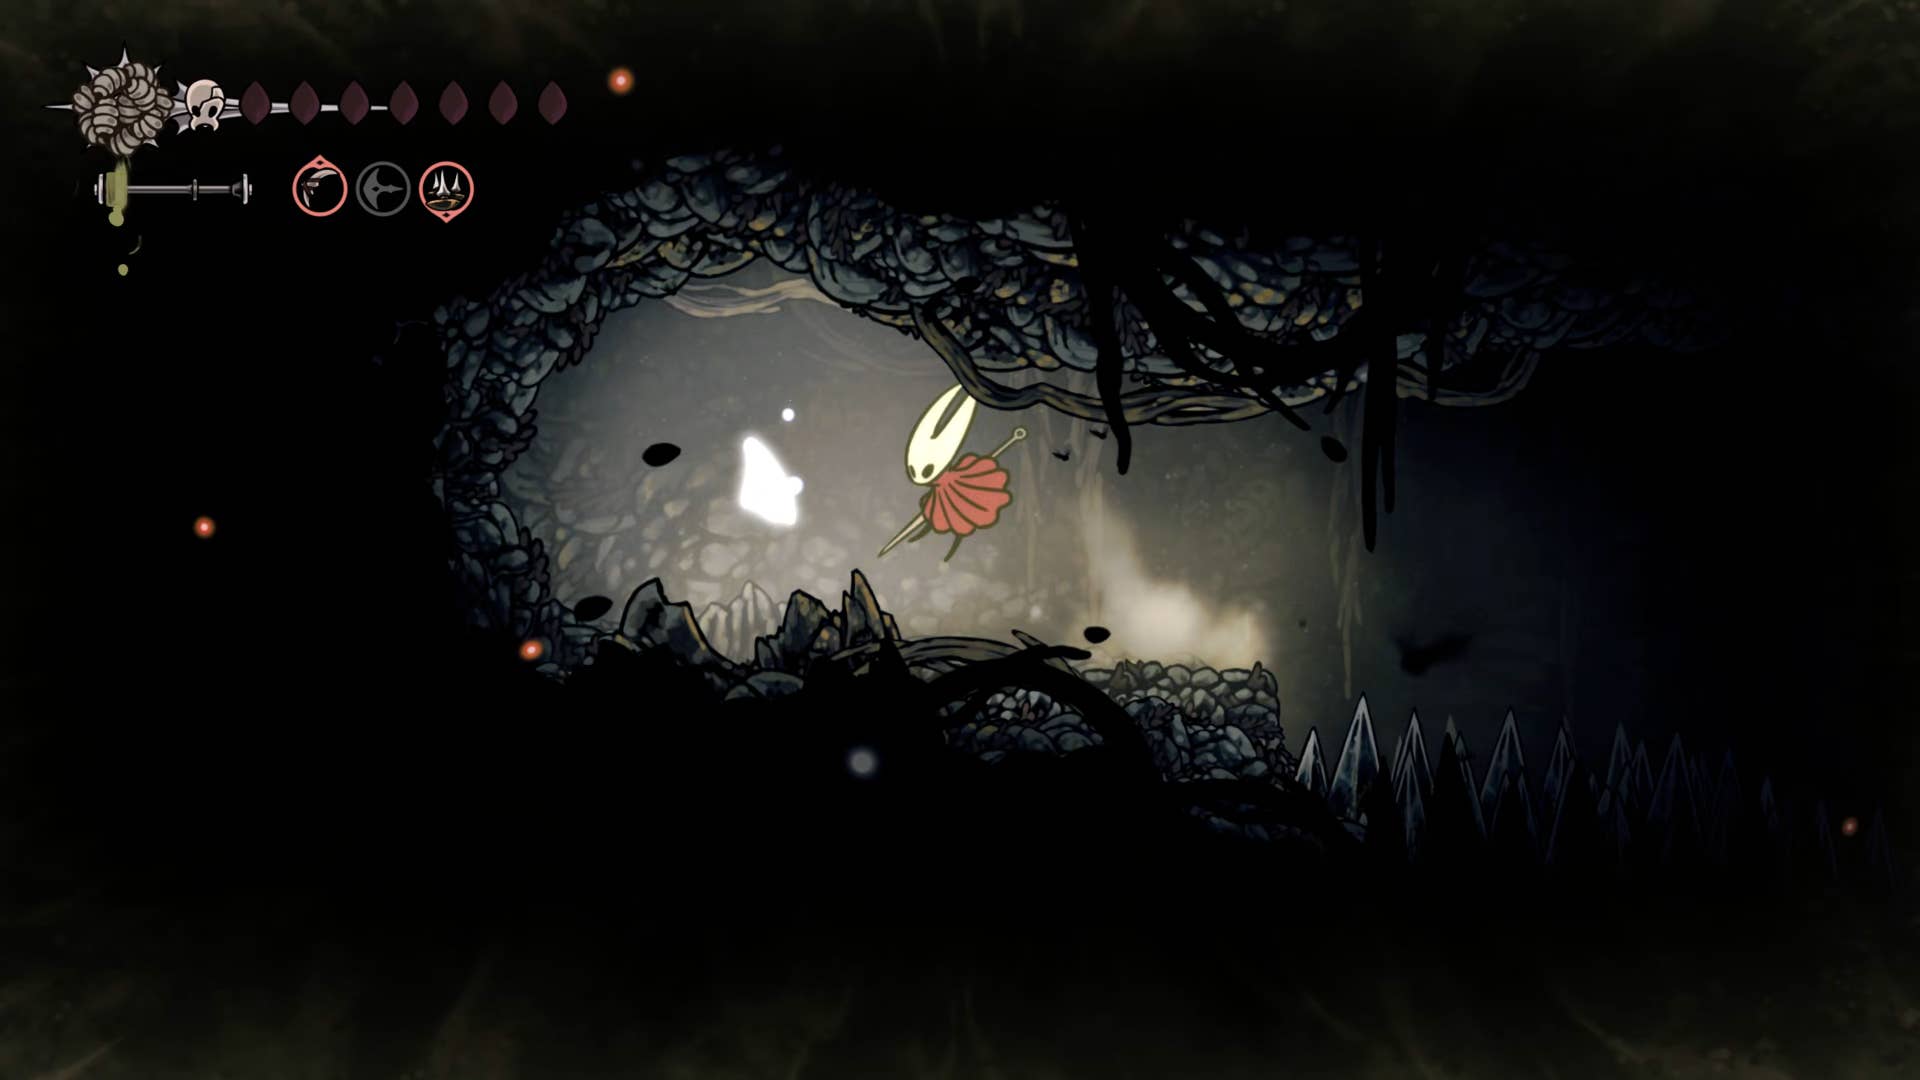
Heading towards the far end of the passage you will find a shelf filled with water soaked with worms. Unfortunately, you will need to dive into Worm Water to progress. Swim to the far end and climb upwards and claws to the left. There the mask shard is waiting for you.
After collecting the mask shards, break the wall to the left and drop down into the drylands and bypass the wormwater for your return trip. Go back to the bench and rest.
5. Defeat the Father of Fire.
From the bench, cross the spikes and head left, then exit the entrance and exit on the top left. As you move through this long corridor room, you’ll find many burning bugs waiting for an attack (again, I prefer to jump over them and keep running). Along the way, you will pass a stone tower with several WISP lanterns hanging above you. I’ll pass it for now and go back to the next step.
At the far end of the room, a pogo from a red bulb hanging down to reach the next room. Here you will jump over the spikes and enter the arena.
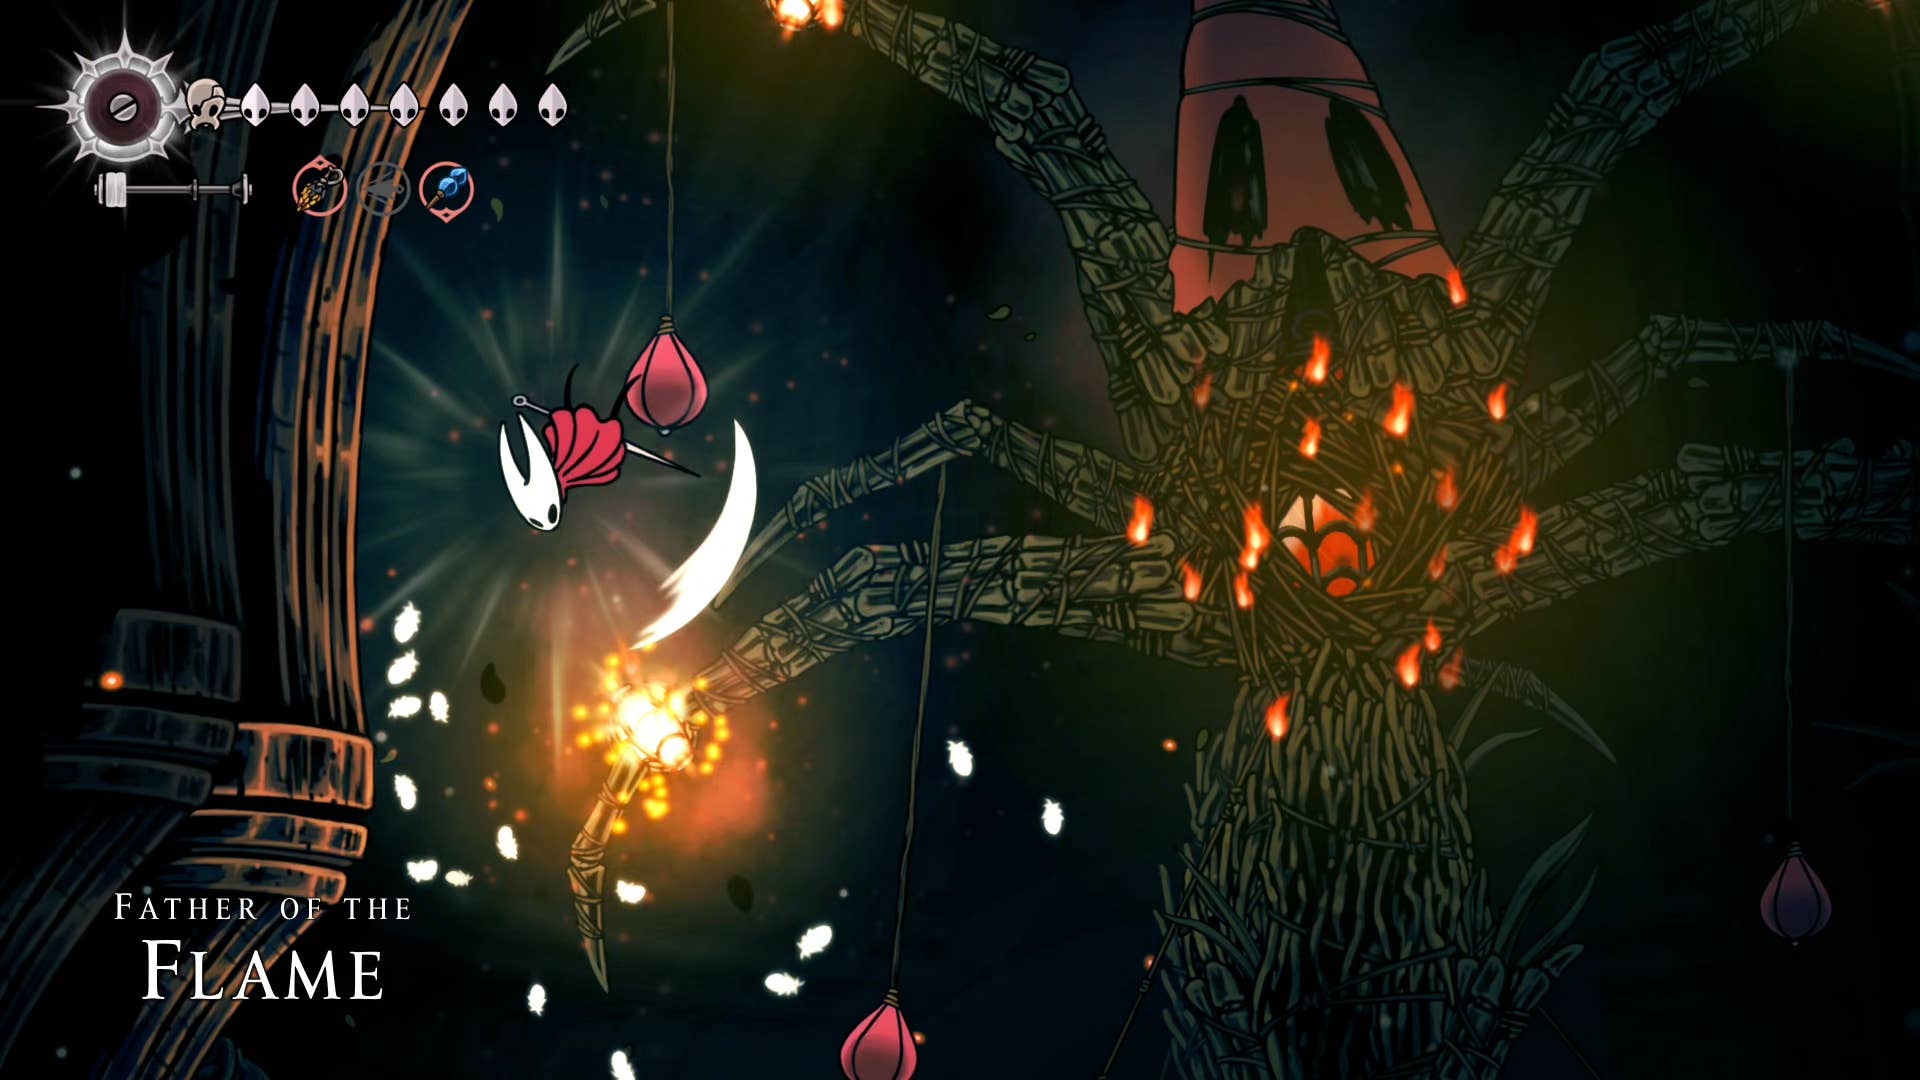
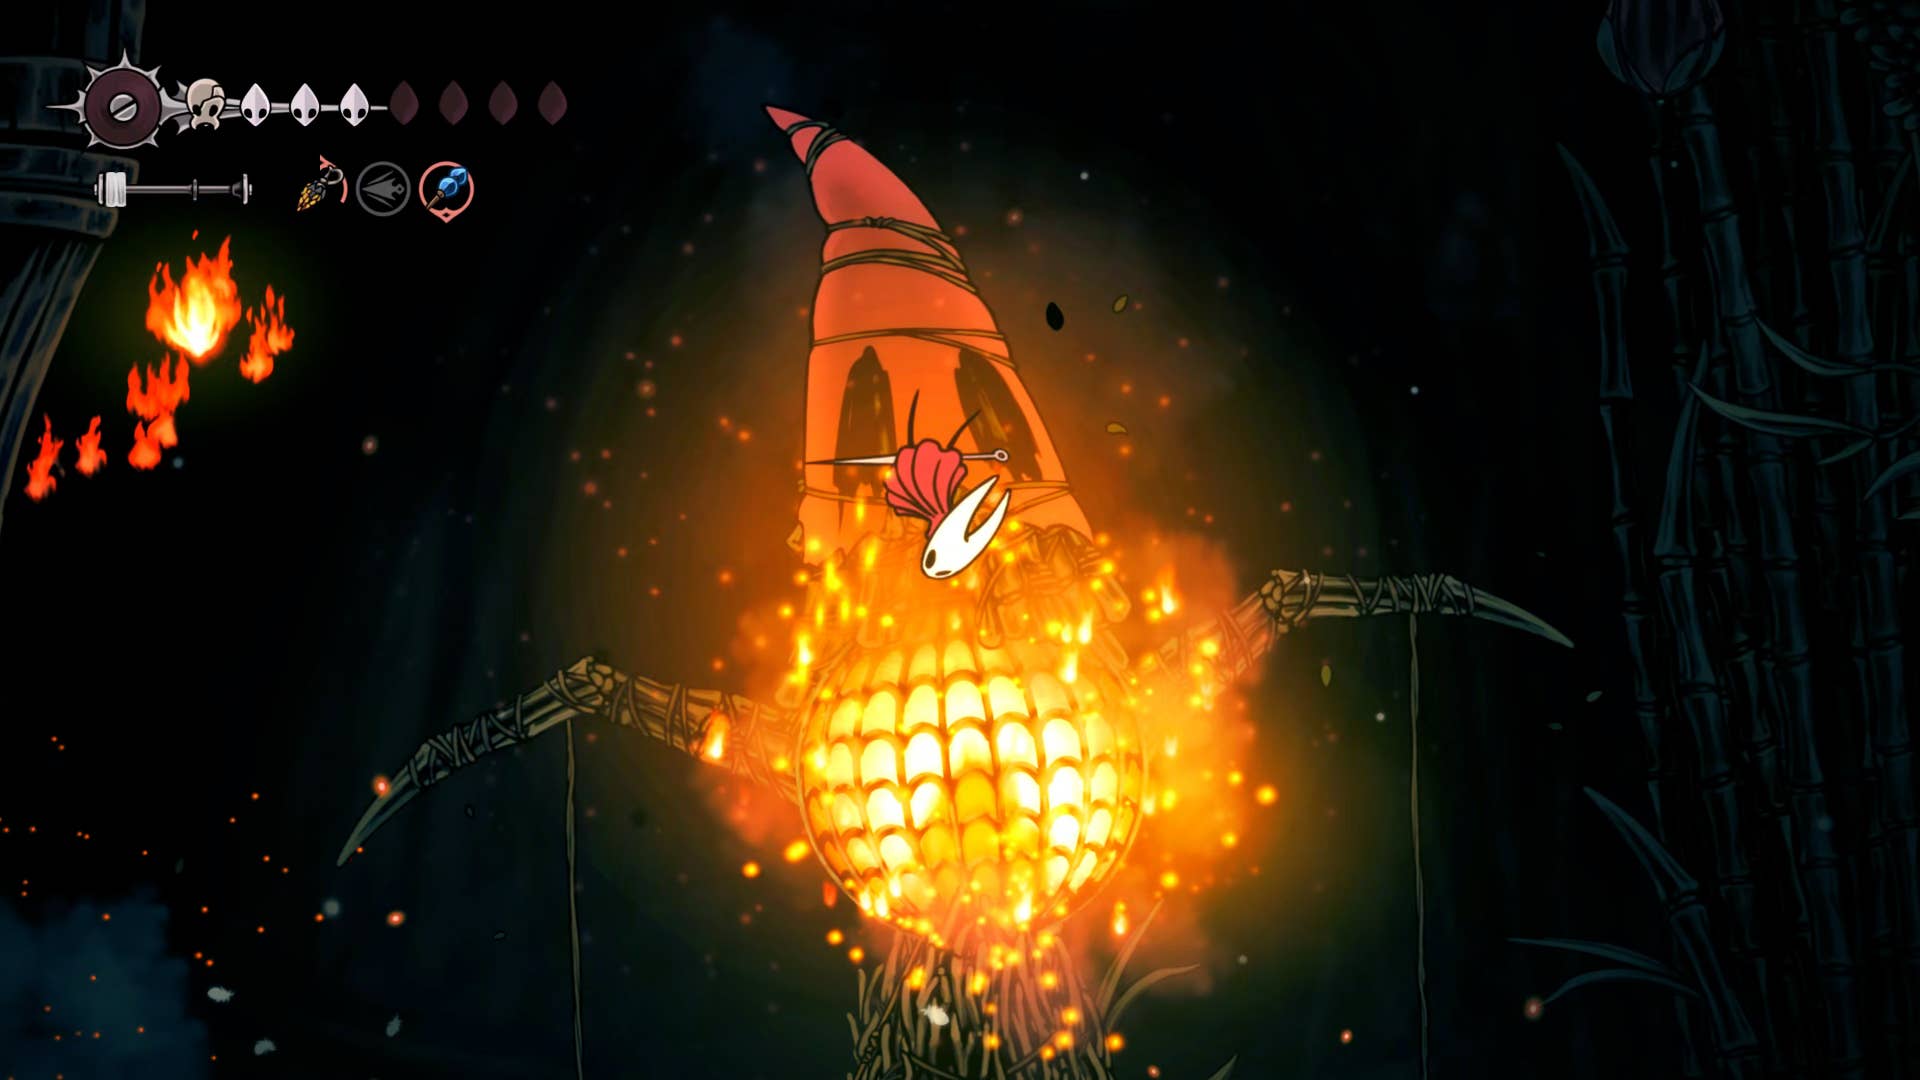
His father himself is immortal. The only way you can do damage to him is to attack four fire points on his arms – two on the left, two on the right. You need to pogo the red bulbs to reach them, and all the while, the Father of Fire summons a Wisp to fire at you from the center of the arena.
I Strong It is recommended to take your upper arm out in front of the arm in front of the lowest arm. This is because when you first remove the lower arm, there is one less pogong point to reach the top arm.
Take out all four sides of flames above his arm, and the flame father’s chest opens and you can attack. However, at this stage, your chest will also regularly spit out flames. This is very difficult to avoid unless you already have a distance from the source.
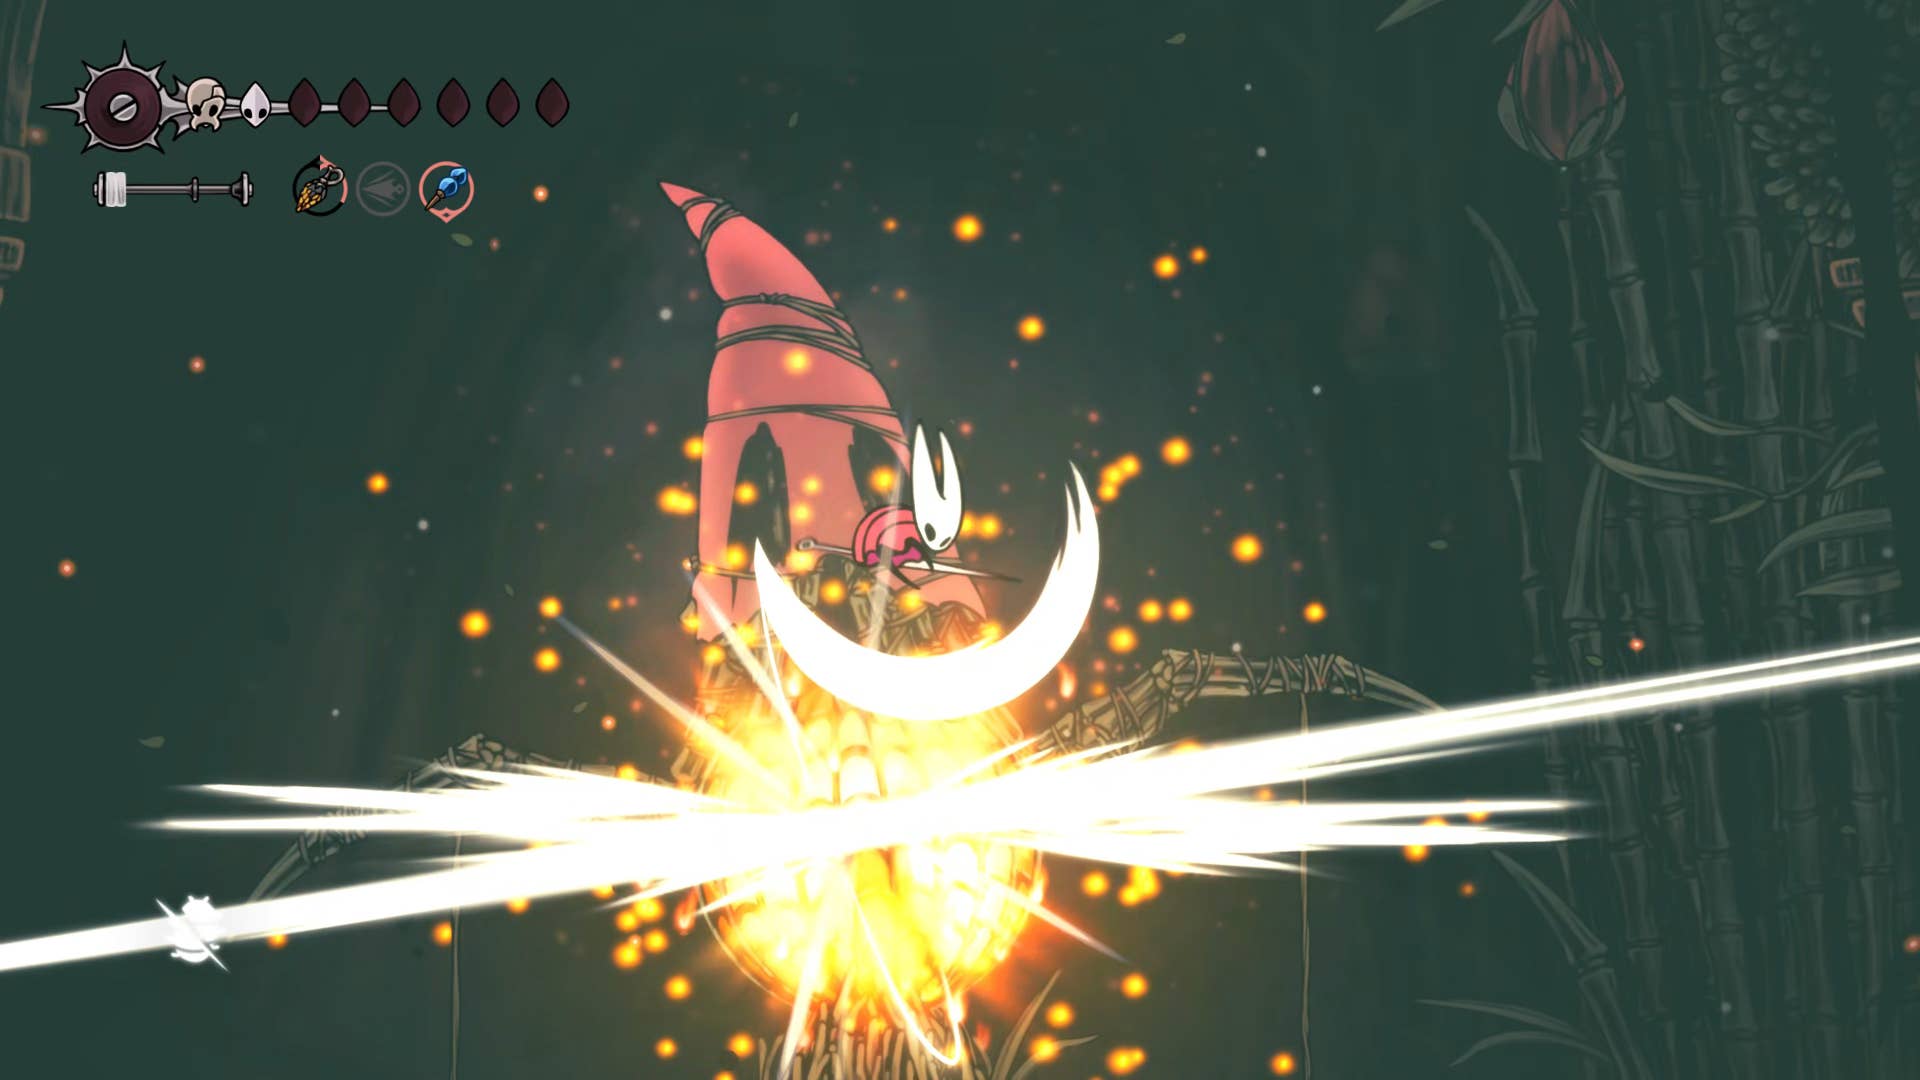
For this reason, it is best to stay far away during the spinning of flames and try to attack your chest as much as possible while your father returns to sending you wisps. Not because Wisps is not dangerous, but because they just look more frequently than small flames heading in all directions.
It is also possible to turn Pogo into Pogo from the top of the chest to get repeated hits. This is a high-risk reward tactic. Because you have more opportunities to do damage, but it’s difficult to avoid your father’s attacks in the air. If you choose this tactic, we recommend using the Flintslate tool in advance.
It’s a difficult fight, especially if you’re not so used to repeating pogo in a short amount of time. But stick to it, you can absolutely beat him.
When the Fain’s Father is finally killed, he drops the items for you to plunder. This item is a wispfire lantern – an automatic tool to generate Friendly Your own Wisps aimed at nearby enemies. Certainly it’s powerful, but passively use some of your silk with each wisp appearing. It’s also not fun to get caught up in a lack of silk when you need it for a crawline or when you need it to make some important moves.
6. Invade underwork.
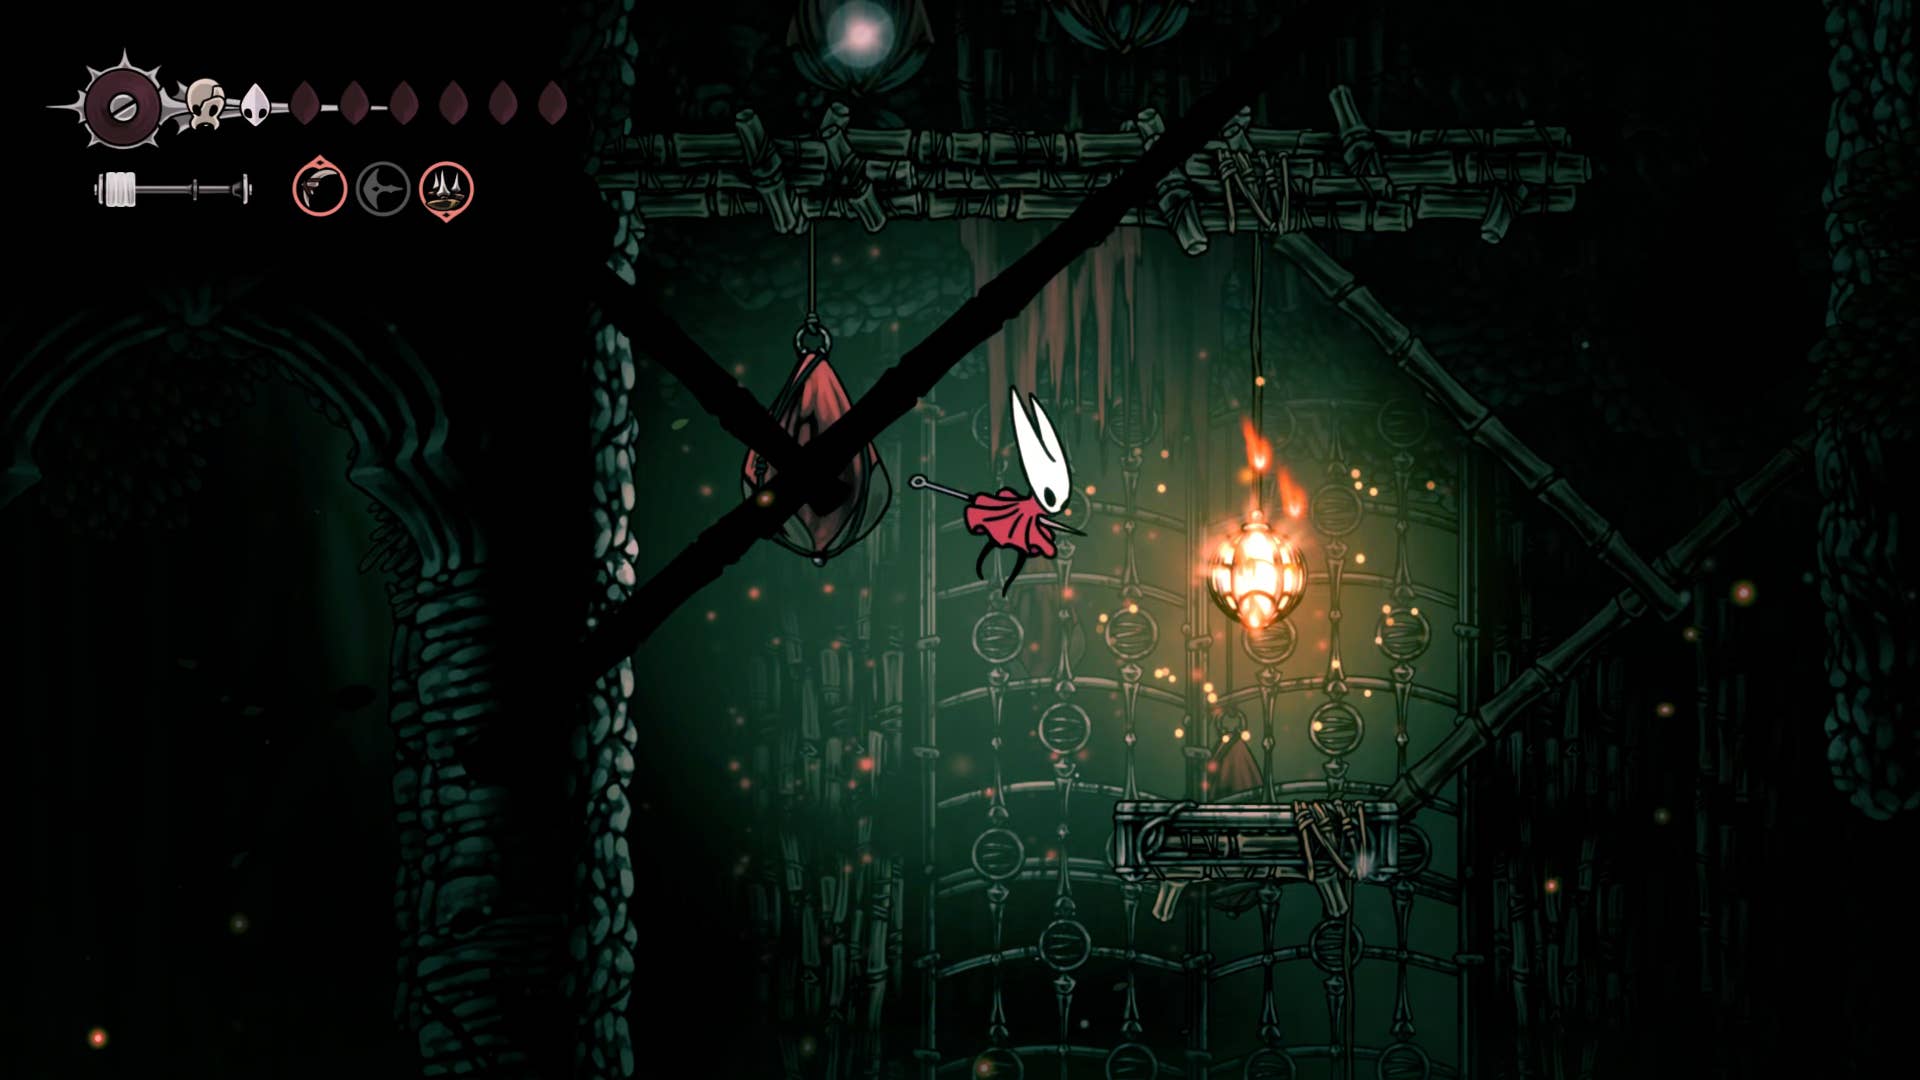
The flame father turns to ashes and returns to the front screen and walks towards the foot of the stone tower, which has passed by early. Destroy the Whisprintemps above you, climb onto the top shelf and plunder the Rosary necklace from one of the bags hanging there.
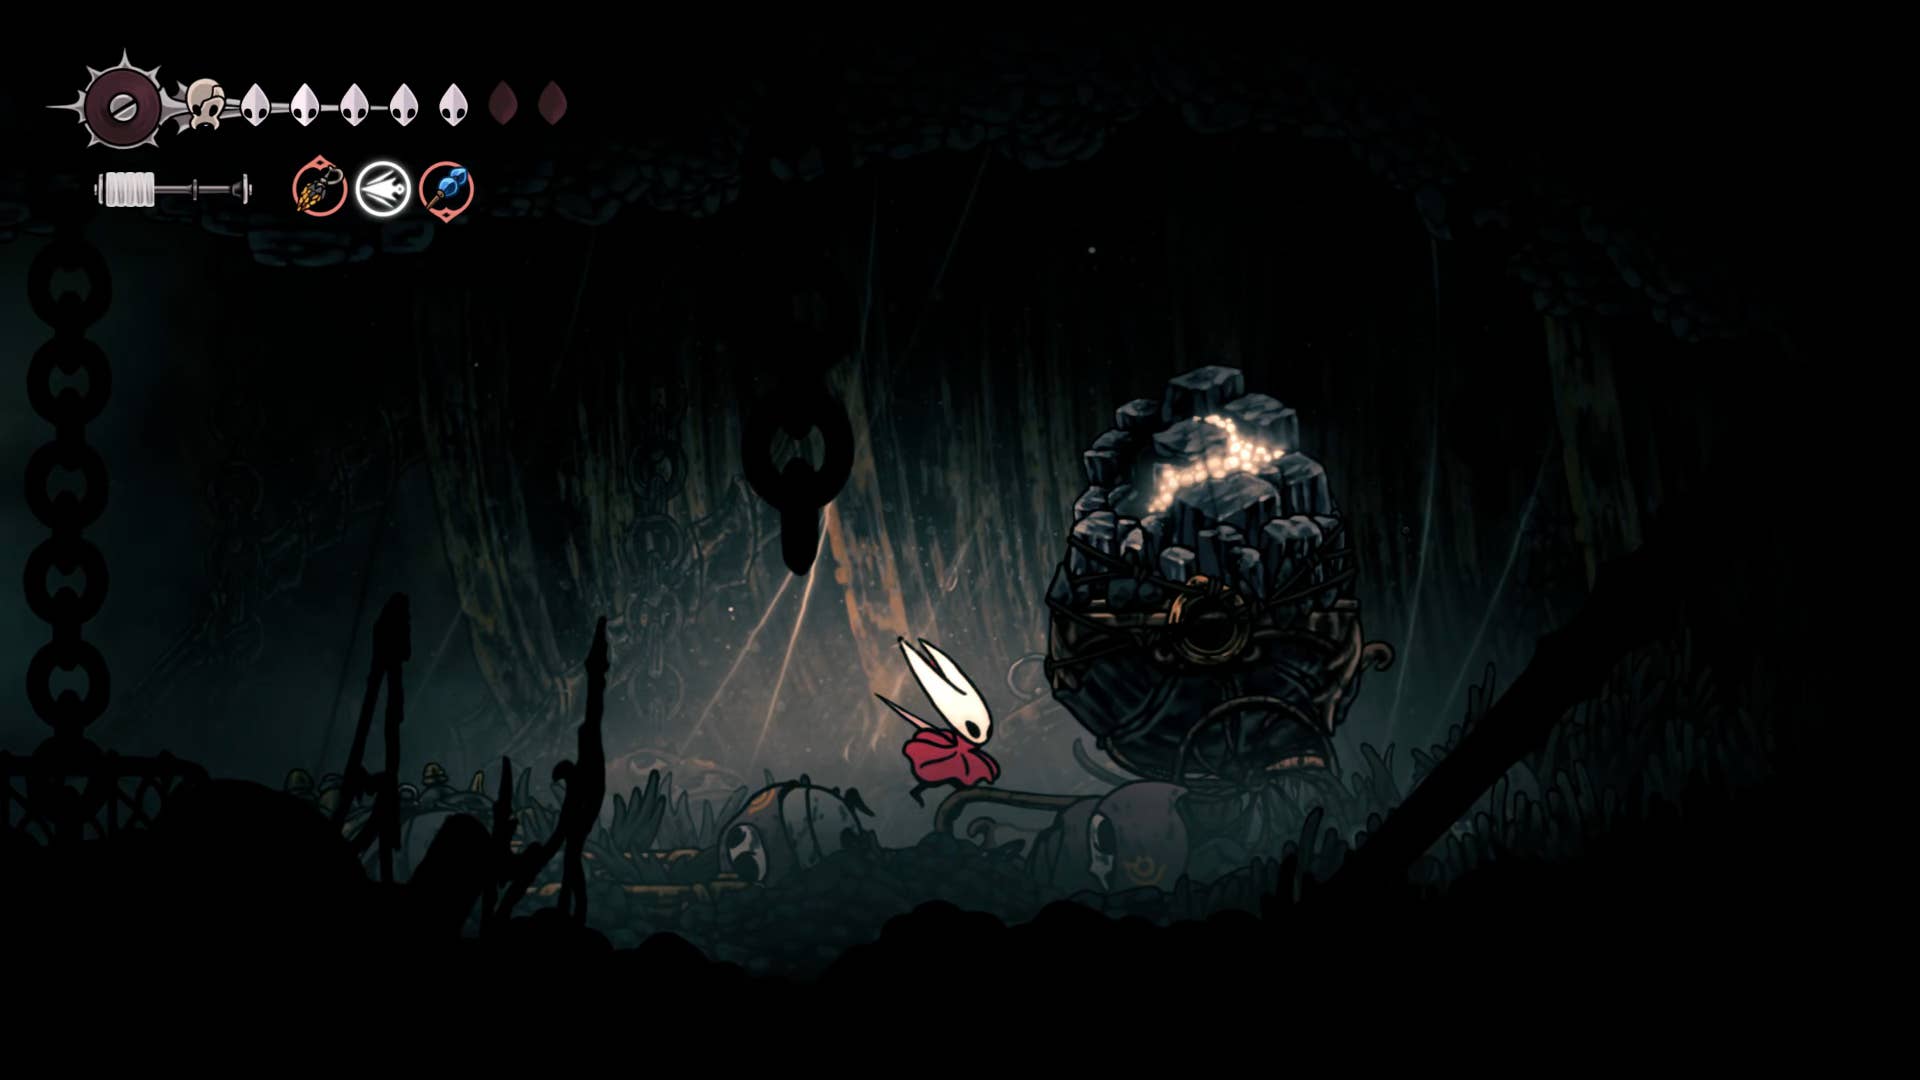
Next, attack the ceiling on the top left and climb it. If necessary, climb the next room and fold it onto the wall. Once you reach the metal platform at the top, head right and attack the wheelbarrow stones to attack the craft metal. You can also play Needlin here.
Next, go back to the edge of the metal platform and jump to the wall on the left to break the section of the fragile wall near the top. Head to the next room and head down a pass filled with Farid waiting in an ambush.
If you need it, there are some side passages with some shell shards. The first is beneath the first farid, passing a wall that is easily broken by the spikes at the bottom. The second is much larger – near the edge, passing the spikes rather than to the top right shelf, then breaking down the wall there and breaking more shell fragments. Once you do that, you’ll finish upwards from that top shelf.
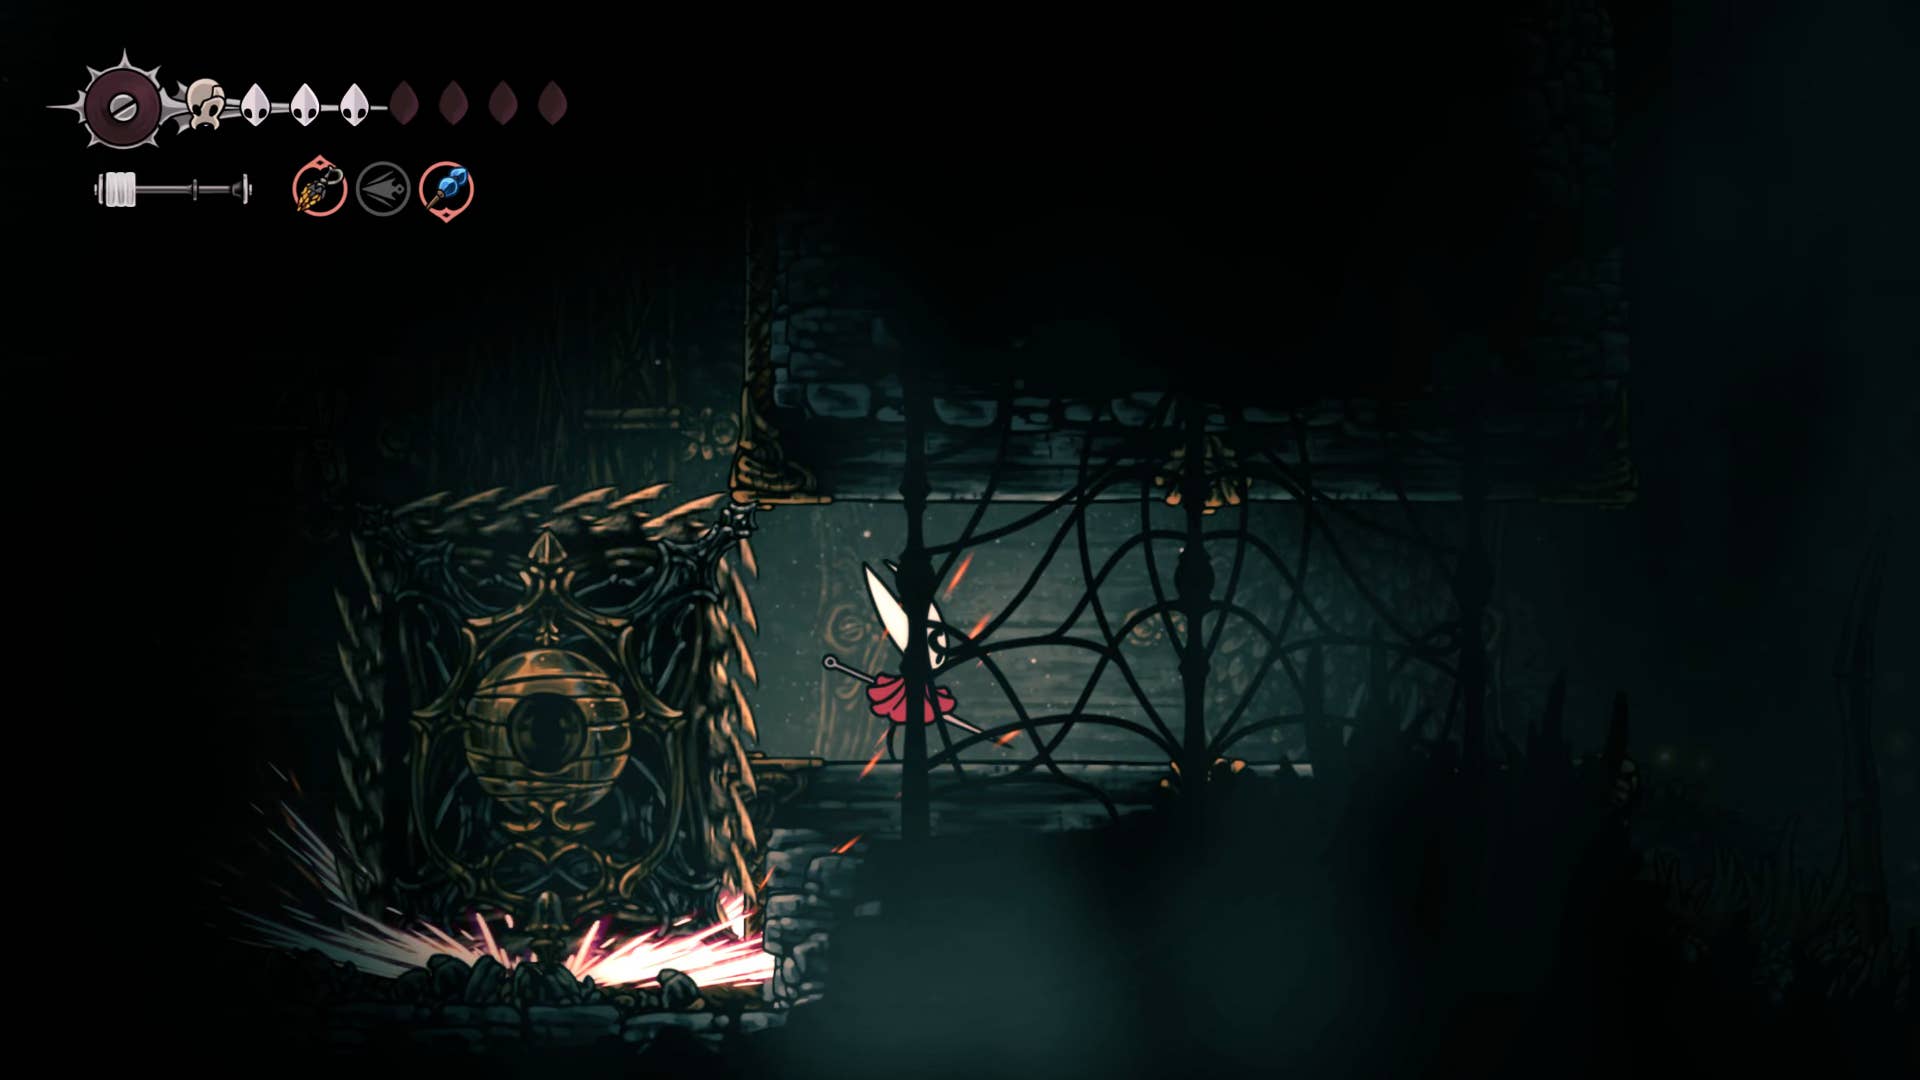
To my surprise, you are now at Underworks! Head left and pass all the scary moving sawblocks. Push the lever against the edge to reach the top sidewalk. There, you will soon see fleas trapped inside the rocks. Release the chives and go right.
At the far end, you can easily pass by the saw (and the Farid that ambushes you) by pushing the lever and opening the trap door. Next, go off-screen and climb to the top just below the saw ceiling. Press the lever on the left to bring another trapdoor shortcut back in your way. Then lift the saw ceiling to break the wooden struts and duck down immediately, hiding to the right of the lever as all the saws roll down.
that’s it! It opened from Greymoor through the bushes of wisp and towards the main part of the Underworks.
Congratulations on defeating the big bad boss in the Wisp bush, but unfortunately things are likely to be much tougher. It’s time to hold your breath and then dig into Billewater properly. At the very least, following along with part 26 of Hollow Knight: Silksong Walkthrough can make this journey a little worse.
(TagStoTranslate) Hollow Knight: Silksong (T) Action Adventure (T) Indie (T) Nintendo Switch (T) PC (T) Platformer (T) Team Cherry