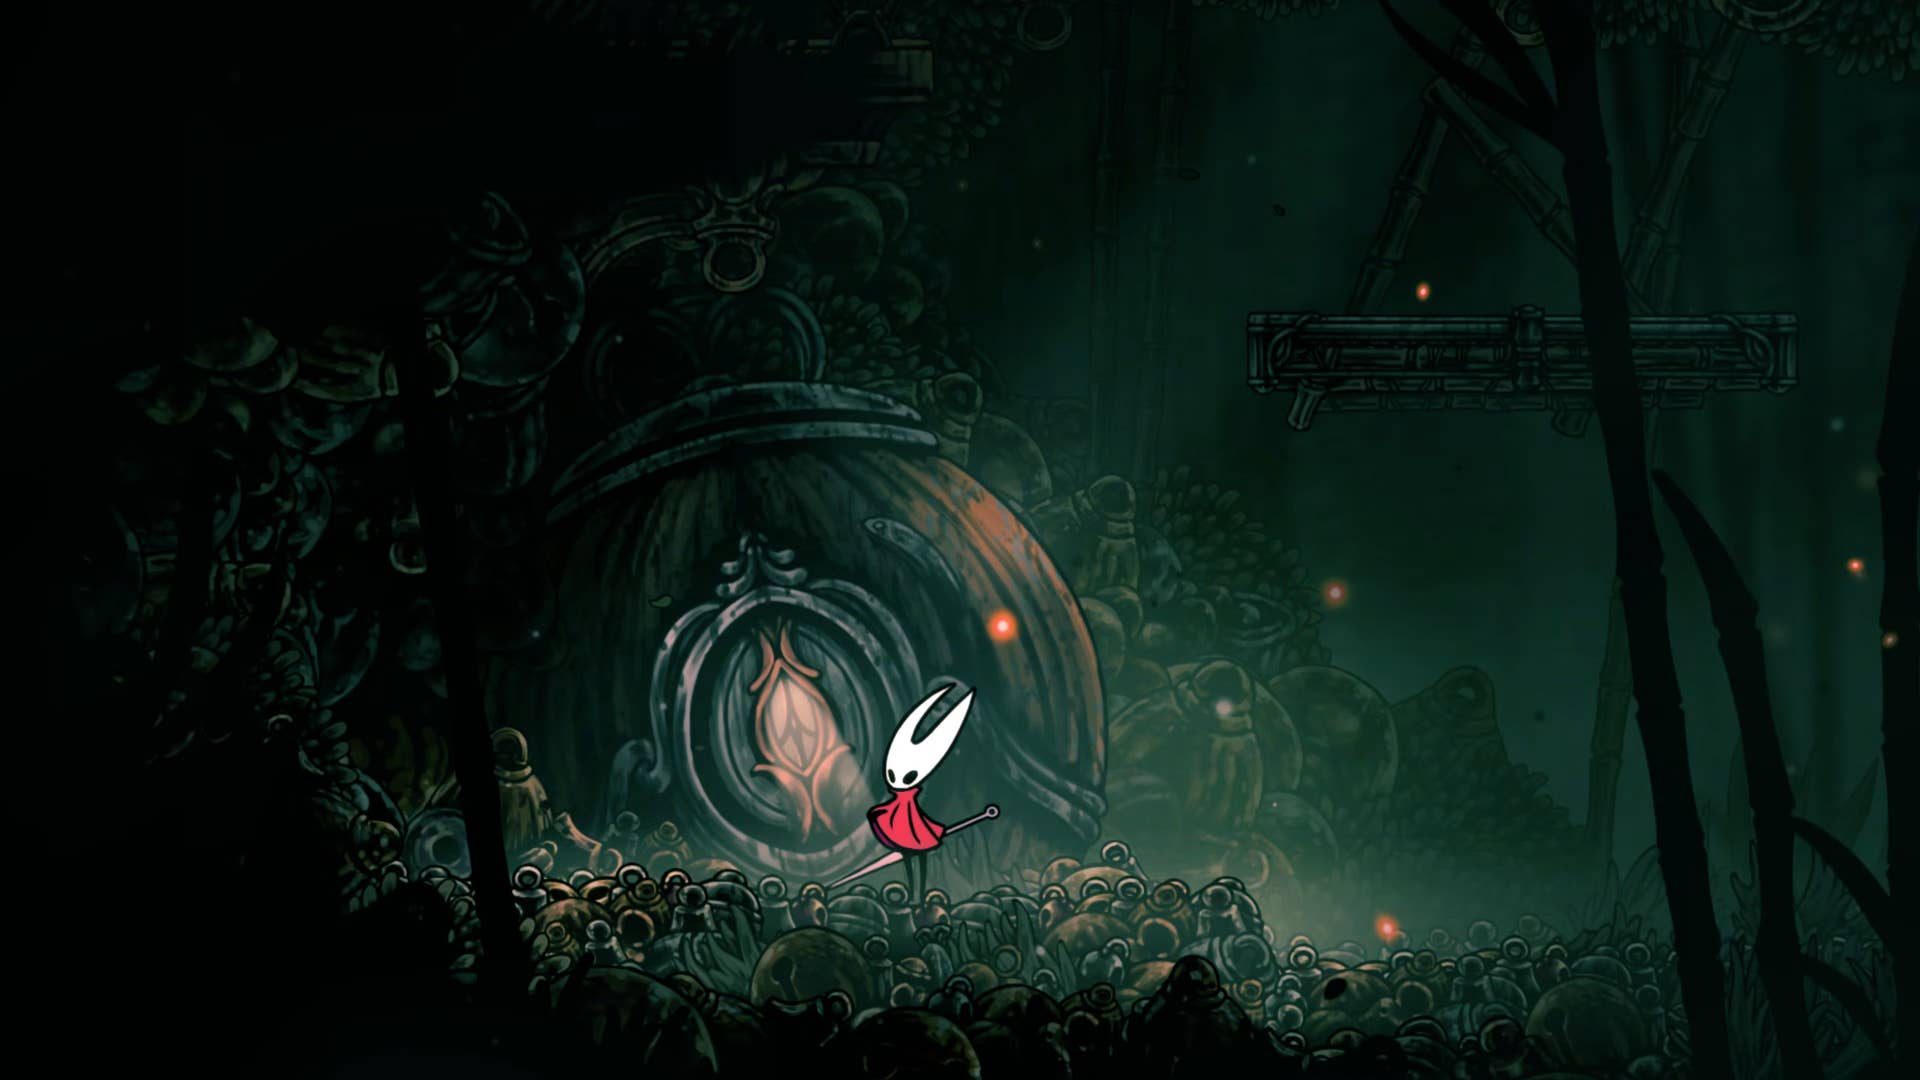
Hollow Knight: Silksong: Faydown Where can I access the Cloak and Clawline skills? You need to know that unlocking new movement abilities in Silksong will raise the map. And if you follow our walkthrough, we’ve recently unlocked two move techniques in a rapid and continuous manner – the Underworks claws and the Faydown cloak on the top of Mount Fay. So, where can you now go where you weren’t able to reach before?
in Hollow Knight Part 23: Silkson Walkthroughlead along the staged paths of stops through previous regions, unlocking many new areas with Clawline and Faydown Cloak. Collect multiple new mask shards quickly and in succession, along with some new tools, some tricky arena fights, and some very memorable bosses.
Do you need a walkthrough in another area of the game? Check out Hollow Knight: Silksong Walkthrough Hub!
MISC Quest 2 Walkthrough Steps:
- Get SharpDart from Weavenest Karn.
- Get a snare setter from Weavenest Atla.
- Defeat a savage beast in a distant field.
- A complete skull cave in a distant field.
- Reach the mask shard on the blasted stairs.
- Consult Grandle on the explosive staircase.
- Collect Rumble magnetite dice.
- Collect half-hearted home memory rockets.
- Find the dishonest Shehulgori in the way of a sinner.
- Get the witch’s coat of arms.
- Unlock the last part of the white word.
- Defeat the person who is broken.
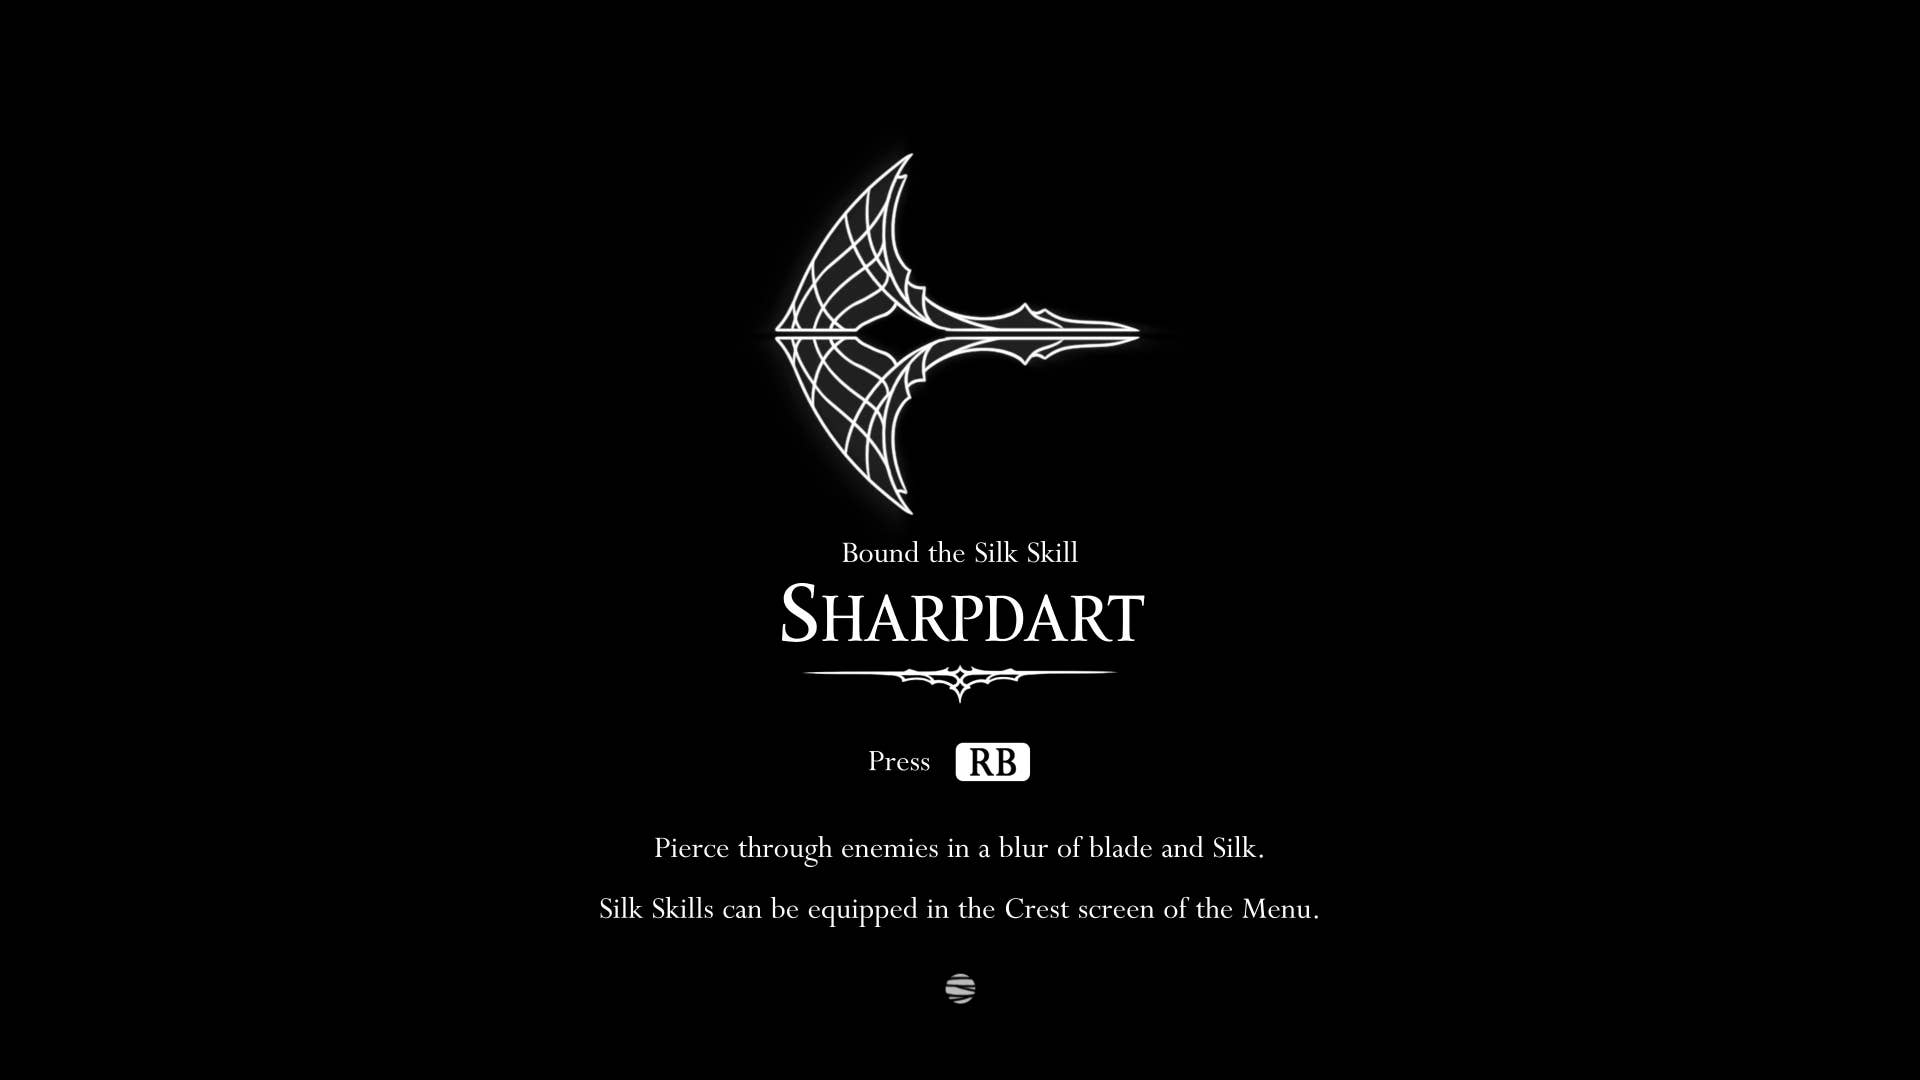
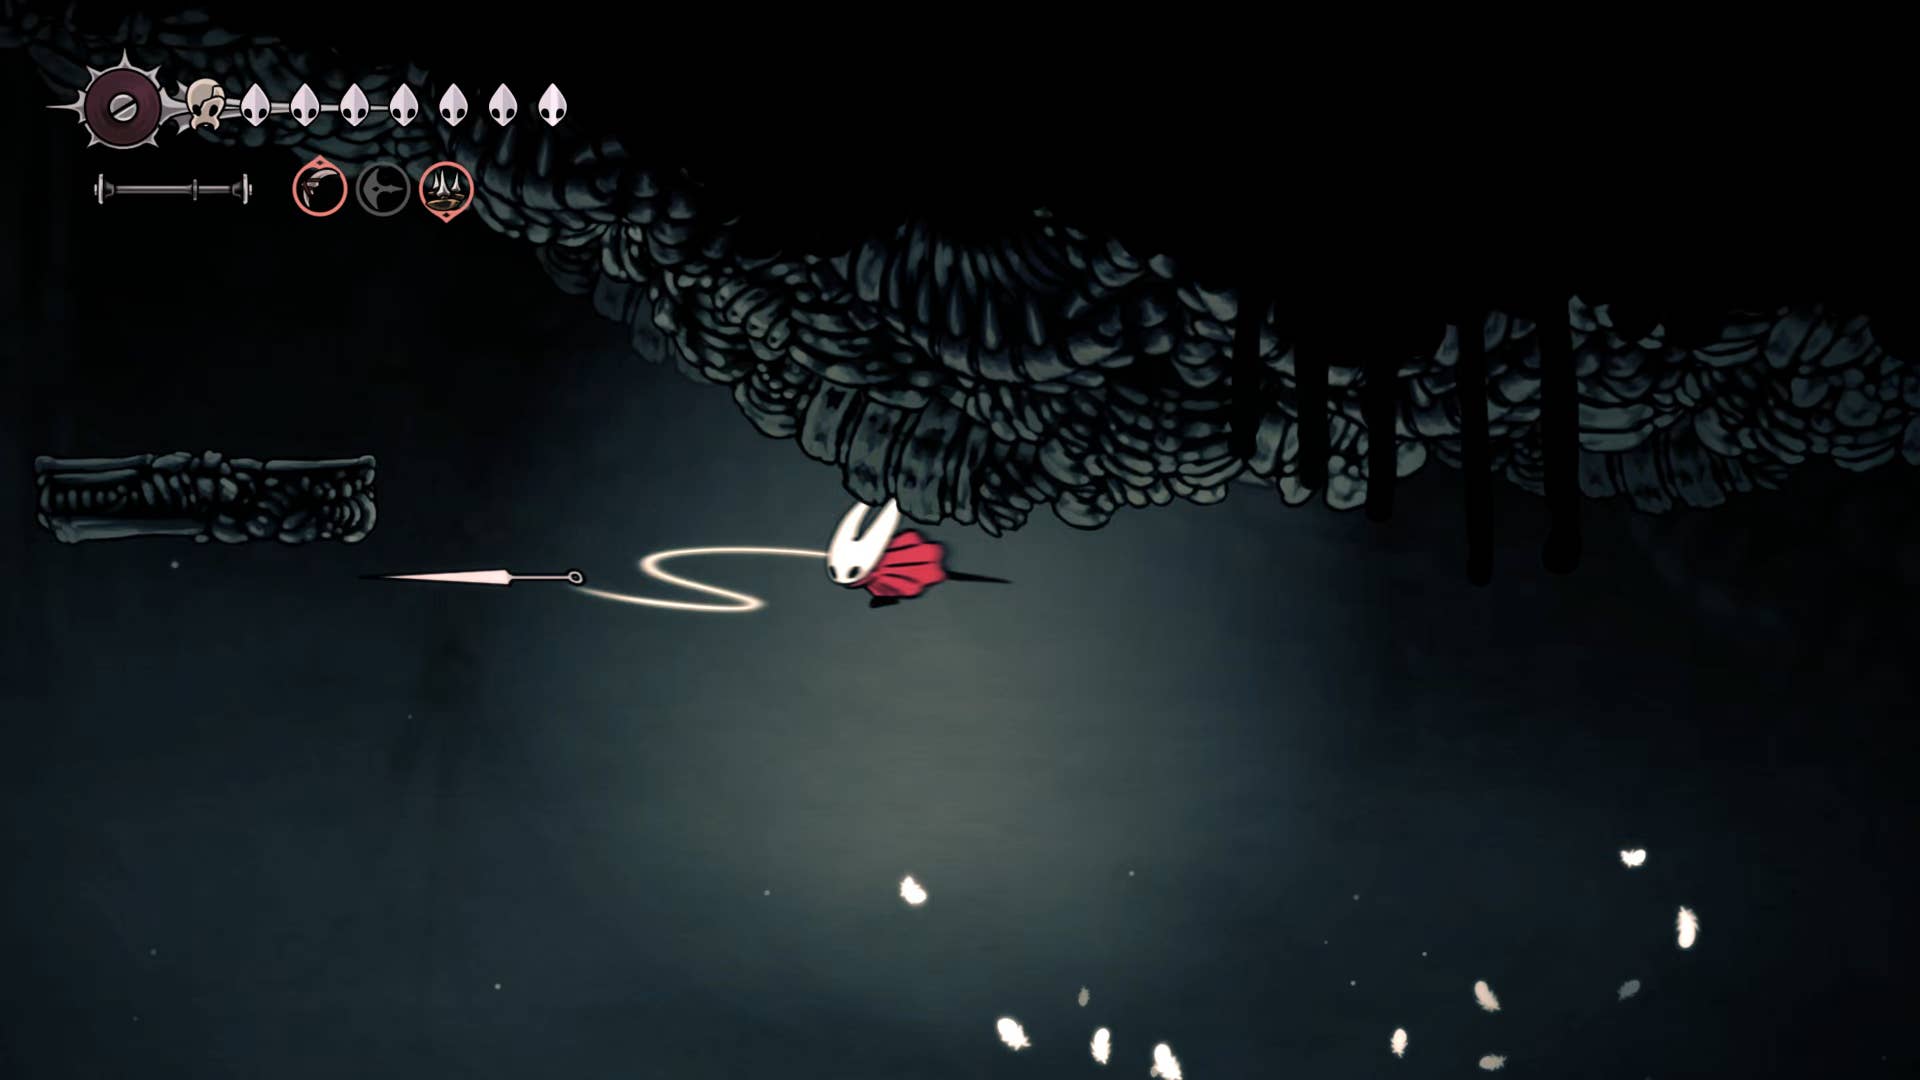
1. Get SharpDart from Weavenest Karn.
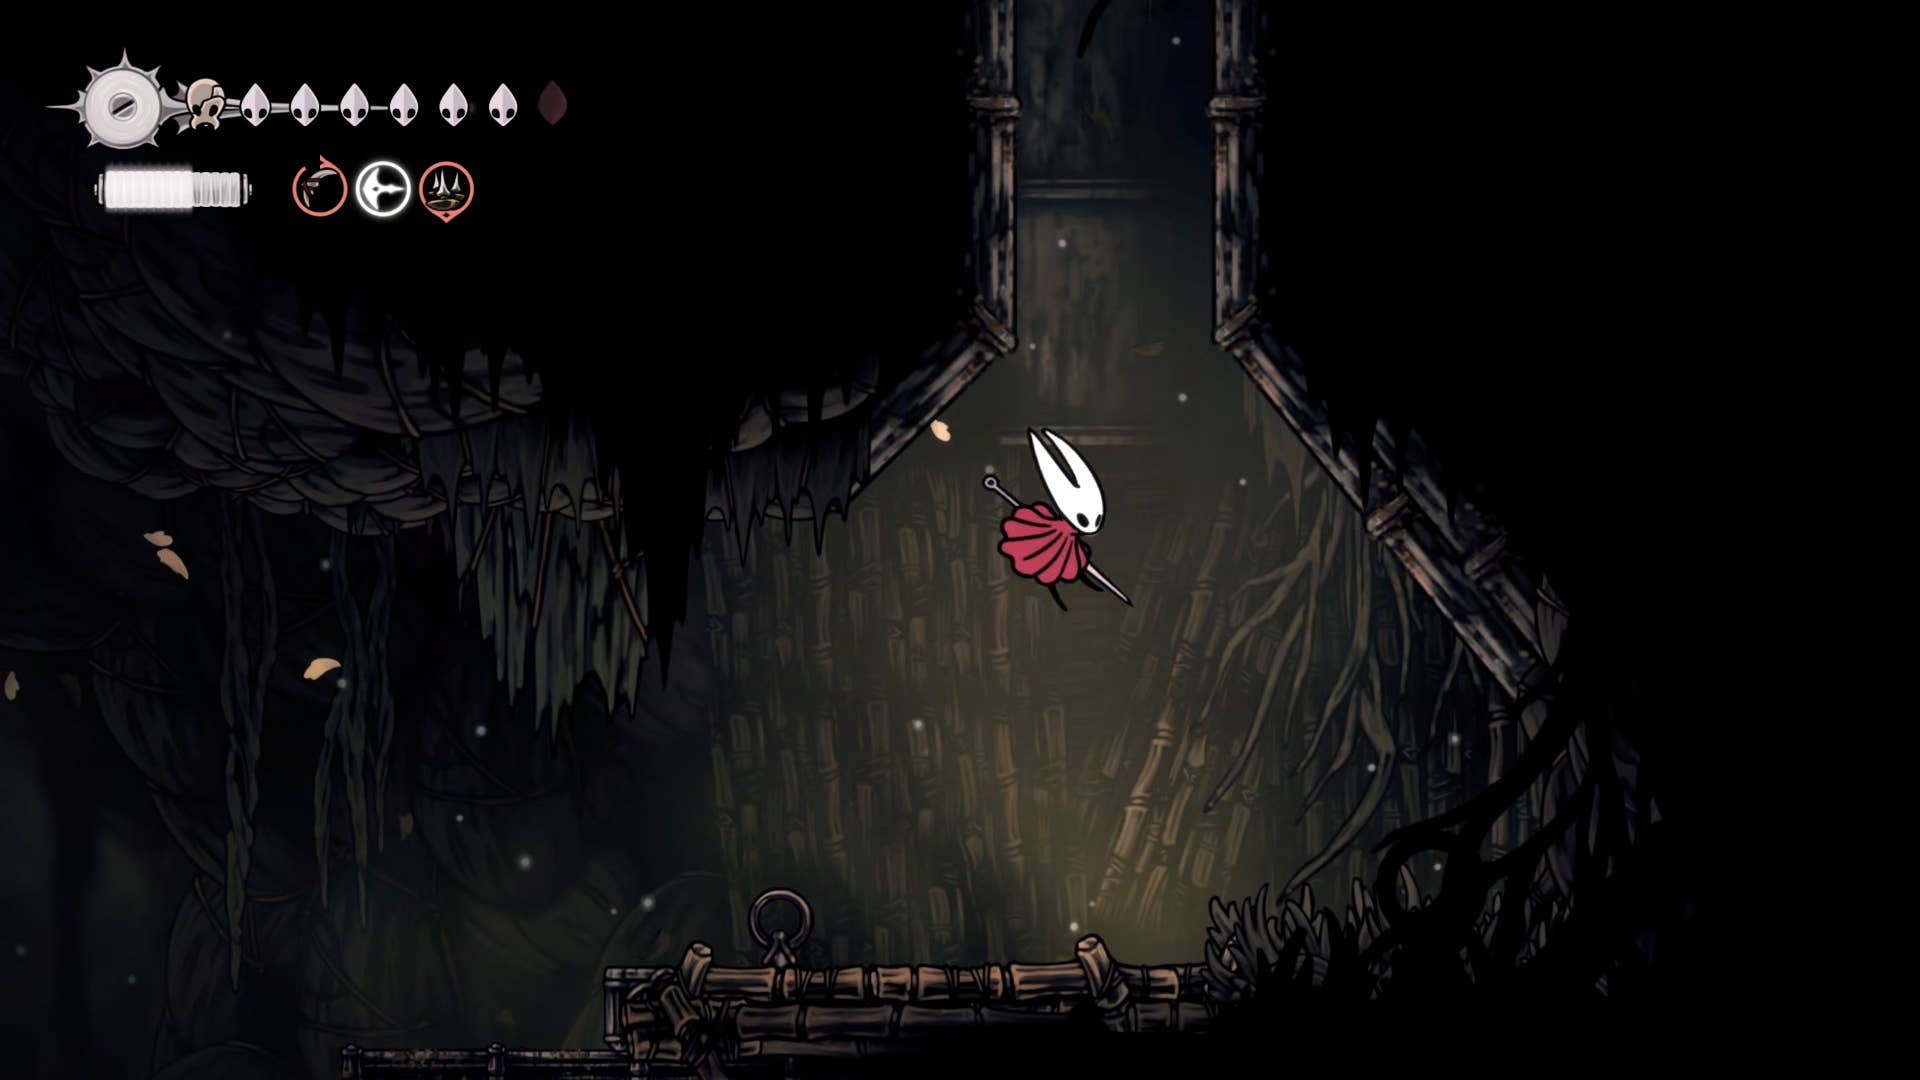
The first thing to do is go back to the bottom of the bone and take a quick trip, then head north on the elevator to cross the horrifying wormway. Head towards the end of the Worm’s first corridor and climb into the room above.
On the left side, you can now reach new movement abilities. You can do a running jump from the shelf above the hole that comes out and use a double jump and dash (or claw line) to reach the doorway. Play Needlin, open the door and enter Weavenest Karn.
The Weavenest Karn is just a single easy corridor, and the threat is the same as the wormway – worms that cause insects to fall from the ceiling, and sometimes come out of the floor to charge you. Jump on top of them and head towards the far end of the corridor. There is a weaver monument there. You can interact with it and gain powerful Sharp Dirt skills.
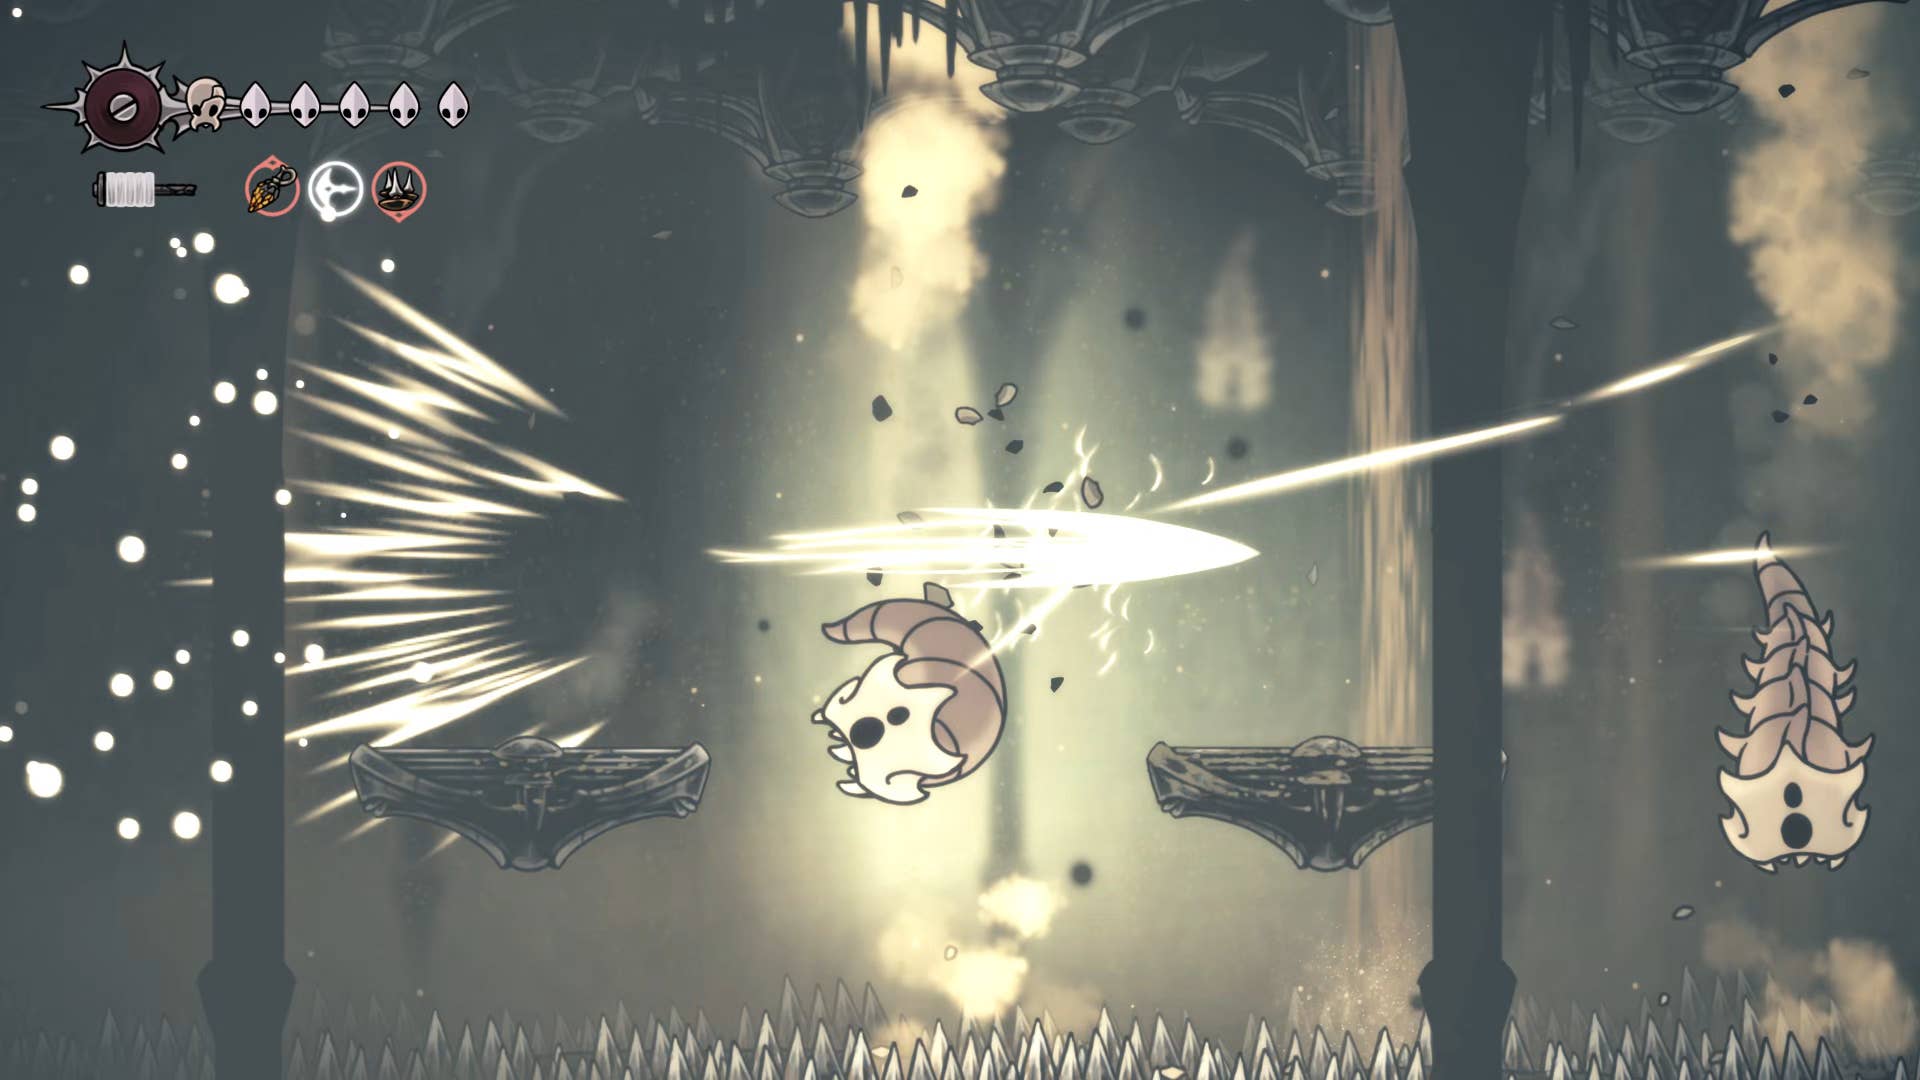
SharpDart is a powerful candidate for my favorite attacking skills in Silksong. It deals high damage, penetrates multiple enemies, and also acts as a movement ability, allowing the Hornet to escape difficult places. On the way home, he tries it with one of the falling worms, and eventually kills one, revealing its real name, Grom.
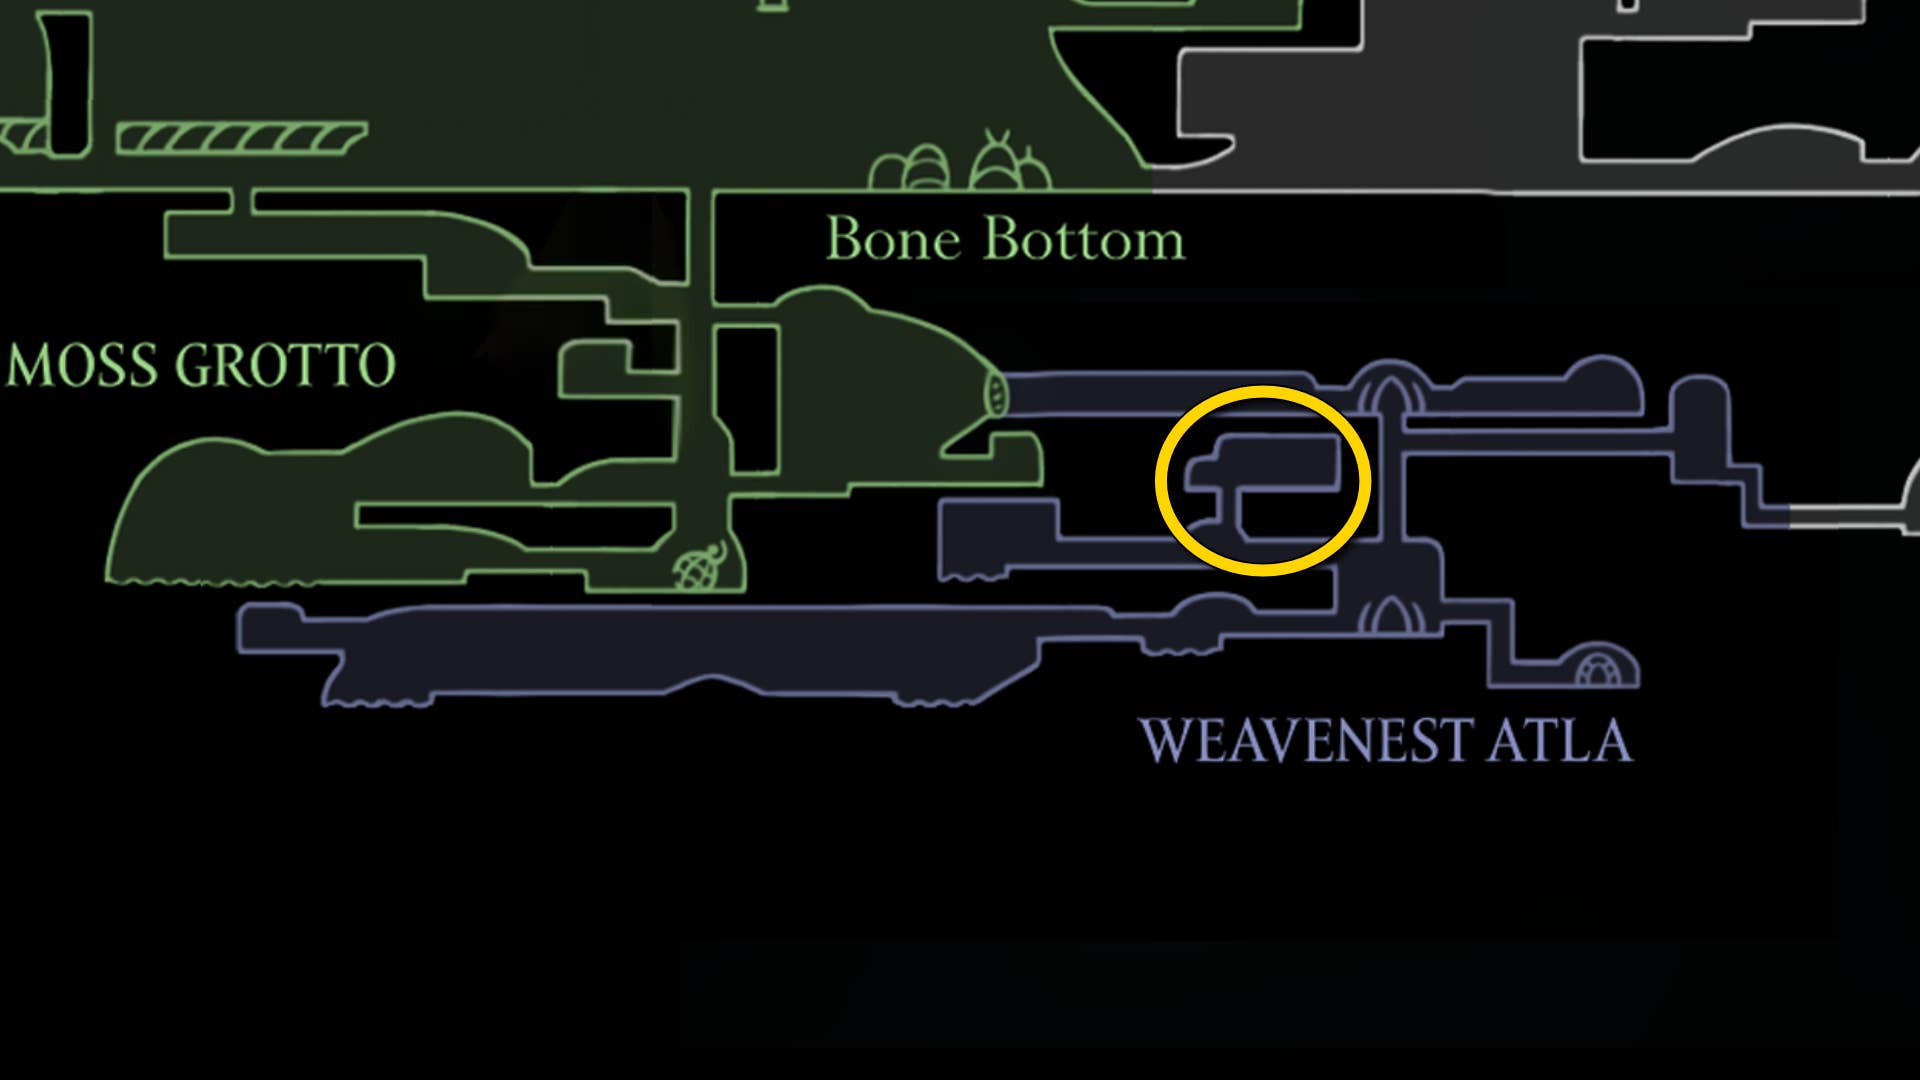
2. Get a snare setter from Weavenest Atla.
Our next destination is weavenest atla, next to the Moss Cave. Go back there and open Needlyn’s door to Atla. Put the teleporter down to the bottom, then climb to the right and jump into the passage on the top left.
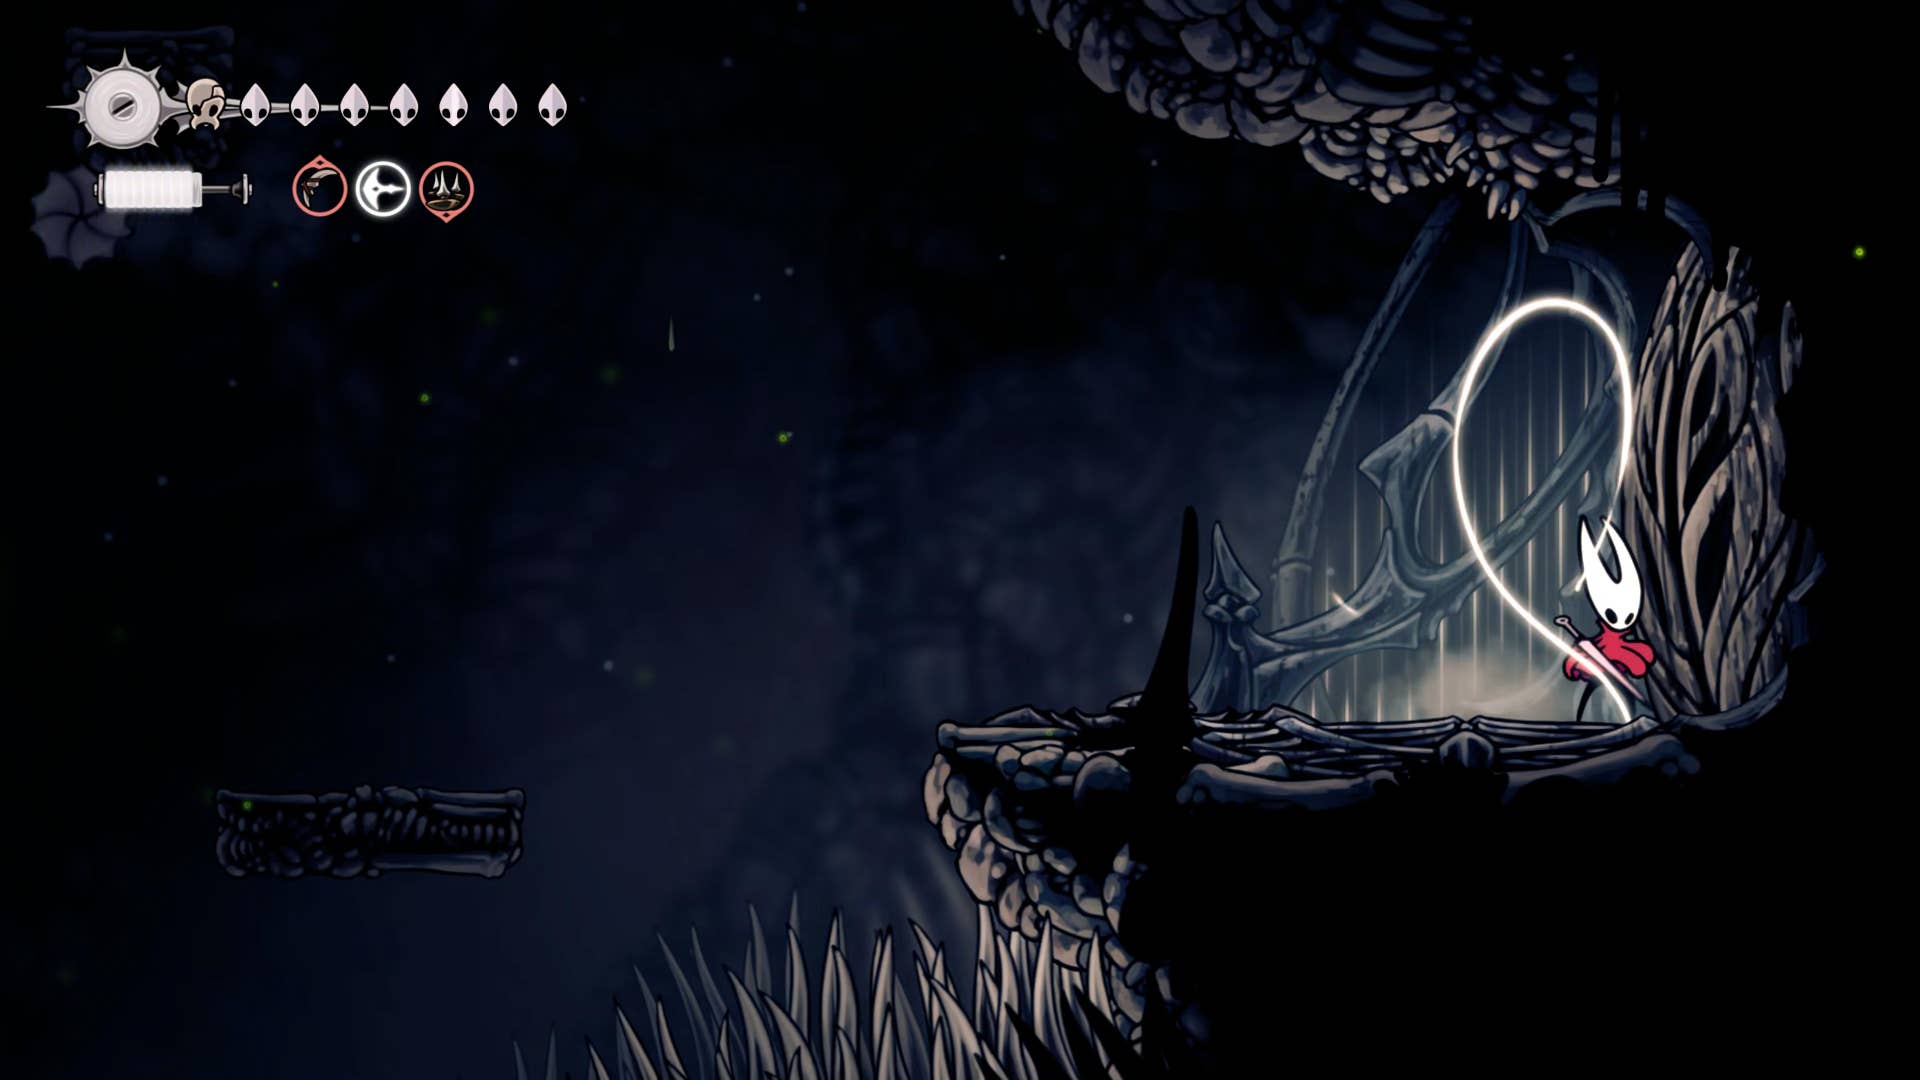
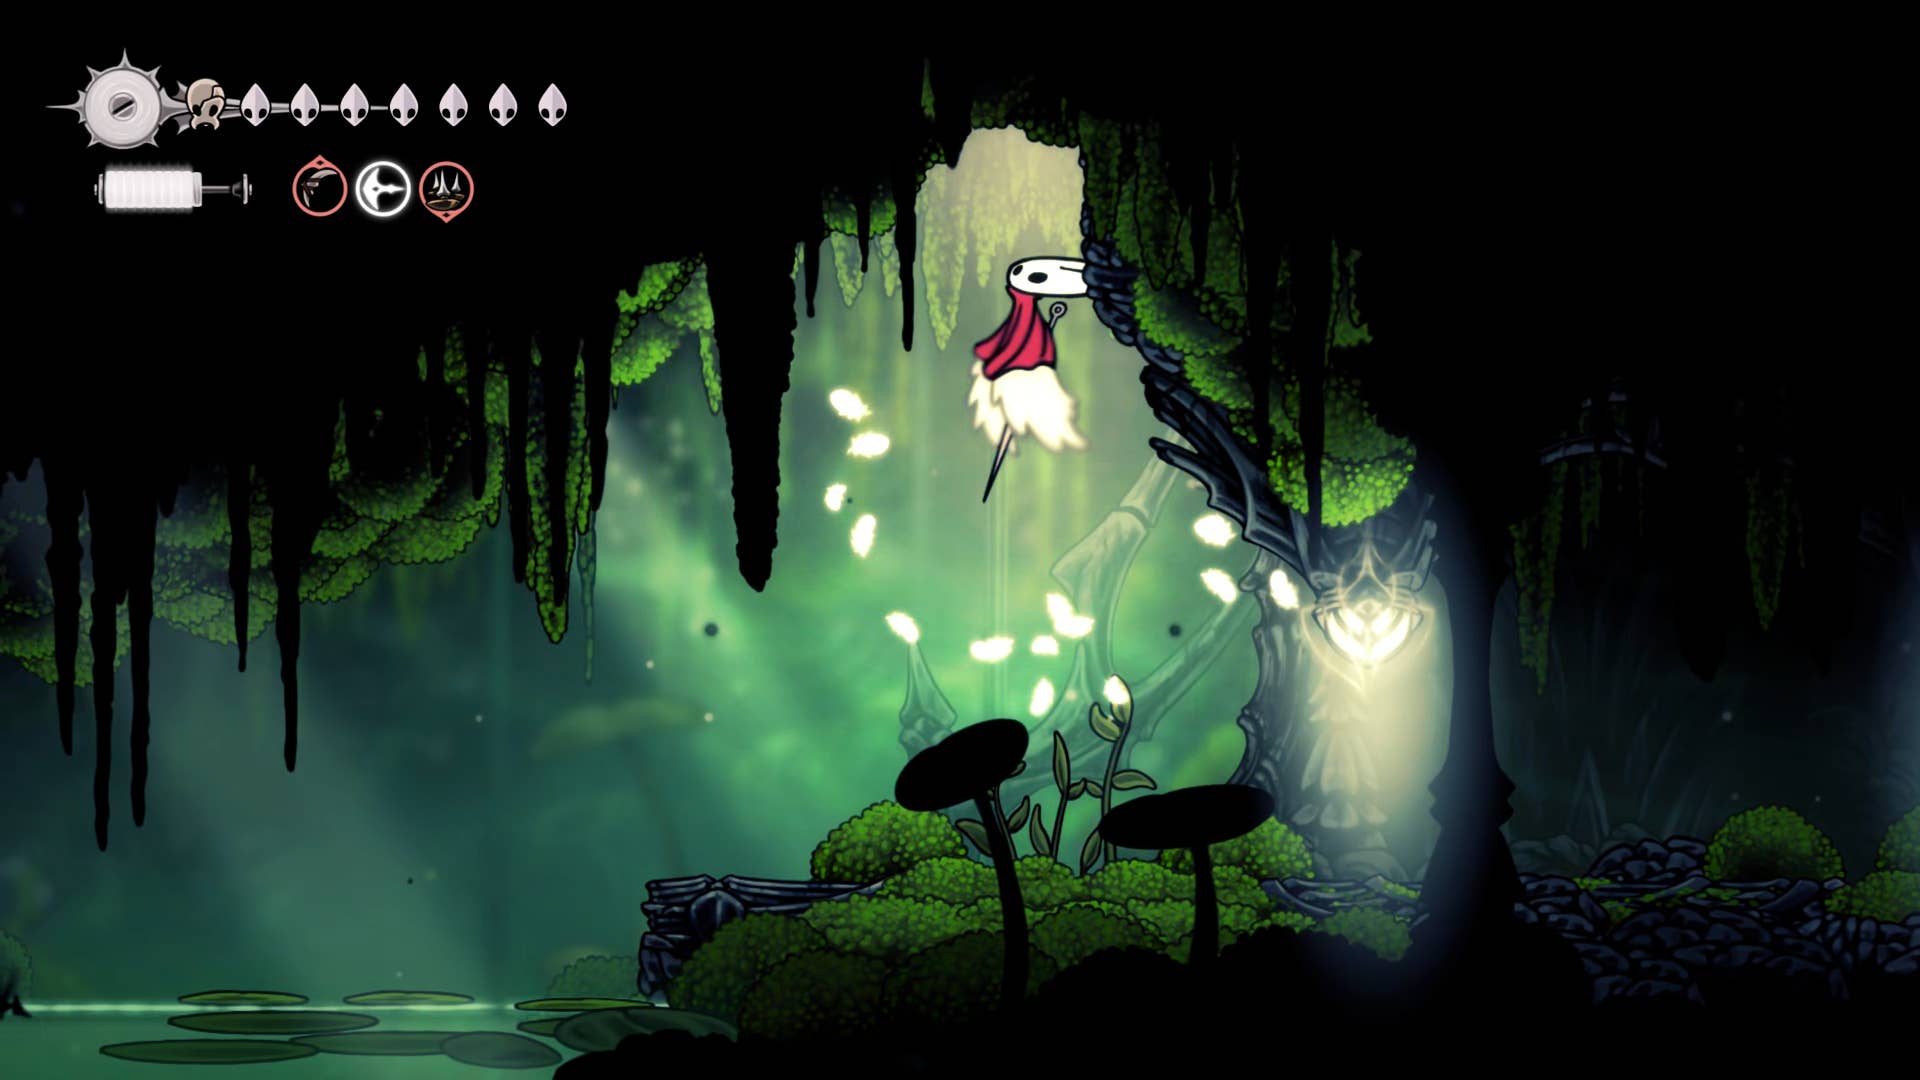
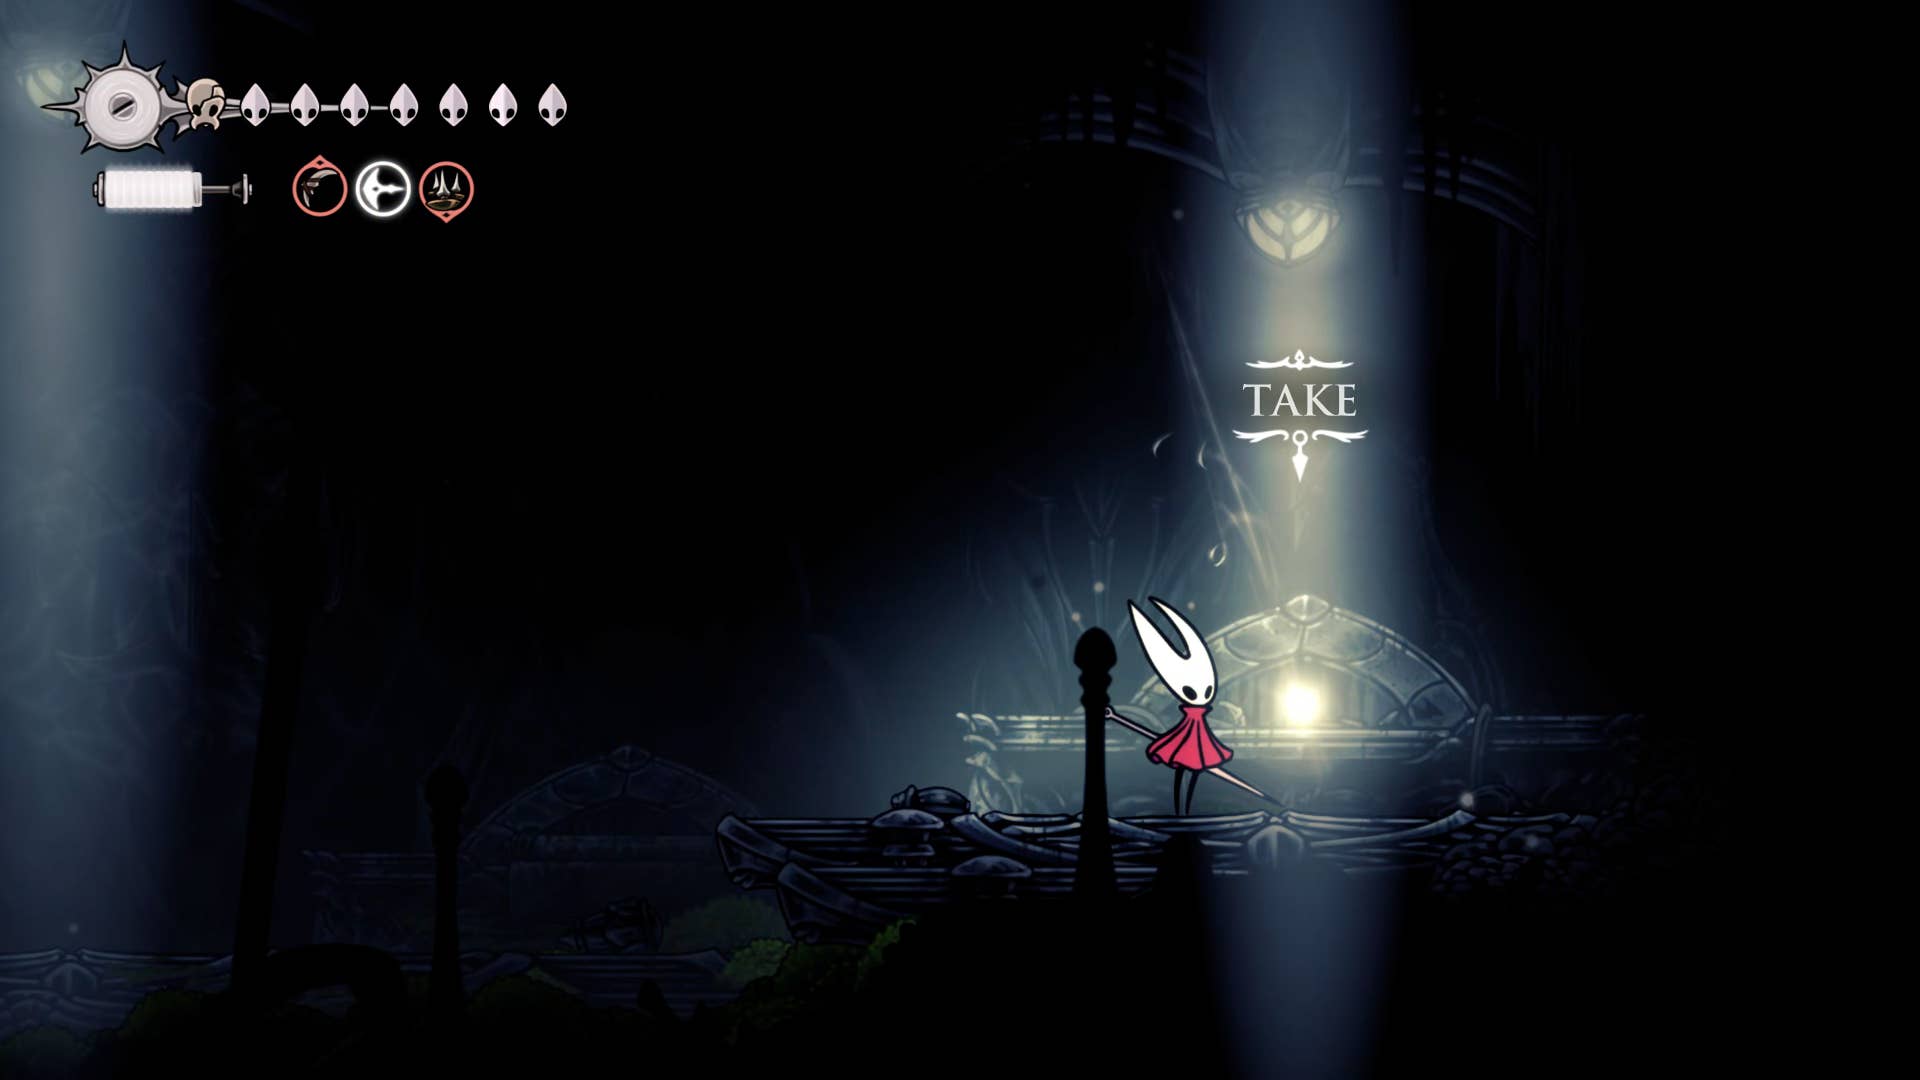
In the next room, just before you reach the Lilypad pond, double jump towards the hole in the ceiling where the light shaft is located and grab it to the right. From there you can climb upwards to the new room. On the right is a table. Interact with it and use the Snare Setter tool.
Like the Silkshot tool created with Mount Fay, this tool is from Weaver design. This means requesting shell shards to create ammunition, and using a bit of silk each time you use it. When used, it becomes active when enemies intervene, and places the Silk Roone on the ground when dealing high damage at once. Of course, it’s not useful in all situations, but it’s extremely powerful against a boss who wants to stay on the ground and recharge anywhere.
3. Defeat a savage beast in a distant field.
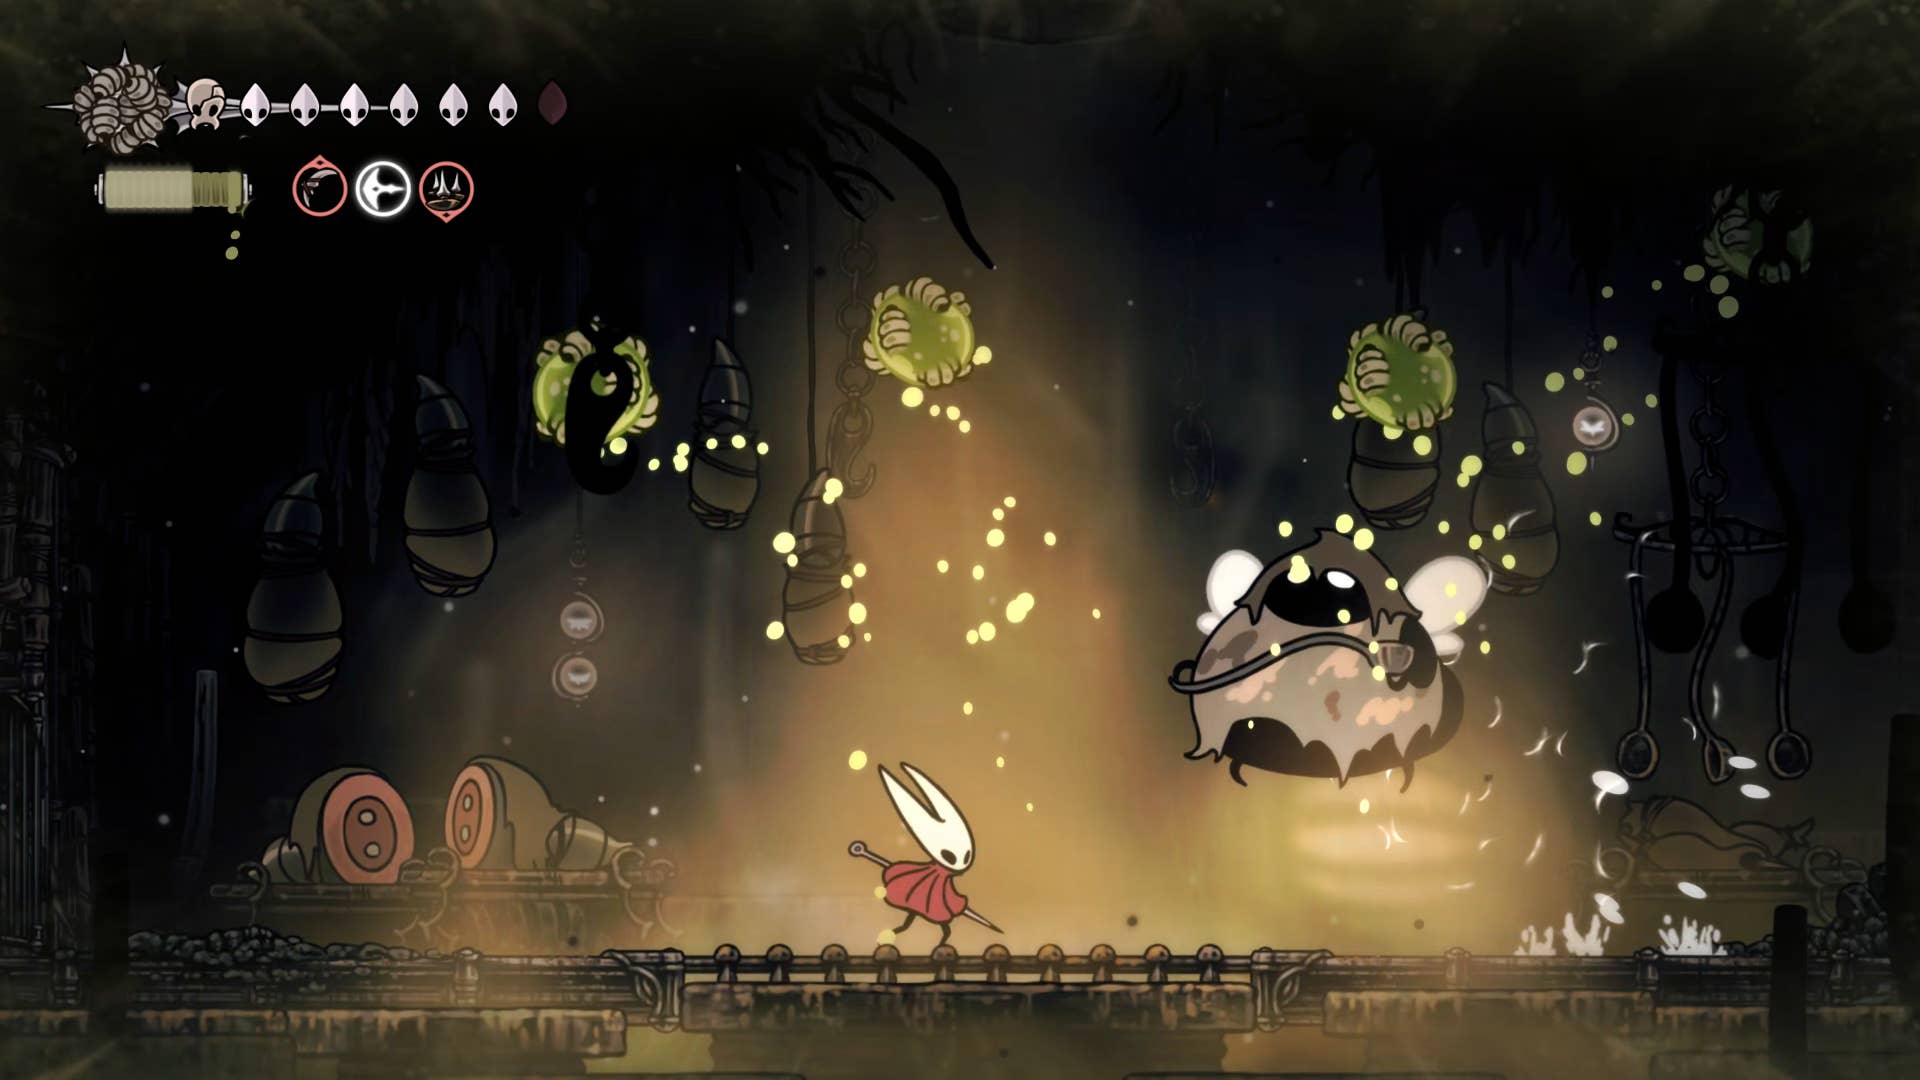
If you’re not already there, it’s a good time to deal with the Grand Hunt Quest in Bell Heart Wishwall. This quest prevents you from defeating another savage beast like you’ve found in the Beast Chapel in the Hunter’s March. This was found in a distant field, so we travel quickly there and headed to the arena where we fought the fourth chorus.
When you try to pass through the fourth Chorus Arena, Beastfly spawns. This is more difficult than the last beast you fought. Because the floor beneath you are frequently destroyed by attacks (like the fourth chorus battle in the same place).
Beastfly also creates a new kind of enemy – a flying creature called a Tarmite will spit out an explosive fire projectile at you. Don’t underestimate these little minions – if you leave them unconfirmed, they will absolutely destroy you. It is recommended to equip Silkspeare or new Sharp Dirt. That way you can easily deal with it with just one hit before focusing on Beast Fly.
Once it dies, plunder the fragments of its horns and return to Bell Heart for the ample reward of another masked shard!
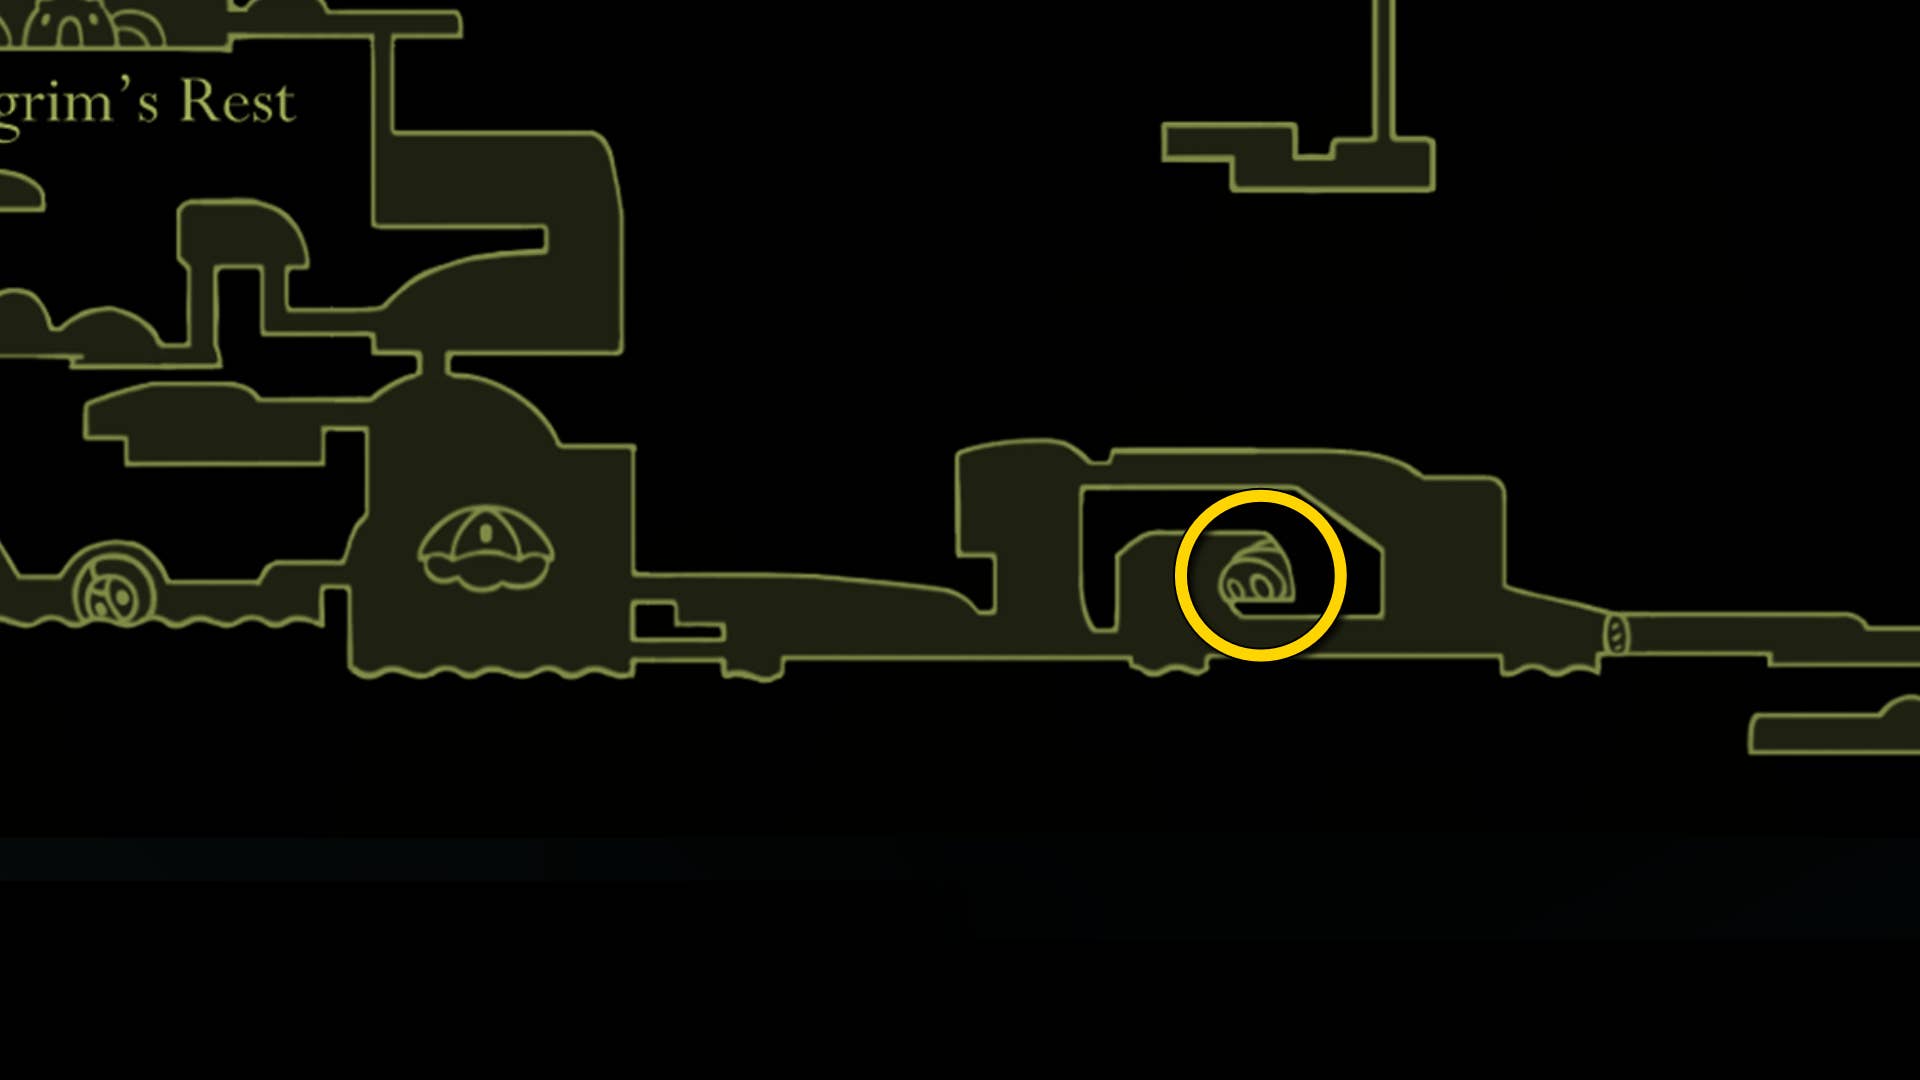
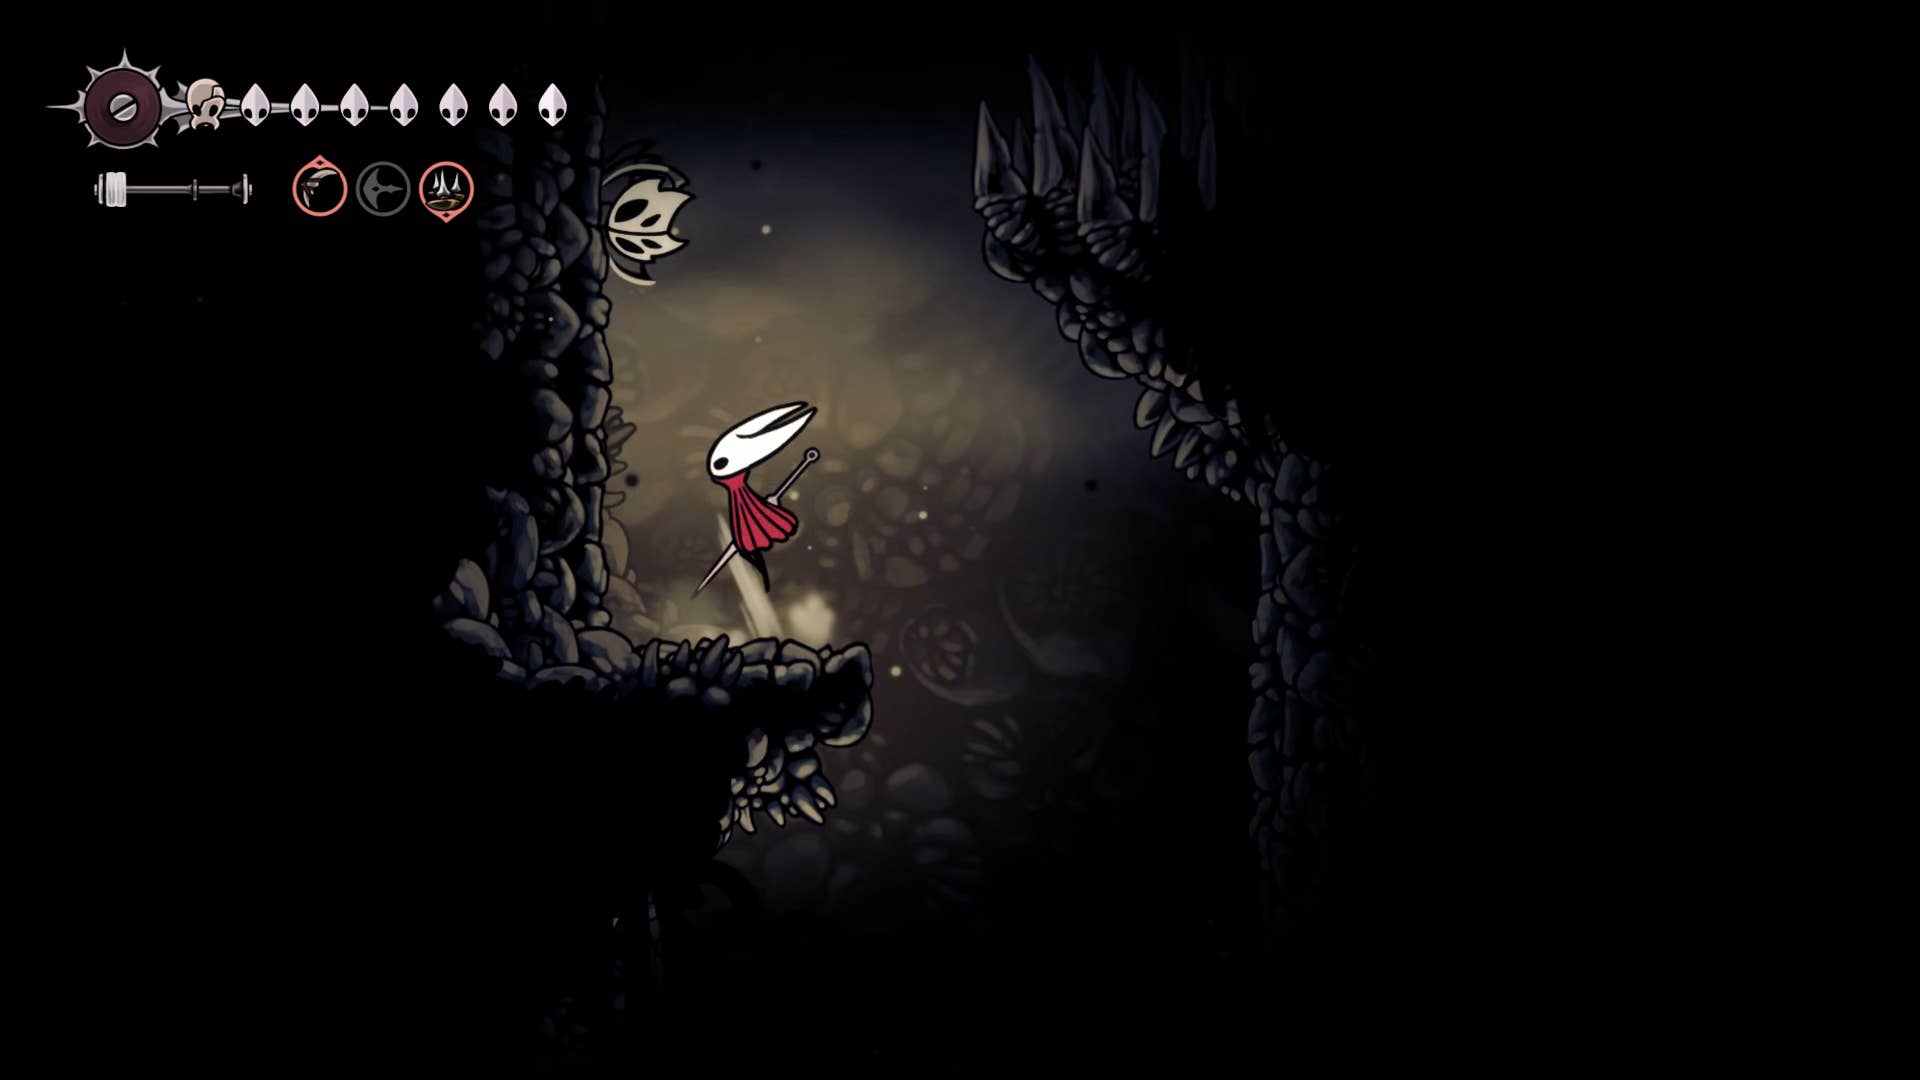
4. A complete skull cave in a distant field.
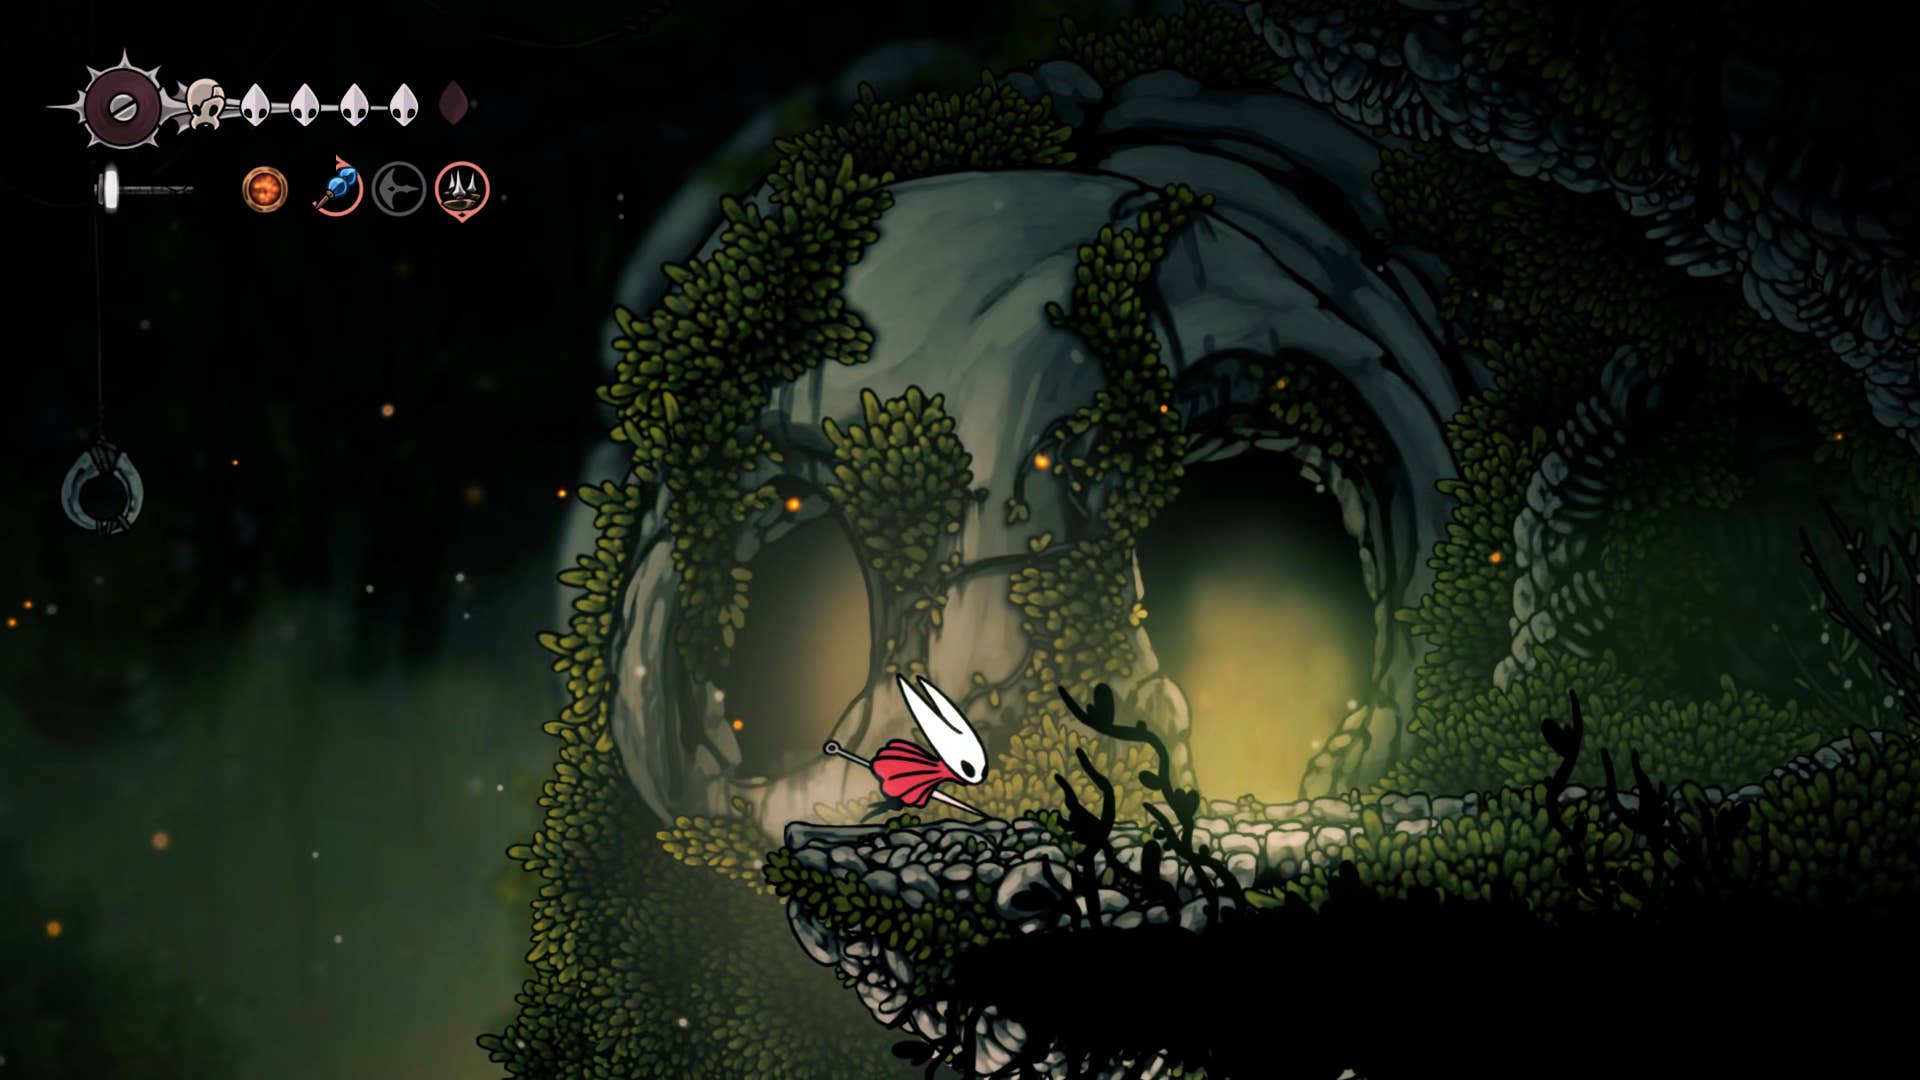
Your next goal is also in a distant field, and it’s tricky. To get there, head to the second room east of the tailor’s house, filled with hawkers, and climb onto the wall on the left to reach the above Crawl line hook. From there you can reach the upper shelf on the right where you can enter the skull cave.
Once you enter, the entrance ceiling becomes an inconvenient cave behind you, so your only path is down.
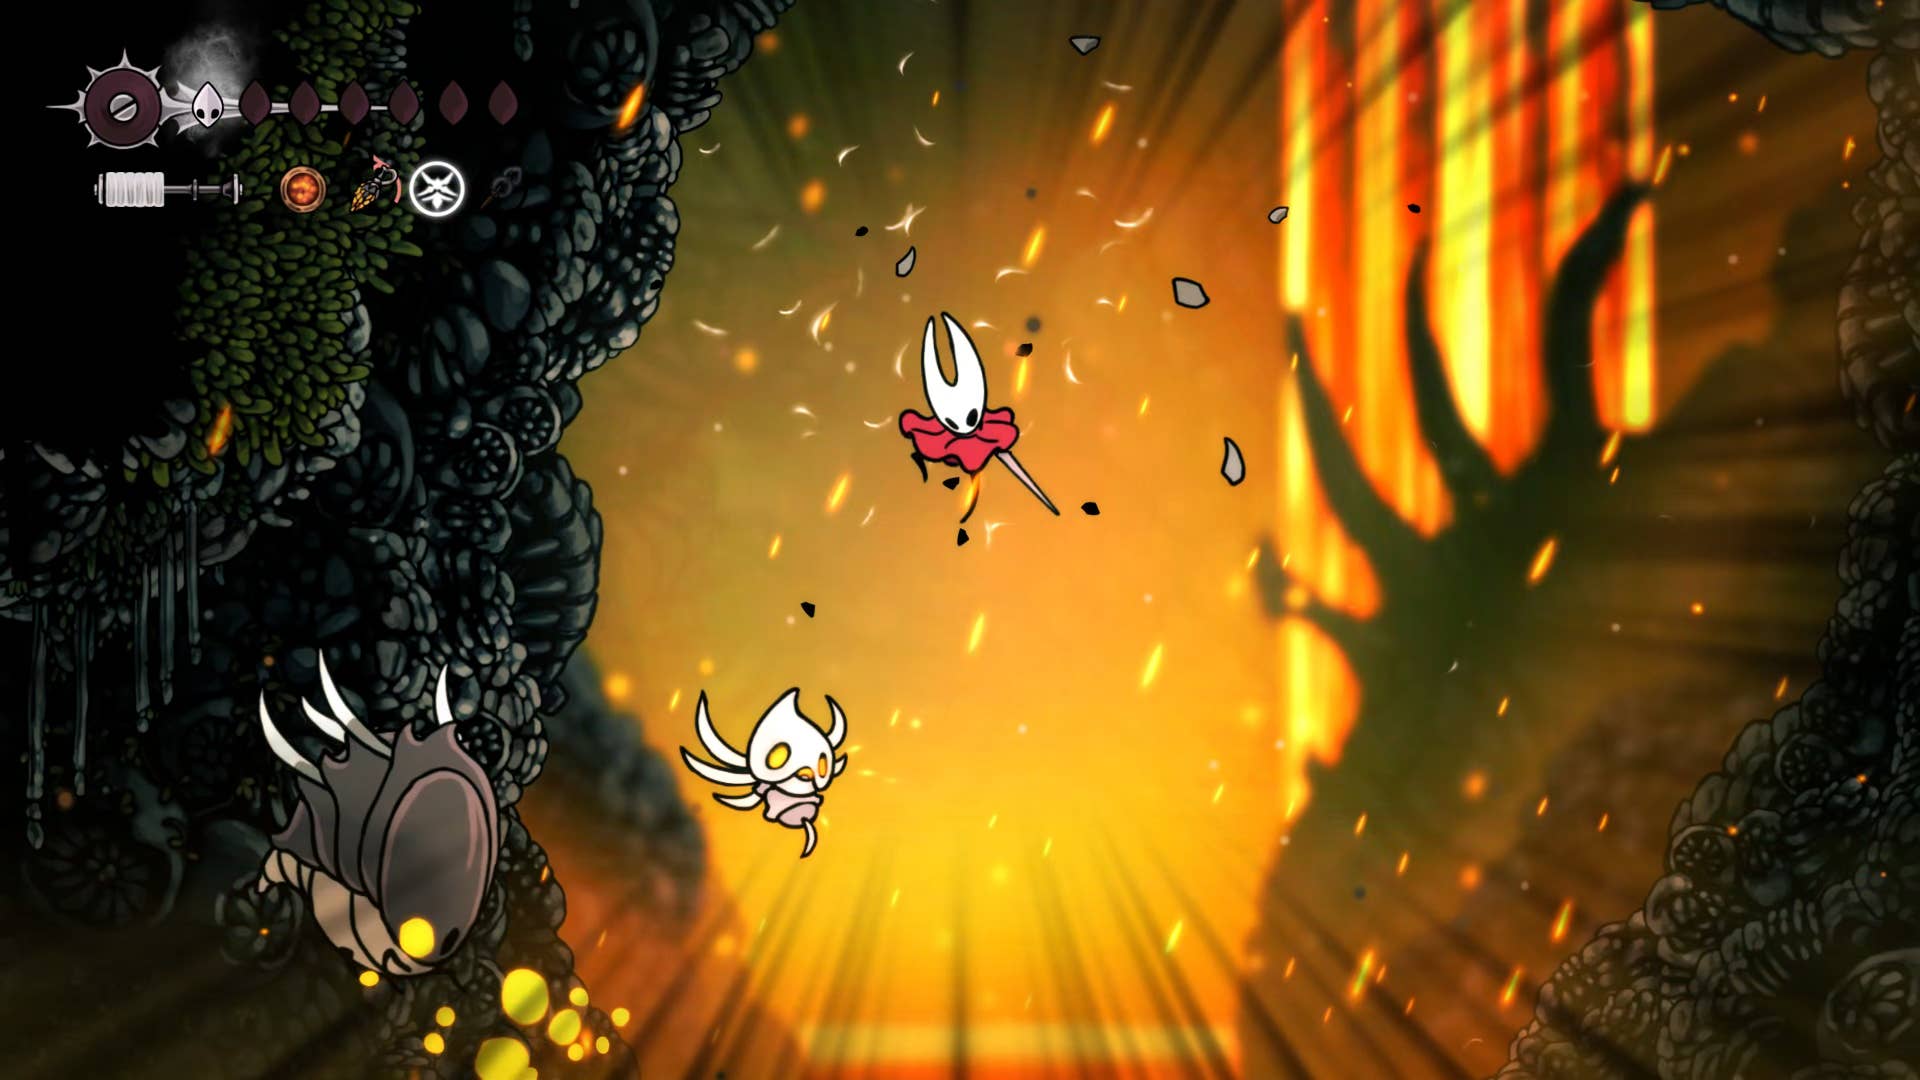
Float softly to the very bottom of the cave, paying attention to the spikes, especially the vertical shelf on the spike top along the way. At the bottom, you bump into an explosive rock and begin a very nasty gauntlet fight.
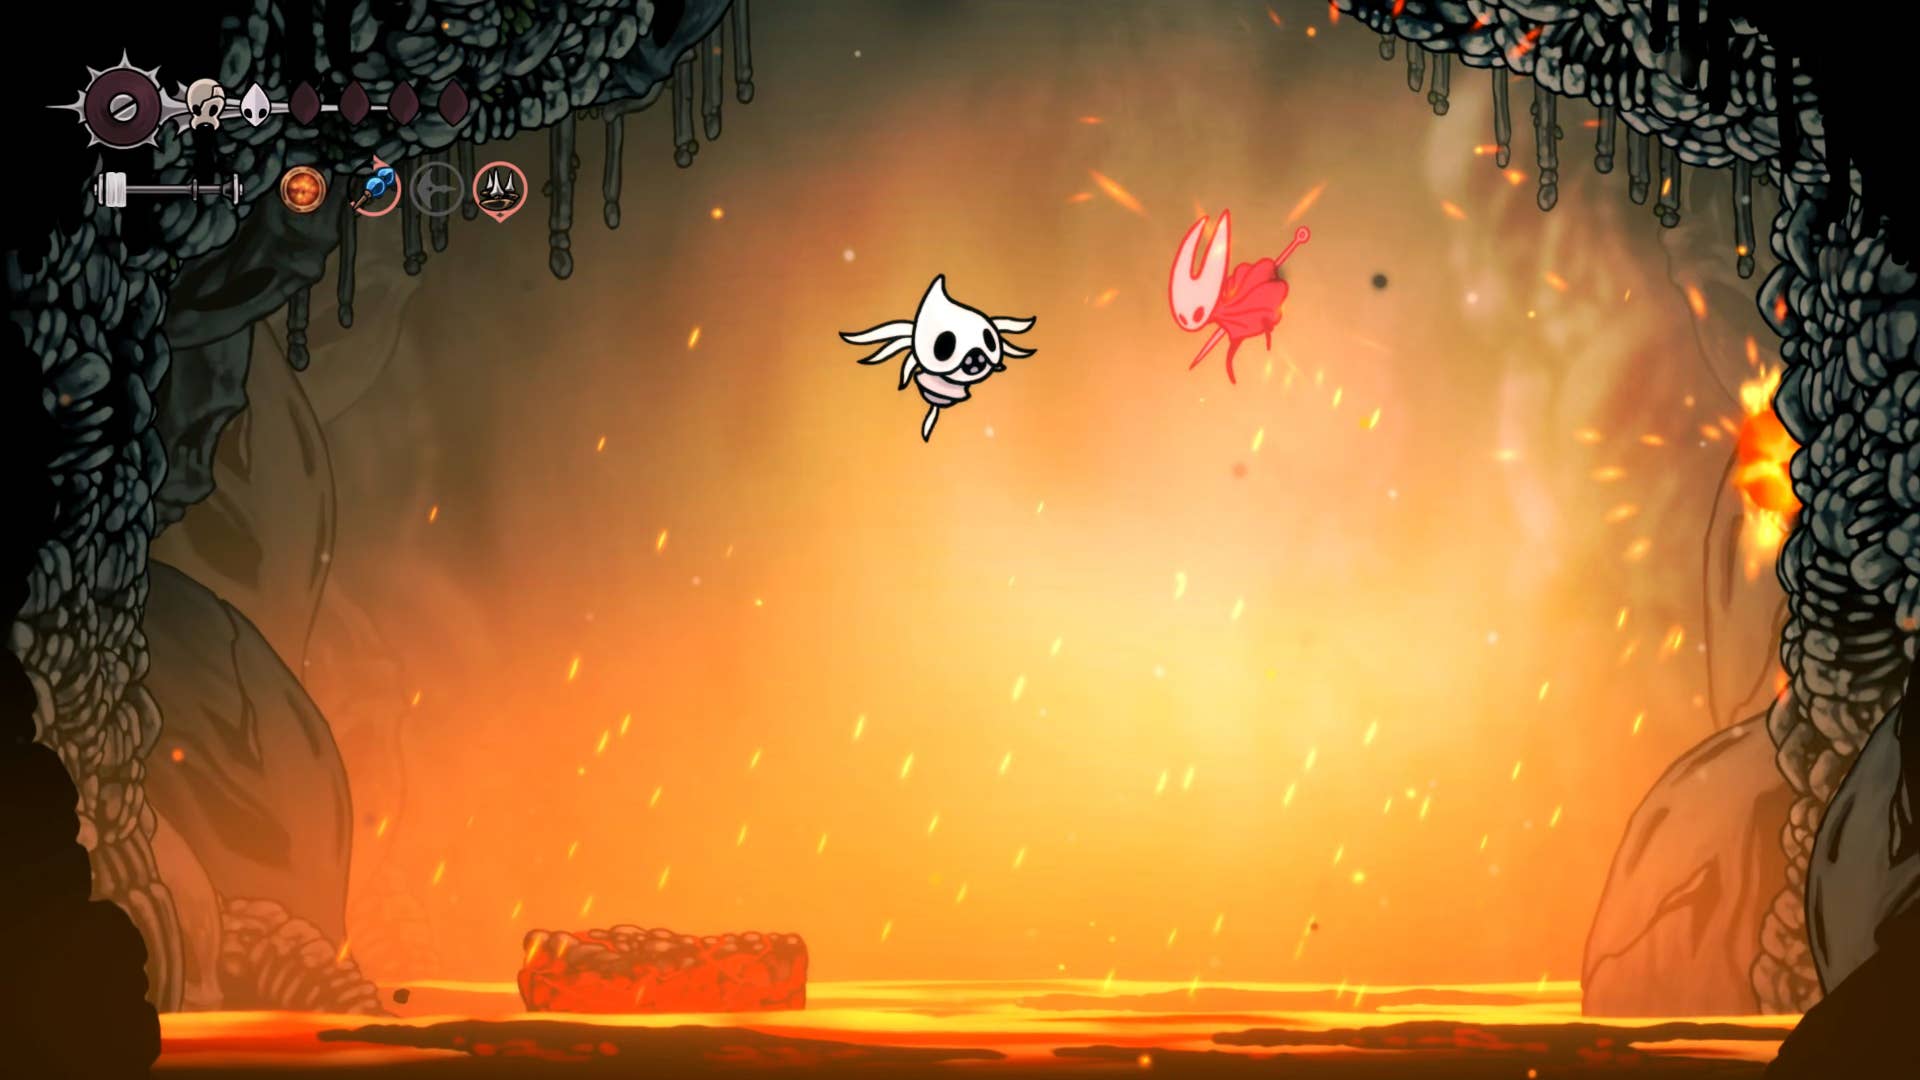
This arena is particularly troublesome as the floor is lava and only a platform on the surface is temporarily crumbling. Most of the time you’ll need to cling to the wall and pogo from the top of the enemy to spawn if you want to survive. Again, that magmabell is very useful here.
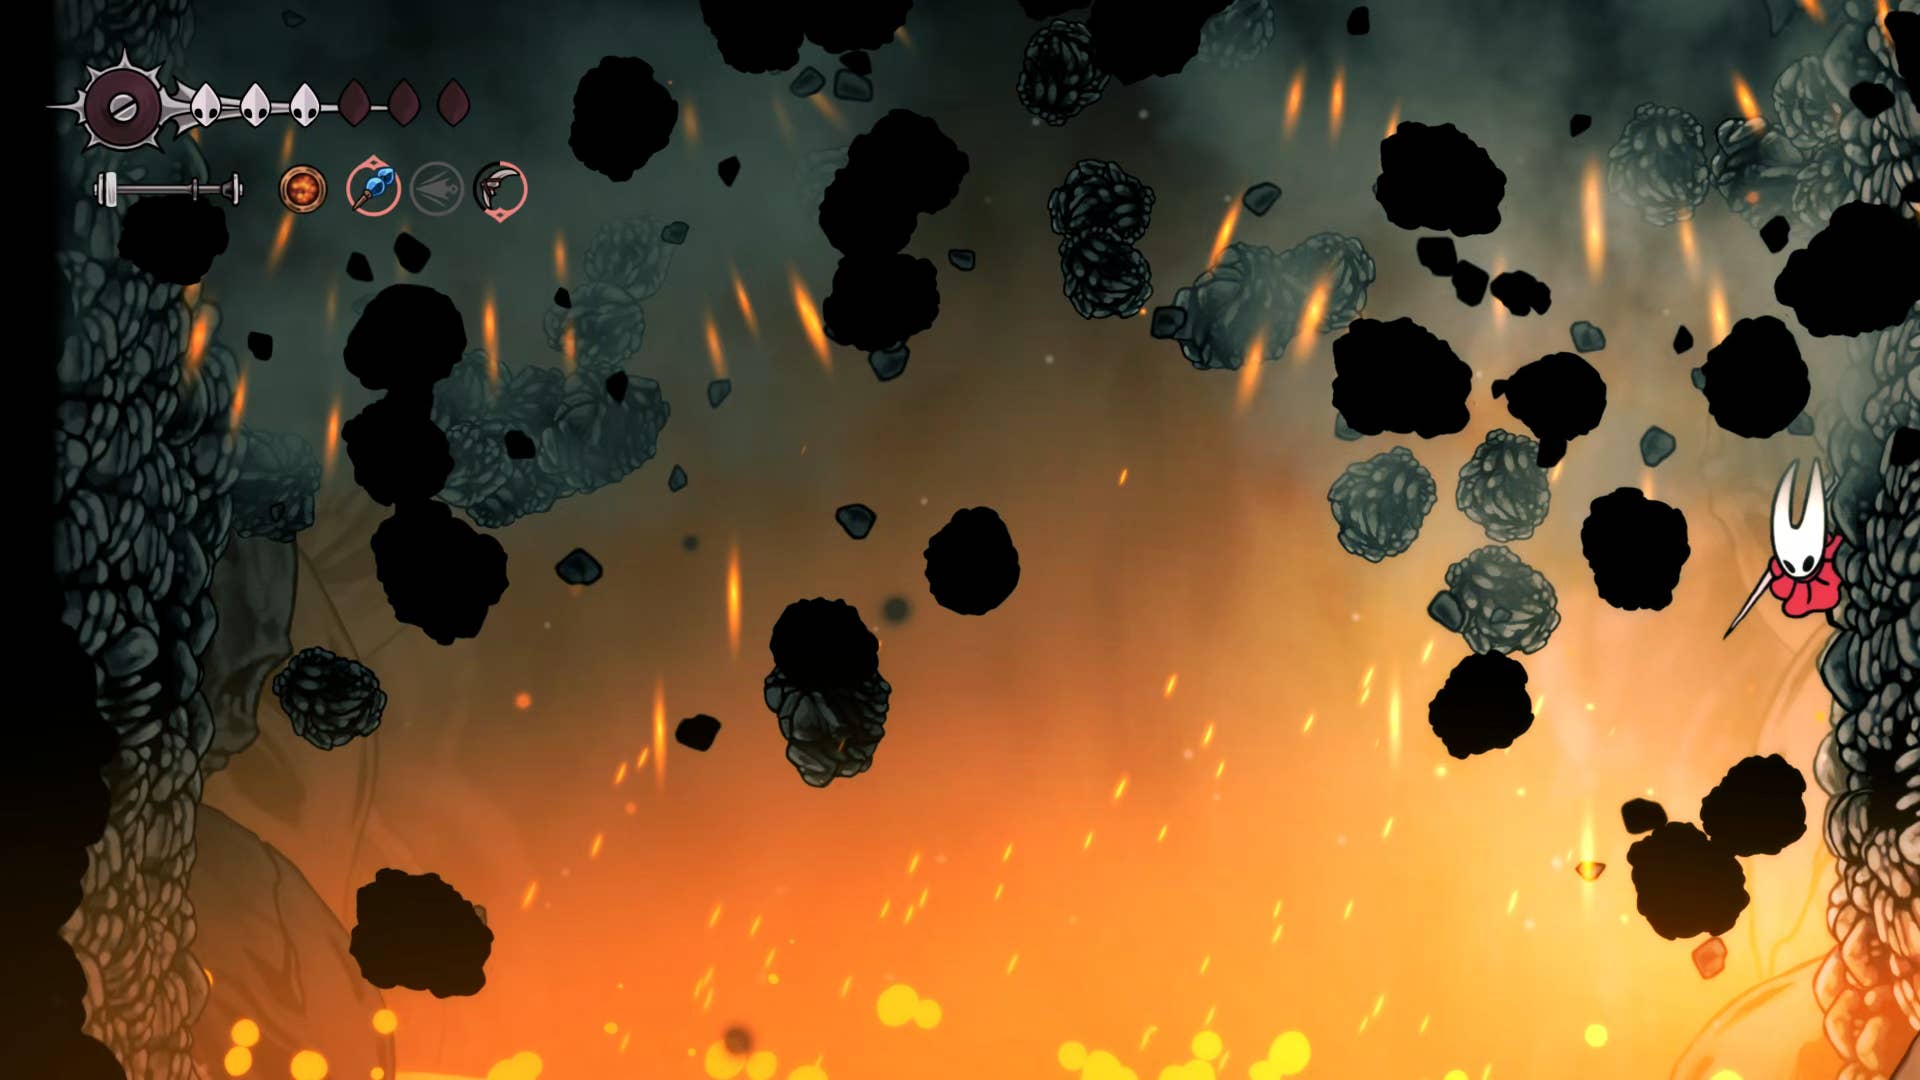
After the final wave, the entire cave begins to explode, and lava levels rise rapidly. You need to climb the way you got all the way to the top as quickly as possible. If you die before reaching the top, you will need to complete the entire gauntlet again from the beginning. It hurts quite a bit.
Once you reach the top, the lava will no longer rise, causing trouble to appear to air currents leading to yet another mask shard. You can then drop down freely and completely exit the skull cave.
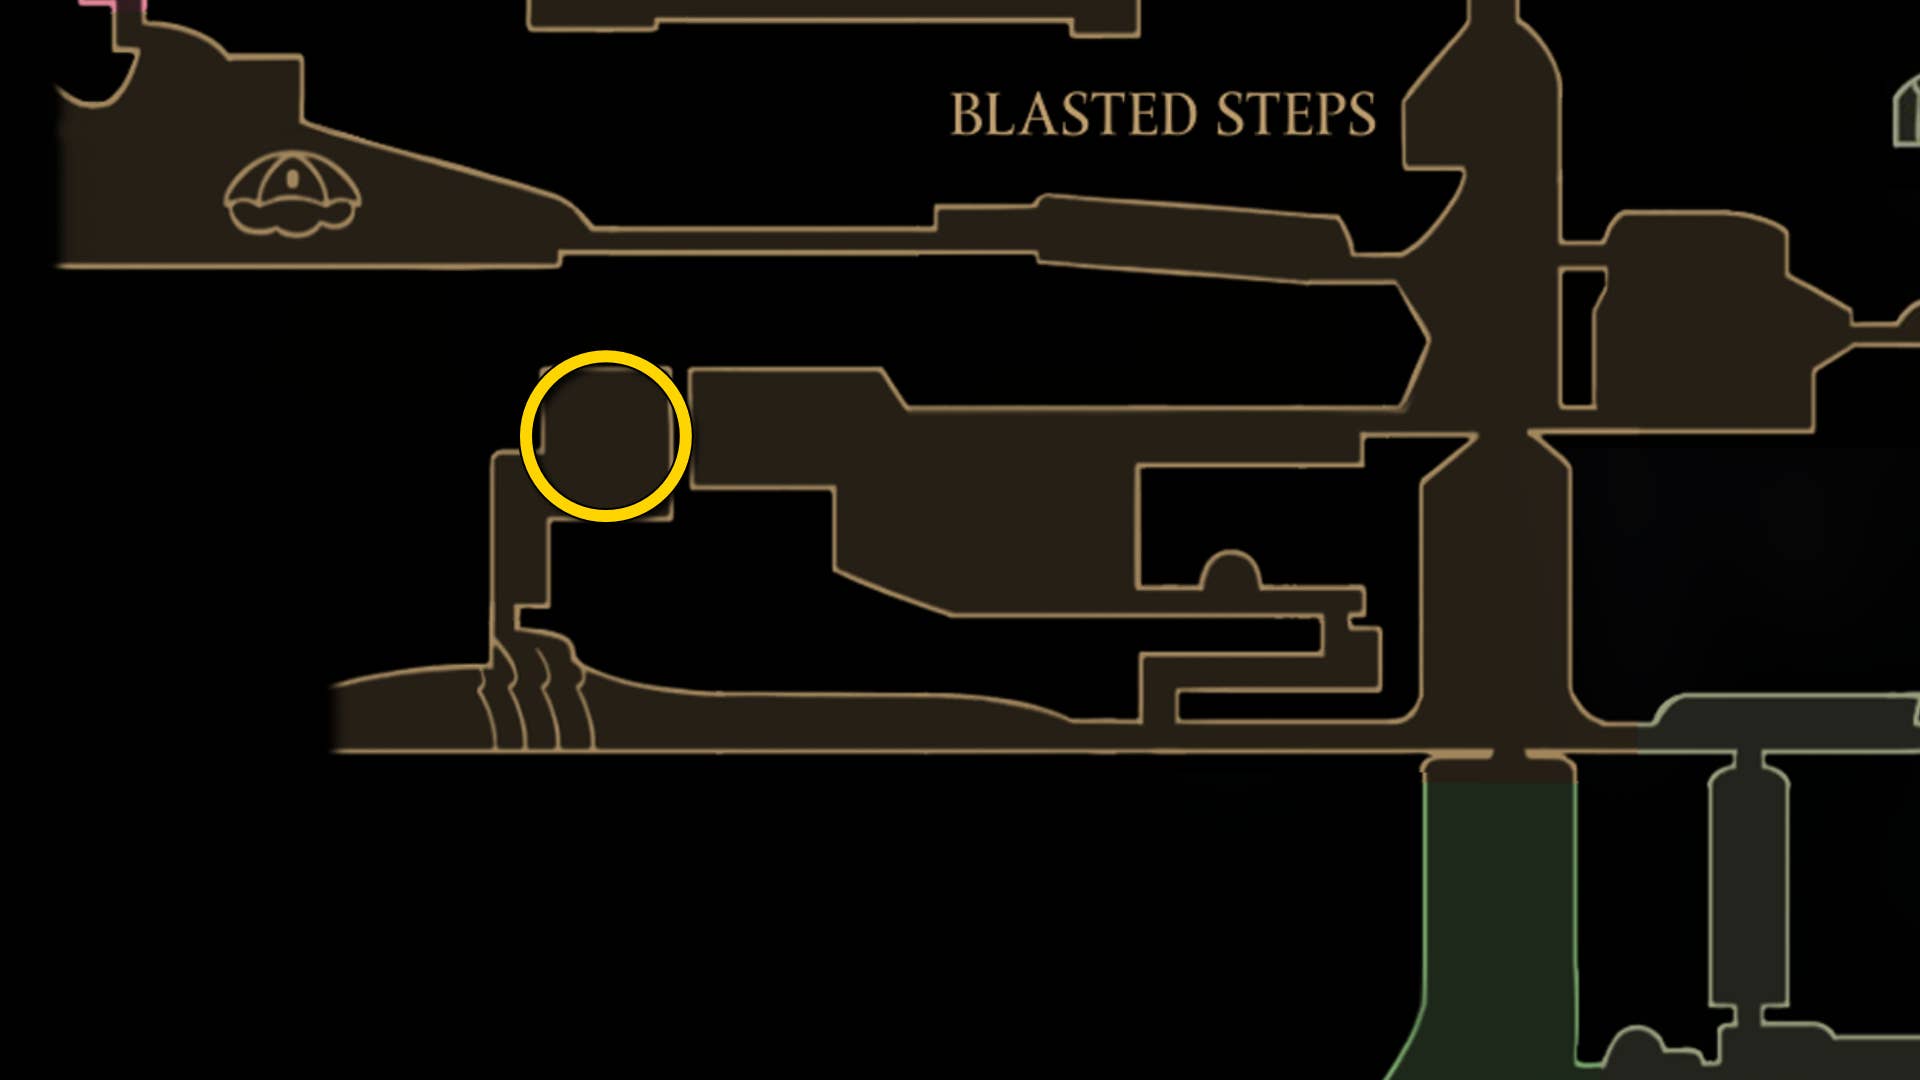
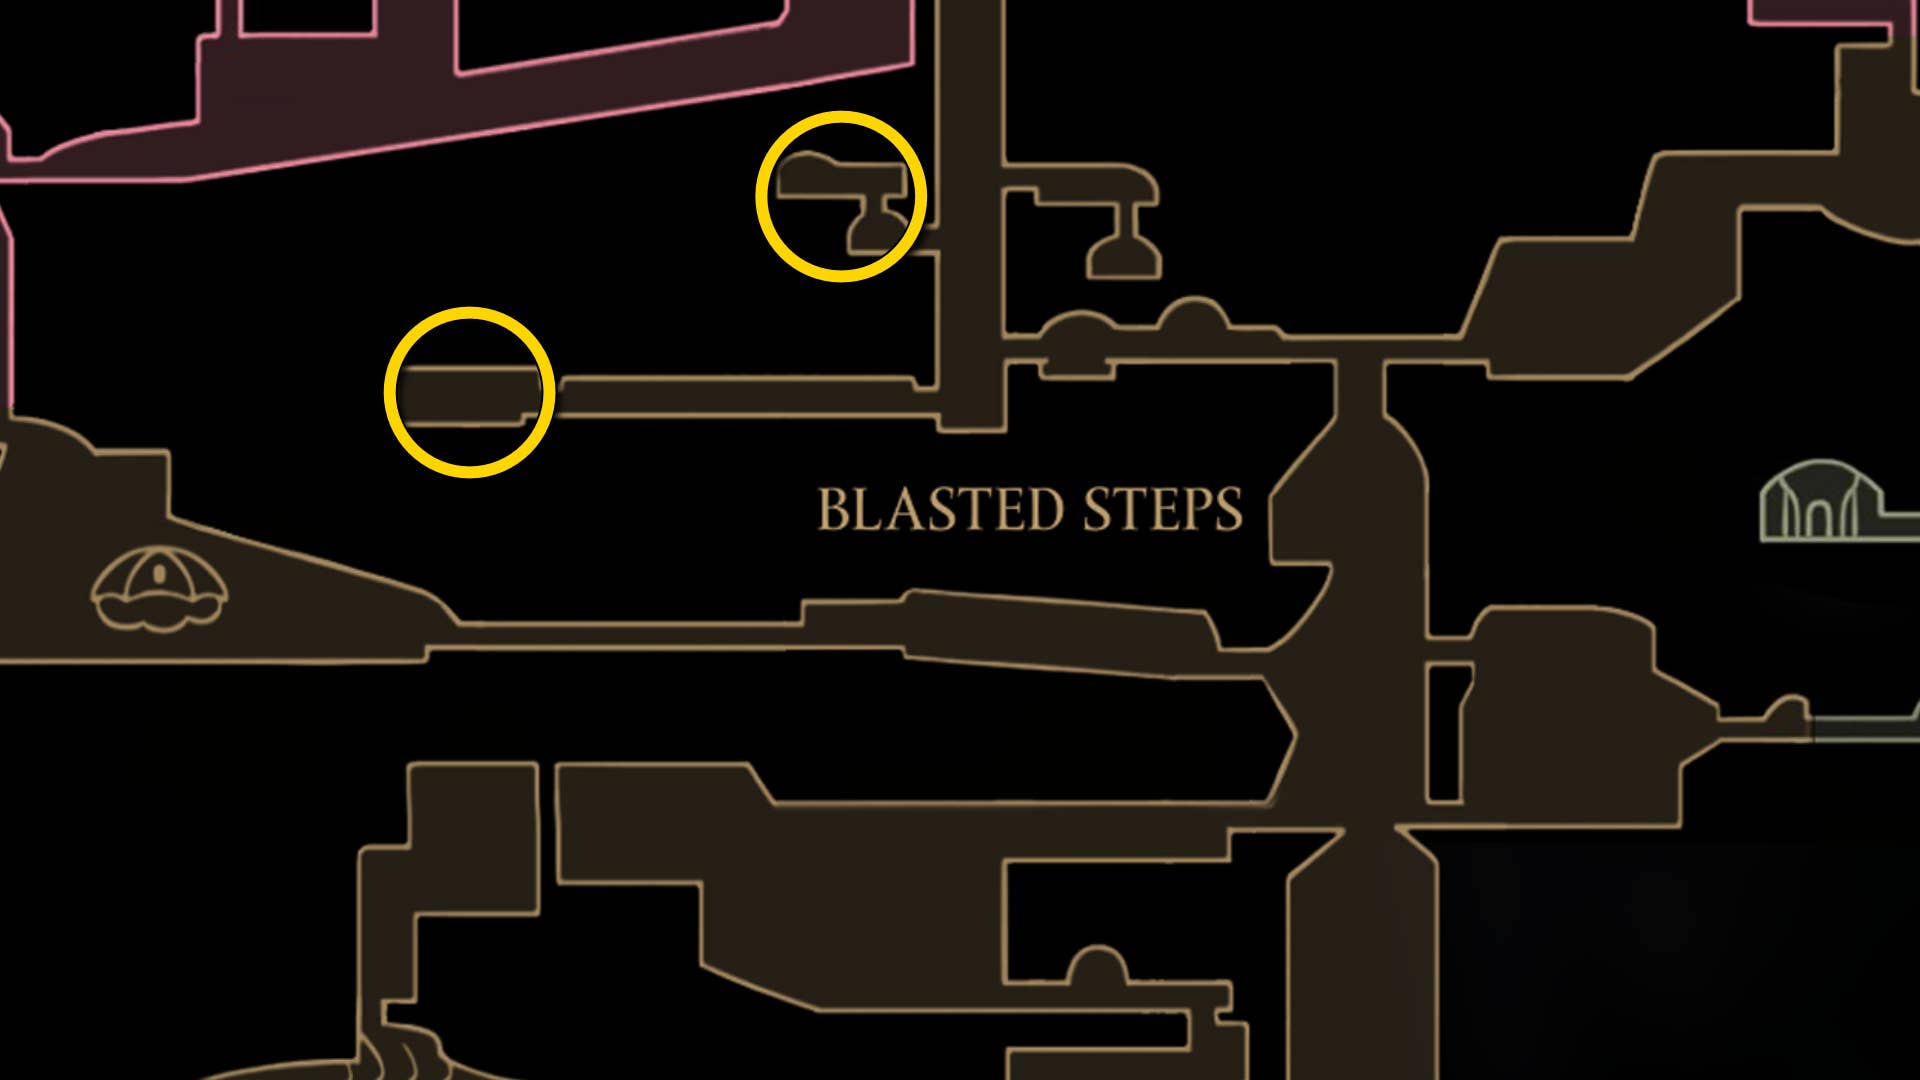
5. Reach the mask shard on the blasted stairs.
Yet another mask shard is waiting for you. Seeing Bellway is at the top of the explosive staircase, it is best to travel quickly to Shellwood Bellway for this one.
From Shelwood Bellway, head left until you get closer to the edge of the map. Start with a rock platform in the sand, then sprint jumps, claw lines, double jumps to left-high shelf. Do the same again, reaching the next two shelves to the left and out of screen, facing upwards.
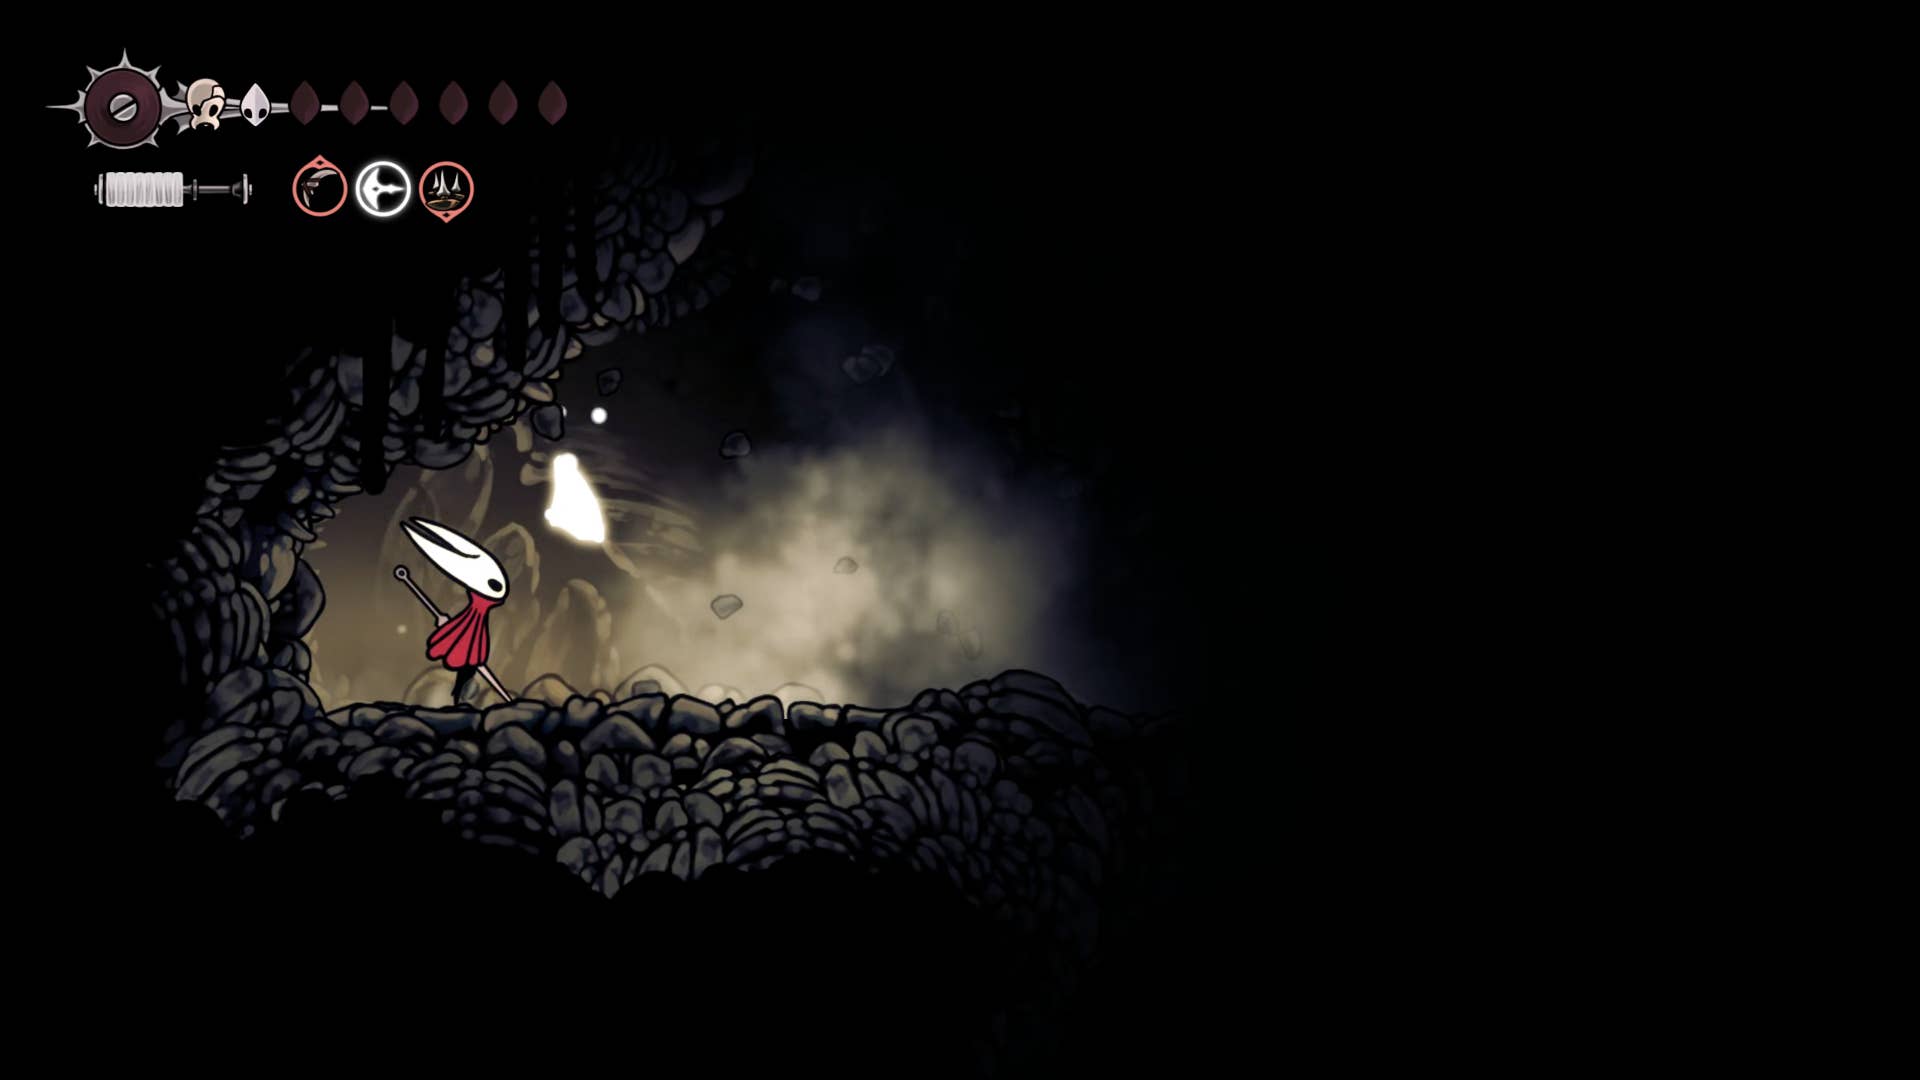
Pay attention to the farids on the wall as you climb the next room. Otherwise, head to the top to find the mask shard. So far, the three have been swiftly in a row! This is why spending time reexamining old areas with new movement capabilities is so fruitful.
6. Consult Grindle on the explosive stairs.
Returning to Shellwood Bellway, this time you will be taken to the rapidly blown up Step Bellway. From there, go left and climb to the entrance and exit on your left using the triangular sign.
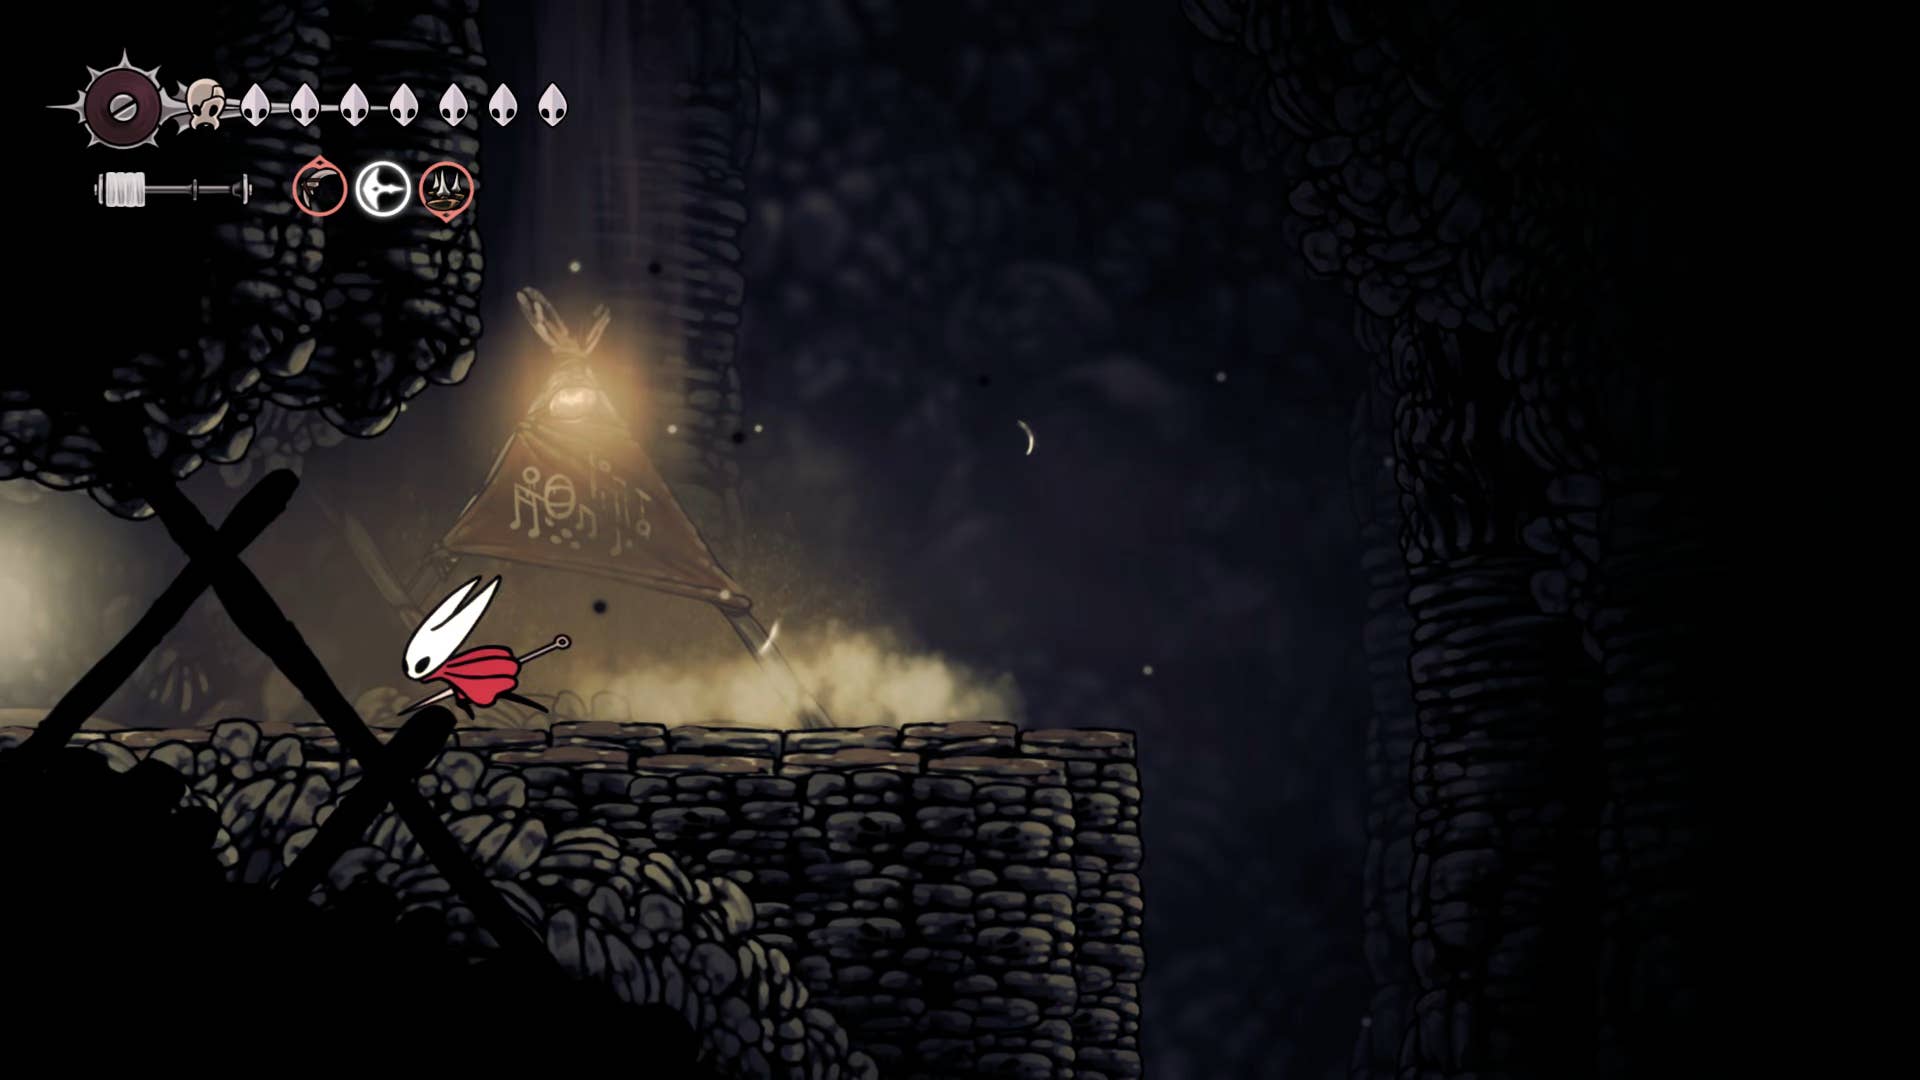
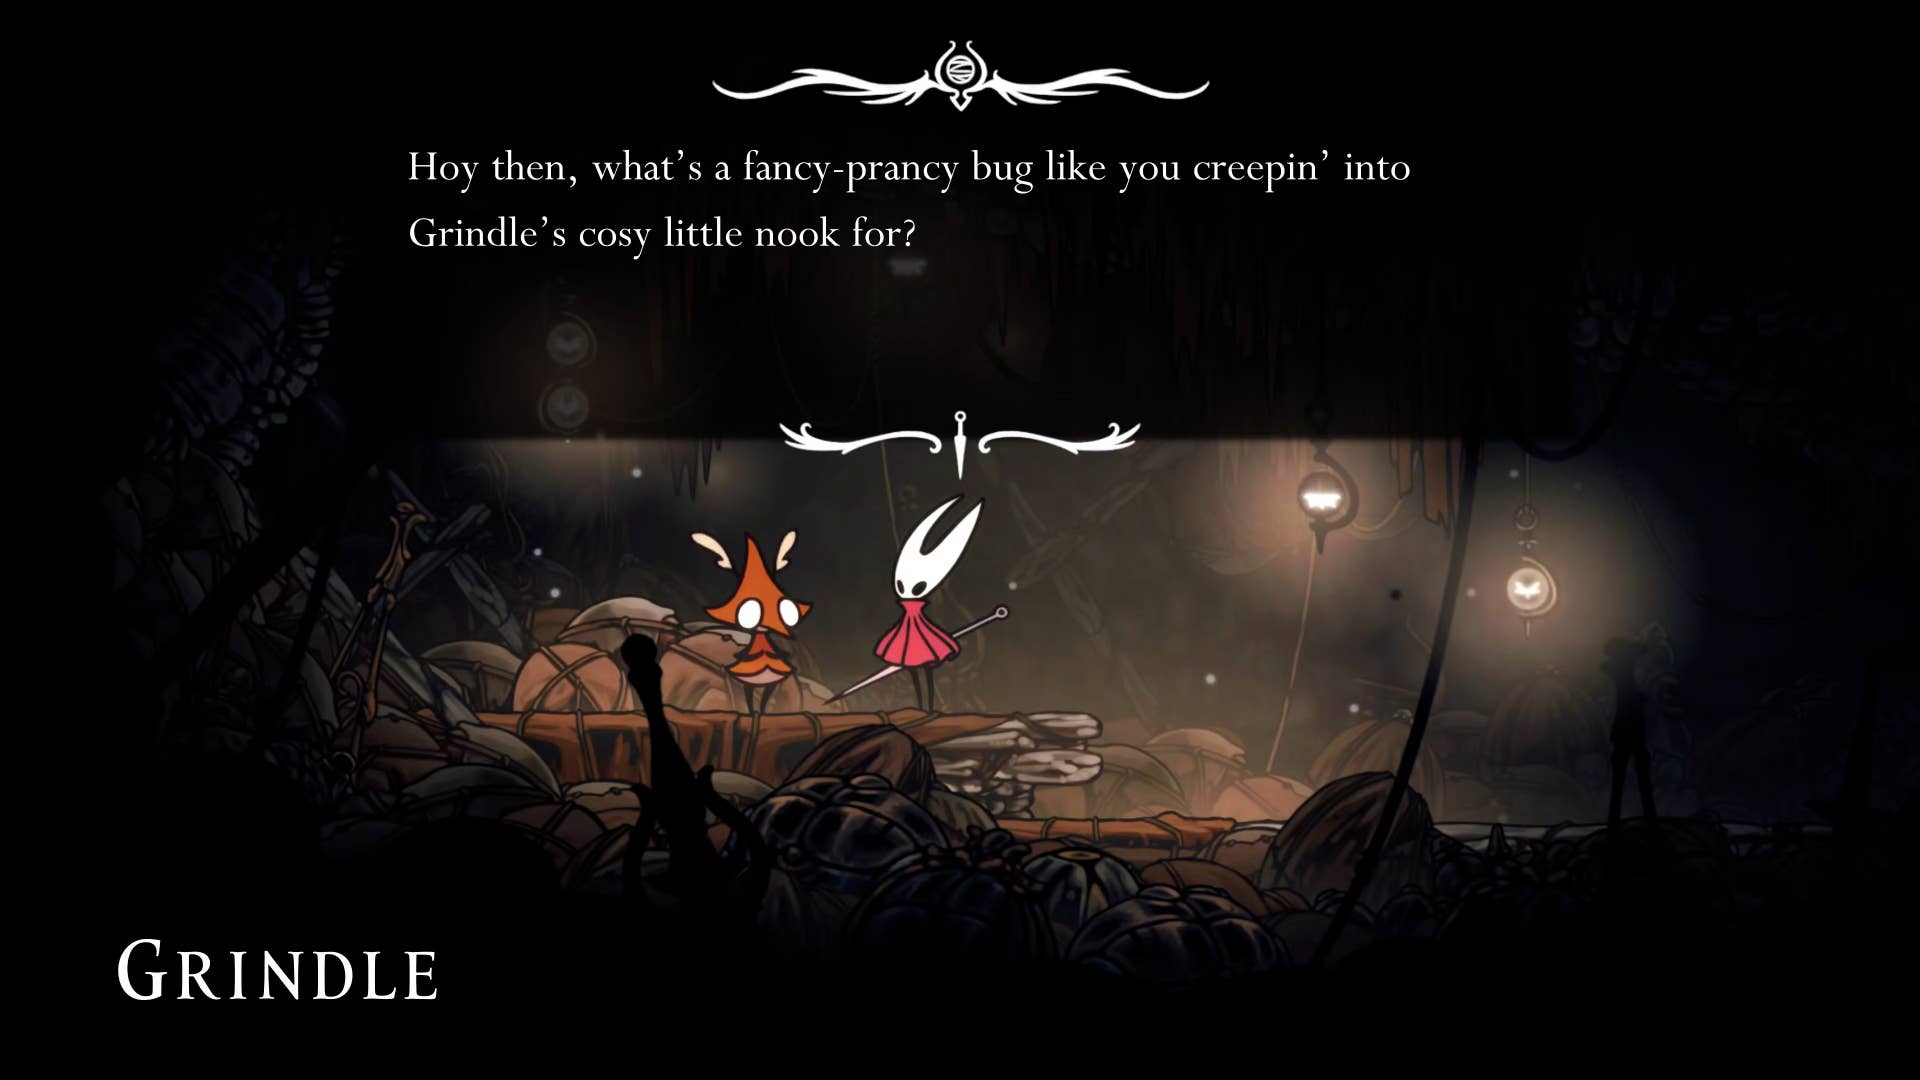
The new faydown cloak allows you to double jump to the wall of the next room and climb to the summit. Here you can find Grindles who want to part ways with your rosary in exchange for interesting products from big names.
If you have the chance, it’s definitely worth choosing to upgrade your 700 Rosario craft kit. Spool fragments are also always useful. Poem Sal cylinder if necessary. However, none of them are needed at this point. Remember, you can now access this new shop whenever you want.
7. Collect Rumble magnetite dice.
It’s a bit sad now. Drop down from Grindle’s Shop and go through the left-to-left exit to the end.
Sadly, there is no more Rumble. But he leaves a gift of farewell, which is more suitable for you than Grindle. Lumble’s Lucky Magnetite Dice is a tool that allows you to occasionally avoid hits of damage that you might otherwise have suffered. It’s not something to depend on, but it’s a very useful tool. It’s one of the best tools in the game.
If the magnetite dice doesn’t appear on the floor with Rumble’s body, you’ve already got the Grindle. Go back and pay Grindle for the visit. You can buy it from him for 300 rosaries.
You can also get the magnetite dice even earlier…
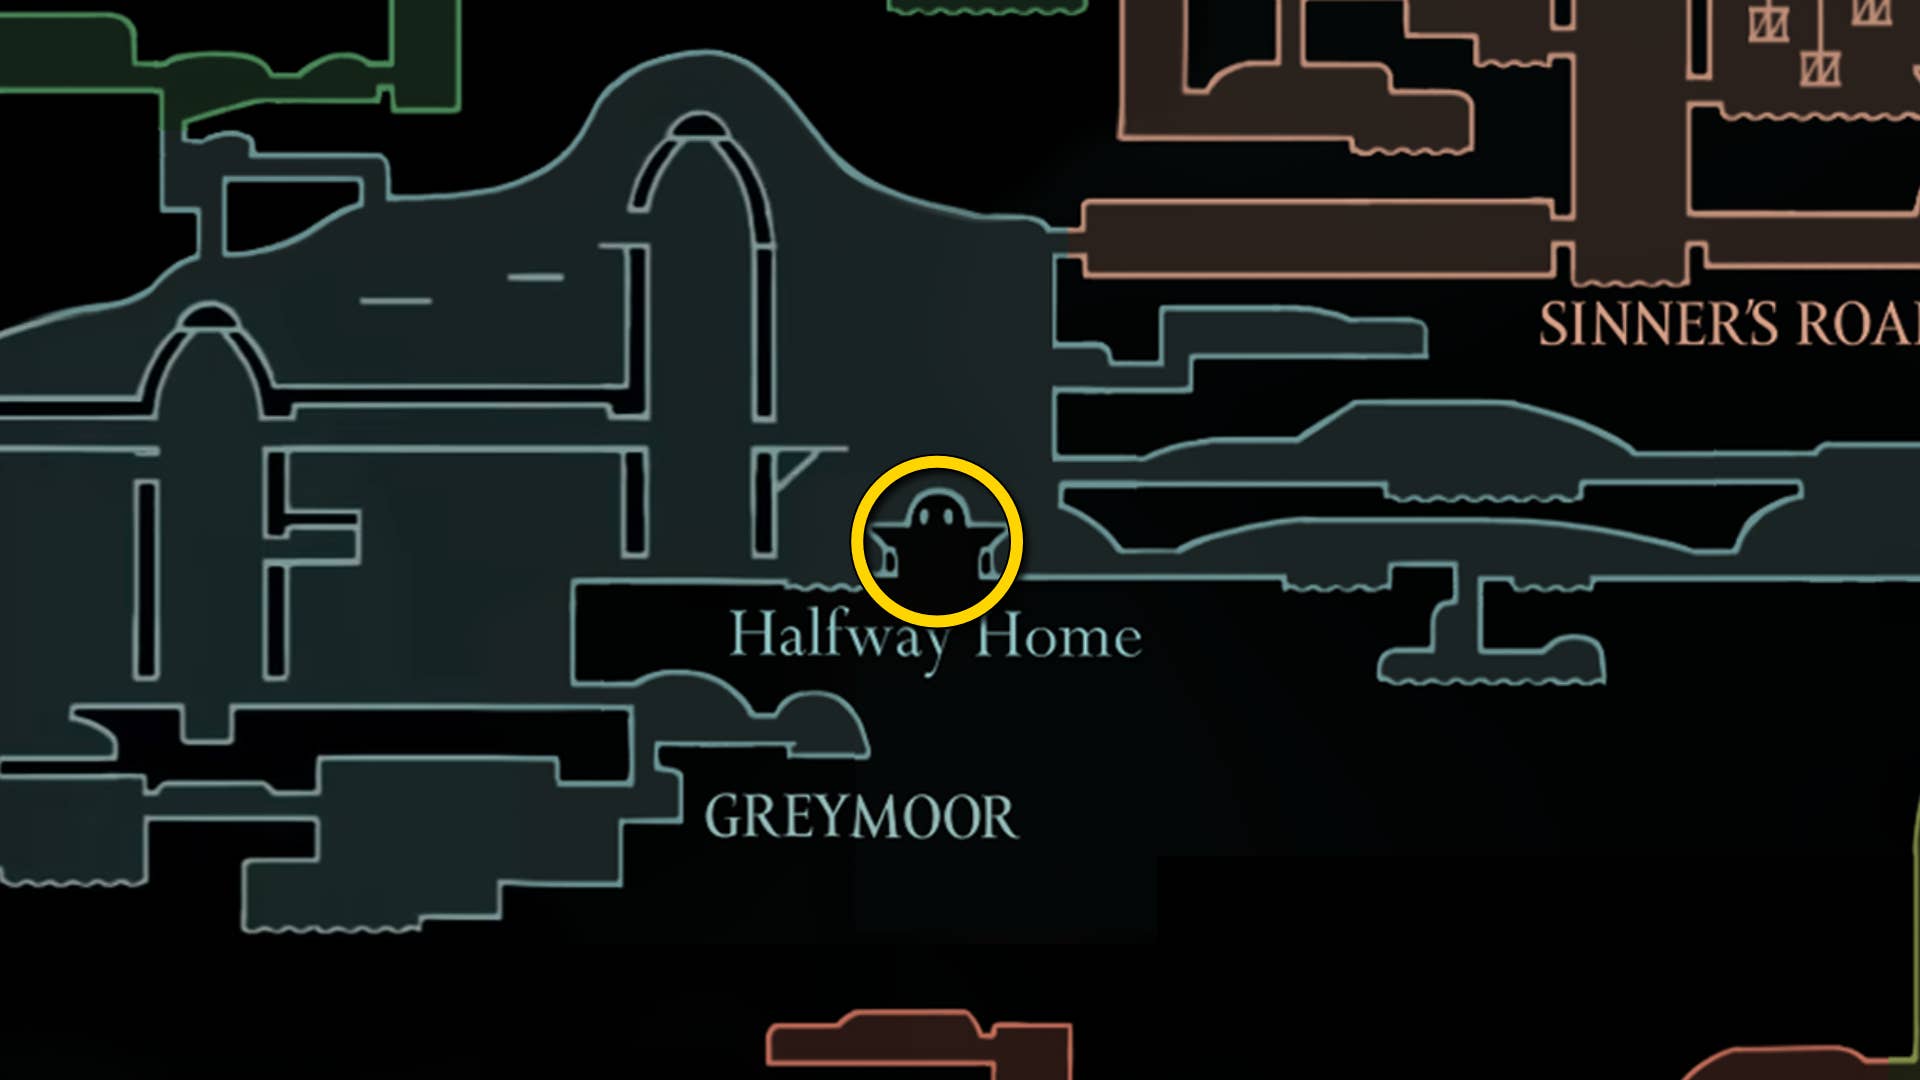
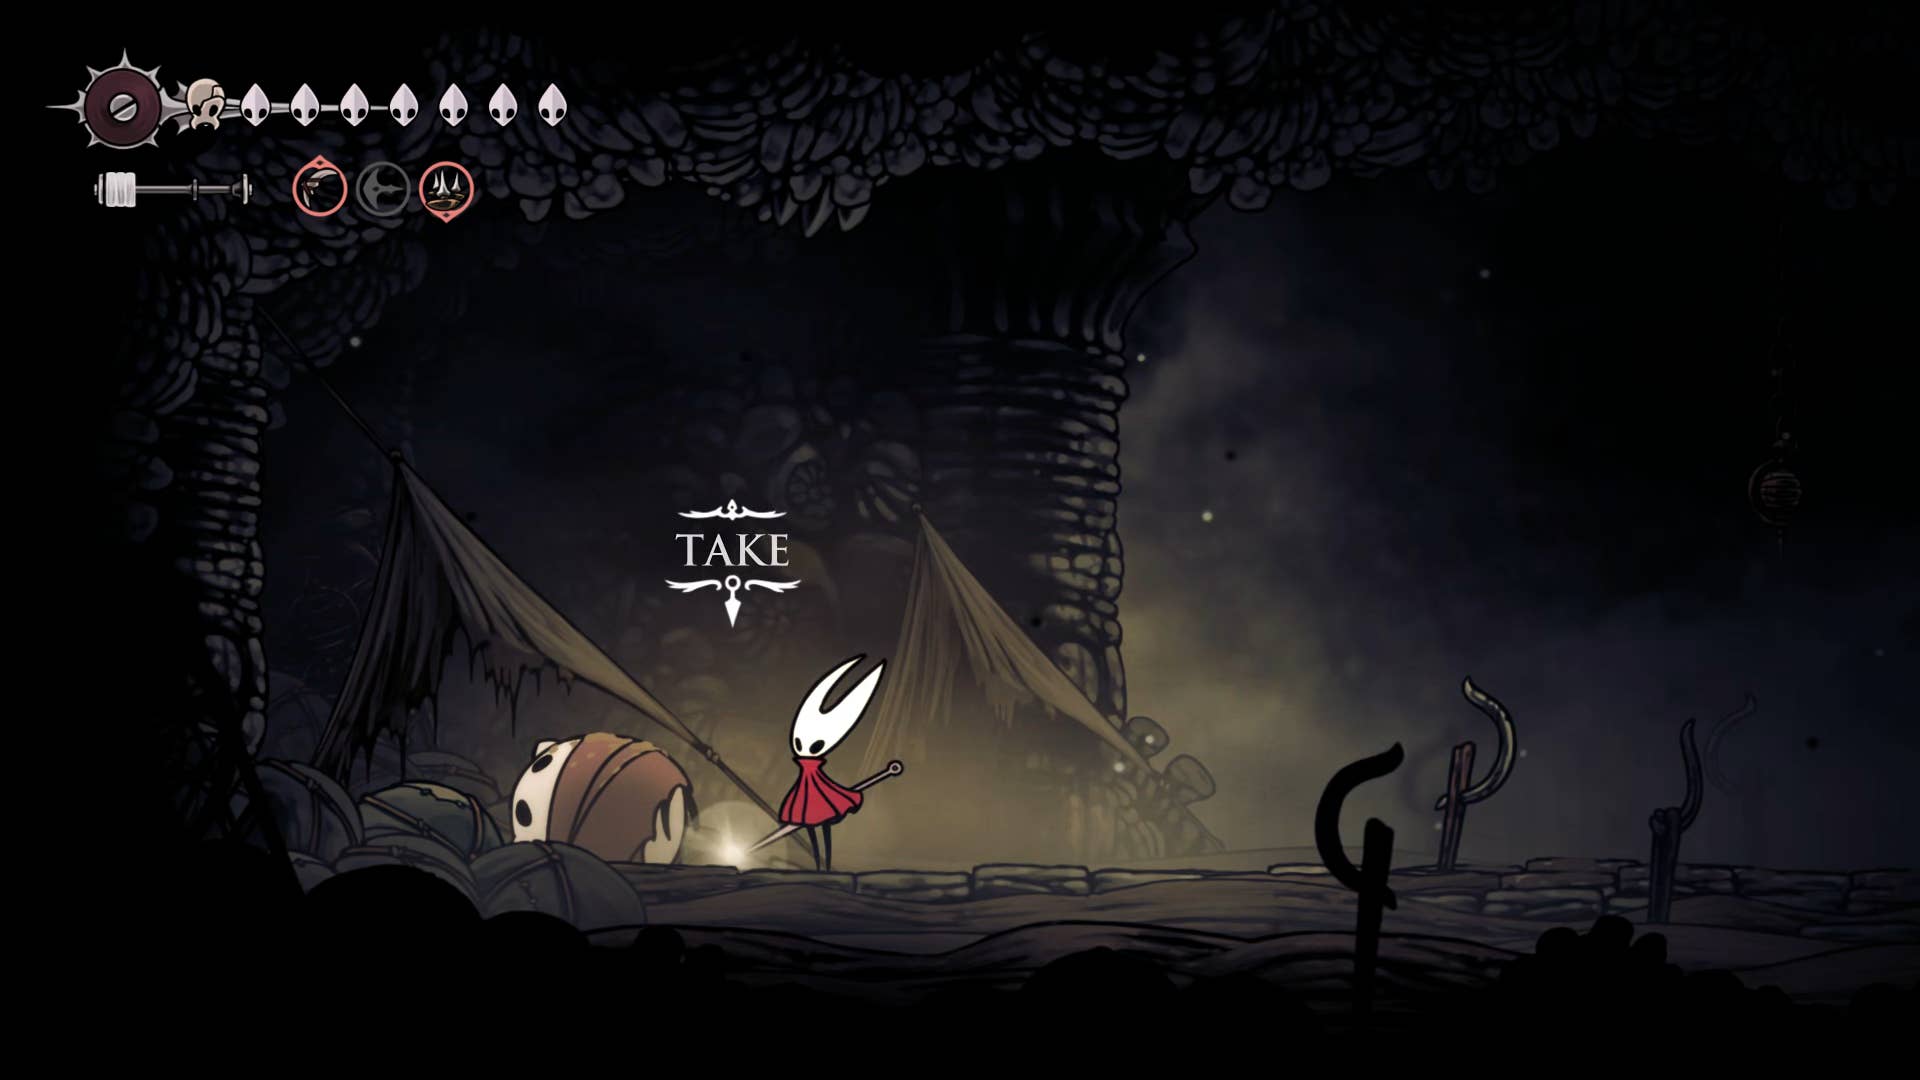
8. Collect intermediate home memory rockets.
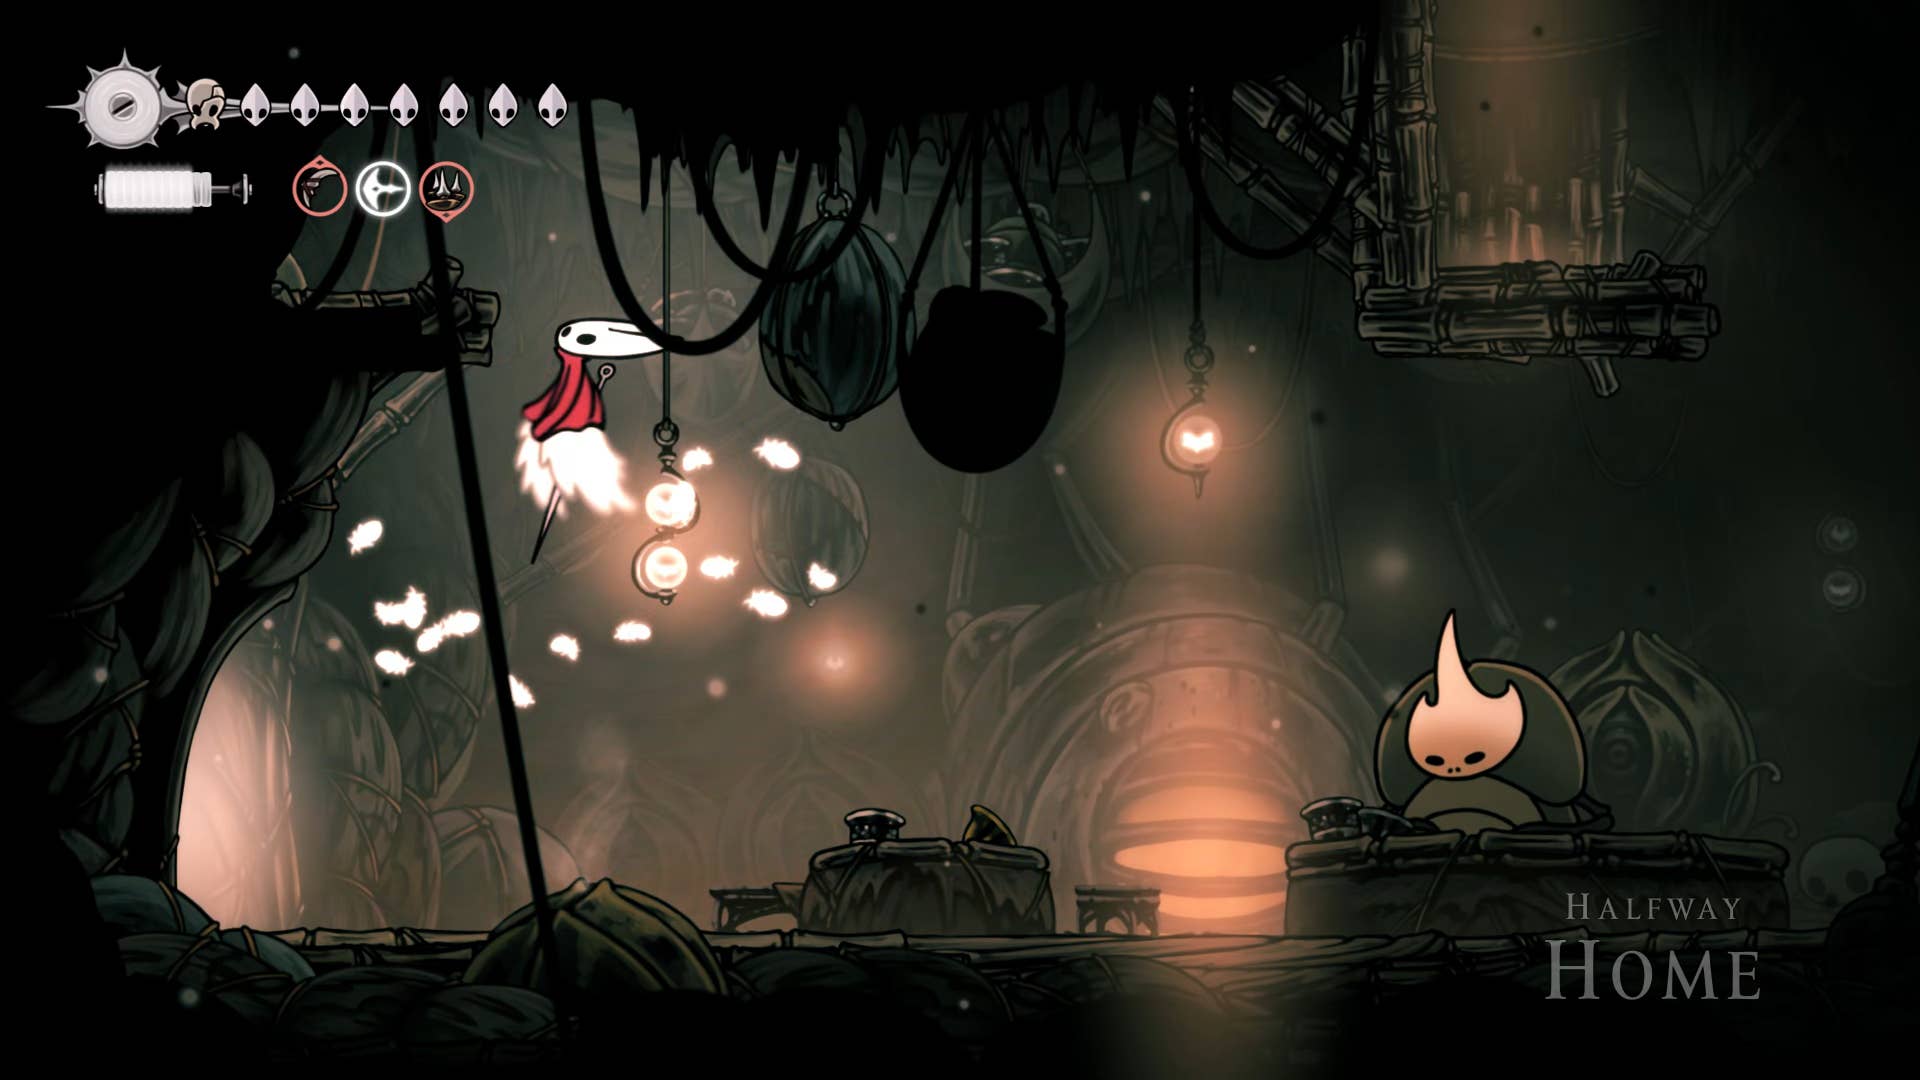
Next, head to Greymoor and visit the house along the way. There is a tall shelf to the left of the interior of the Halfway Home, which can now be reached with a fay-down cloak.
Step into the left side of this shelf and you’ll find a small, small hidden space where you can pick up a memory rocket. It’s wonderful and easy!
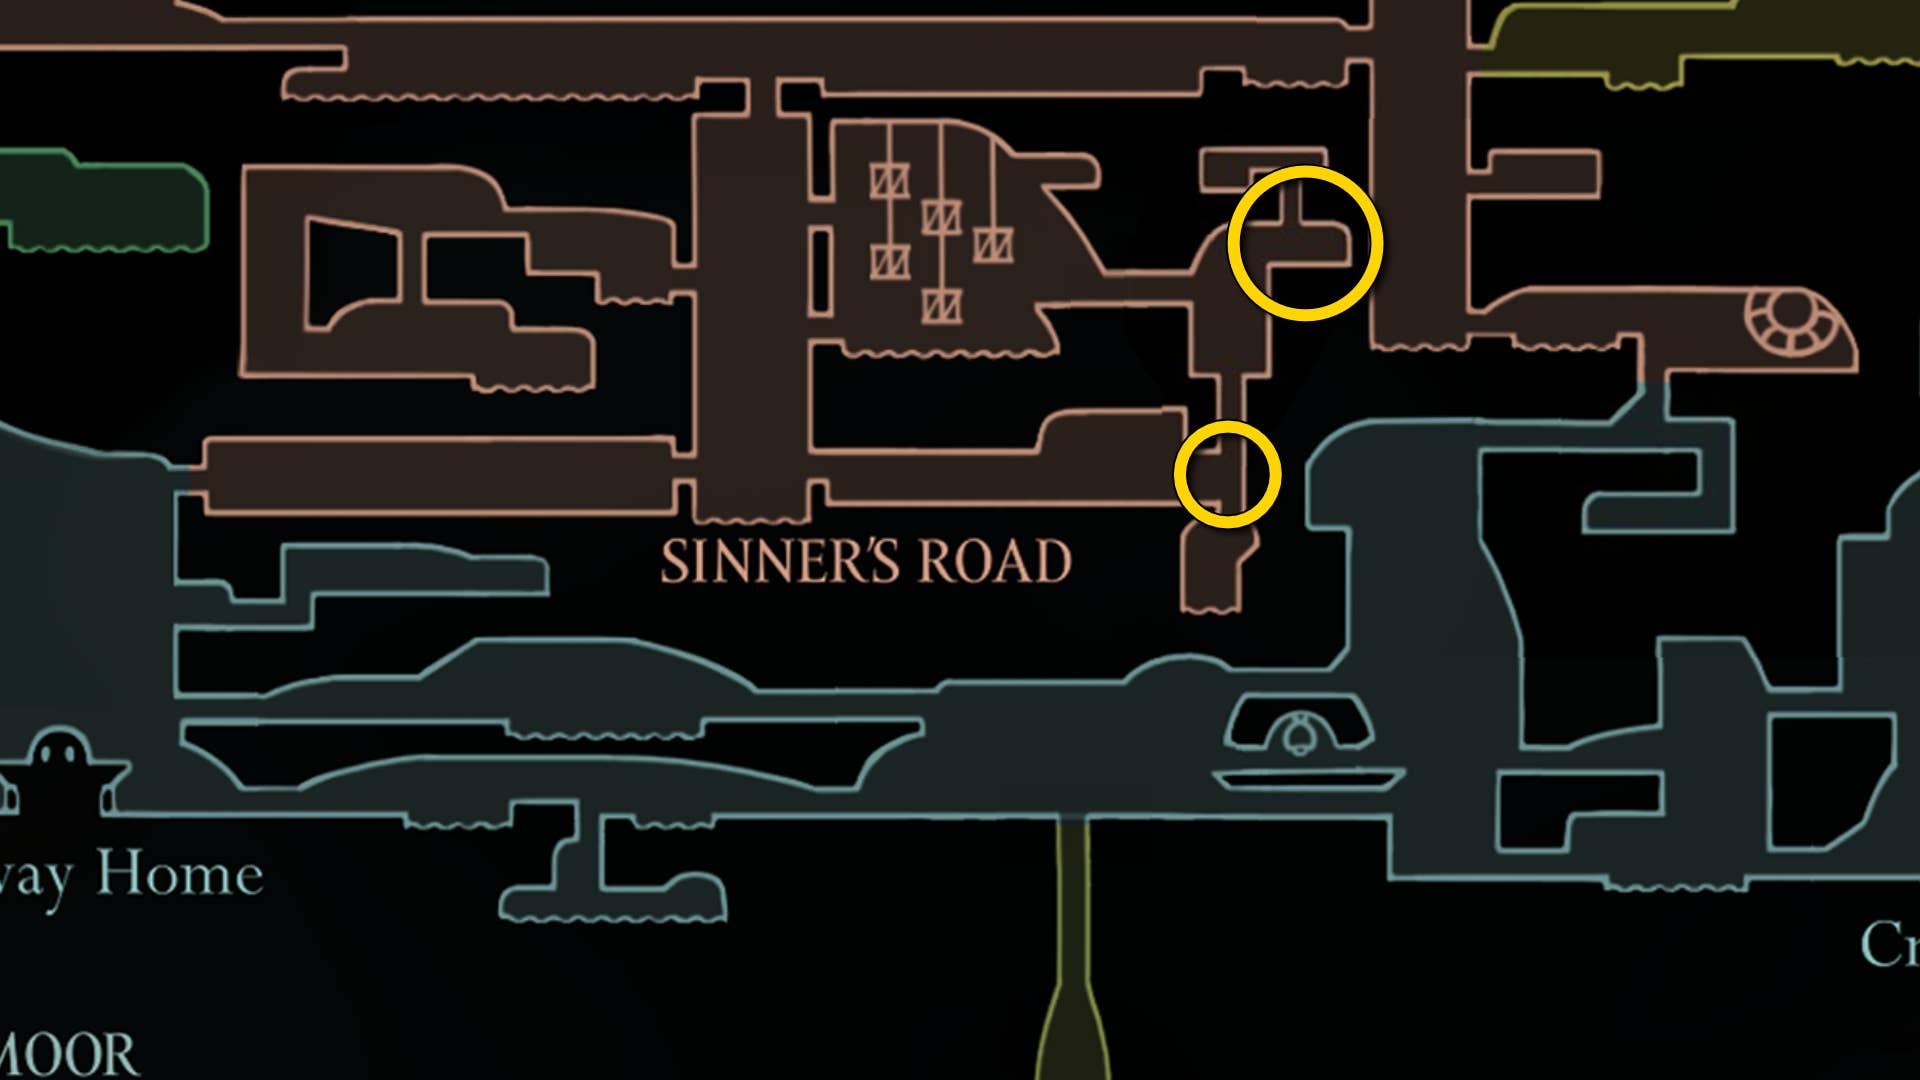
9. Find the dishonorable chef Lugolli in the way of a sinner.
Sadly, it’s time to return to the path of a sinner. Along the bottom of the Sinner’s Path there is a shaft leading straight up to unexplored territory, on the way until you reach a section on the map.
Double jump to reach the wall of this shaft and climb up. Once you’ve exited the tunnel, press the lever above to open a shortcut to the main part of the thinner path. Next, jump up and jump to the right, then ring your gong to begin the boss fight.
Before the boss appears, you need to defeat two of the new type of sinner’s road enemies – Roach Server. They aren’t that difficult. When you kill them, the true boss – the dishonest chef Lugoli – falls from the ceiling.
Care is essential here. You don’t want to be attacked by those big green spheres. Because they quickly get infected like the water the worm has infected and you prevent healing. Getting infected is not worth the damage that can be brought about by being aggressive, so take your time. Lugoli’s move set is really simple.
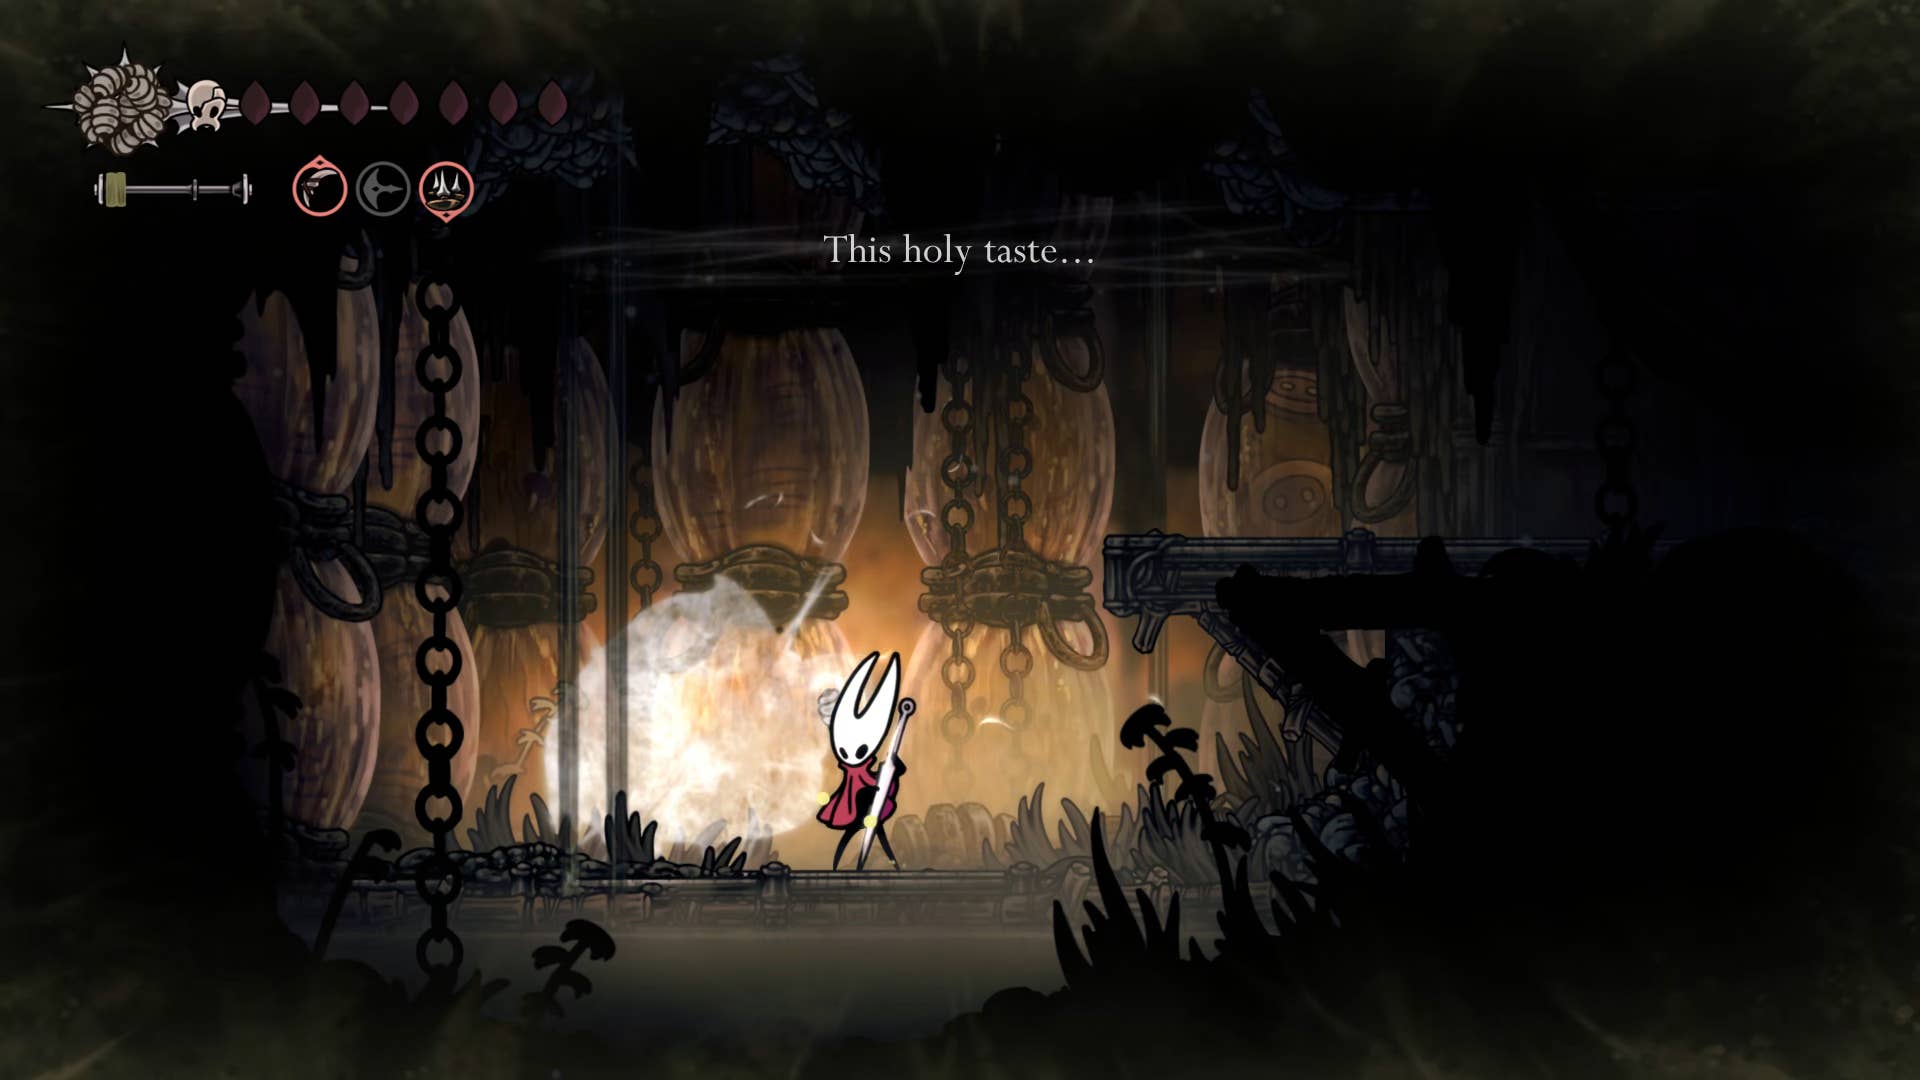
When Lugoli dies, they leave items to plunder: pickles of Muckmaggot. This is one of the ingredients you need for the fantastic taste of Furroomside Quest and is now yours. You can also go off-screen and return to the arena. You will also find that there is a way to pass through the center of the ceiling, where you can play Needlin for a sip of grumpy lore.
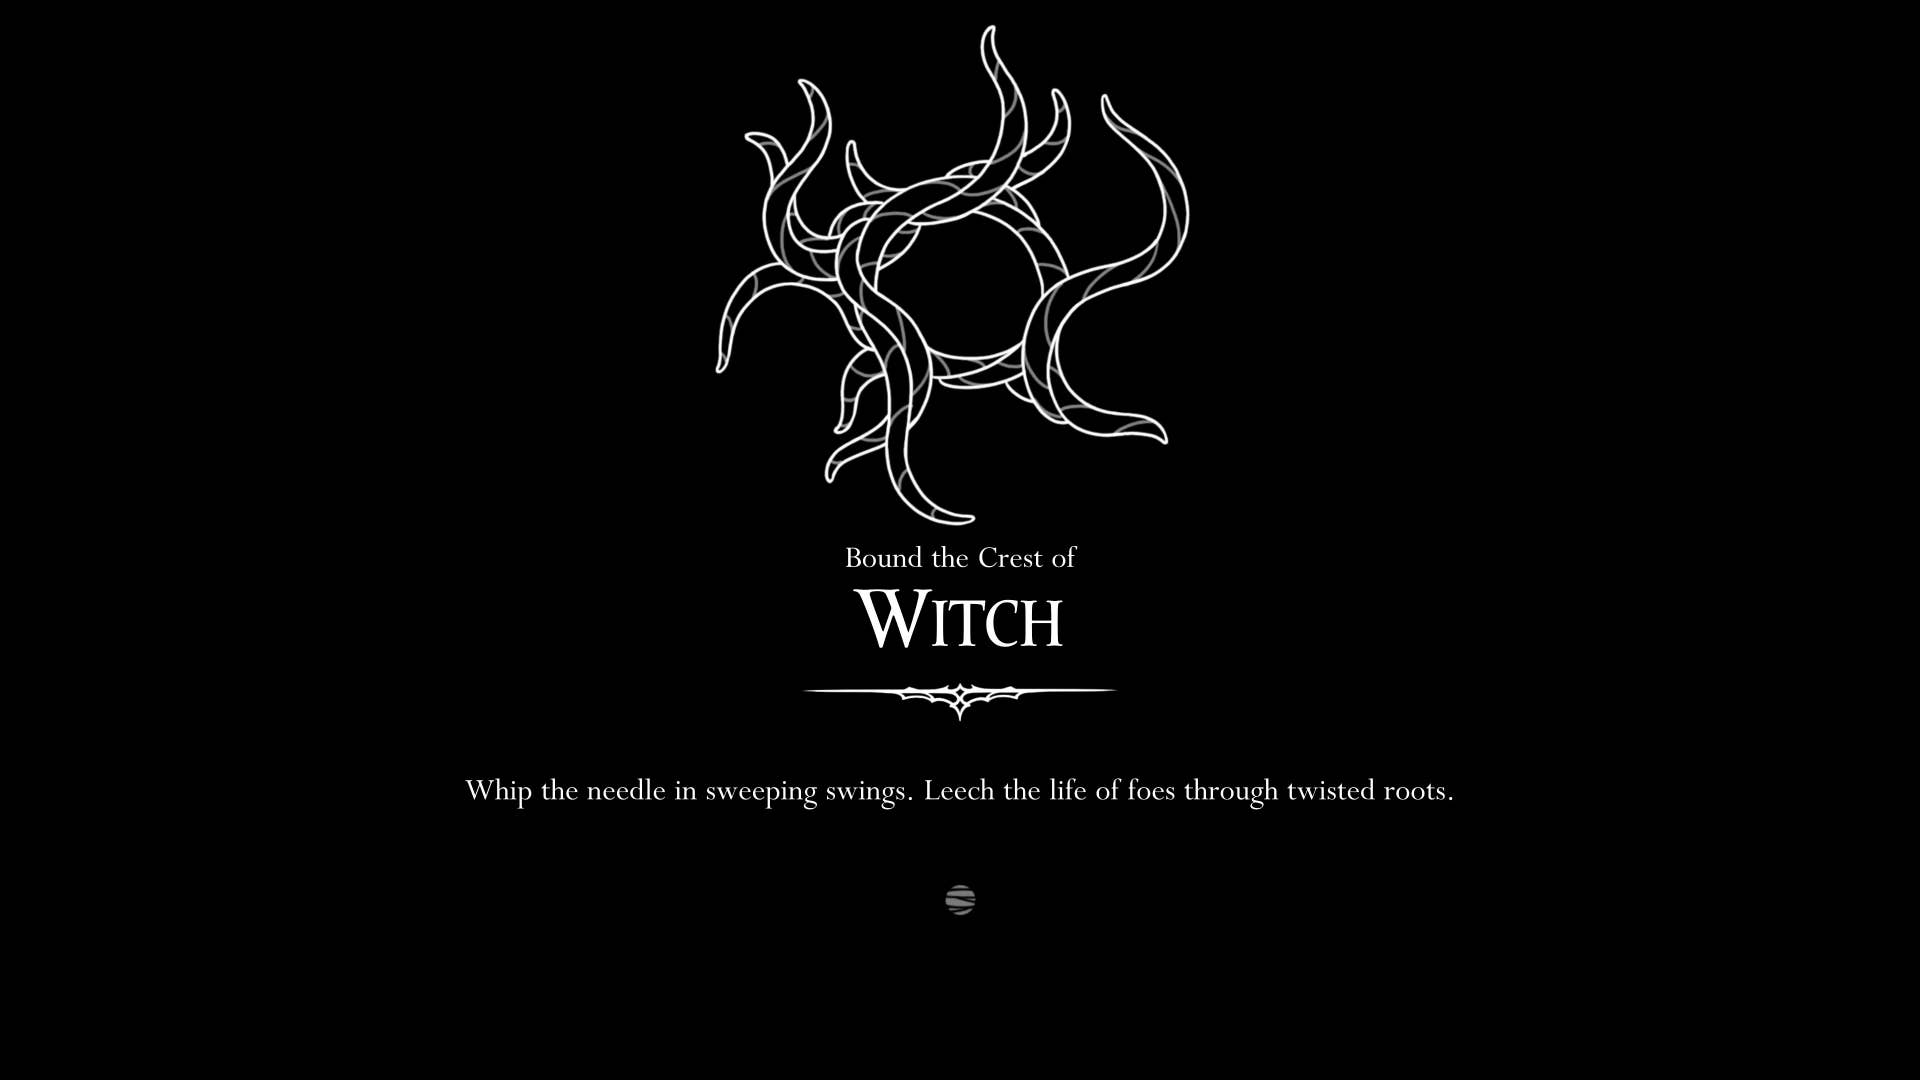
10. Get the witch’s coat of arms.
Well, for a rather charming little quest line. Remember your last dipping into bilewater when you get the strangely crying twisted buds? You can hand it over to Grayroot, a strange being at the heart of Shelwood. Now there’s a double jump, it’s a pretty easy trekking from Shelwood Bellway.
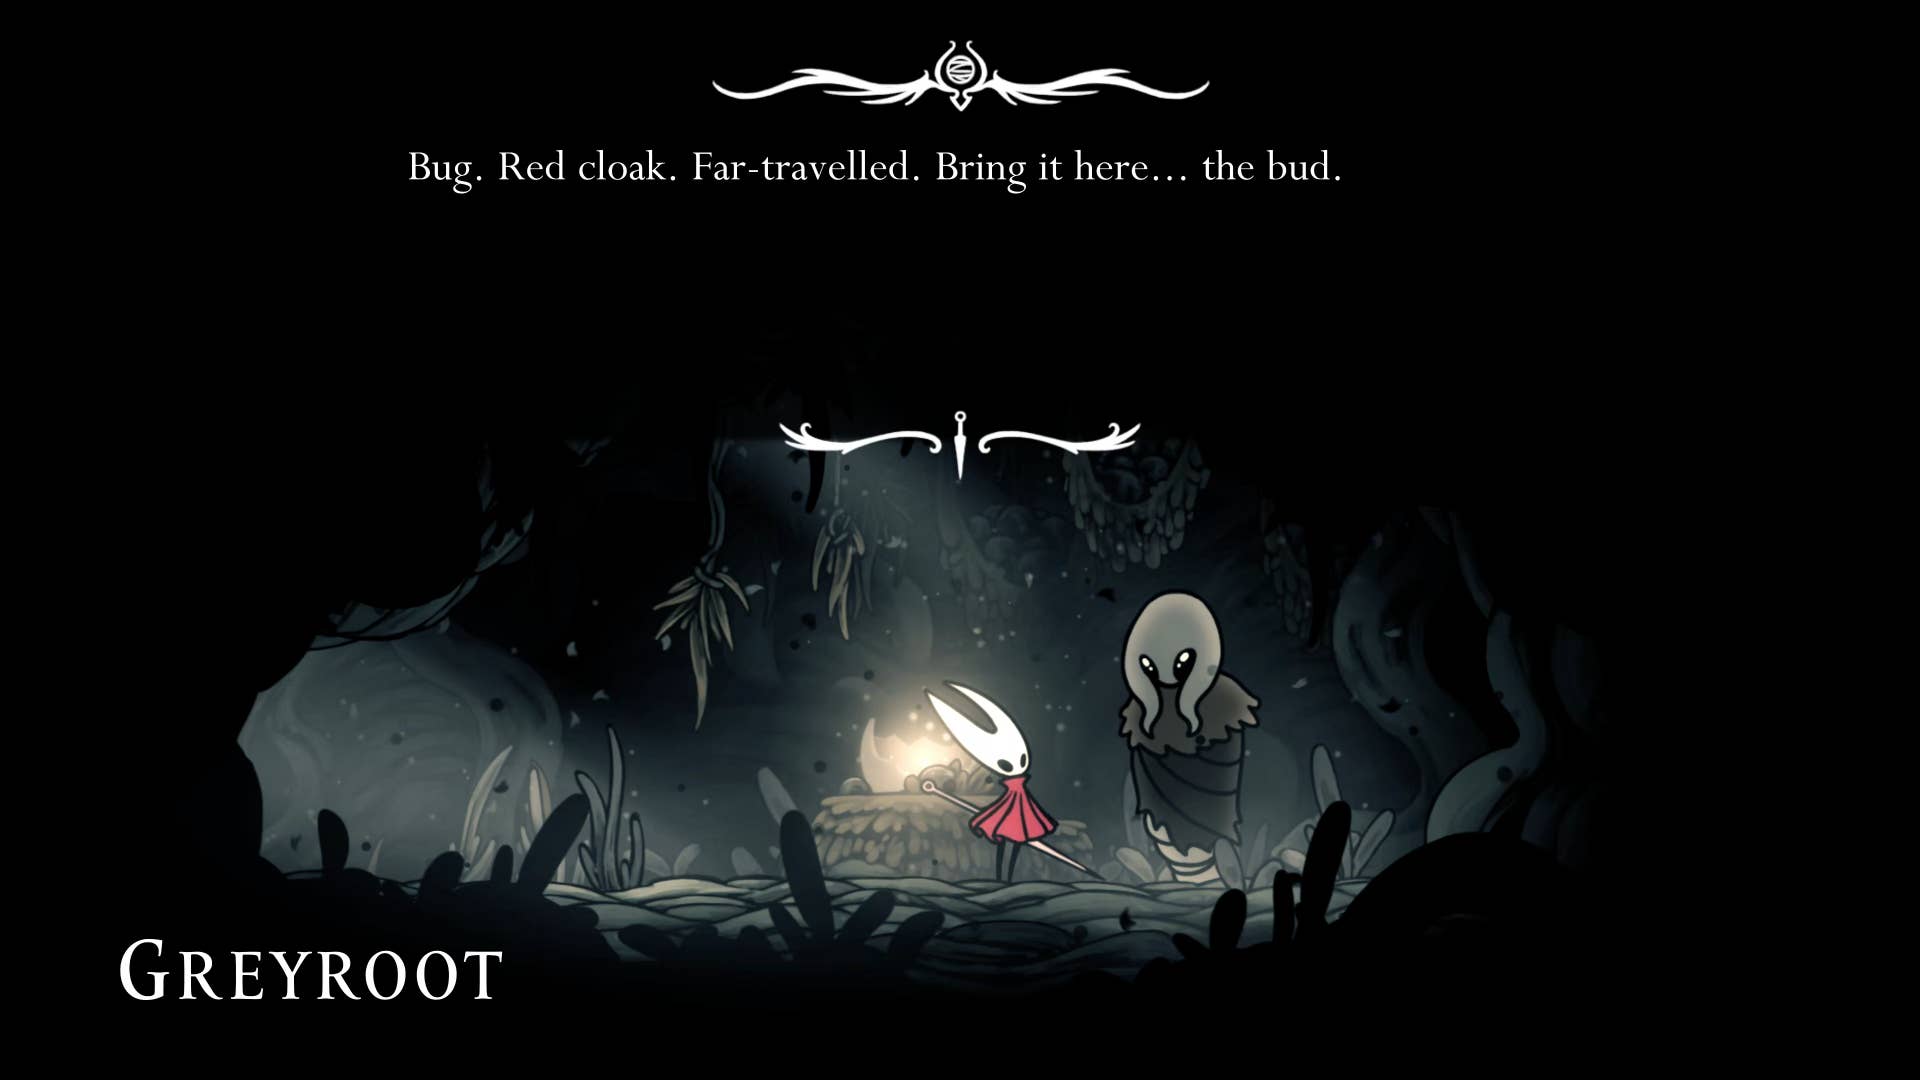
Give the grey root a twisted bud, and they… will infect you with it. The Hornet wakes up trapped in several roots within the Witch’s Chapel. There are almost no tools, no attack skills, no silk. Your goal is to treat this parasite as quickly as possible.
Go left from the chapel. Swim to the right, break through the grape grapes and climb to the top of the shaft ahead to loot the weaver statue. Then drop down and head left until the path branches upwards and faces downwards.
Follow the upward path, pass through the grapes and reach the body with the rosary thread. Next, follow the downward path, cut the grapes on the left and go out again for Shellwood. If you first explore downwards there is a bench where you can rest. At this point, you may discover that you cannot change the summit until you have cured this malicious infection, as I did.
Under the bench is an explosive rock that opens a shortcut between the bottom of the shellwood and the top of the marrow. But you don’t need to take it now. Climb the top of the bench to the top of the room, attack the vines on the ceiling, and return to the more familiar Shellwood territory.
At this point you can visit Grayroot’s hideout again, but all that remains is the petrified ruins of the creature. To heal yourself, head straight to a house along the way in Greymore. You can also stop and ask Pabo, a bug in Bell Heart’s song. But they only lead you to a half-hearted home.
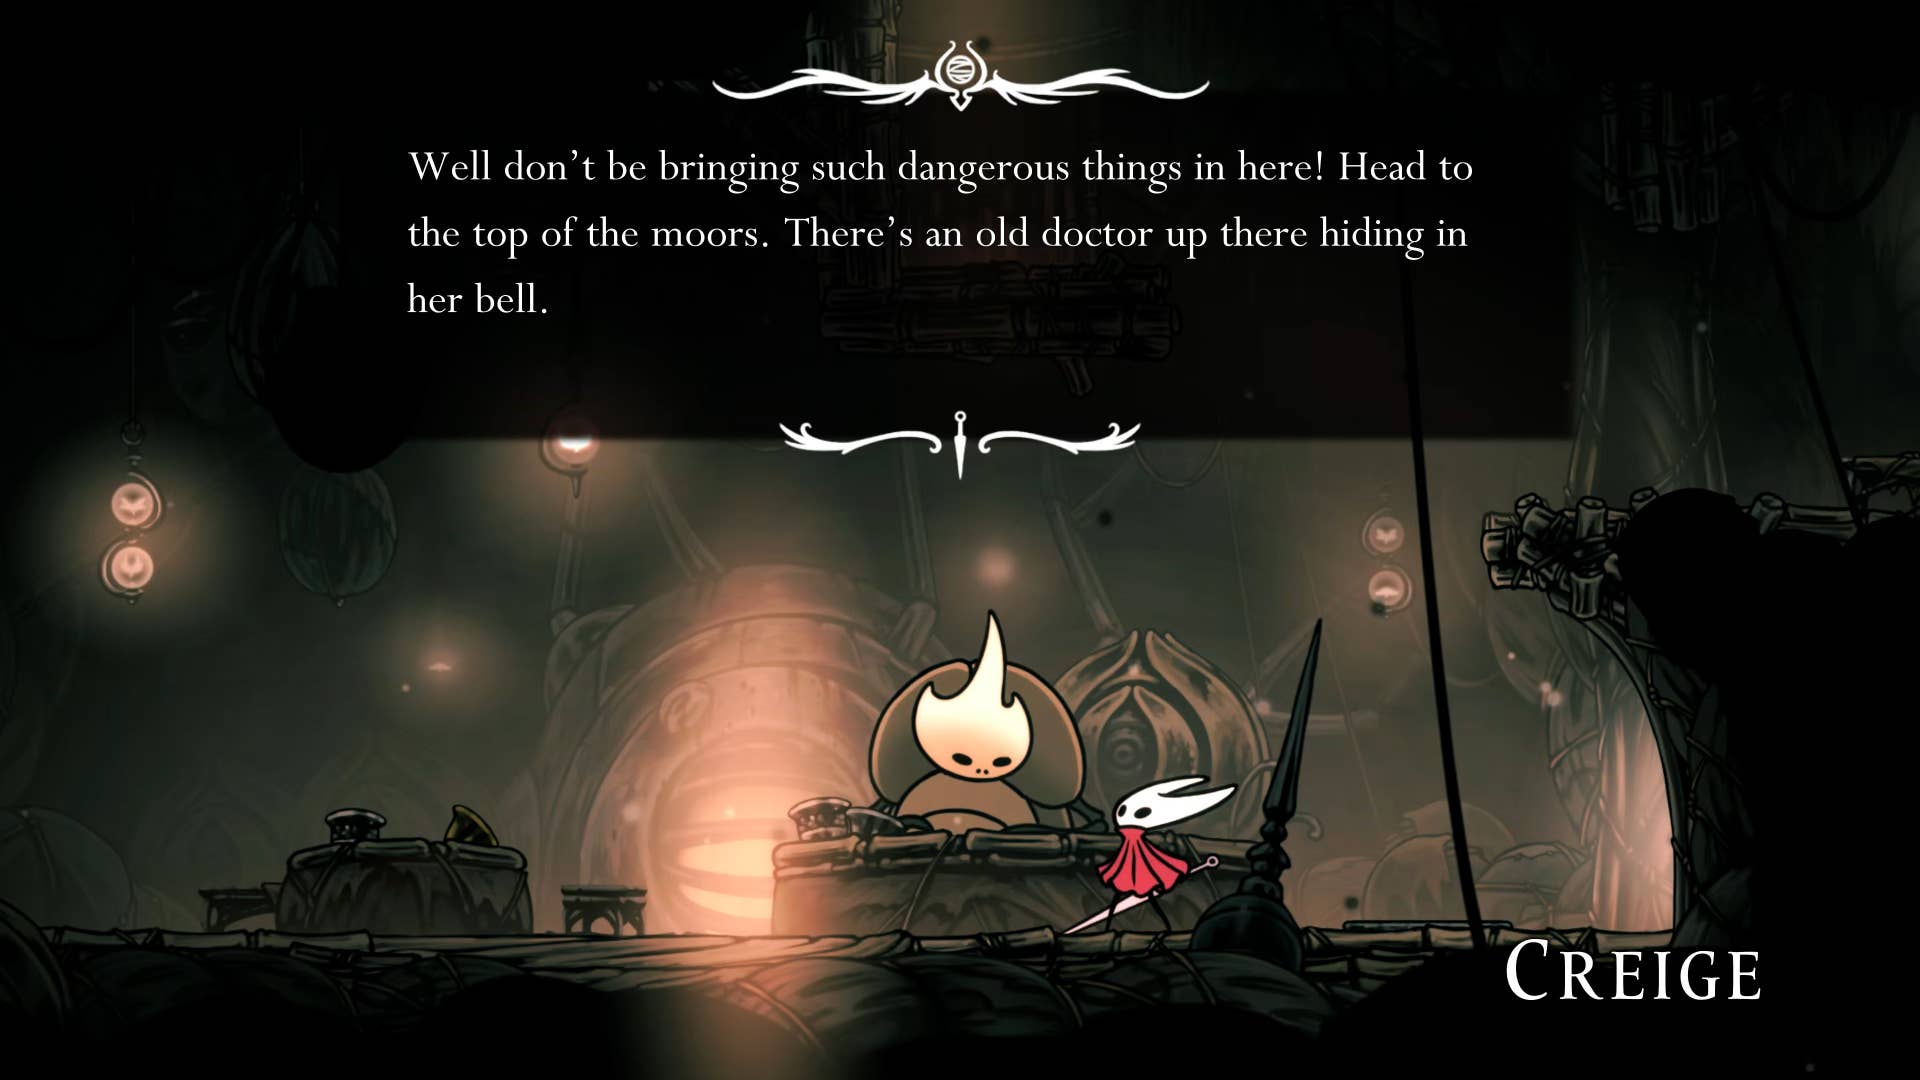
At the house along the way, talk to Crazi, and he will tell you to visit the “old doctor” on the top of Greymore. The old doctor he speaks is Yalnaby, inside Bellhome, just below, that you found and created by finding the Pinpirotour (above the Chapel of the Crunch at the western edge of Greymore).
Knocking at Yanaby’s door and explaining the situation, Yanaby invites you to look into you and explains that you need to procure steel thorns from Benzin and Kururu.
Head to Benzin and Kurul’s house on the Thinner road and buy steel thorns for the 160 rosary. Then go straight back to Yanaby. After a rather painful cutscene, the parasite is extracted from you (almost) – and you will tame enough inner power to activate the witch’s coat of arms.
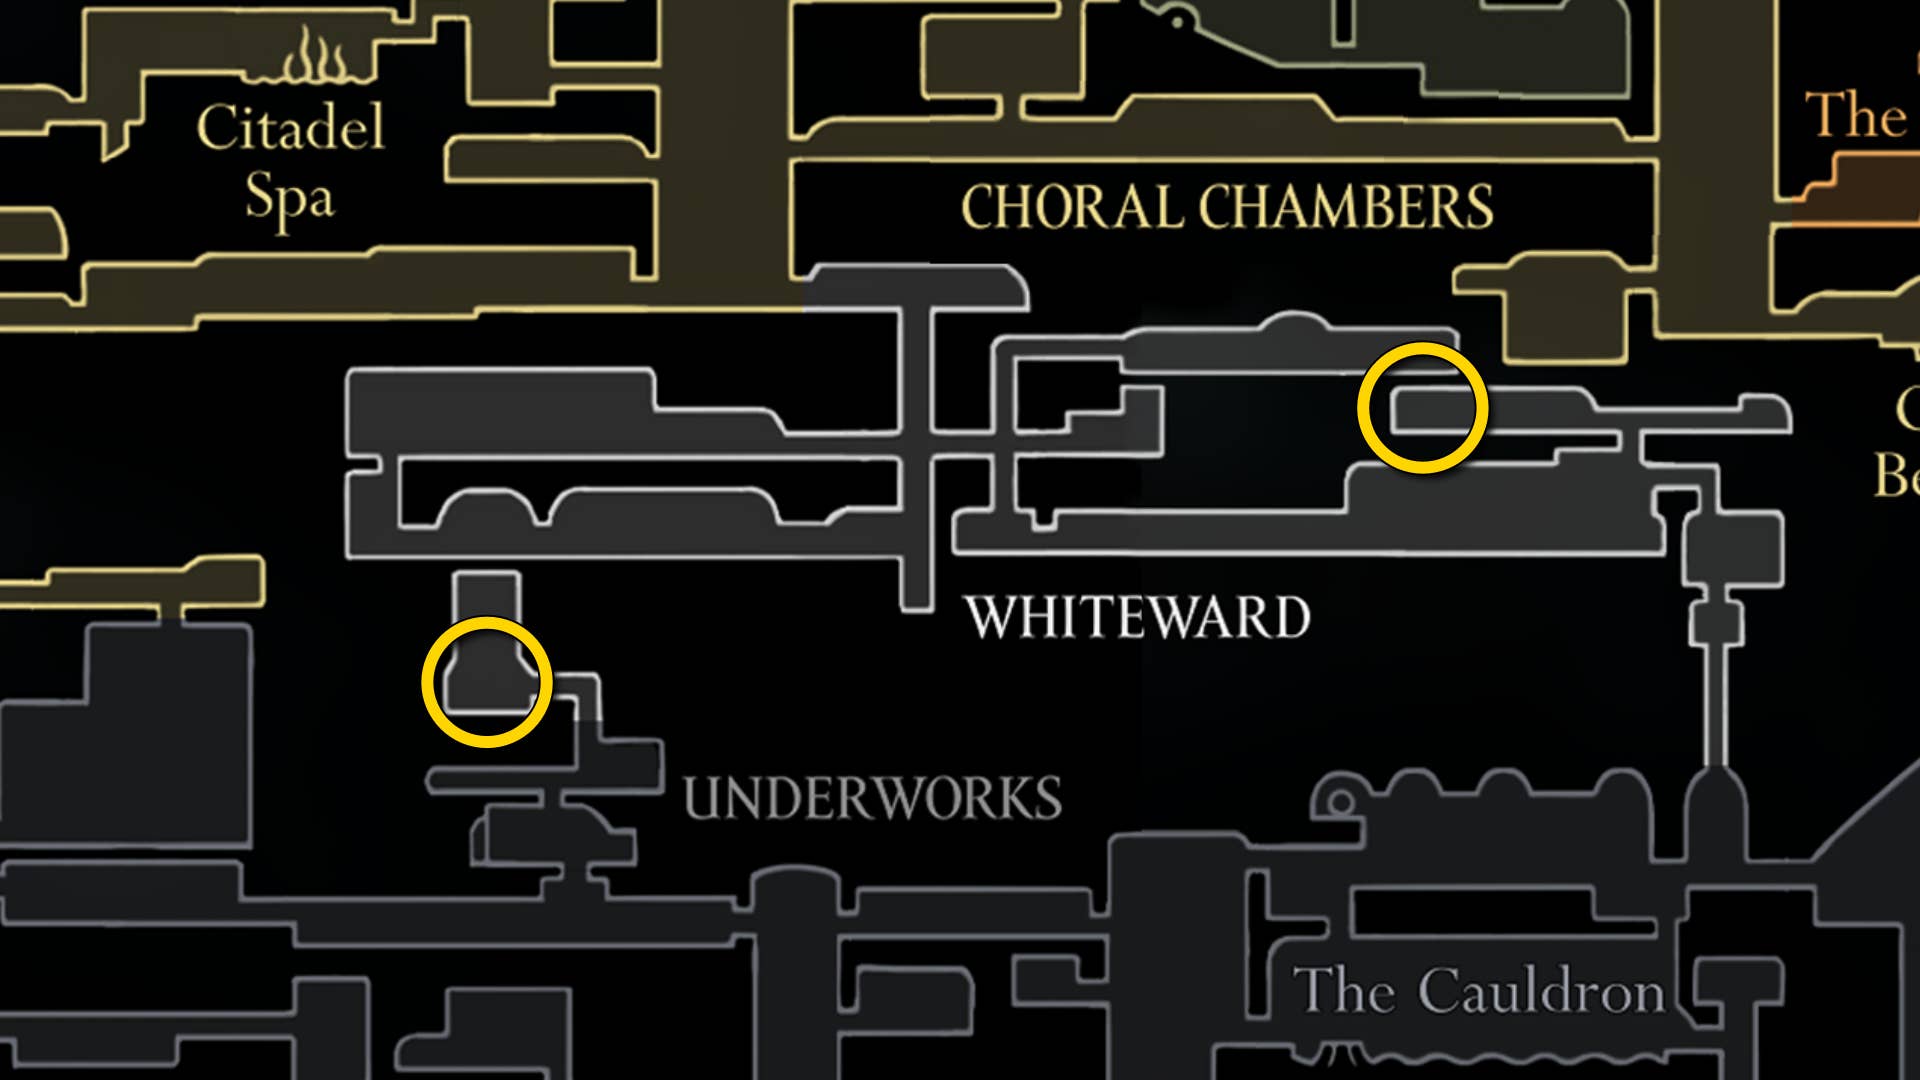
11. Unlock the final part of the white word.
For now, our last stop is White Ward. Head to the entrance via the choir room Ventrica station and lower the elevator to the bottom of the white word.
Head towards the center level of the elevator shaft and cross to the right. There is a crossroads where both the upper and lower paths are on the right. It’s tricky, but at this point you can use a combination of athletic skills to reach and climb the walls of the upper tunnel. Start on the right side, double jump to the middle, raise your claw line to the left wall, then jump straight away from the wall.

Although some attempts may be required, you should be able to scale up the tunnel and reach the end of the road for the commandments of the chorus. Next, go back to the bottom.
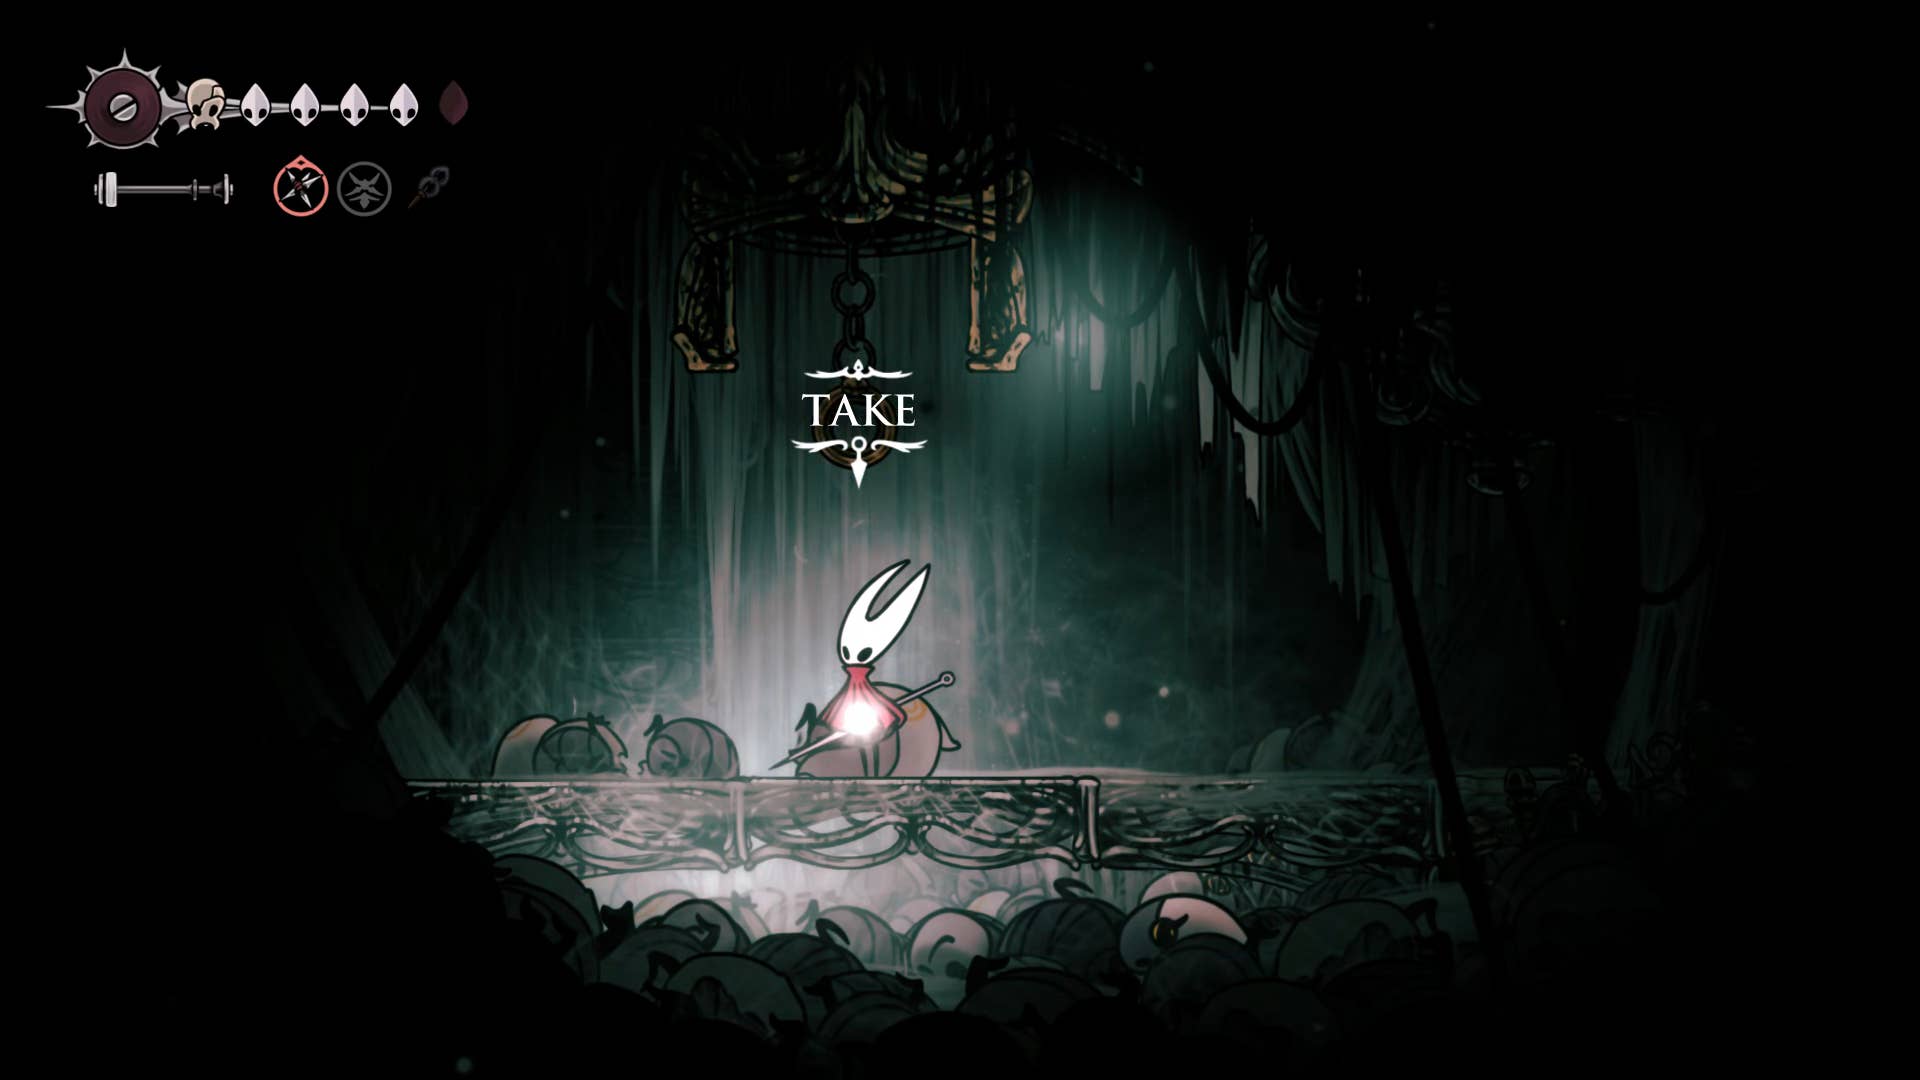
Follow the corridor to the right, jump over the Treasurer’s enemy and climb to the exit above you at the far end. Continue climbing upwards. Once you reach the top, head left. At the end of the pass is a single crawline hook hanging from the ceiling. If you hook it up, your body will fall off. Loot your body for the surgeon’s keys – and note that enemies will appear behind you when you do this.
Next, turn the elevator up and rest on the bench on the right. You are about to face a pretty awful tough boss.
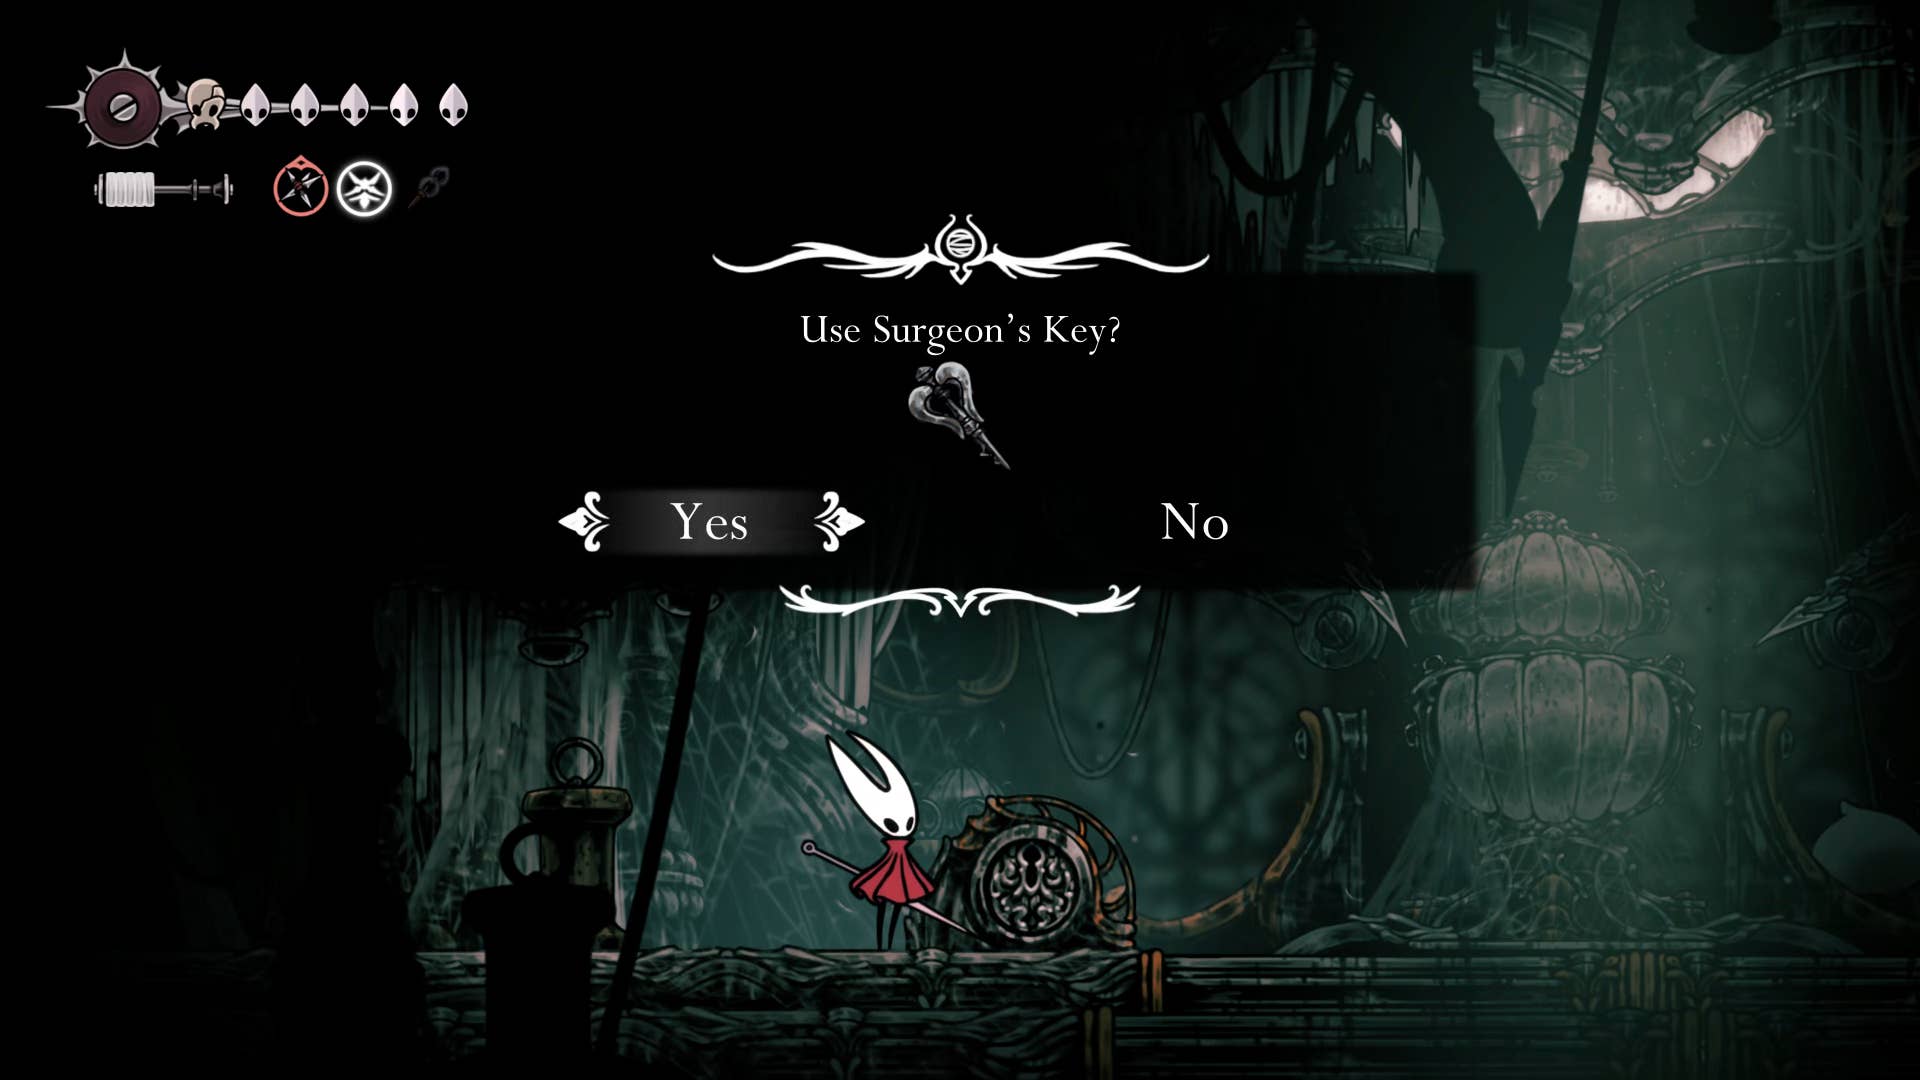
Put the elevator down to the bottom again and run left until you come across a mysterious key on the ground. Use the surgeon’s key to open it and then descend all the way down to the arena at the bottom.
12. Defeat what is revealed.
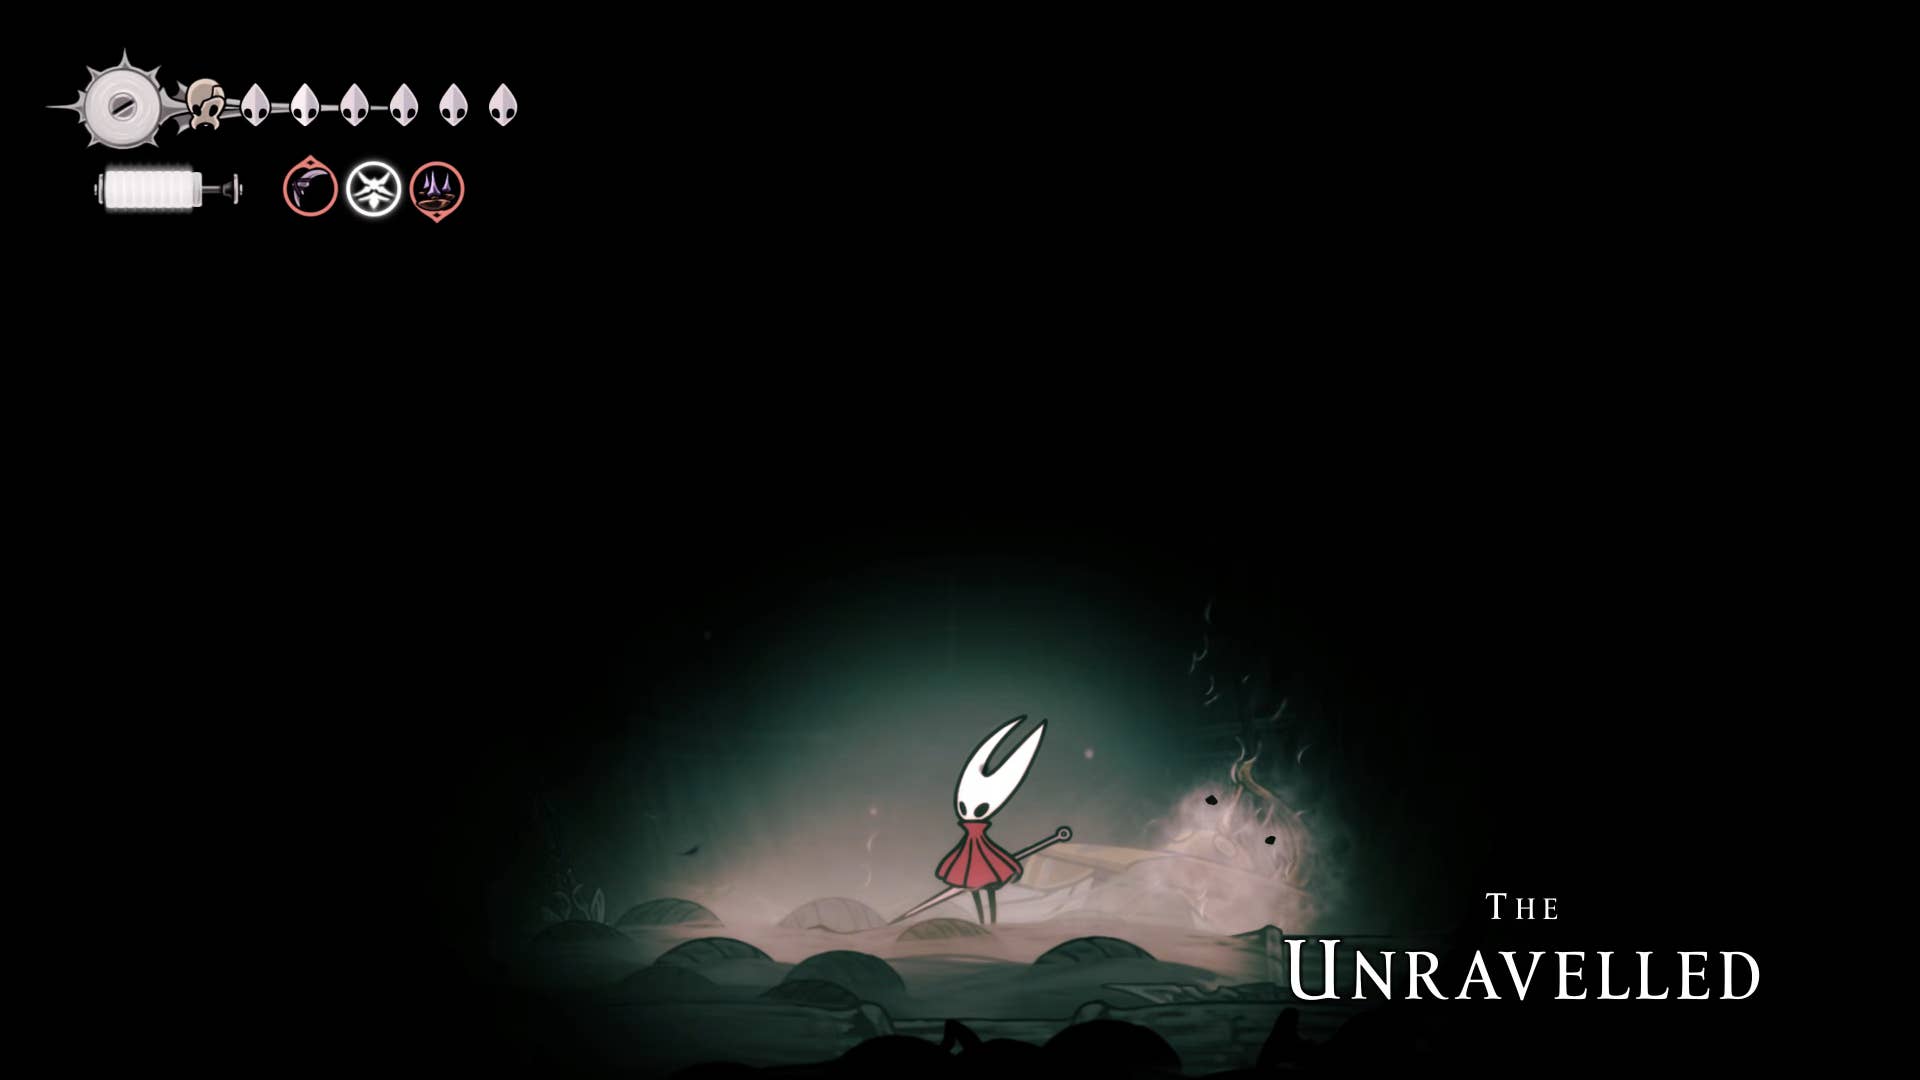
To begin with, you are almost in the darkness of this field. First, some simple enemies are generated. There is a Dreg shell. This can be killed very easily and safely by simply staying underneath it and grinding it upwards. Then, with another enemy type, another person appears – the dregwheel begins to spin regularly and bounce back everywhere. Keep them offensive against these people – you can practice a little and continue to attack safely while they spin.
Then something unraveled appears, and it’s a really troublesome work – although it’s much easier in Double Jump. There are two main attack types. One is where you spit projectiles at you (one in a random order, one in a low, one in a random order), and the other is where you charge you across the arena. It also allows you to quickly track spitting if you like to charge.
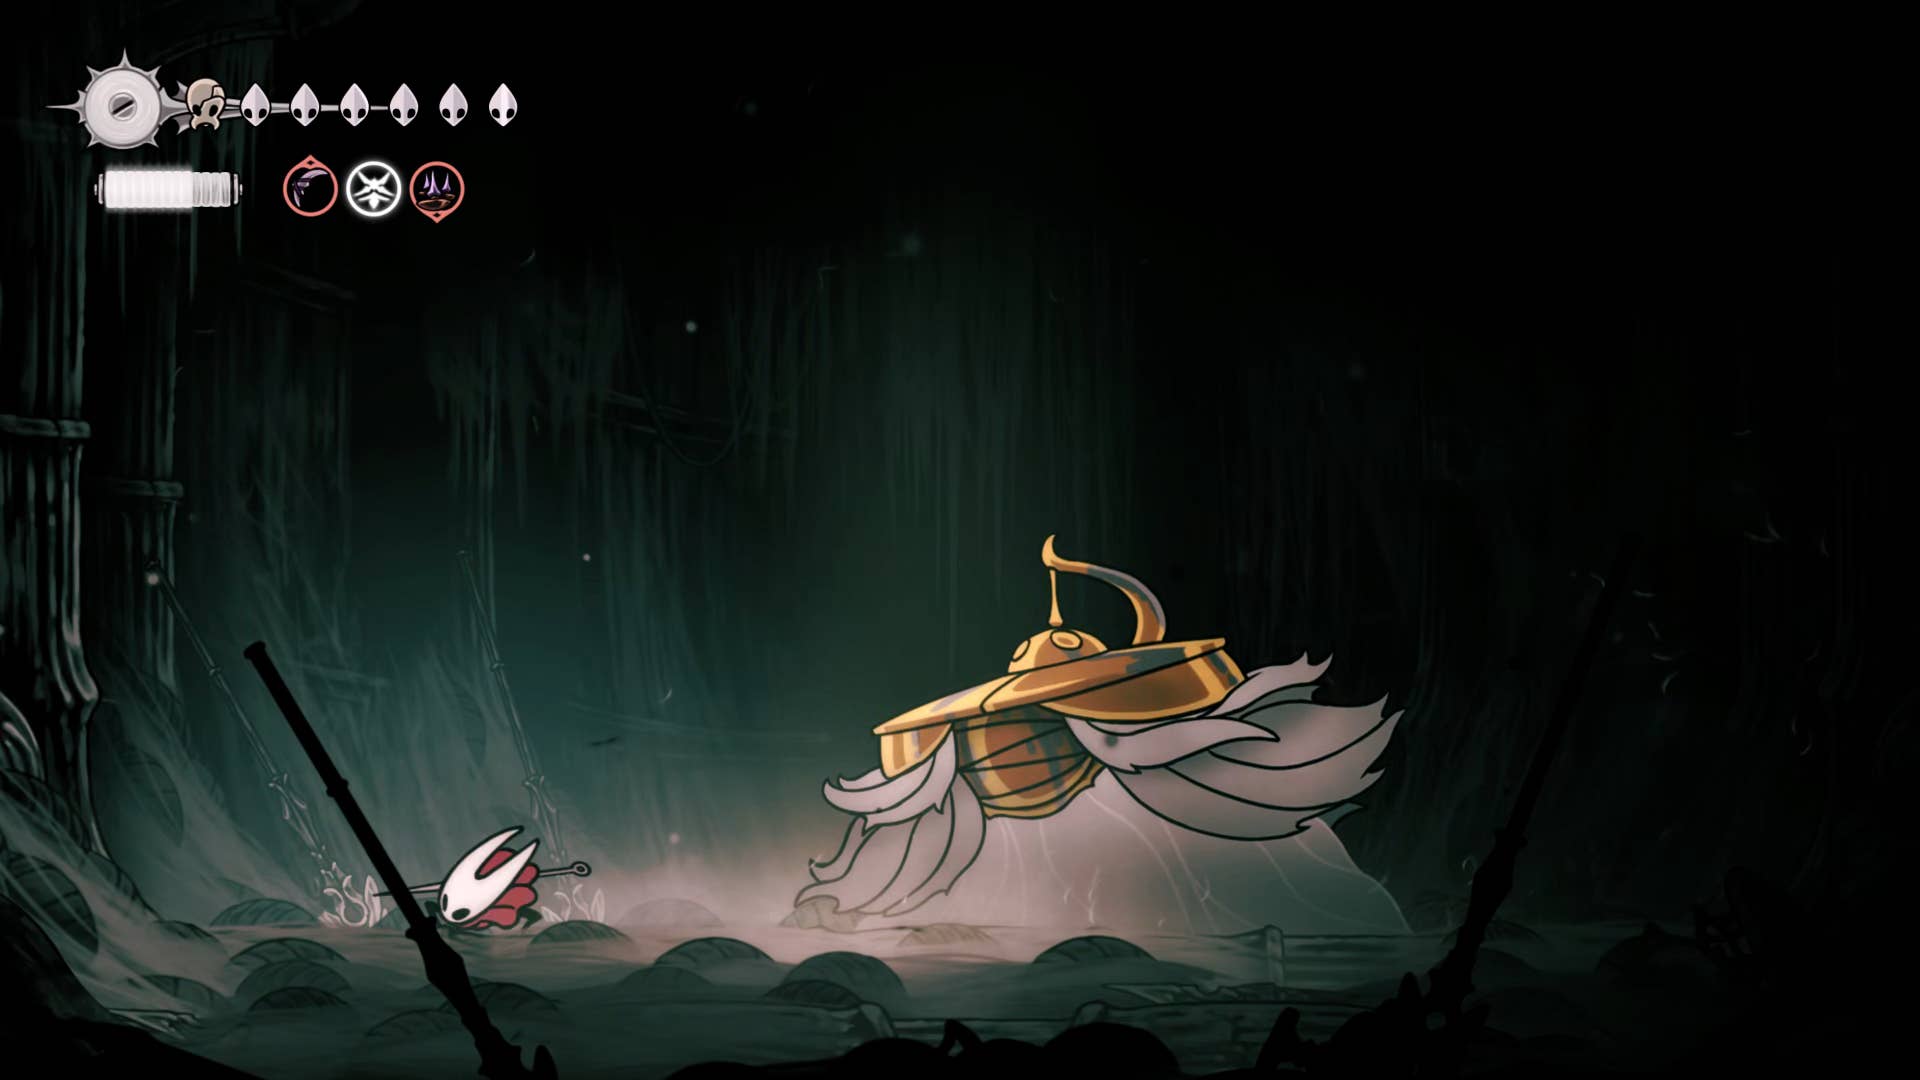
Your purpose is to get out of the ground, slash once, then and then right next to it immediately Dash away and prepare to jump over either the projectile or the charge. Tacks and other traps are good against Unraveled’s charge attacks, but it’s best to keep them up to the second phase.
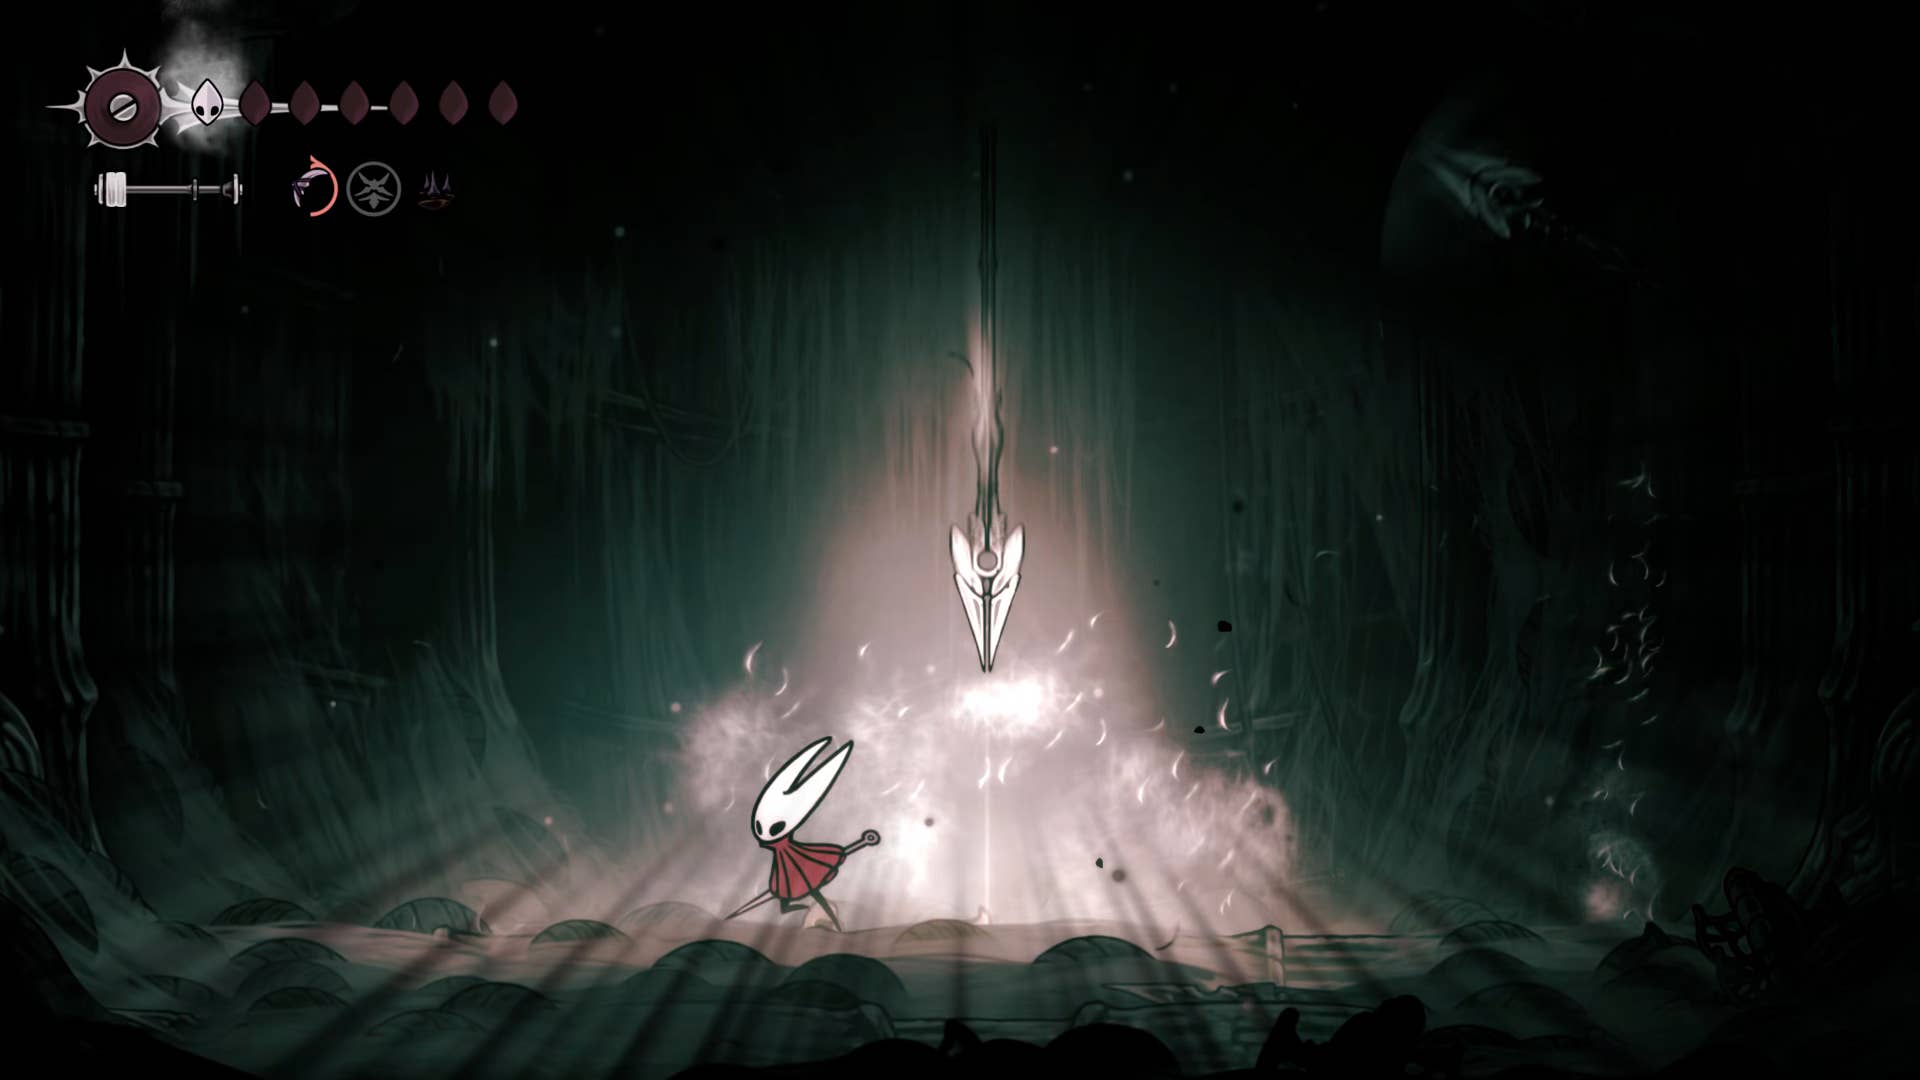
In the second phase, more minions are summoned, and then the unlocked person begins to use telekinetic spears against you, often weaving them in other attacks. It’s definitely hard to avoid any damage at this point. If you need to have space to heal, use the wall to your advantage. Also note that in this second phase, what is elucidated will spit three projectiles rather than two, each at different height levels.
I won this fight using tack and curvature. Both are poisonous. We also highly recommend using an injector band to speed up your healing during the later stages of this challenging battle.
Once you finally defeat what is unraveled, you are brought back to silk dimensions. Once you reach the top, the Silk Heart will be rewarded. There is a second heart since defeating Bel Beastway at the start of the game.
You might think that’s all for our miscellaneous side quest hunting for the time being, but in fact we’ll stop a little more – they were too big to fit in this section! Join Part 24 of the Silksong Walkthrough. Dive into the obscure areas of the deep dock.
(TagStoTranslate) Hollow Knight: Silksong (T) Action Adventure (T) Indie (T) Nintendo Switch (T) PC (T) Platformer (T) Team Cherry