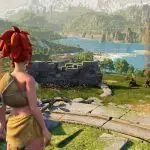
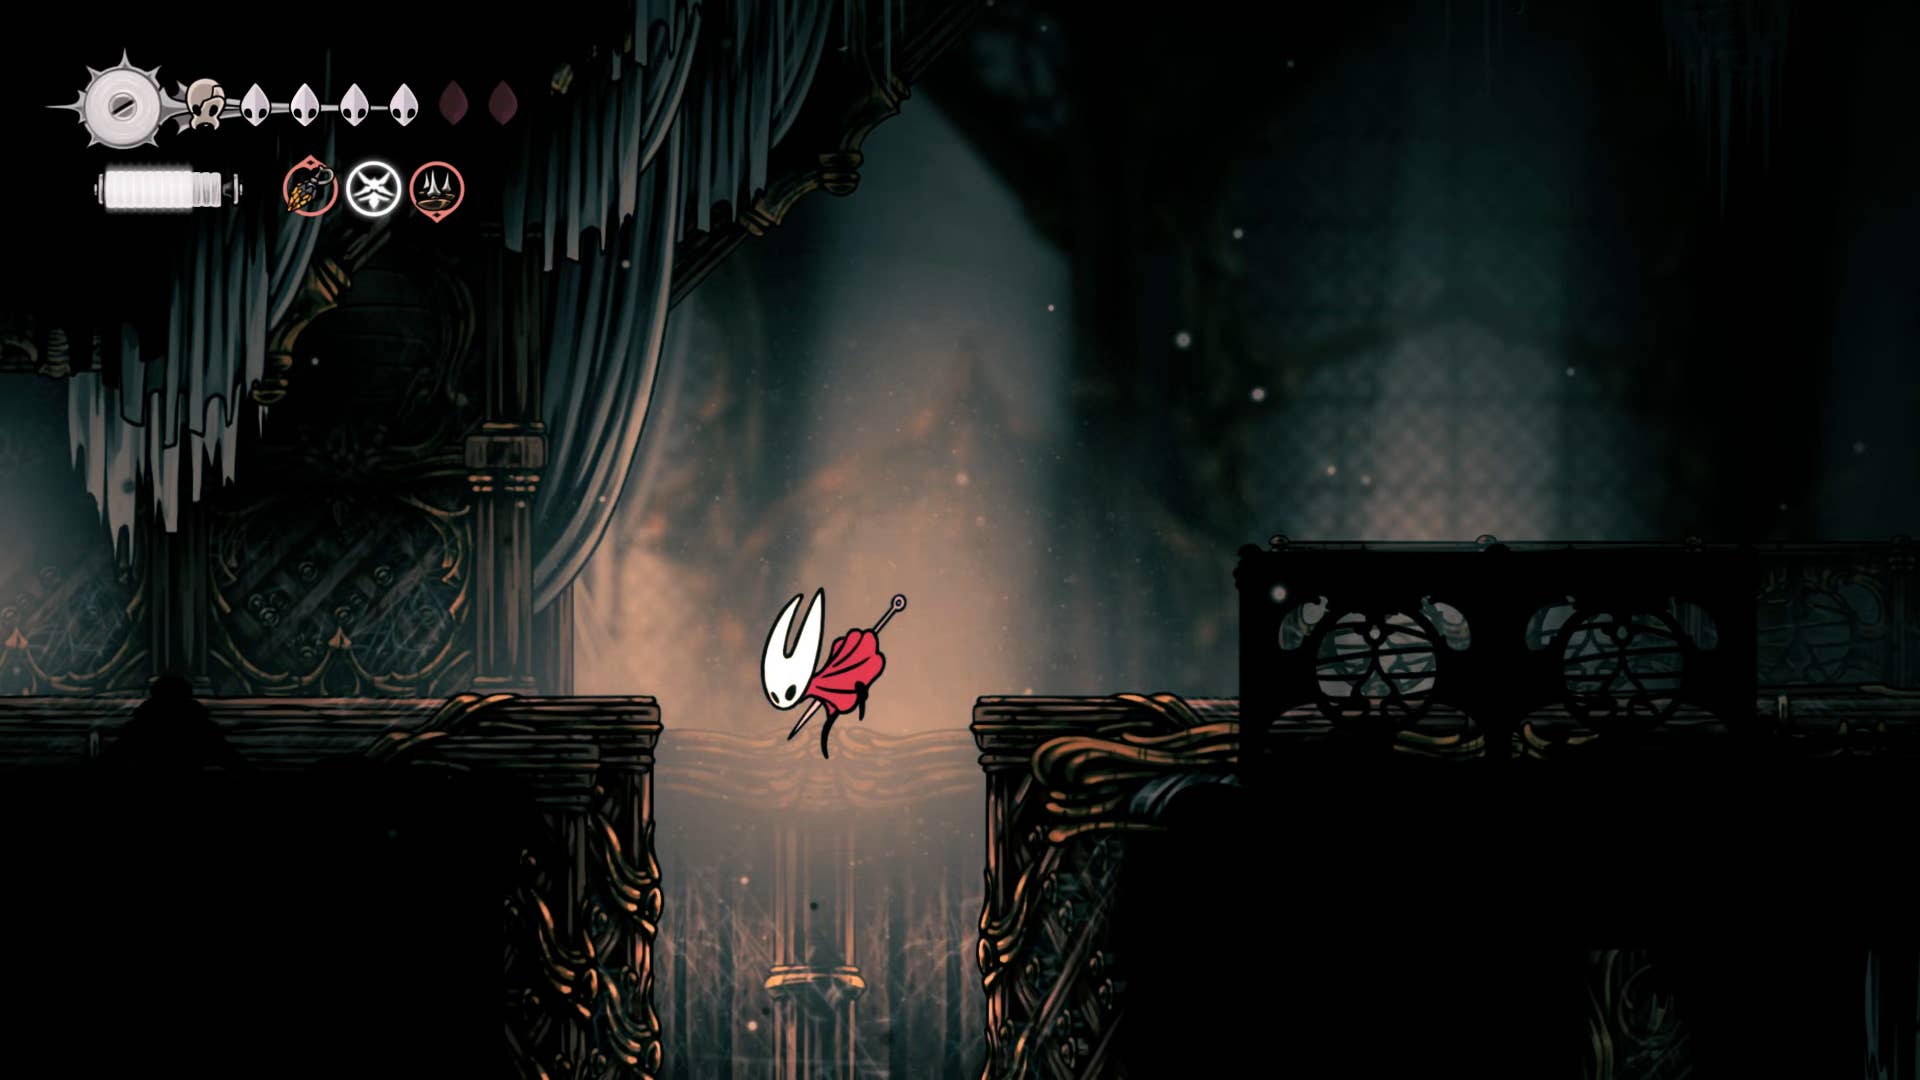
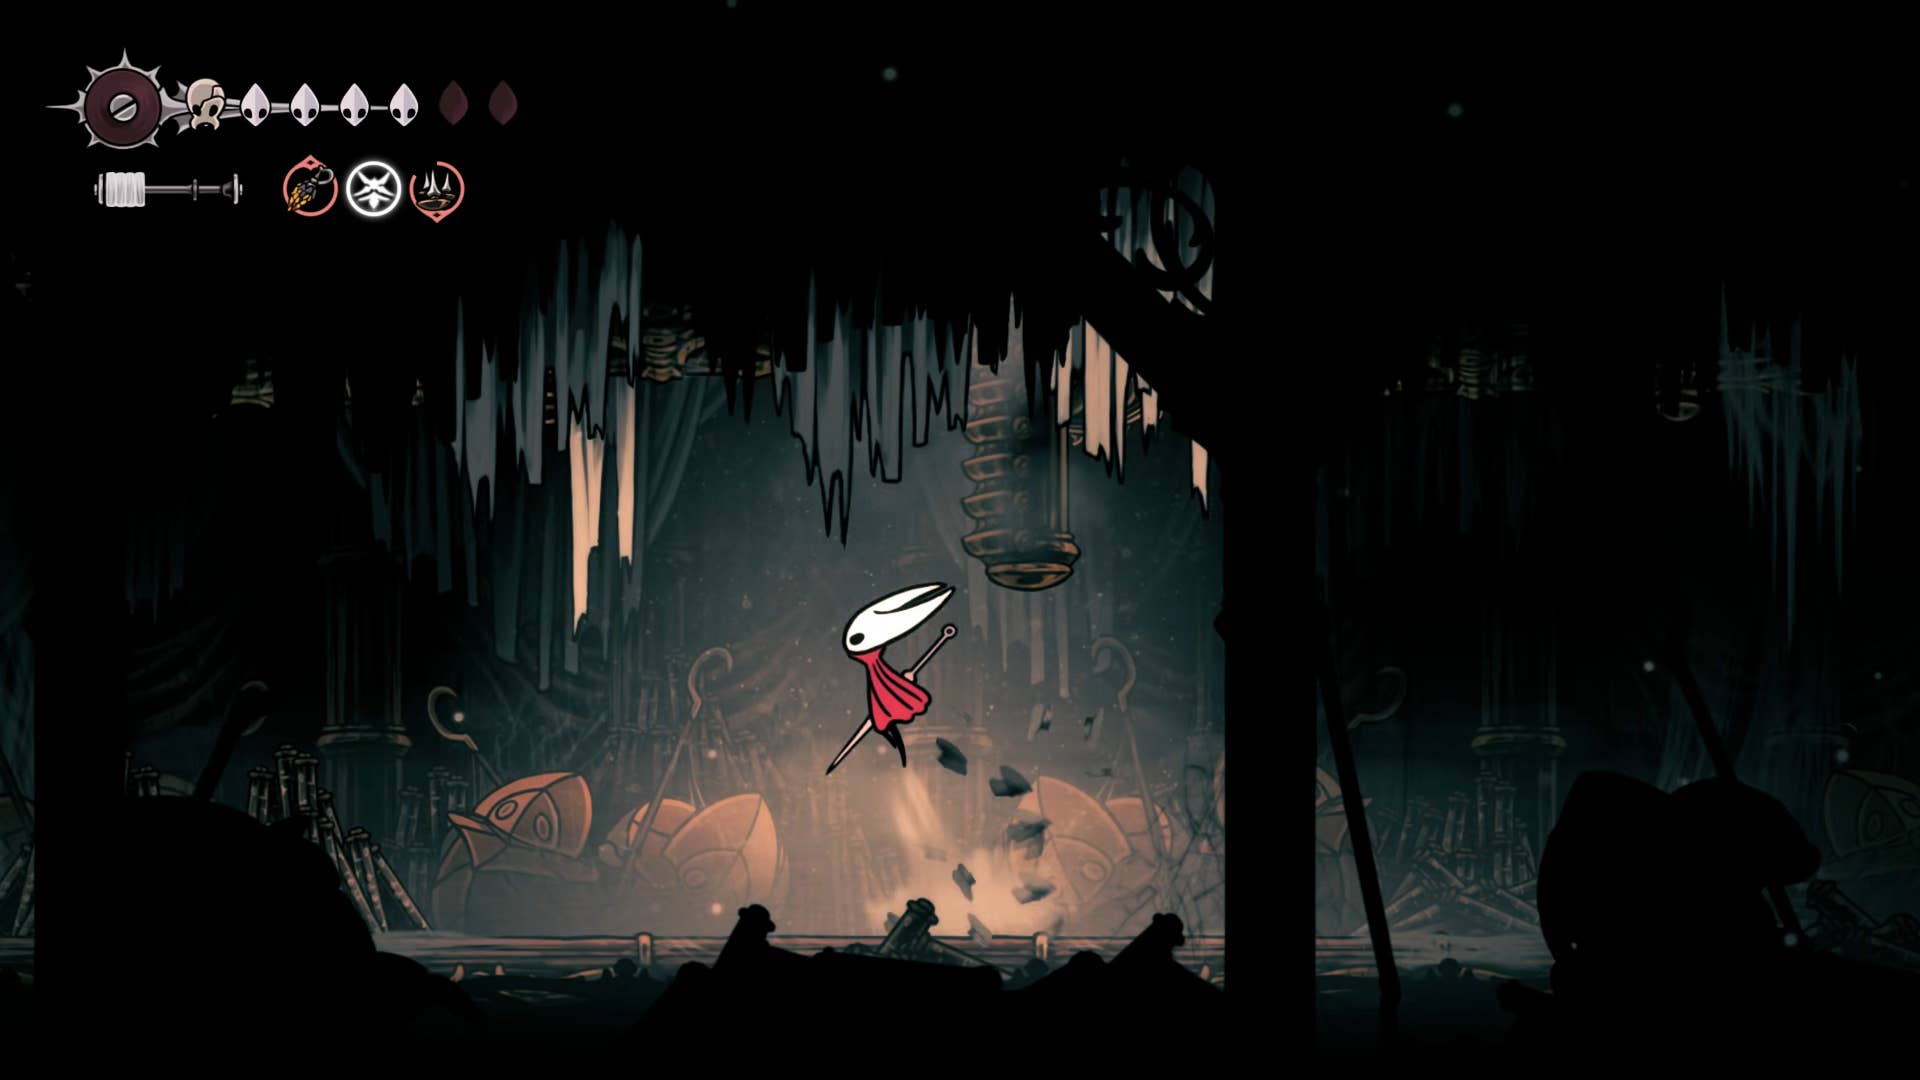
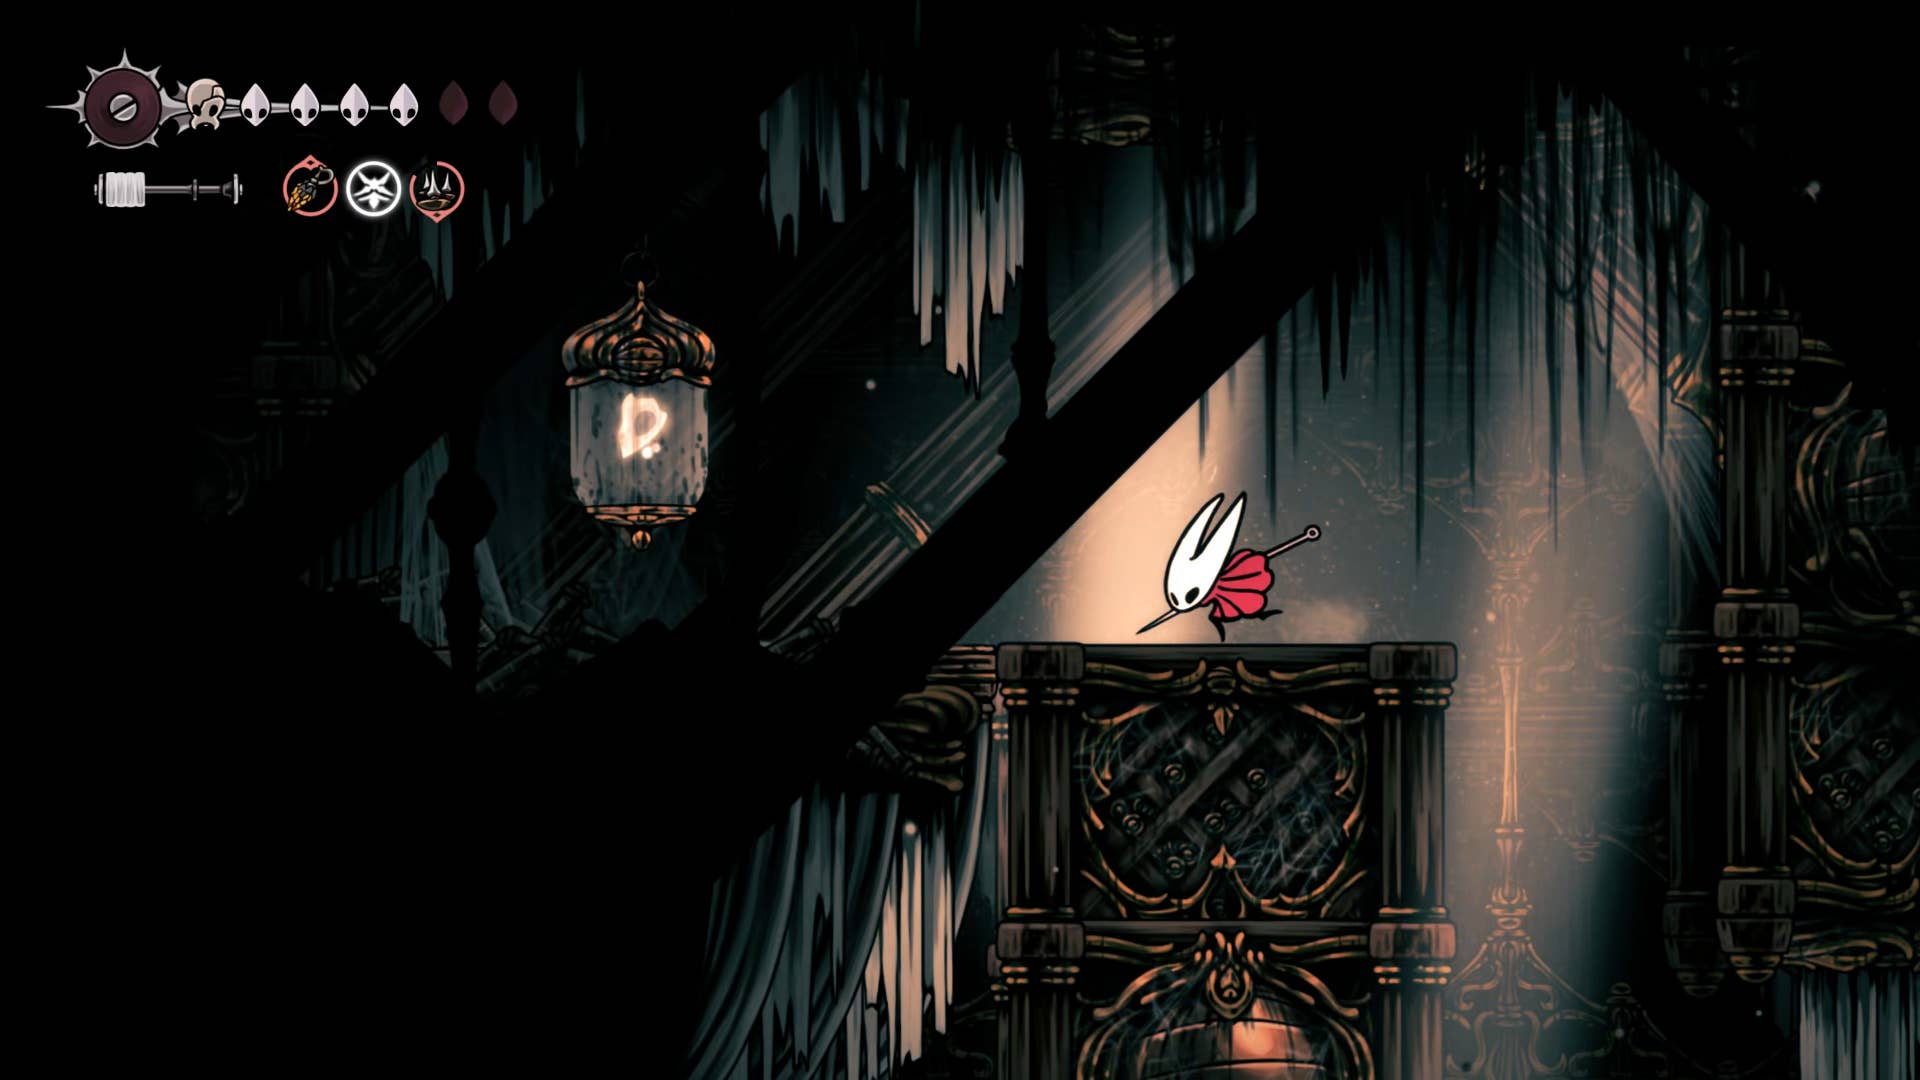
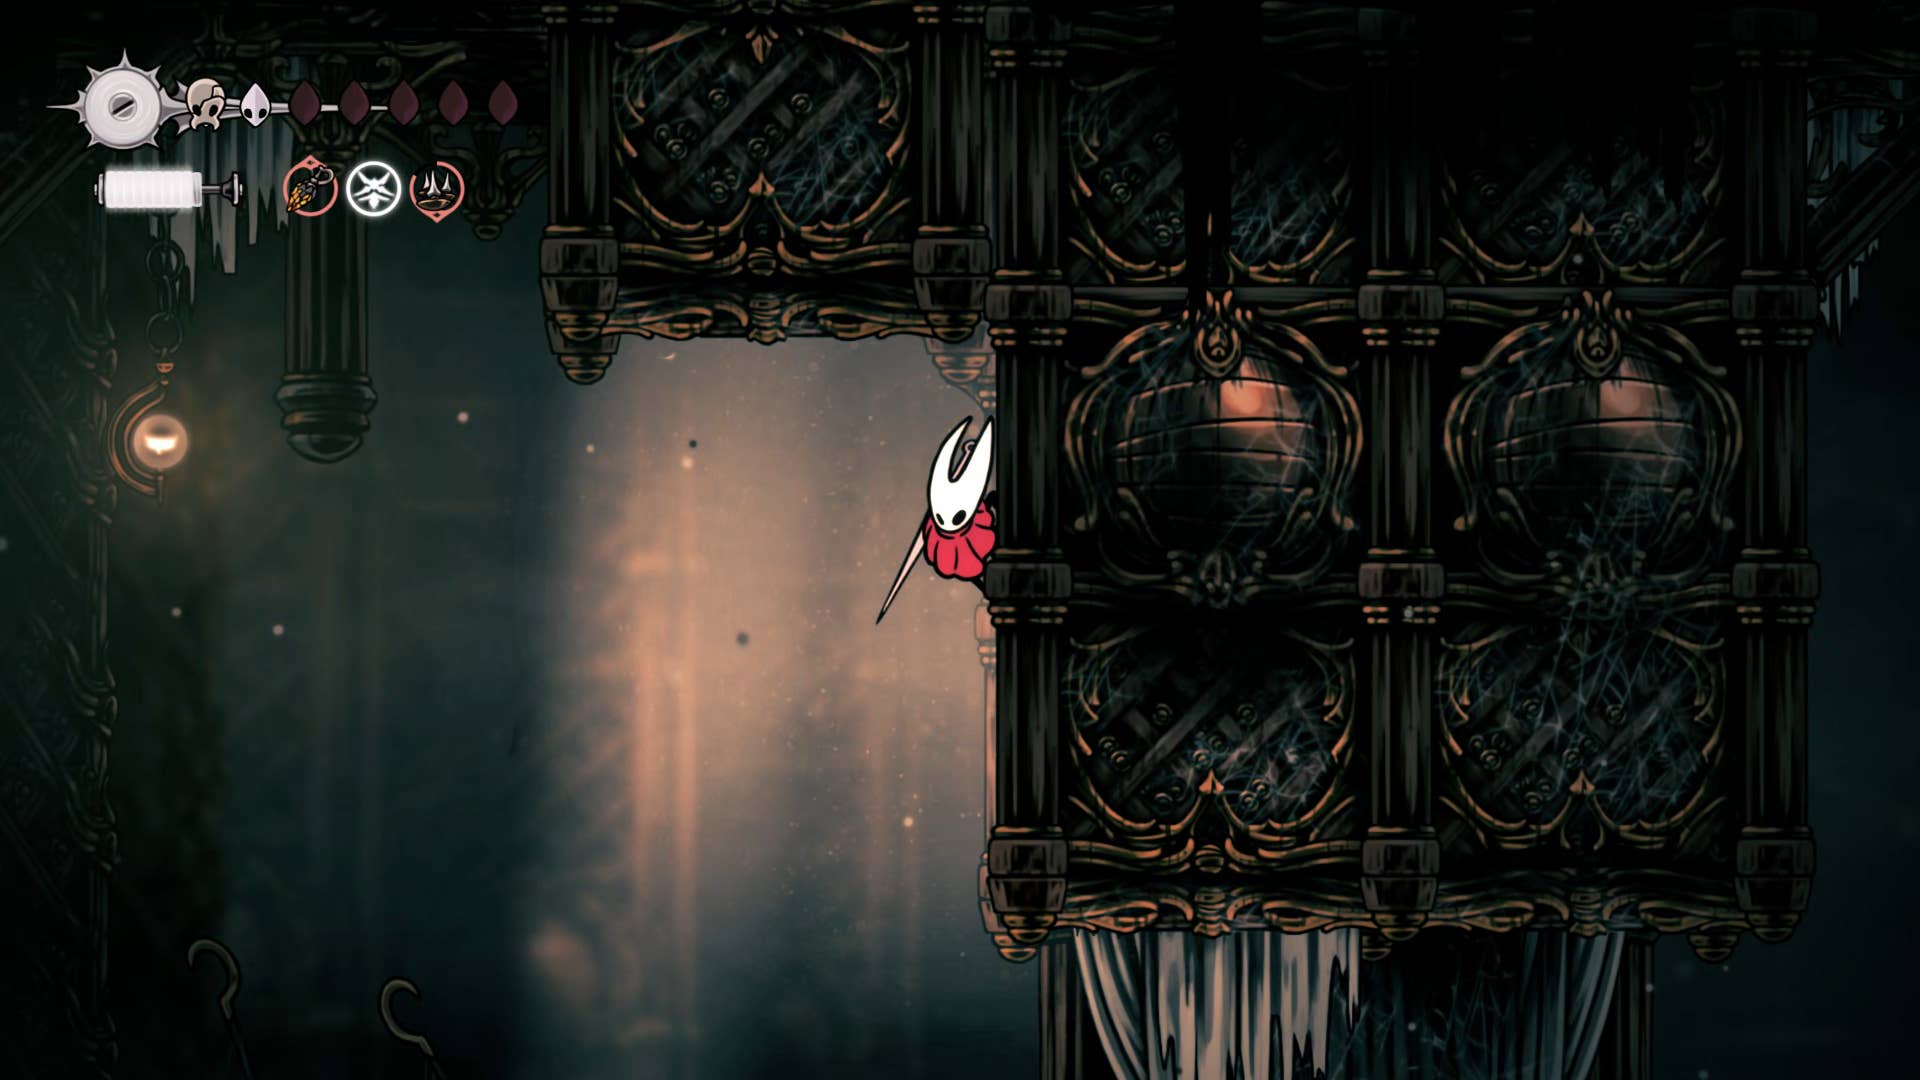
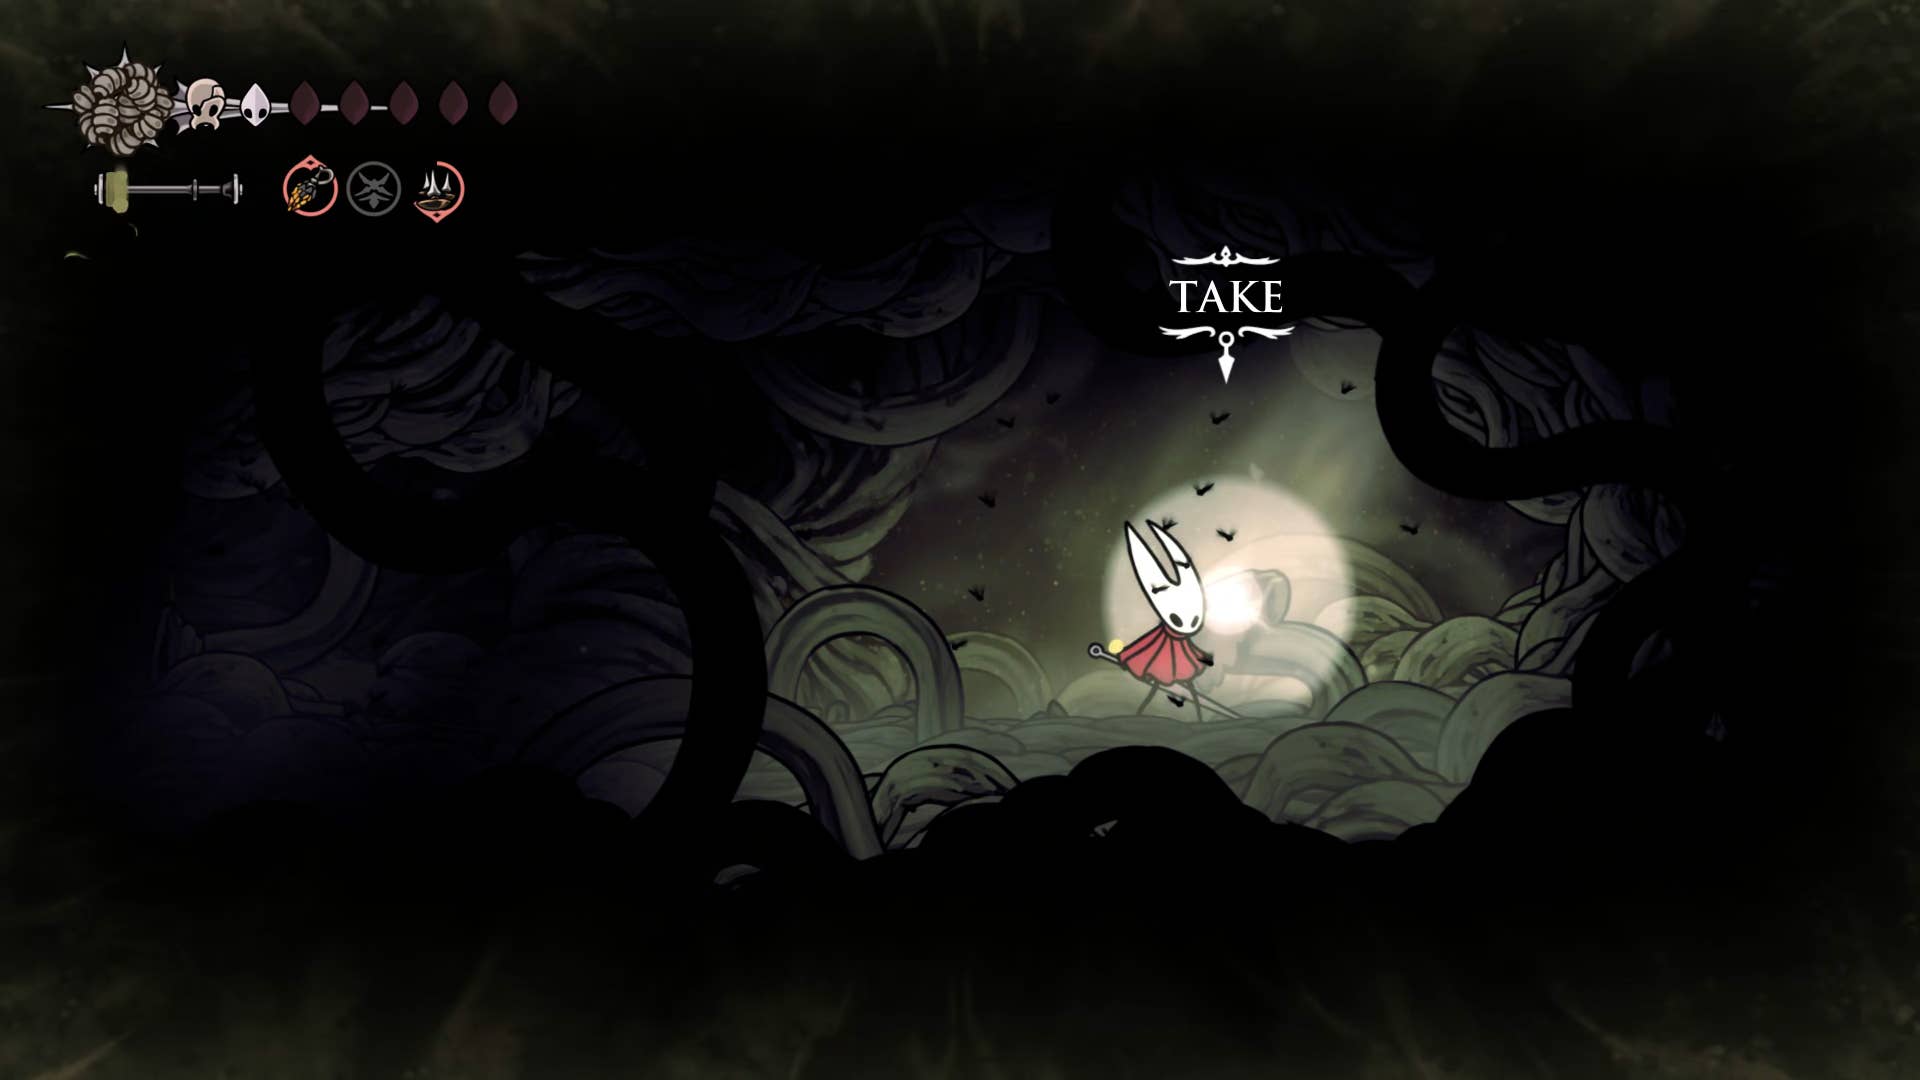
Hollow Knight: Where will we go in Silksong’s whispers? If you reach the whisper, Silkson’s comprehensive goal is clear – gather three pieces of three melody pieces and perform in the arena of Cogwork dancers. One of those melodic pieces, the ballkeeper melody – is deep within the whispers and you’ll need to fight against many platforms to get there.
in Hollow Knight Part 21: Silkson Walkthroughwhispers, saves false lost fleas, collects mask fragments, and even obtains pale oil to upgrade Hornet weapons along the way, leading you step by step.
Do you need a walkthrough in another area of the game? Check out Hollow Knight: Silksong Walkthrough Hub!
Whisper Vault Walkthrough Steps:
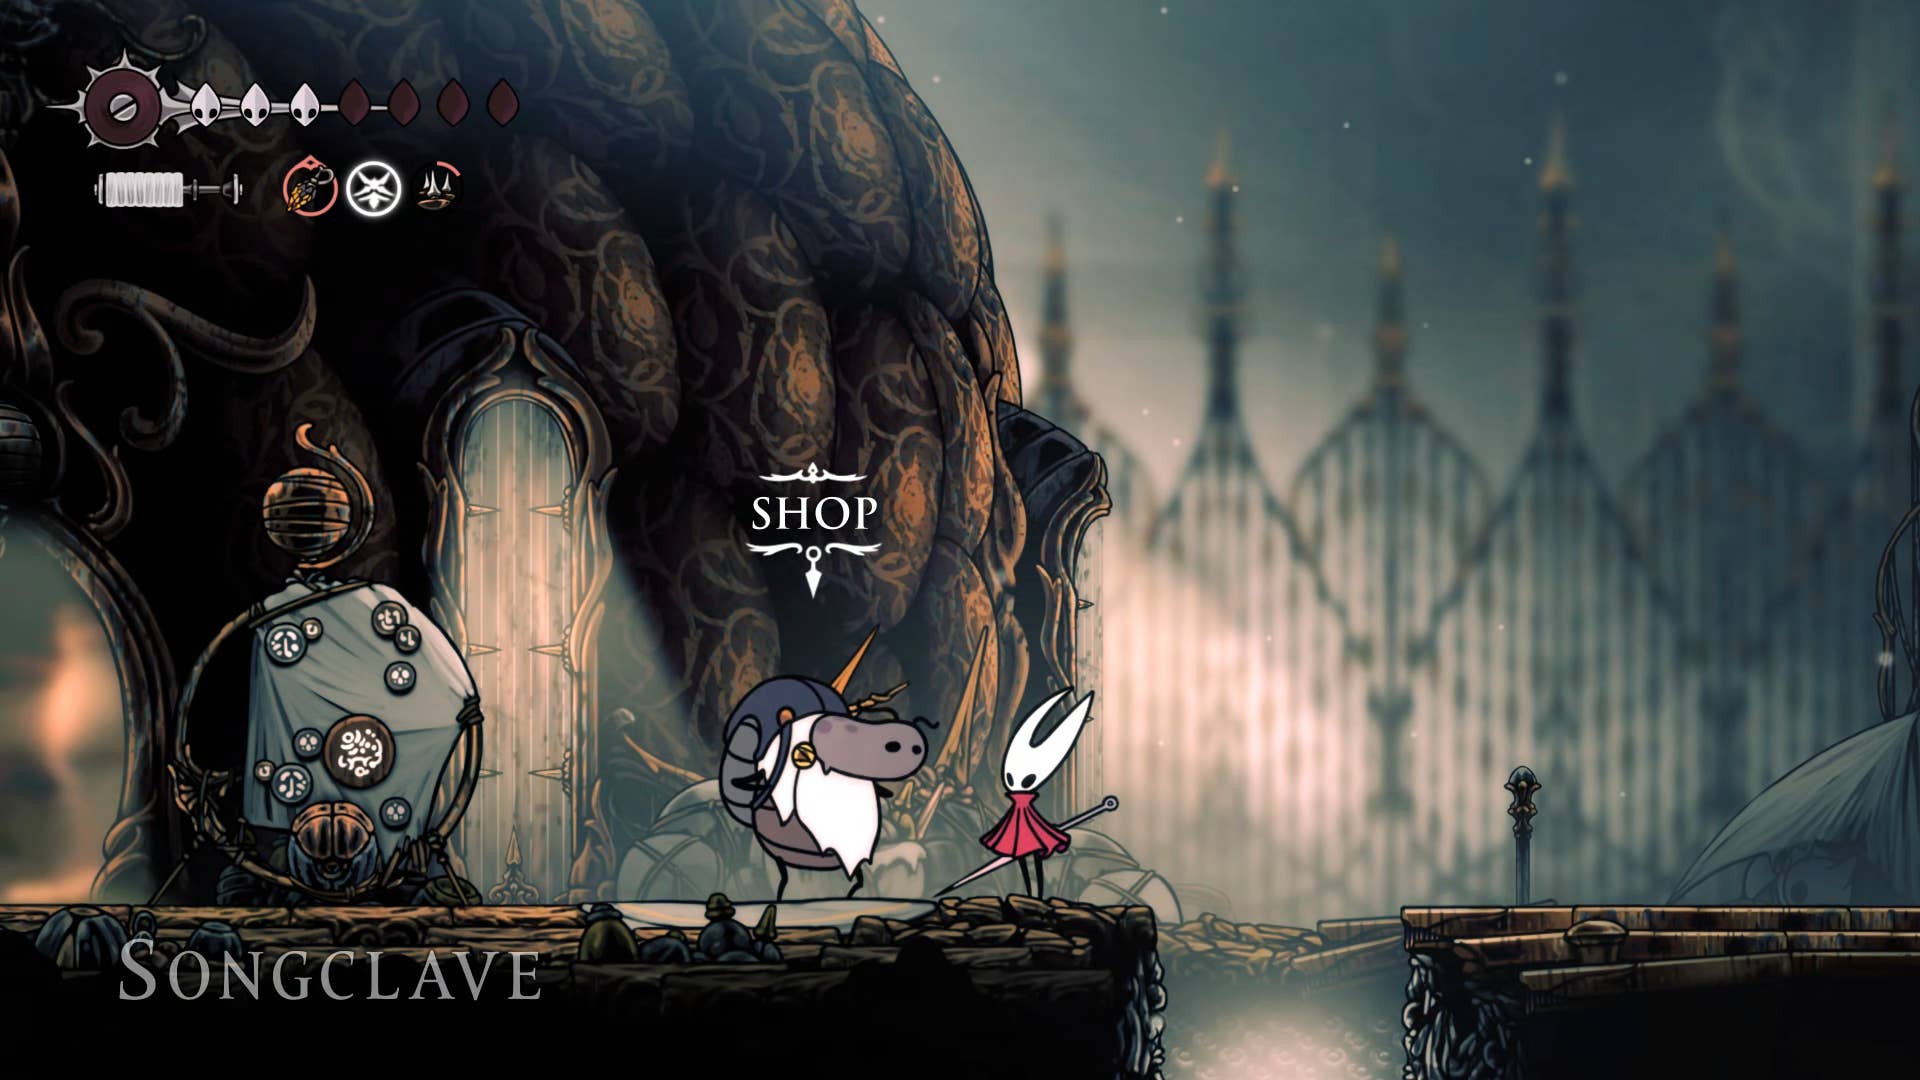
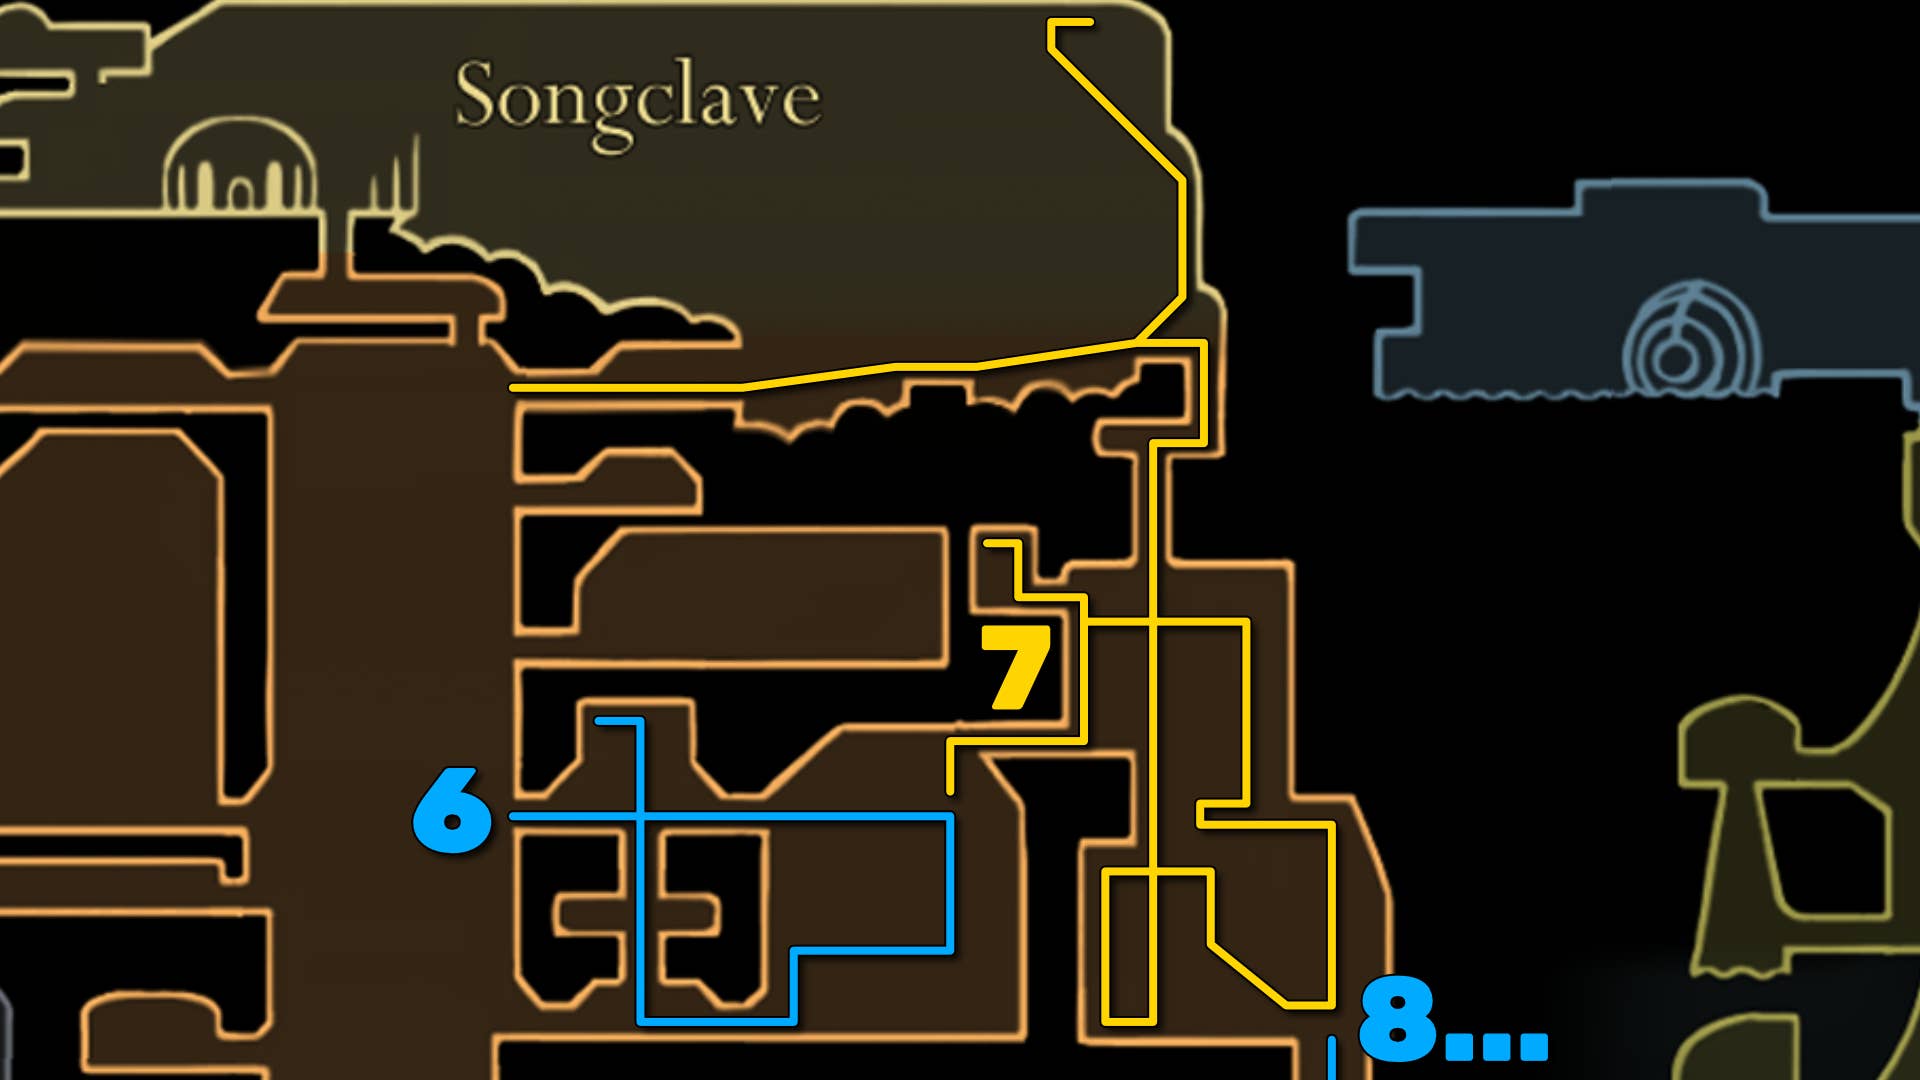
- Open the shortcut to Songclave.
- Get the Silker.
- Meet the Vaultkeeper Cardinius.
- Rescue the fleas above the waist room.
- Get some pale oil for Pliny.
- Collect nearby mask shards.
- Rescue the fleas above the Songclave.
- It falls into Billwater due to twisted buds.
- Exit Bilewater.
- Get the next cogheart piece.
- Defeat Trobubio on stage.
- Get the sacred cylinder.
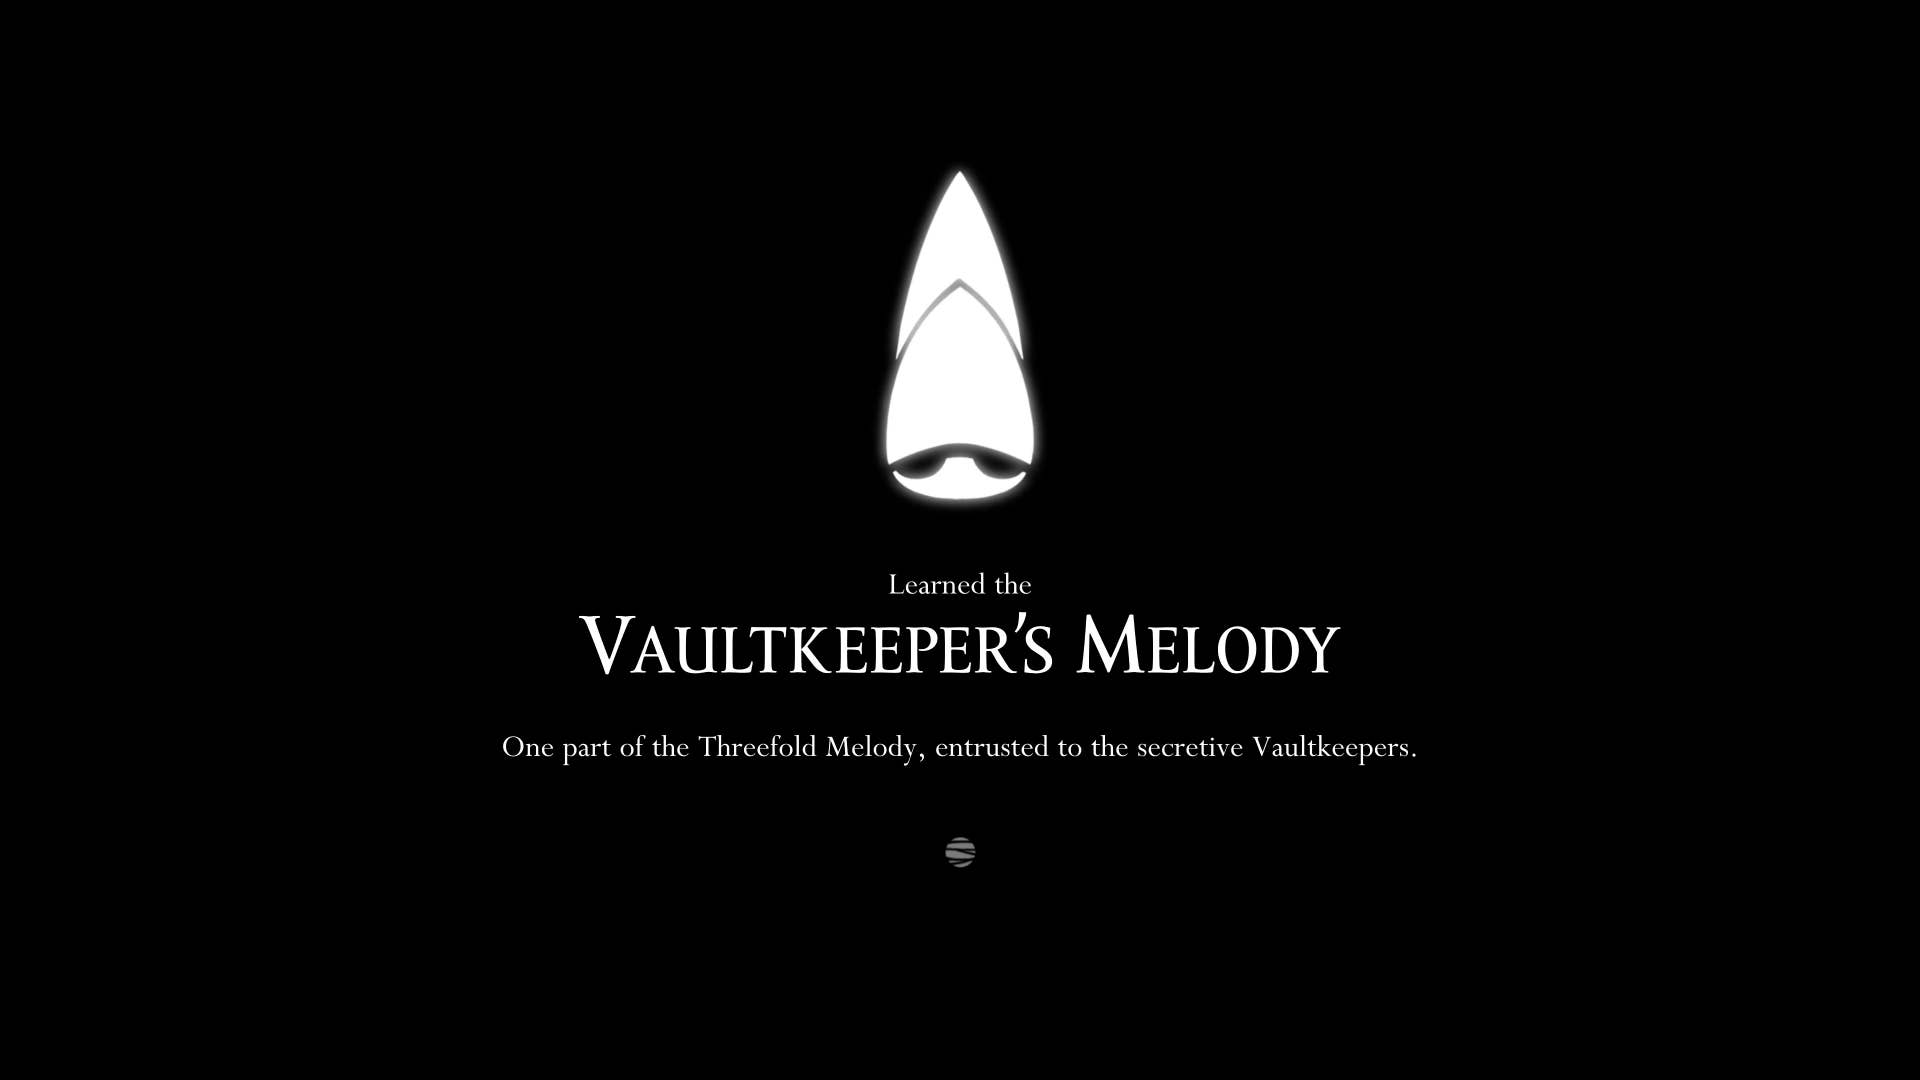
- Return to Cardinius and learn the Vaultkeeper melody.
1. Open the shortcut to SongClave.
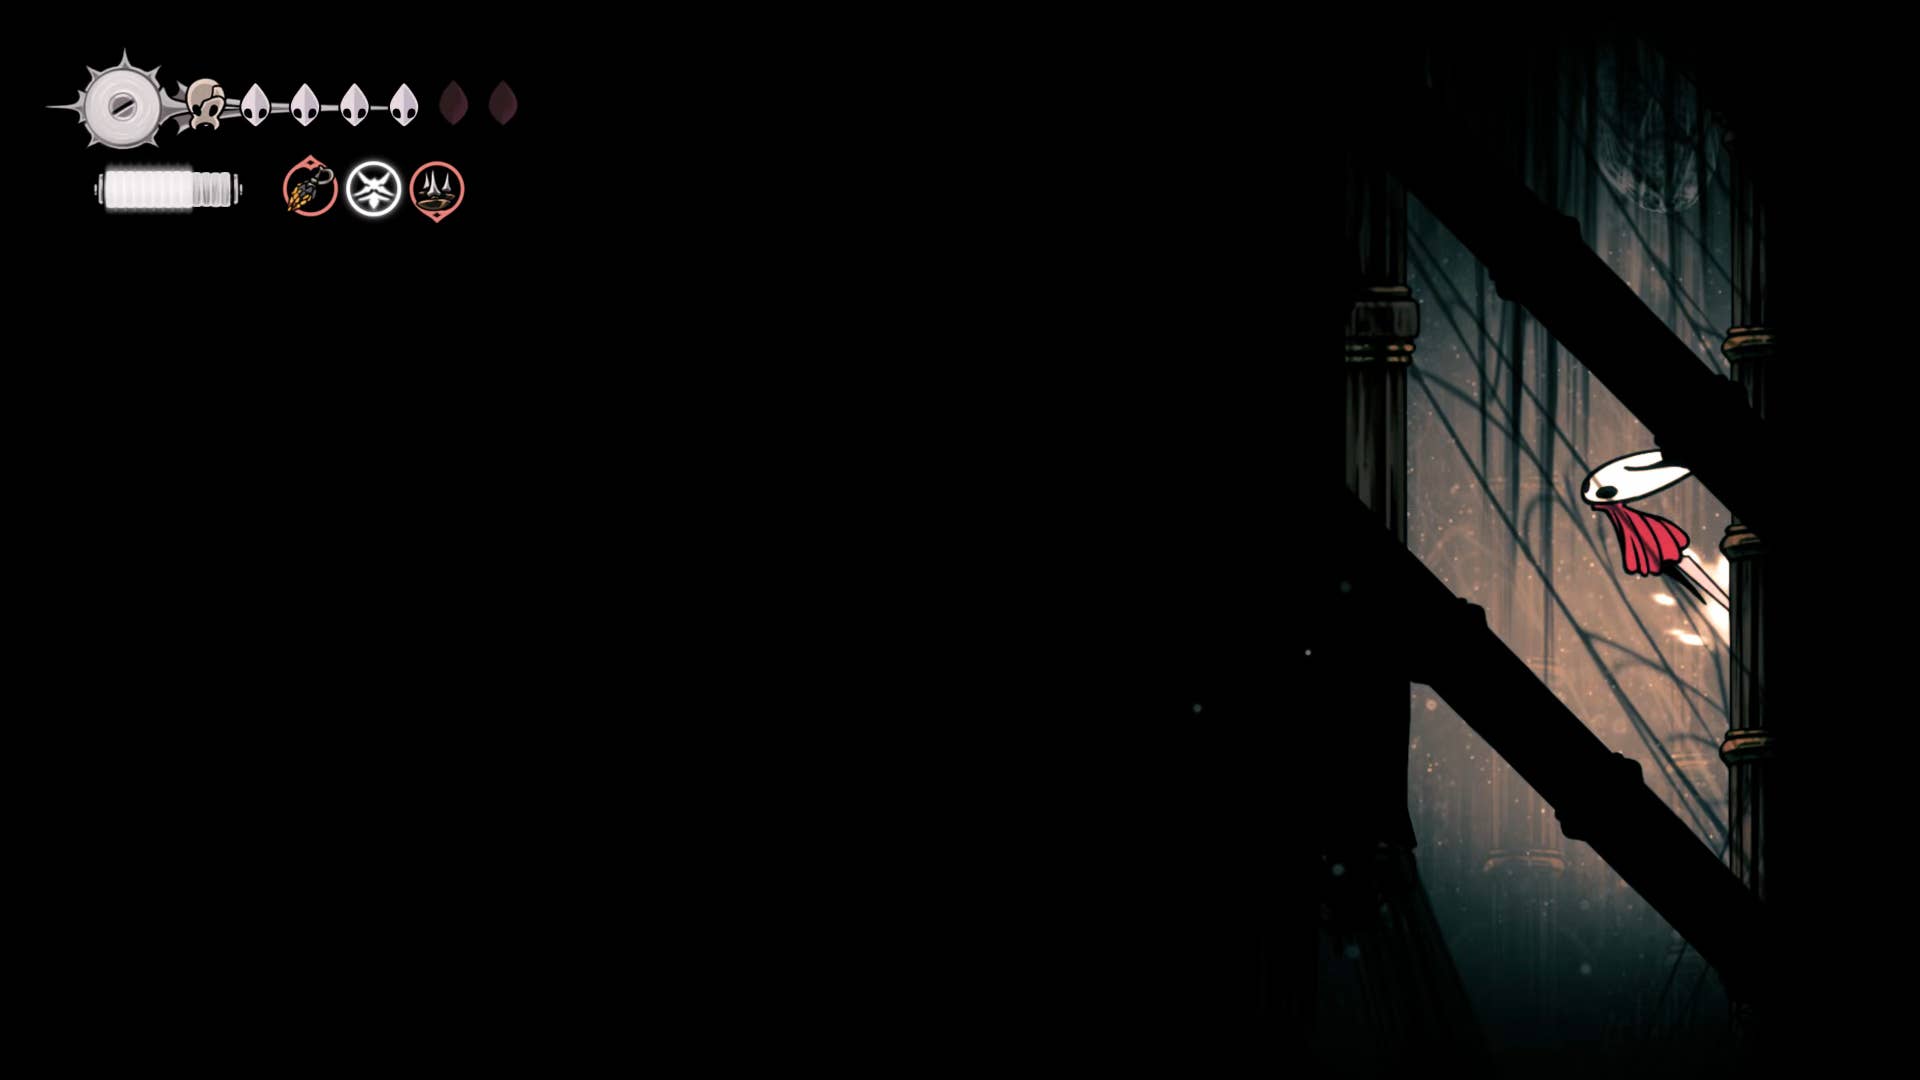
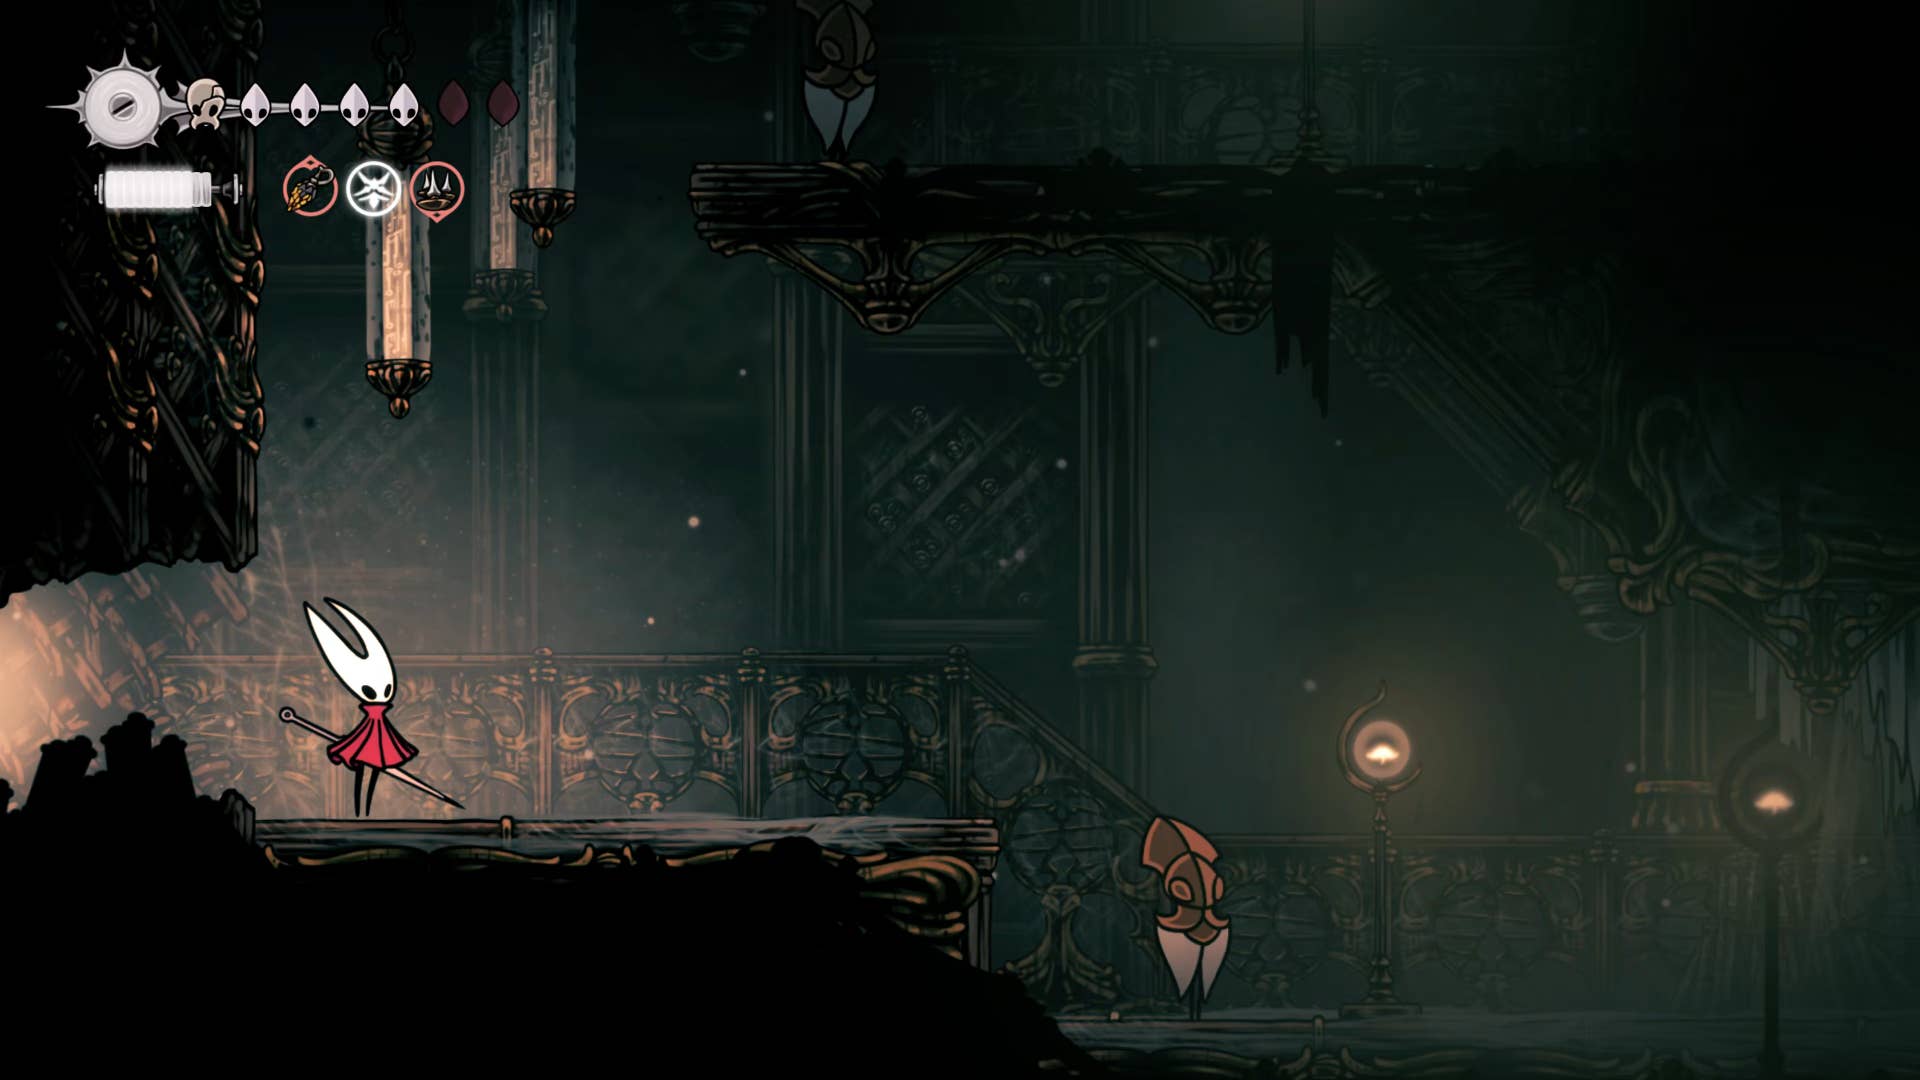
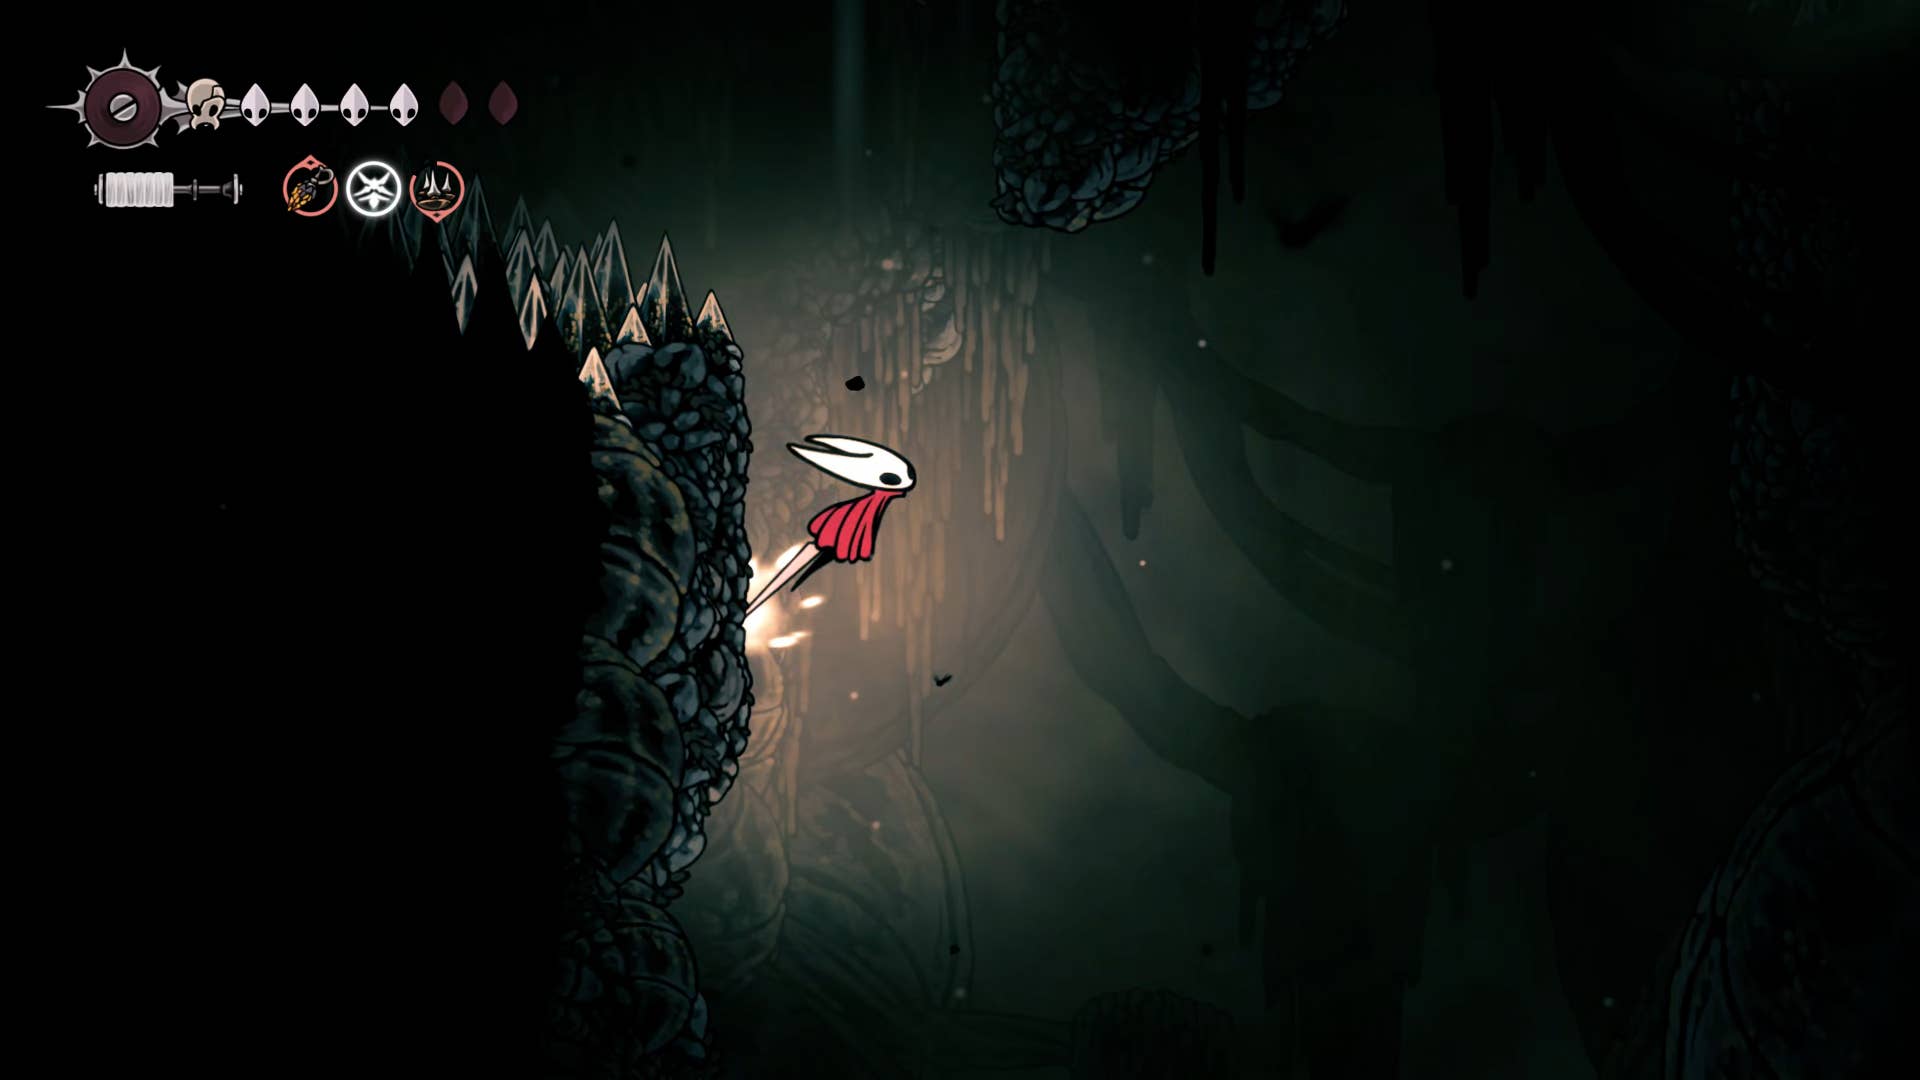
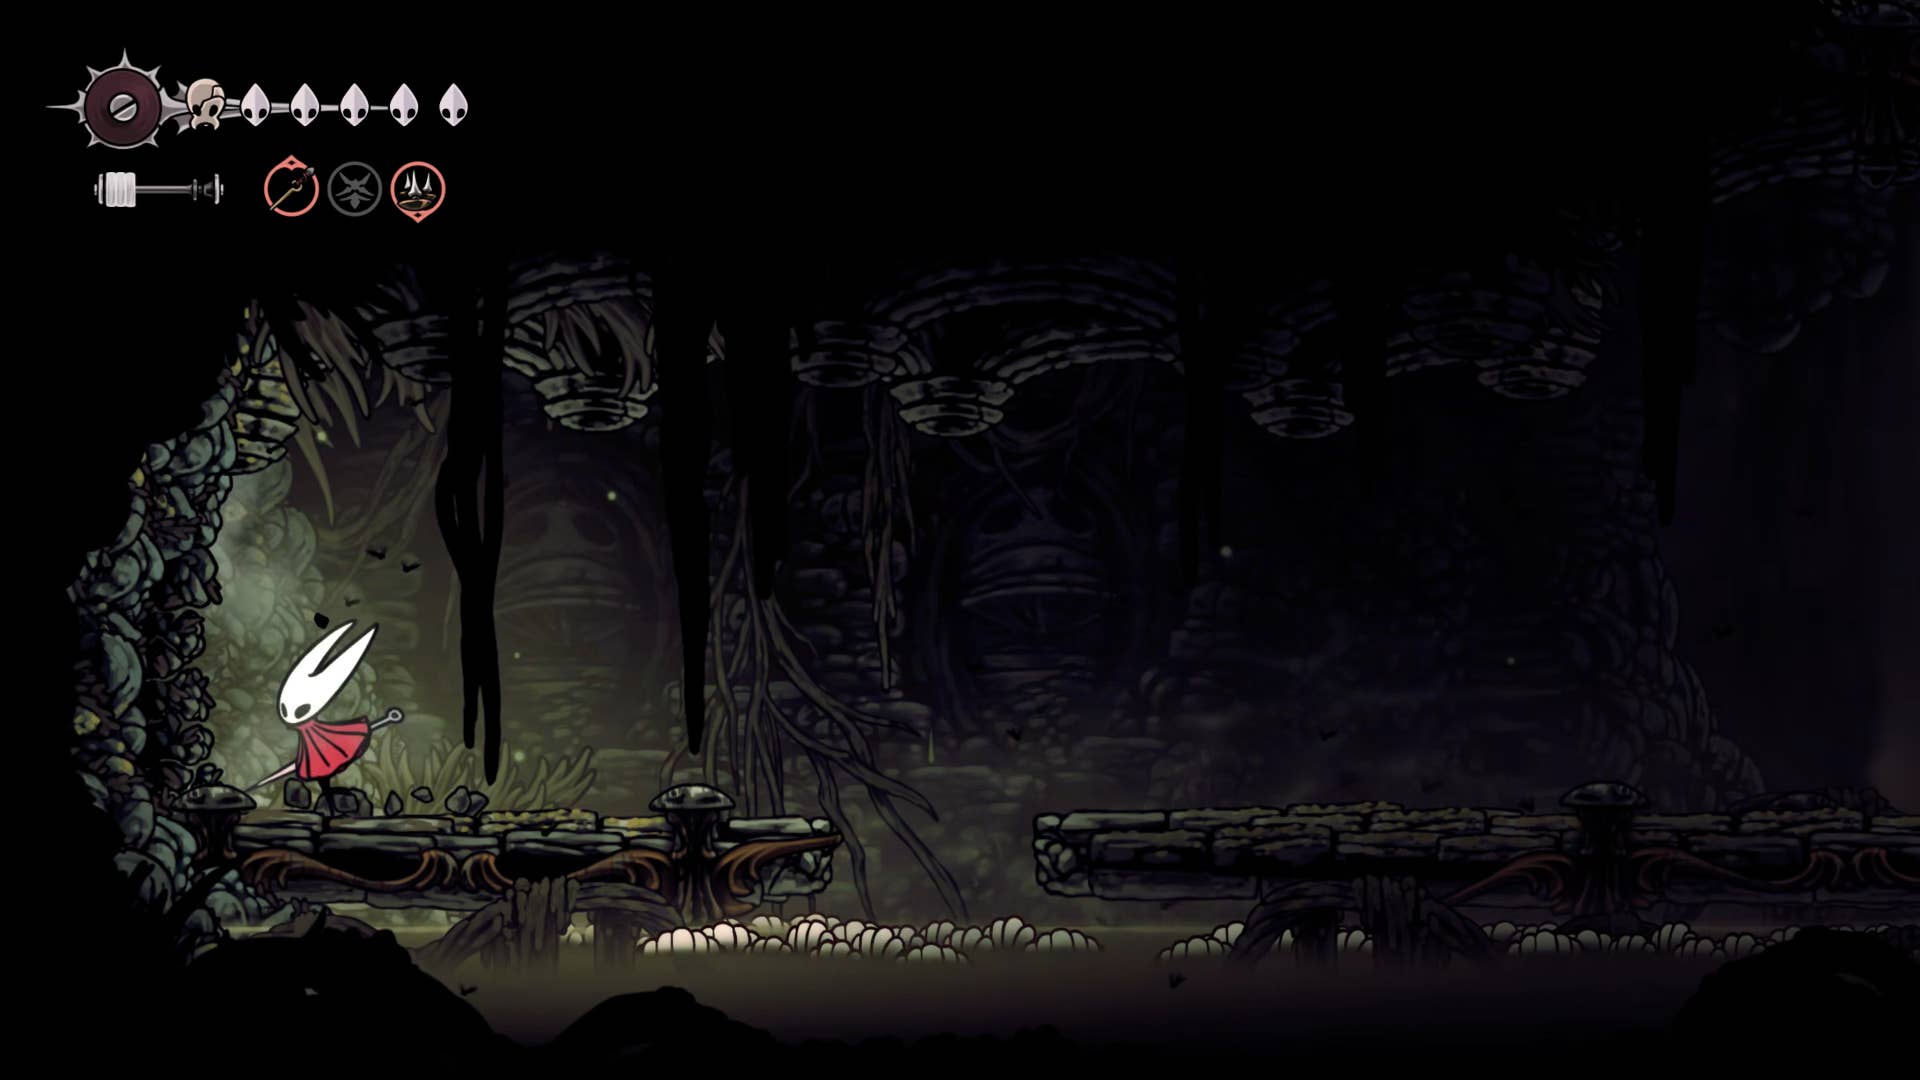
While whispering, the basis for your manipulation is the song crave itself, but you need to first find an easy way to reconcile. From the entrance, from the whispers, jump right through the gap in the next room.
Here you will find a scroll reader that is sleeping. Nevertheless, it’s a pretty easy beef enemy to kill at a distance rather easily with an attack and a dash-out strategy of tested dash-outs.
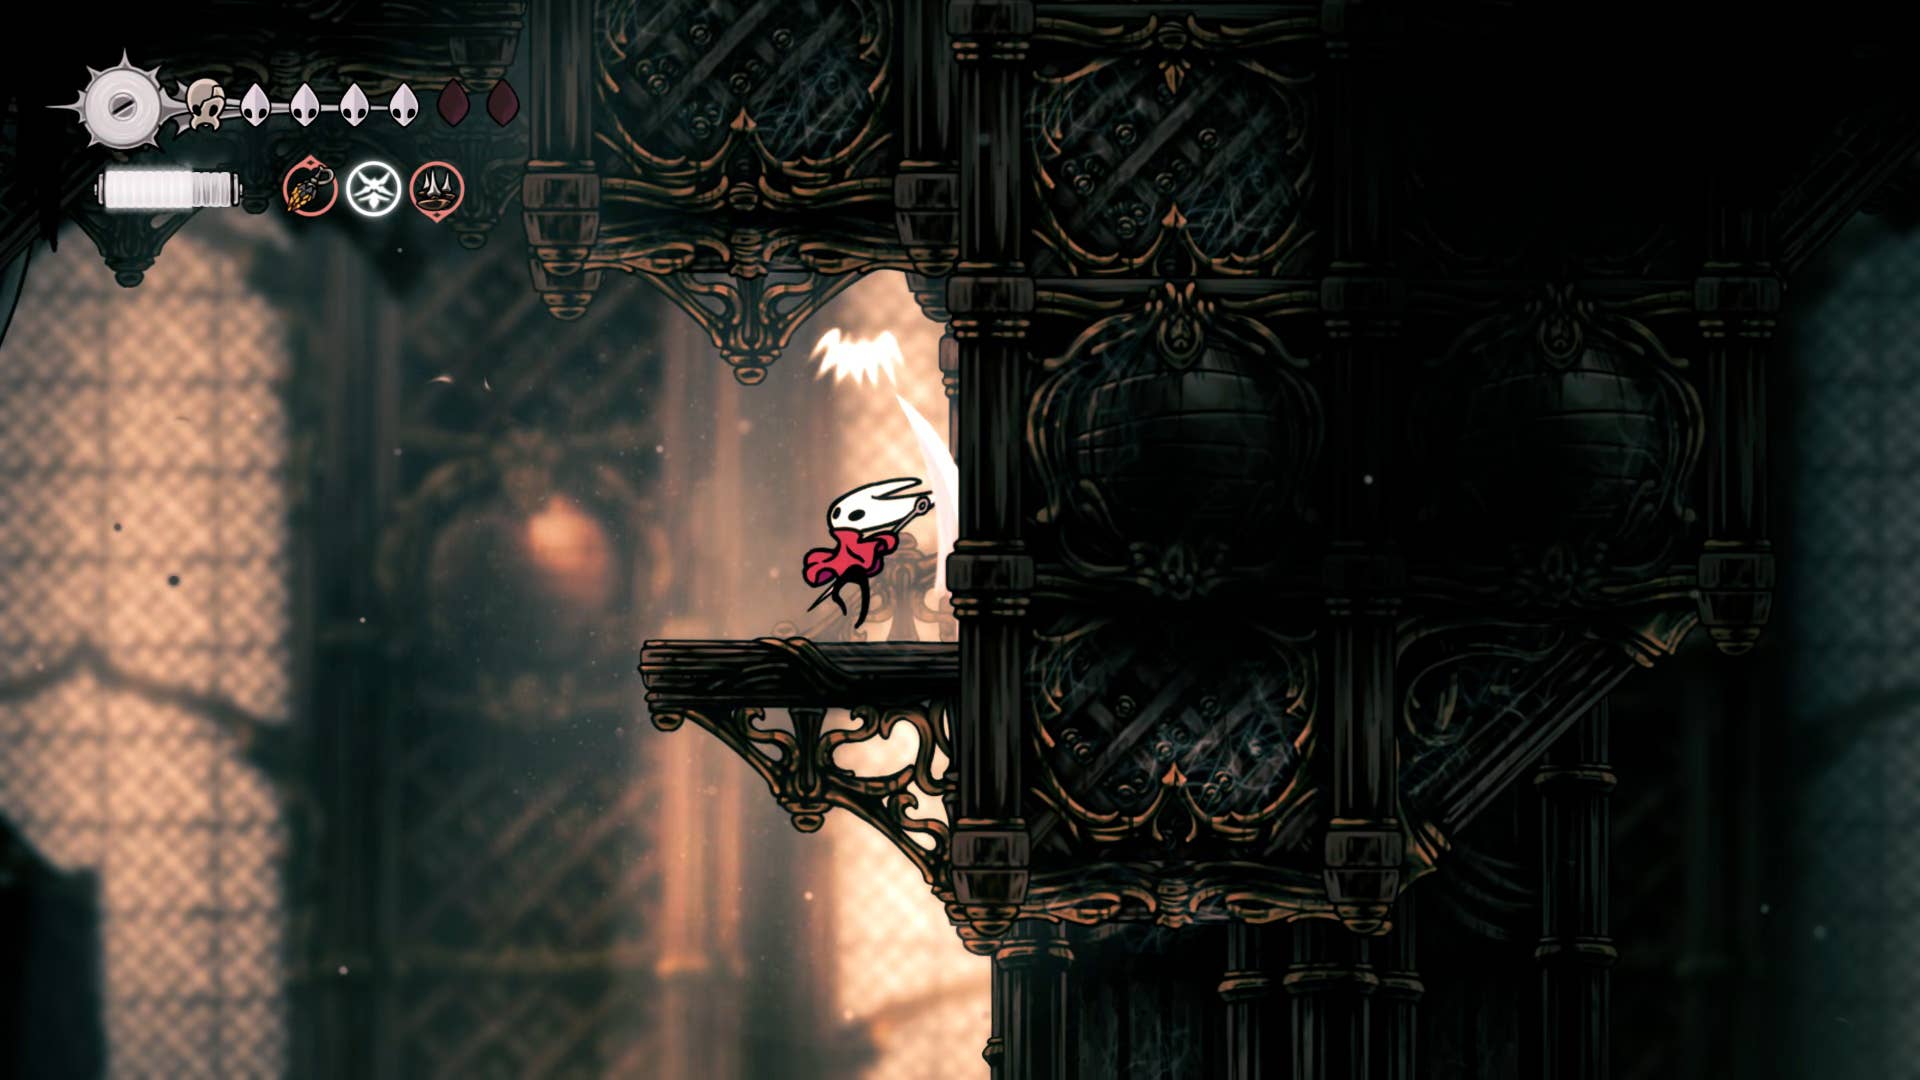
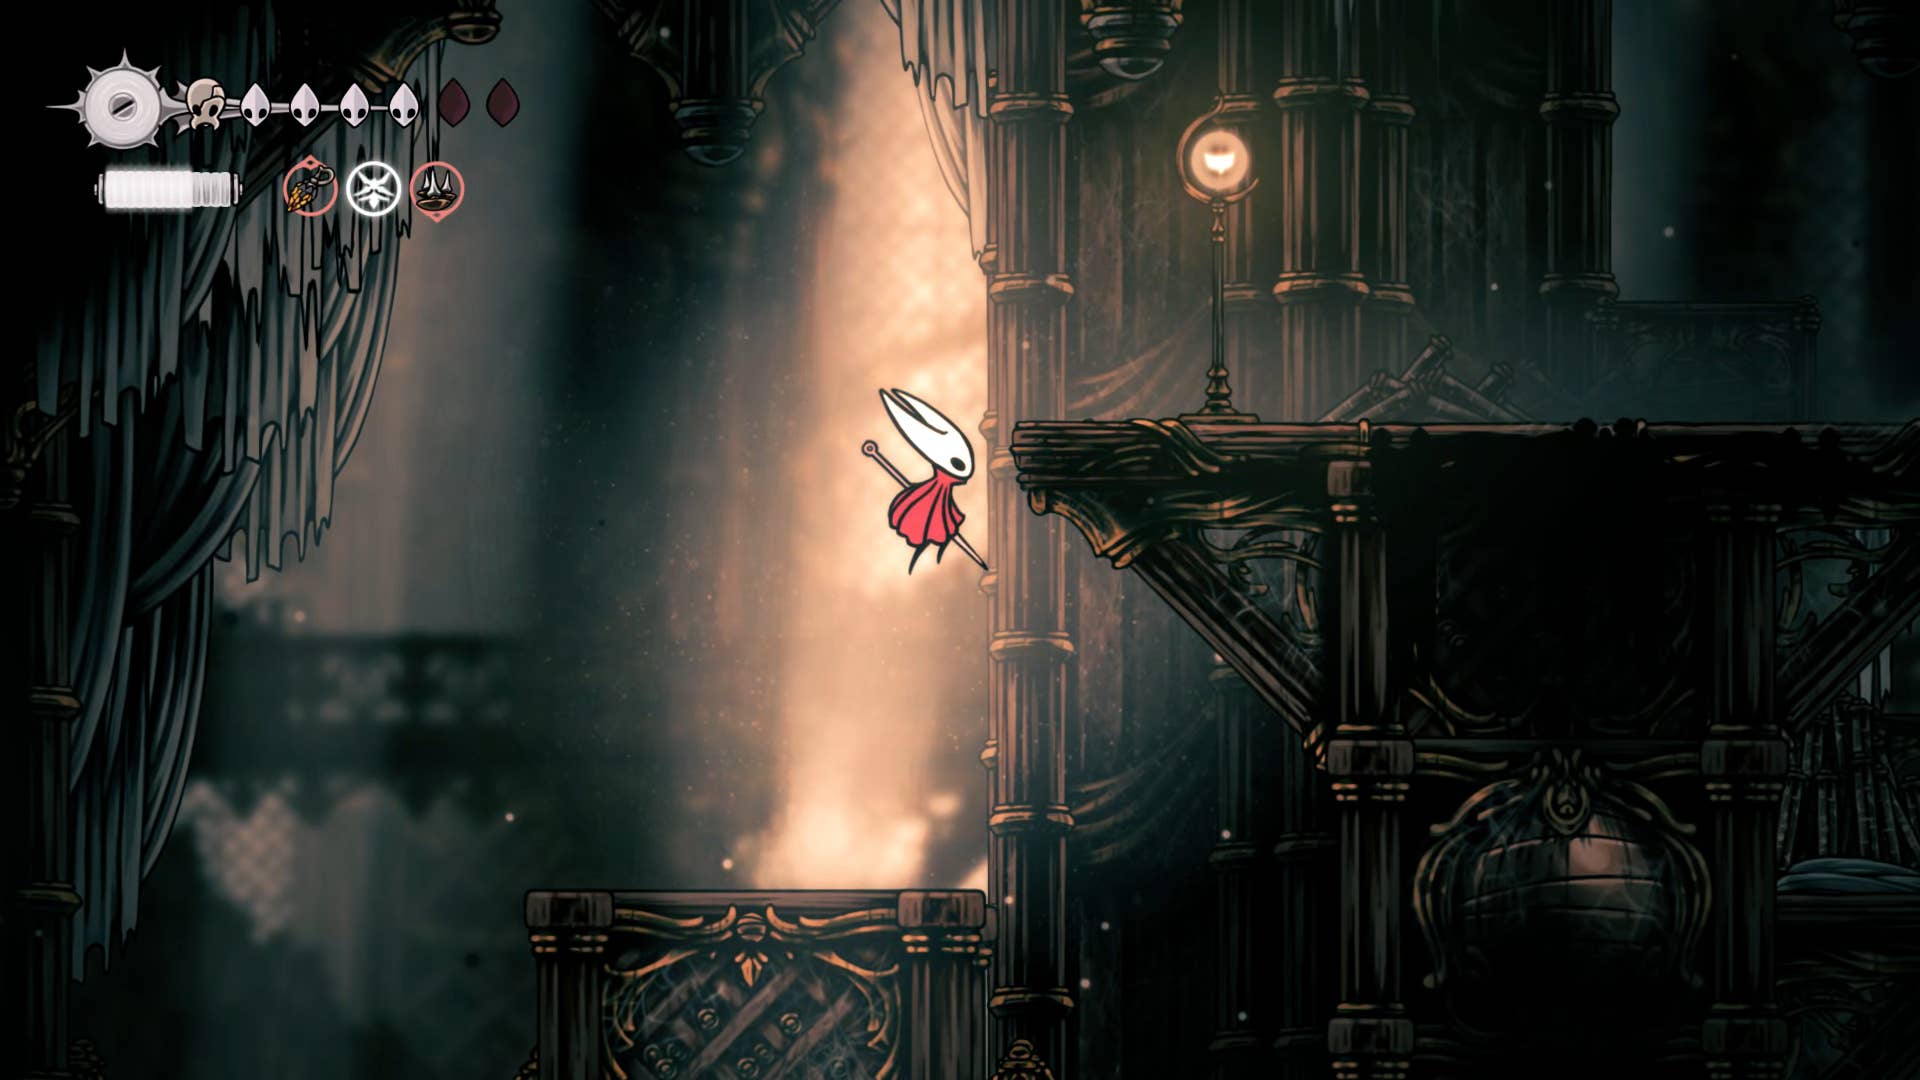
Head to the right of the path and you will see a rather phallic object protruding diagonally from the ceiling above you. Make it point down to hit it to hit it. This will allow you to reach upwards with jumps and wall closures.
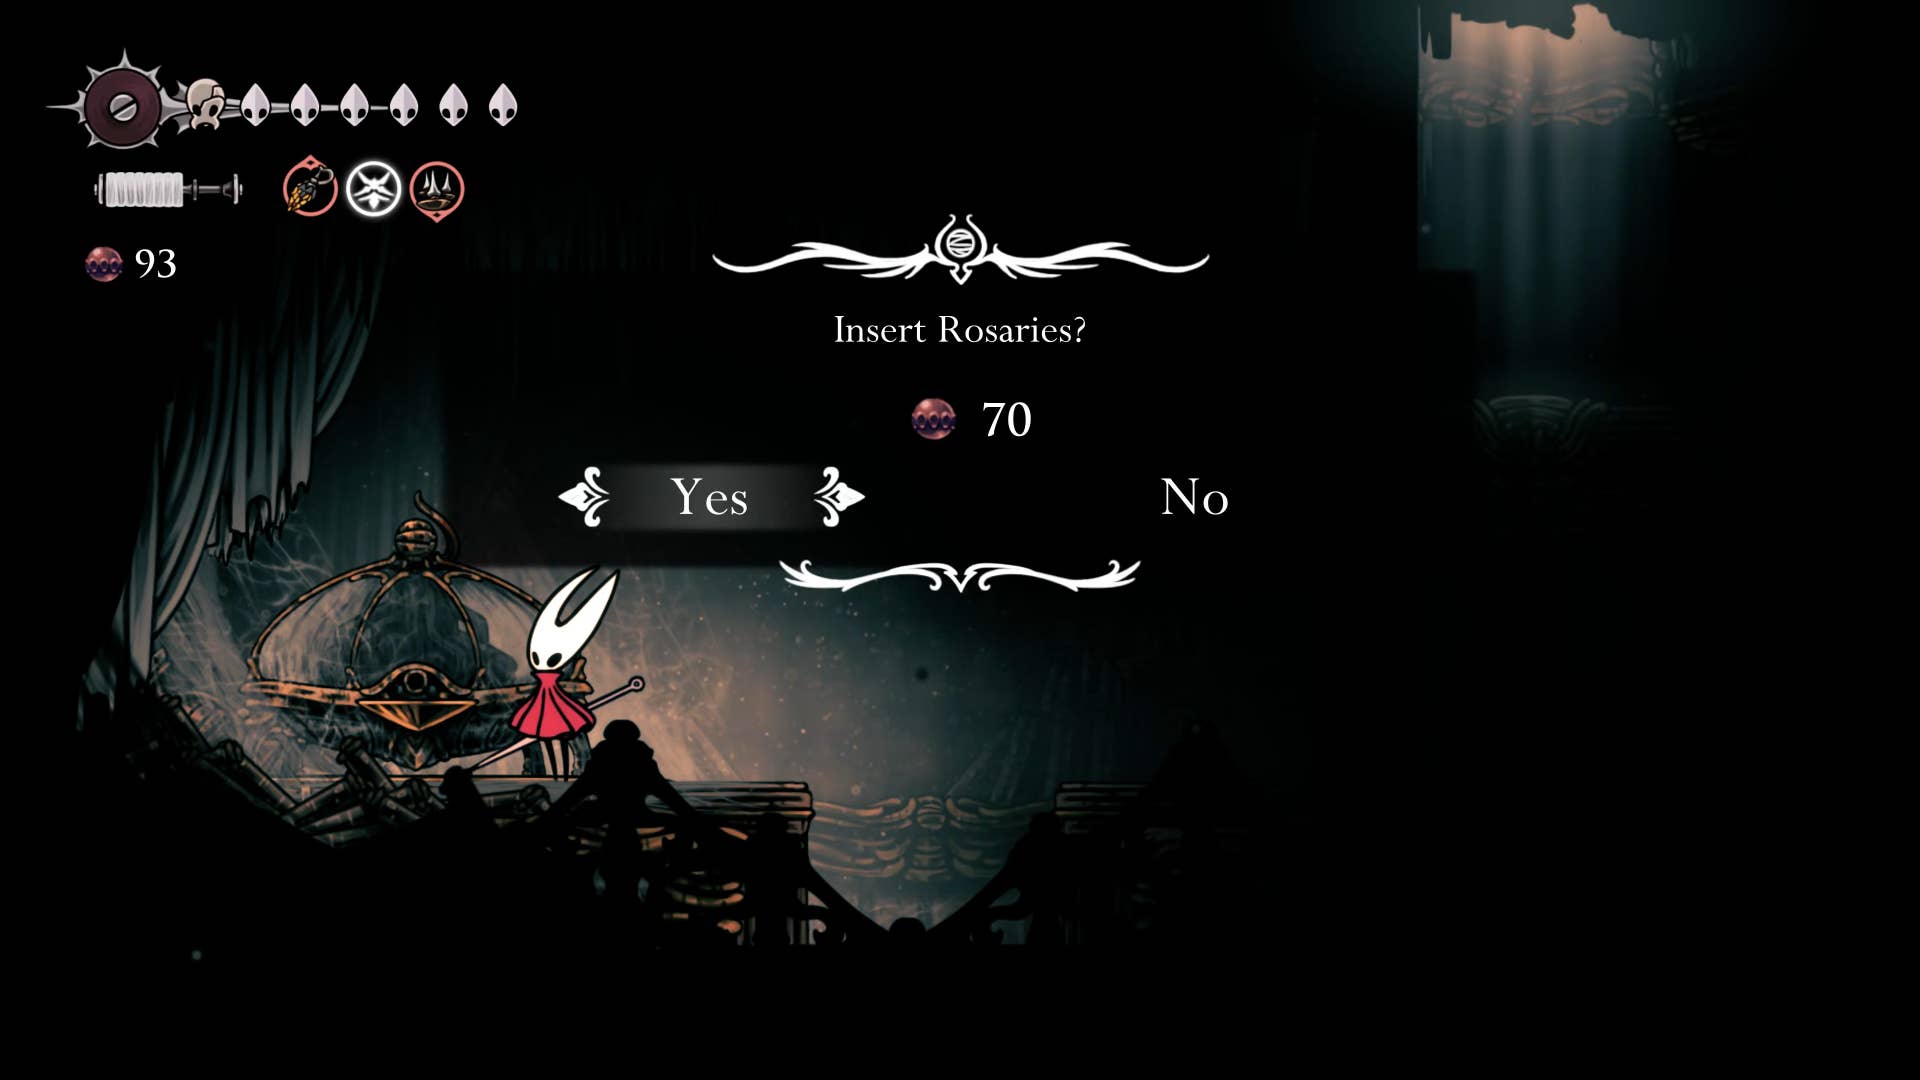
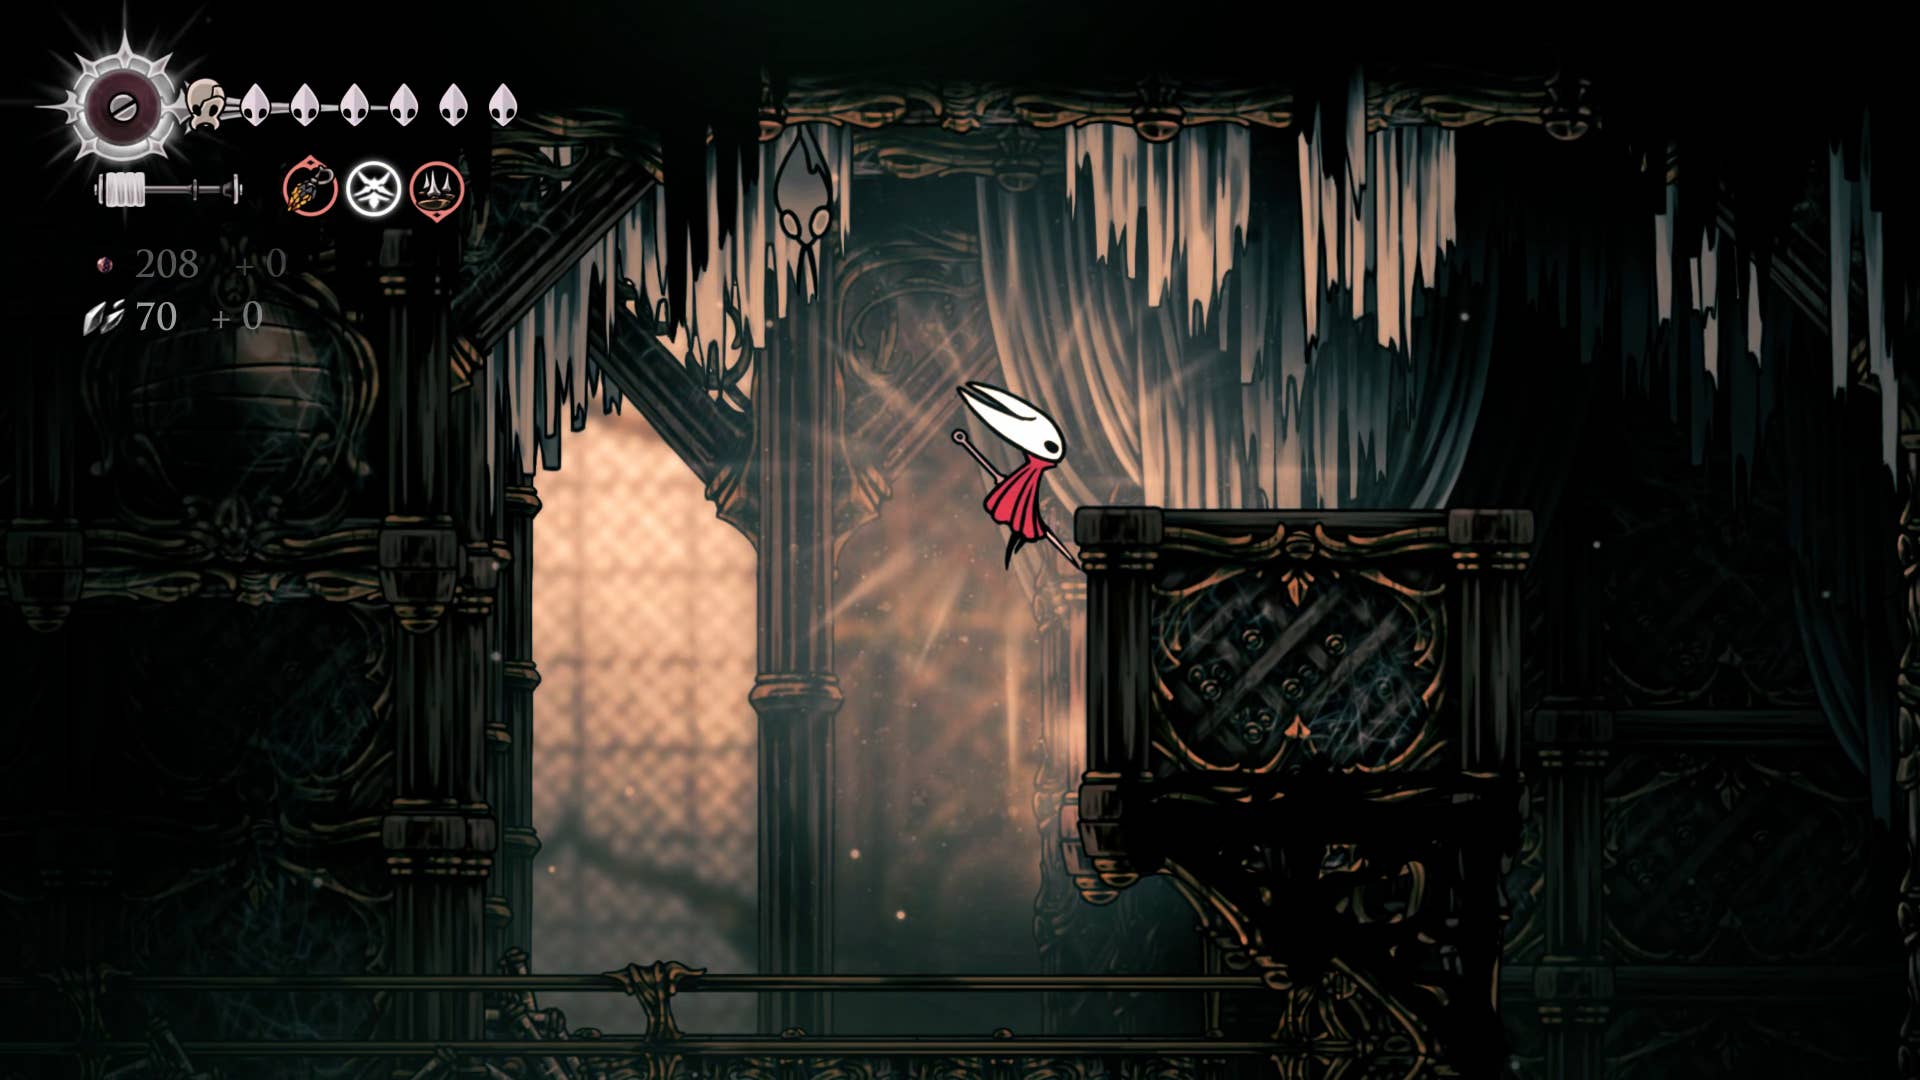
Once there, walk a little left and pass the shelf above you and pay 70 rosaries to get a whisper vault map.
Then go back and jump to the shelf and attack the wall above to open a shortcut to Songclave. After resting on the bench, I return to whispers.
2. Get the Silker.
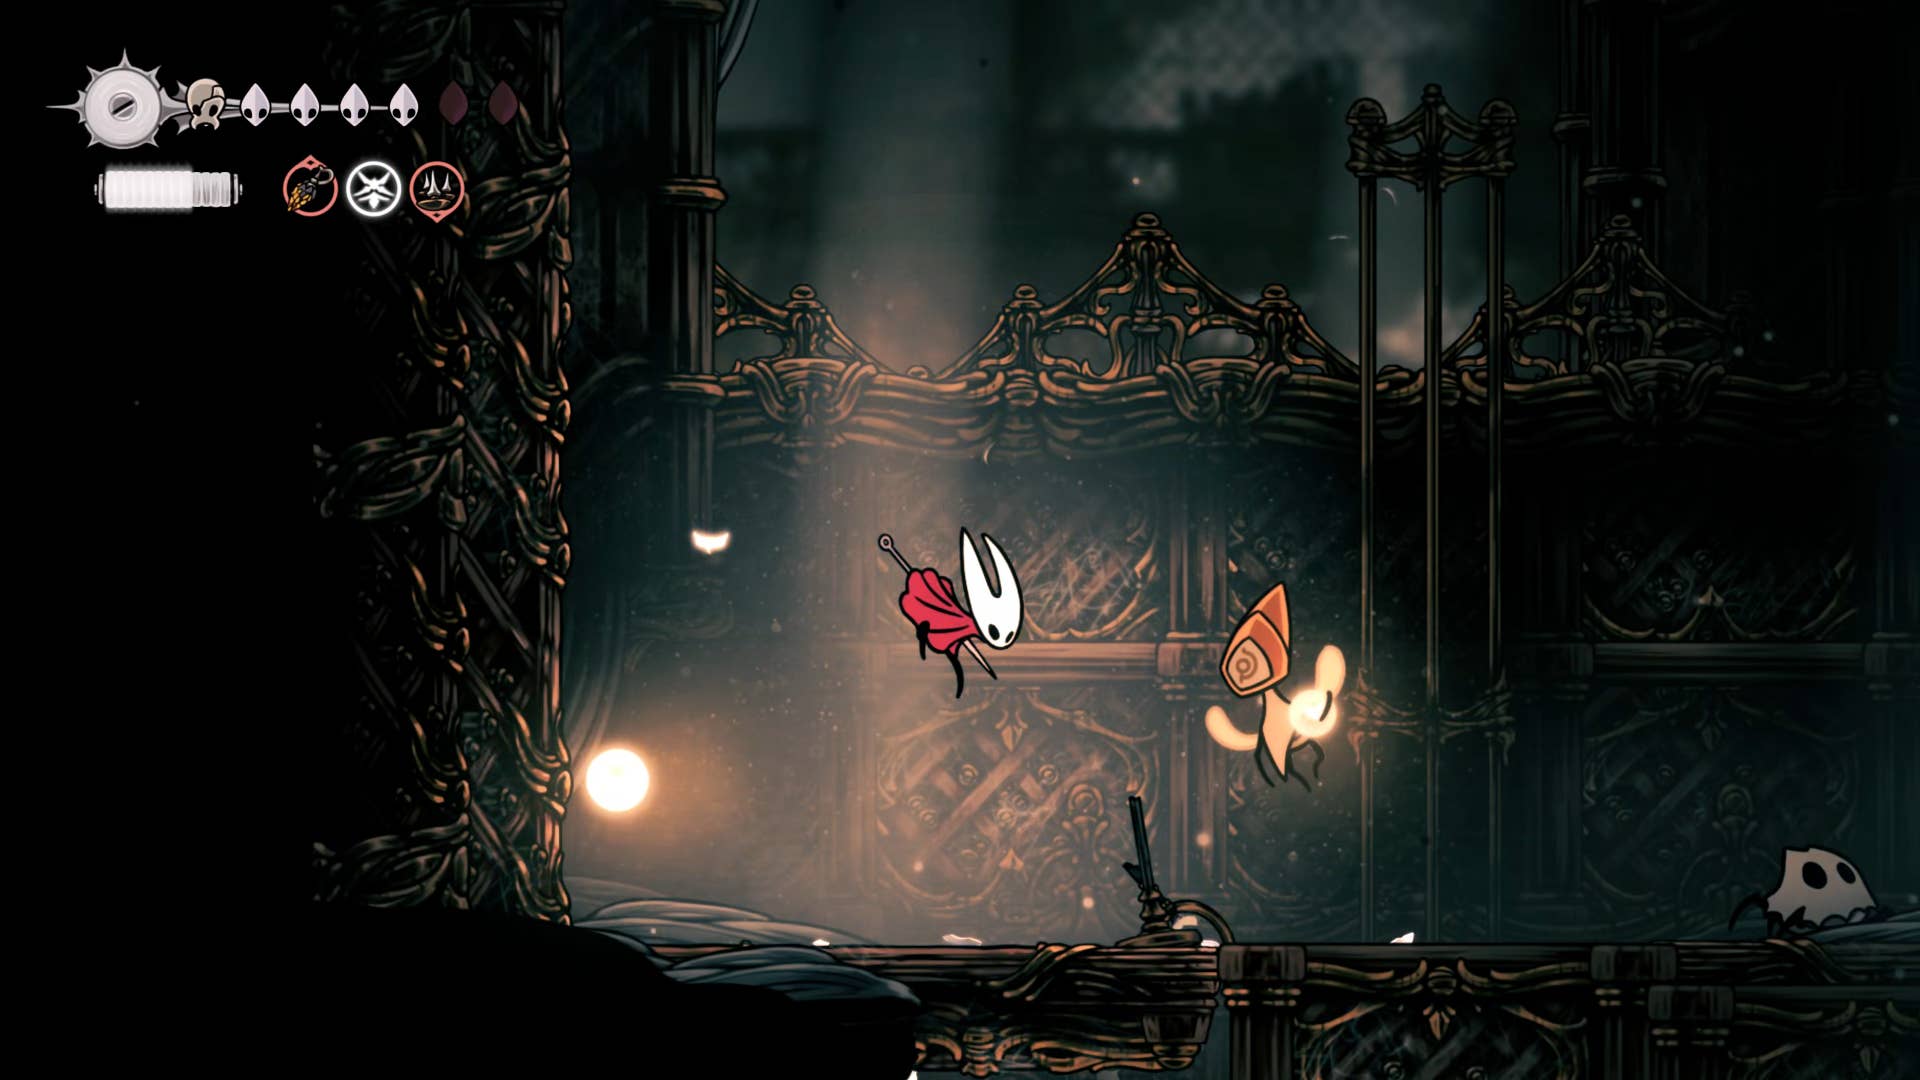
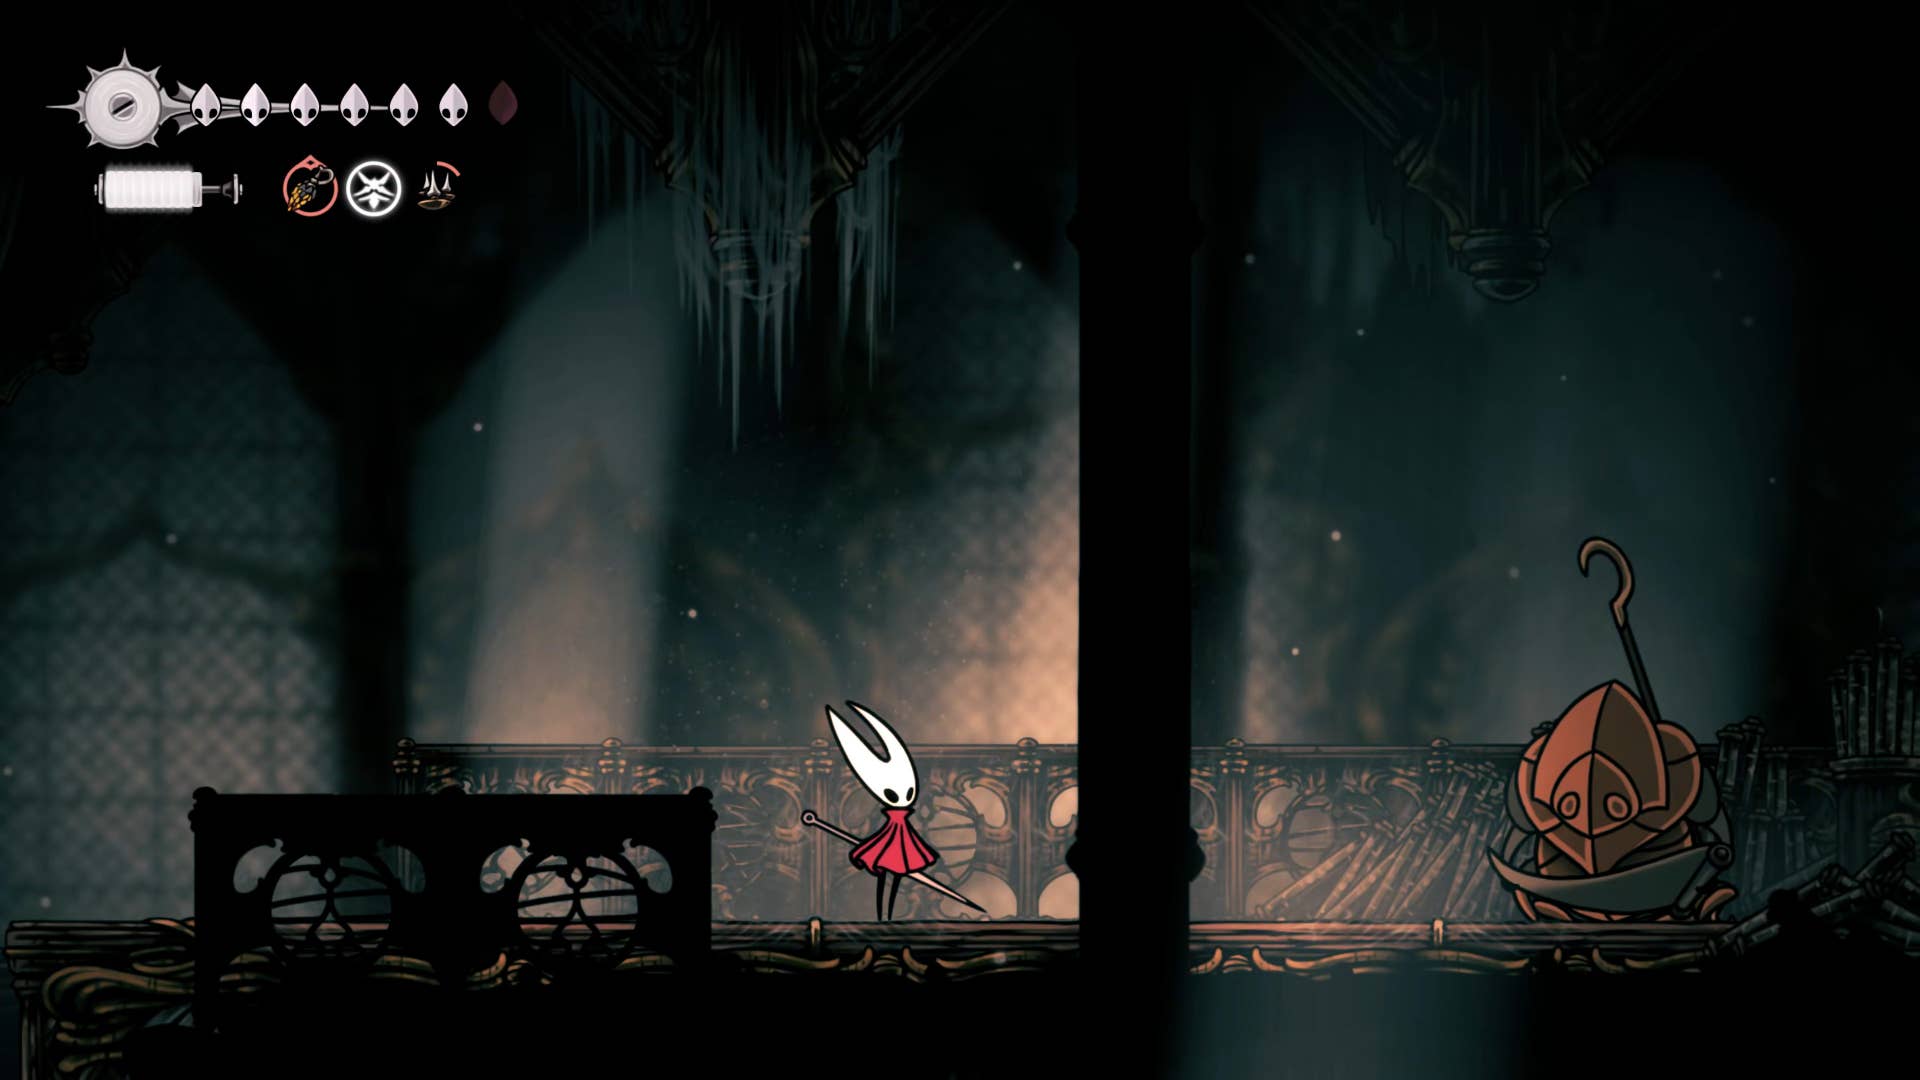
Drop the hole on the left side of the Scrollreader and drop it down again. You will face the enemy of flying ramp bearers – I think these are more trouble than they are worth fighting, so ignore it and run to the right, running past the egg-laying drapemite.
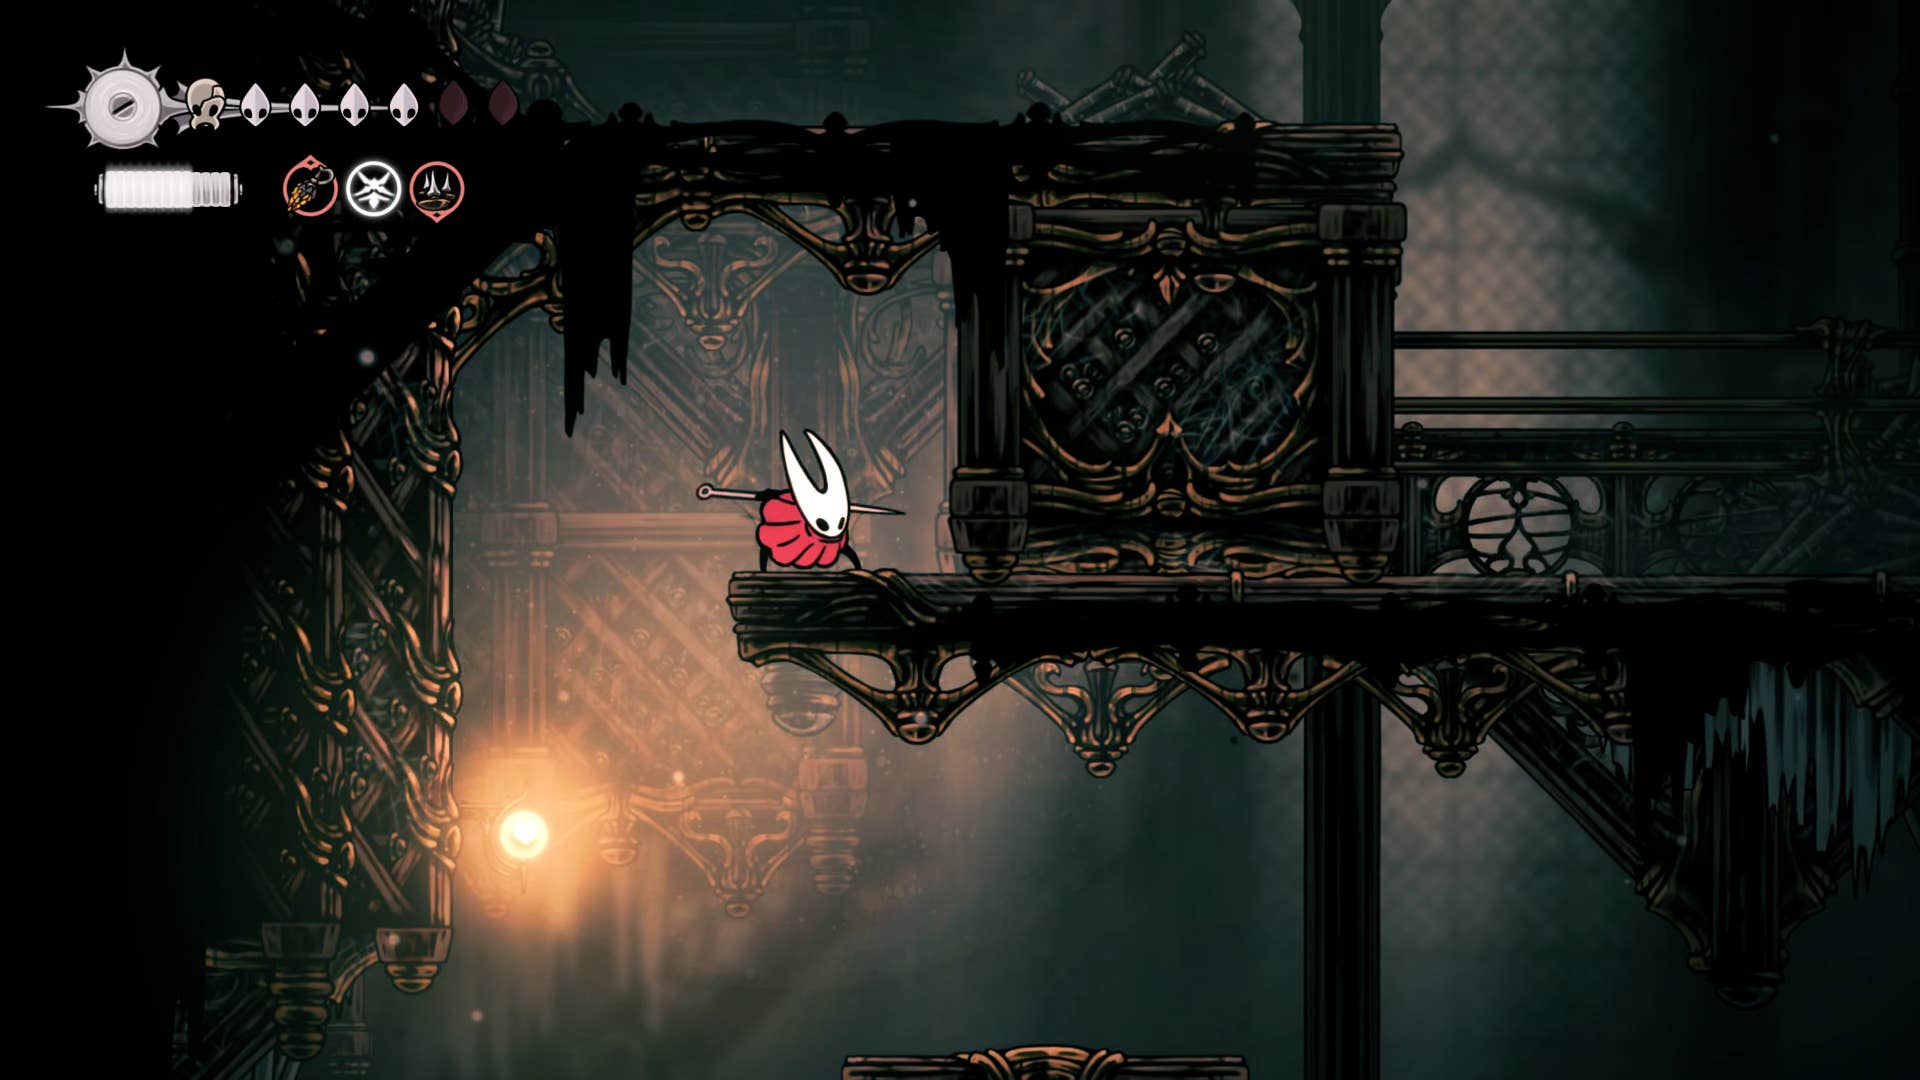
Once you go down the shelf, you’ll see a signed exit on the right, but please ignore it for now. Since you are on the ground, head left and jump over to the wall on the left above you. After a little climb, jump over to the small shelf on the right. Strike upwards at the bottom of the large block above you and you will send it upwards.
Follow the block and use it to reach the top shelf on the right to the point where you are currently resting. From here you can jump to the exit on the right. This is a slightly higher exit than the previously seen signed ones.
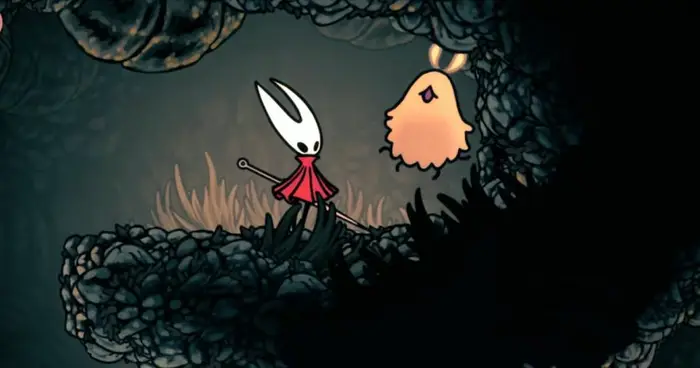
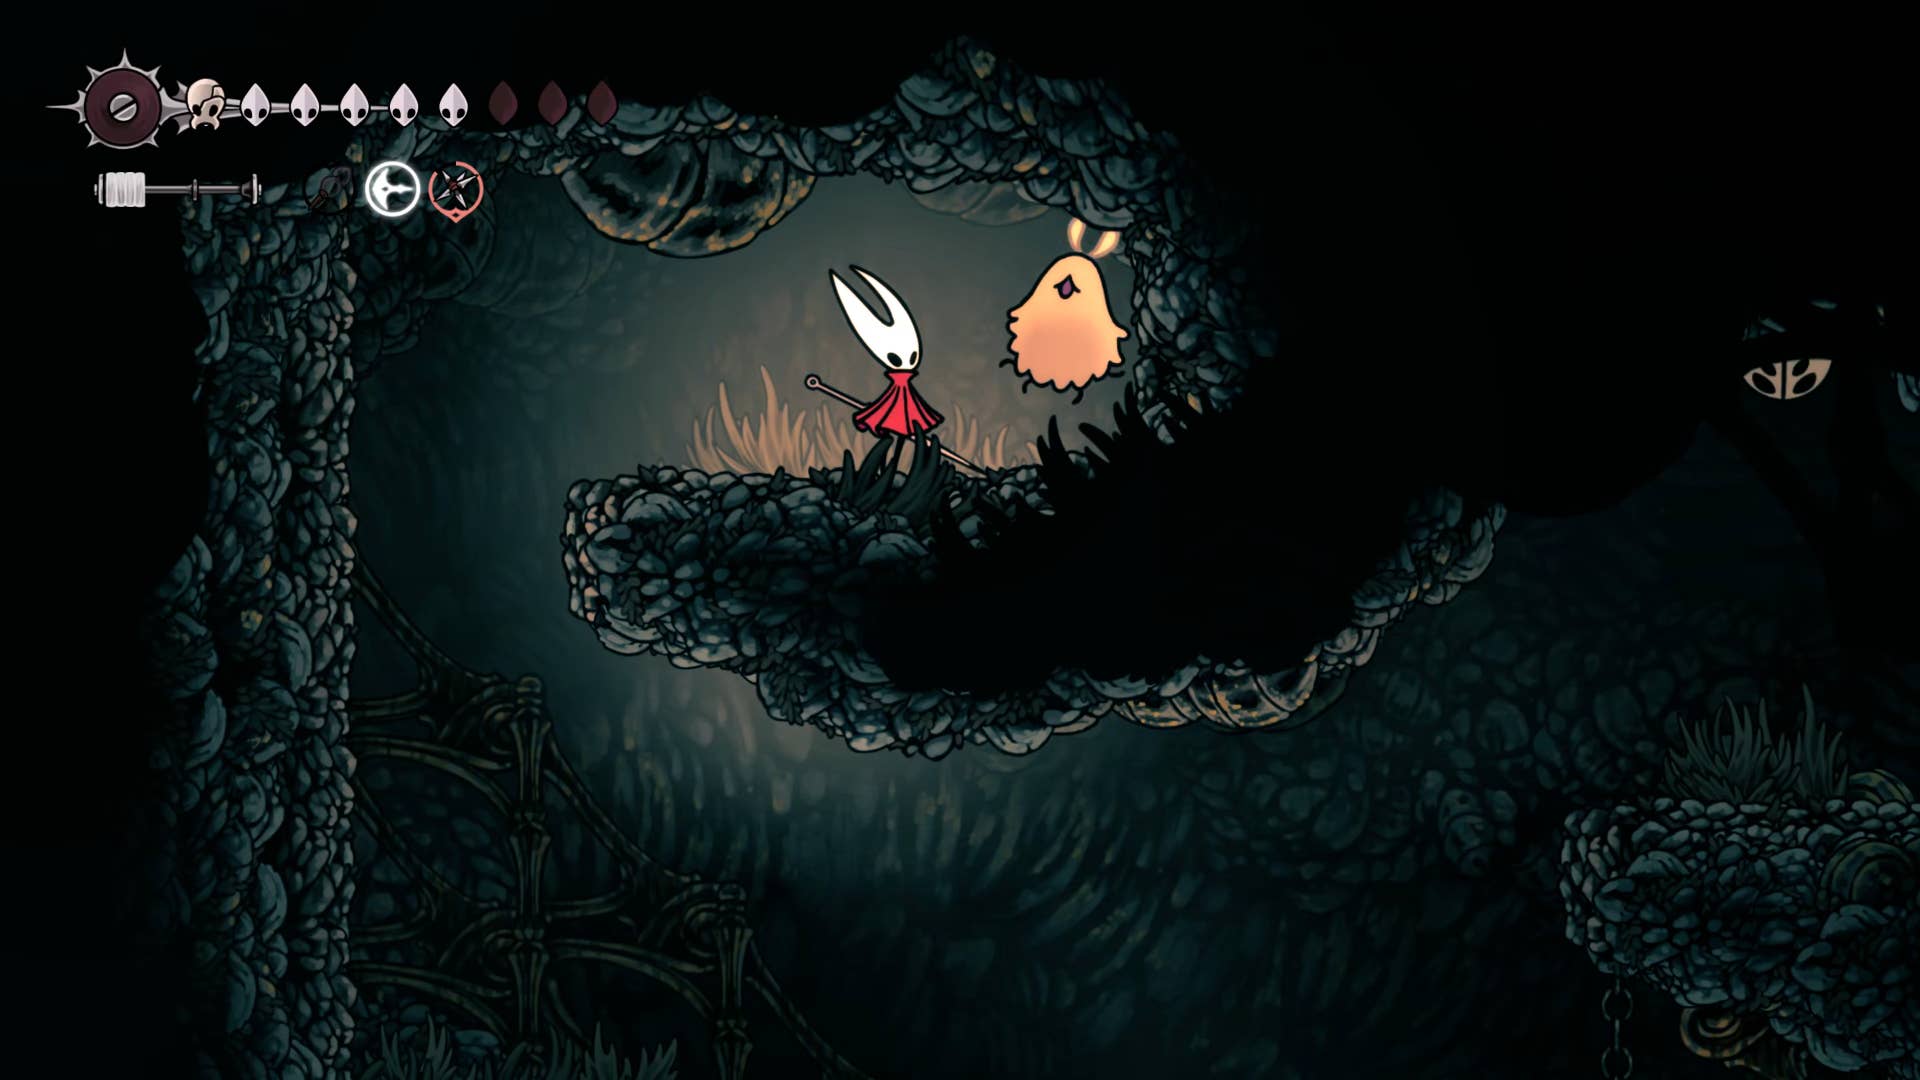
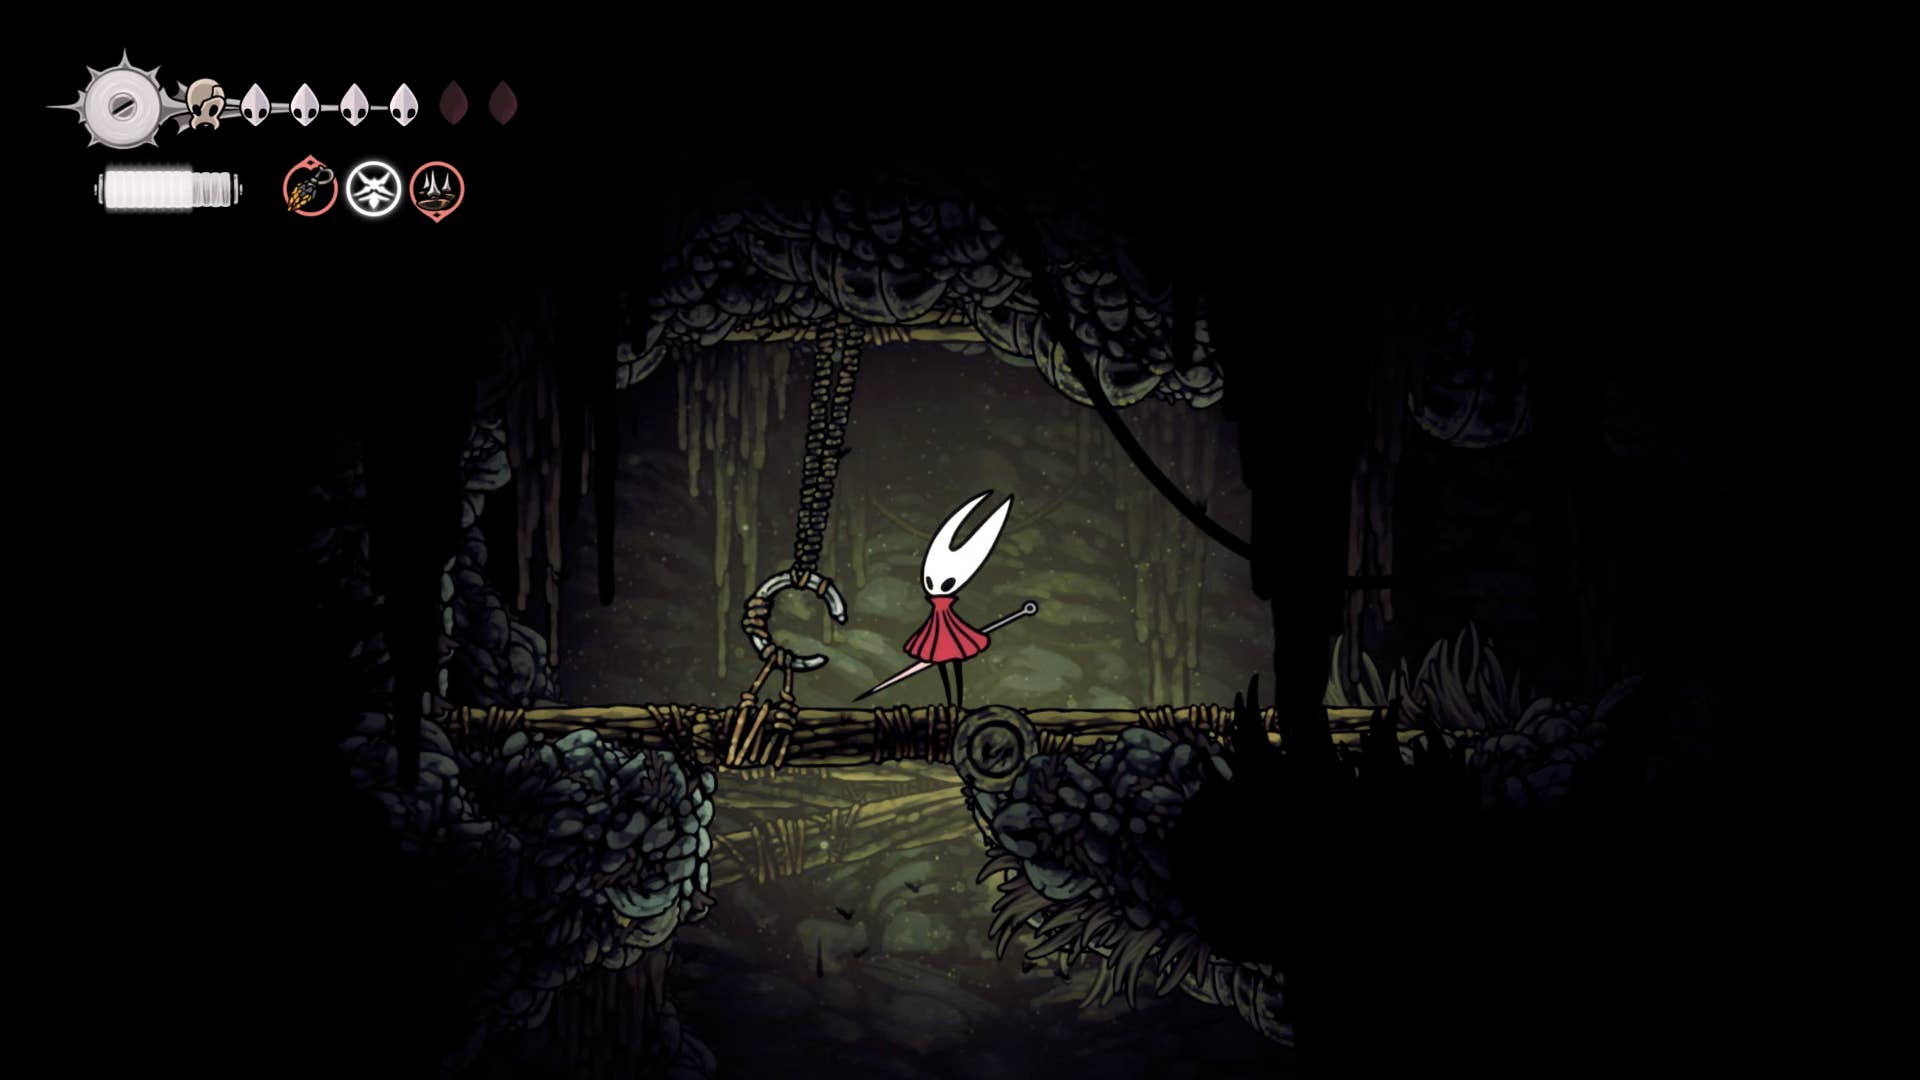
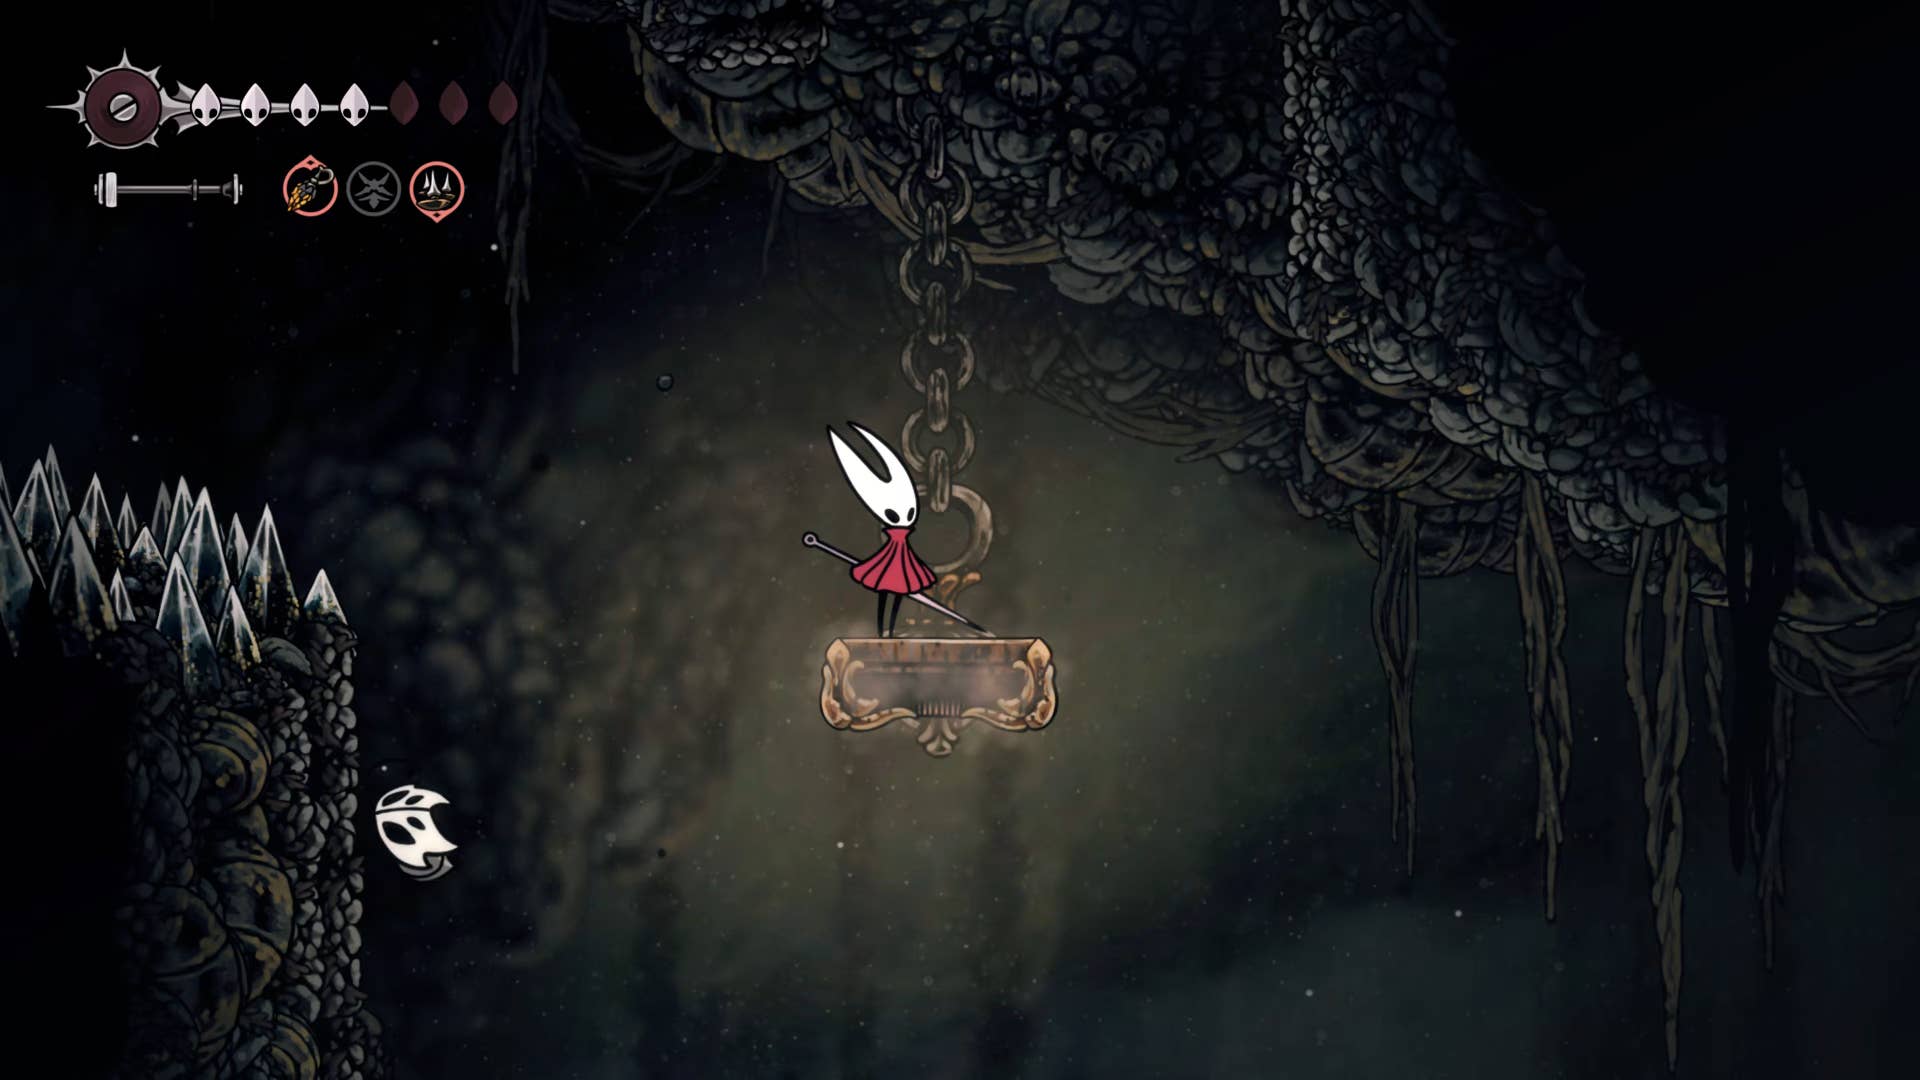
In the next room, he breaks down the wall on the other side, climbs the secret area over the wall to find Silker in the egg, hanging from the ceiling.
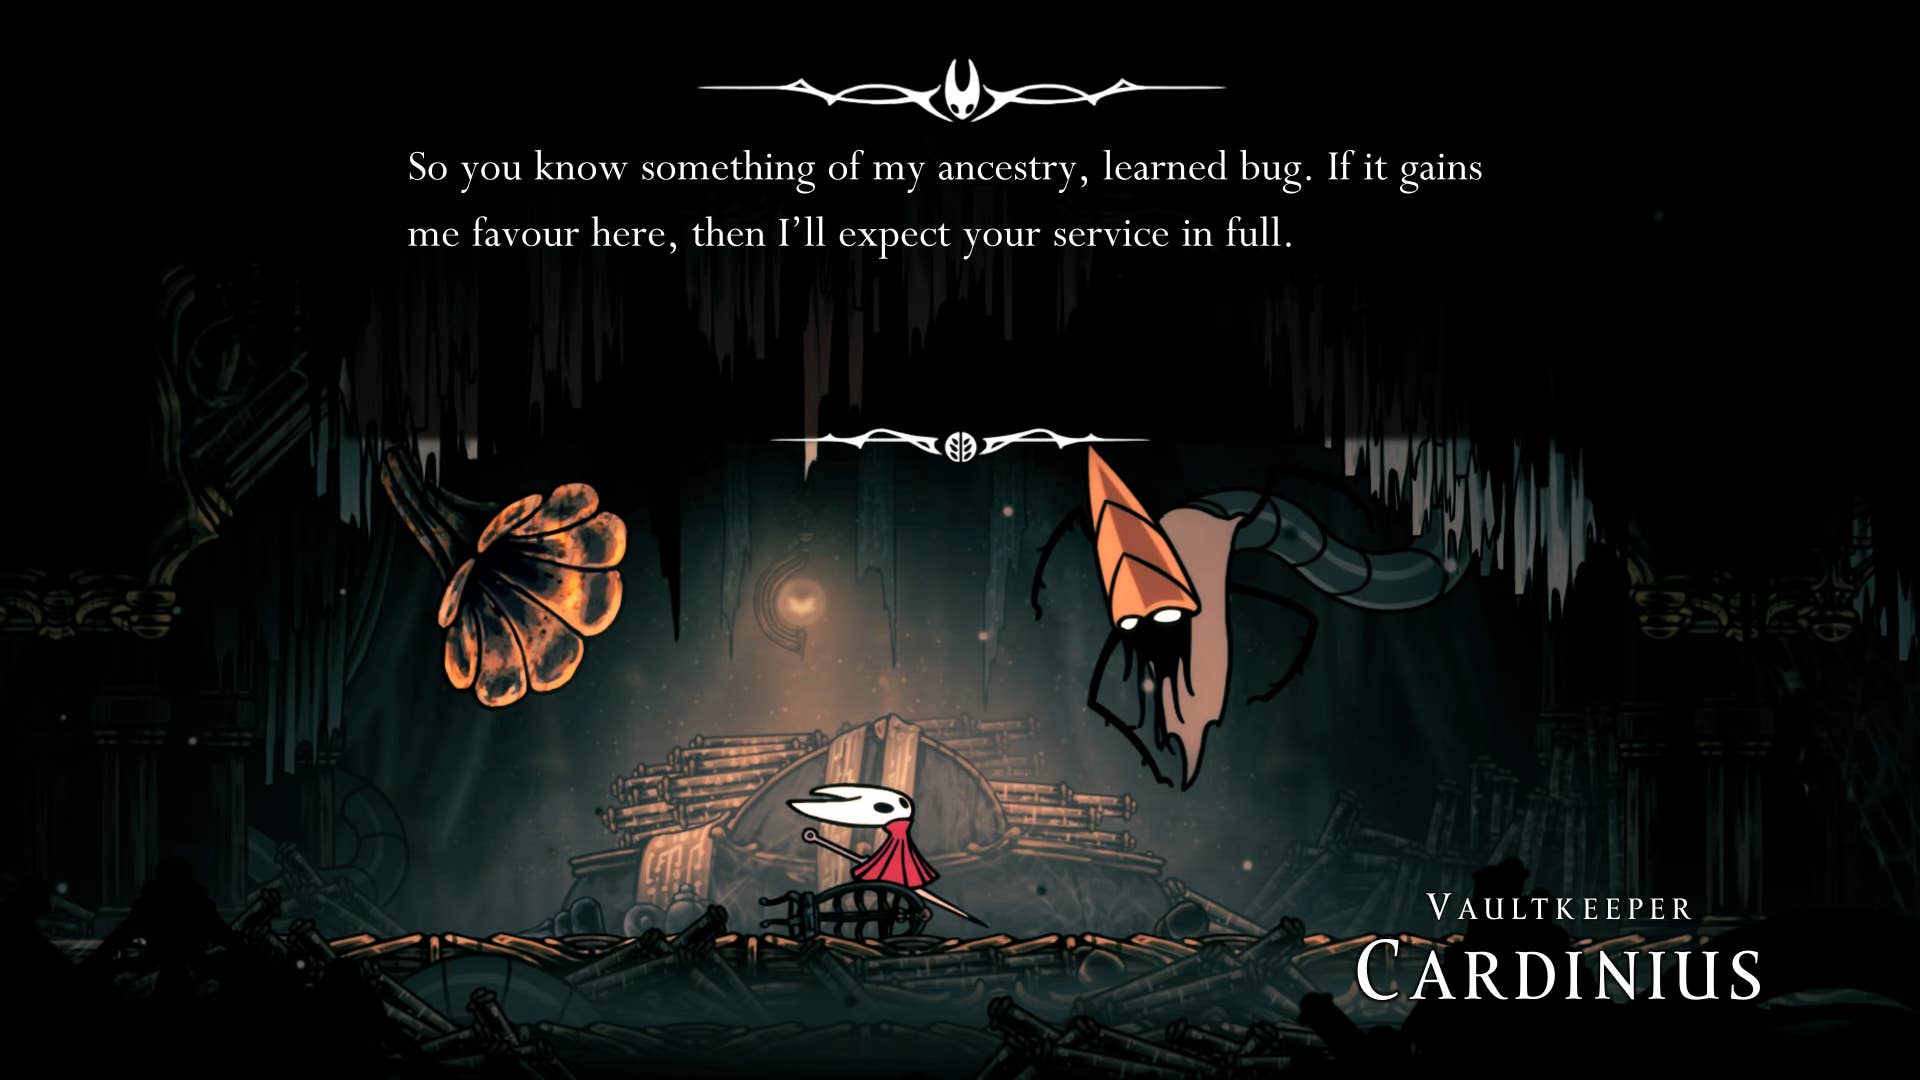
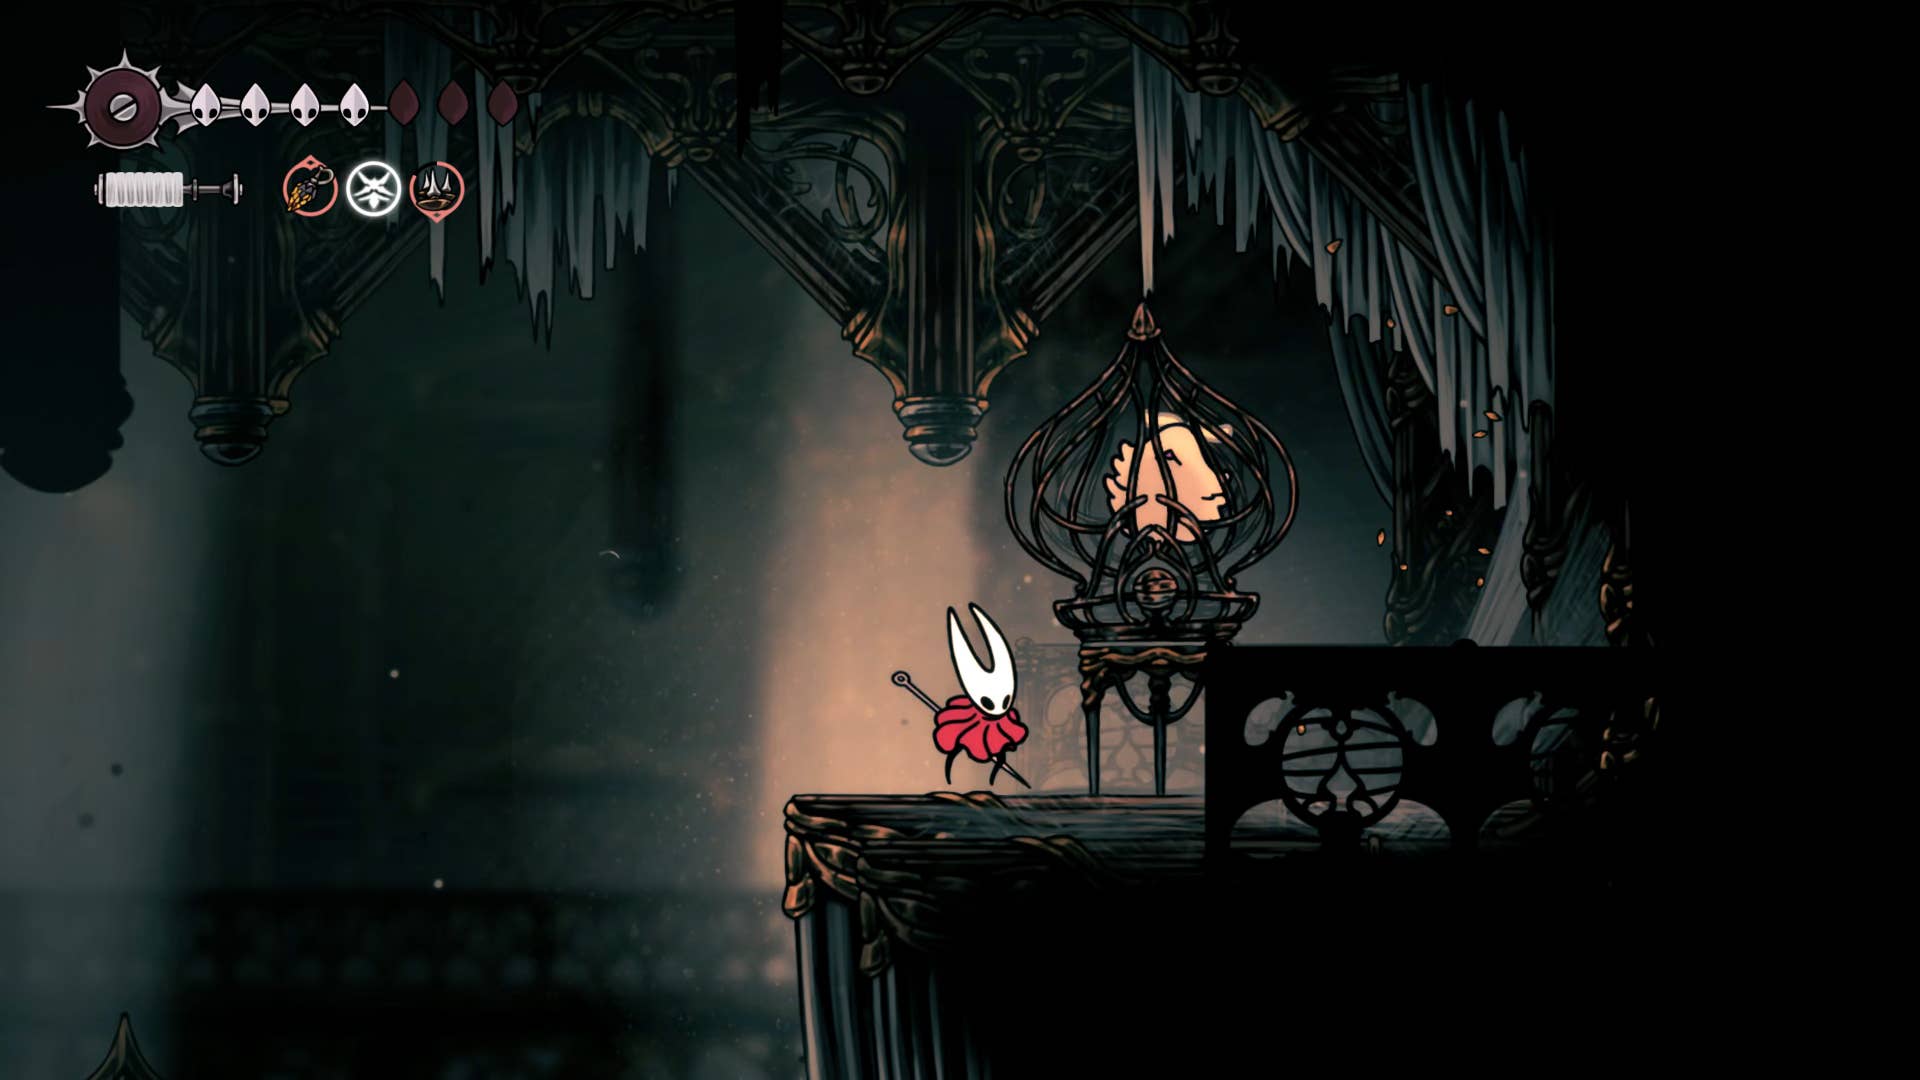
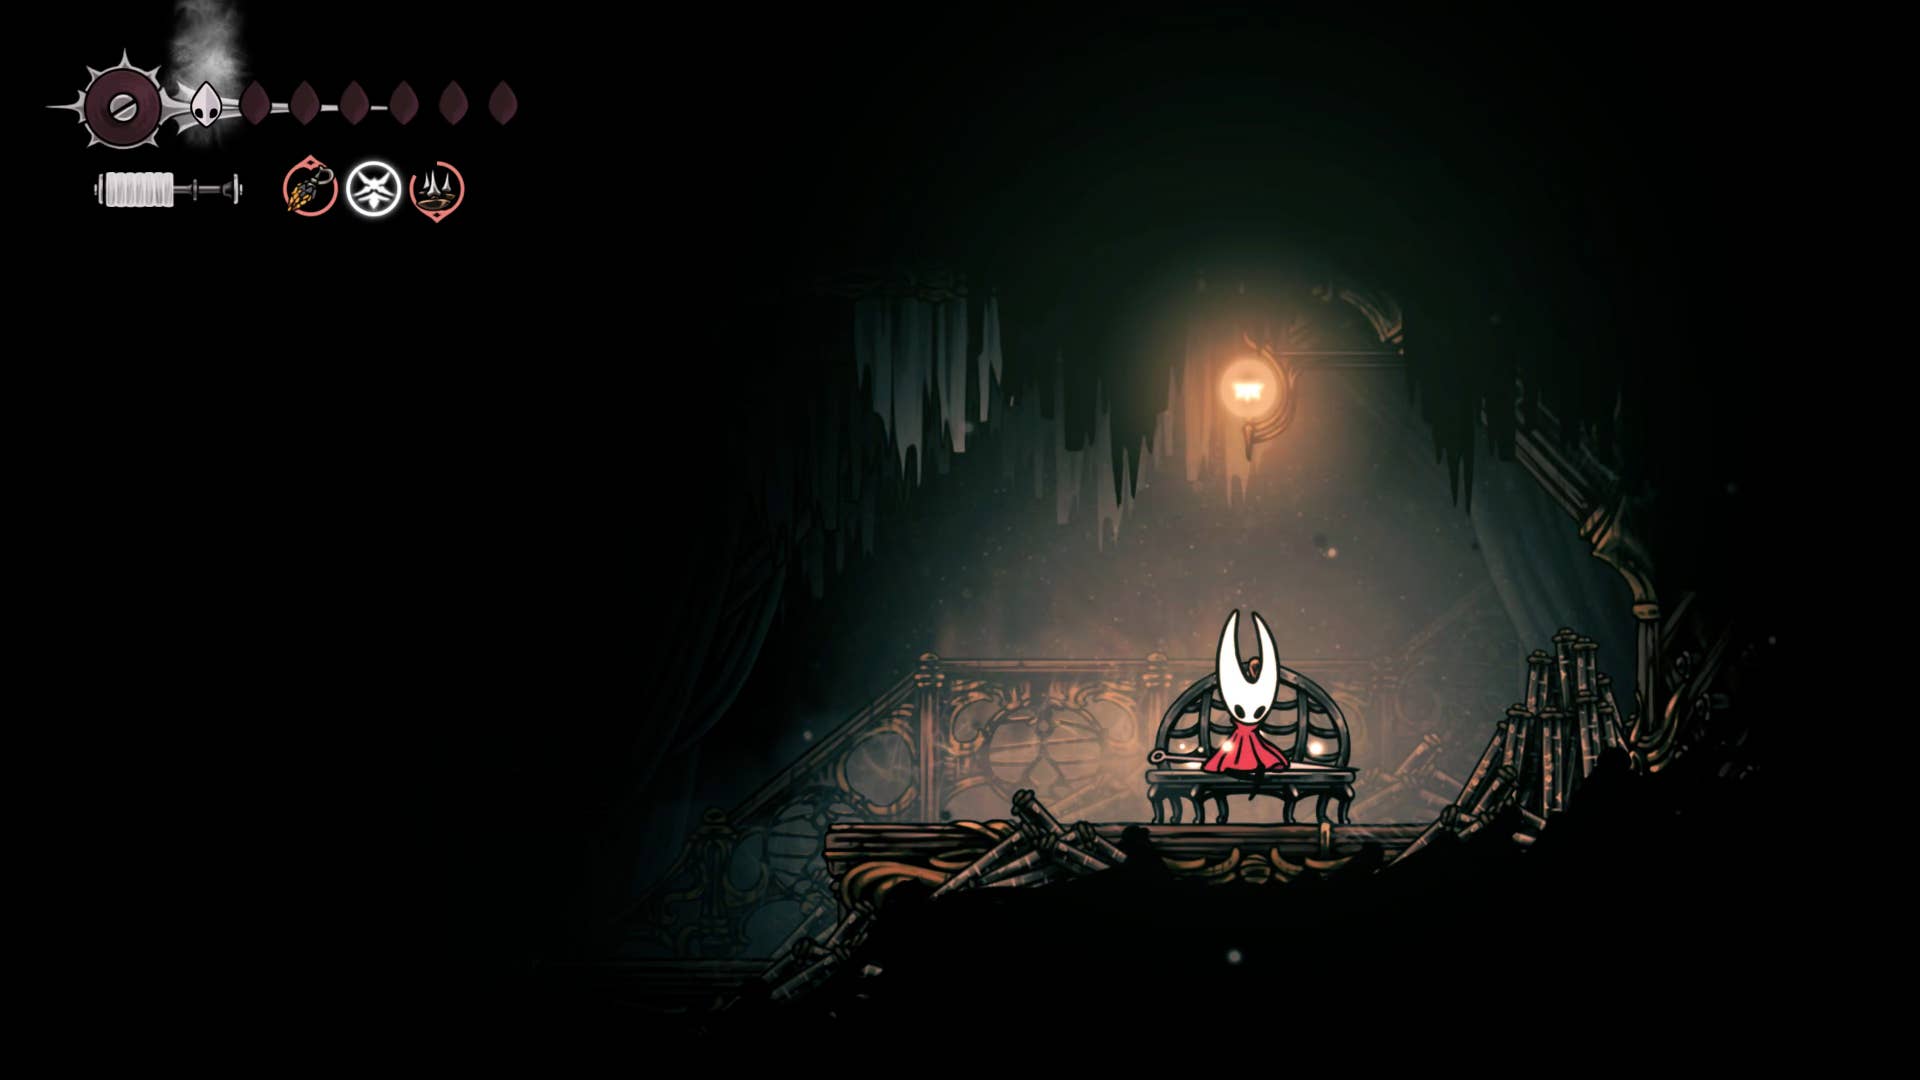
3. Meet the Vaultkeeper Cardinius.
Return from the Silk Room and tap the lever on the floor below you to open the trap door down. Remove the trap door and easily return to the right-handed exit below. Go through it now.
Use a gramophone to pass the area and climb directly up the wall before jumping to the left. Here is a bench to rest. You can also walk straight down the wall on the left side of the bench, then attack the ground below the bottom of the hole to attack the shortcut backwards.
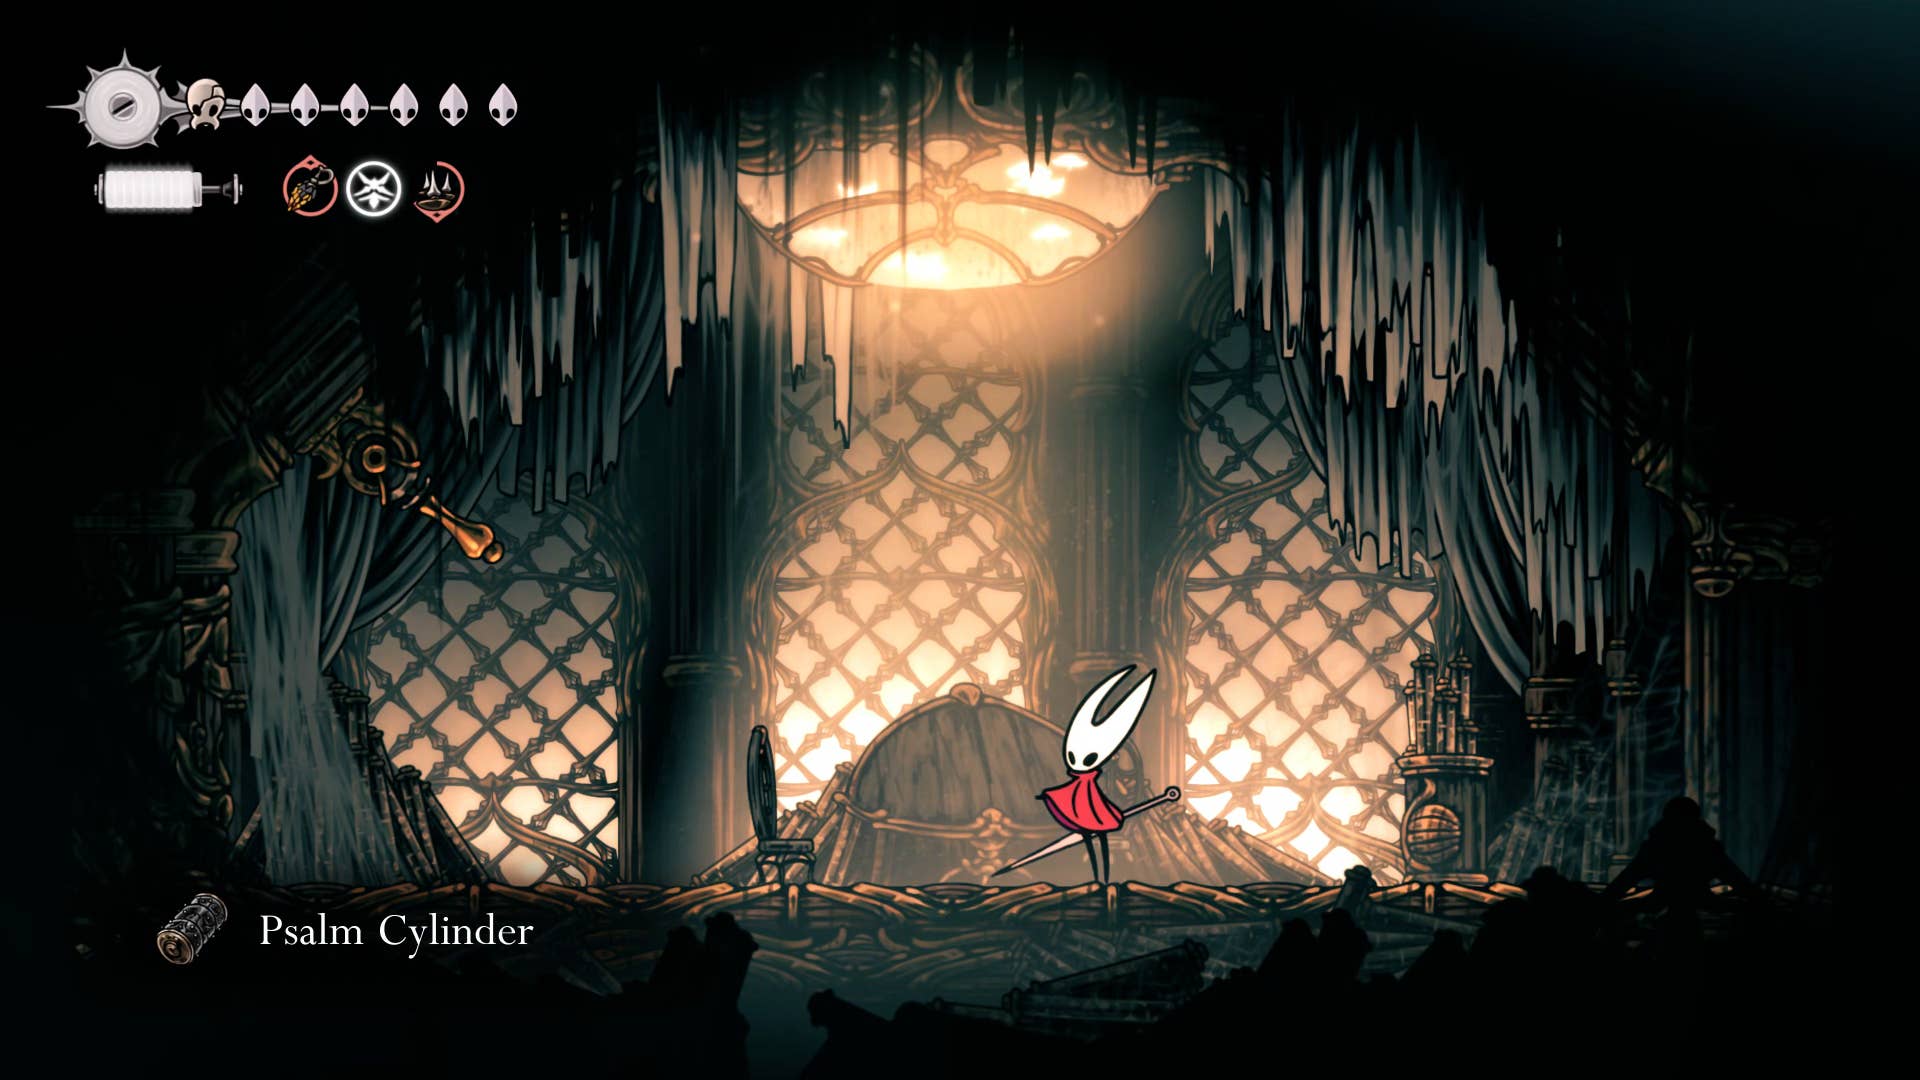
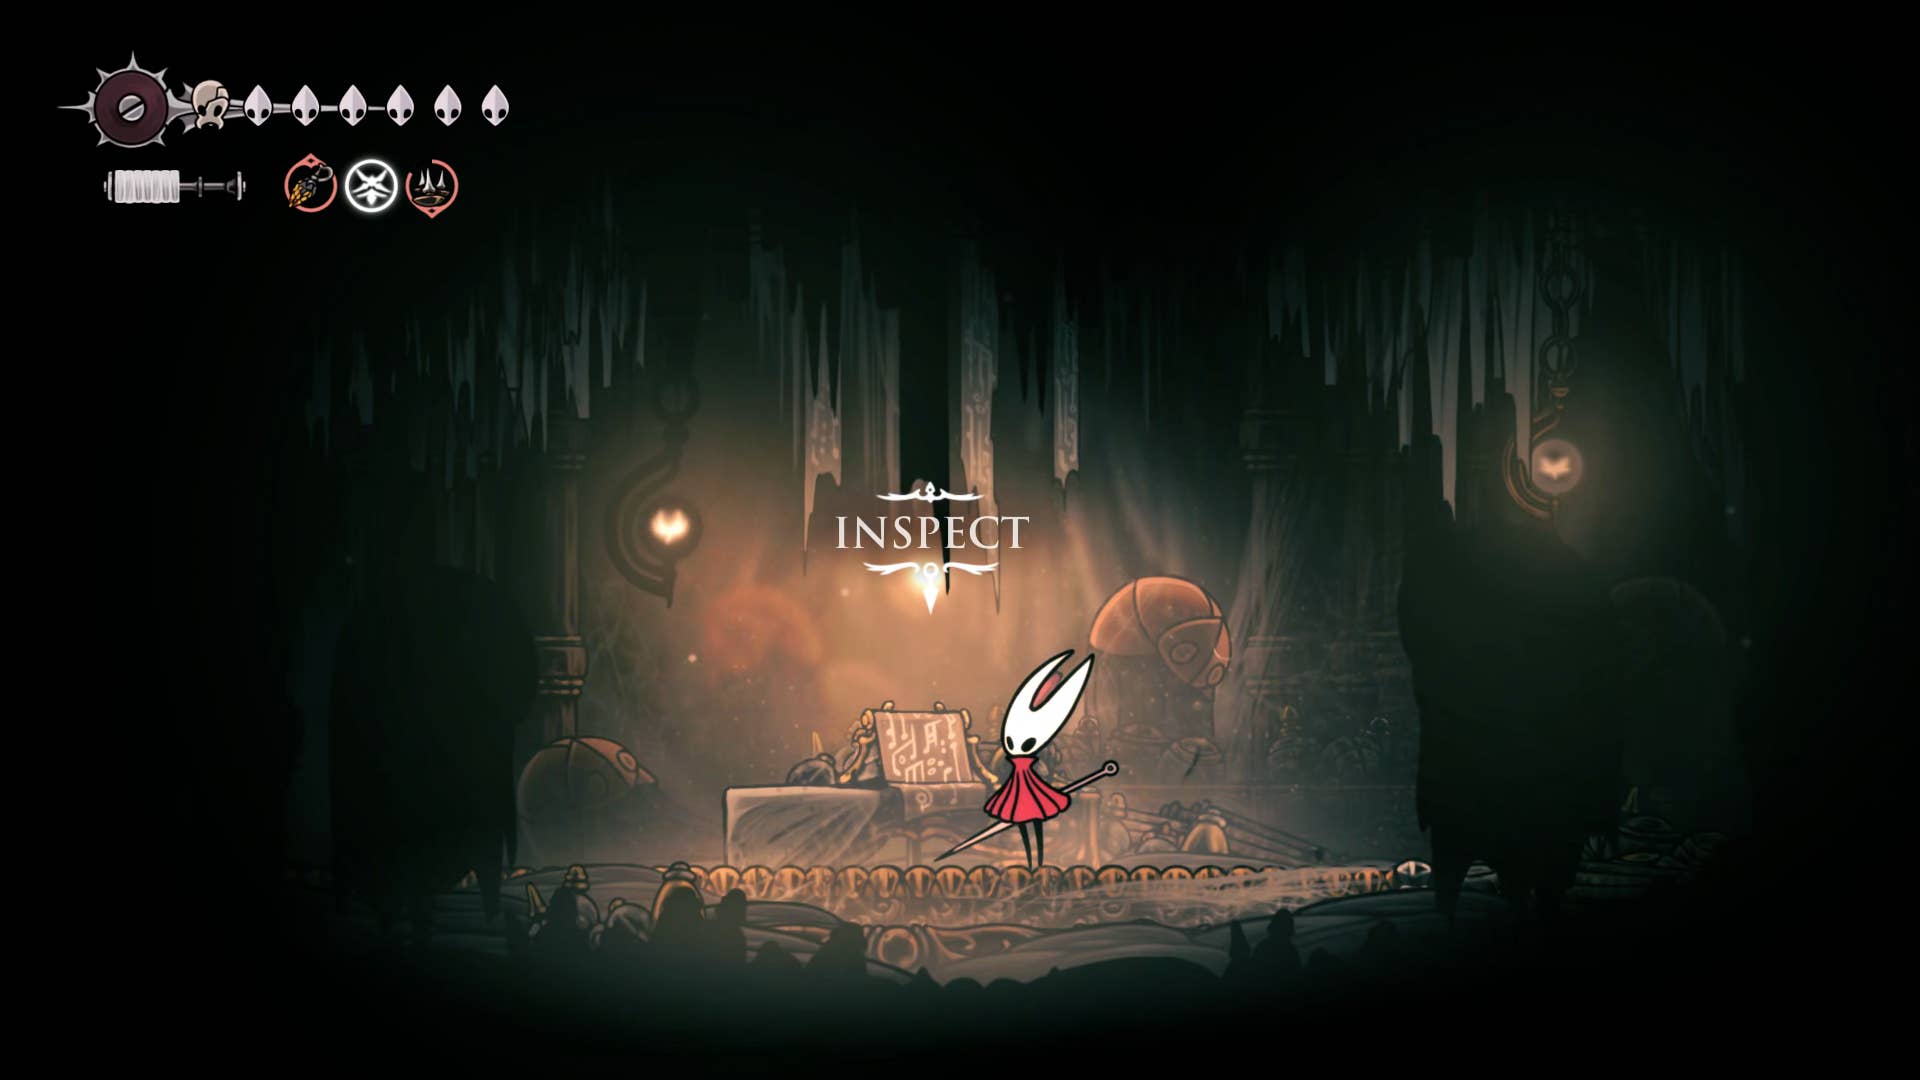
This time we head back to the right of the cemetery area, this time we will climb up to the end of the road. At the top, you can plunder the poem sal cylinder.
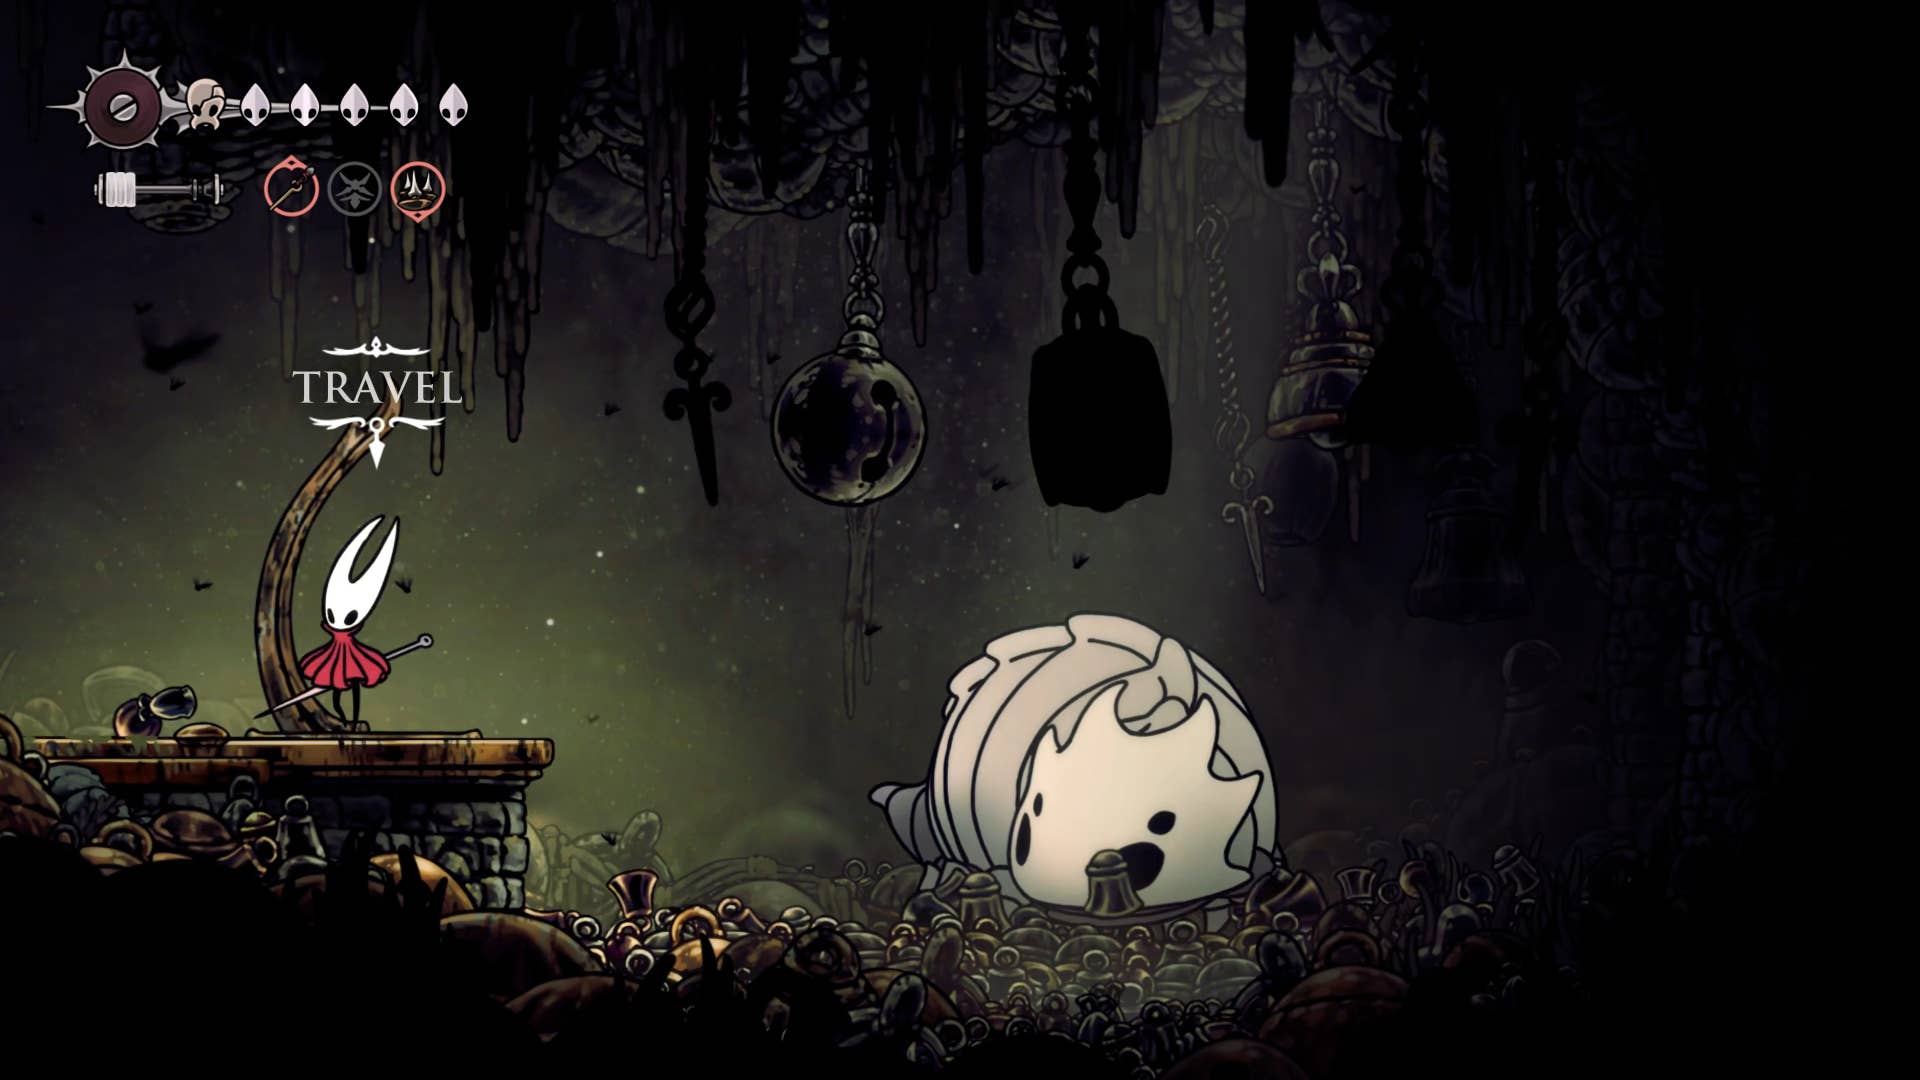
Returning to the gramophone, you will be interrupted by the new NPC -Vaultkeeper Cardinius. Give him a poem sal cylinder, give him music to play on the gramophone, and use up his dialogue for more information about the melody of the ballkeeper here.
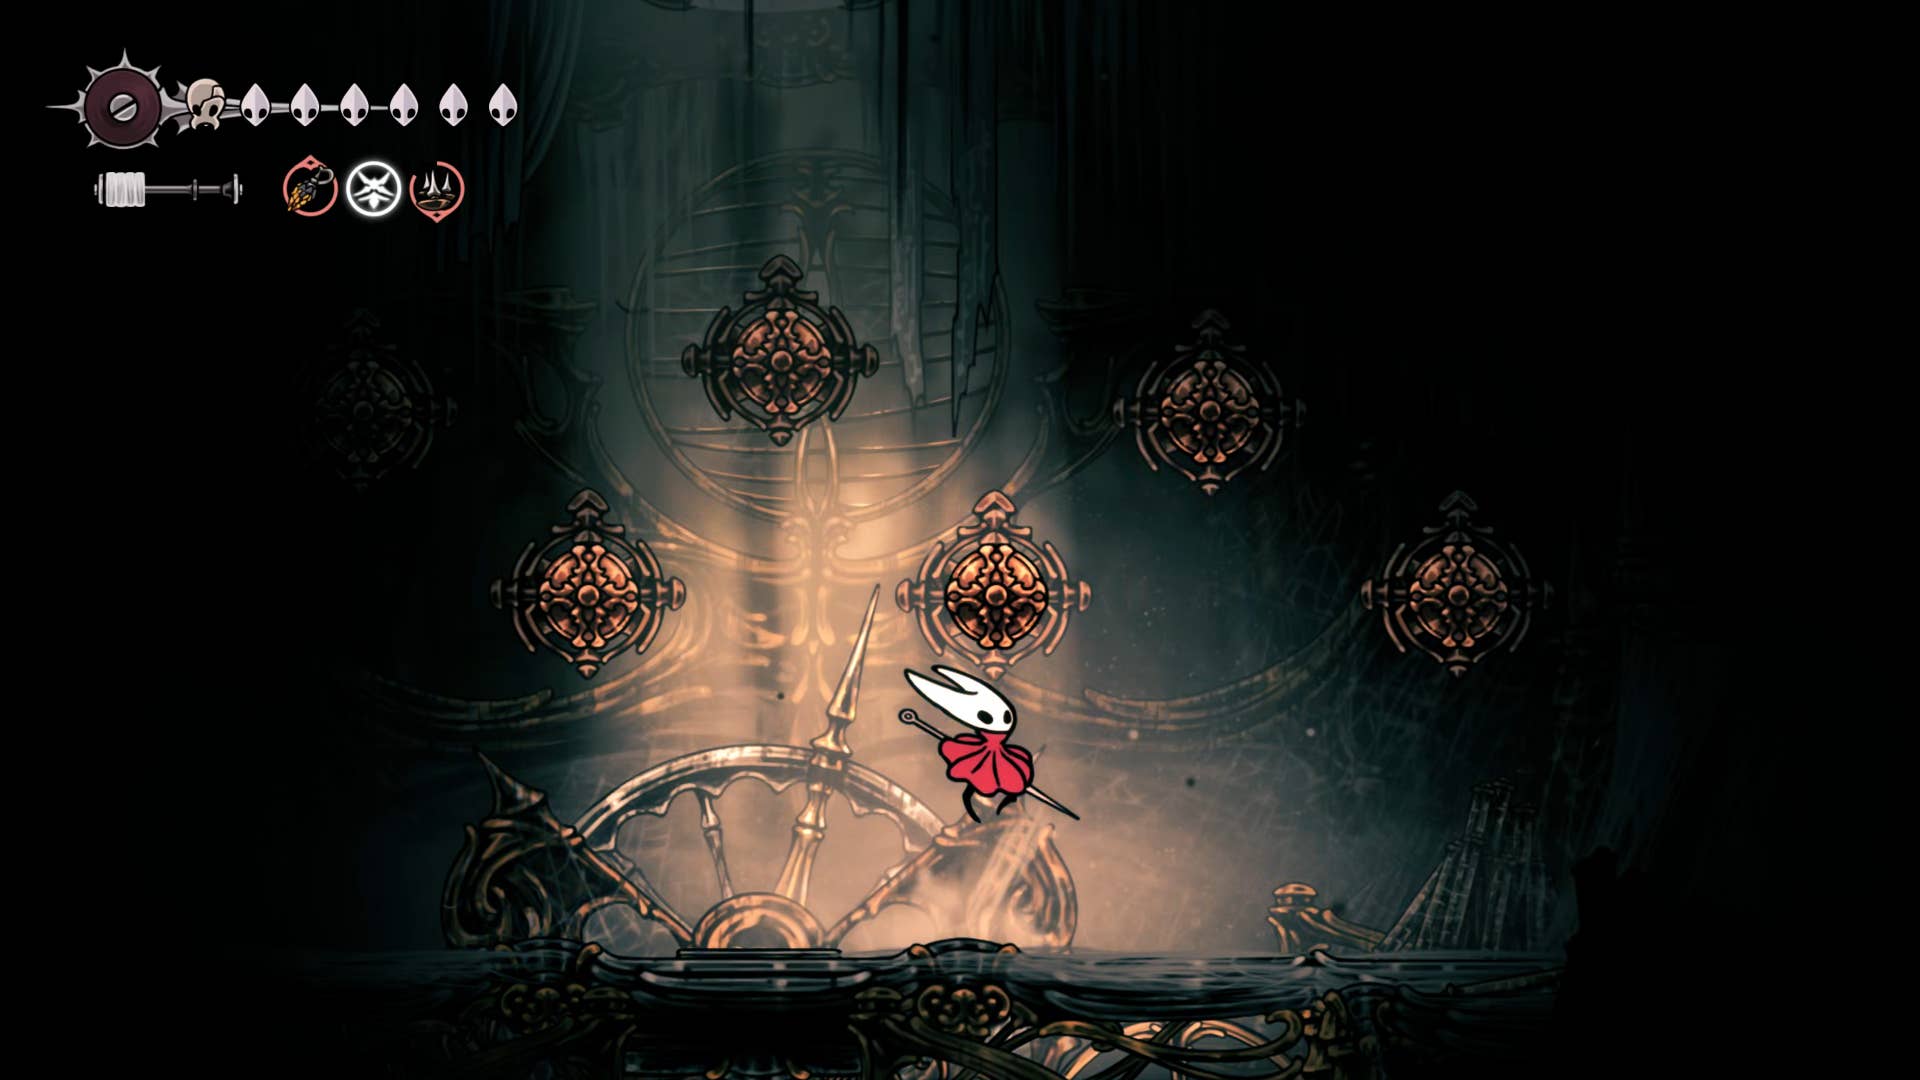
4. Rescue the fleas above the waist room.
Leave the Cardinius room, head left and drop down to a lower level on the main shaft. You will be ambushed by a vaulkeeper jumping off the ceiling. Kill it and then jump over the box on the right to continue descending the shaft.
Again, there is an exit on the right here, but you cannot take it yet. Instead, head left and when you reach the end, use the shelf above to jump to where the block is. Push the block to keep it out of the way, and now you’ll be able to easily move the shaft up and down. Then drop down and go through the doorway to the left.
The room over there is a fragile wall on the left. This leads to a lever, but all levers are to generate many ballbone enemies in this main room. Return to the main room and proceed towards the shelf above you and kill the scroll reader to the right.
You can then jump over the shelf on your right and continue climbing upwards from there. Yet another Scrollreader is further up, and you can also find a lamp bearer. Use the tool to kill without any problems and use the wall to the left to climb onto the moving block.
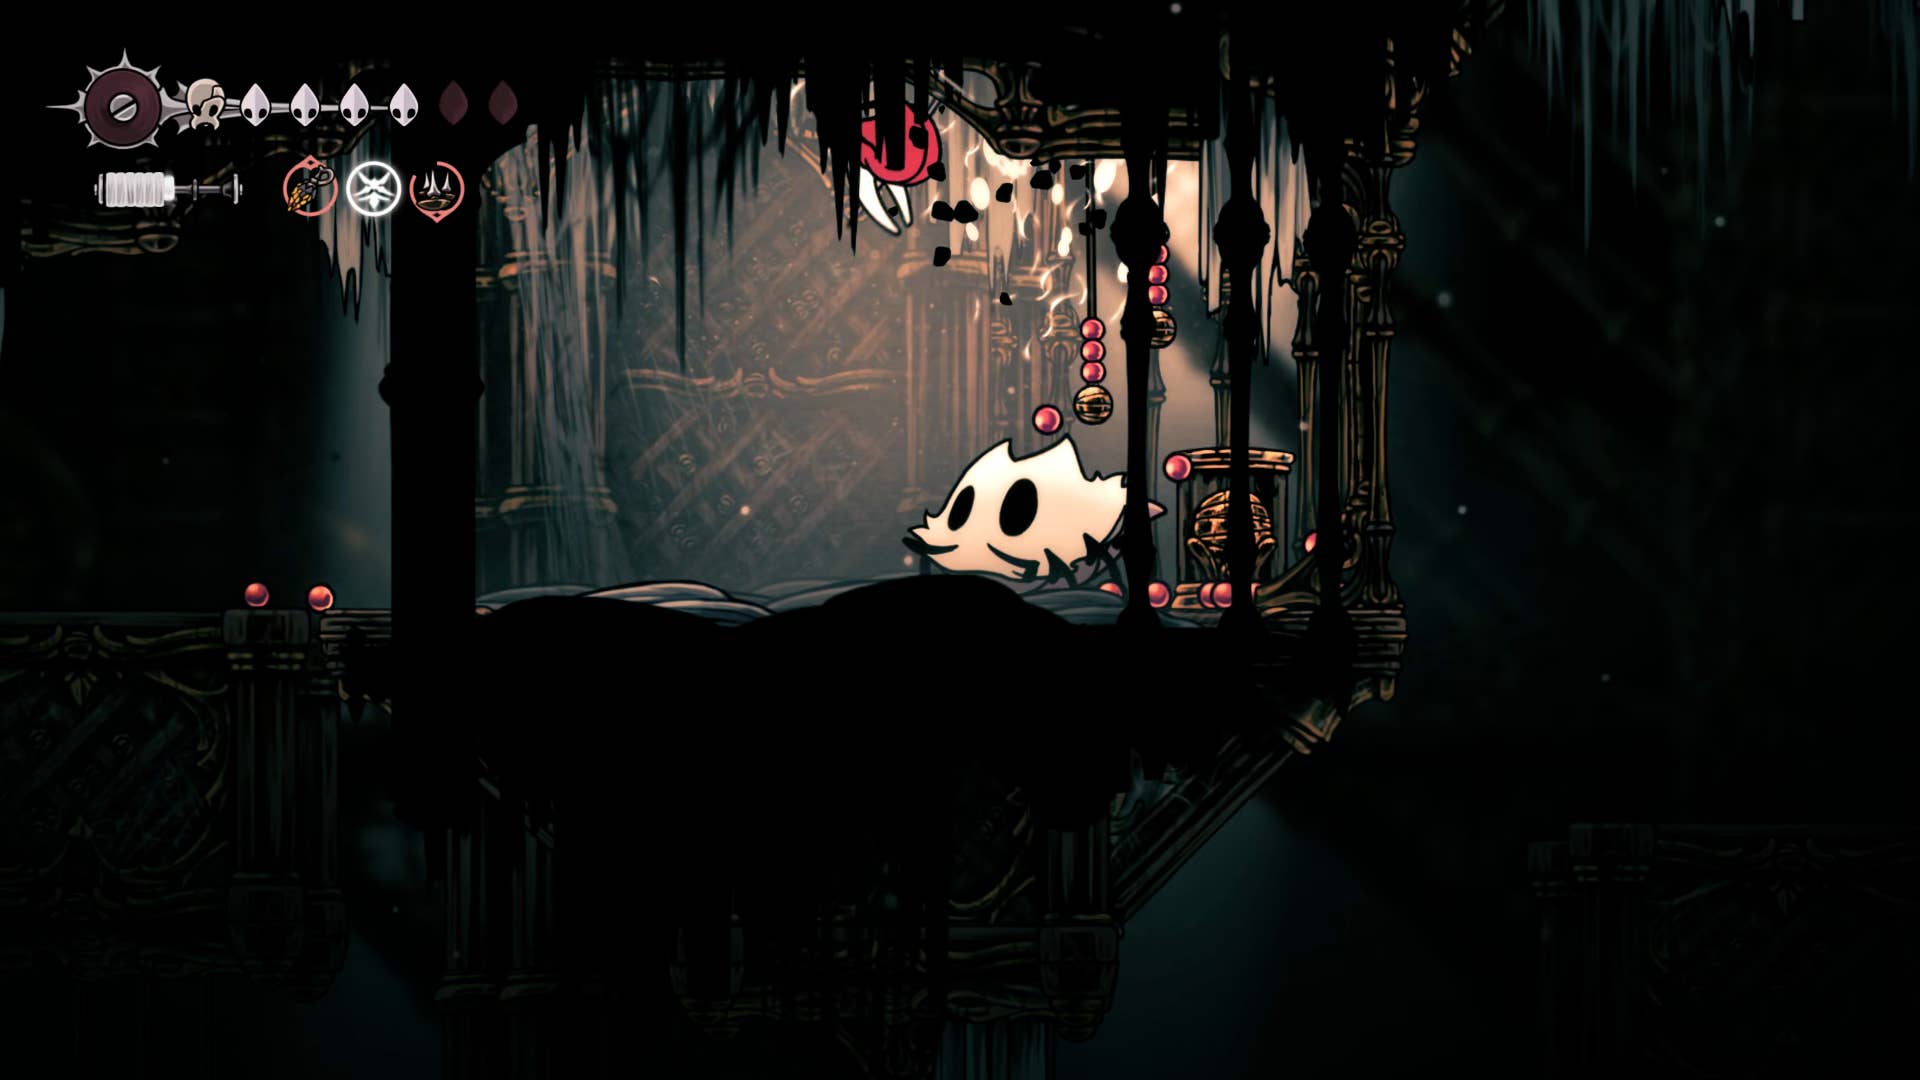
The idea now is to keep pushing this same block along the track so that it reaches the top of the room. Follow that path with each hit and once you reach the final resting point, you can pop it to the right and rescue the captive fleas in your cage.
5. Get pale oil for Pliny.
The exciting part has arrived: It’s time for weapon upgrades!
From the top of the free room, head left and head down to the exit about a third of the left wall. Behind the room is a puzzle room that contains many of those same moving blocks, but not too difficult. There is no “wrong” movement – every time you hit a block, it’s the right thing to do.
Once you complete the puzzle, you will be able to reach the left exit, which will return to the choir room. In fact, you’ve been in the pale oil room for a while now, and now you can reach it! Collect the oil and press the lever to open the trap door below.
I highly recommend you now immediately Head the adjacent choir chamber shaft towards the Grand Bellway, move quickly to the Bell Heart, and hand over the pale oil to Pinmaster Pliny for your next weapon upgrade.
Once that’s done, you can return to the Grand Bellway and quickly move to the first shrine, then return to the top of the whisper through Songclave.
6. Collect nearby mask shards.
Whisper and go back. This time, take the exit on the right opposite the doorway that leads to chisels and pale oil. Pass through an empty room and head towards the area beyond.
Again there are plenty of moving boxes in this room, but you don’t need to move them yet. Drop down on the right side and the block’s track escapes towards the left. After jumping over the block, exit through the entrance and exit at the bottom left.
In the dark corridor that follows, you tap the ceiling along the way to open the aisle up. Climb up, then press the movable block above you and press it high. Follow it into the first empty room on this road. You can now use the block to reach the top shelf. Here you can collect the following mask shards:
7. Rescue the fleas above the Songclave.
Return to the room with multiple (untouched) movable blocks. Attack the person in front of you and narrow down your very satisfying enemies. Then jump and hit the block above you to move to the right.
With both of these blocks on the right, stand on the bottom block and move high by attacking the top. You can then turn the bottom back to the left and climb.
On the top shelf, there are many enemies on the left, including a scroll reader. Kill them all, then attack the block above you and bring it up. Climbing to the same block will reach the Cache of Rosary, but beware of the giant drapemite that appears behind you.
Now head towards the right block and stand on it, jump to the wall above you, and jump to the right. There is a well-hidden passage here.
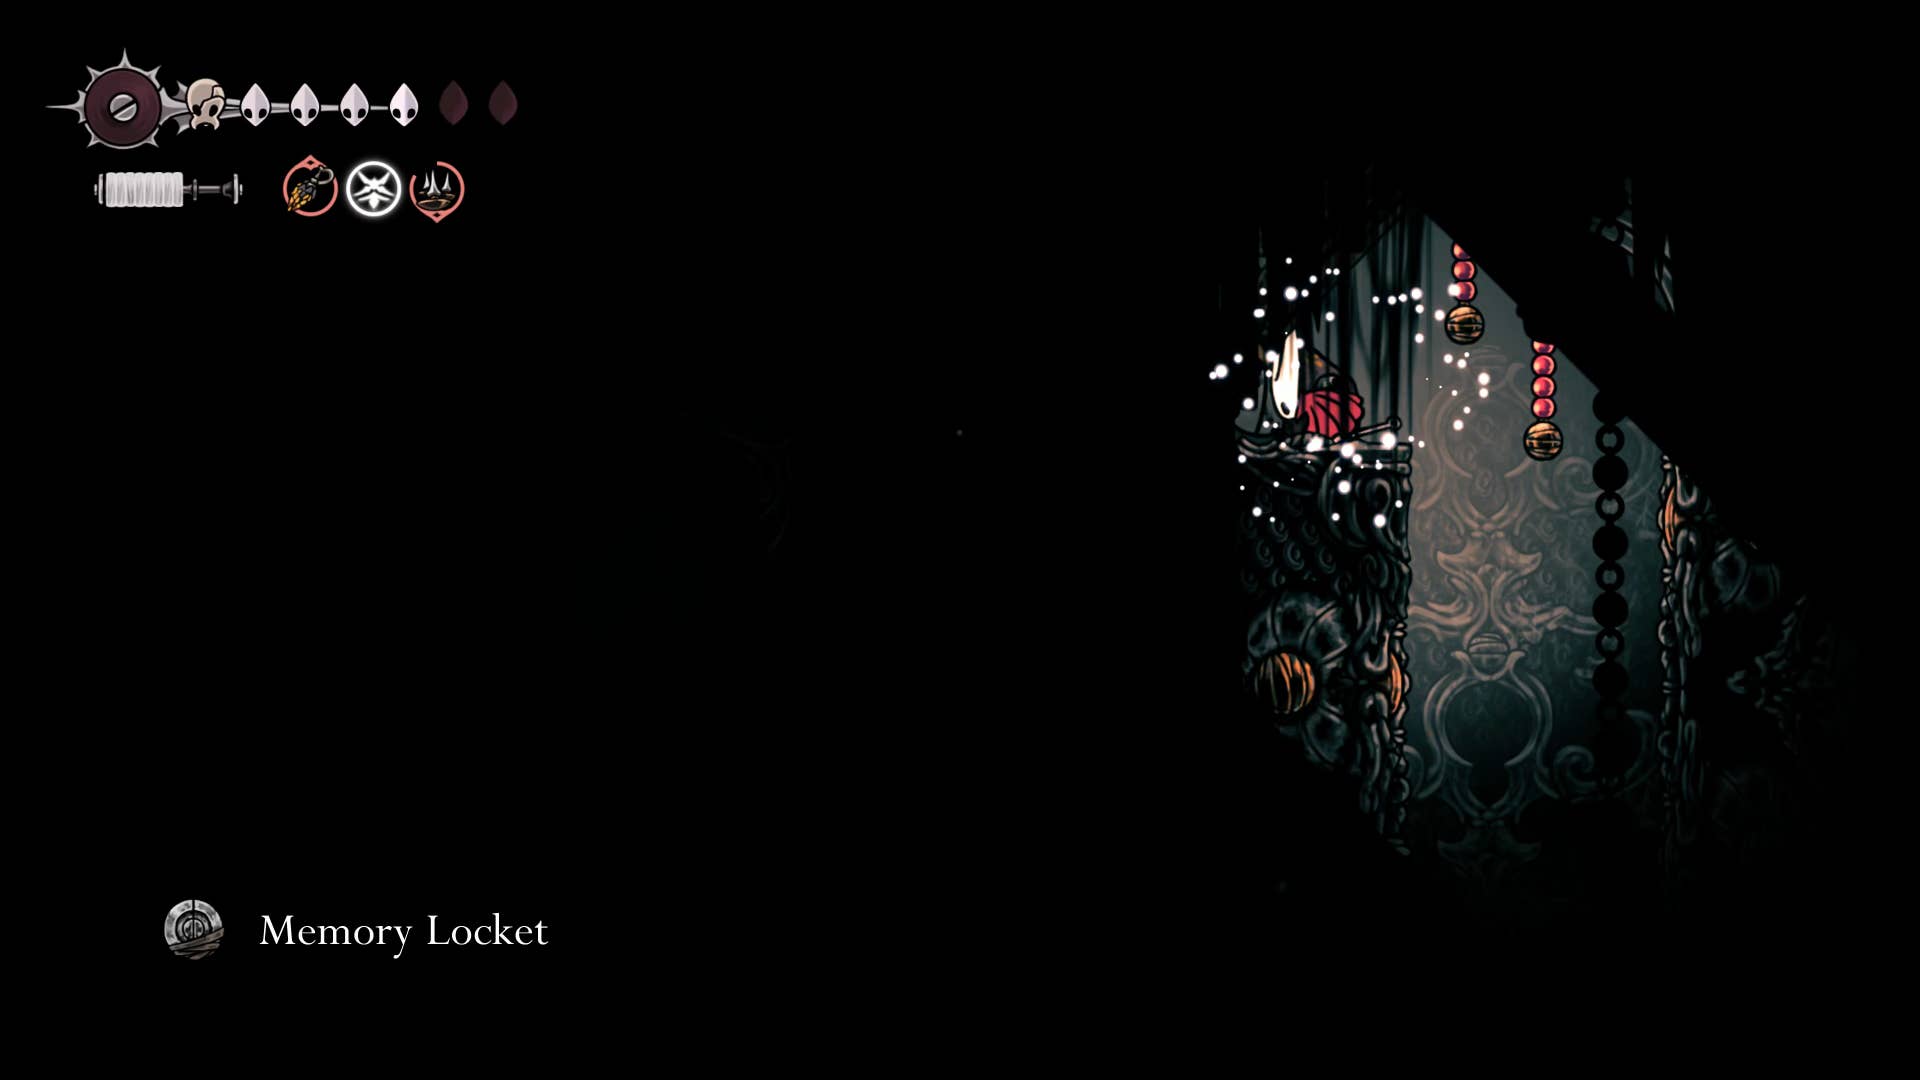
If you go up the path, one path will be further up, and another path will go right. Follow the above path and go left. This path takes you into the body of a pilgrim that you can plunder for a memory rocket. Then go back down and follow the path on the right.
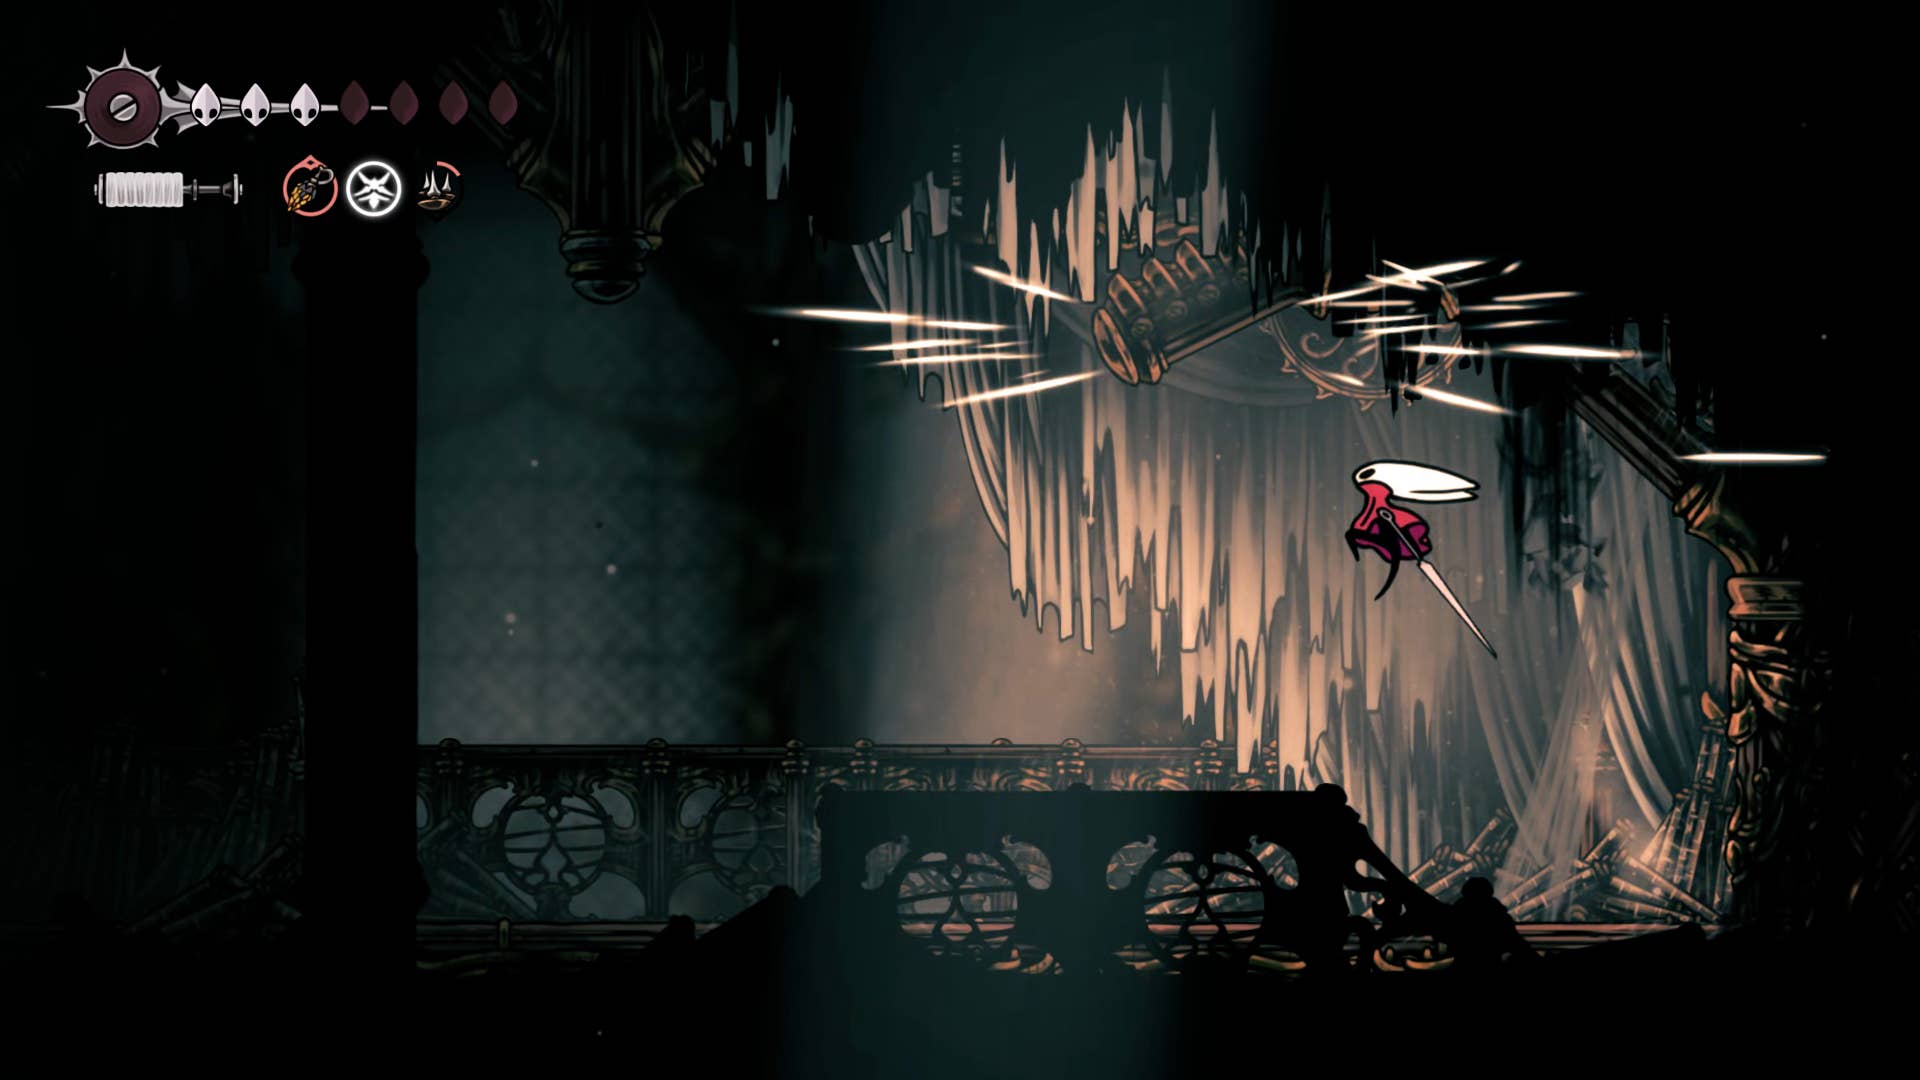
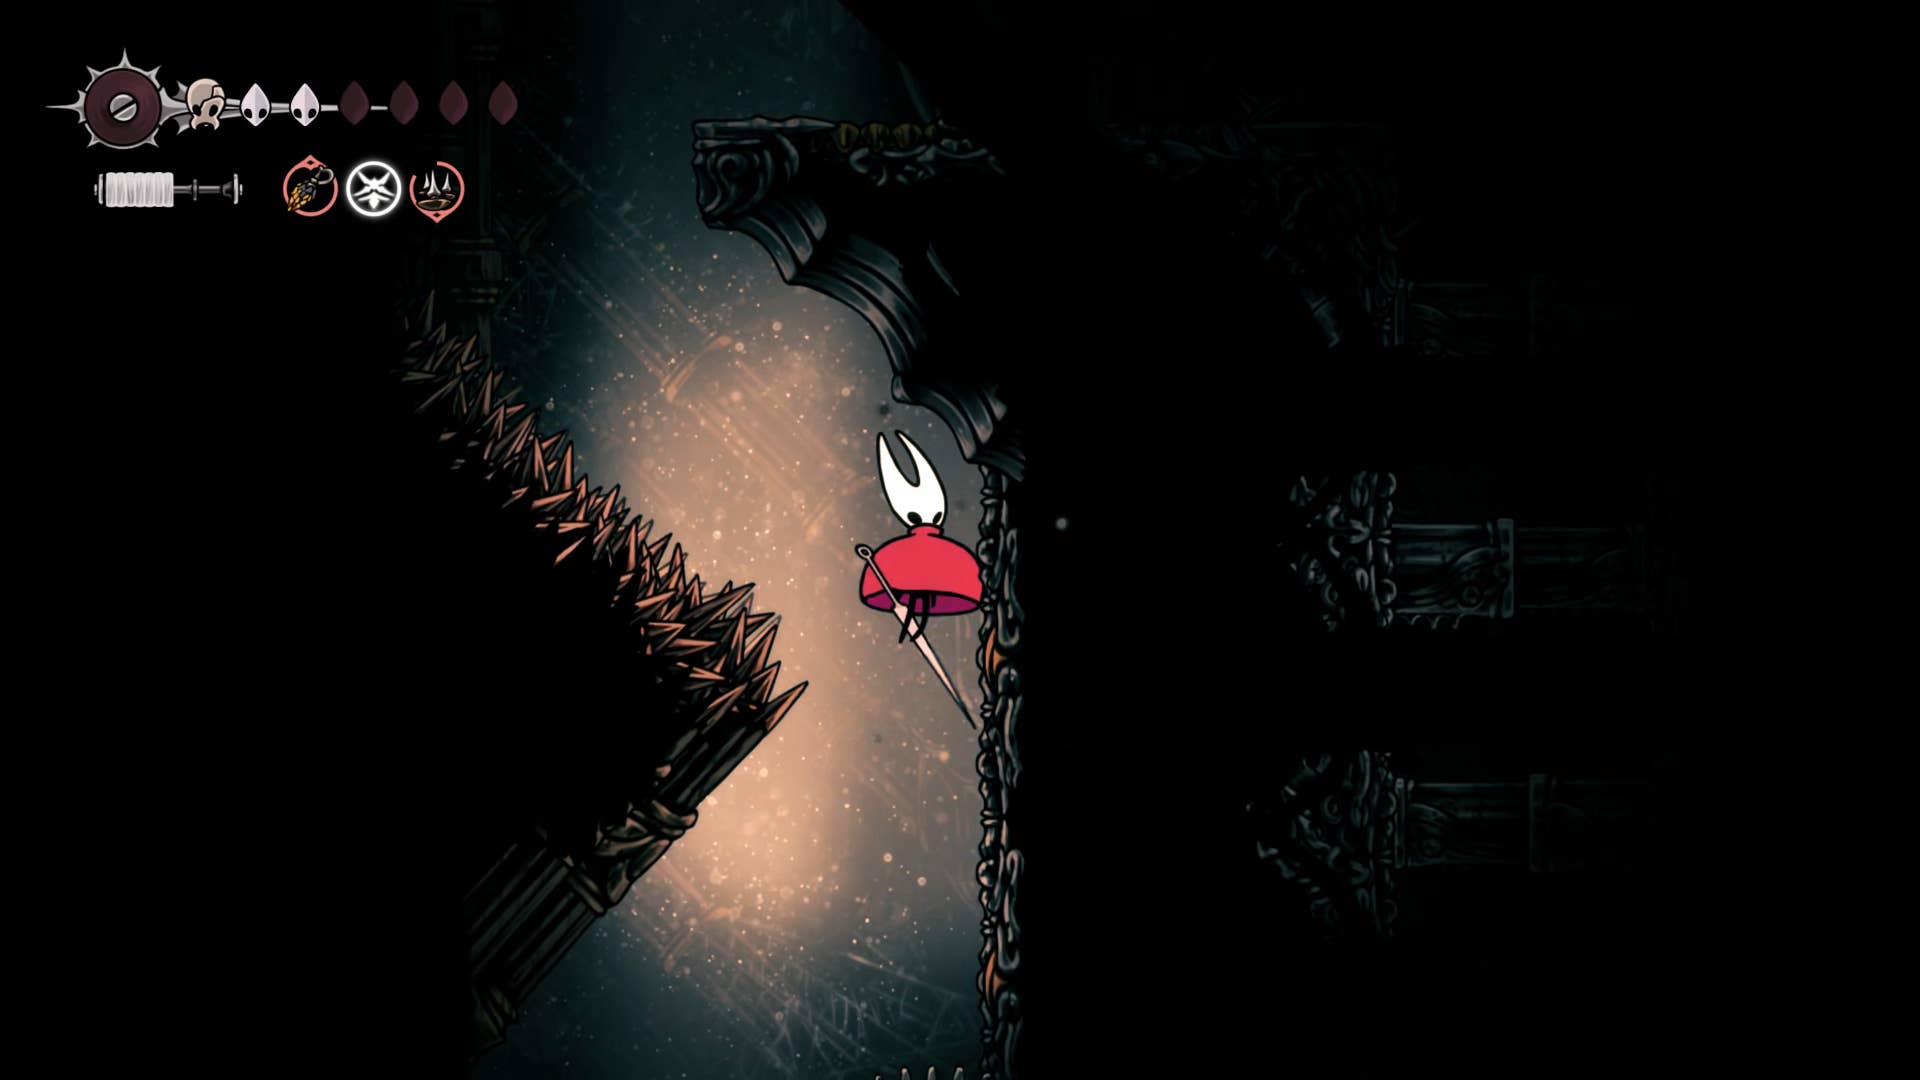
In front of you is a claw line hook hanging from the ceiling. Before using it, attack the wall on the right to view the shard cache. Now use the hook claw line to activate the path directly below you. Try dropping it and avoiding the saw.
After passing through this mini obstacle course of a moving saw, you will then lower a hole that will make the terrain even more intense. When you go down, be careful – there are two paths to take after the first sequence of spikes. The first pass is to keep descending downwards, which leads to Bilewater. The second path is to grab the wall on the left and climb up. Take this second pass. Cling to this wall will cause the boulder to fall from above, so be prepared to dodge it.
Jump over the spikes and continue climbing until you return to Thor’s territory. There is a lever at the top that allows you to pass through a narrow vertical shaft and reach the left side. From here, drop the left edge and pass through the spikes and saw to the ledge below.
This shelf has wheels and pressure plates. Spin up the wheel to release air currents upwards and press the pressure plate to unlock the entire shaft. Next, run the air to the top and push the lever to exit upwards.
You’ve just returned to Songclave or are close enough. Head from the first shelf to the next shelf, grab the wall on the right and climb the entire way through the short parkour course. At the top, you will find hidden fleas to rescue.
He returns after rescued the fleas. The next task returns how you came down that hidden air current shaft, but before doing that, you fight towards the left side and take the poem sal cylinder at the end of the path. You can also flick the lever here to open the shortcut at the beginning of the whisper safe.
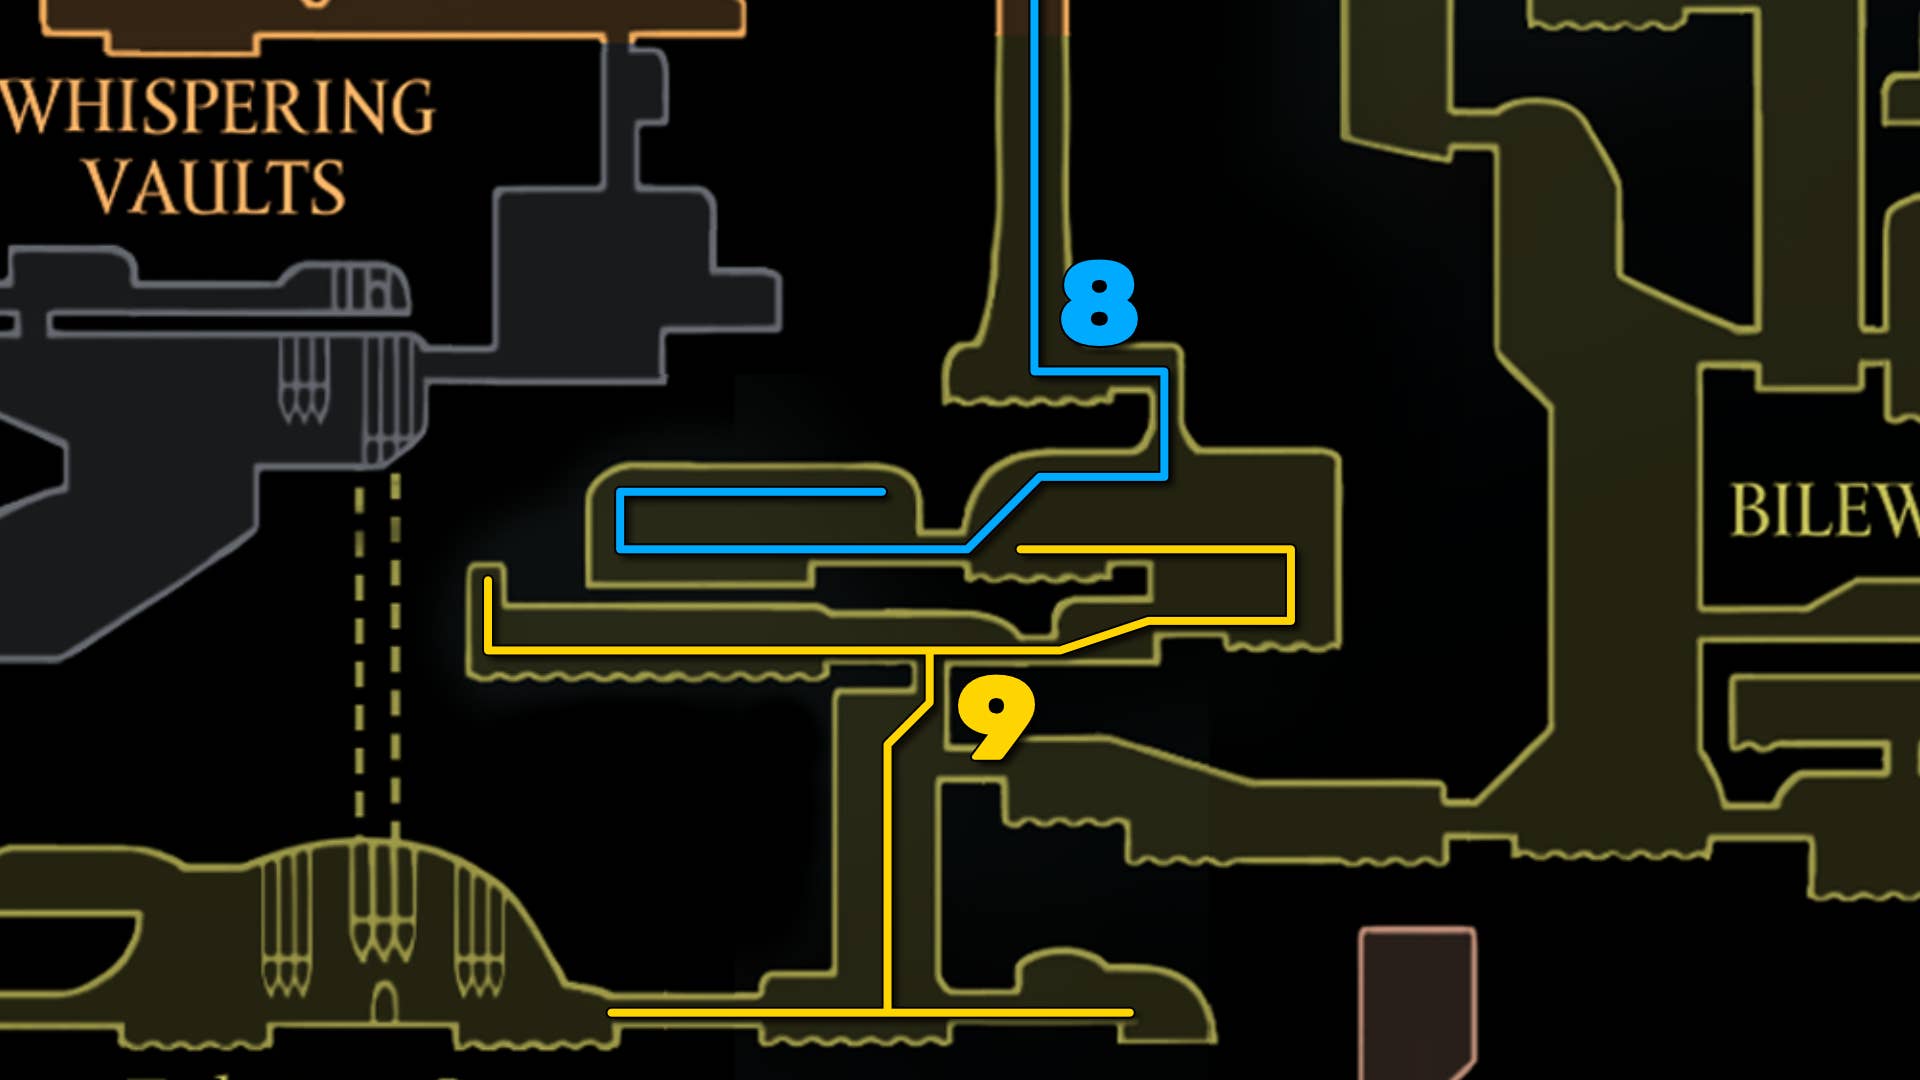
8. Drop into Billwater for twisted buds.
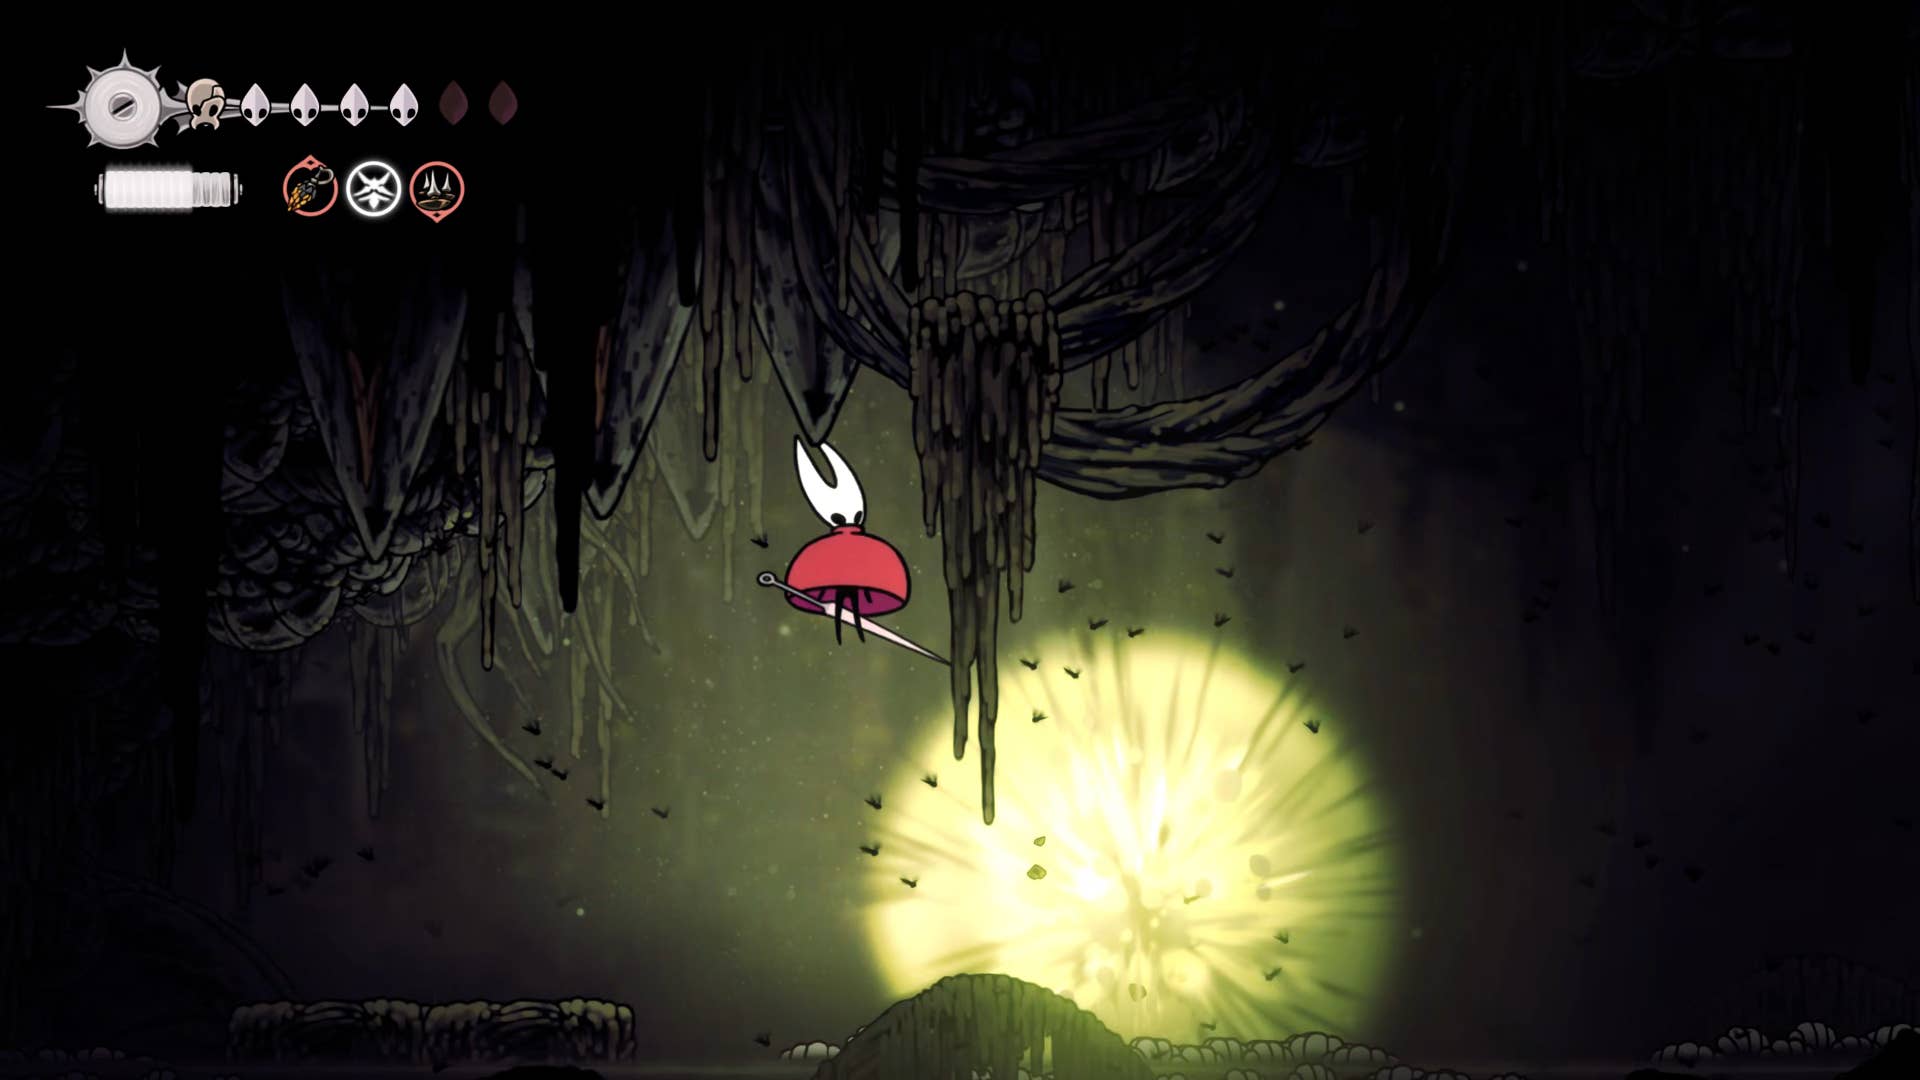
Go back to the right and press the lever to drop down onto the air current shaft. When you drop, take the second exit to the right and return to the Clawline hook. Drop down again and follow the same path as before – but this time it’s float all To the deeper depth of the bile below, the road.
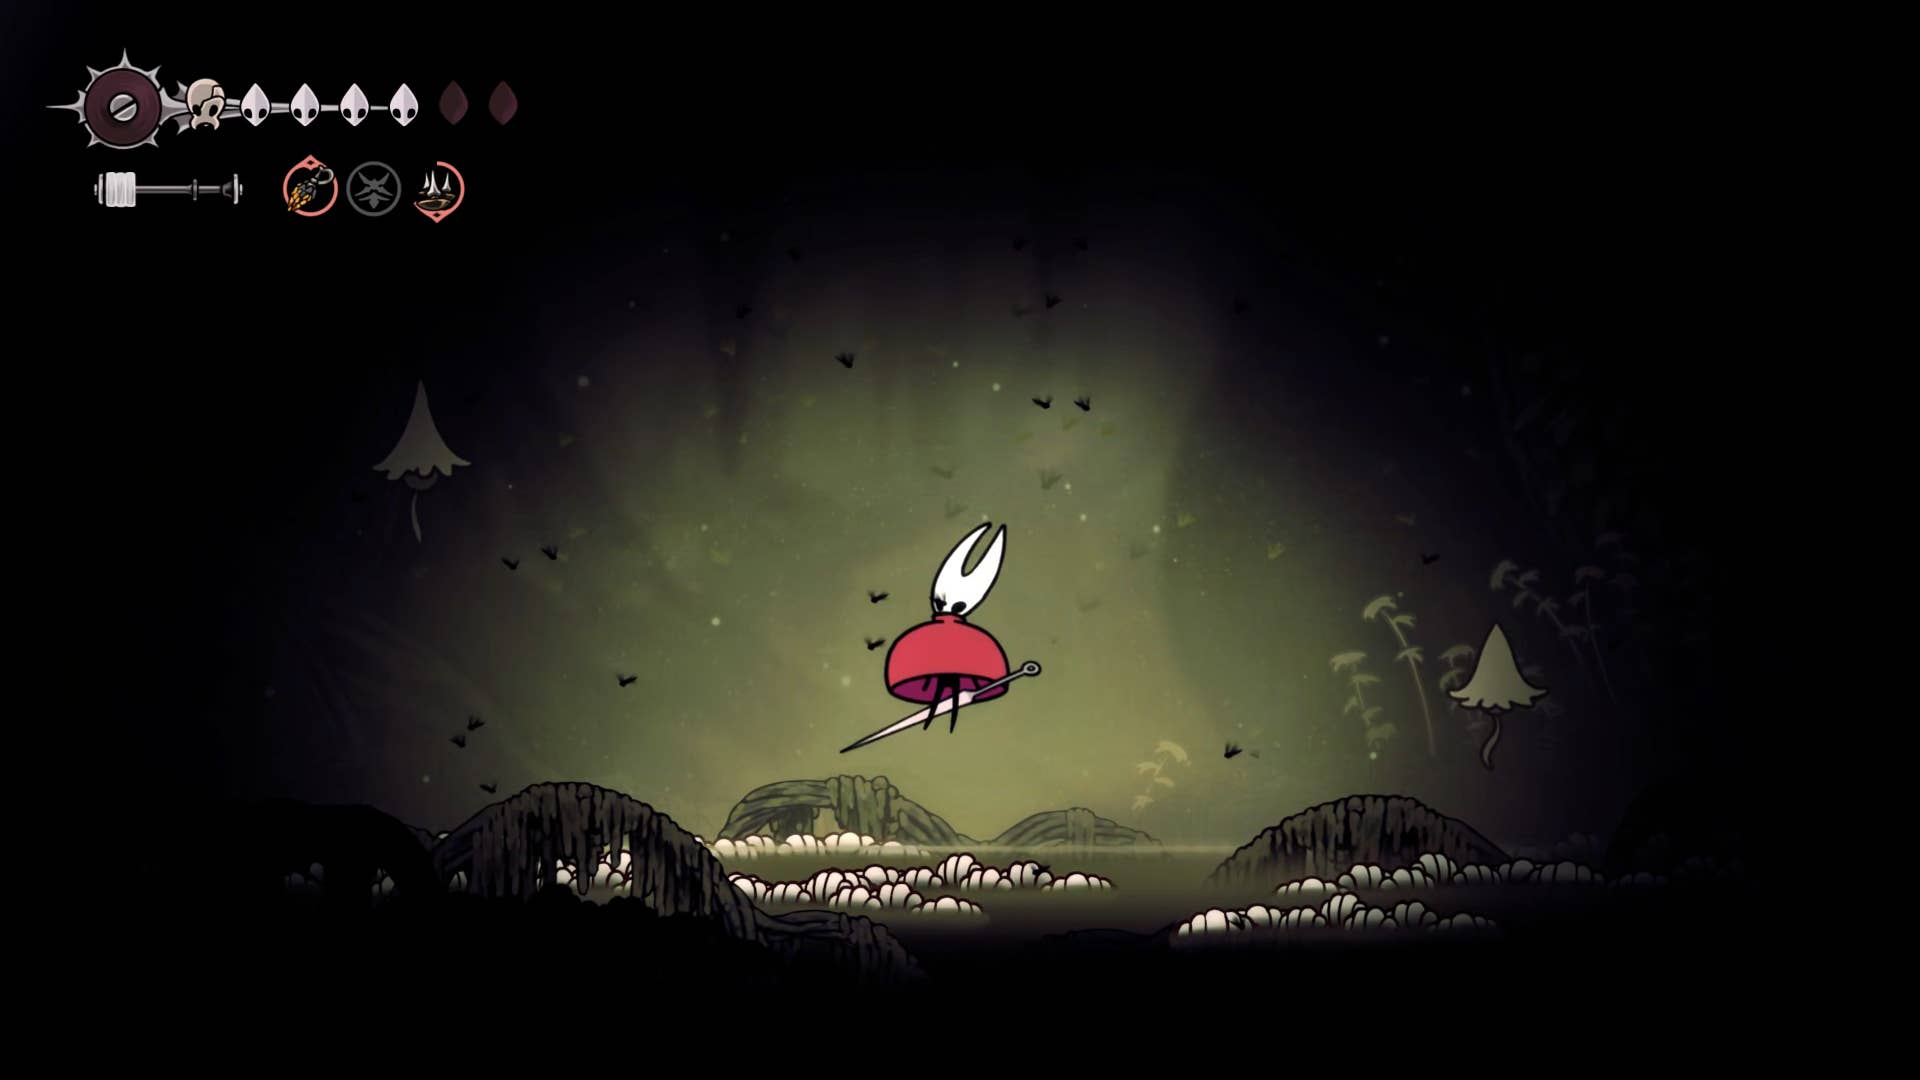
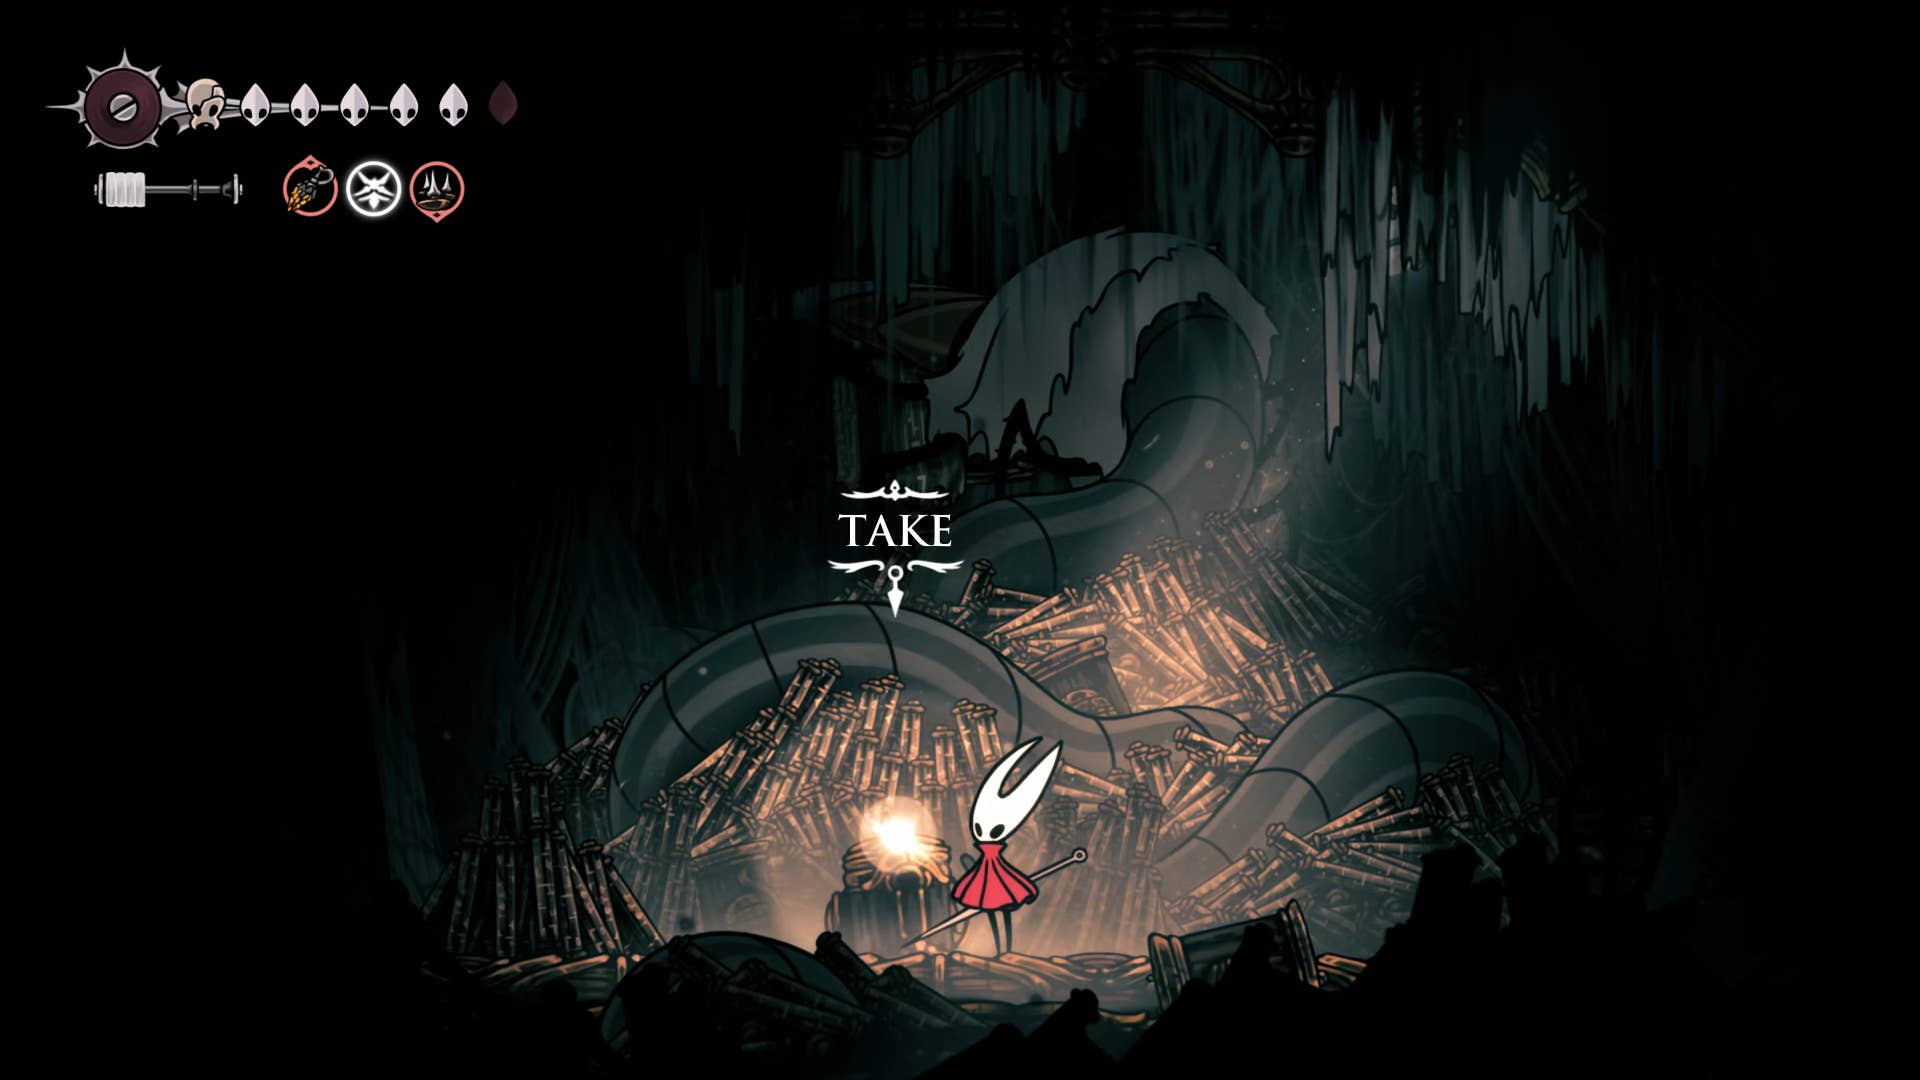
Our stay at Bilewater is temporary, but important. Swim the worm-soaked water to the right and drop it down into the room below. Head left and drop onto the shelf in the lower left and do your best to fly swamp squid (be careful as it will explode to death.

Break the wall of this bottom left shelf and head towards the far left. There are thick grapes that cut through at the edge of the pass. Continue all the way down this trail, including pogos from the green explosive ball above the spikes. Break through some more grape grapes and here is the target of a detour – twisted buds. Fun fact: This little guy cries every time he picks him in stock. Is it adorable or annoying? You are a judge.
9. Exit Bilewater.
Next, you need to leave Bilewater and go back to the whispers. From the twisted bud, I returned to where I had broken that first wall, and jumped to the right of the worm water below.
The path is pretty linear from this point on. The main threat is clearly the hovering swamp cries. It’s a nasty trek, but head towards the rope that lifts the trap door, break it and go left.
For now, jump over the hole in the ground and head left. Before you there is a rather simple obstacle course, mainly including containing more pogos from the exploding swamp balls. Climb the shaft at the end and plunder the pilgrim’s body for another memory rocket. Then head backwards and lower the hole down.

Slide this shaft downwards. We’ve been almost out of Billwater for the time being. First, head left and break the wall at the end of the pass. Swim through the worm water in the next room and you can reach the exhaust device again. This is a handy shortcut if you need it.
Now head right to the next room. Here you can finally get out of Billewater. Of course, if you have a rosary. Use 90 rosaries to unlock the bench, and 120 rosaries unlock the Bellway (prioritize the Bellway if both are not enough!). You will then move quickly to the Grand Bellway, then return to whispers.
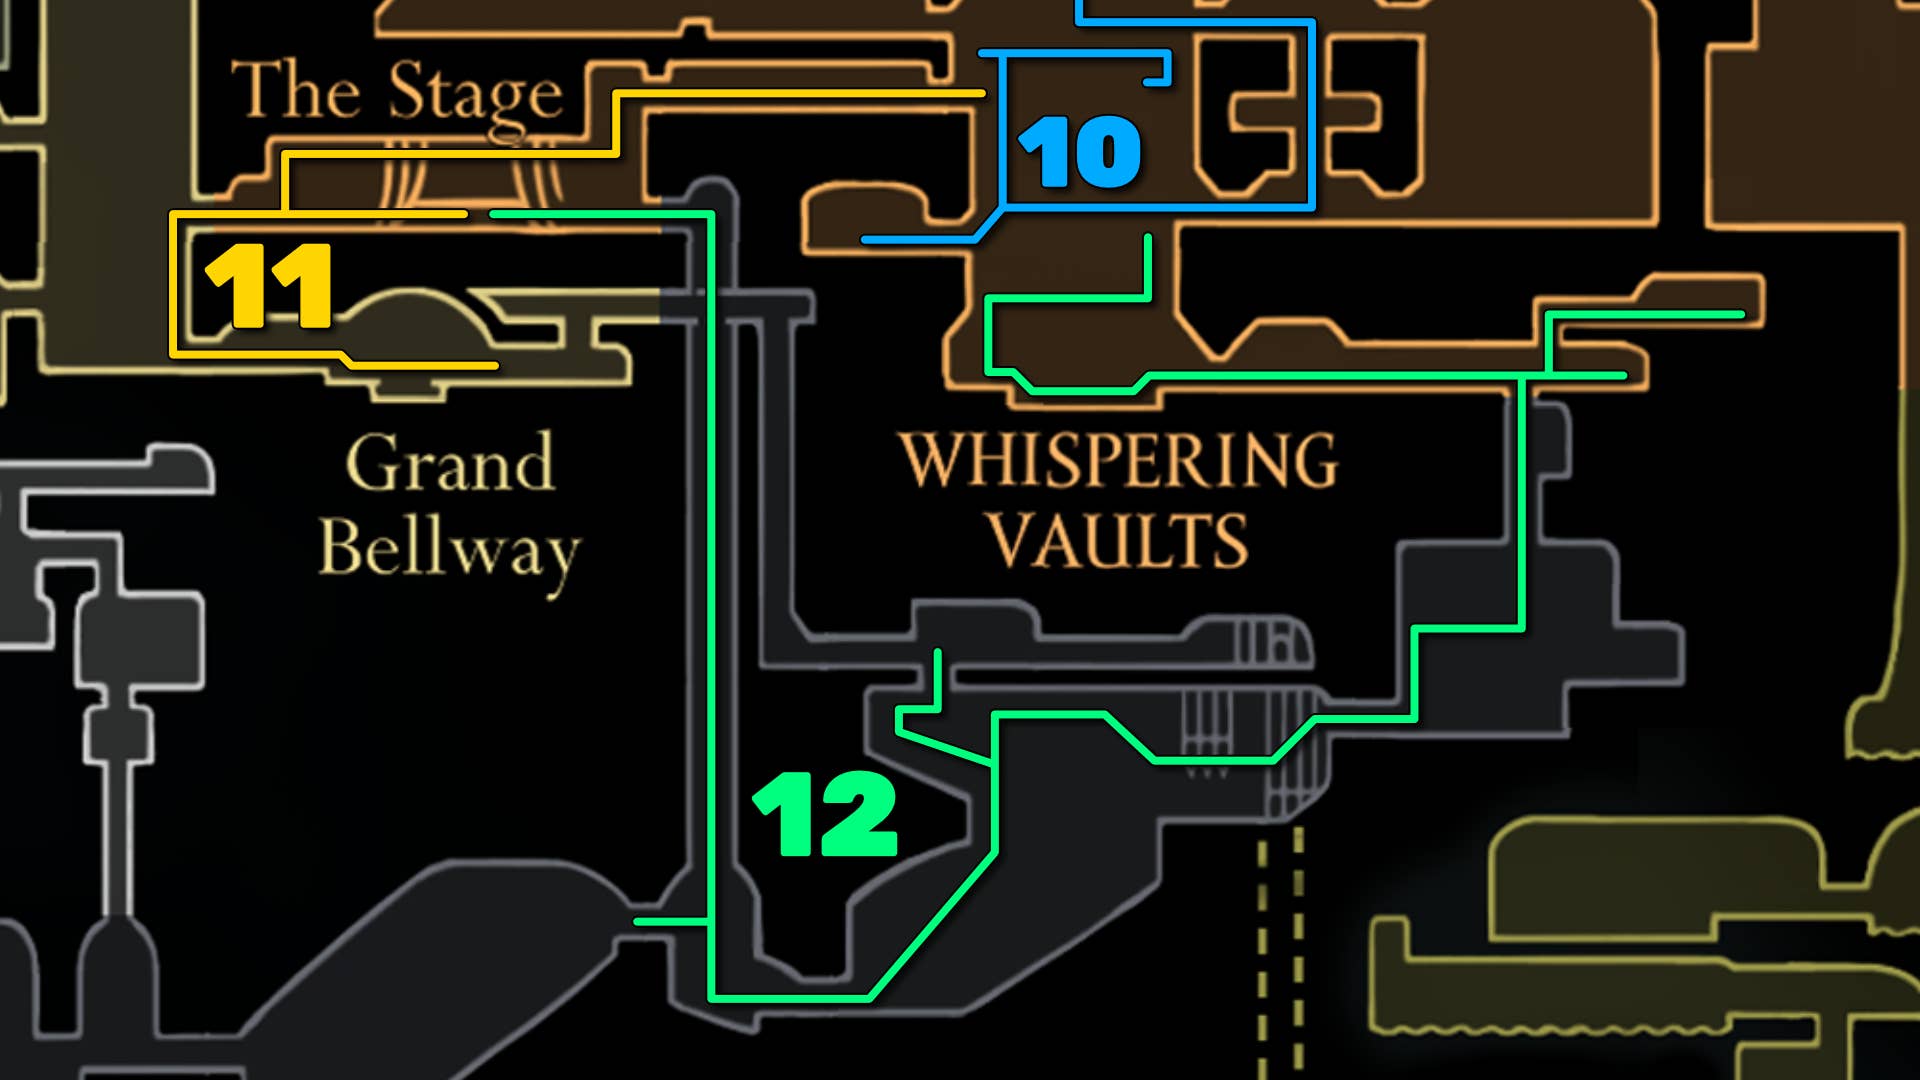
10. Get the next cogheart piece.
From the top of the whisper safe, go all the way down to the bottom and follow the right exit once more, then follow the steps to reach the left exit (a corridor that has become darkened where you pushed the block up to reach the mask shard). This time we go through the hallway and leave the left.

In the next room, there is a lever that heads left and climbs to the top and unlocks the trap door above. Another shortcut returns to a more familiar area – you don’t need to take it now.
Head right of the lever and then strike the lower moving block downwards to keep it out of the way, reaching the rosary cache below.
After falling to the bottom, drop the left side of the shelf where you are. There are many ballbone enemies here, but if you don’t want to, you don’t have to fight them – jump straight into the left exit.
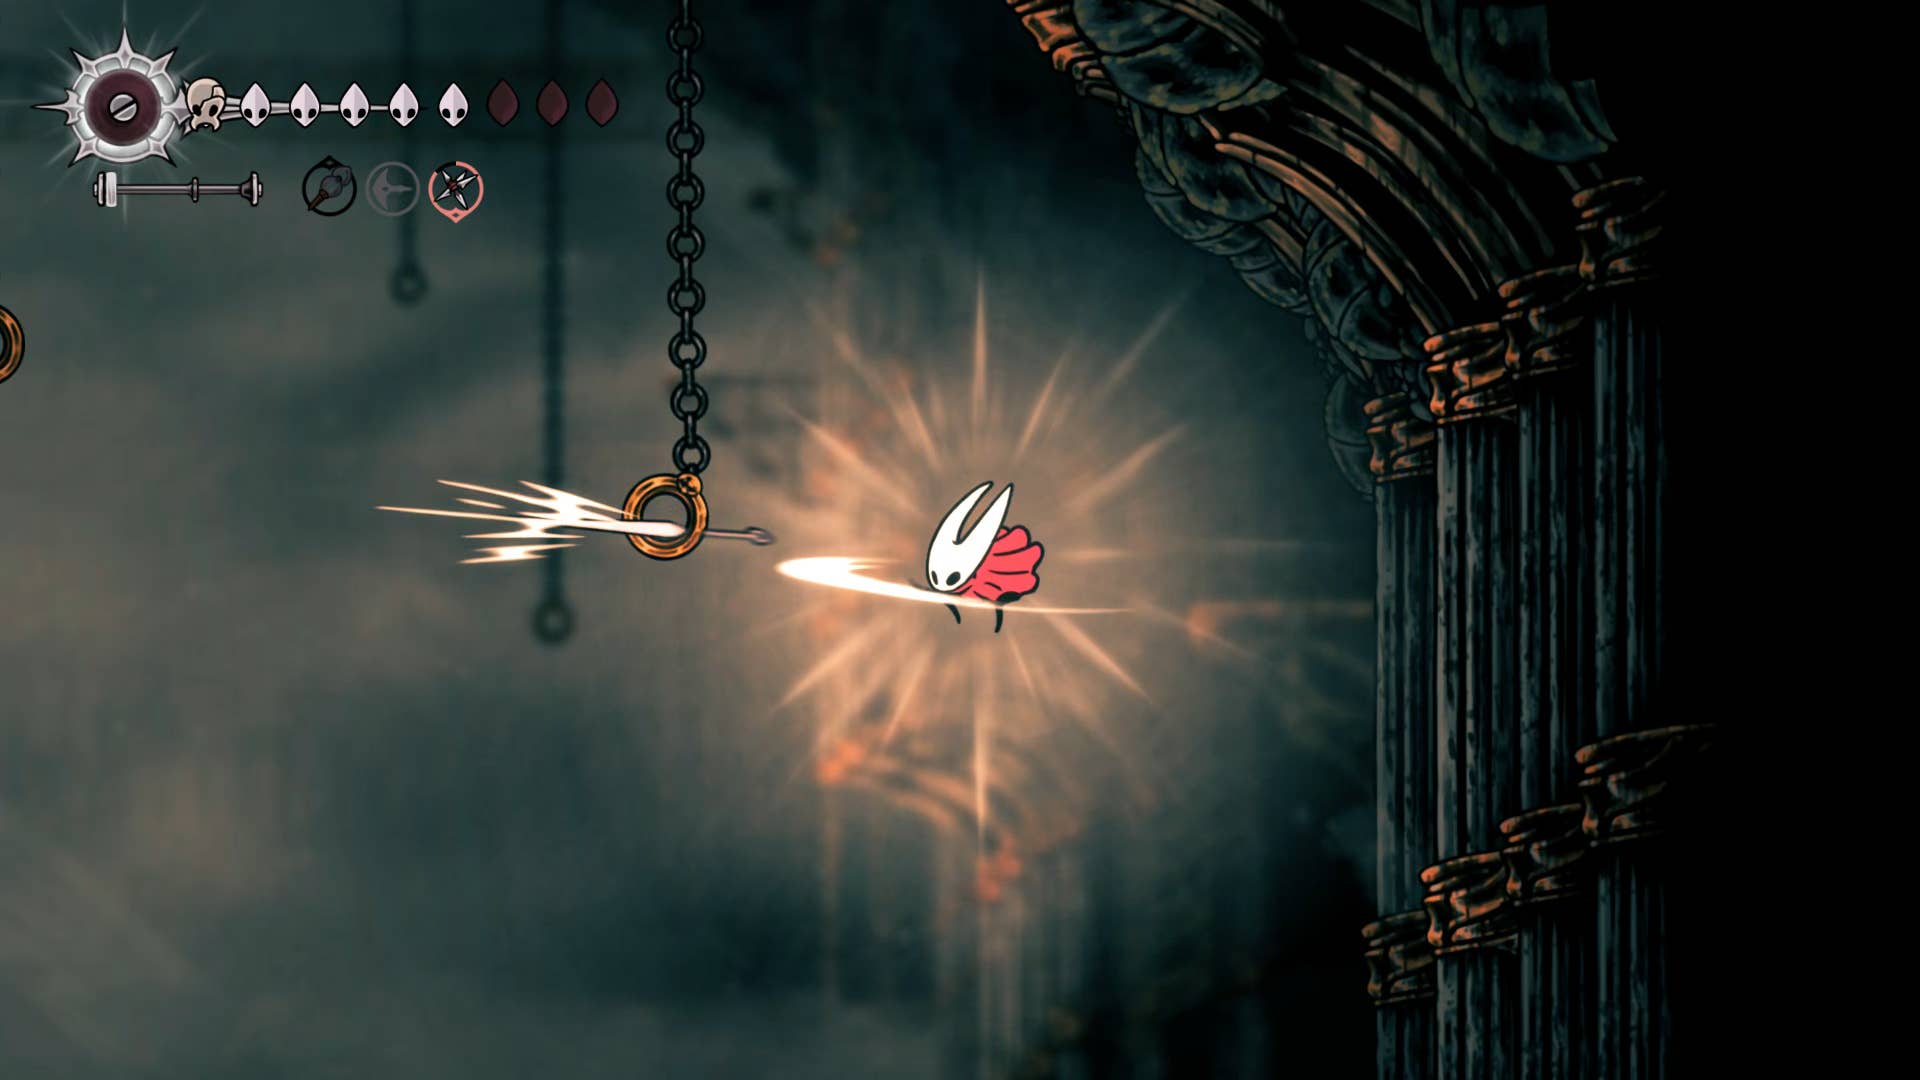
Inside, another group of round bells hangs in the air. Another memory test is exactly the same as in the coral chamber. You must start the test by pushing down the pressure plate and then hit the bell in the order shown. The order is: left to right:
- First stage: 1-2-7-4
- Stage 2: 7-5-6-4-5
- Stage 3: 2-7-3-5-6-1
Once you have completed all phases, you will see a pedestal where you can plunder the second cogheart piece.
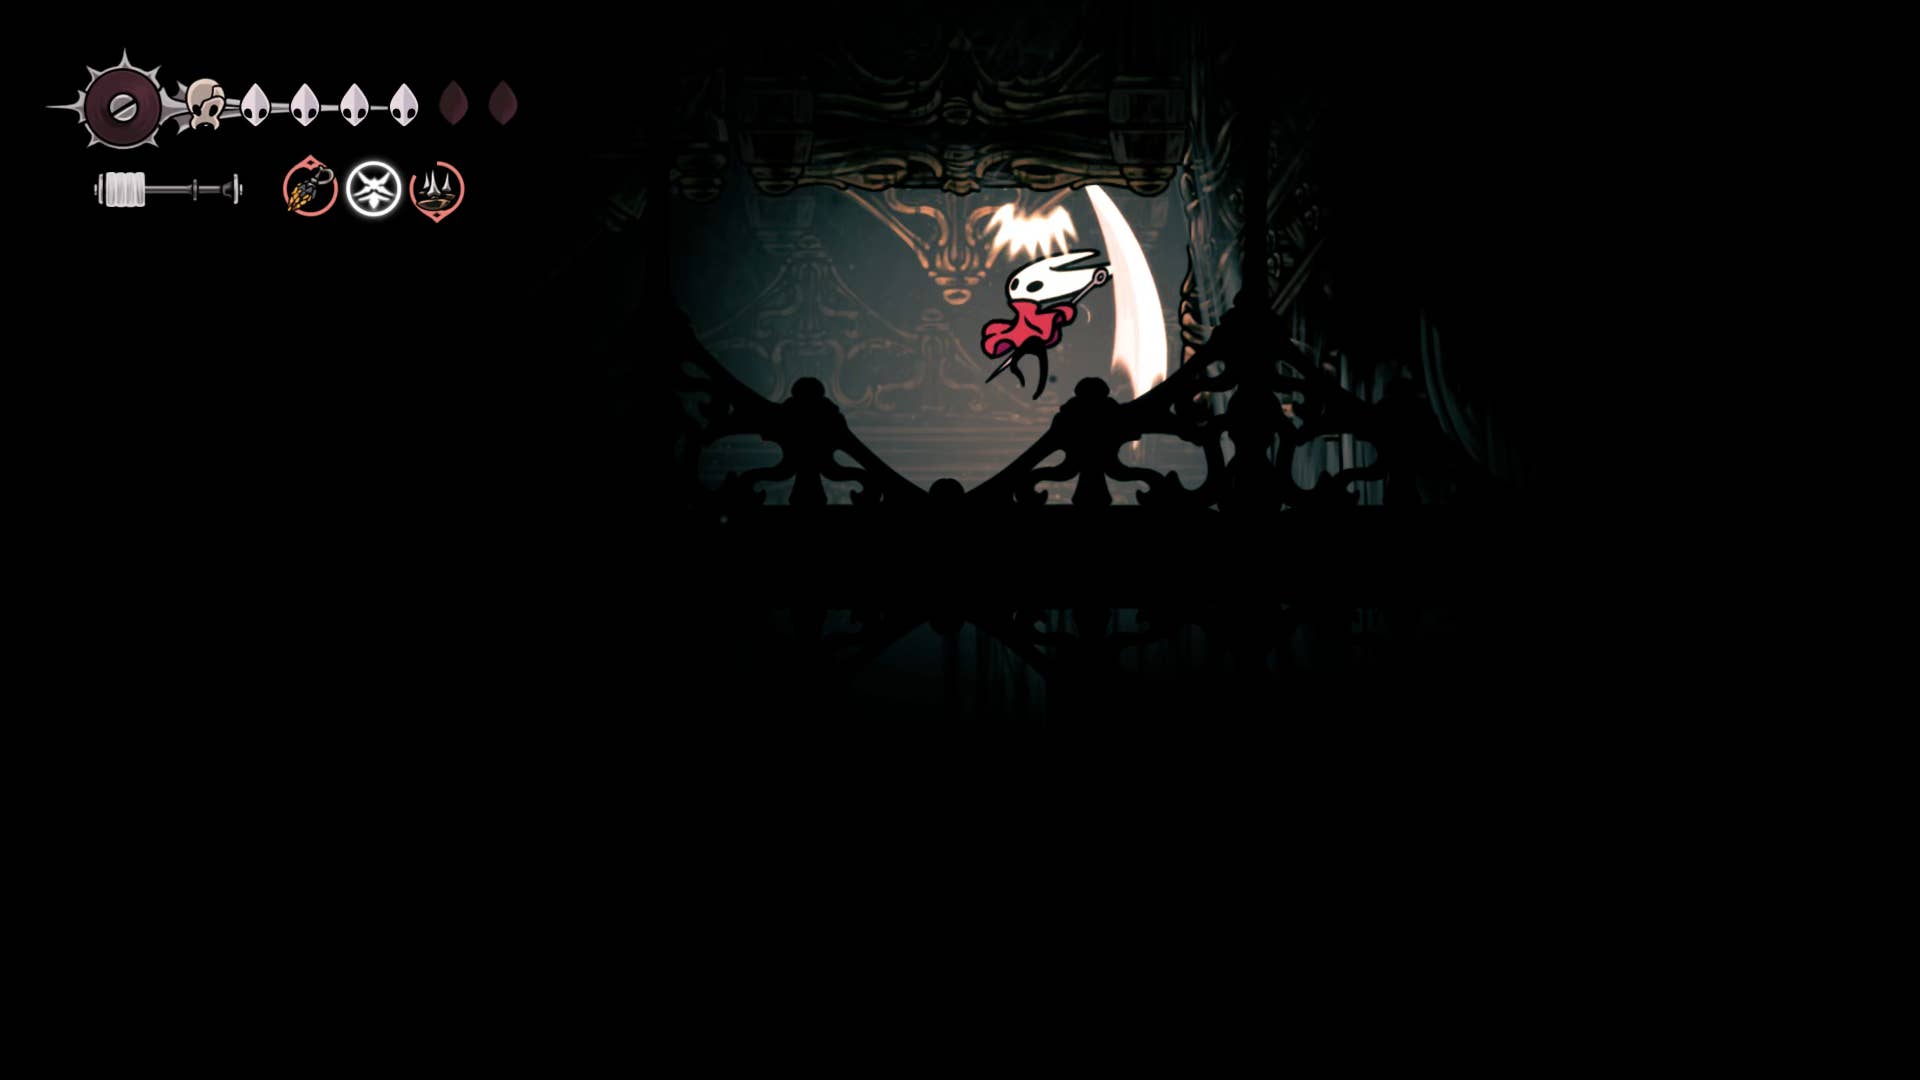
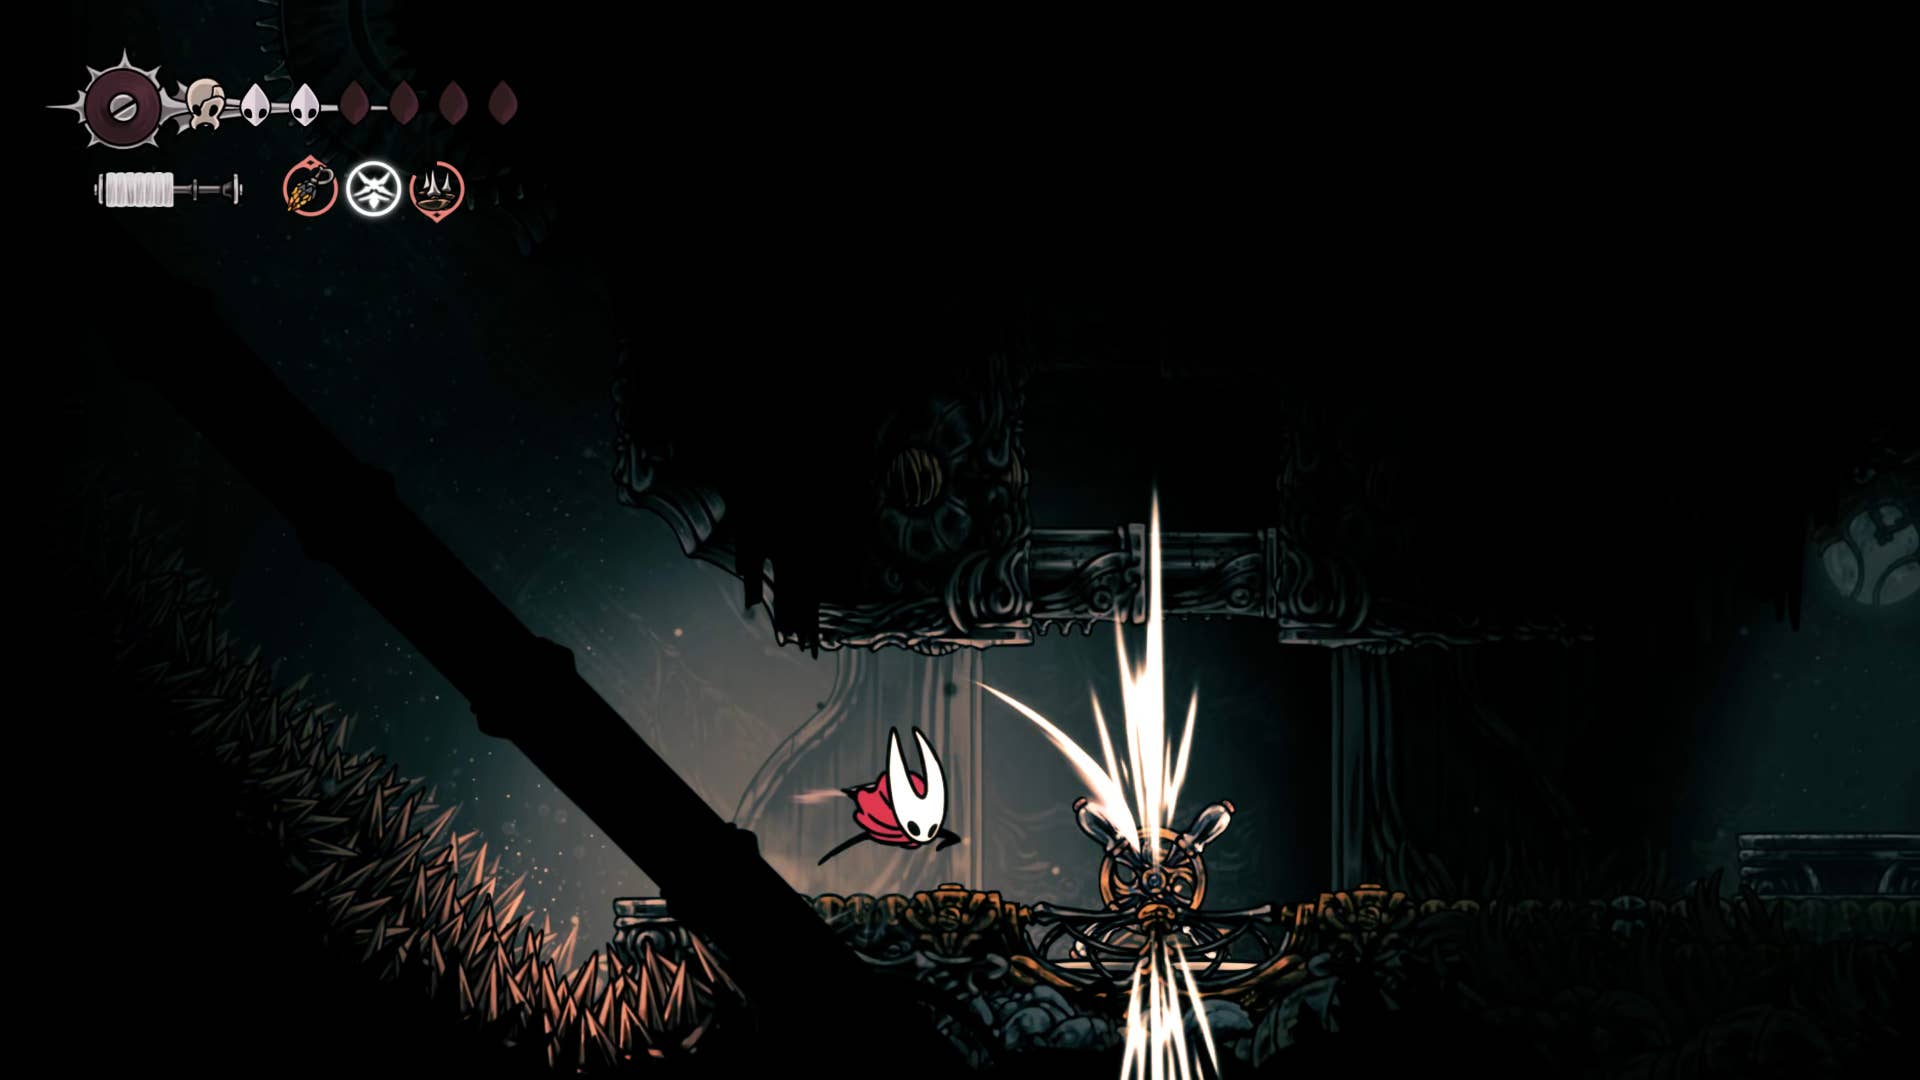
11. Defeat Trobubio on stage.
Exit the bell room and climb into the entrance and exit on the left side of your top (just below the lever you pulled). Go through it and follow the path to the stage. Along the way, you can read a bit of lore on parchment, detailing one trovio.
Follow the path all the way to the last Shell Shard cache and drop the hole. Before taking another step (particularly on the right), press the next lever to open a shortcut in the choir room.
At this point, I recommend going left, descending to the Grand Bellway and resting on the bench there. If you do that, you will have a very short runback when you die in the future boss.
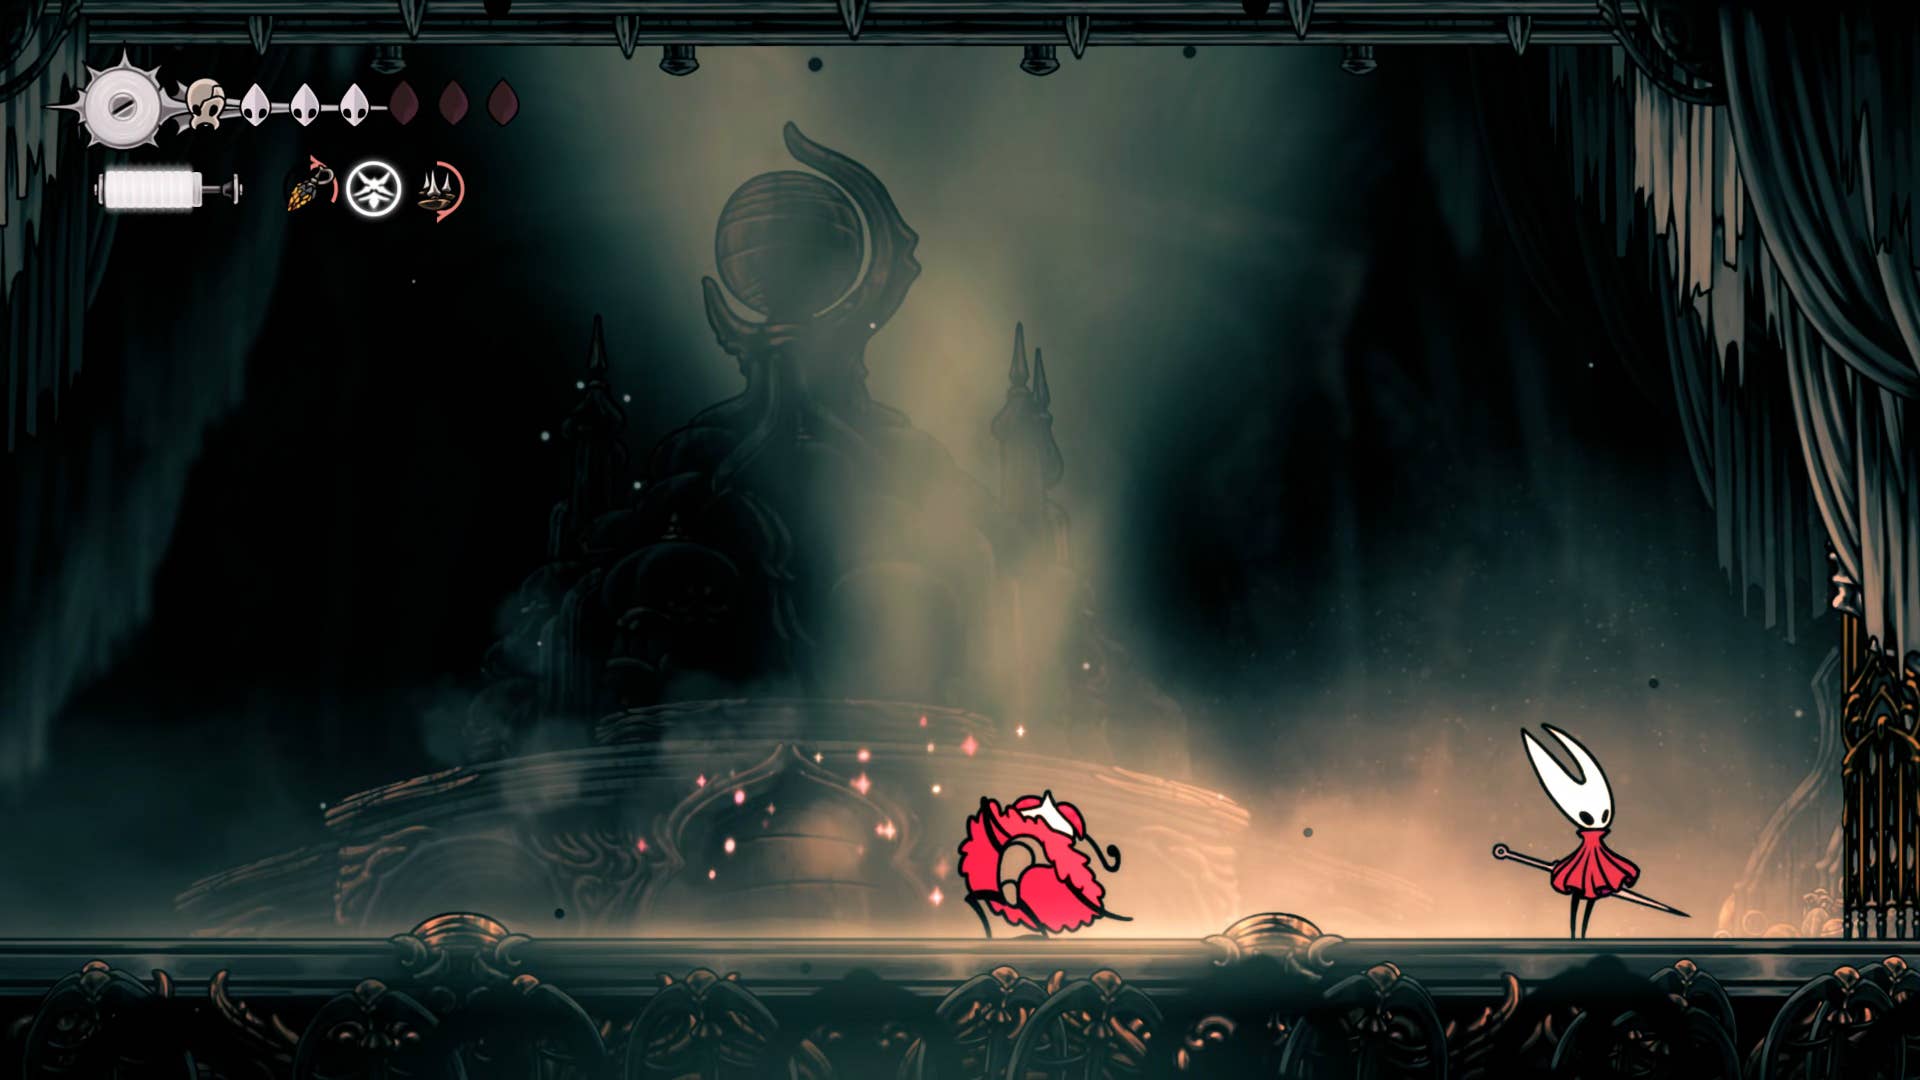
Are you ready? Understood. Head to the stage itself to meet Trobubio.
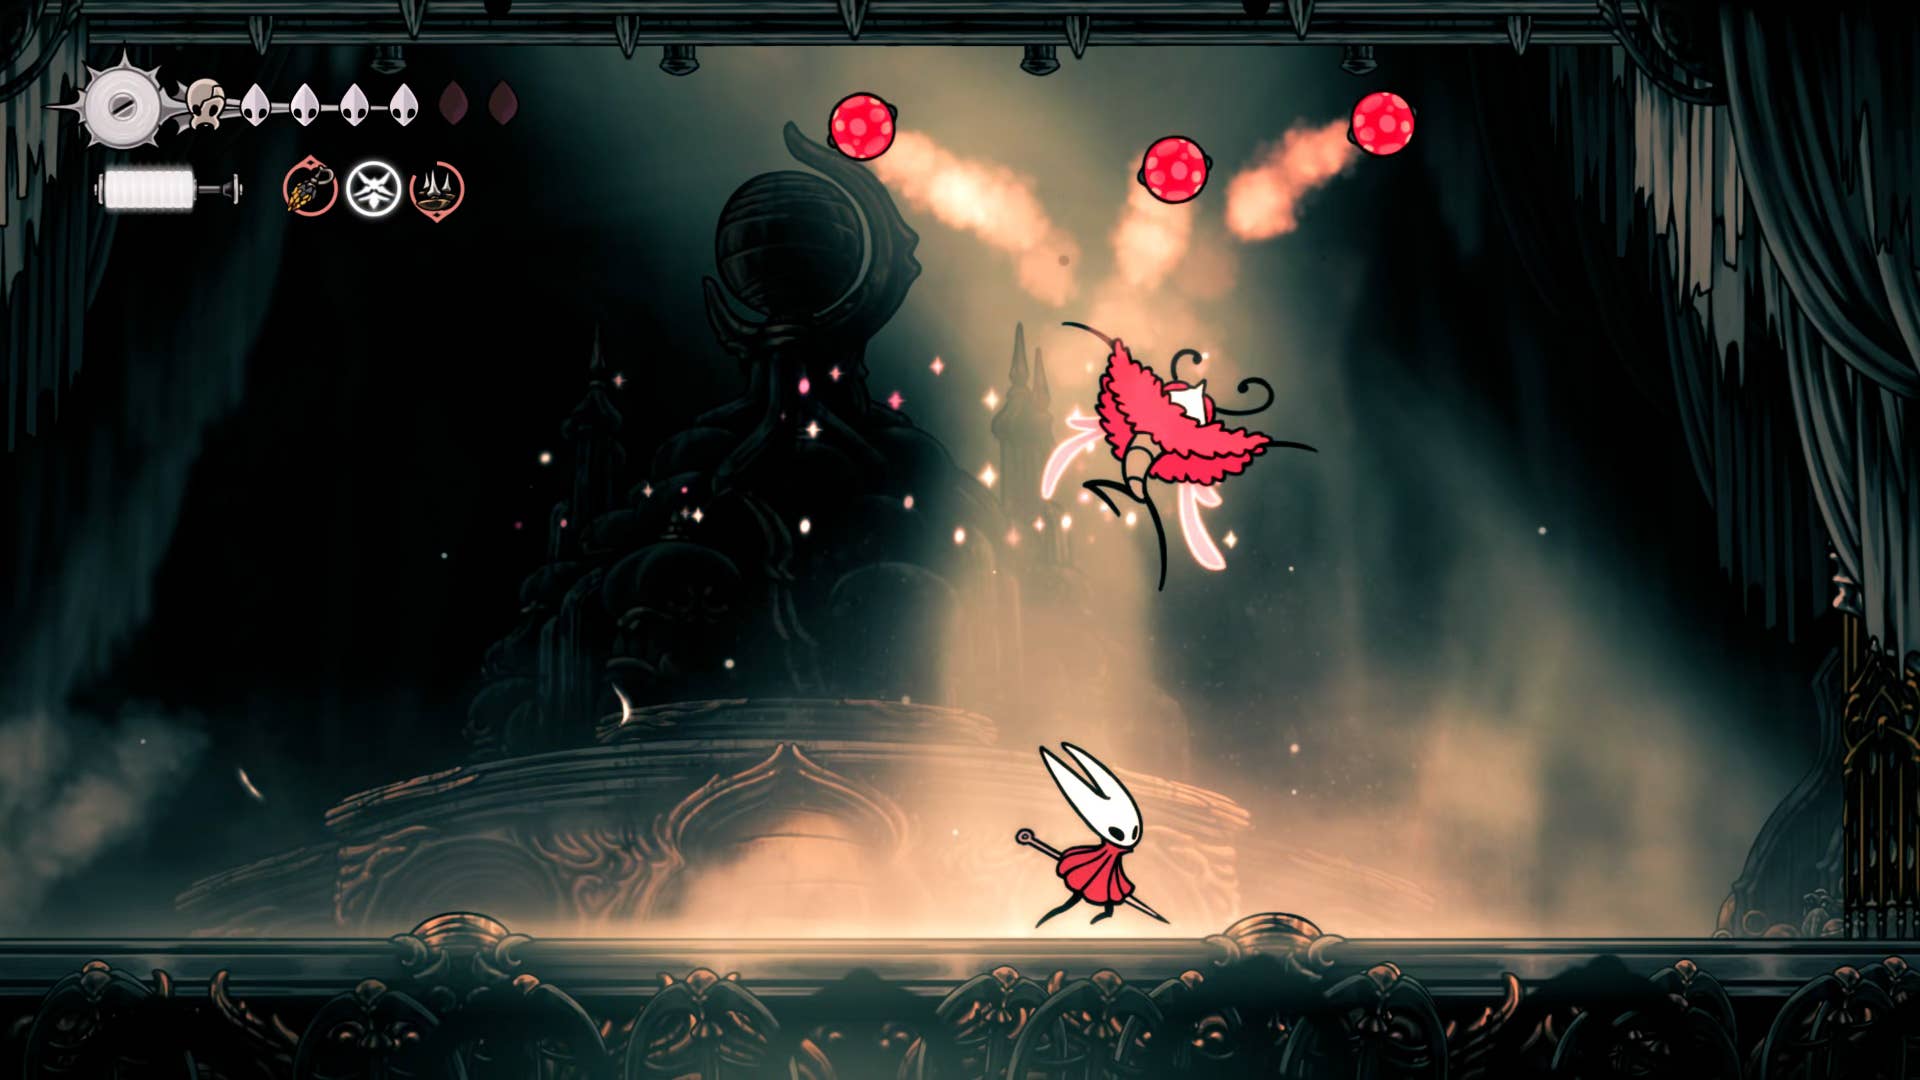
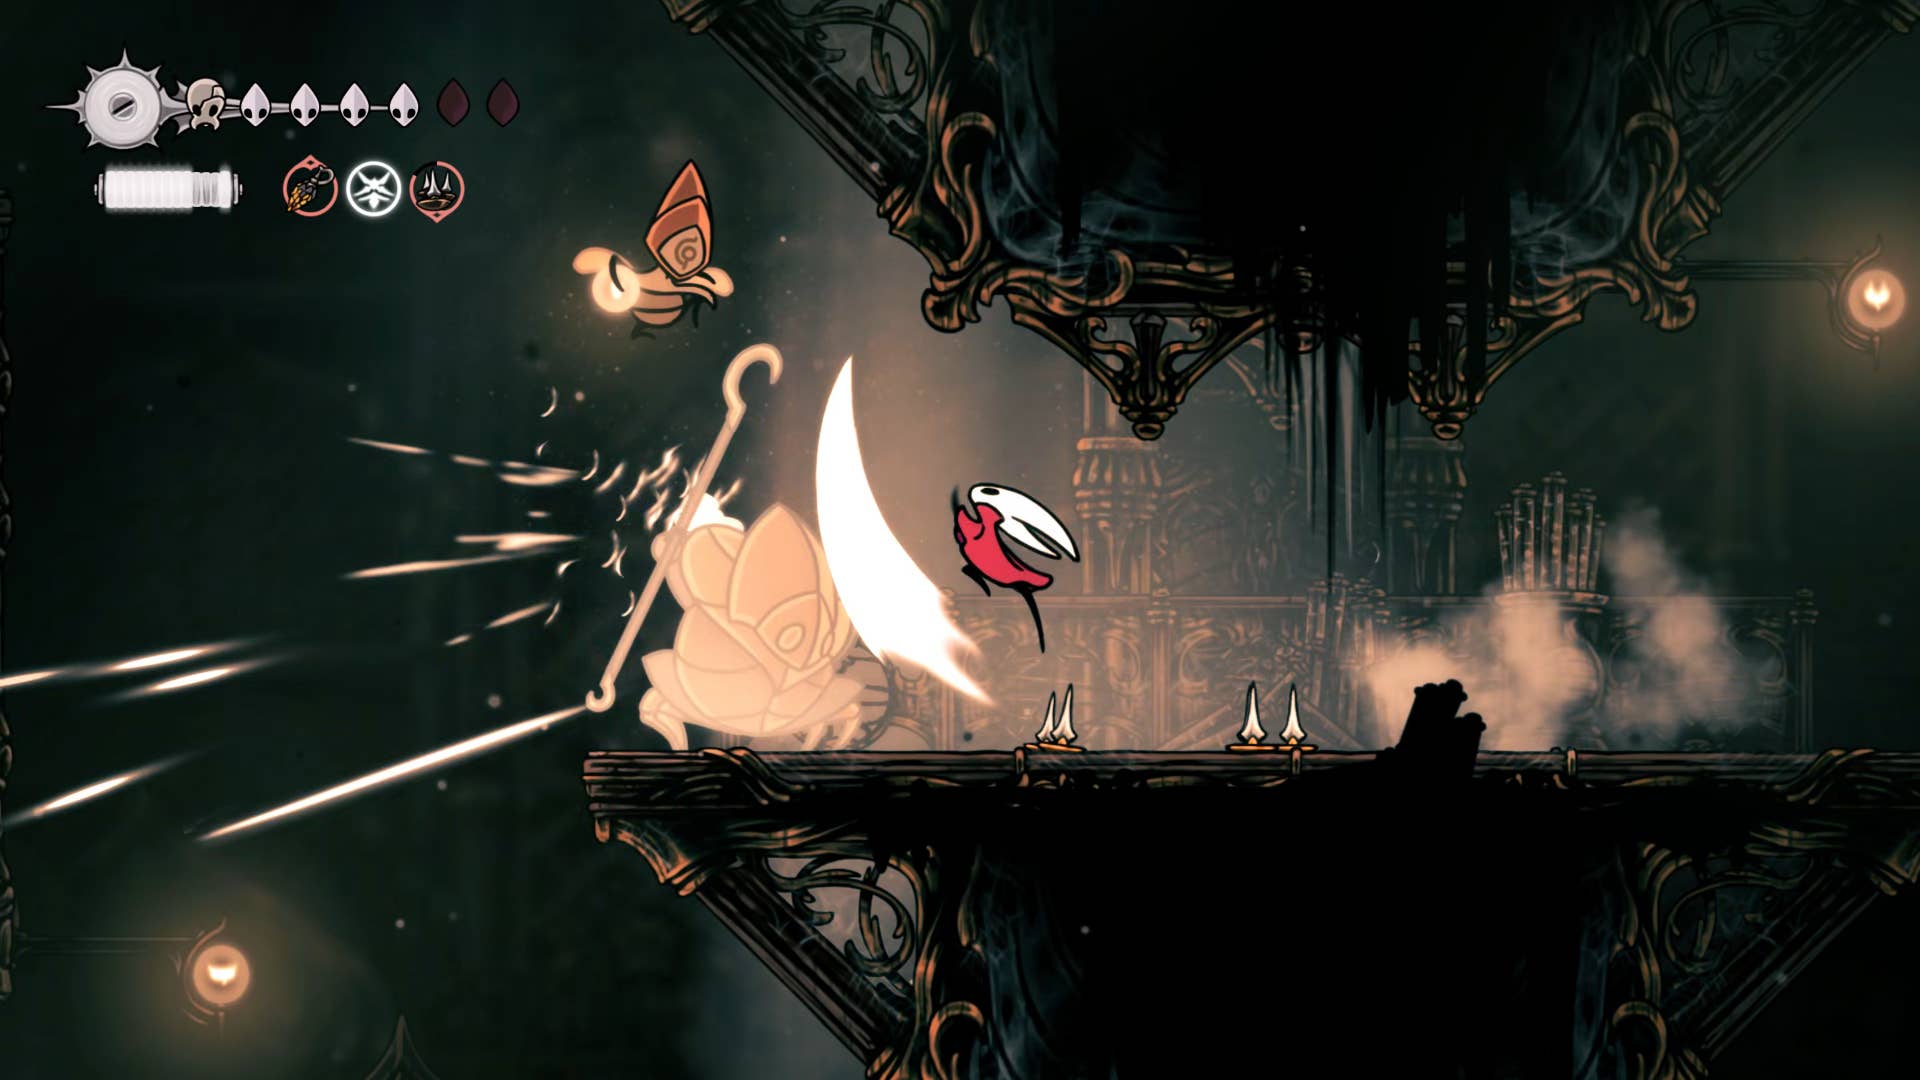
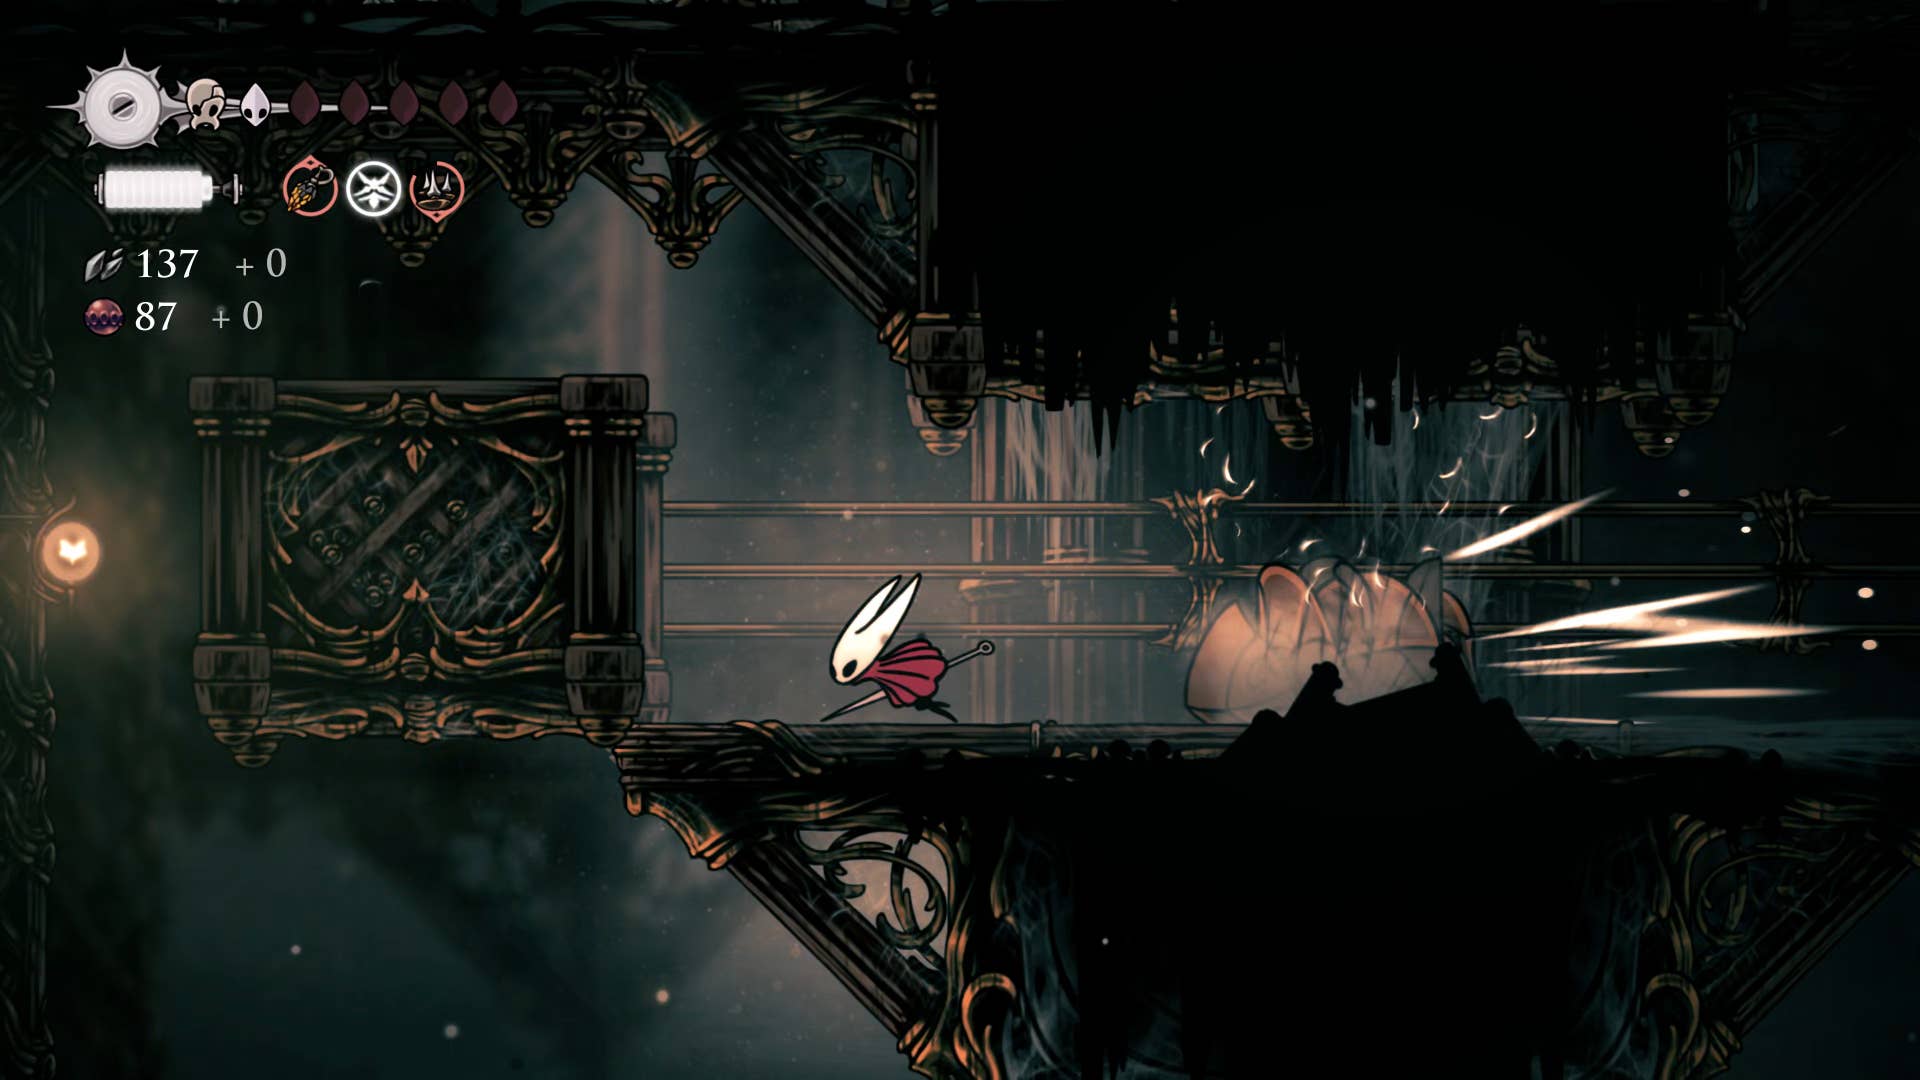
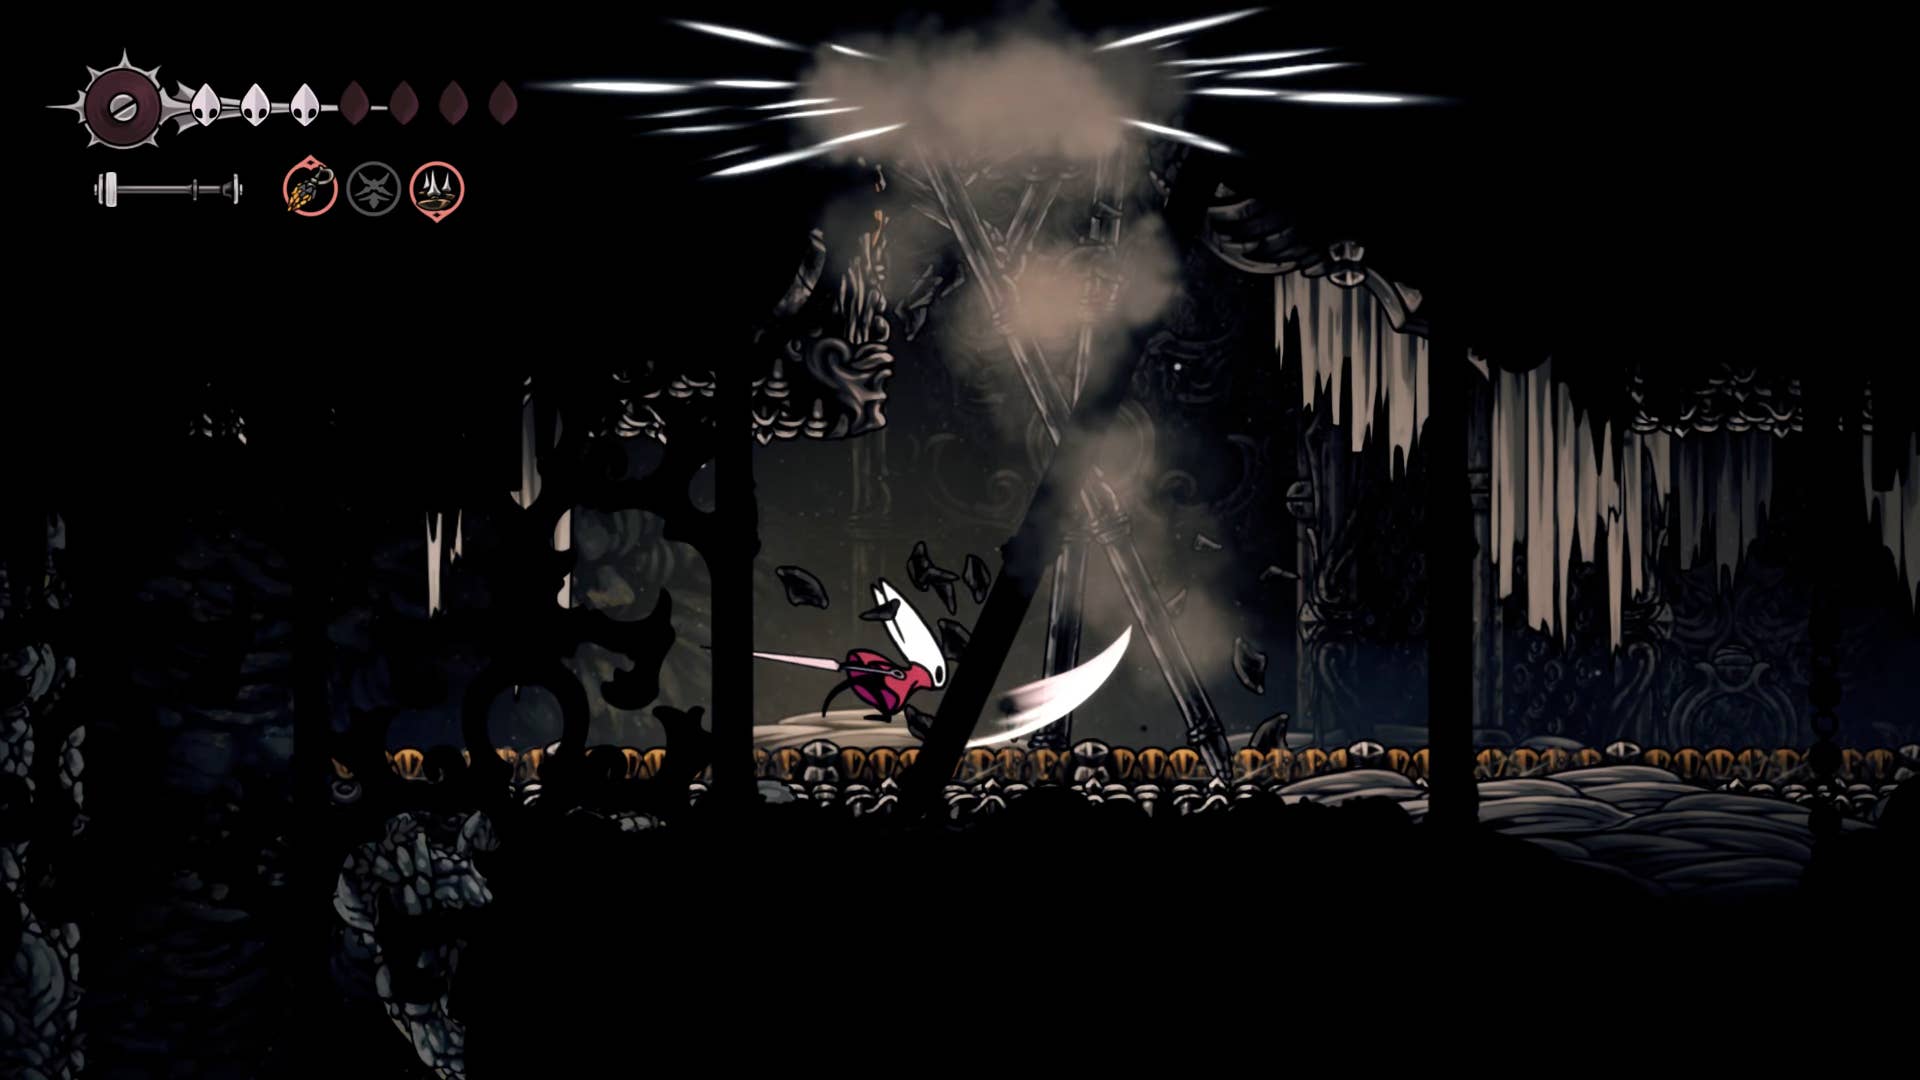
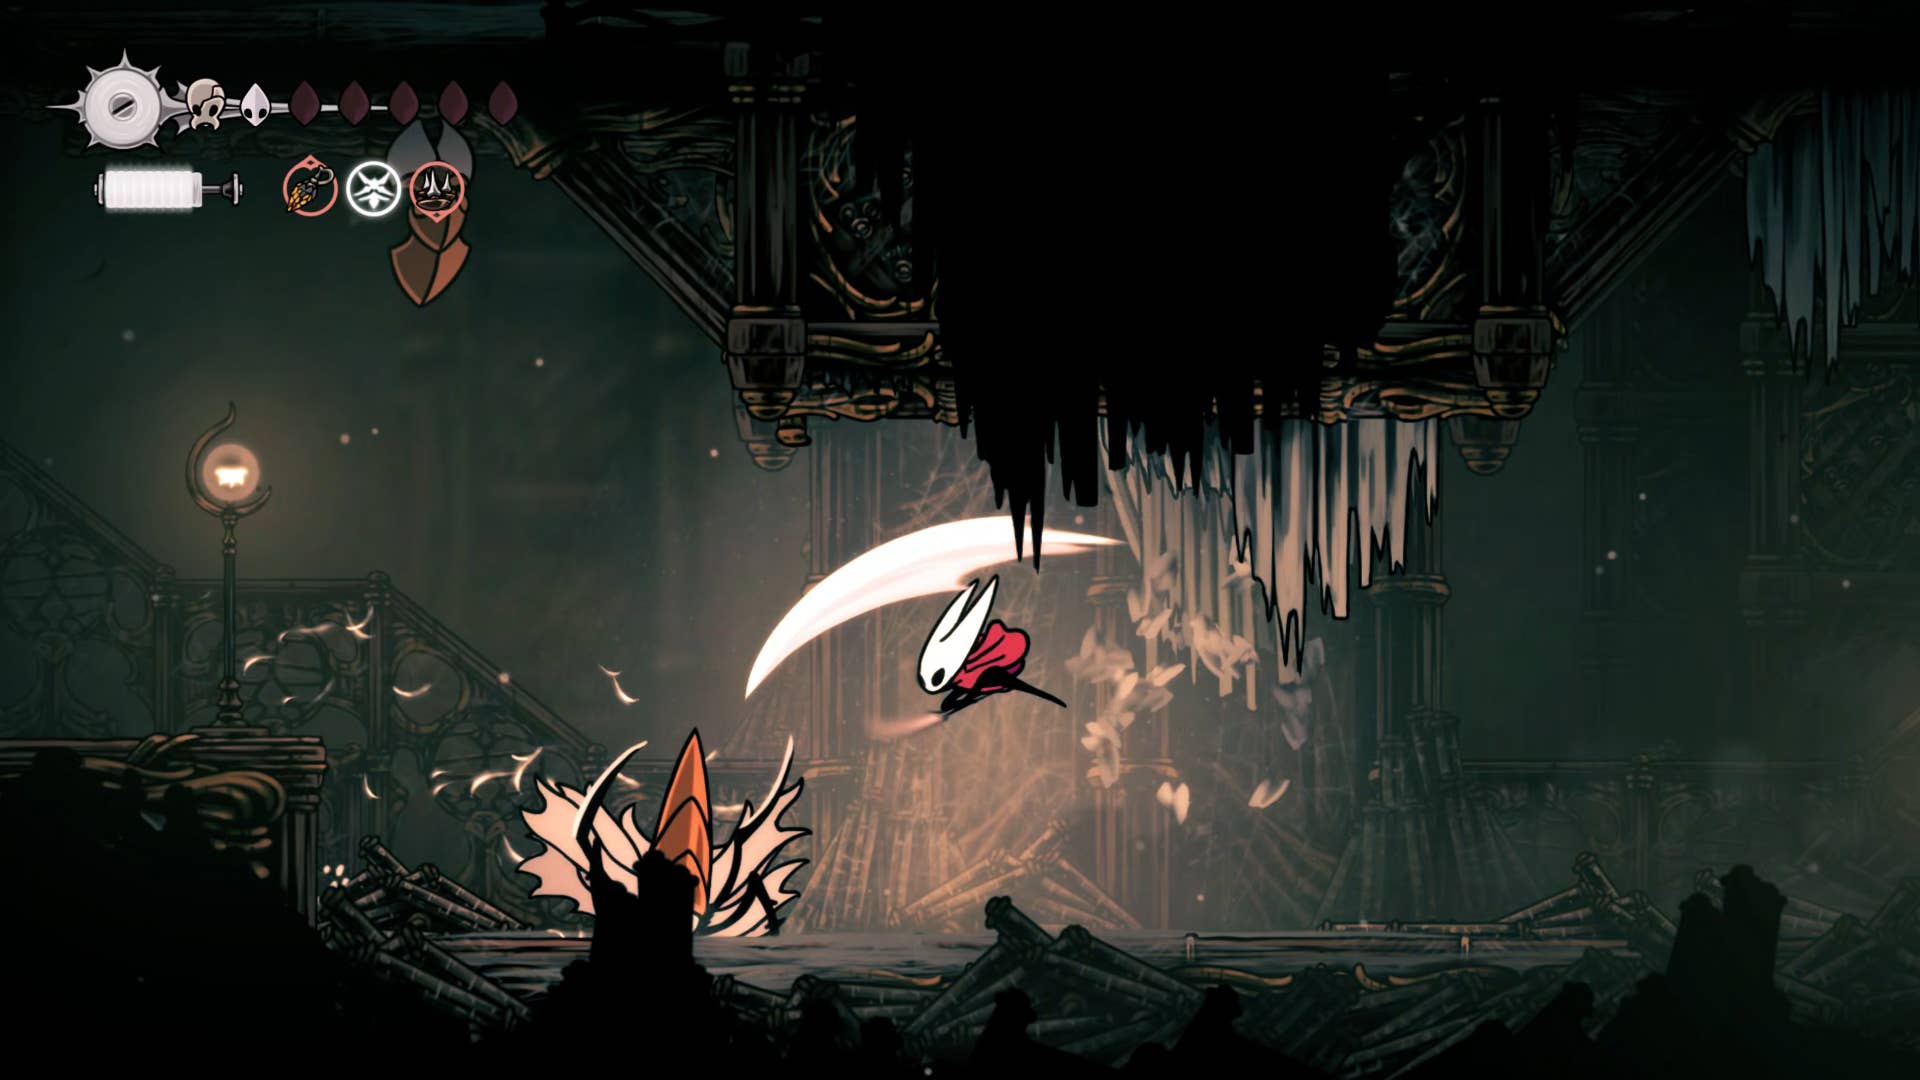
My estimation is that this wonderfully funny boss is actually not that challenging. This fight is a problem of avoiding many fireworks and bouncing the ball, and after the tornado movements of the Torobio, he always fires two more tornadoes in either direction. Once you get used to it and his other movements, you should be able to find plenty of easy windows for your attack.
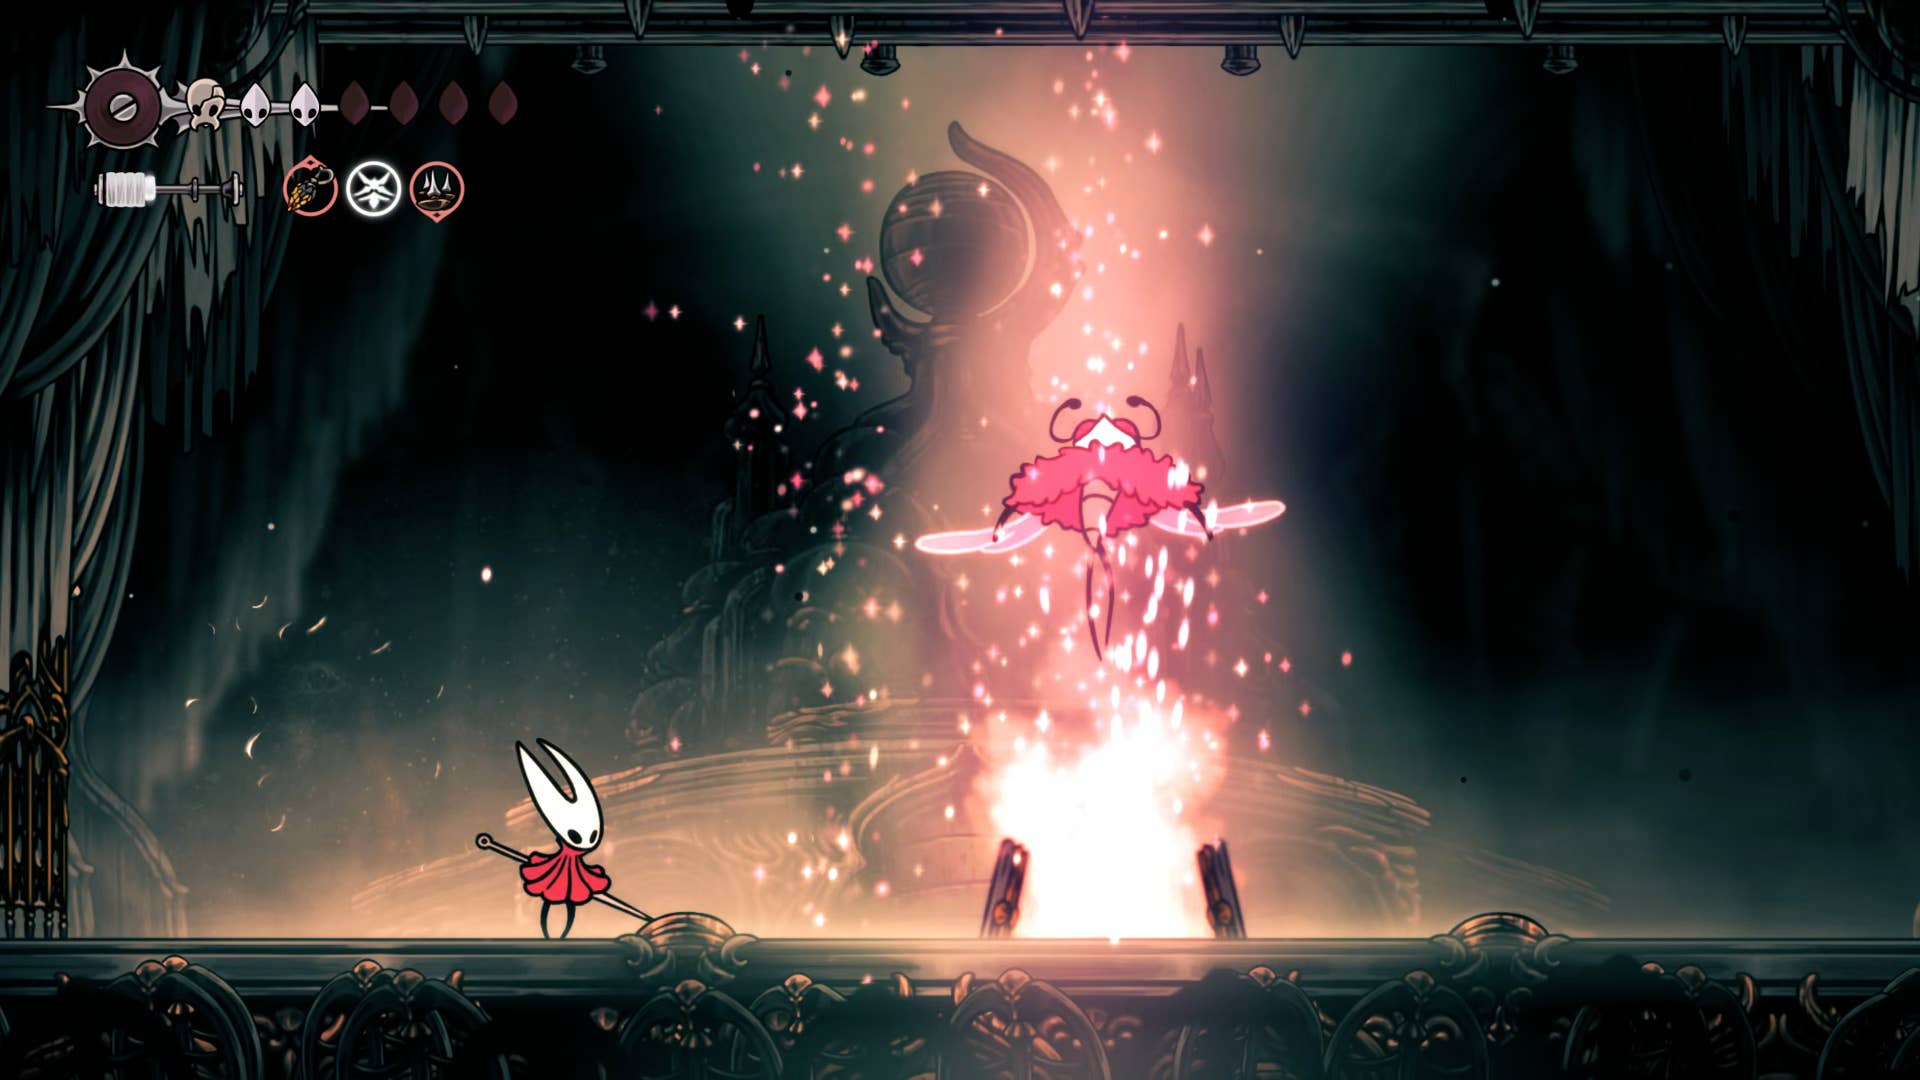
In his second phase, Trobbio begins to unleash a burst of light upwards from the ground, which is still very readable. You need to quickly with a dash button and use it very often to avoid everything on the screen, but you need to cut him down too long.
12. Get a sacred cylinder.
Once Trobbio is defeated, head right and press the lever above you to activate the trap door above you – a shortcut of another quality of life. Then drop down and go right. There is an elevator that will lower you into the new part of the underwork below.
When you’re at the bottom, press the left lever to open a shortcut to the remaining underworks later. Then press the elevator lever again, but do not get on top. I just want to keep it out of the way. Drop down below where the elevator is located, then float past the spikes to the right. Finally, catch the wall just above the spike, then dash or cla to the exit on the right.
The next room has a large area filled with pillars floating to climb, and a nasty Farid waiting to ambush you from above. We don’t explain everything about this room in detail. Because it’s all pretty self-evident. First, head to the top left of the room. There, a lonely metal platform and Farid gives up along the wall to the left.
From this metal platform, jump over the left spike and stretch your claws. Continue this path up and attack the fragile part of the ceiling above you. This shortcut will take you to the passage you once went to reach the Grand Bellway from the exhaust organ.
Next, we head back to that small metal platform and climb straight up this time to the top shelf. From here you can head to the shelf on the right and head to the exit at the top corner.
Climb the exhaust wind shaft in front of you. The second vertical shaft is heading all the way up, so climb it and return to the whispering vault.
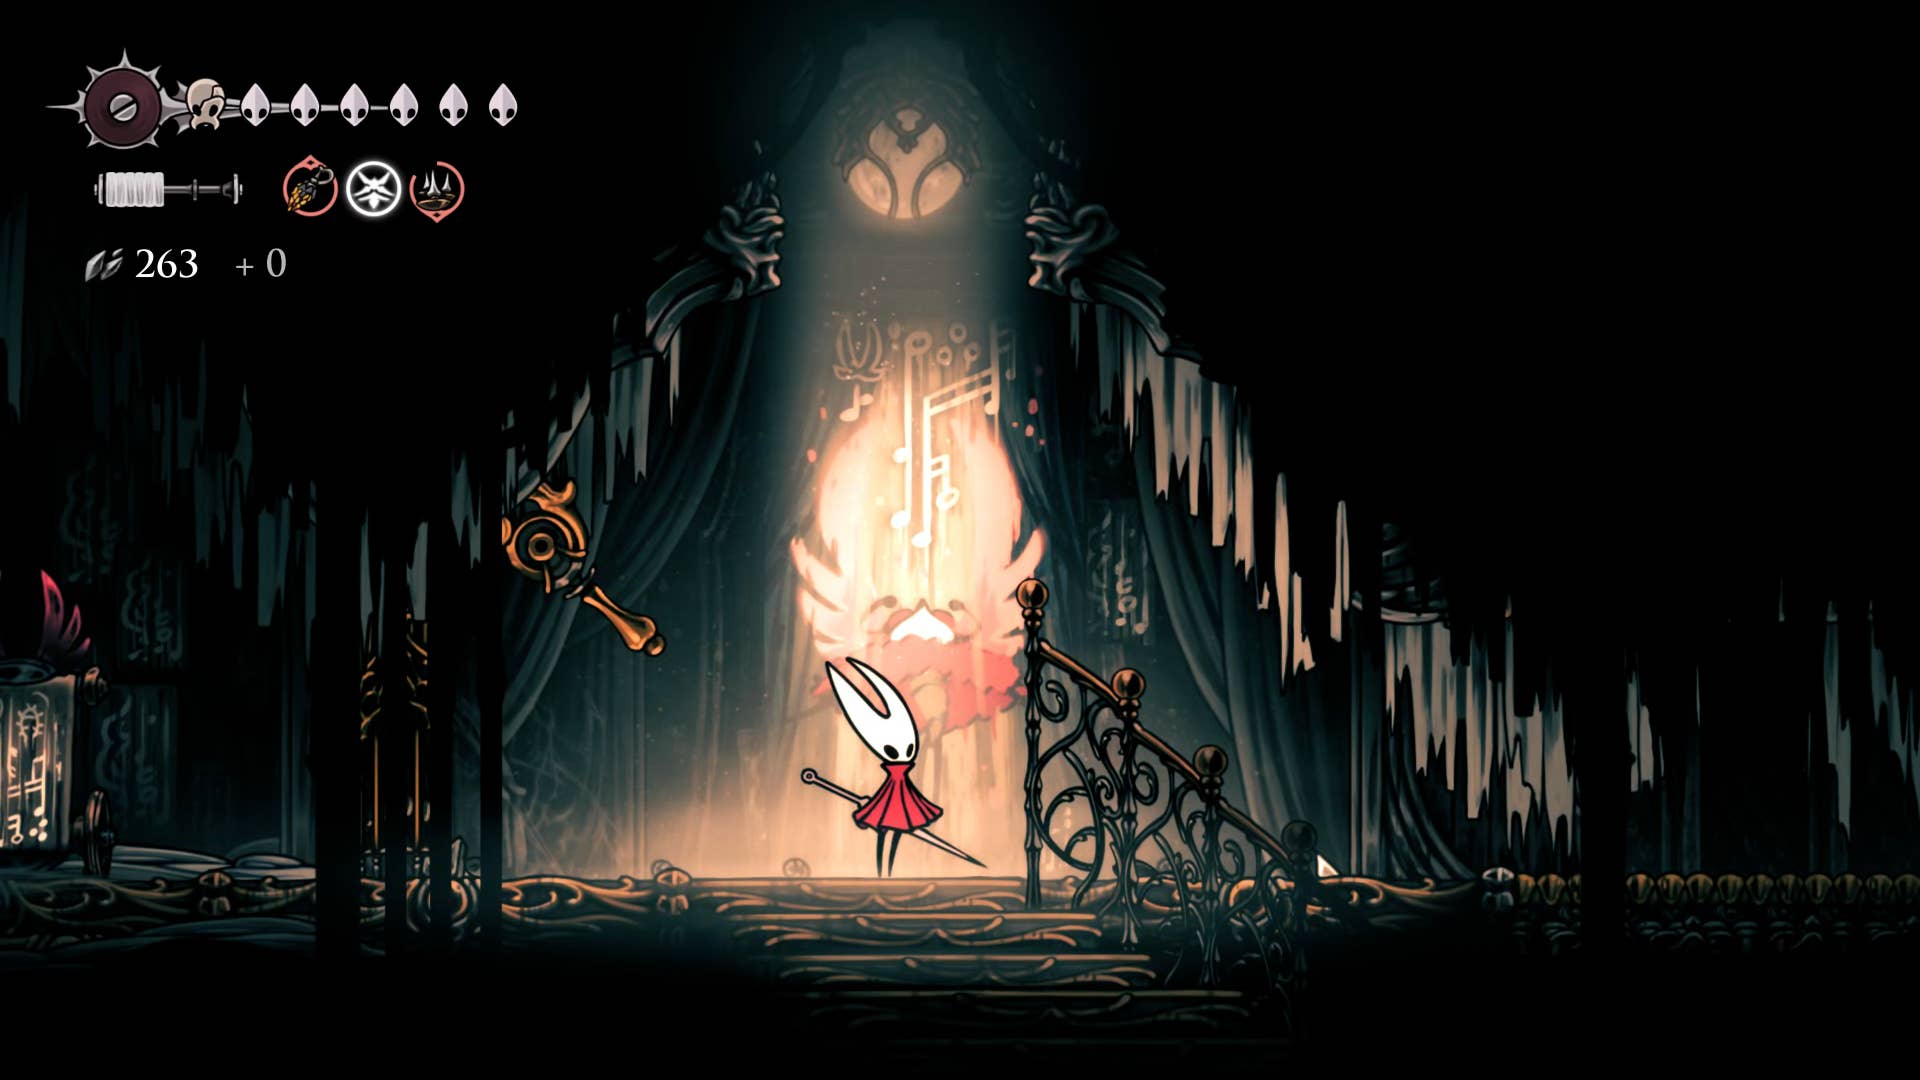
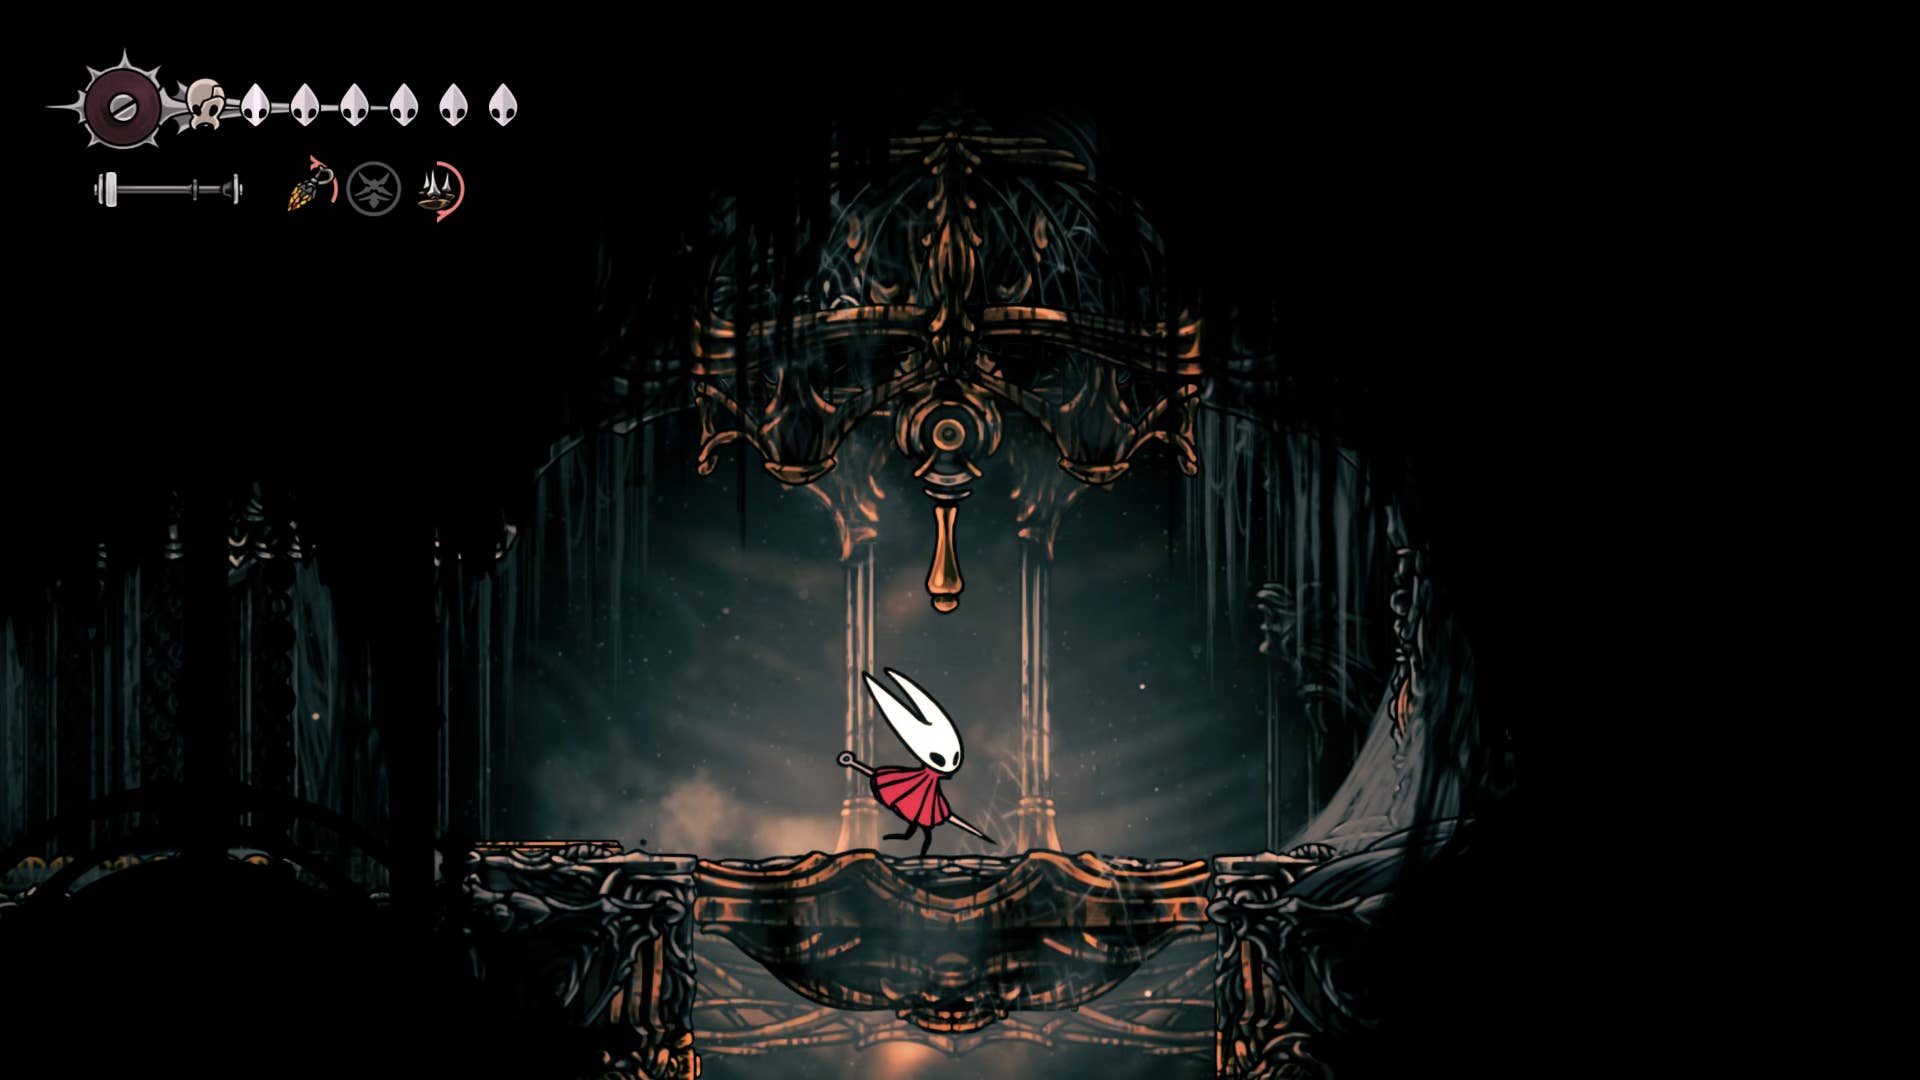
There is a bench on your right where you can rest. You can then attack the walls that appear above for the secret room with a stone statue of the pilgrim. Play Needlyn here and have a conversation with the respectable Isa Mohmore, the new NPCs, and a bit of lore.
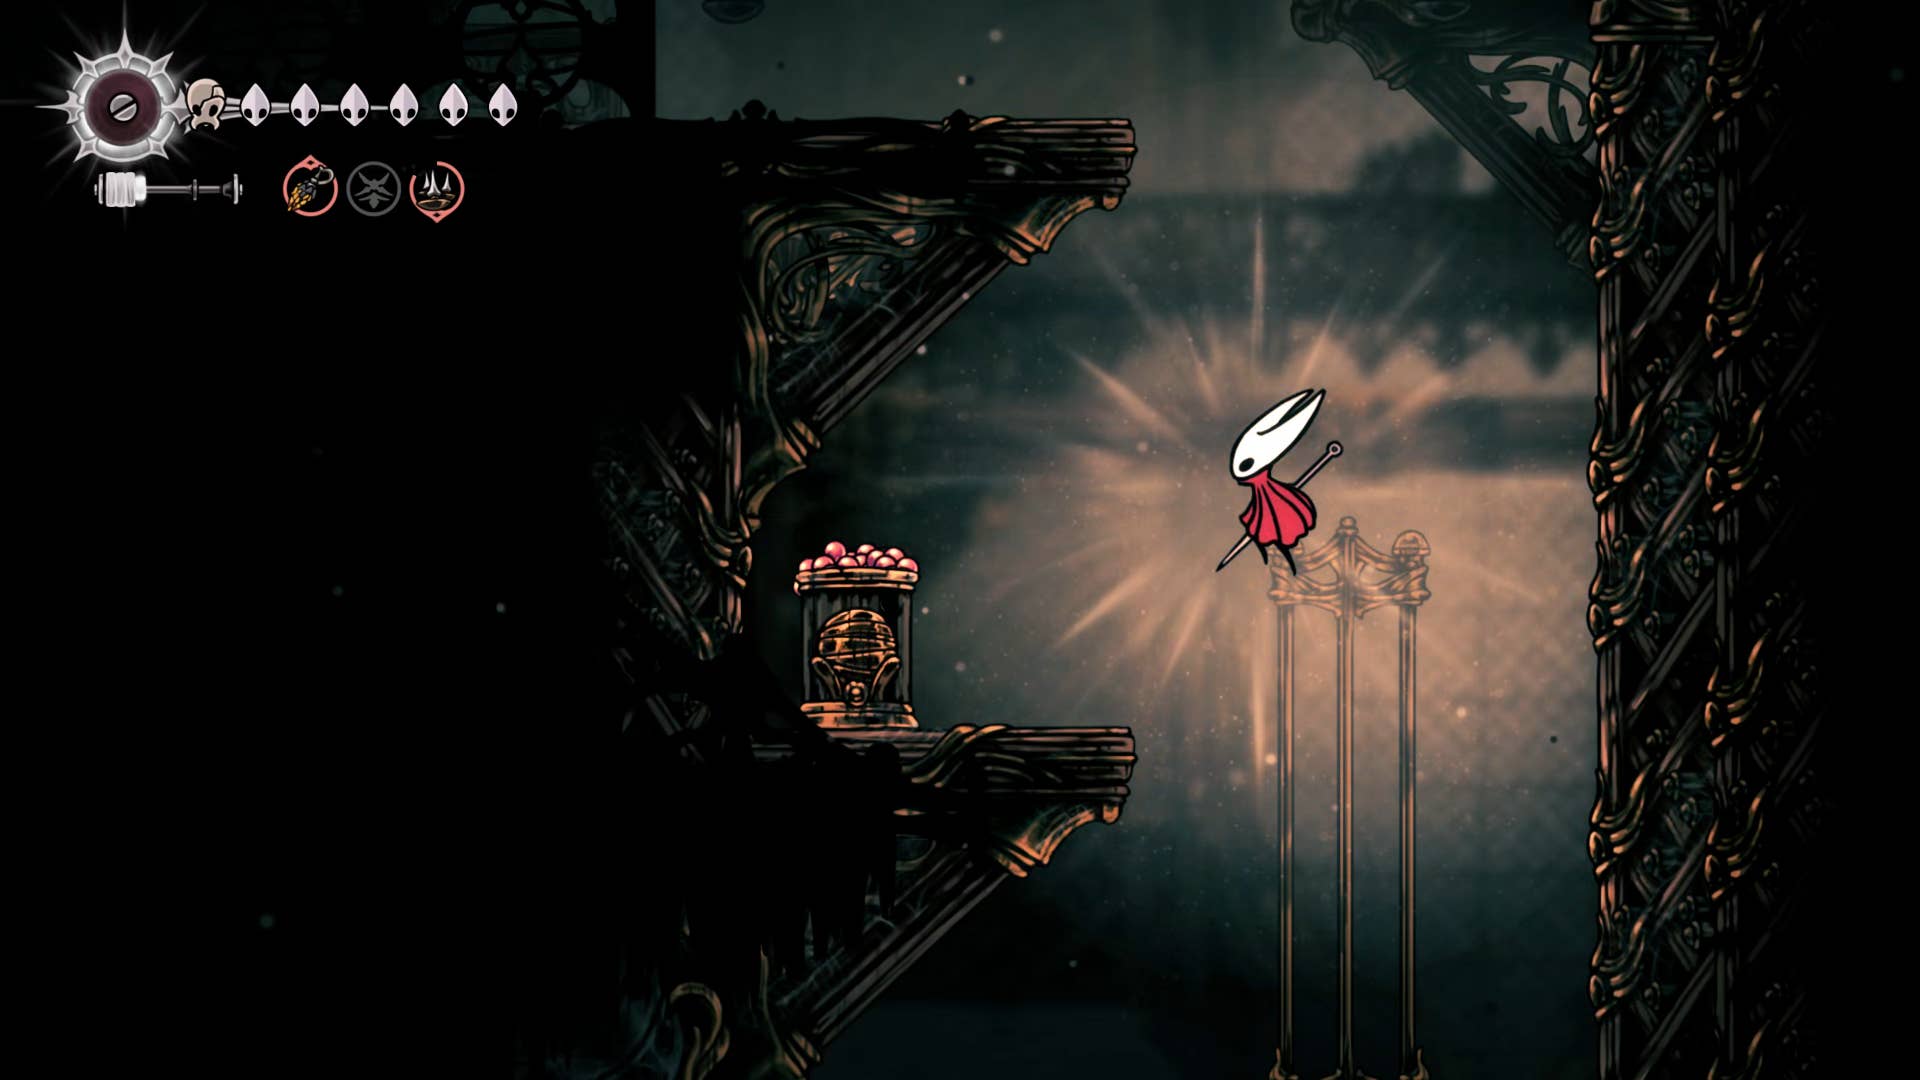
Now that you’ve finished, head to the left of the bench and you’ll soon come to the room containing the sacred cylinder. This is the key to learning the melody of a ballkeeper.
Go left and kill the vaulkeeper falling from the ceiling. Go to the edge of the top shelf and press the block to move left. Next, stand on it so that you can reach the shelf above it. Keep the second block out of the way and retrieve the shortcut back to the main part of the whisper safe.
13. Return to Cardinius and learn the ballkeeper melody.
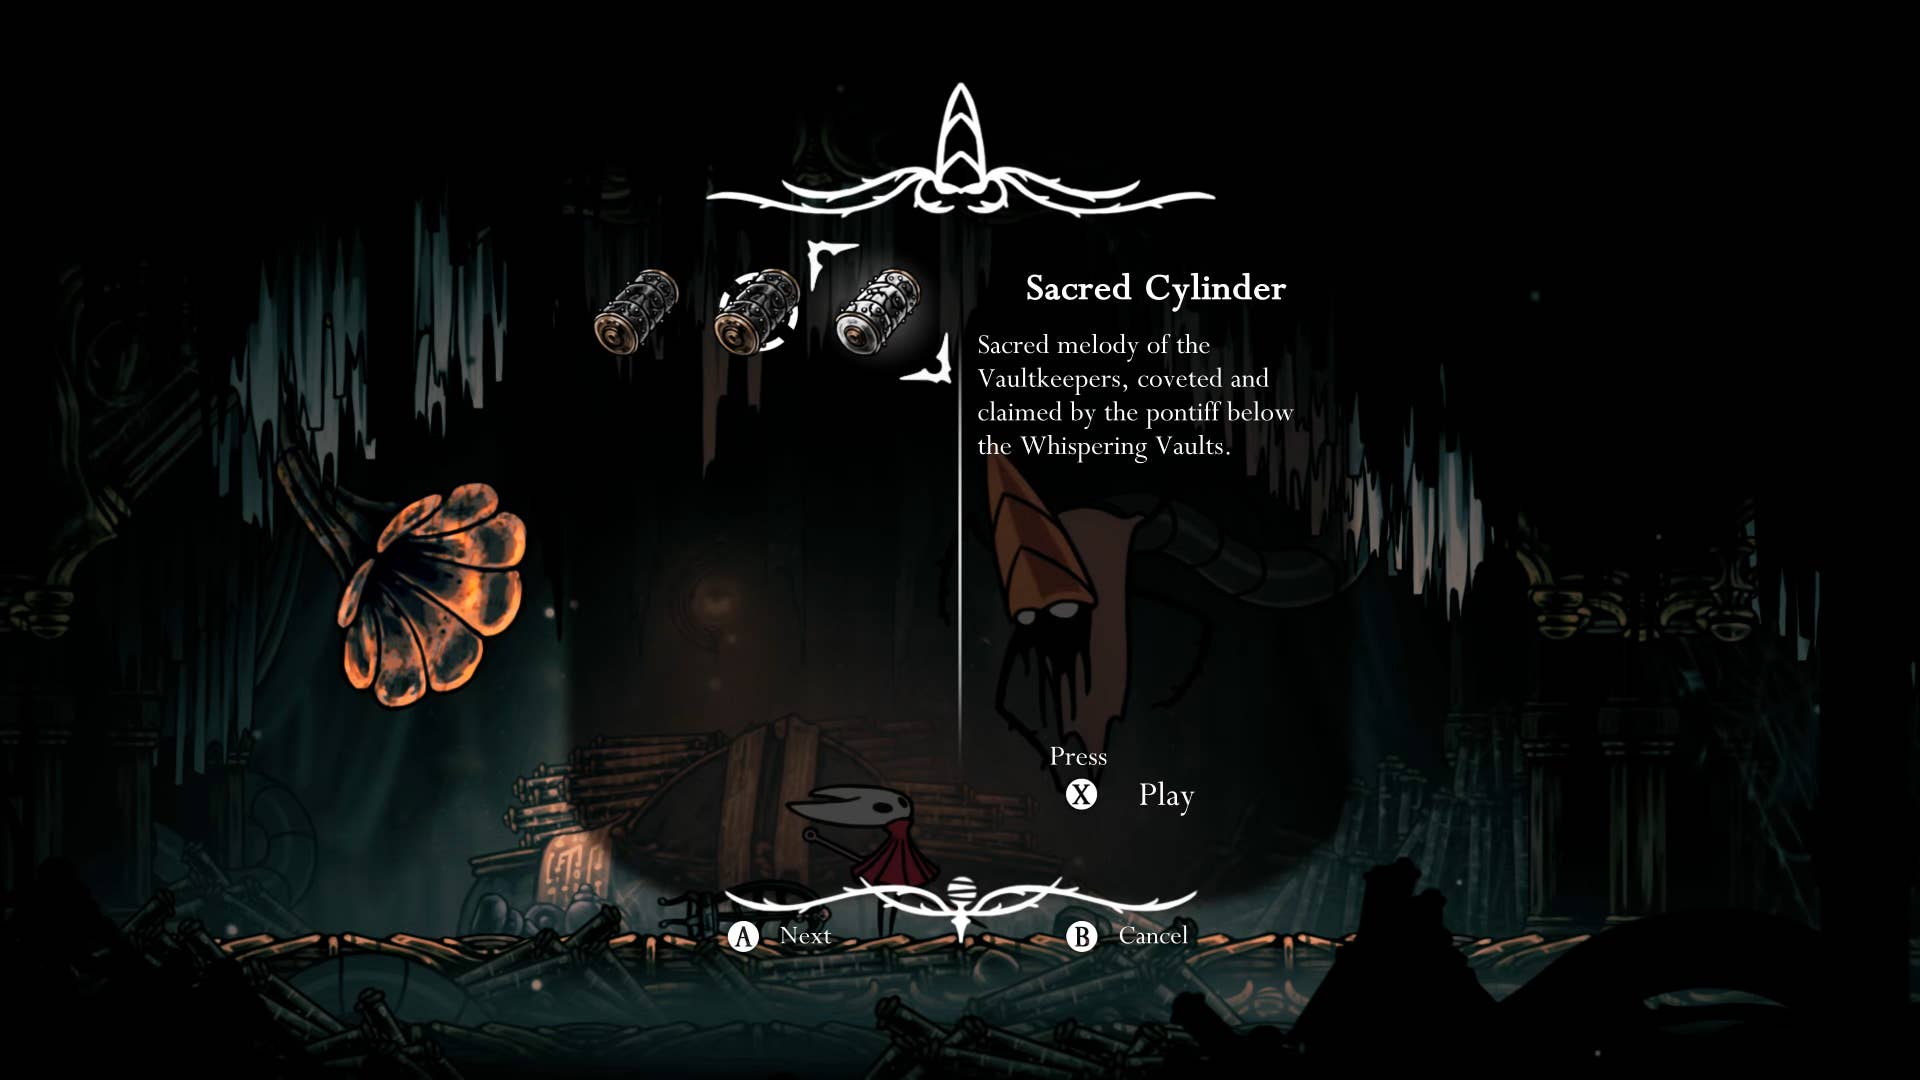
All you need to do now is go back to the Vaultkeeper Cardinius room. Talk to Cardinius and give him a sacred cylinder. He then allows you to play the Vaultkeeper melody on the gramophone and finally learn the second part of the 3x melody.
Hopefully this path will help you pass through the whispering safe without too much difficulty, but now you are off on a much colder climb. Join Part 22 of the Silksong Walkthrough.
(TagStoTranslate) Hollow Knight: Silksong (T) Action Adventure (T) Indie (T) Nintendo Switch (T) PC (T) Platformer (T) Team Cherry