You are about to go through the cogwork core of the Hollonite Citadel: Silkson? Defeating the Cogwork dancer at the top of the choir room will allow you to enter the Cogwork core, machine location, intense platforms and truly amazing music. It also has one of three pieces of 3x melody, allowing access to the final area of Act 2.
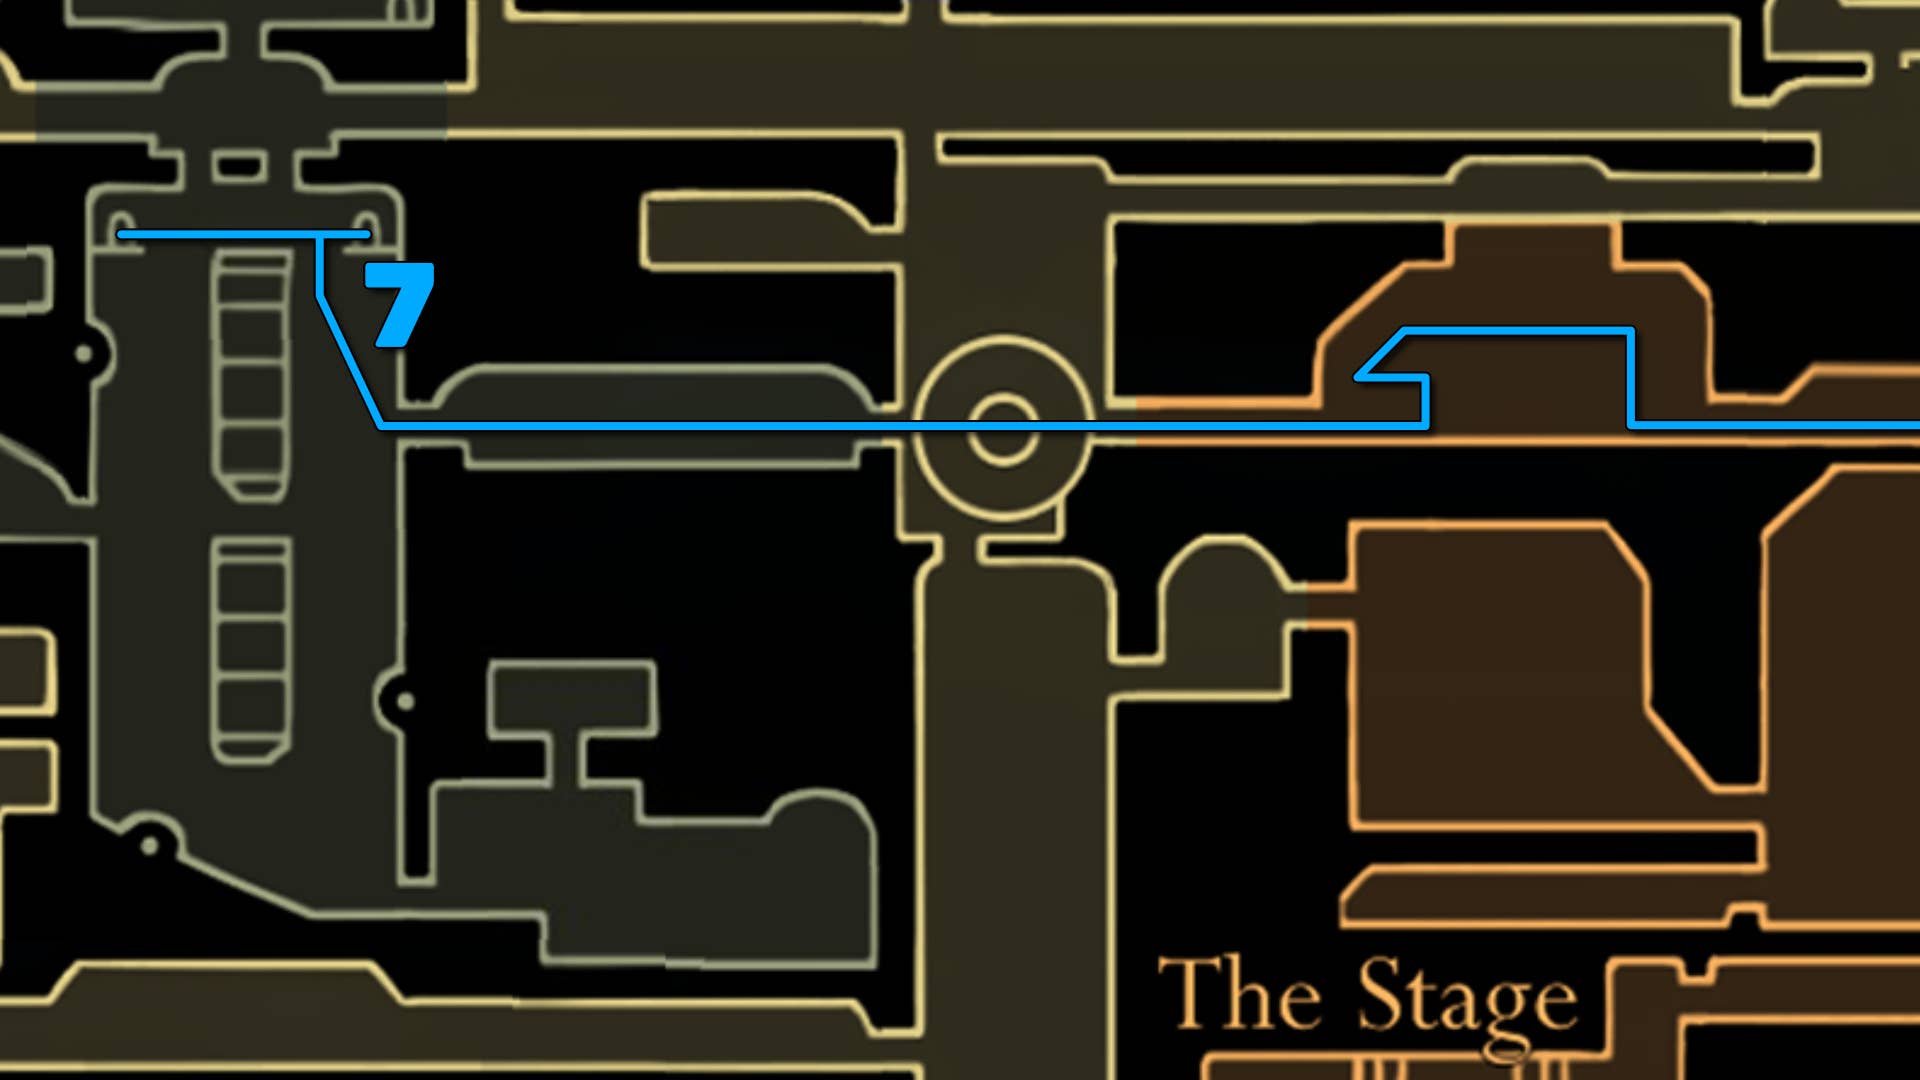
in Part 20 of Silk Song Walkthroughguides the entire Cogwork core. The bottom section and all its paths go to both old and new areas. Then proceed along the path to the top pillar puzzle so that you can unlock the architect’s melody.
Do you need a walkthrough in another area of the game? Check out Hollow Knight: Silksong Walkthrough Hub!
Cogwork Core Walkthrough Steps:
- Gets the Cogwork core map.
- Complete the mask shard’s waist gauntlet.
- Get the spool fragment southeast.
- Unlock the central gate.
- Reach the top of the Cogwork core.
- Solve puzzles and learn the architect’s melody.
- You reach a whisper.
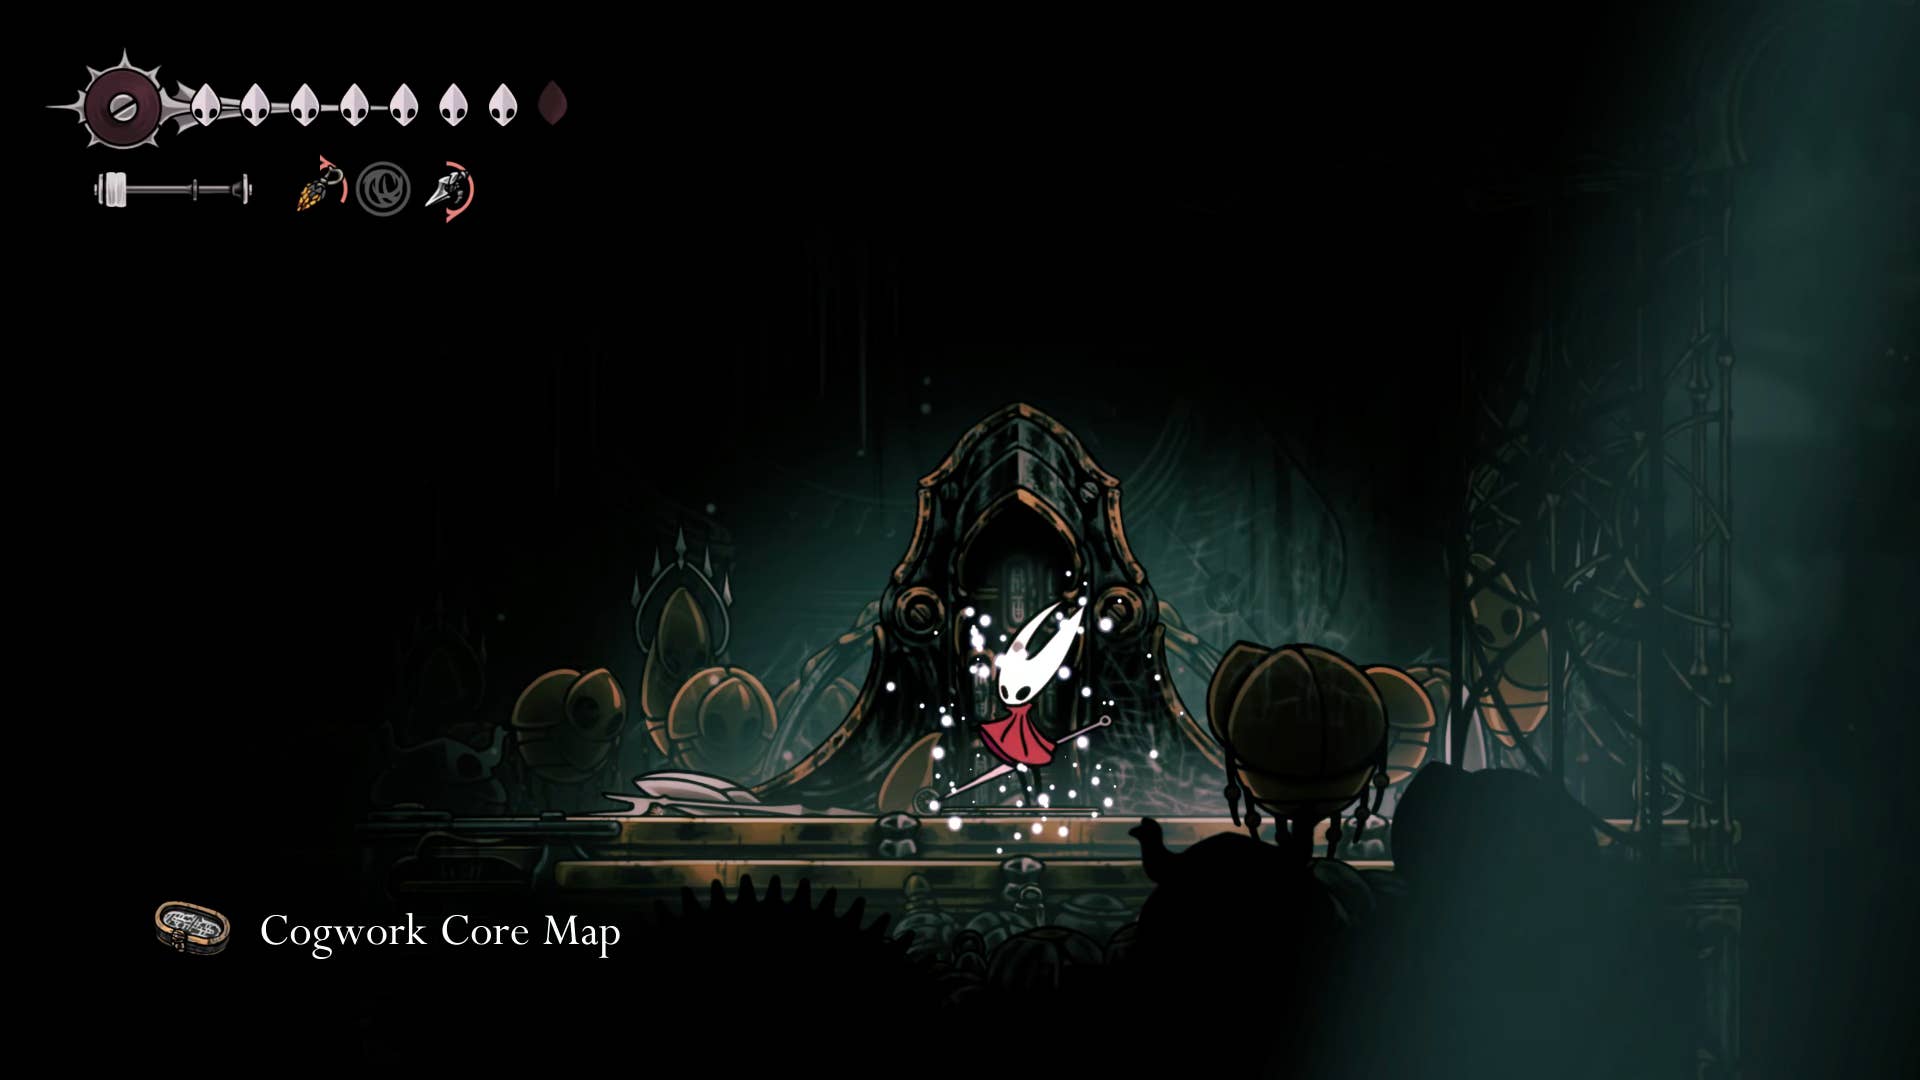
1. Get the Cogwork core map.
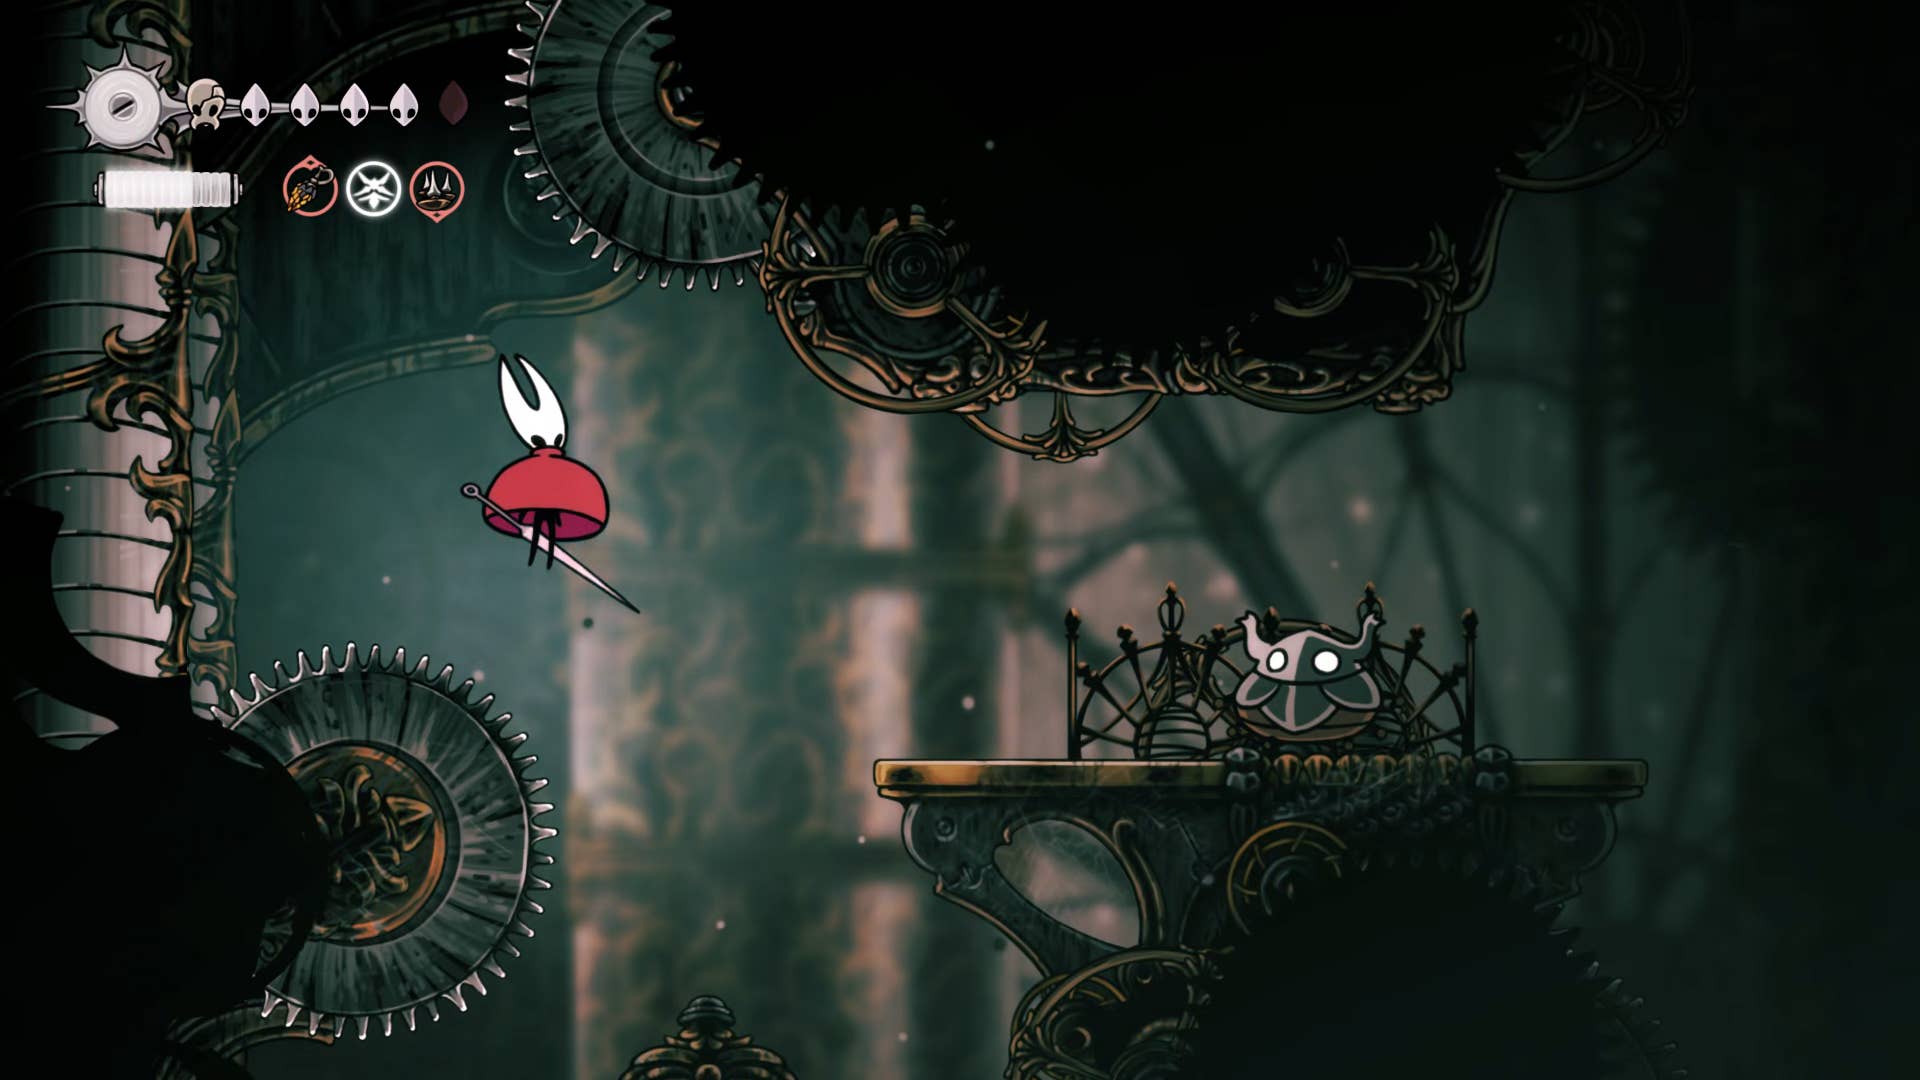
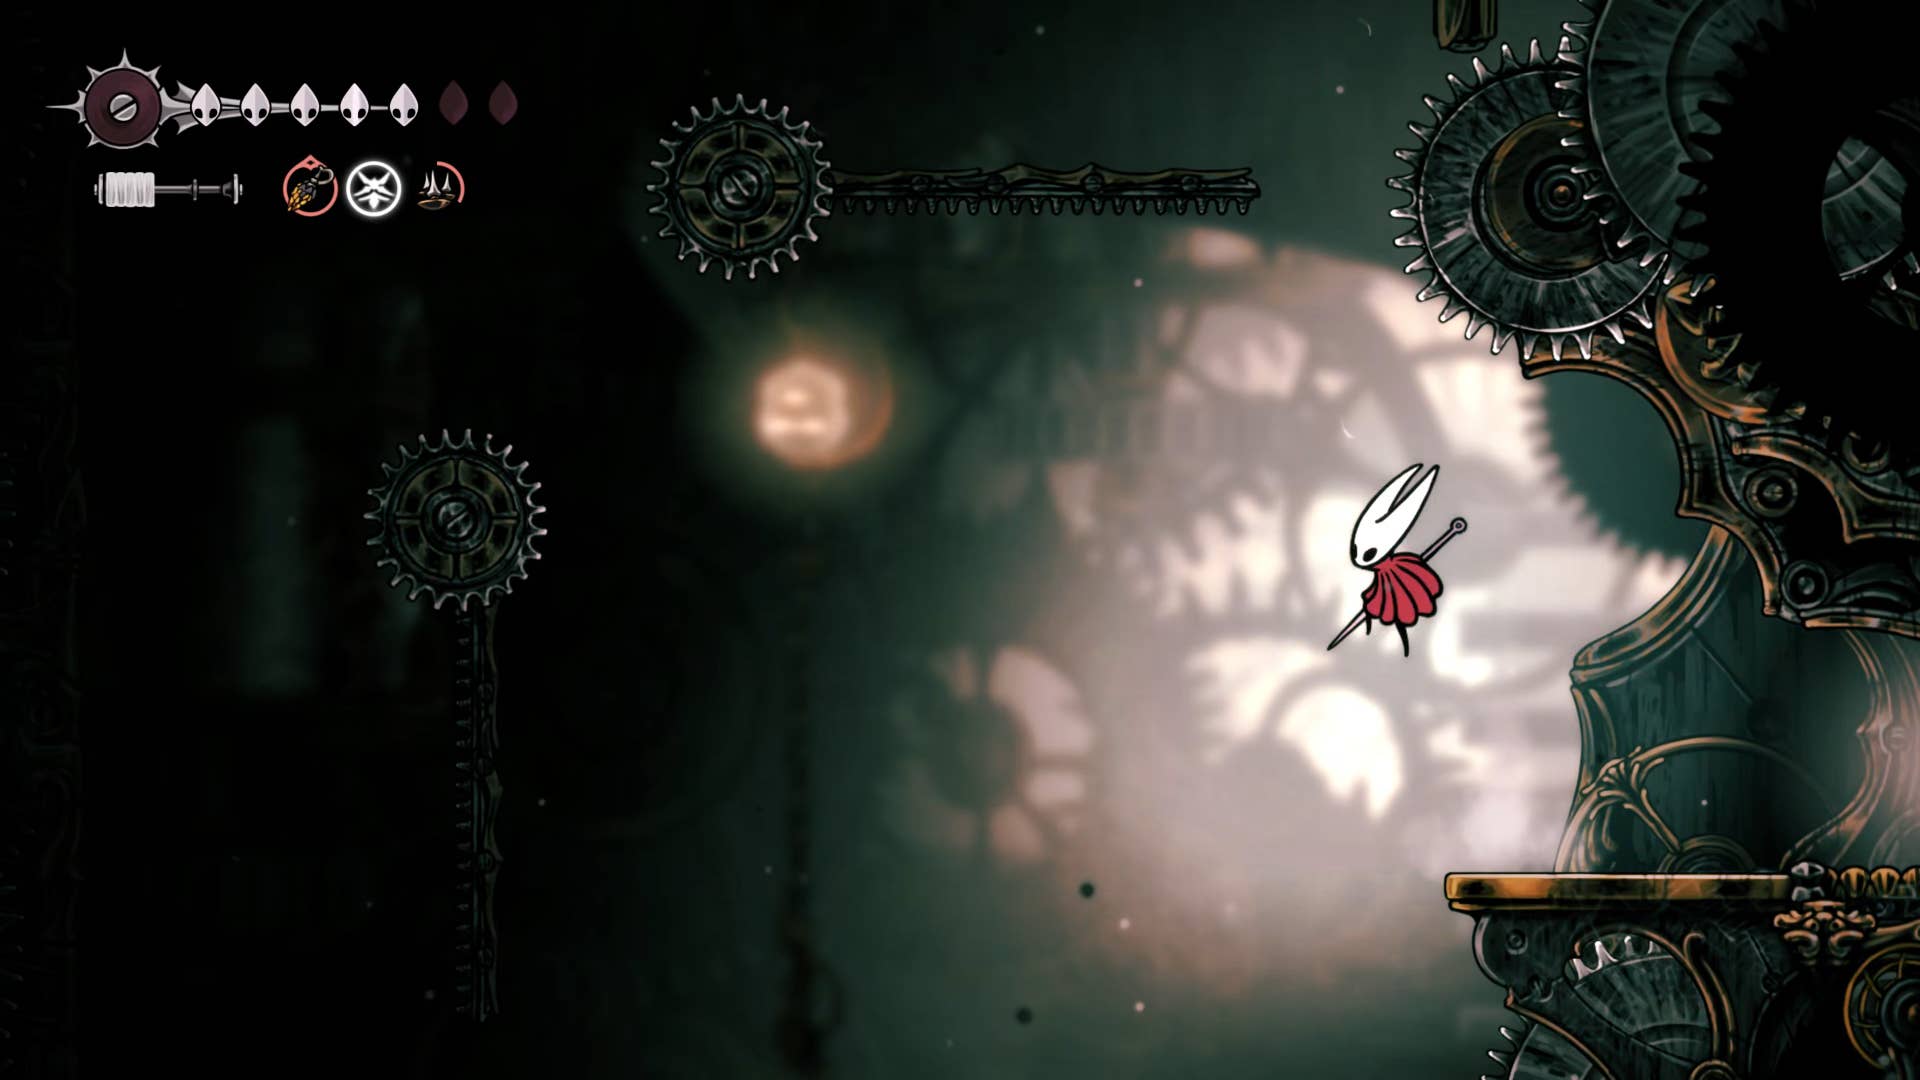
The last time we left off, you emerged from Underworks in the southwest of the choir room. Head to the nearby choir room Ventrica and quickly move to the first shrine. Next, head towards Cogwork Dancers Arena and drop any of the holes in the floor.
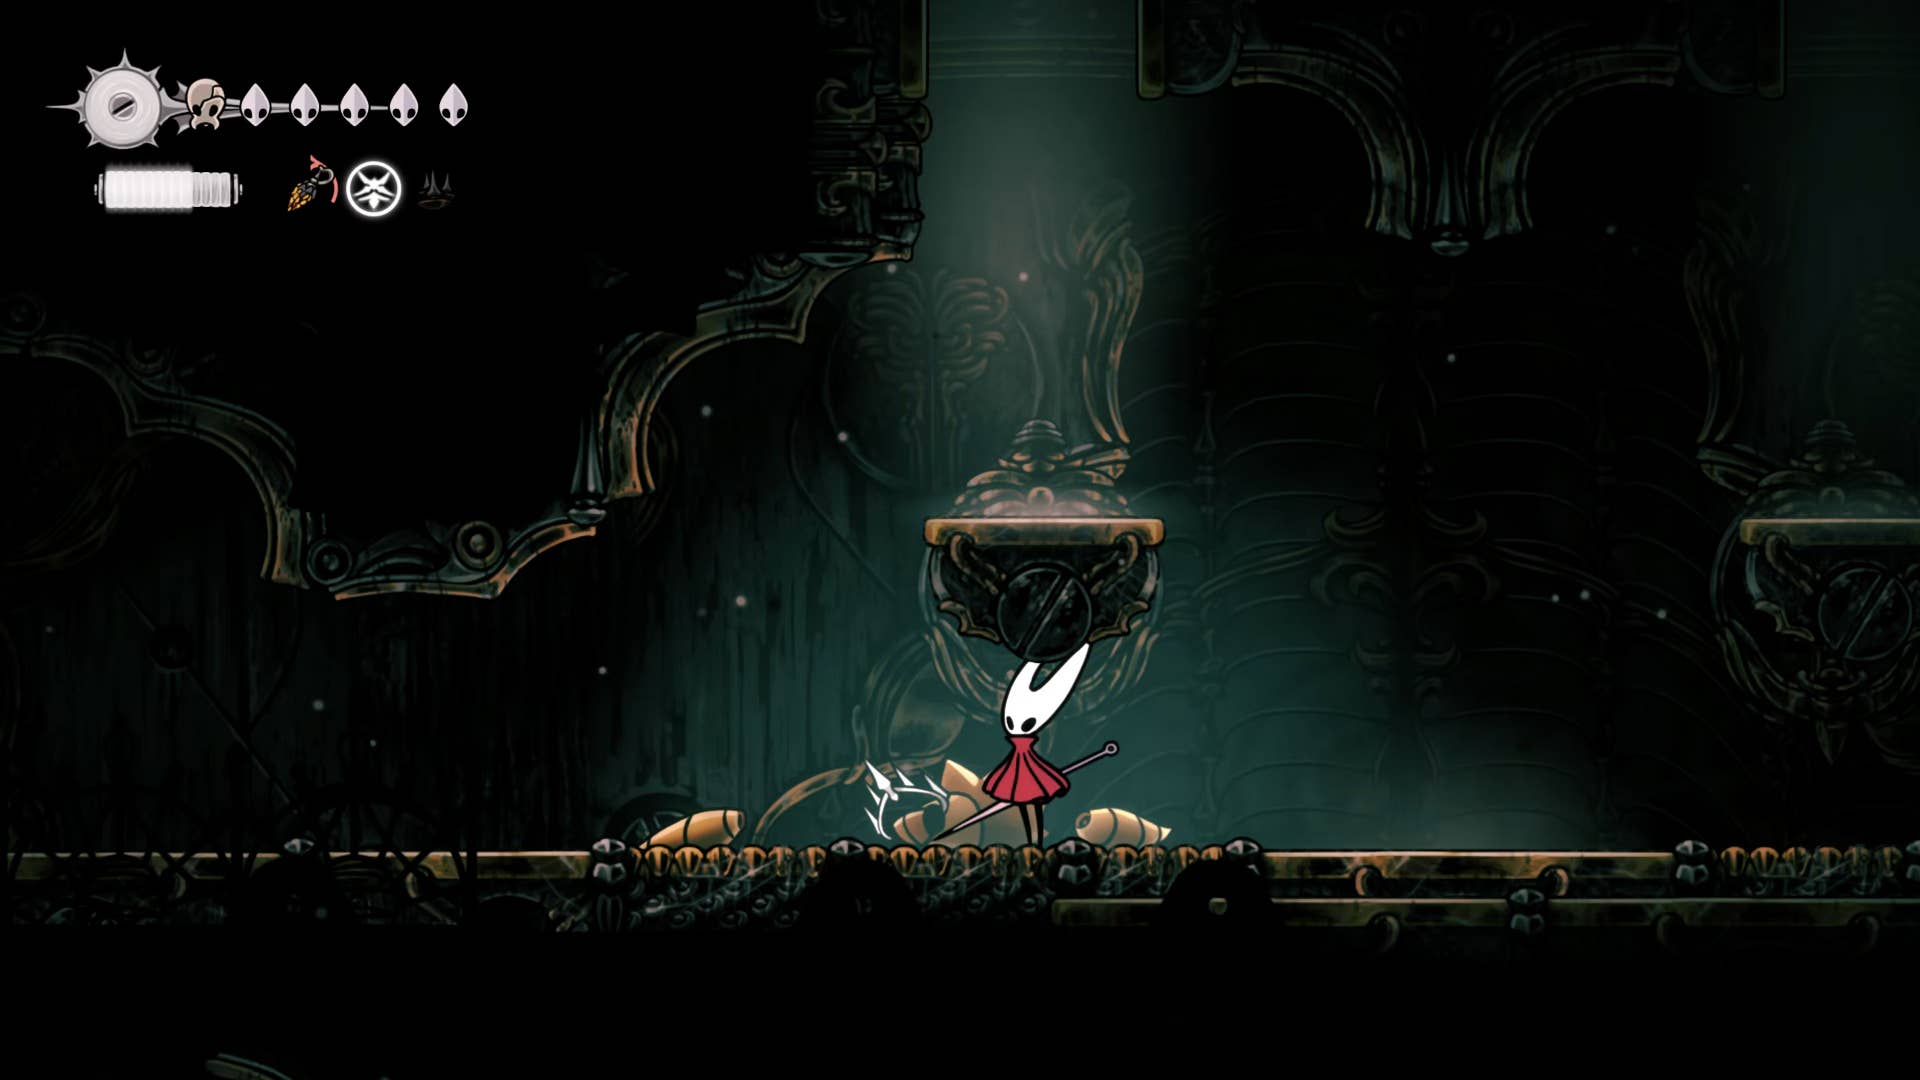
Head left and enter the building of white light on the shelf in front of you. Hit the wheels above you repeatedly until a bench appears where you can rest. Now that’s finished, climb the wall to the left (the enemies there are fake, don’t worry). Stand on the pressure plate and unlock the Cogwork core map quickly.
2. Complete the West Gauntlet for the Mask Shard.
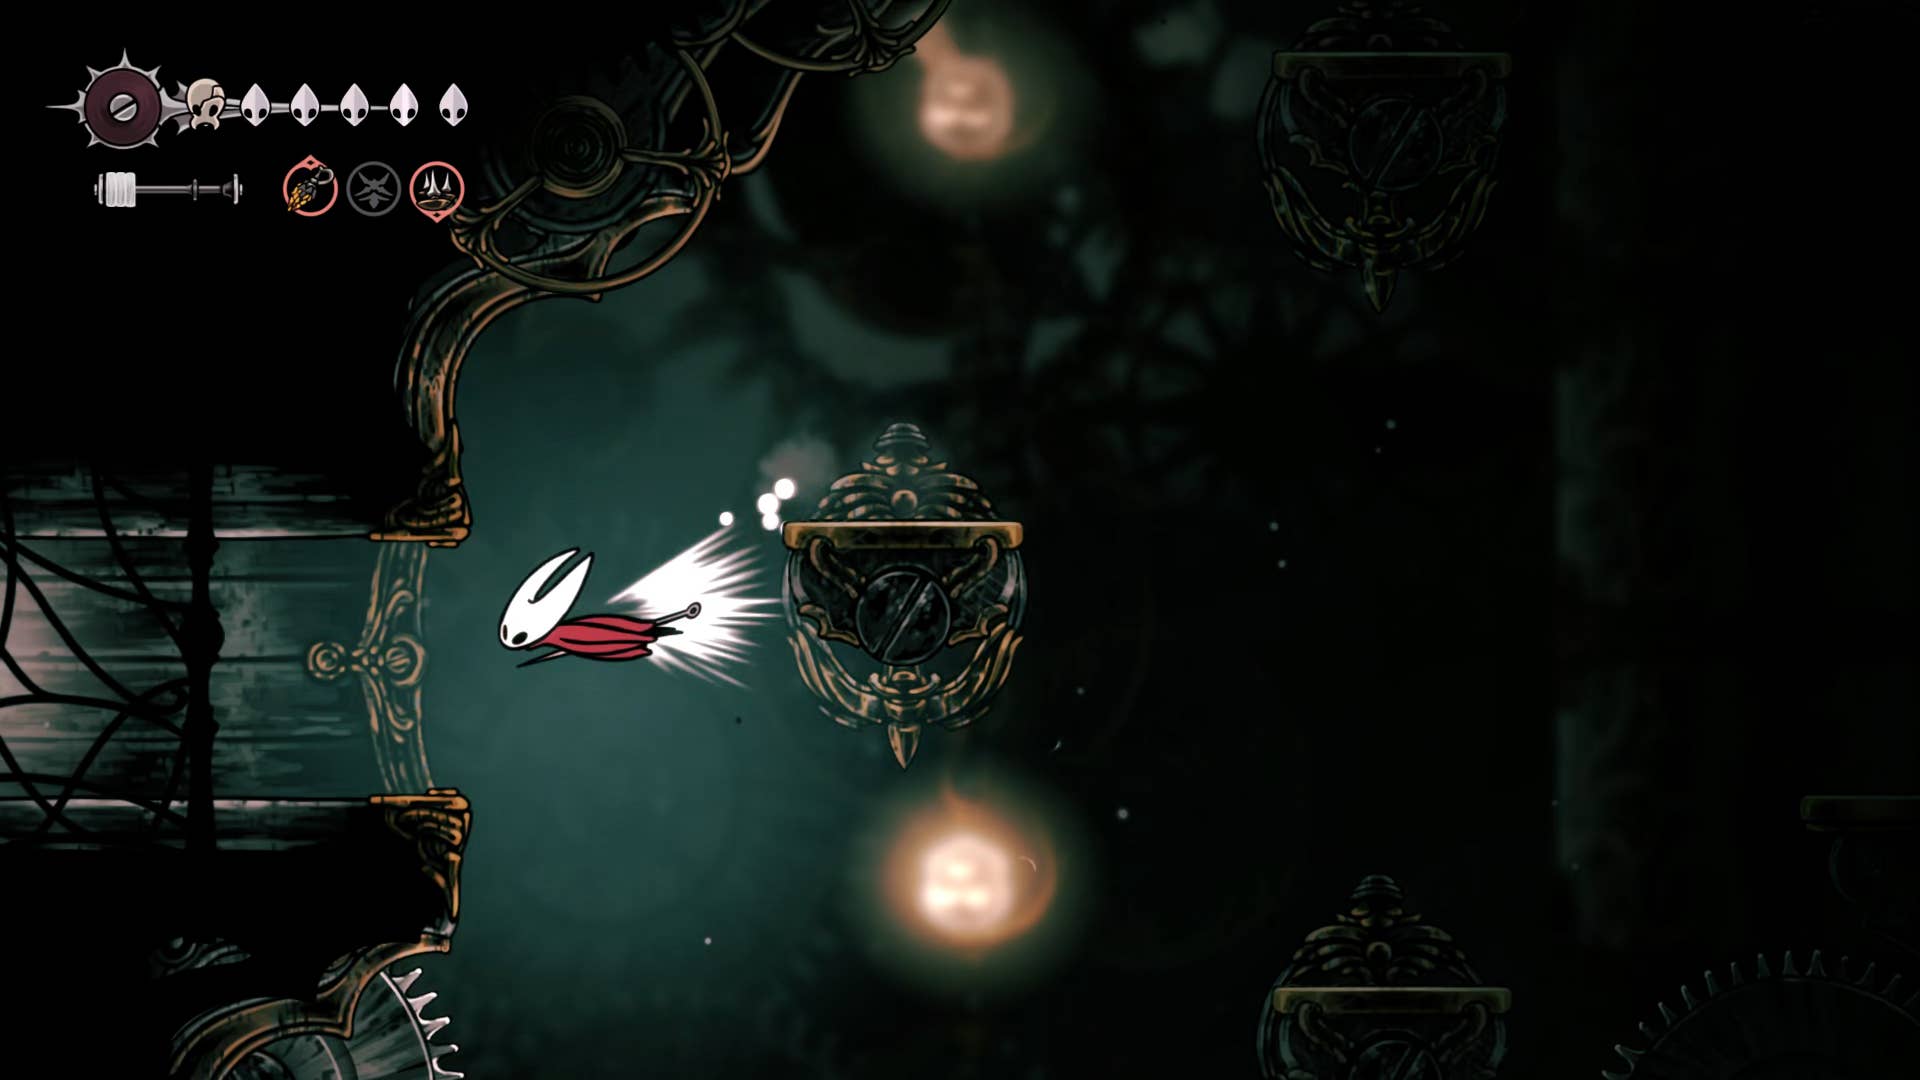
Leave the building and carefully descend to a lower level below you. Every surface you can imagine in the Cogwork core is covered with a circular saw, so it’s your best friend here to float in the drifter’s cloak.
Head to the left of the shelf patrol by the lonely cogwork choir and kill the second choir below. Then drop down onto two lower shelves and take the left exit.
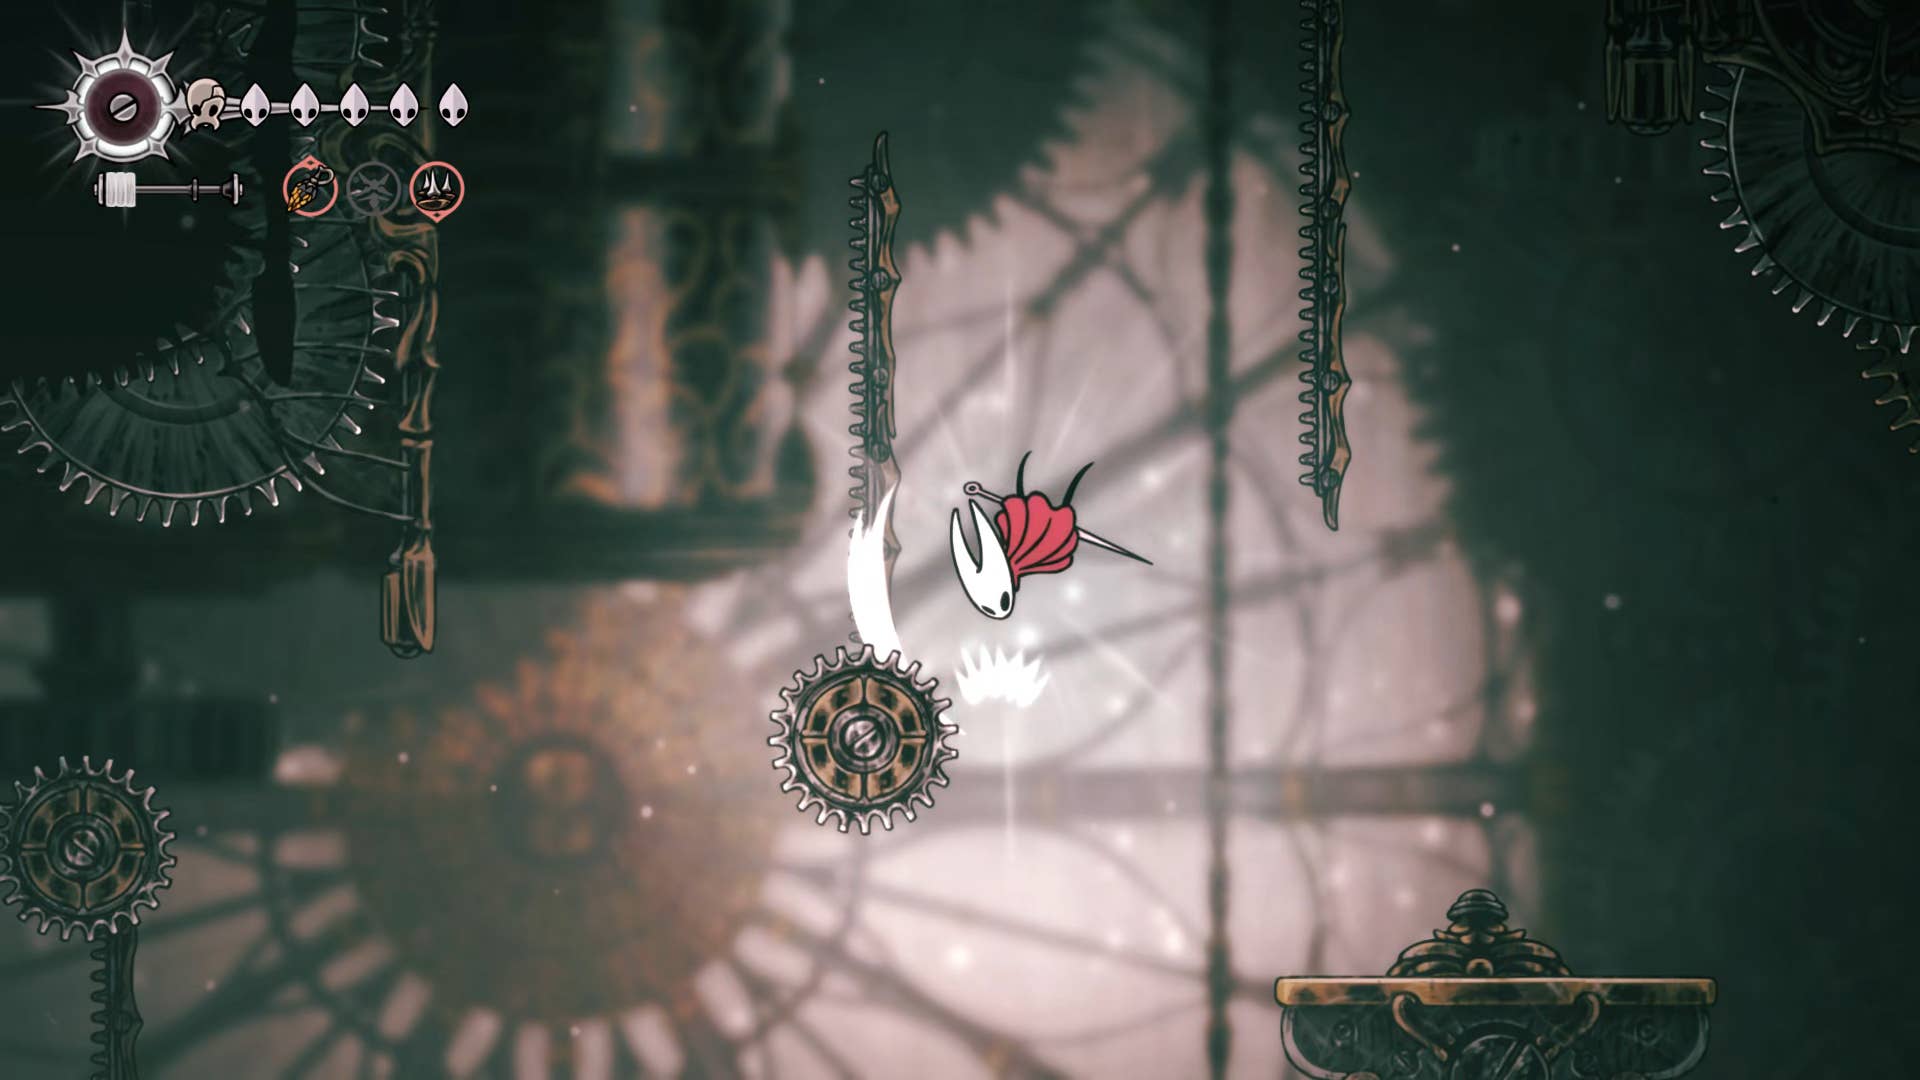
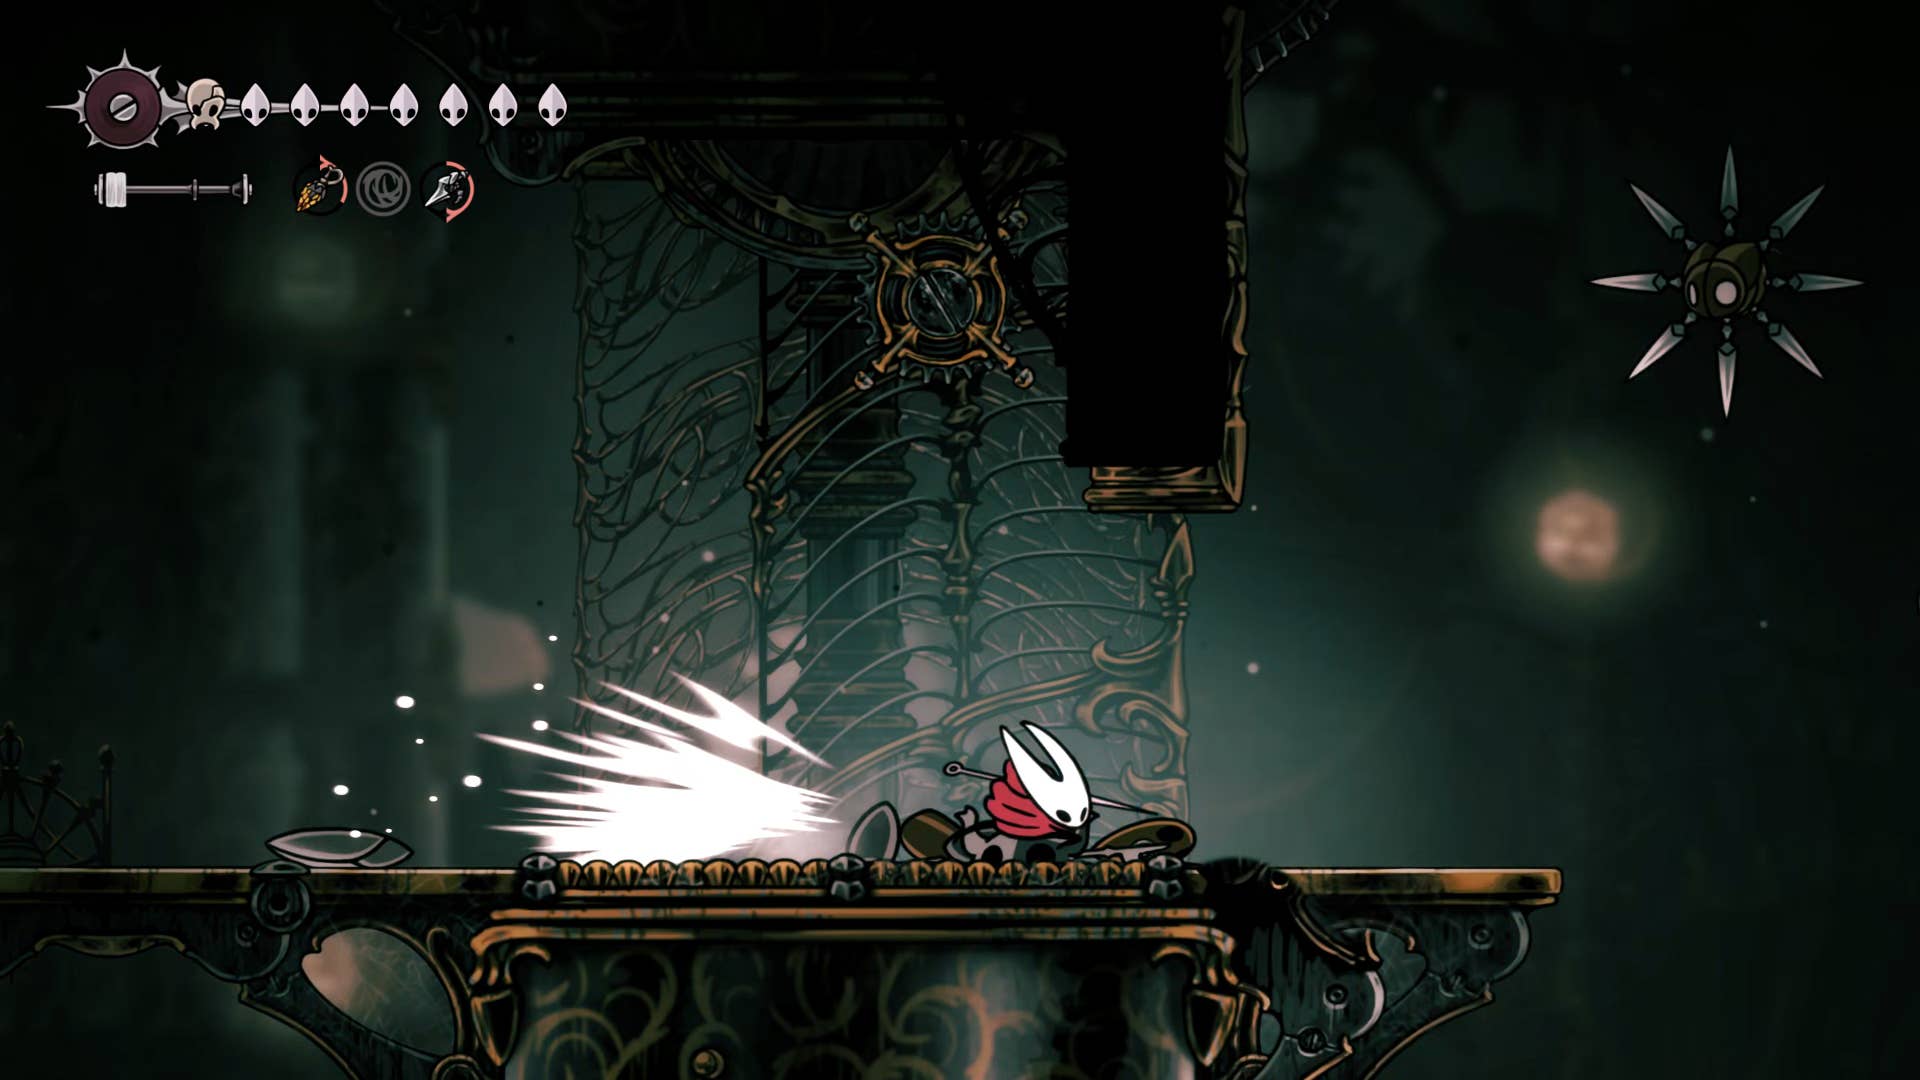
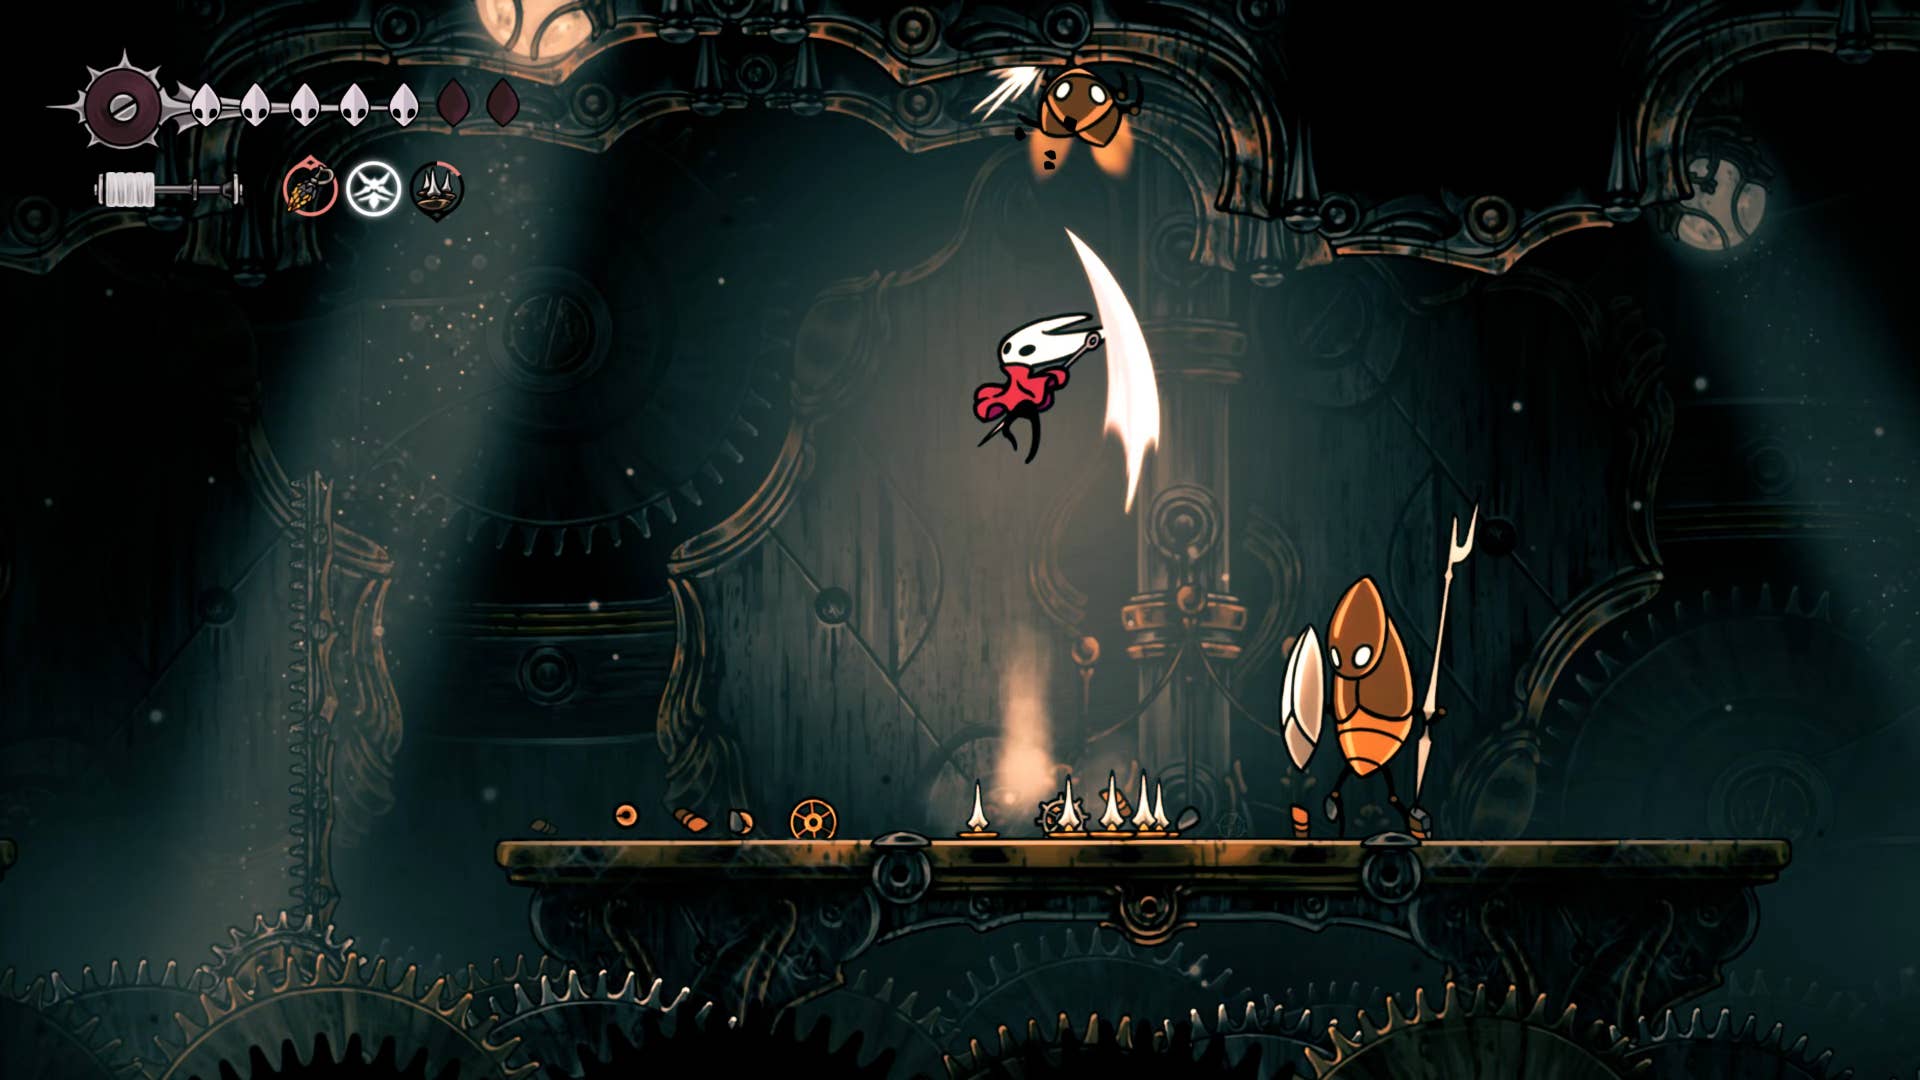
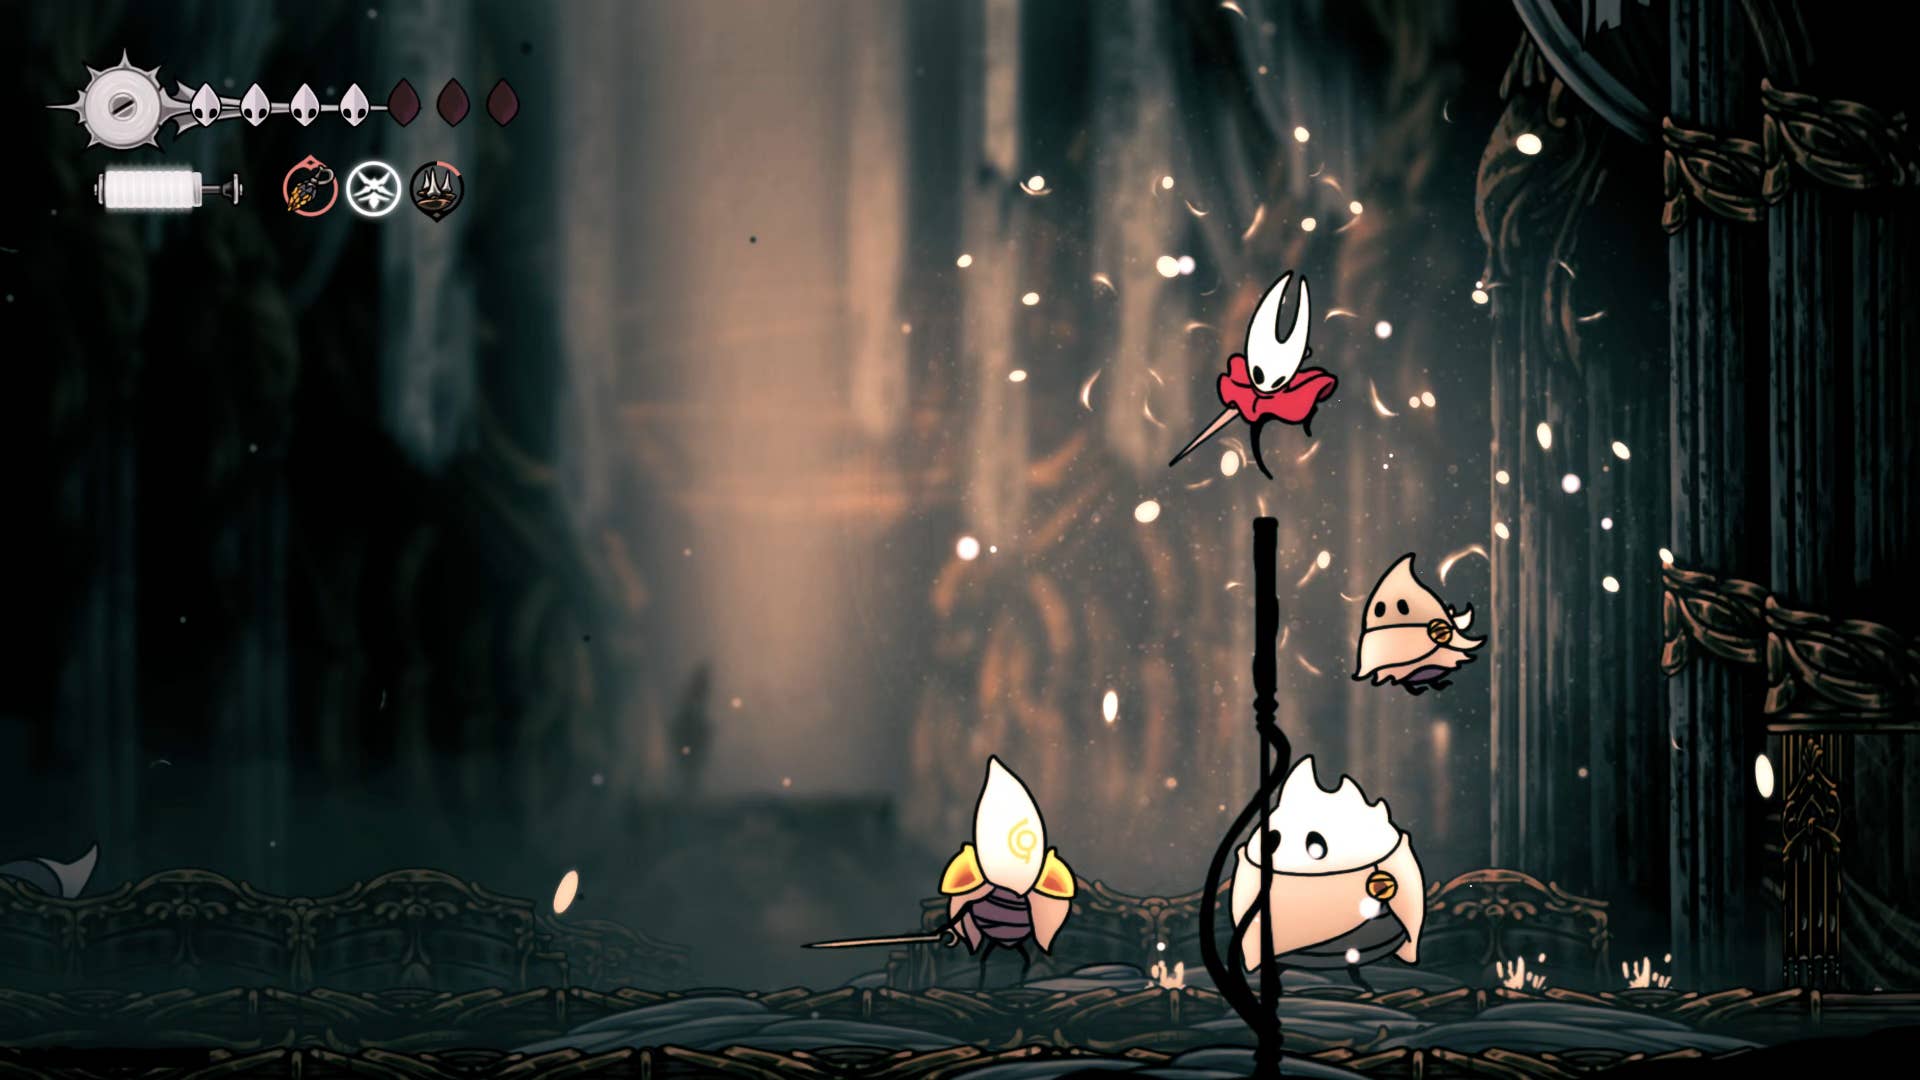
You will need to kill two spiky cogwork thorns flying around the next room, then proceed towards the arena beyond, and face many cogwork enemies in the gauntlet. The floor sections rearrange themselves among the various waves, so be prepared to do lots of jumps, dashing, floating, to avoid the undersaw.
Once the gauntlet has been conquered, exit through the door to the left and climb the small shaft beyond. This will move you to a small area of the adjacent room, pick up the mask shard, push down the pressure plate, and return the shortcut to the west side of the coral chamber.
3. Get the spool fragment southeast.
We’ll continue to revert the steps back to the main parts of the Cogwork core and unload the various platforms below. On the lower shelf, kill two patrol cogwork choirs, drop the left side, floating between the lower Thor and the shelves patroled by the new enemy (Cogwork Cleanser).
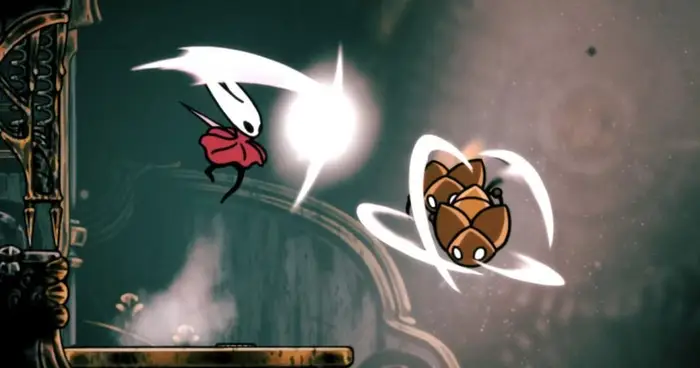
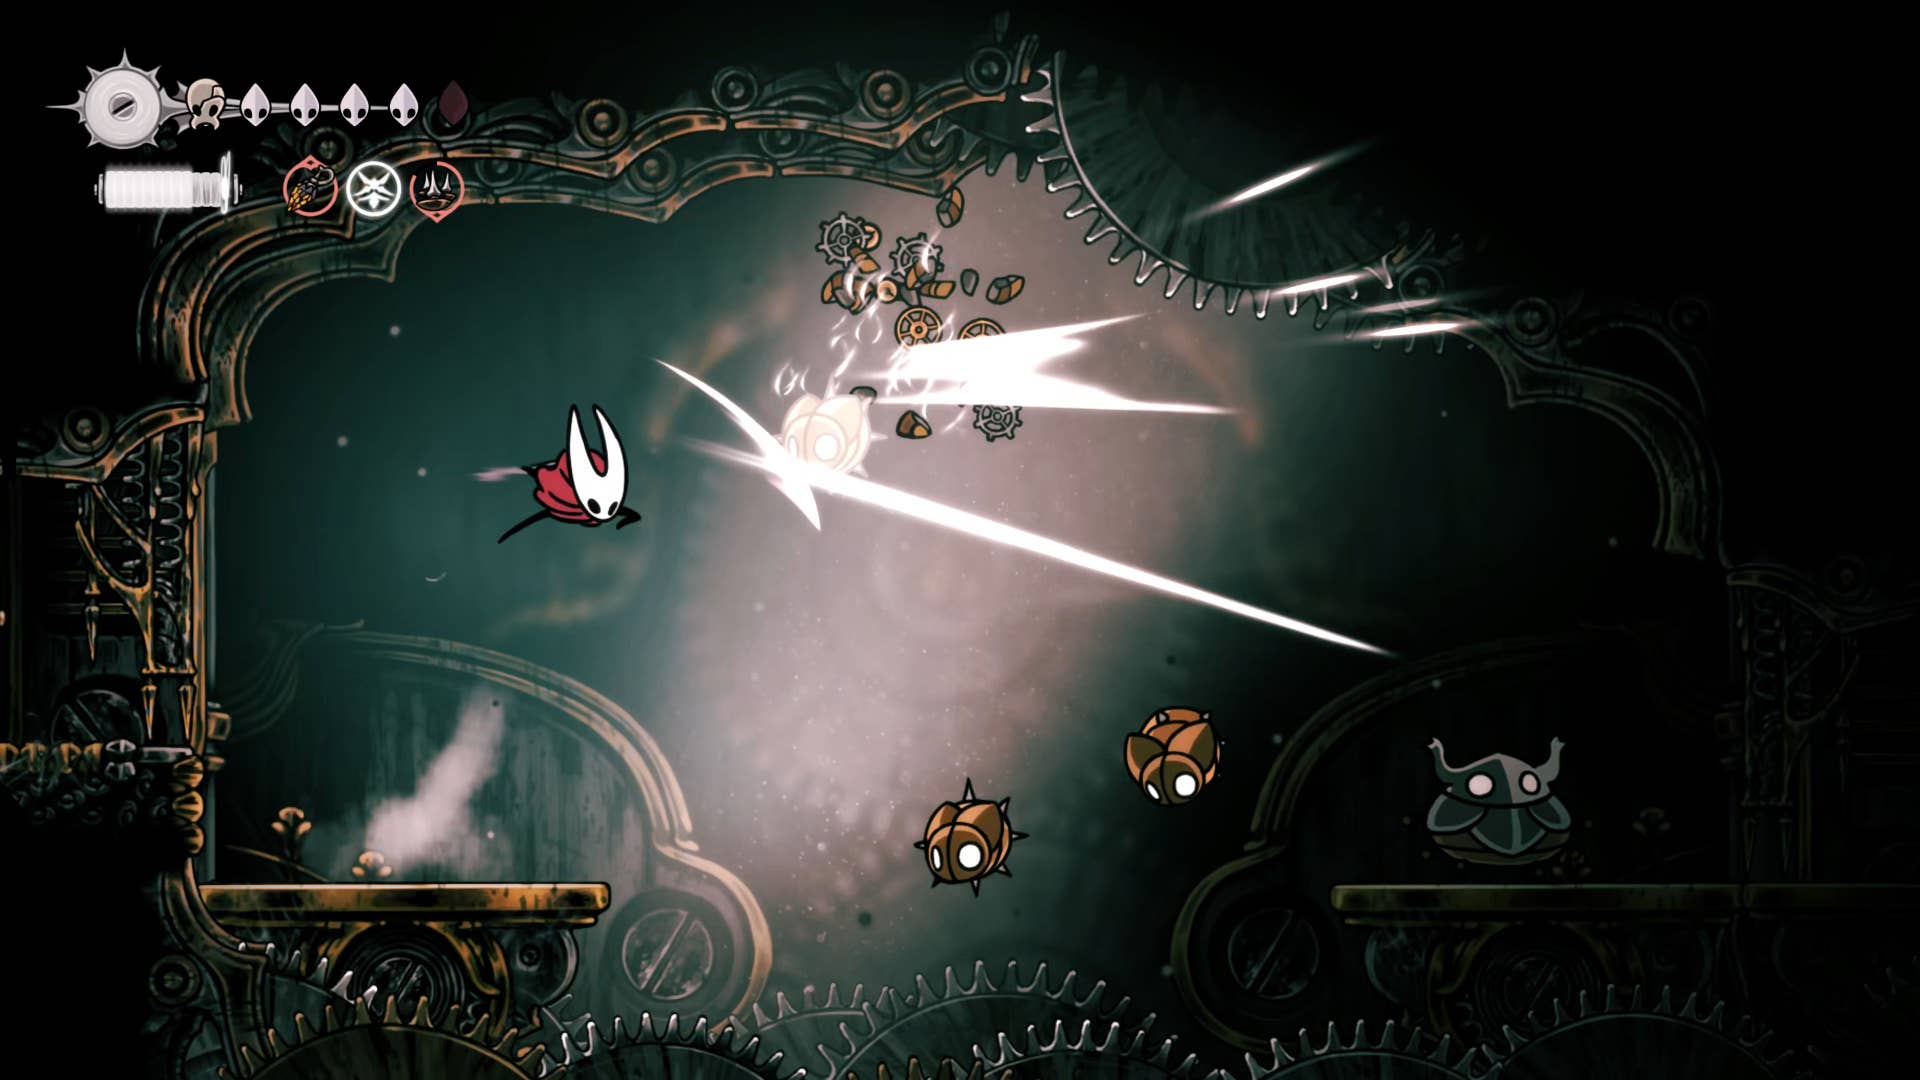
Slide the glass and metal wall to the left and jump over the moving saw as you head towards the exit in the lower right corner. In this next room, when you climb up to the main part of the room, you will see a spin-up wheel in the top right corner. Spinning this wheel will bring the gate across from the ceiling, but the large round mini-boss enemy, Cogwork Clapper, is unleashed from the ceiling.
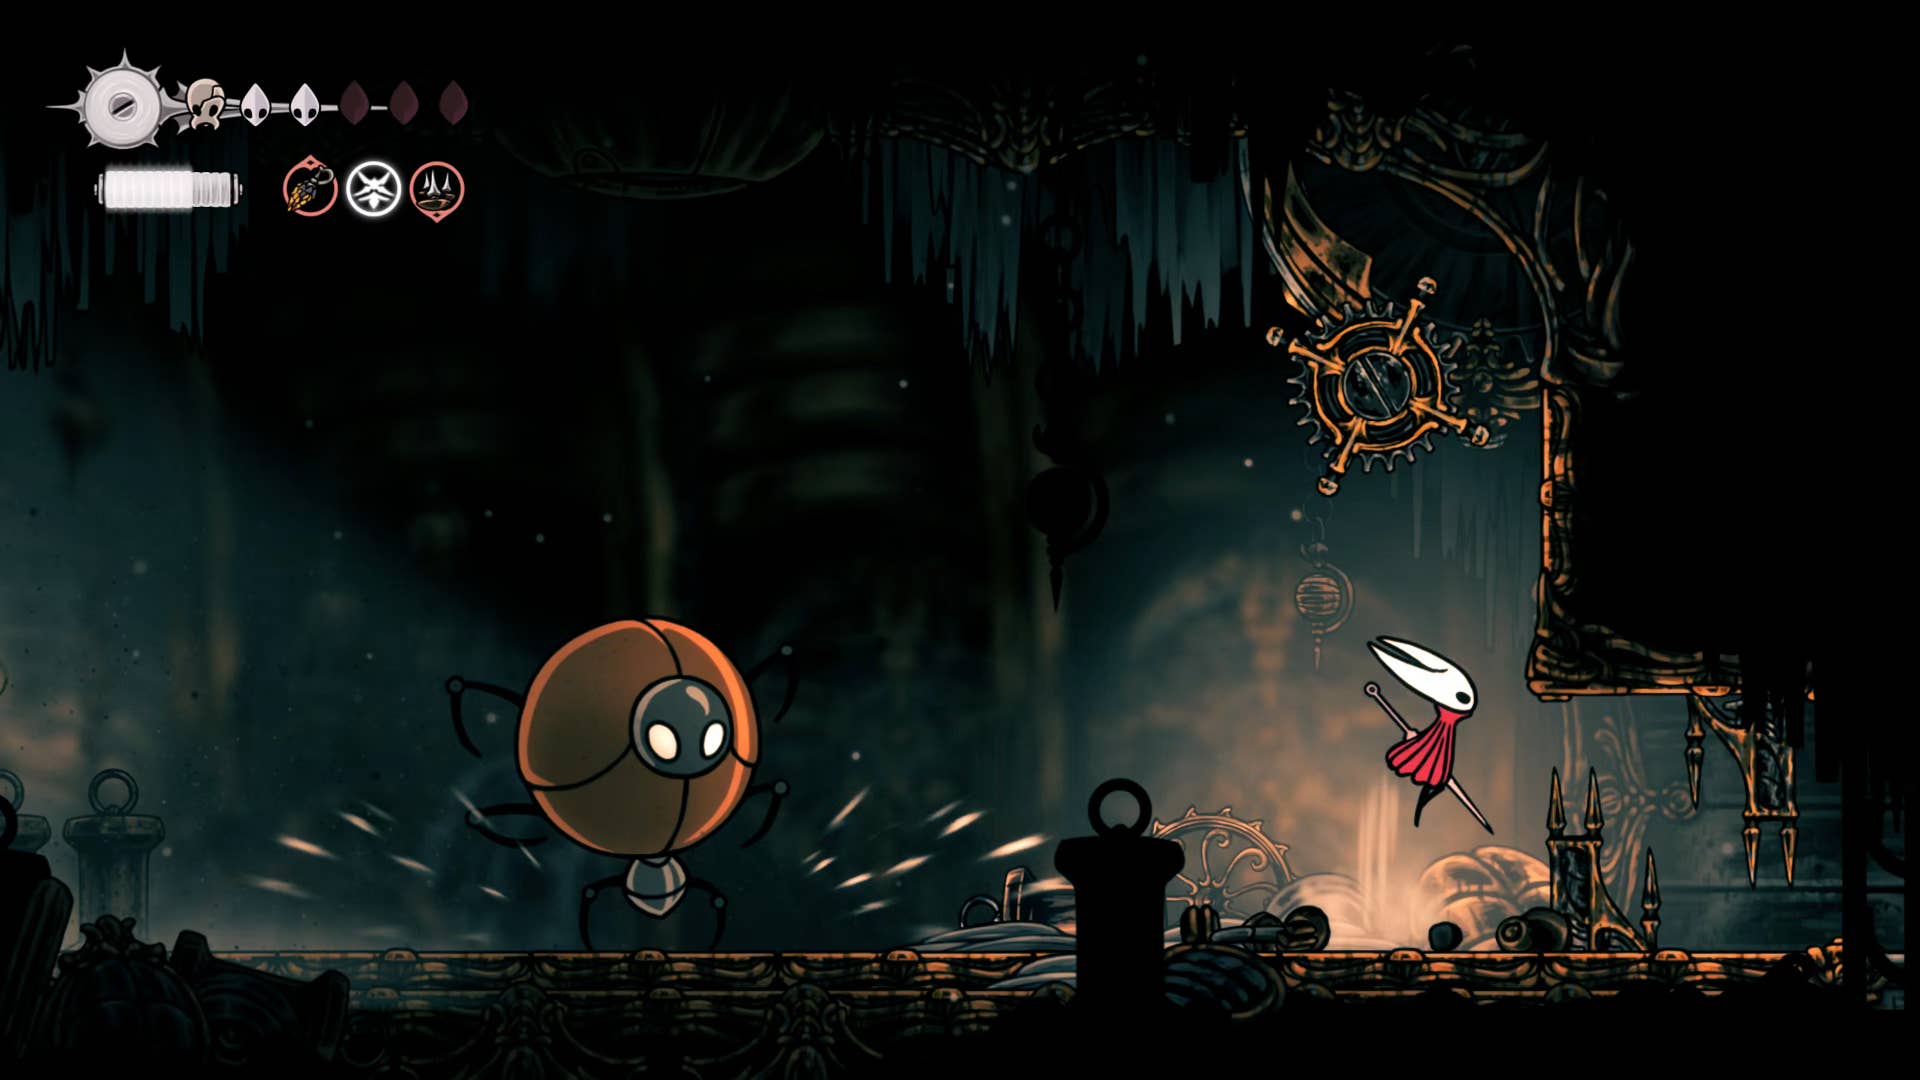
Clappers are nasty – they bouncing off in the Zig-Zag pattern, attacking you for double damage, sending you a small hand-ren bullet projectile while you try to dodge. If you can spin up the wheels in all ways, you can use it beyond the hallway as protection from most clapper attacks, making the fight easier.
Over the Cogwork Clapper Room, hit the lever on the ground and enter the hole below. Pass through steam vents and spawning drapemite, drop the next hole and slide down the right side to avoid the bottom saw.

Avoid the next section of the steam vent, and in the room beyond that you can plunder fragments of the spool. There’s nothing else worth it in this whole room, so go back and go outside via the left lever (a shortcut back to the outside of the room).
4. Unlock the central gate.
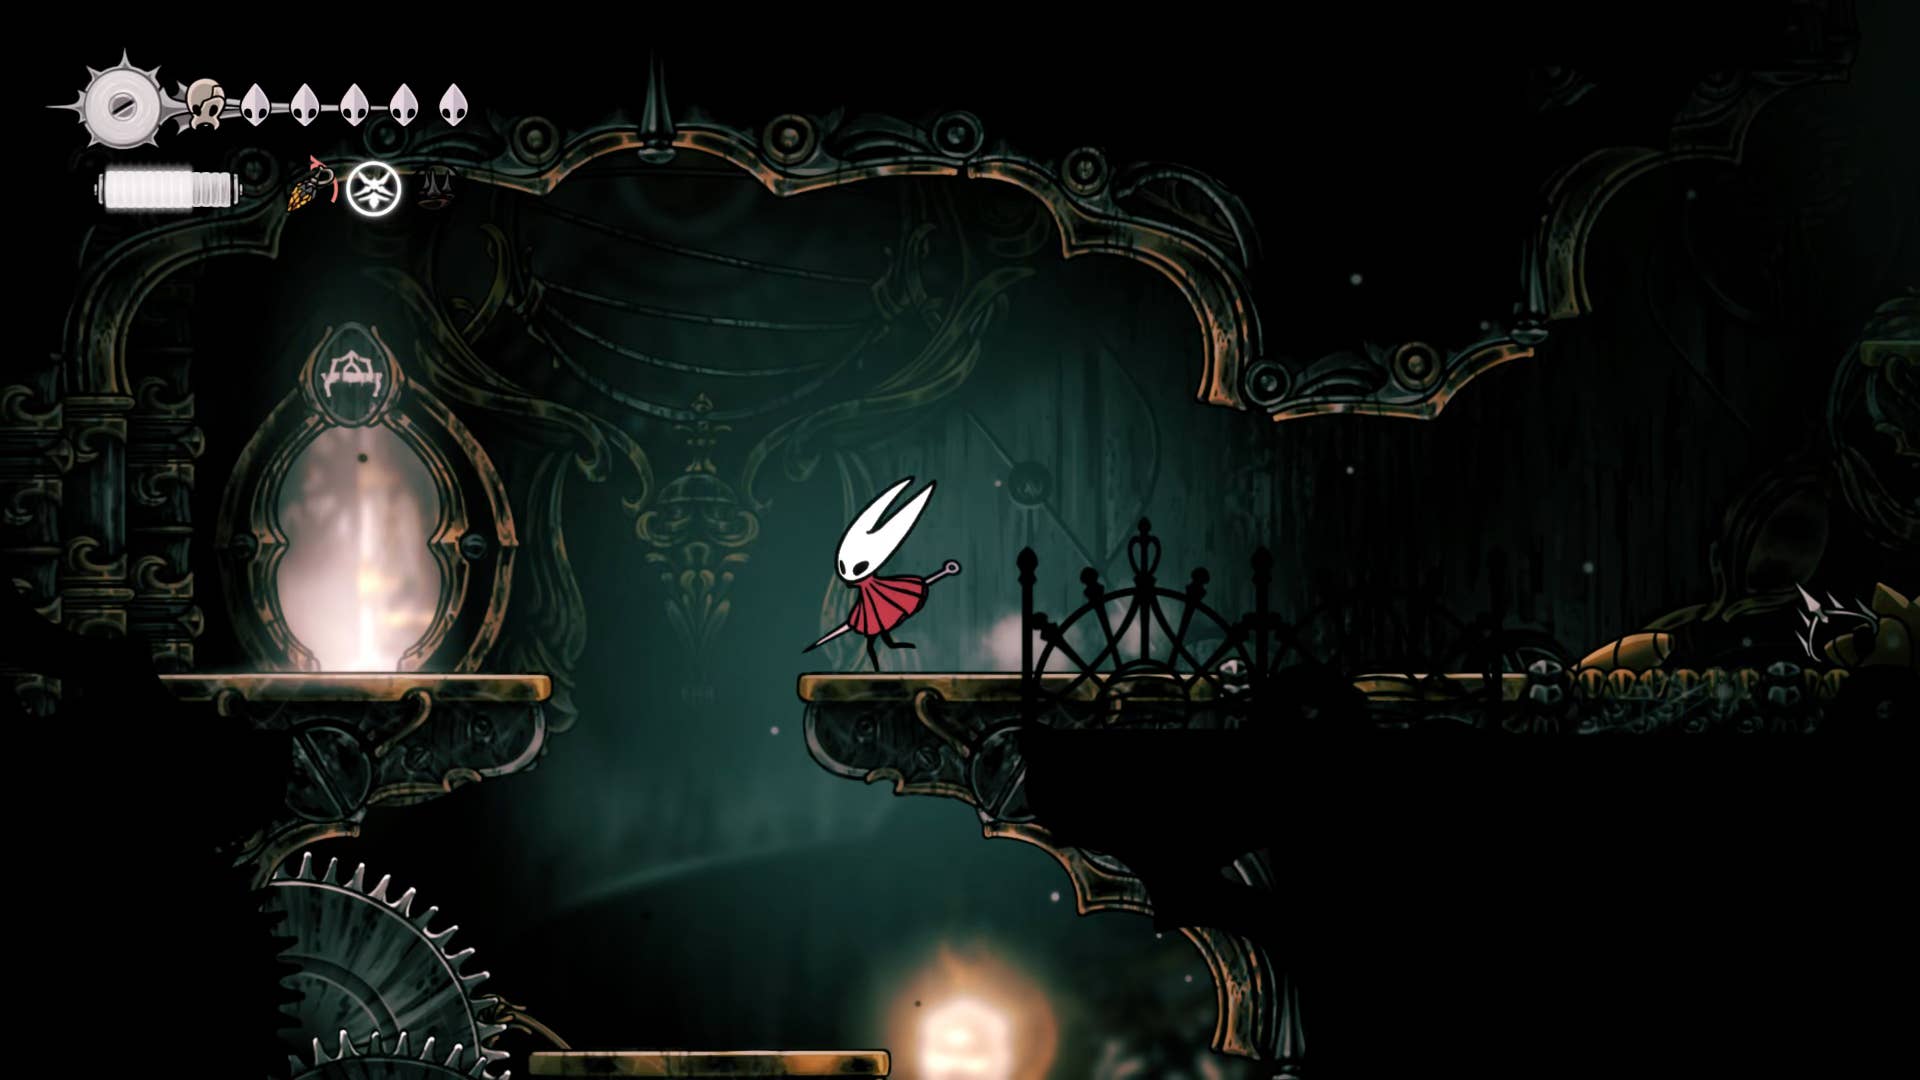
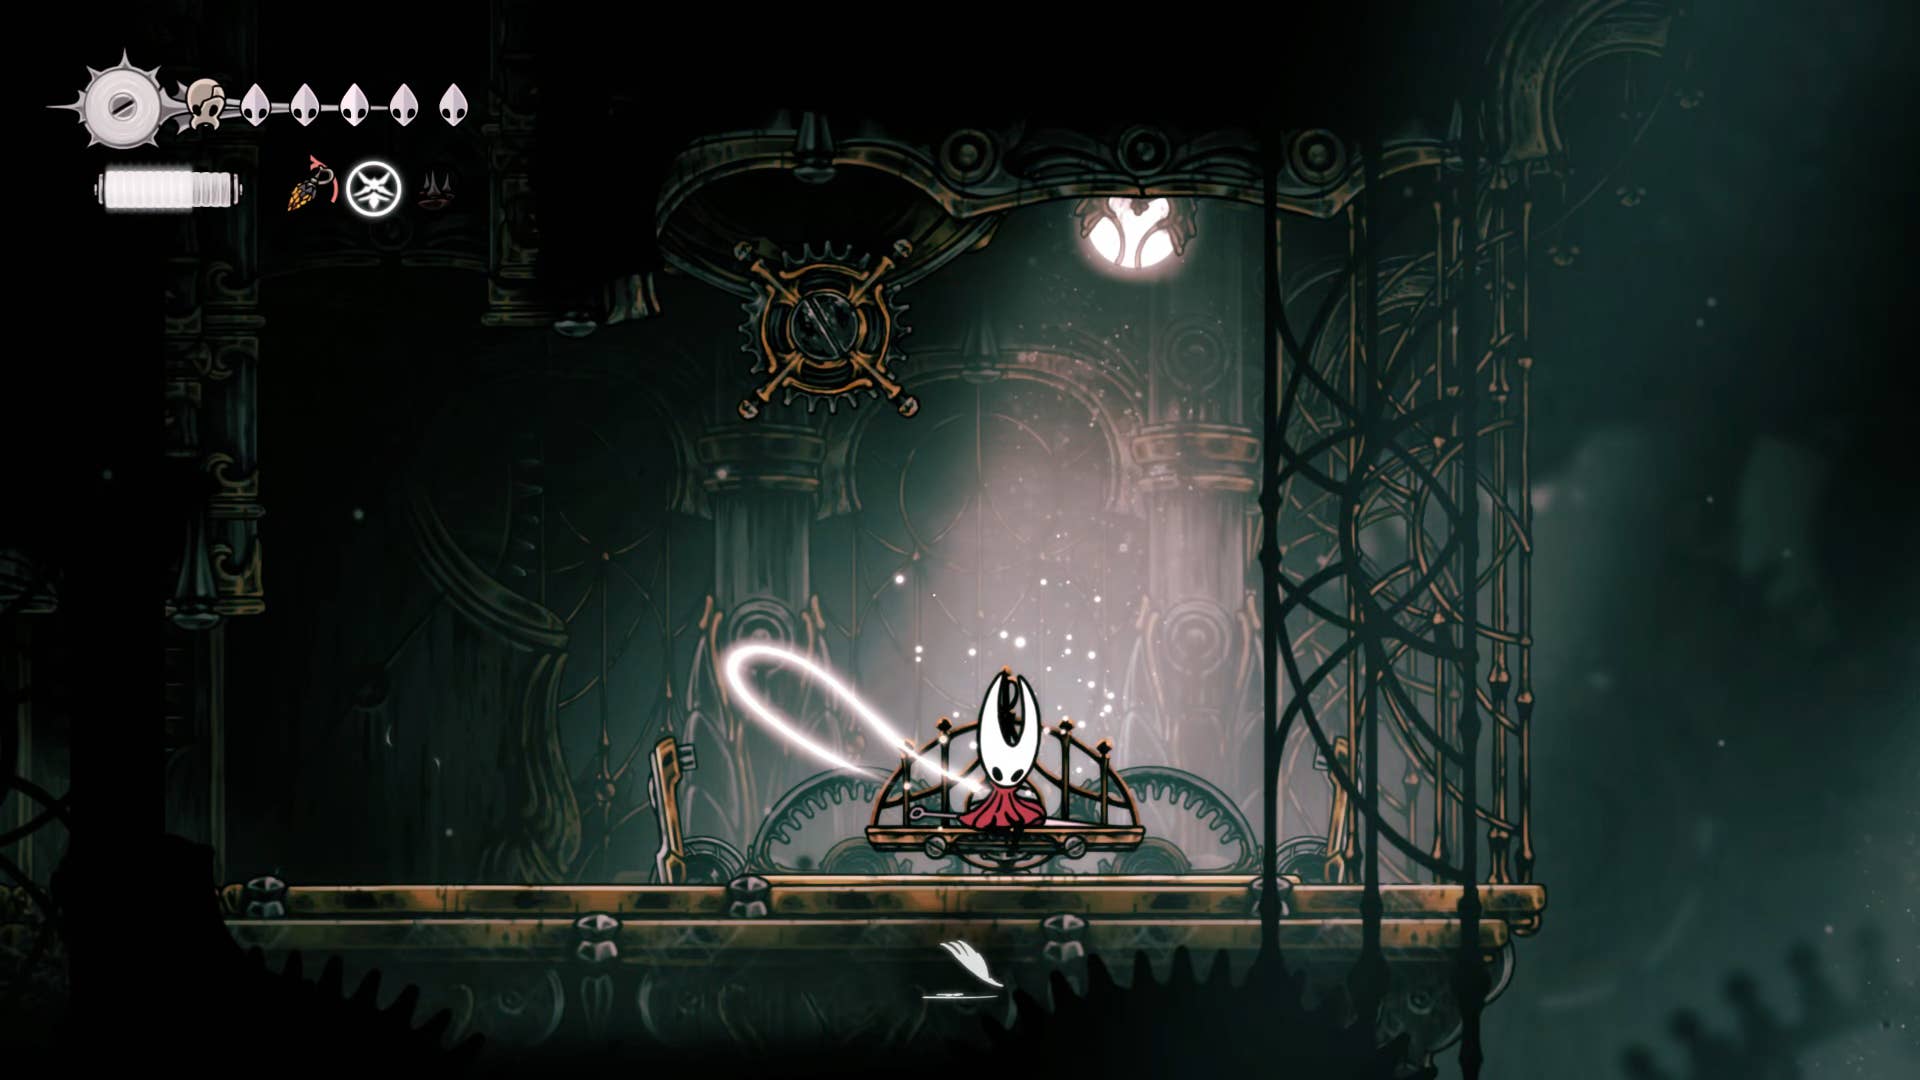
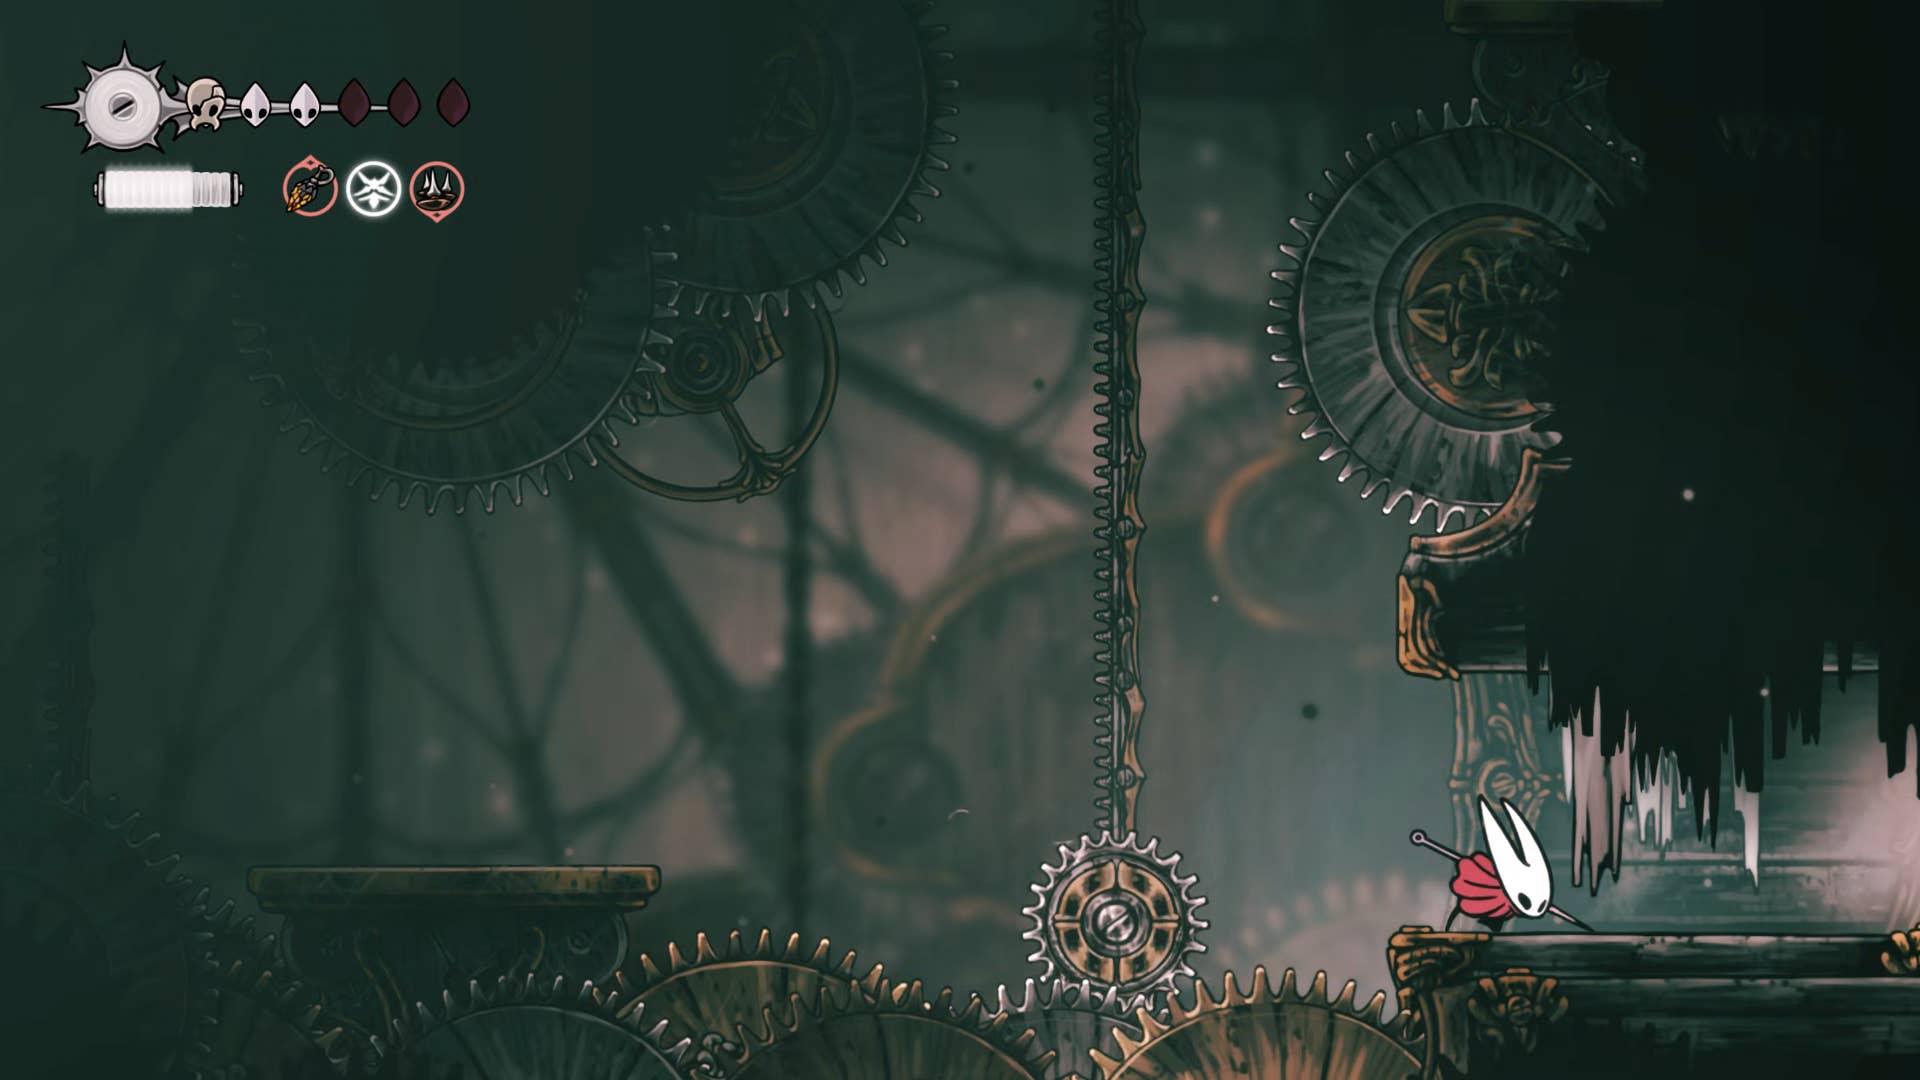
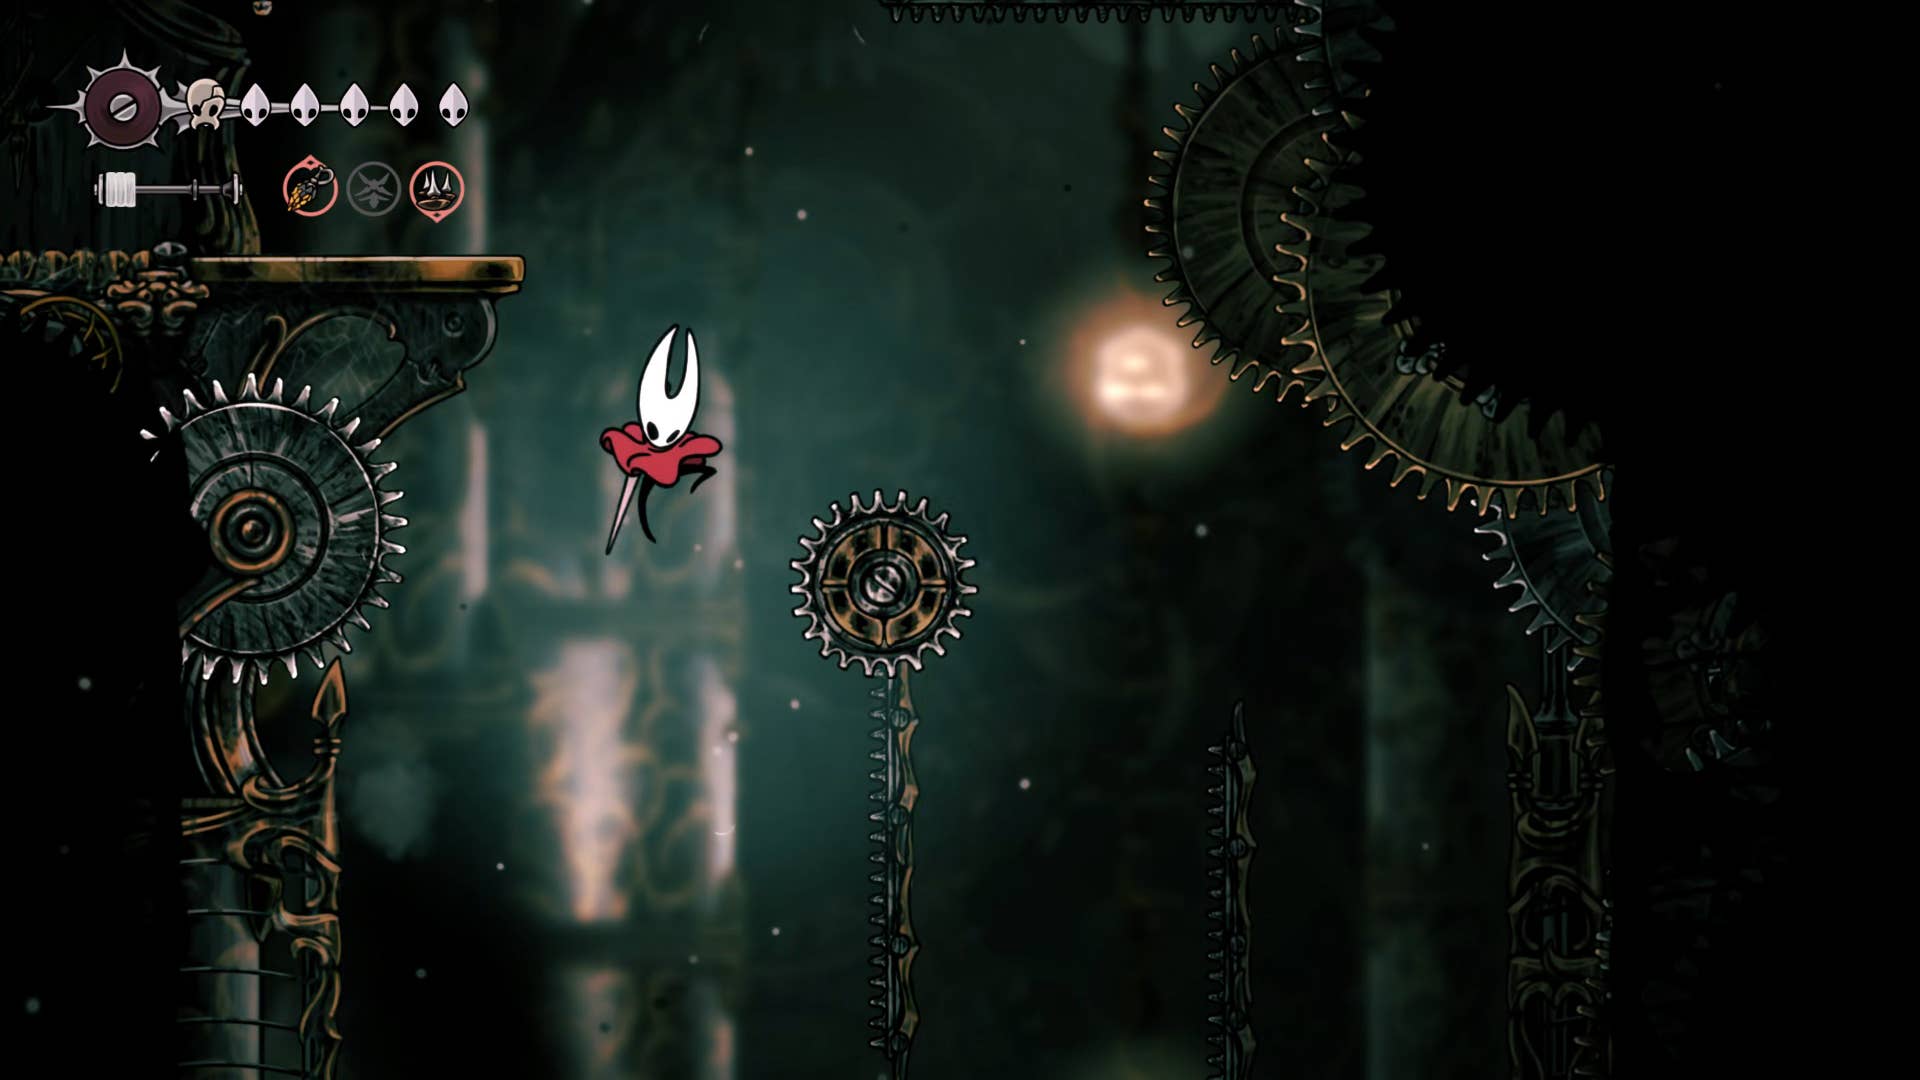
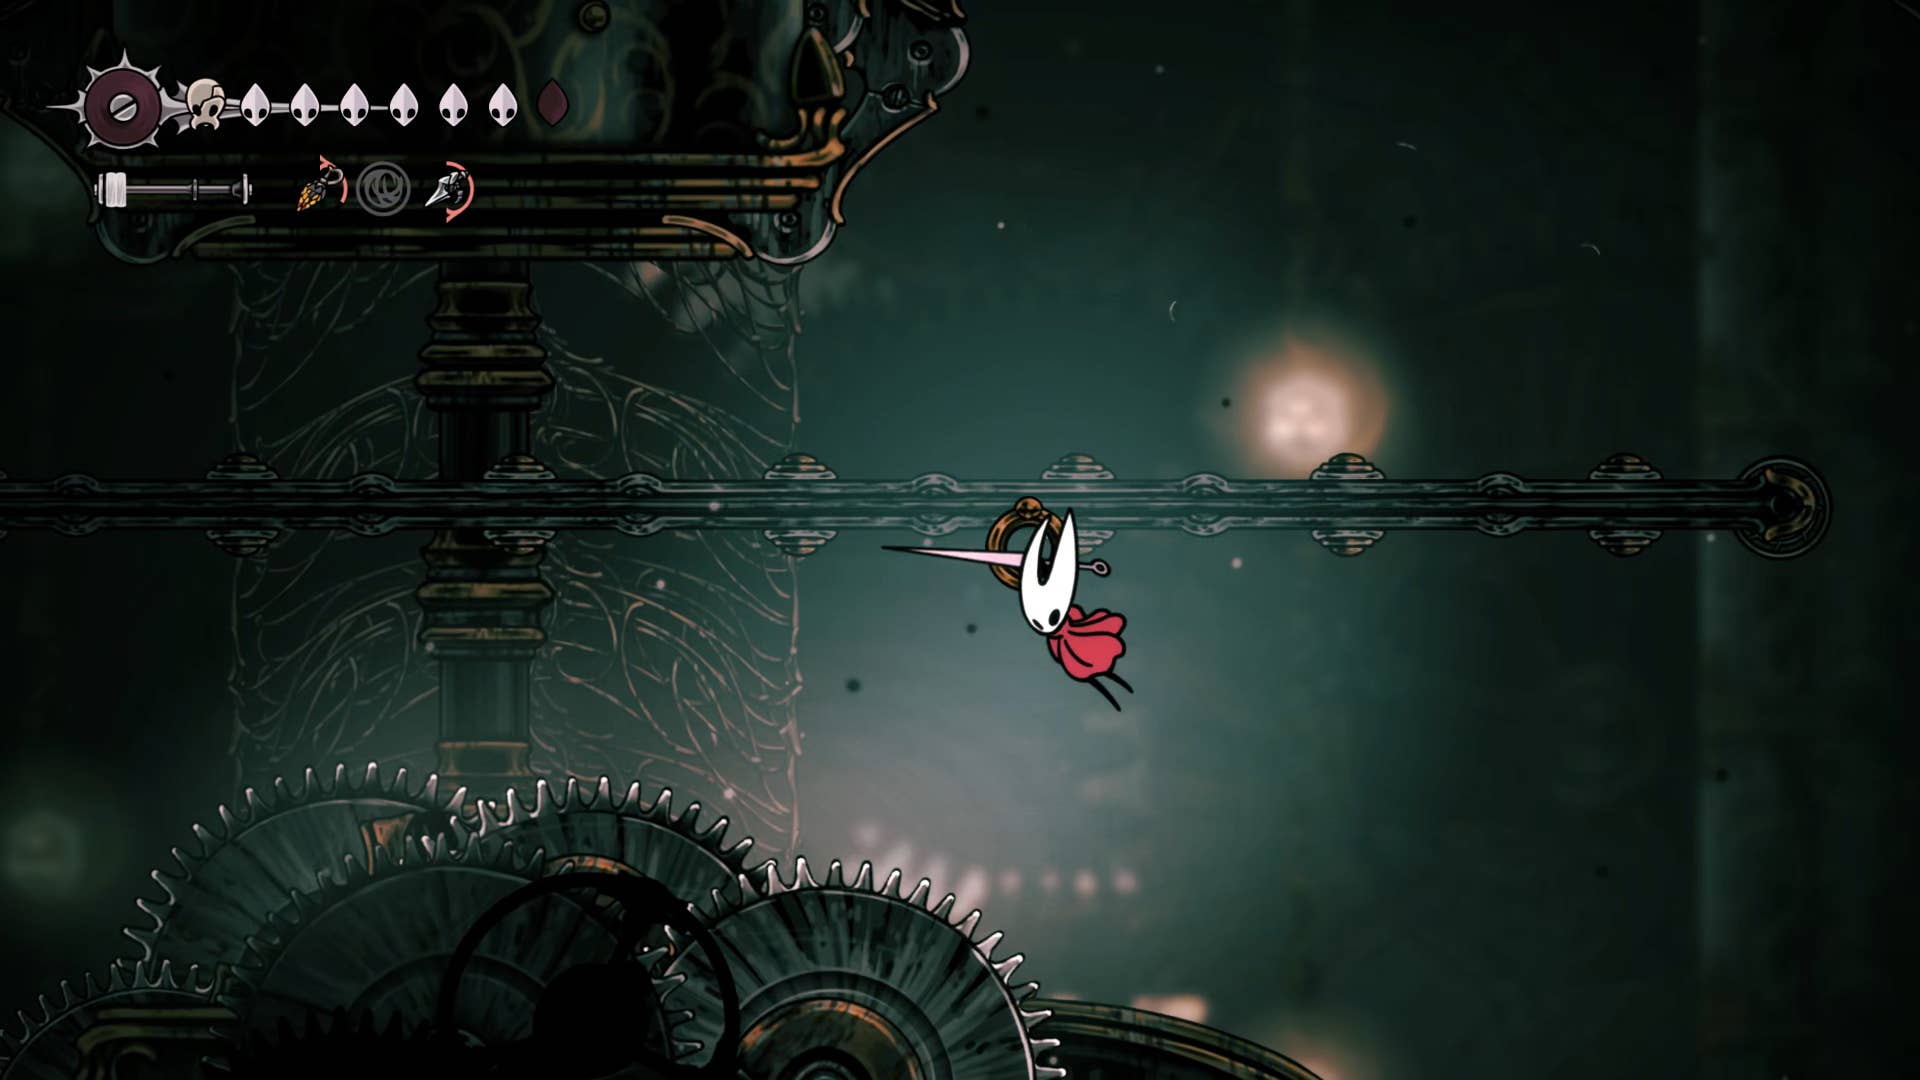
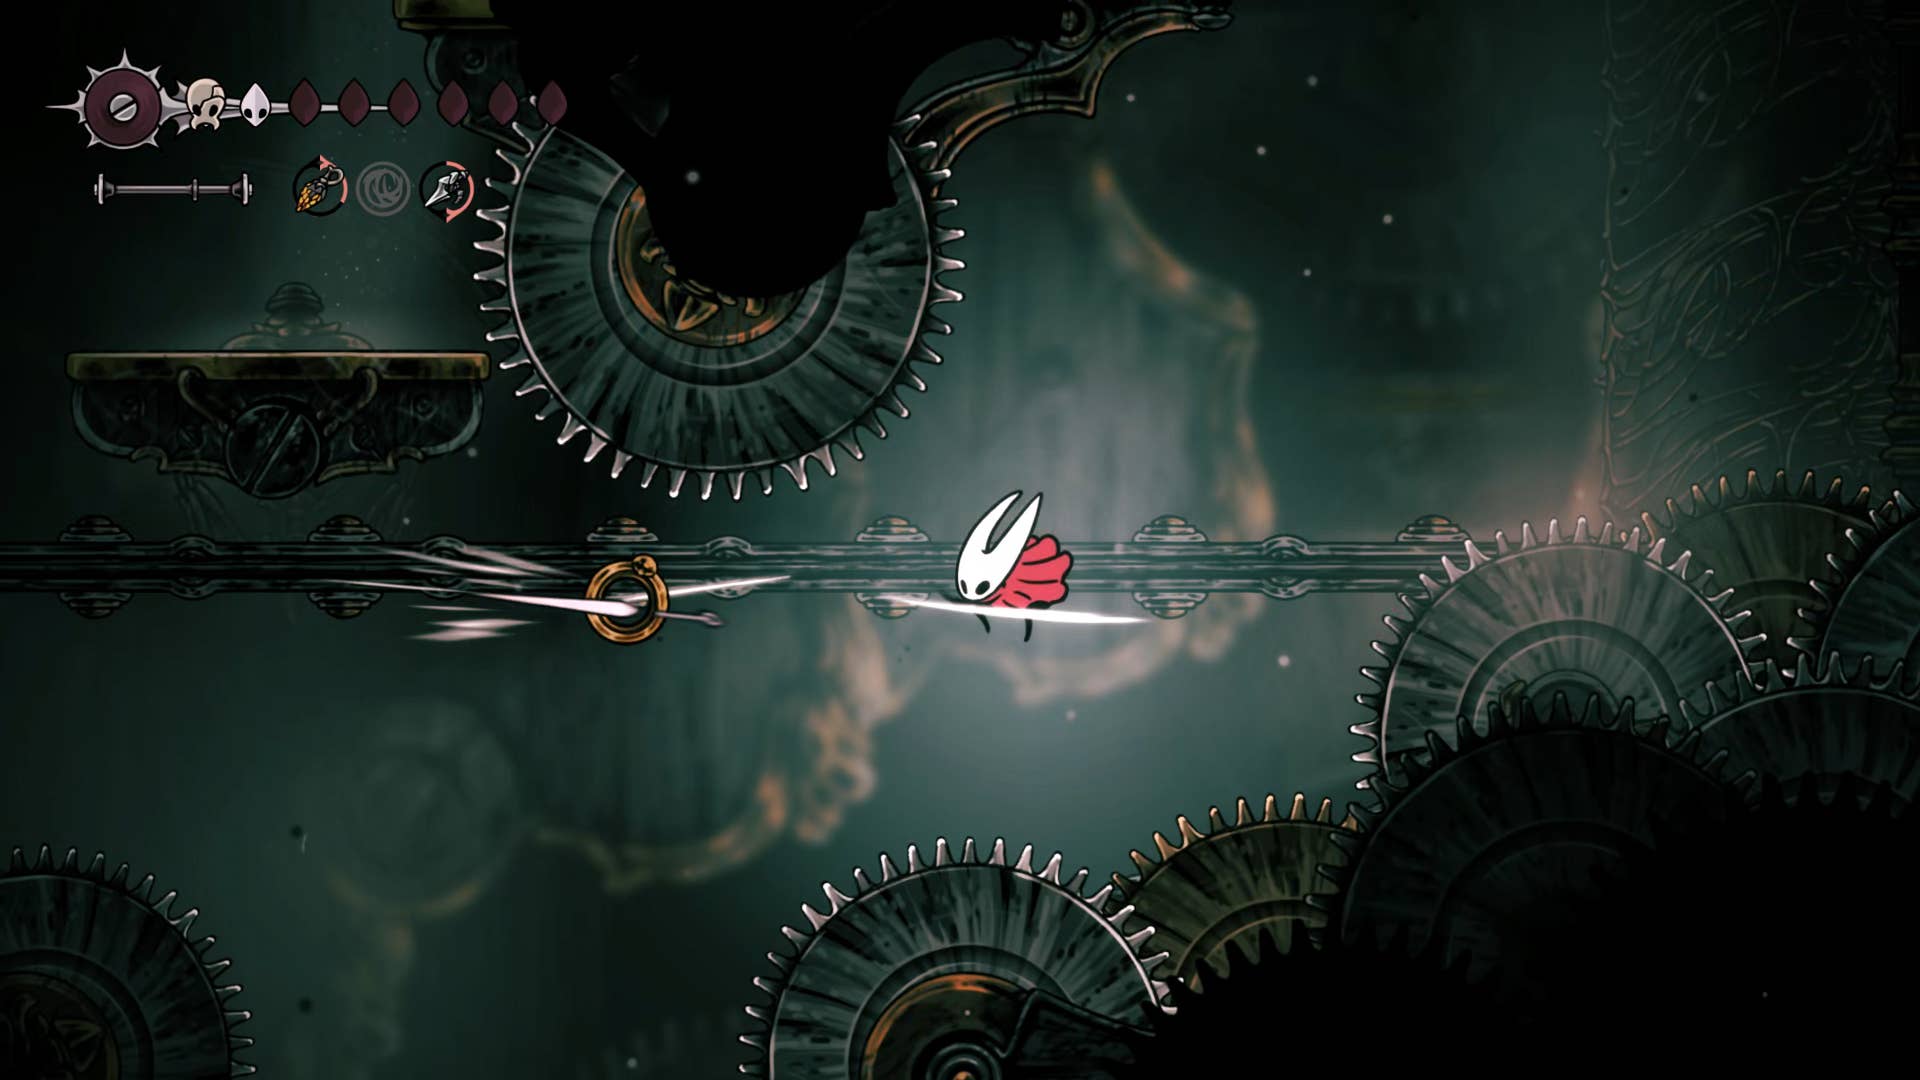
It’s time to go back to the main shaft and scale up the right side. To do this, jump left on three platforms, then jump right and dash to reach the upper ledge patrol by the choir. Kill the bug and then start climbing up from here, pogo the above saw and reach the walls on either side.
After passing the first four saws, you can remove the final saw from the pogo and reach the shelf with the wheels above. Repeated attacks on the wheel to open the center gate, allowing it to pass through much easier between the left and right sides of the shaft.
5. Reach the top of the Cogwork core.
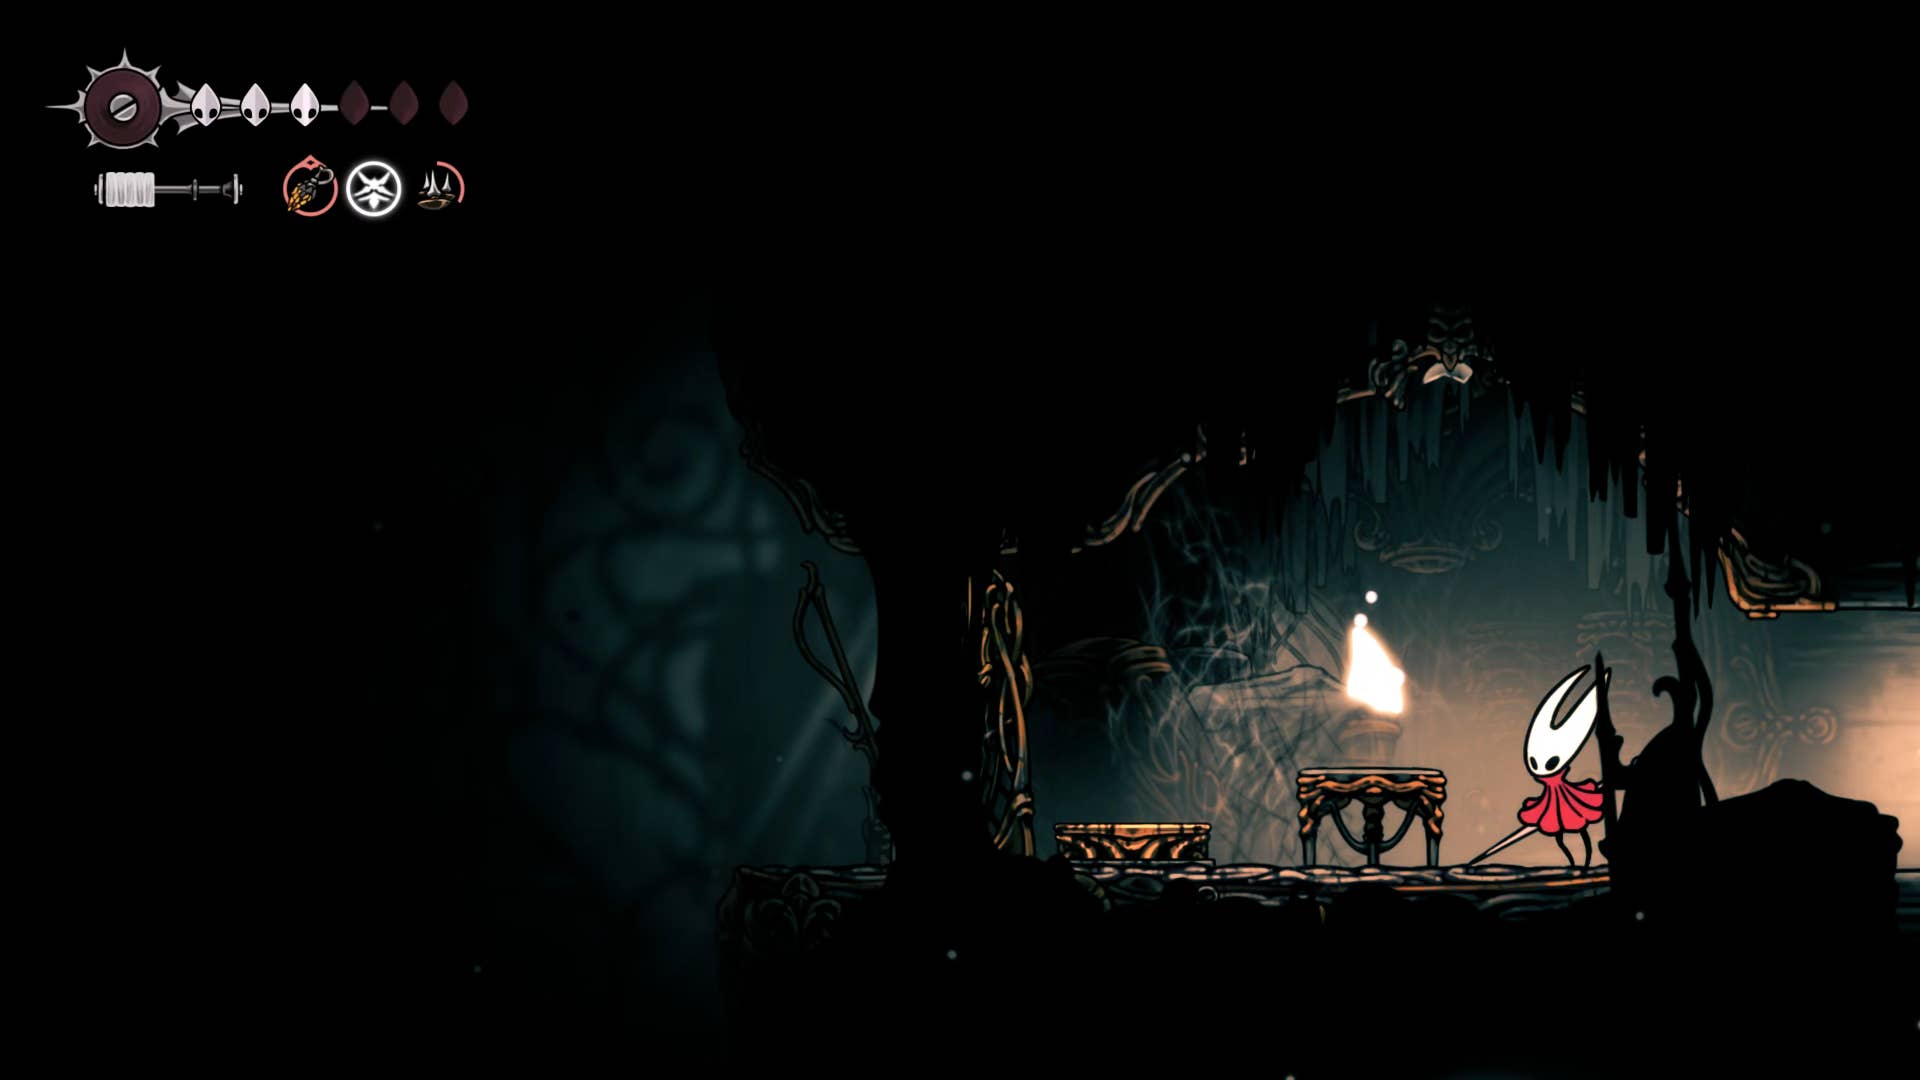
There are still many cores to climb. With a pogo from the next two sauses, you reach the doorway that takes you to the right – but we still don’t get there. That’s the last thing we do at the core. For now, start higher from this shelf and the Pogo rises even further from the saw.
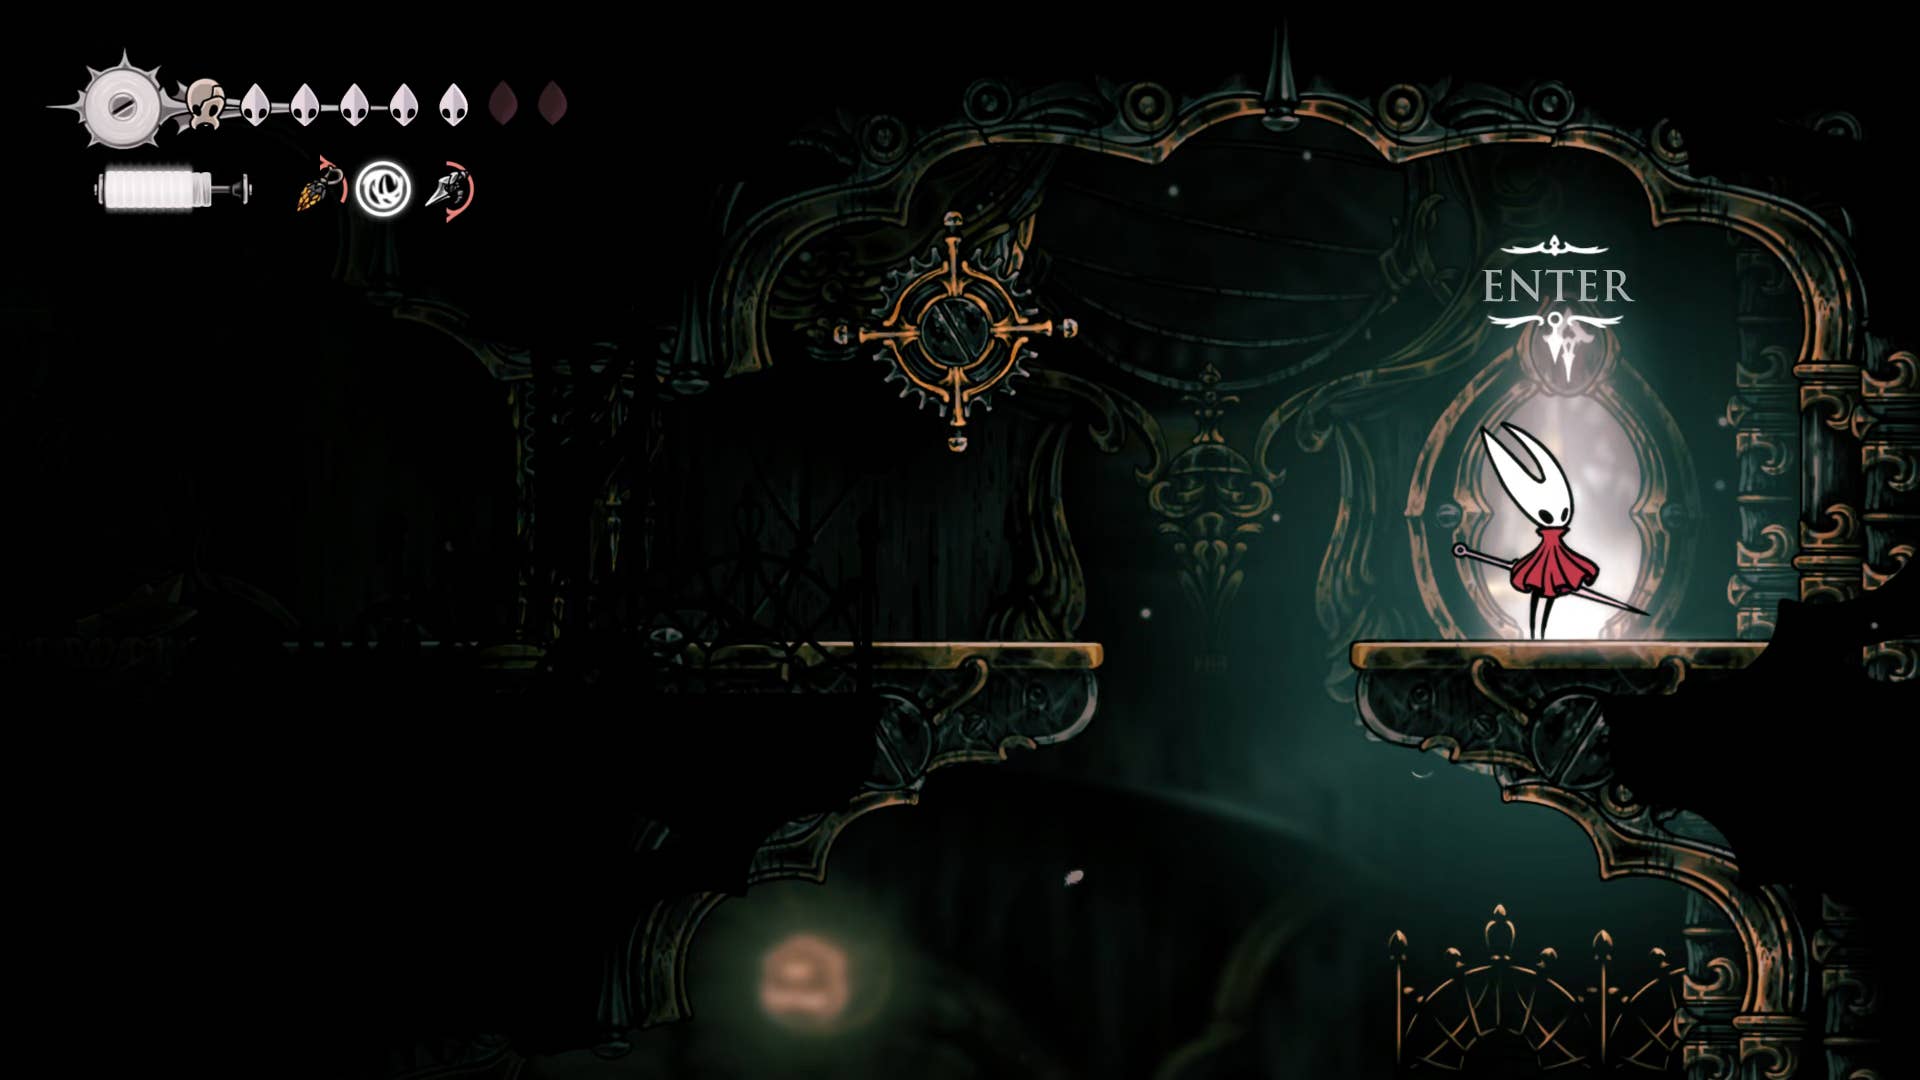
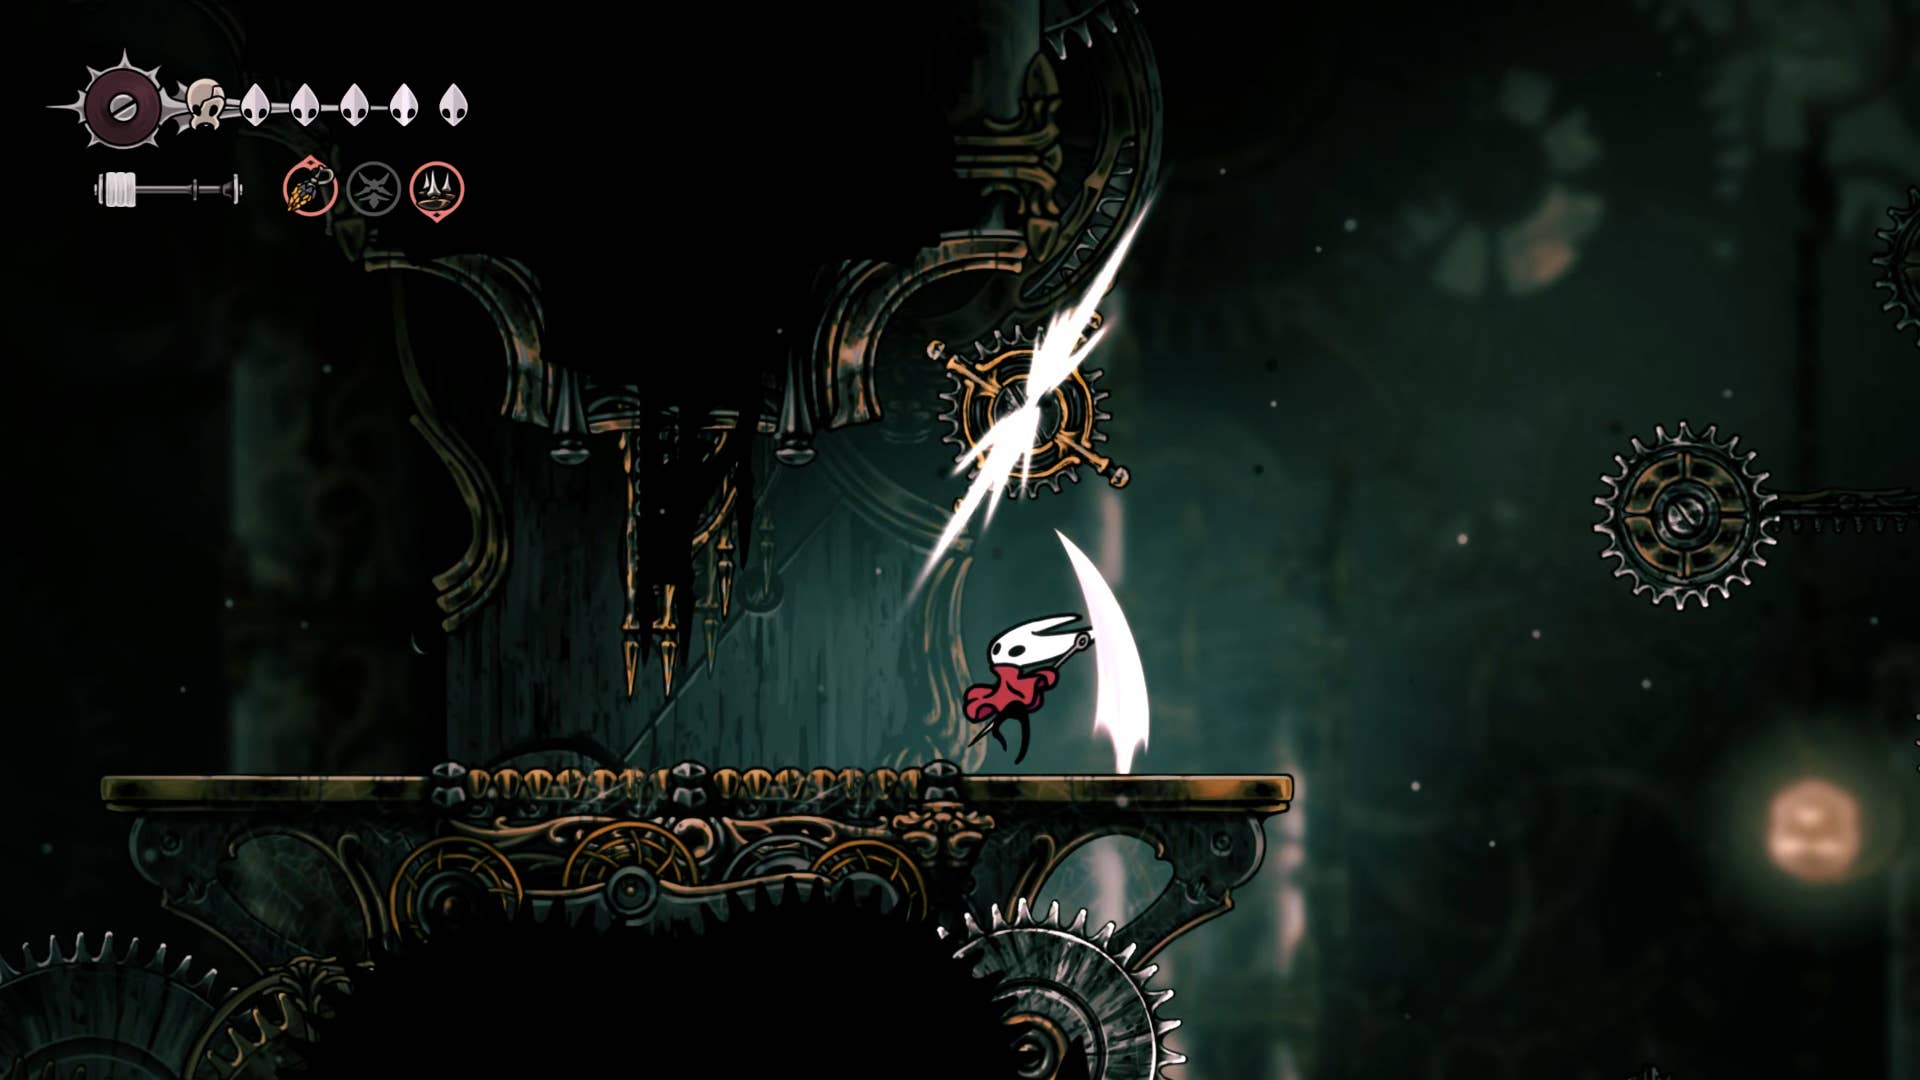
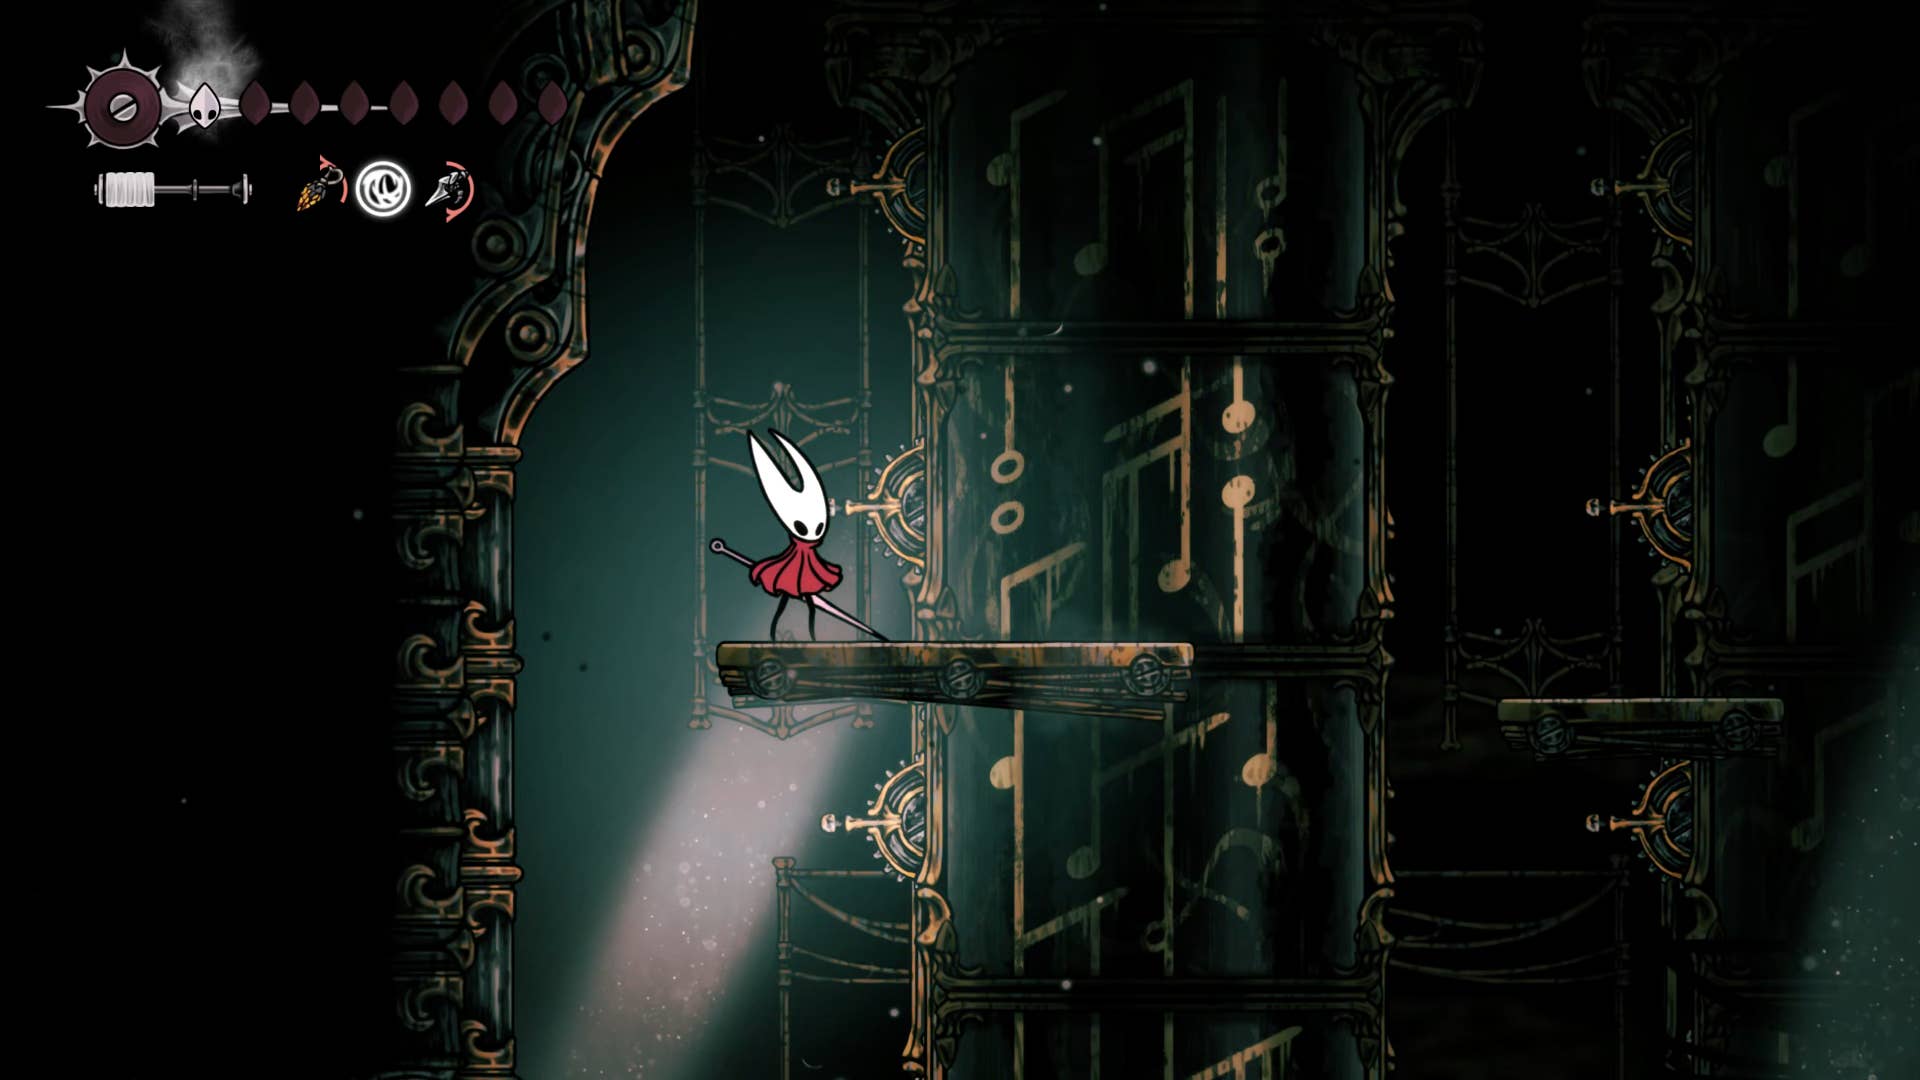
Further up, you reach another white doorway. Before passing it, press the wheel next to it to unlock just behind another gate that has entered the core of the cogwork. Take this moment, head to the other side and rest on the bench once more if necessary. Next, we pass through the new white doorway.
This simple wall climbing path goes into the top half of the cogwork core above the cogwork dancer arena. When you’re at the top, you’ll come out of another white doorway. Jump through the gap, hit the wheels on the ceiling, drop the floor from the floor below, then drop it into the center of the dancer arena. This is just a handy shortcut and you can easily get up here from the choir room.
Jump over to the left and claw at the ring over there, activate the trap door facing upwards towards the large room facing upwards. The entire room next to this is an elaborate platform puzzle with key gimmicks crawling the hooks. Sometimes you need to jump off your moving claws (like a saw) to avoid obstacles, then re-engrave yourself on the same hook in the air. It’s tricky, but when you get it right, it feels great. Take your time.
Along the way, you can find shelves patrol with cleansers and bugs that wield higher shields, a cogwork defender. An easy way to kill them safely is to stand on a shelf just below it and cut open the floor. Once you’ve dealt with it, spin up the wheels above this platform to open the gate and continue to rise.
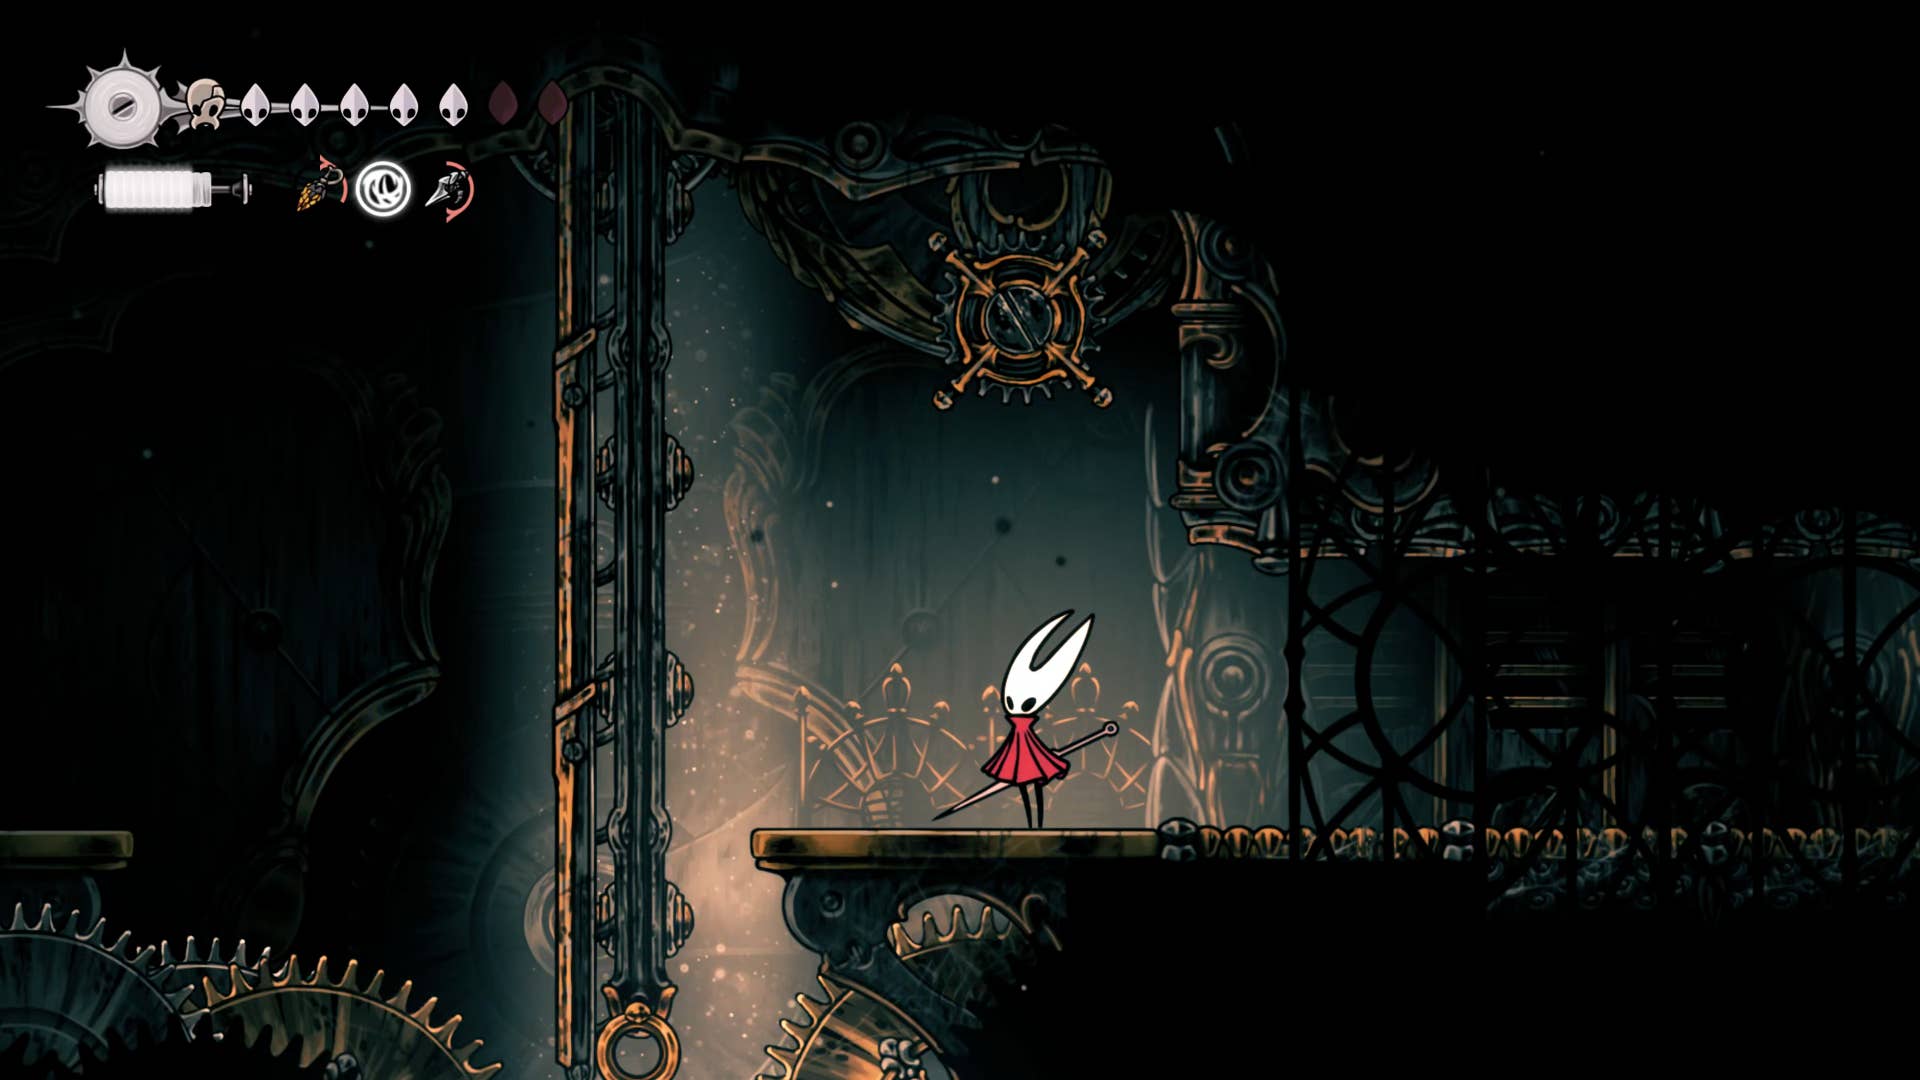
Eventually, you will reach the exit through the ceiling in the upper left corner of the room. Climb onto the wall and reach the hole just above you. Congratulations – you’ve finally reached the top of Cogwork core!
6. Solve puzzles and learn the architect’s melody.
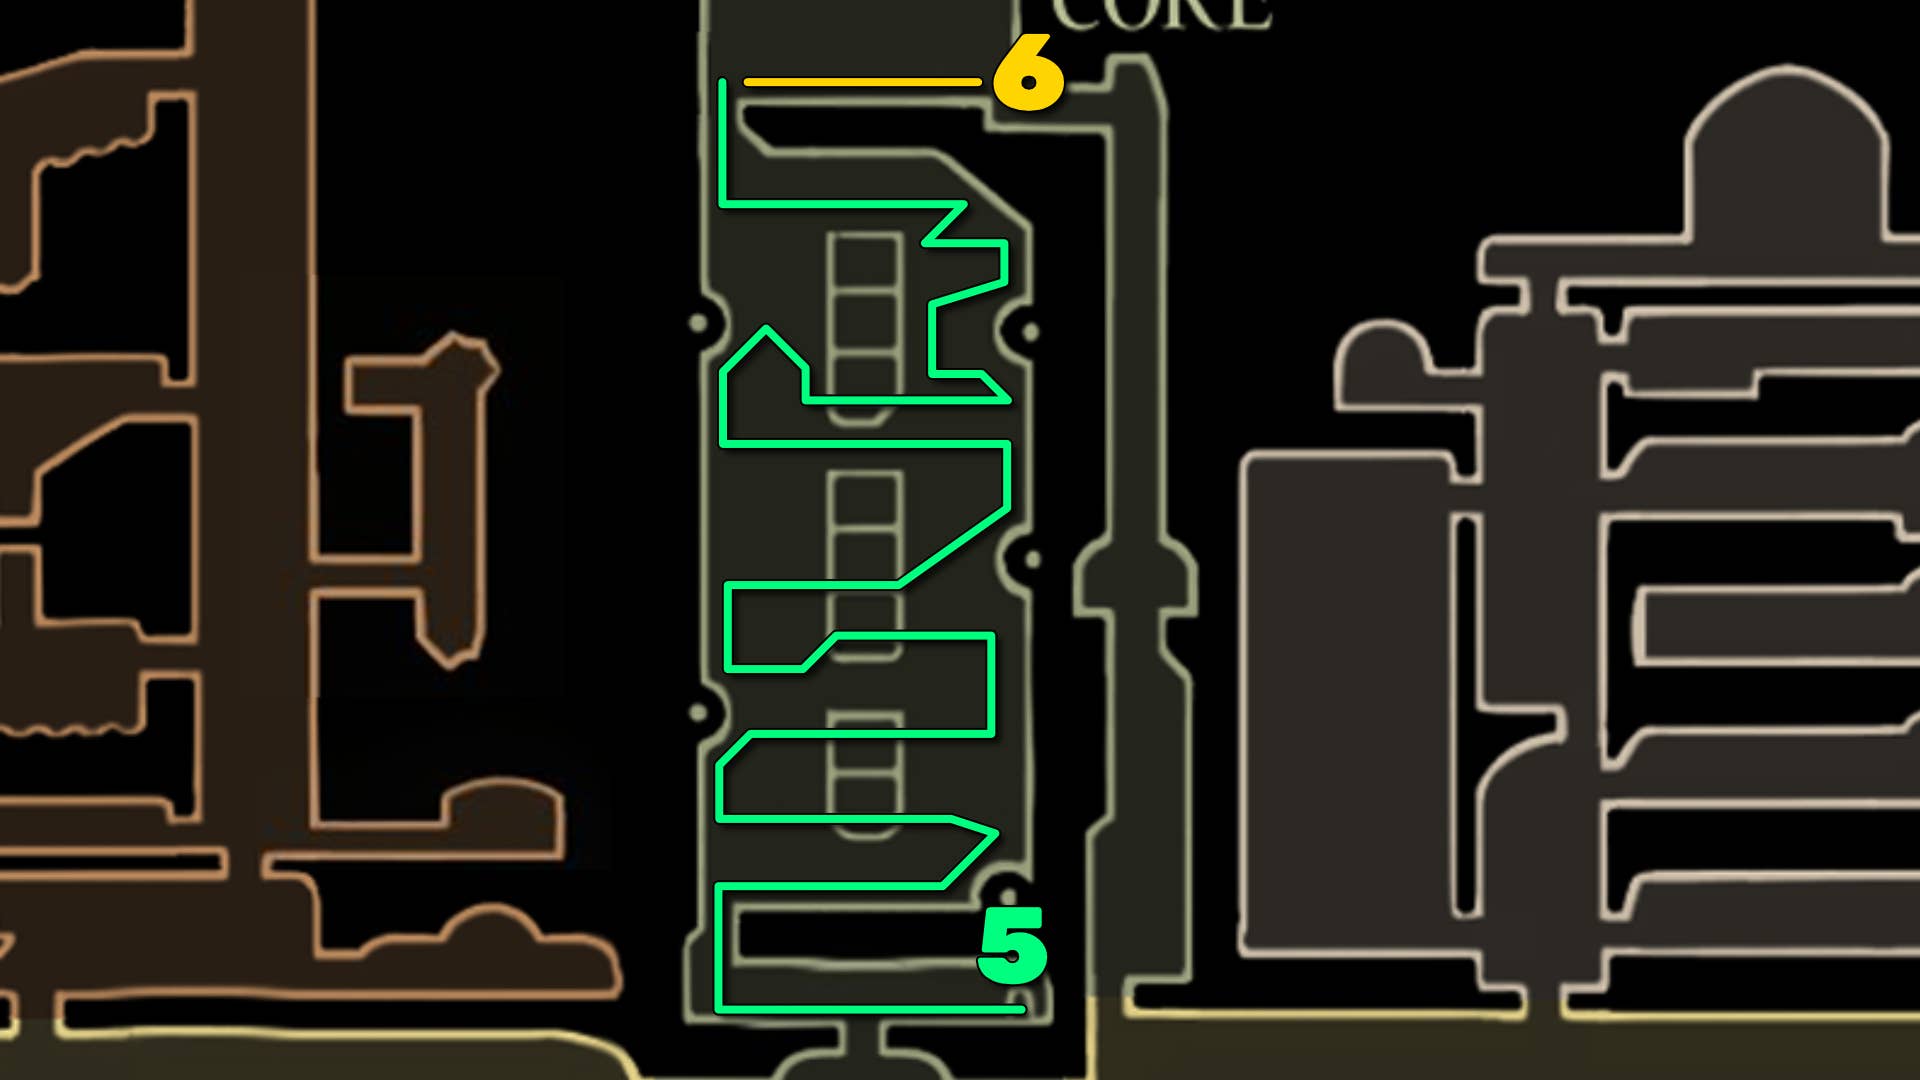
At the top of the Cogwork core there are four pillars, each divided into four pieces stacked on top of each other. To change the pattern around these pieces by pressing the lever and solving the puzzle, you need to perfectly line up the patterns of the entire pillar for all four pillars.
Don’t waste your time – Here is the exact solution to the pillar puzzle: So you just need to systematically switch patterns until you do exactly this.
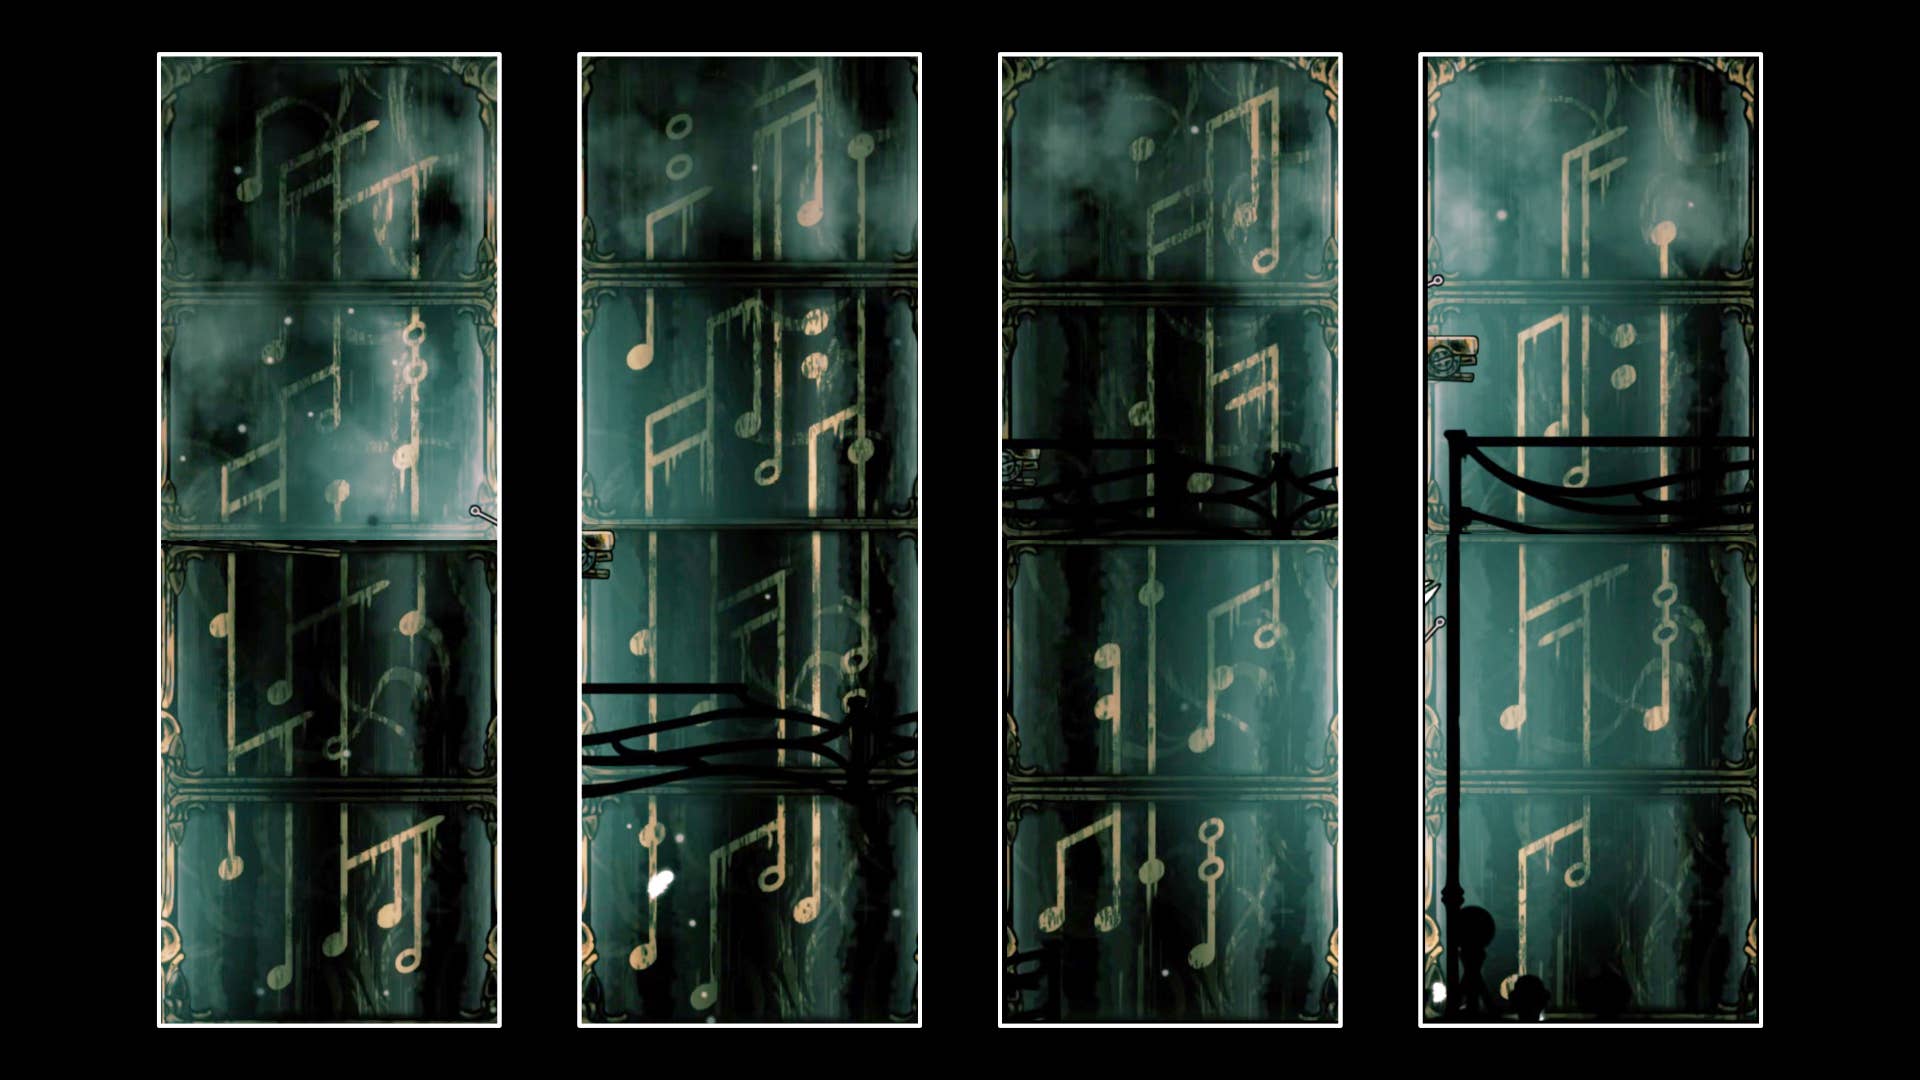
The pillars come down to the floor, so you can see that you have the correct pillar. When all four pillars descend, a large pressure plate appears on the floor. Push it down and then use Nedolin if you are asked to learn Architect’s Melody. This is the first of three melodies that need to be collected to reach the end of Act 2.
7. Reach the whisper.
That’s a completely completely explored Cogwork core. Go down all platform segments until you get back to the bench. Rest there if necessary. Then cross the other side and drop down to the exit at the lower right that you skipped early.
Dodges a moving saw in the next room and kills the defender on the central platform. Go to the end and rotate the wheel to unlock the doorway.
You need to recognize the room beyond that. Remember the enormous wheels that climbed from bottom to top in the choir room? Now you’re in left hand That side. Use the lever to rotate the wheel so that it can pass through it and reach the right side.
Follow the path until you reach the top shelf, attack a giant block and fly left to send. This allows you to climb to the larger area mentioned above.
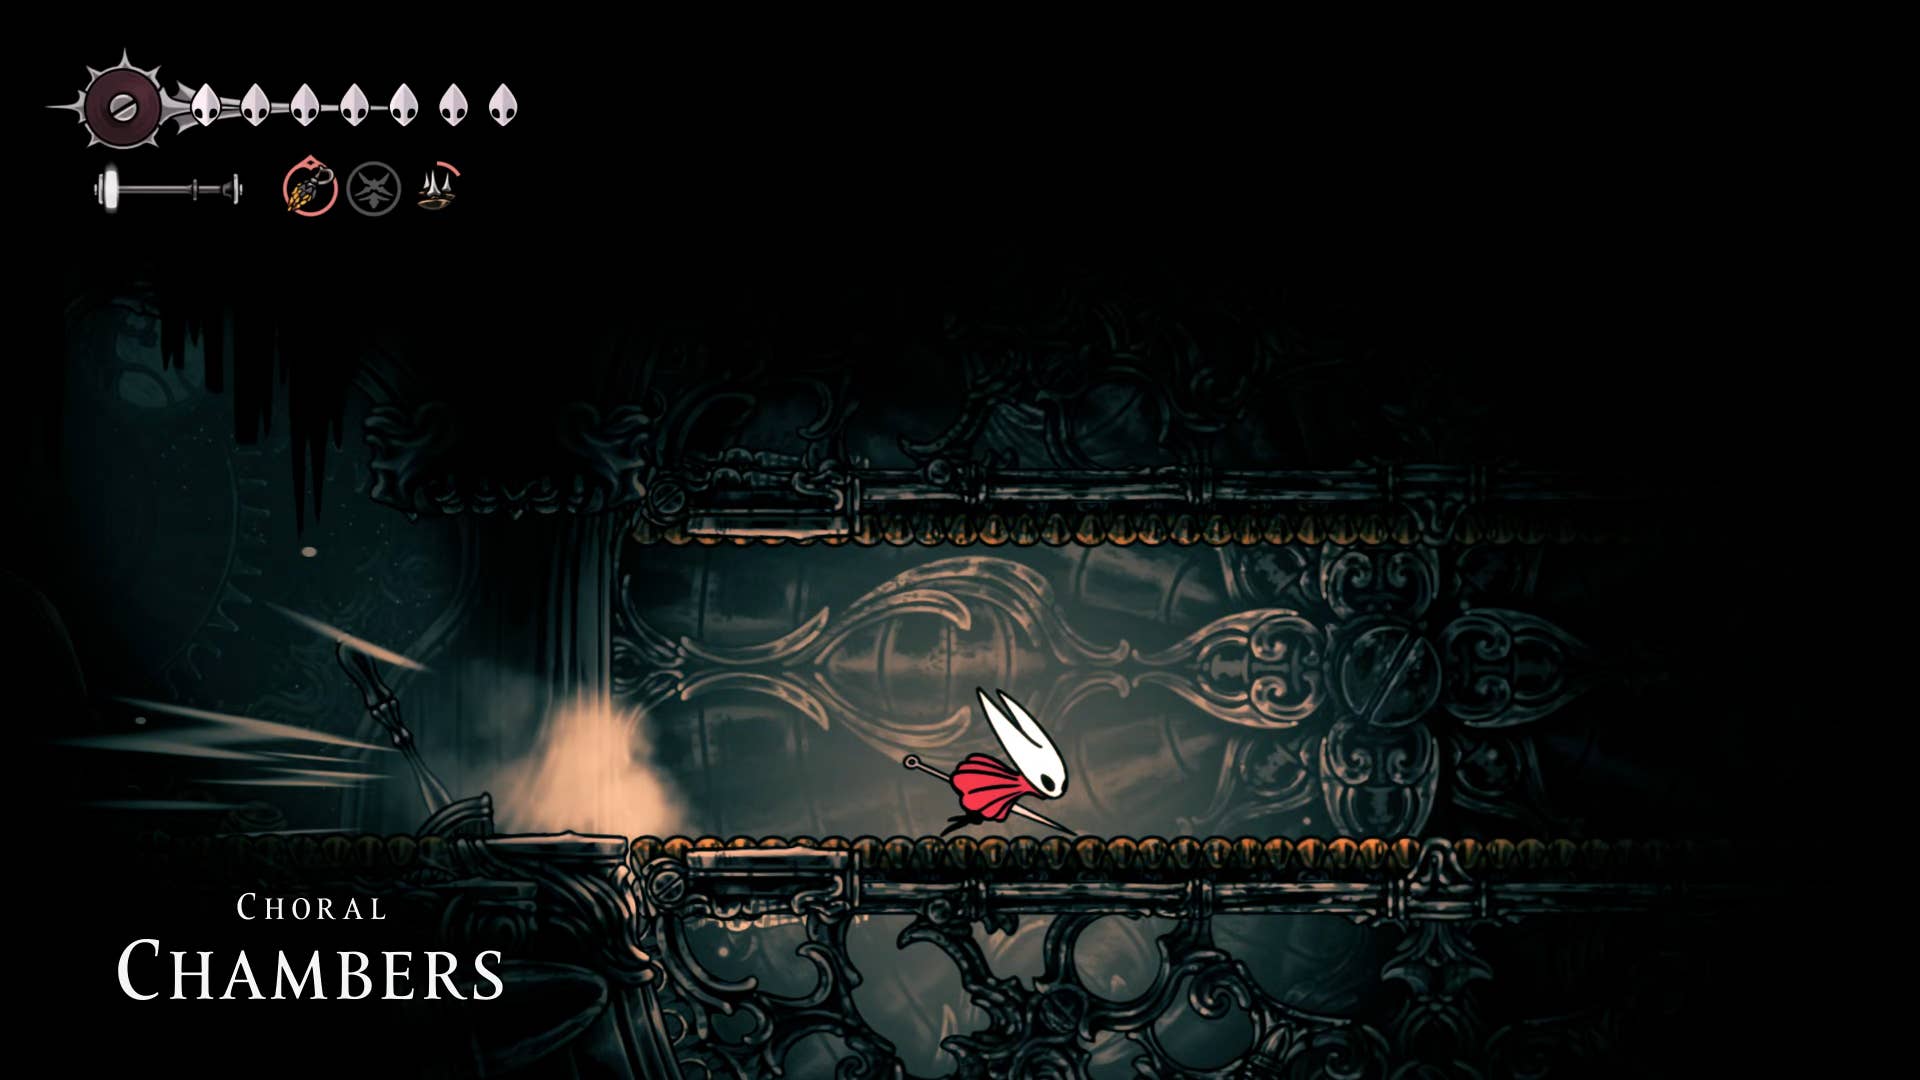
Once the battle is won, drop down to the right and press the lowest block left to the left so that you can easily access where you came. It is then forged to the right, where it enters a new area of the fortress, namely the Whisper Safe.
This is everything to this section of our walkthrough – follow part 21 of our silk song walkthrough and go through whispers and discover all its hidden secrets.
(TagStoTranslate) Hollow Knight: Silksong (T) Action Adventure (T) Indie (T) Nintendo Switch (T) PC (T) Platformer (T) Team Cherry