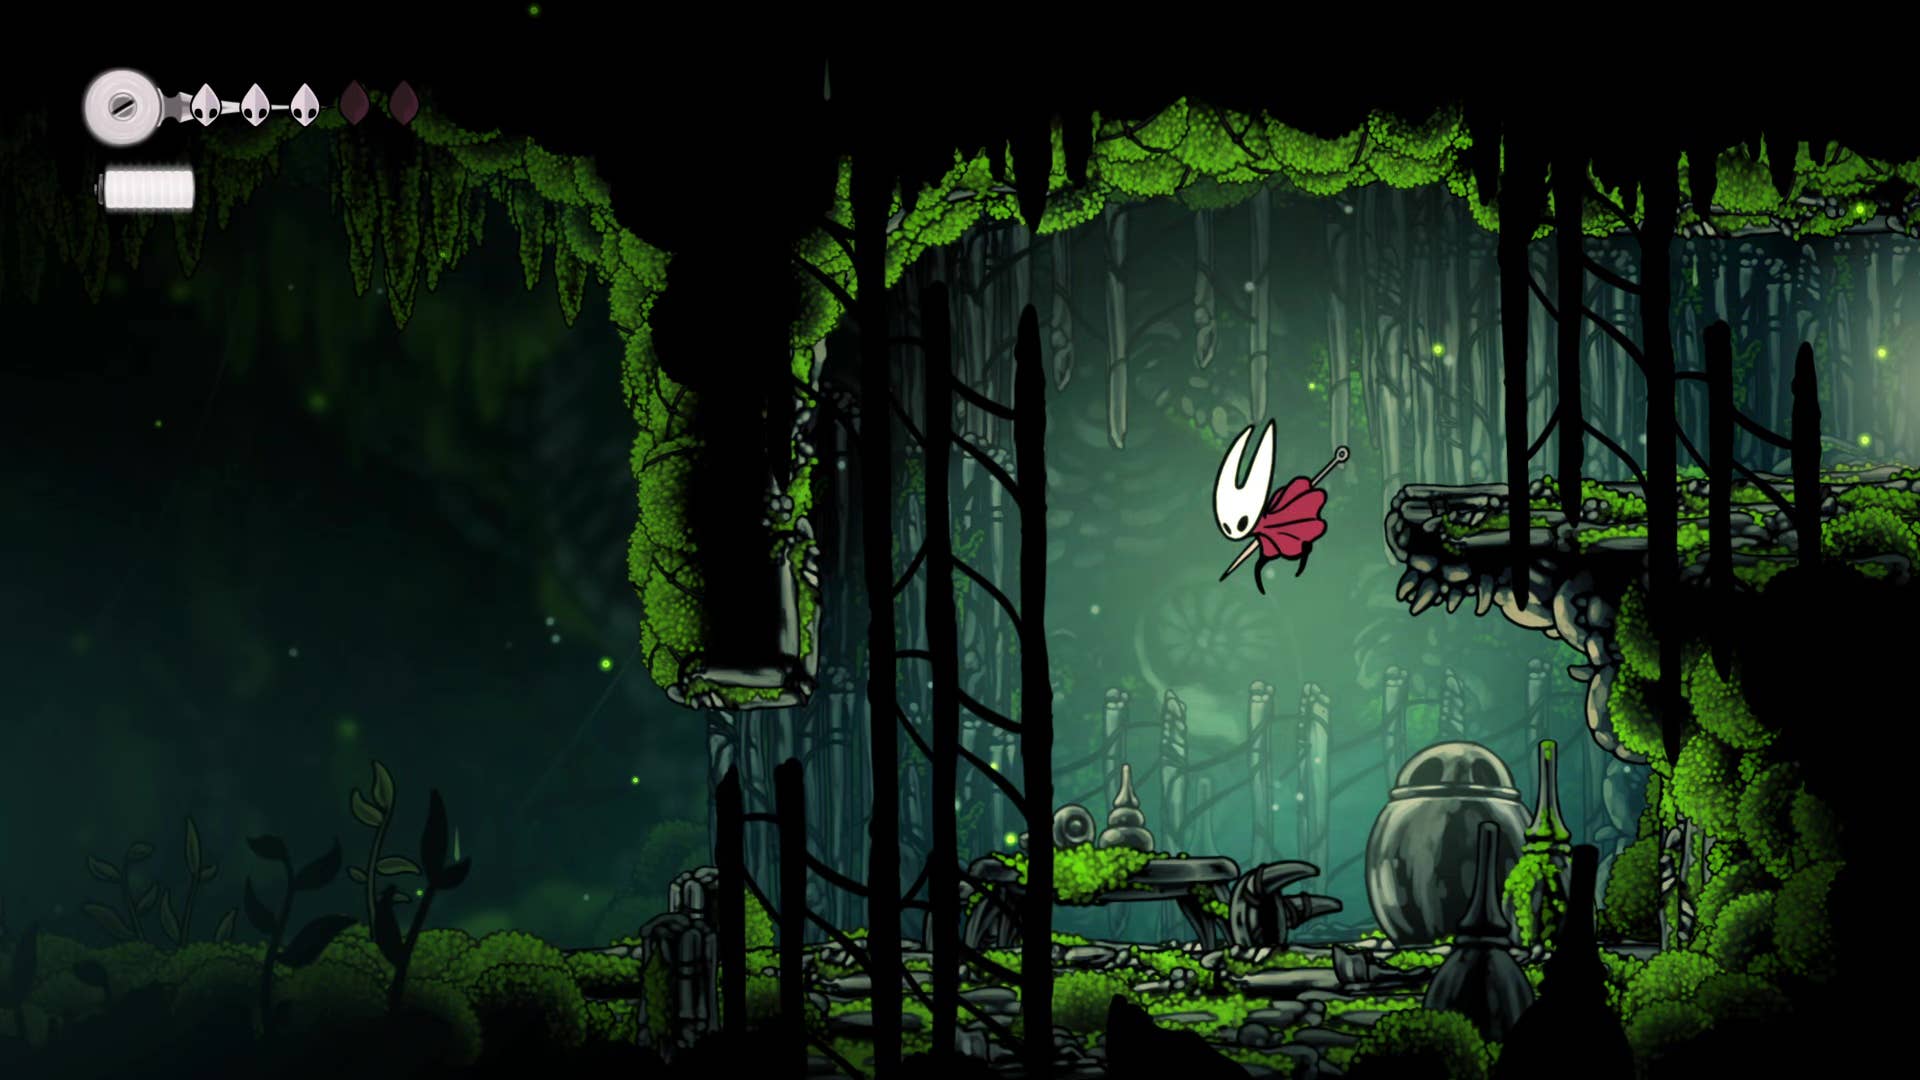
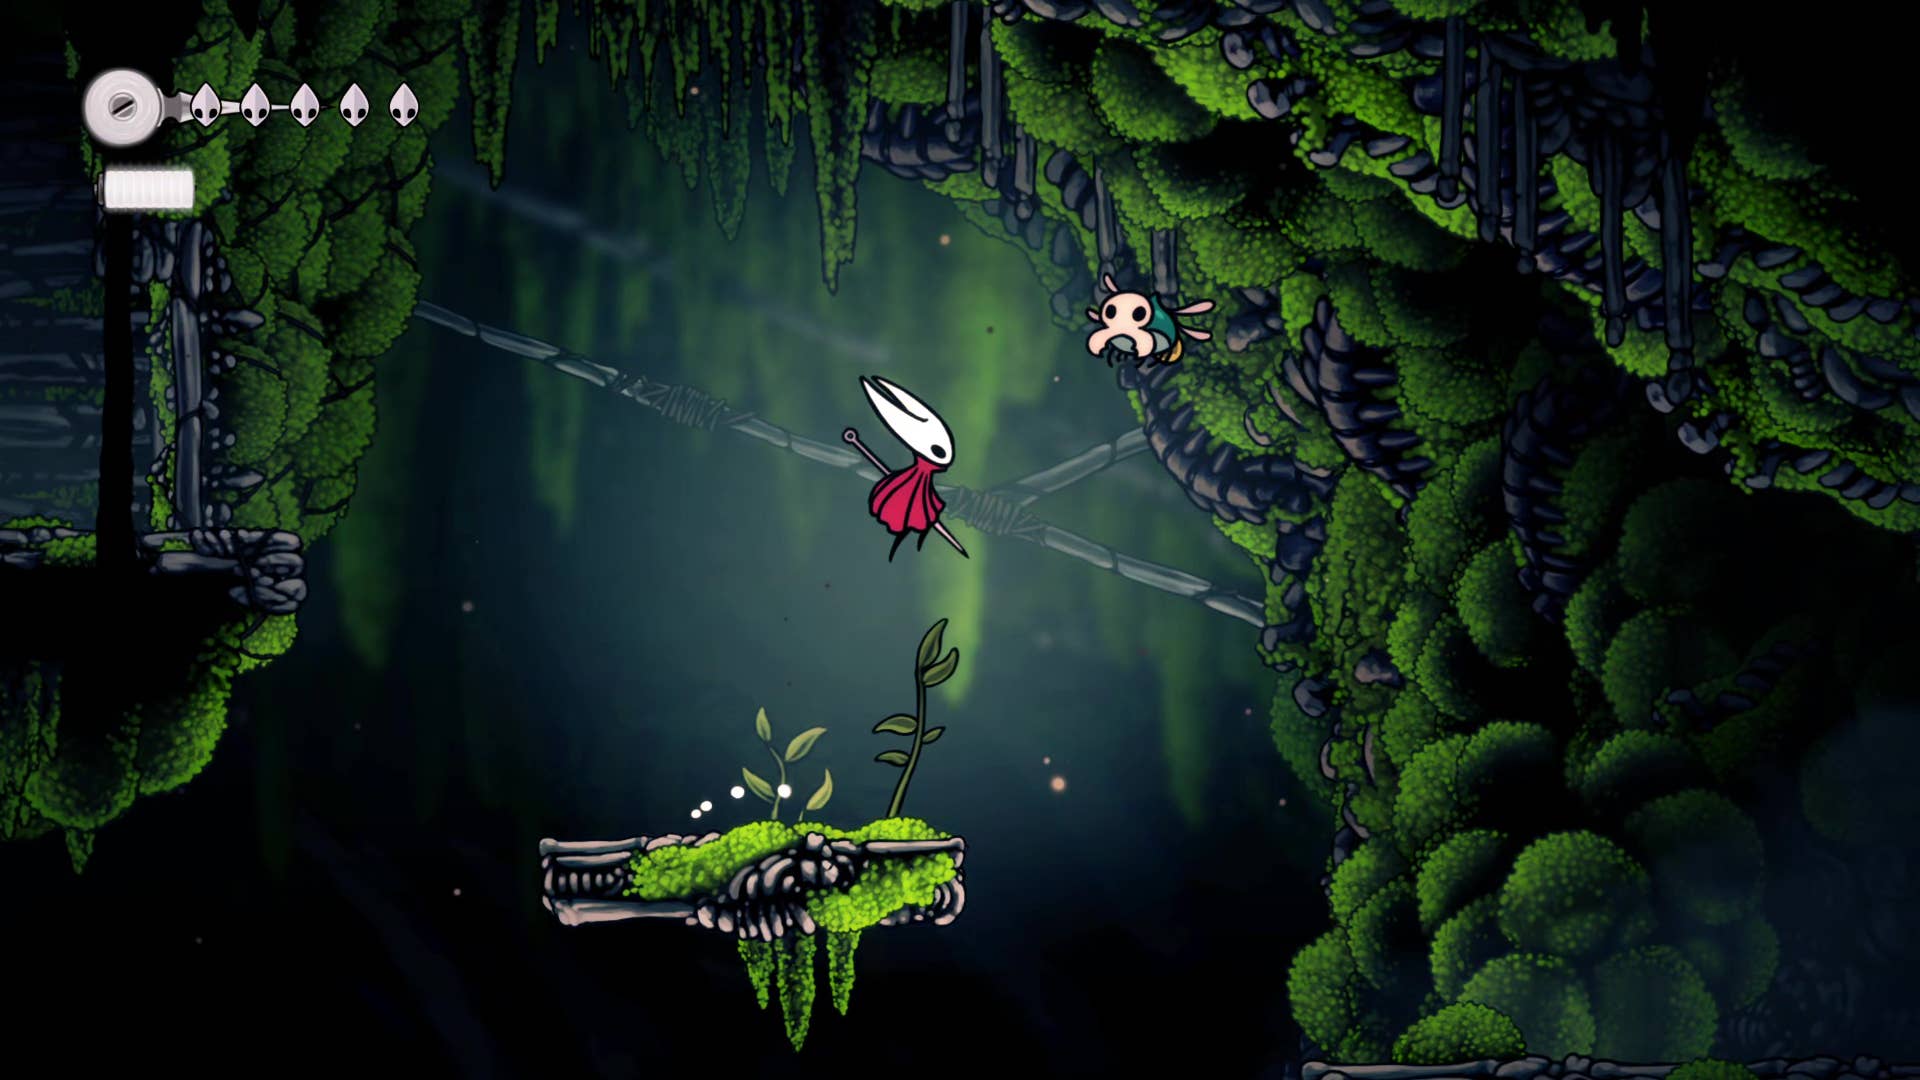
I wonder what to do after reaching the bone bottom of Hollonite: Silkson? By this point, our already iconic hero Hornet has escaped the cave of Moss in part 1 and escaped the capture, reaching a small village at the foot of the aptly named bone-bottomed base. But where will we go next?
I’ll stick with us as some of the areas going forward can be quite confusing Part 2 Silkson Walkthroughand guides you through both the bone marrow and dangers of Moss Home as you approach Hornet’s first skill unlock. exciting!
Do you need a walkthrough in another area of the game? Check out Hollow Knight: Silksong Walkthrough Hub!
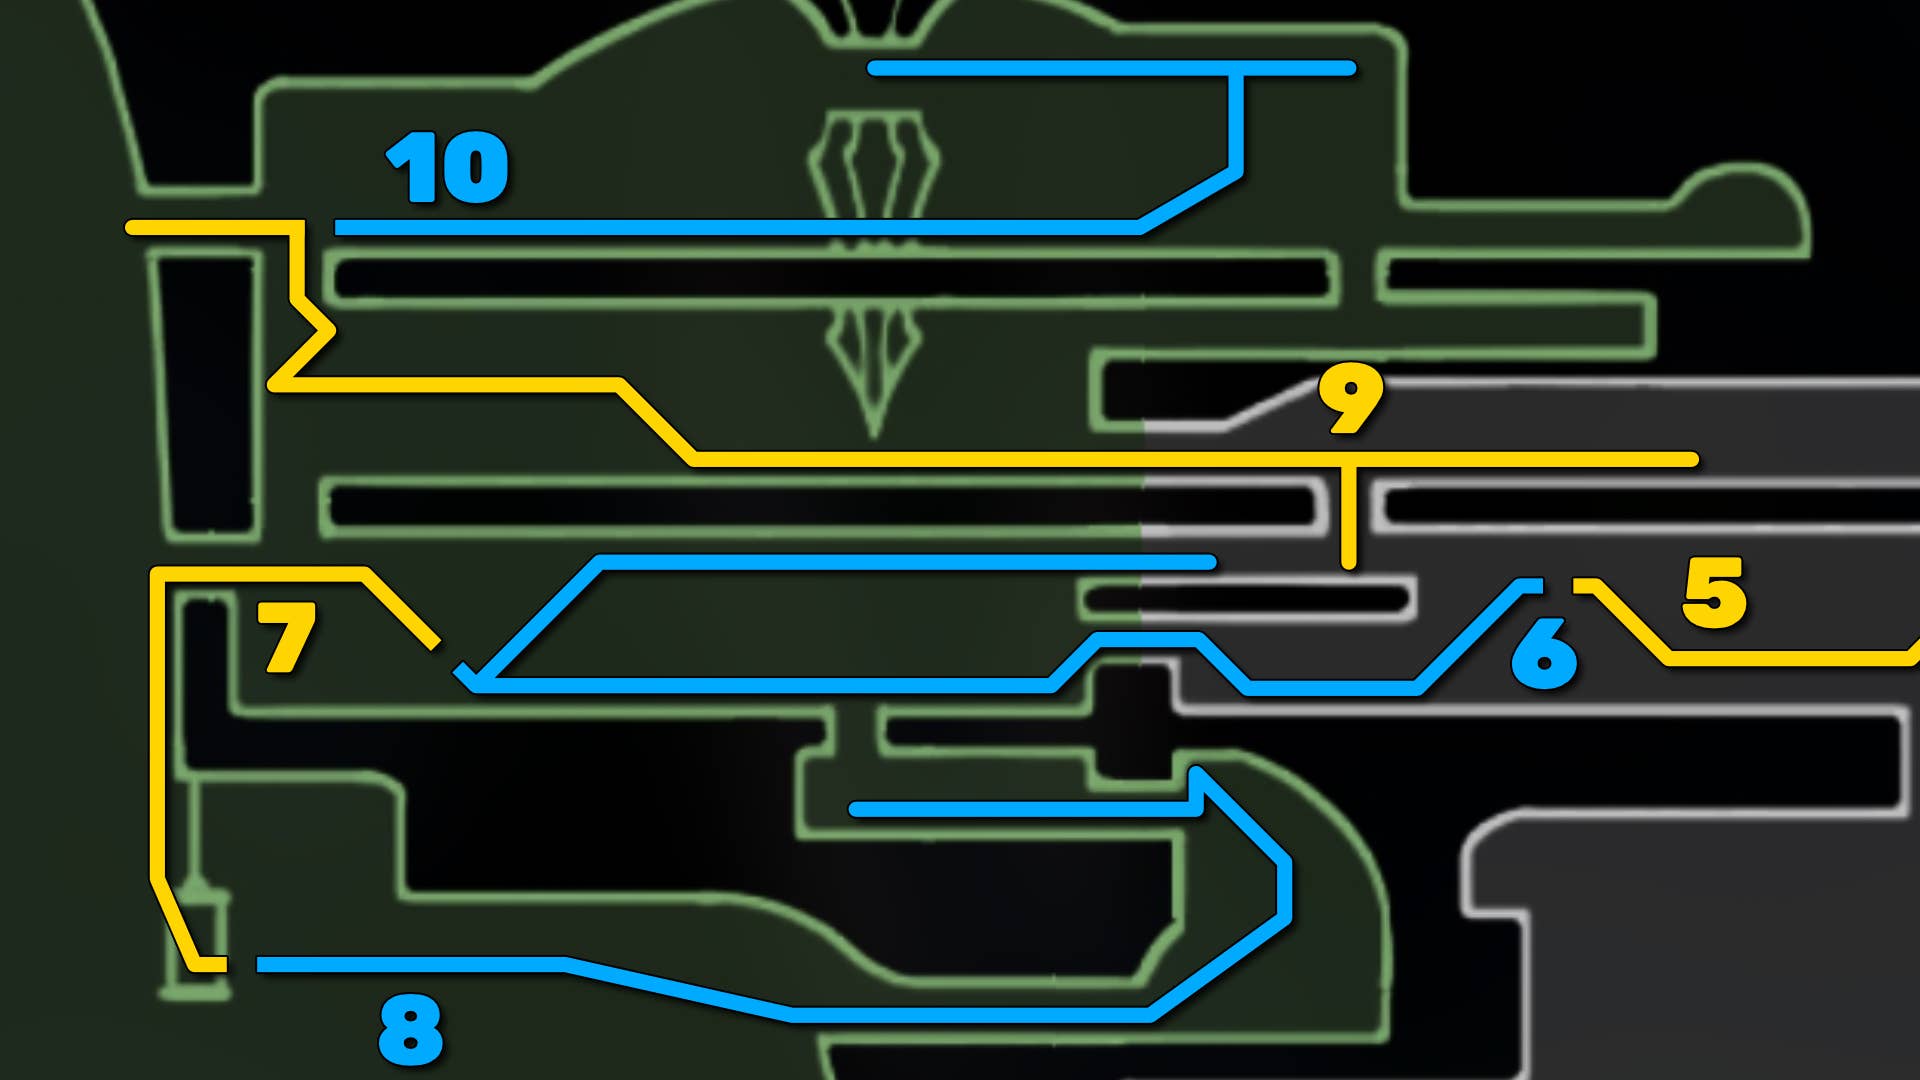
Marrow/Mosshome Walkthrough Steps:
- Leave the village and meet Sharma.
- Complete the gauntlet and unlock the gate.
- They enter the bone marrow and meet the fleas.
- Gets the shell pendant.
- Meet Shakura and buy your first map.
- The venture left to unlock a nearby bench.
- Return the elevator to the village.
- Collect hidden spool pieces.
- Explore Moss Home above.
- Gain the Silkspear skill.
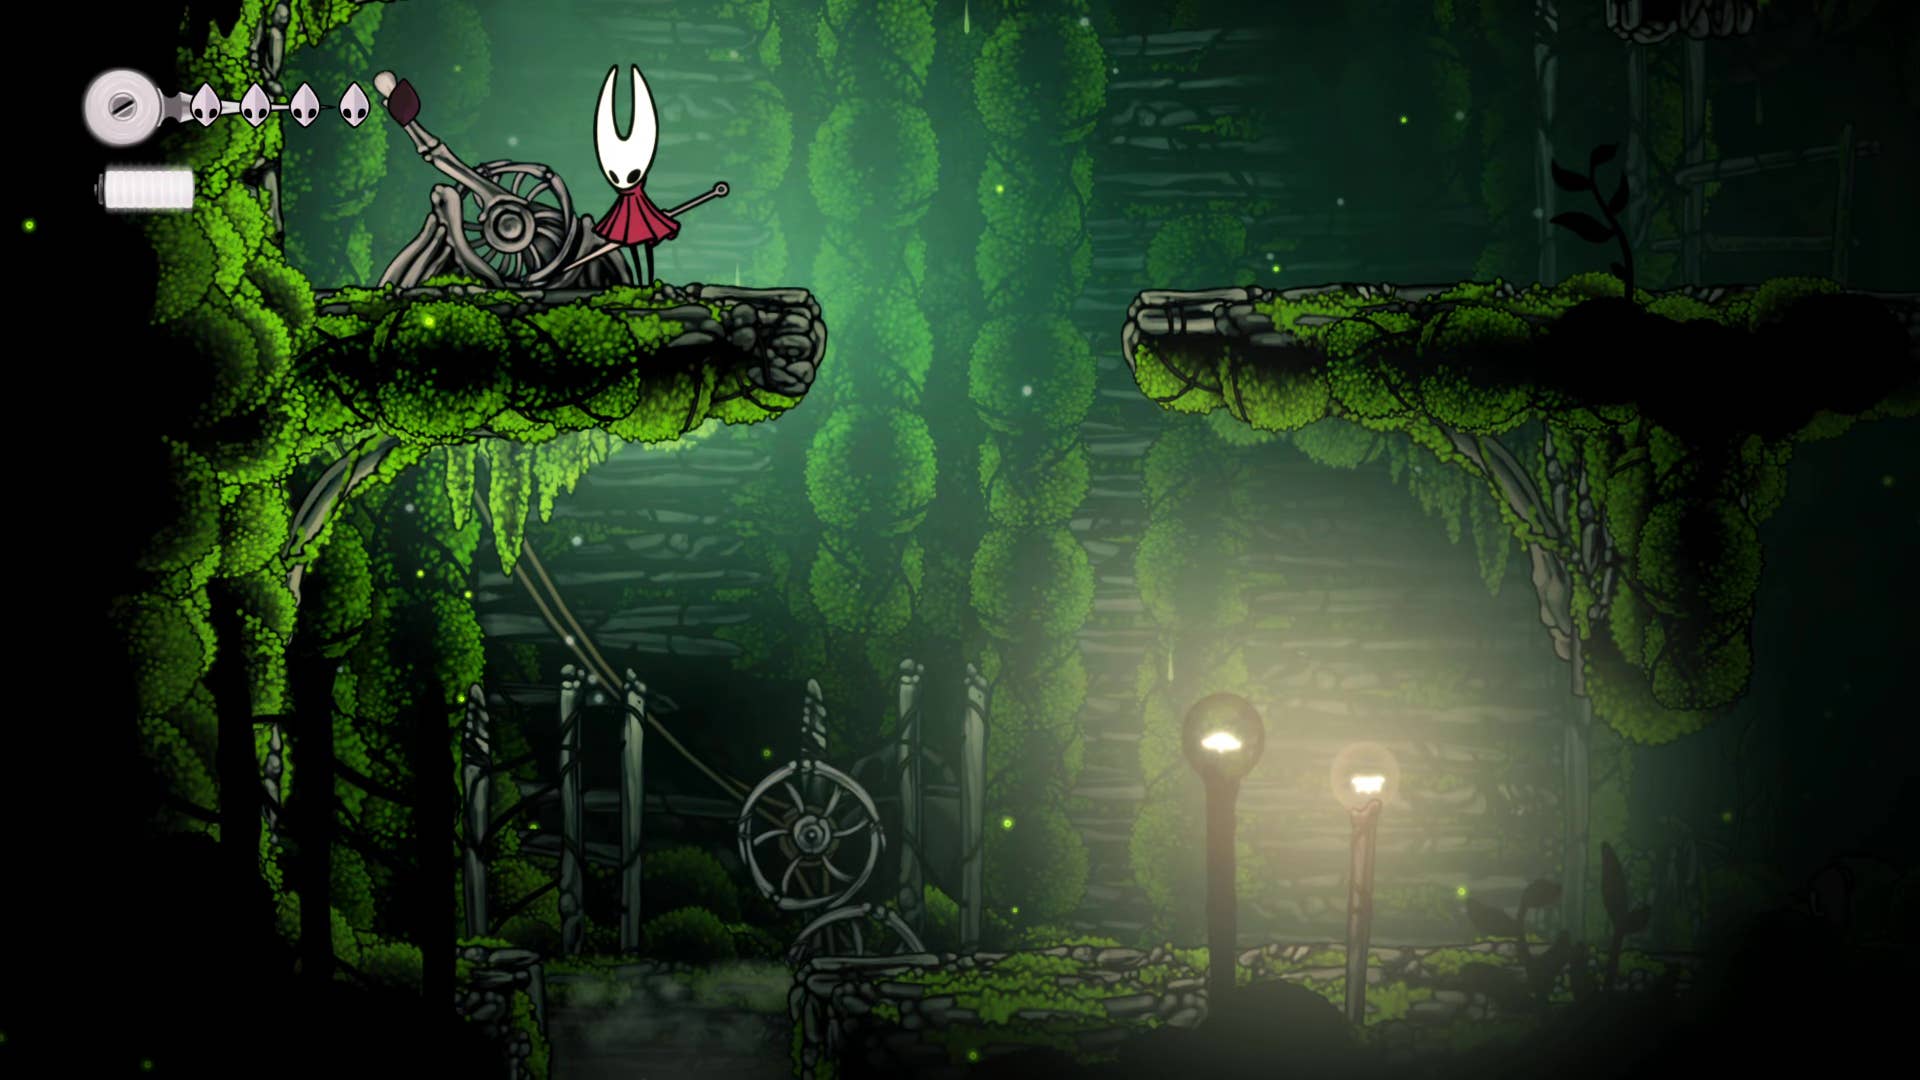
1. Leave the village and meet Sharma.
Rest on the village bench and talk to everyone and come to the right. In the next room, simply keep plowing right and you will encounter another friendly NPC.
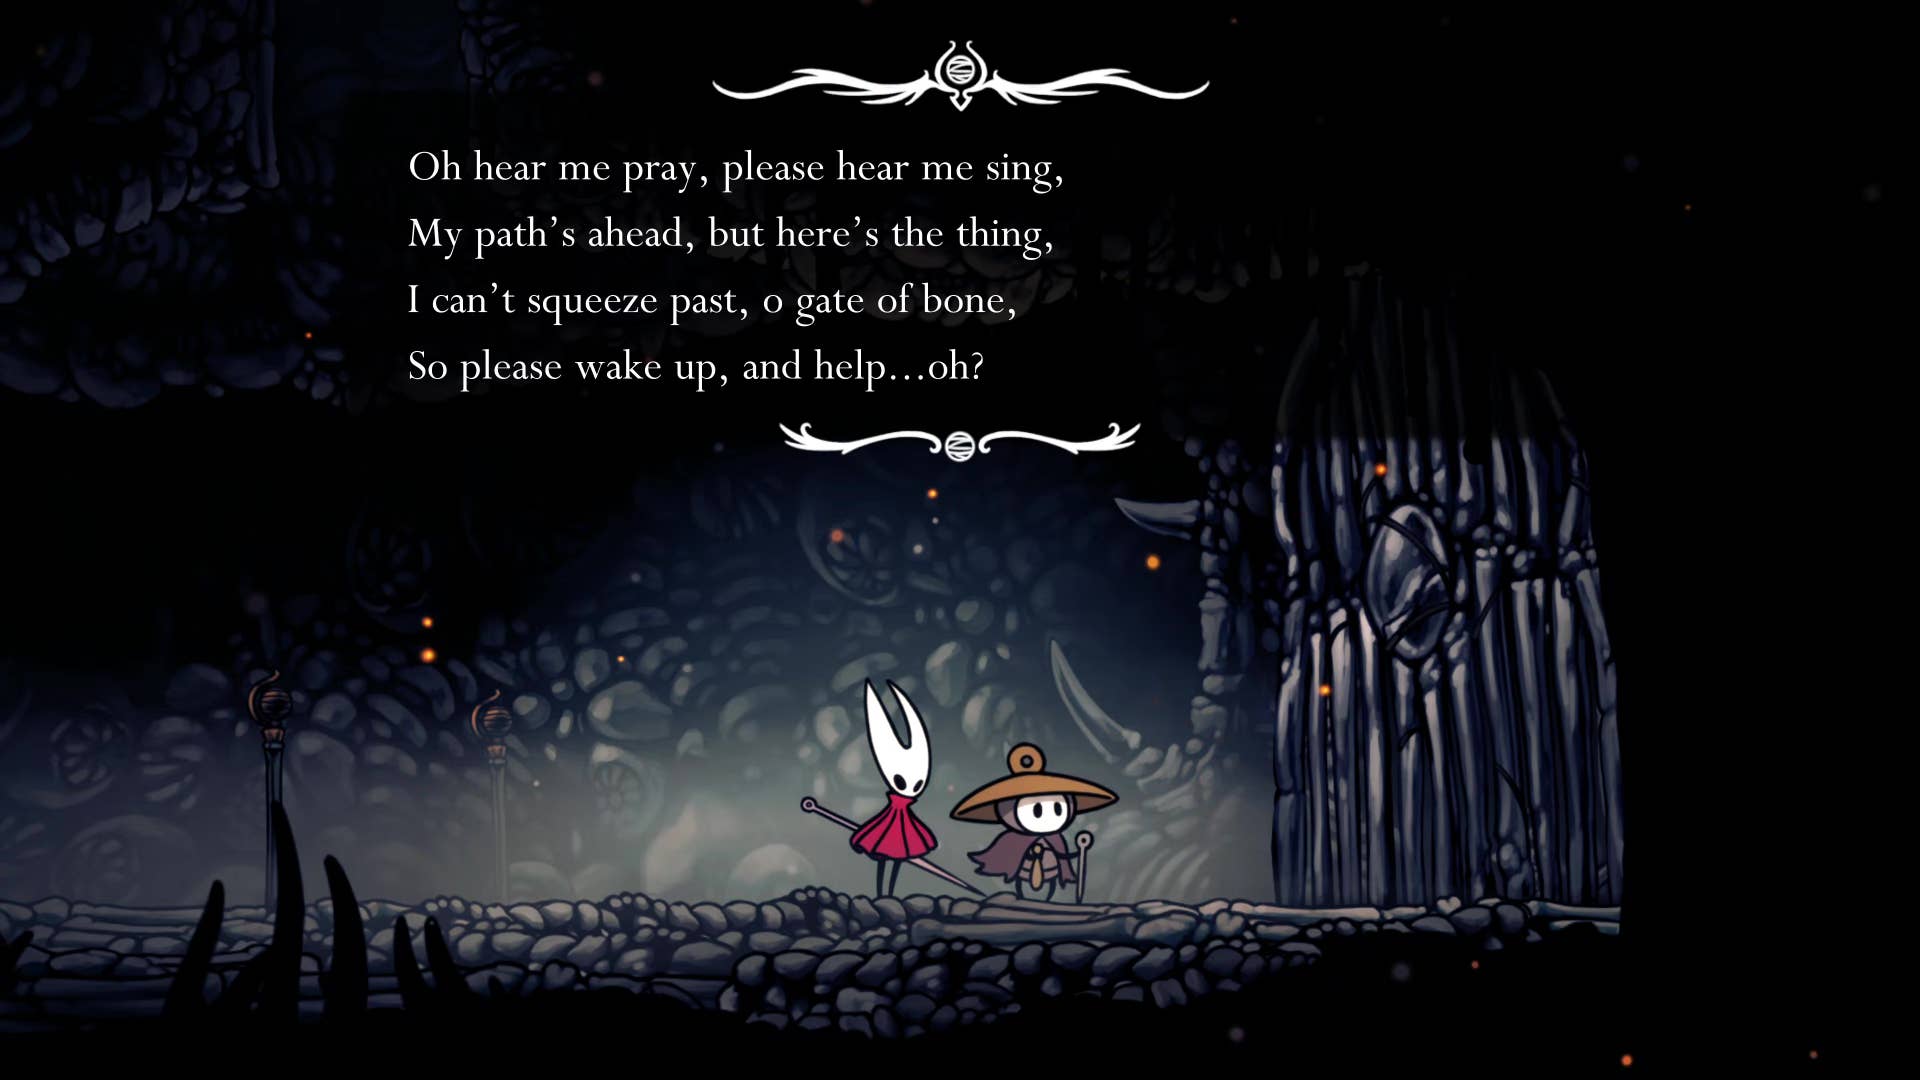
This is a shama. She hopes that the gate is open and she’s sure singing to it opens it. Hornet isn’t very convinced, so it’s up to you to move around Sherma’s gates to unlock them (and later return to the village and give them a nice little shortcut).
Return to the beginning of the room and this time climb the shelf above you.
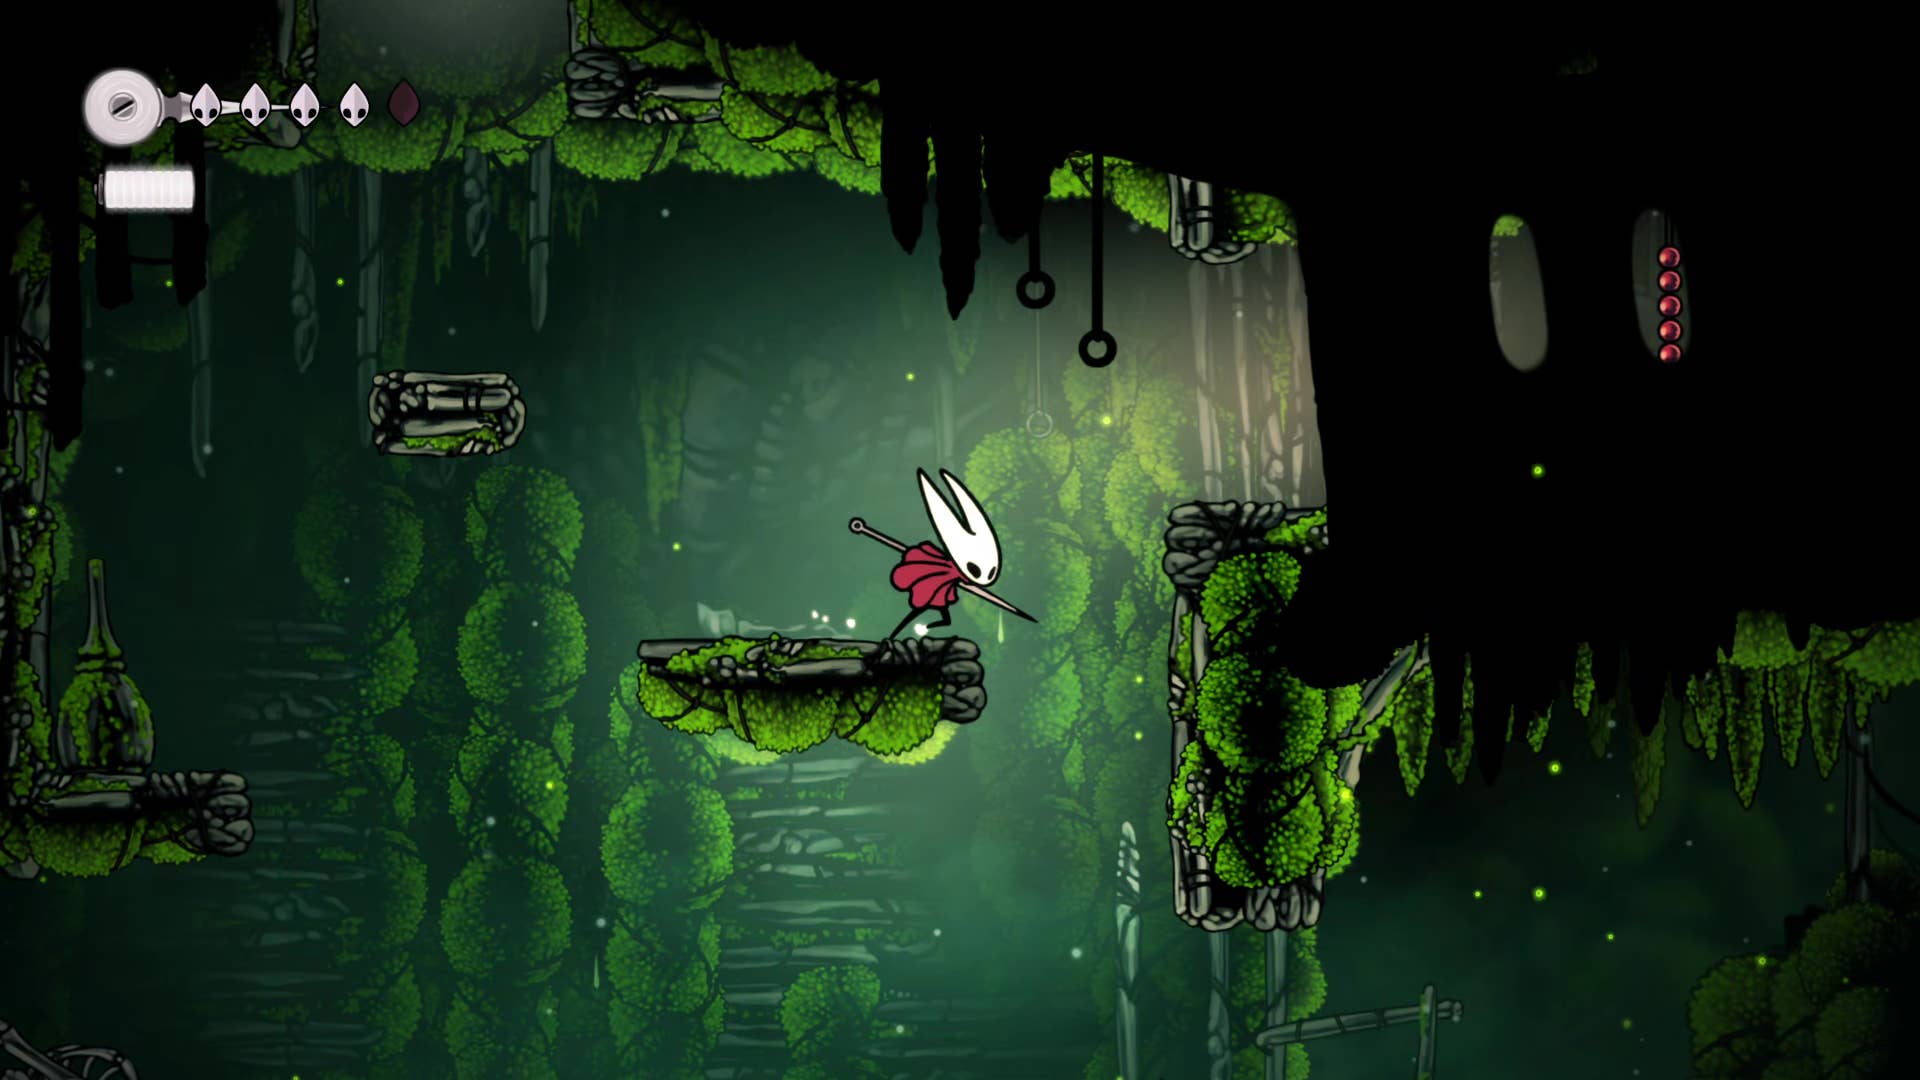
2. Complete the gauntlet and unlock the gate.
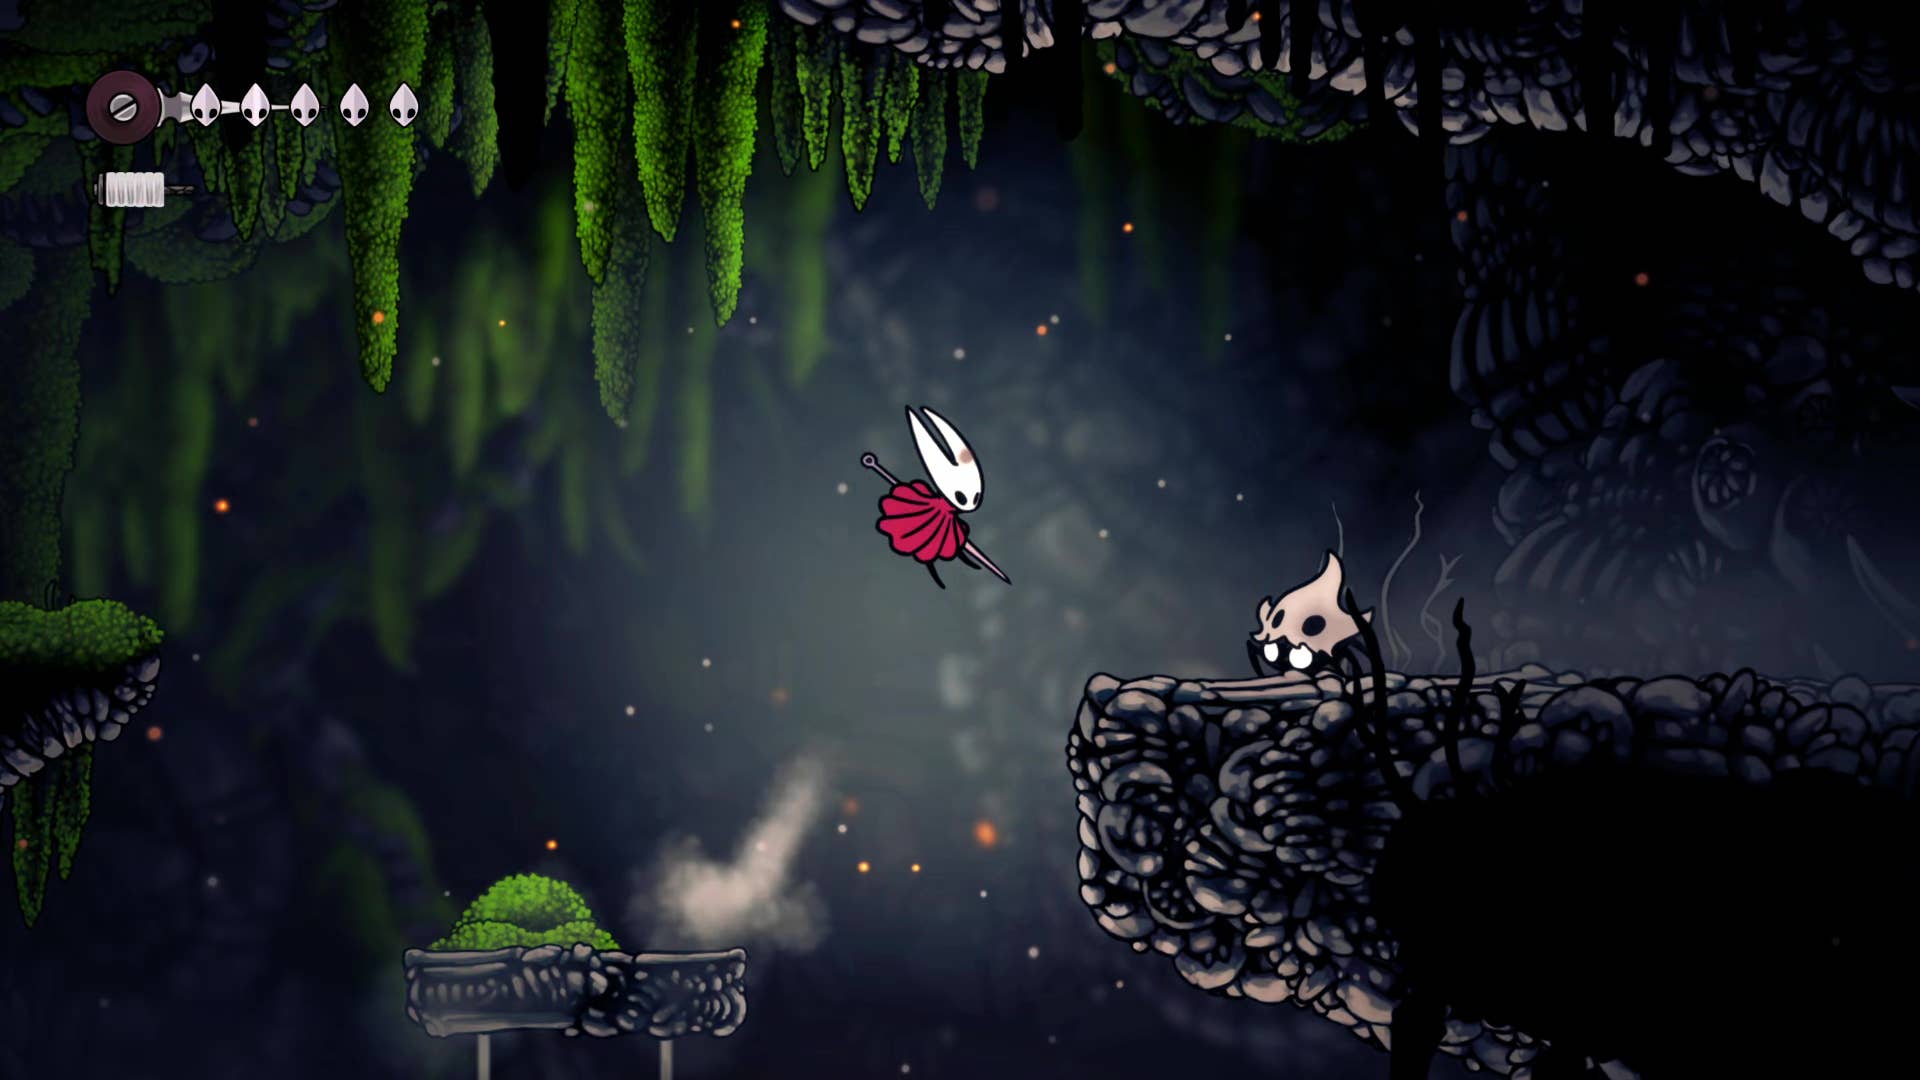
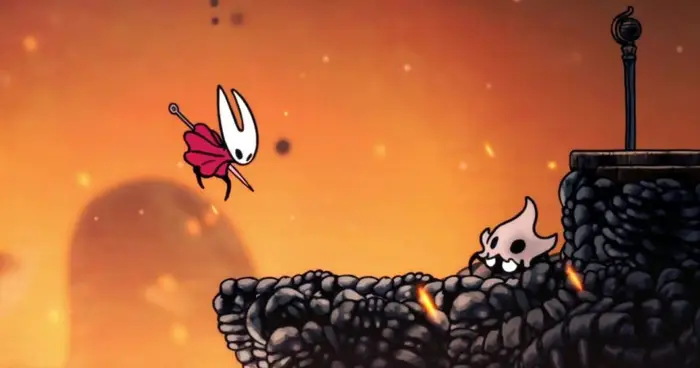
The path goes upwards and then to the right. At this point you can either land on Sherma or head upwards. Choose the latter option and notice the small crawly skull creature along the way. There is a big charge at the top, where you need to jump a few times to kill it.
Continue to the right until you see a small ground level shelf with the skull. Here you will hit a wall and open a passage to a dark area.
There is a simple platform ahead, but there is a rock waiting for you to fall, so don’t stop until you reach the end. At the end of the pass there are some Rosary Beads caches to plunder (again, beware of the boulders falling here). That’s done and you’ll go back to the previous room again.
This time, head left and pass a small flying insect and drop a hole. You must arrive at the enclosed arena and defeat the enemy wave mini gauntlets to advance. They are all low-level enemies, so don’t panic over time.
When all enemies are defeated, two exits will appear. One is on the floor and the other on the left. The left exit simply returns to where you were, as a convenient shortcut. Remove the hole and head left to reach the other side of Sharma’s gate. Attack the lever on the ceiling to open the gate and consult the Sharma if necessary.
Next, head to the next room.

3. Enter the bone marrow and meet the fleas.
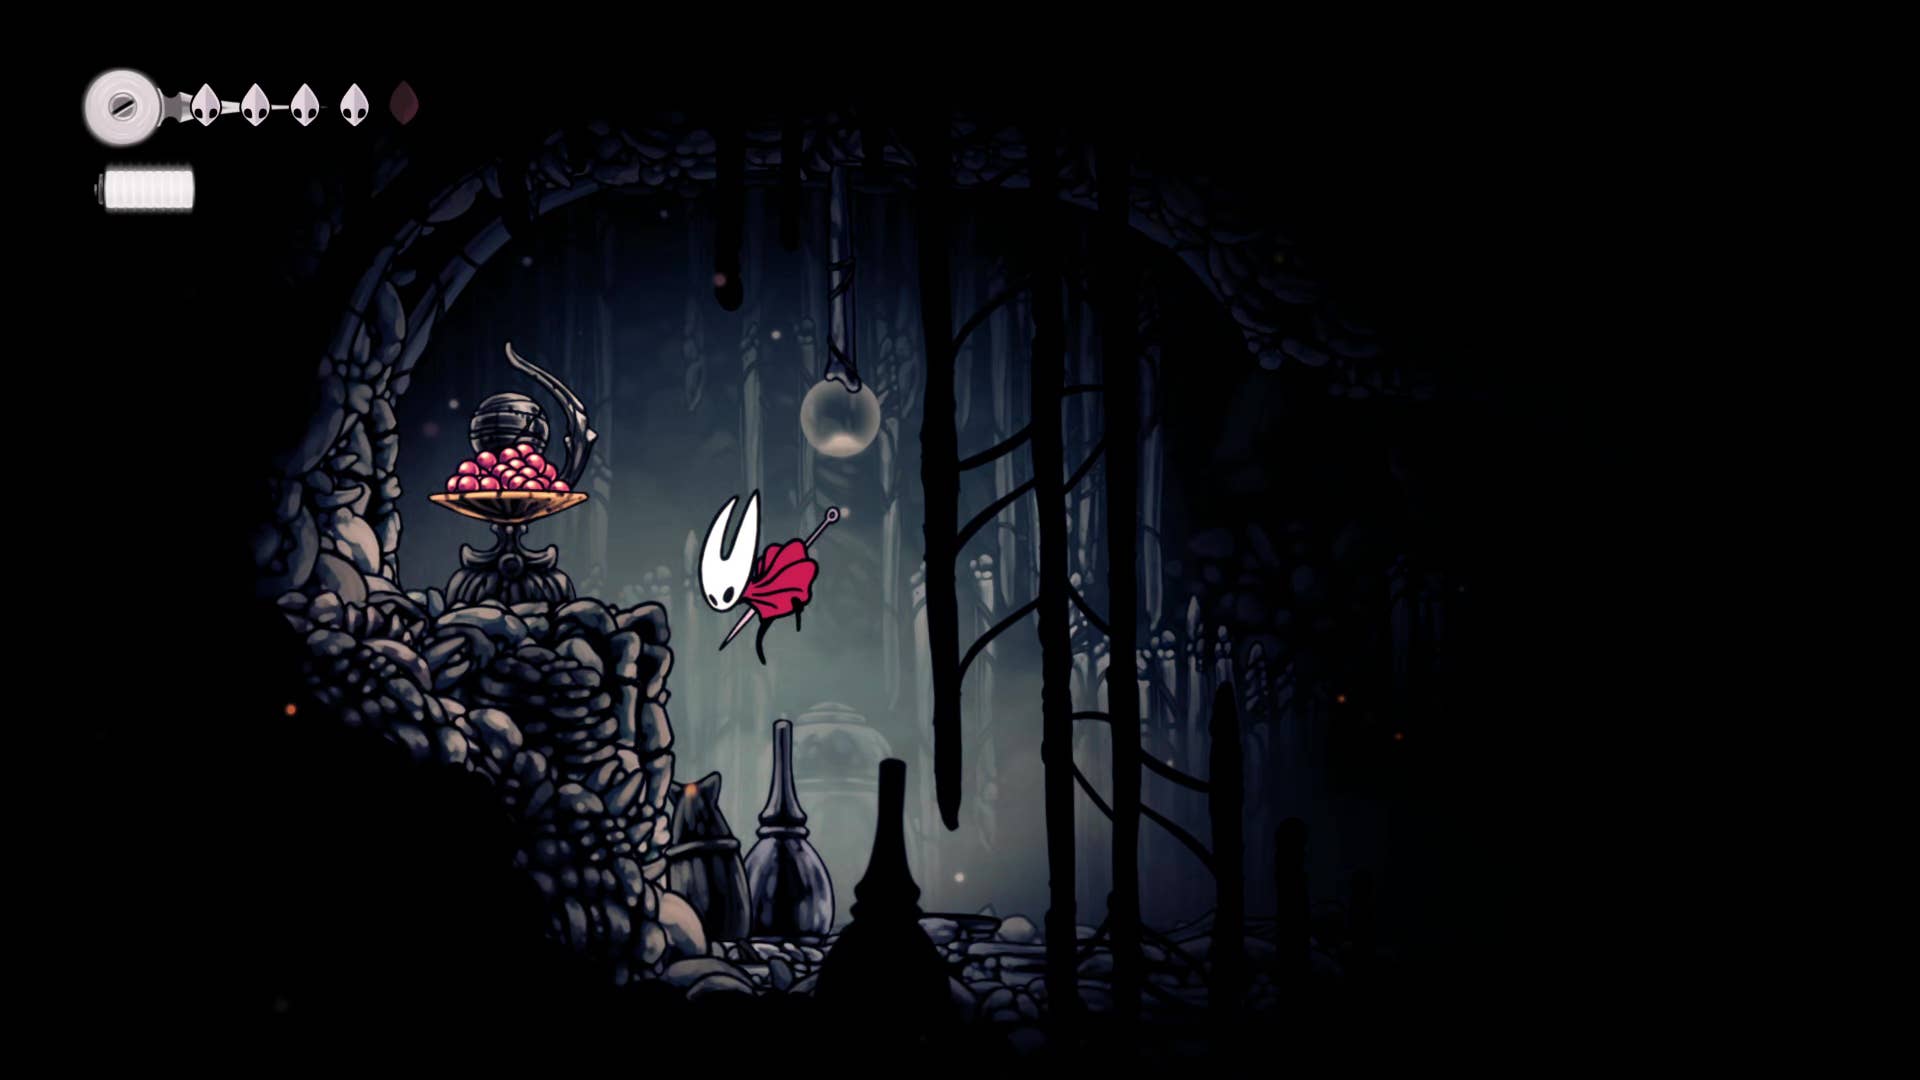
In the next room, we inspect the strange decorations and operate the bench at the expense of 30 rosaries to rest. There is also a small legendary inscription on the right side of the bench. When you’re ready, head to the next room.
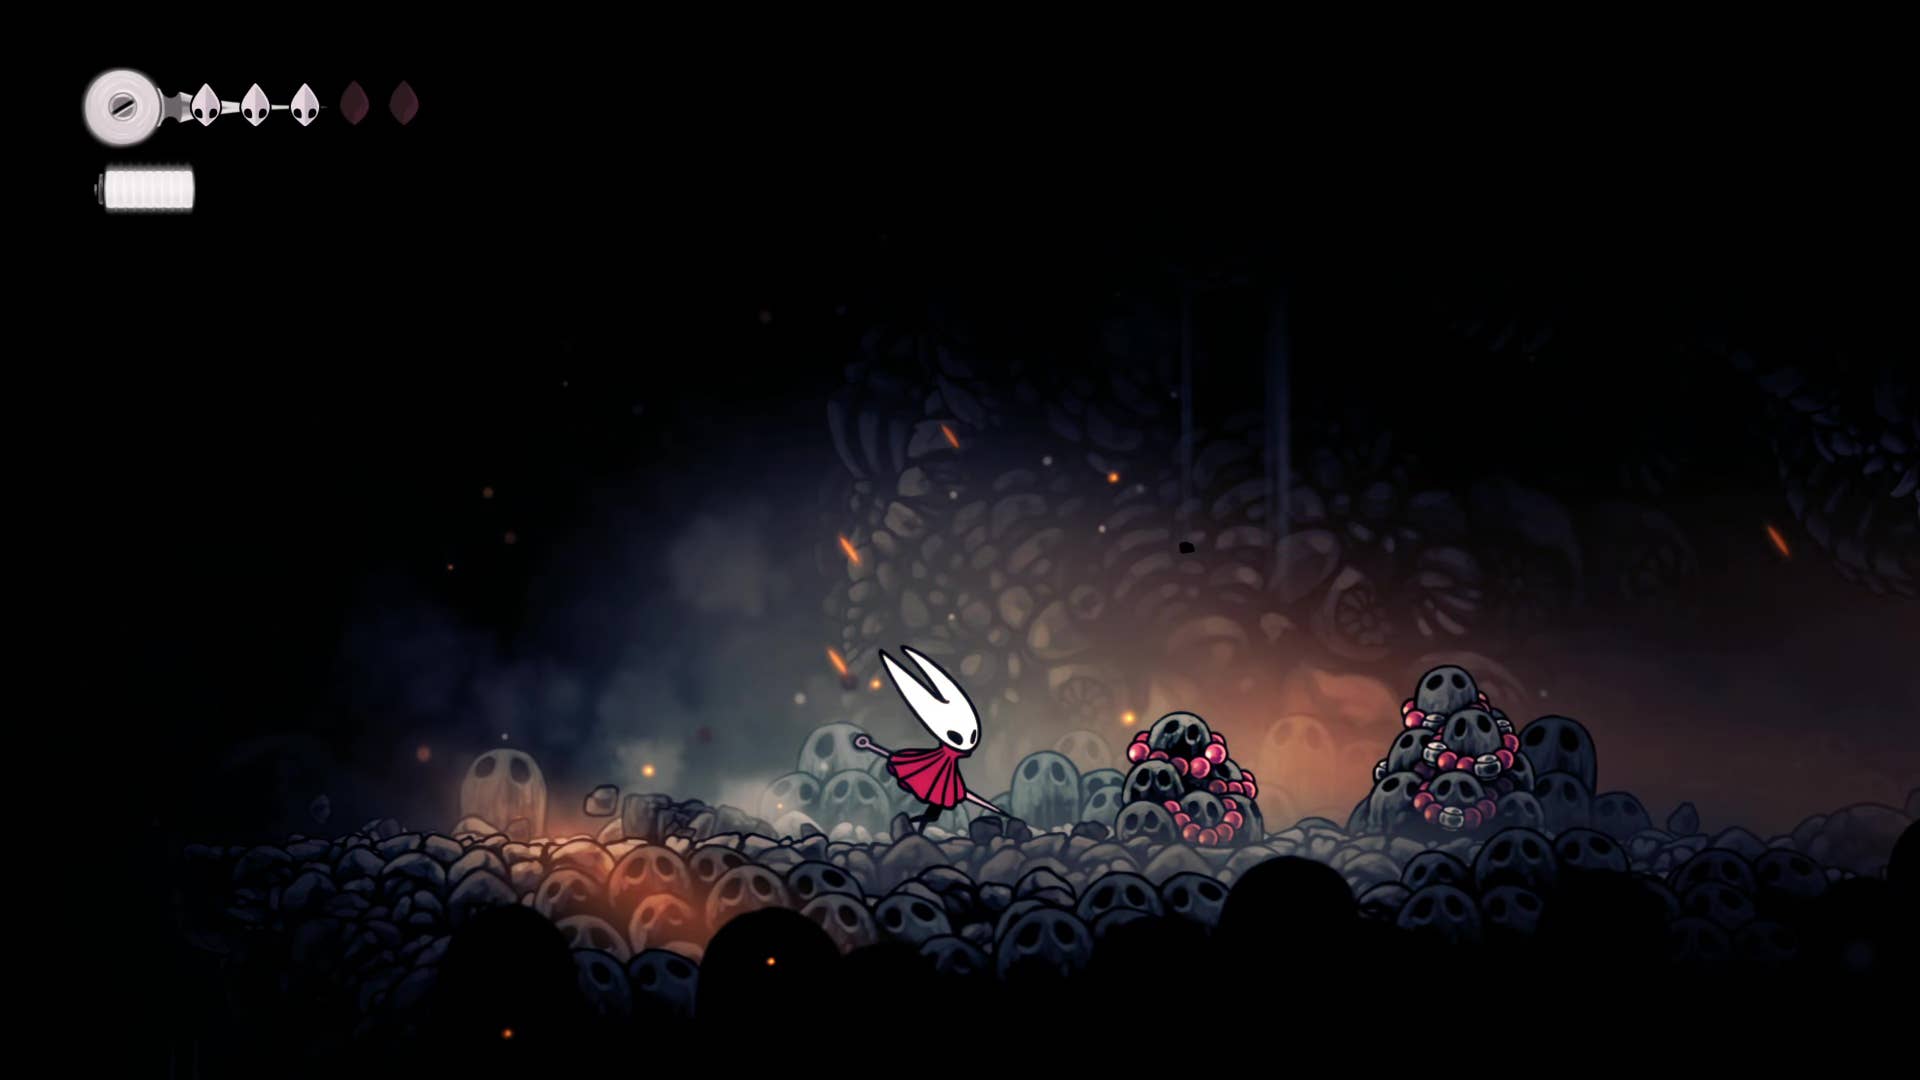
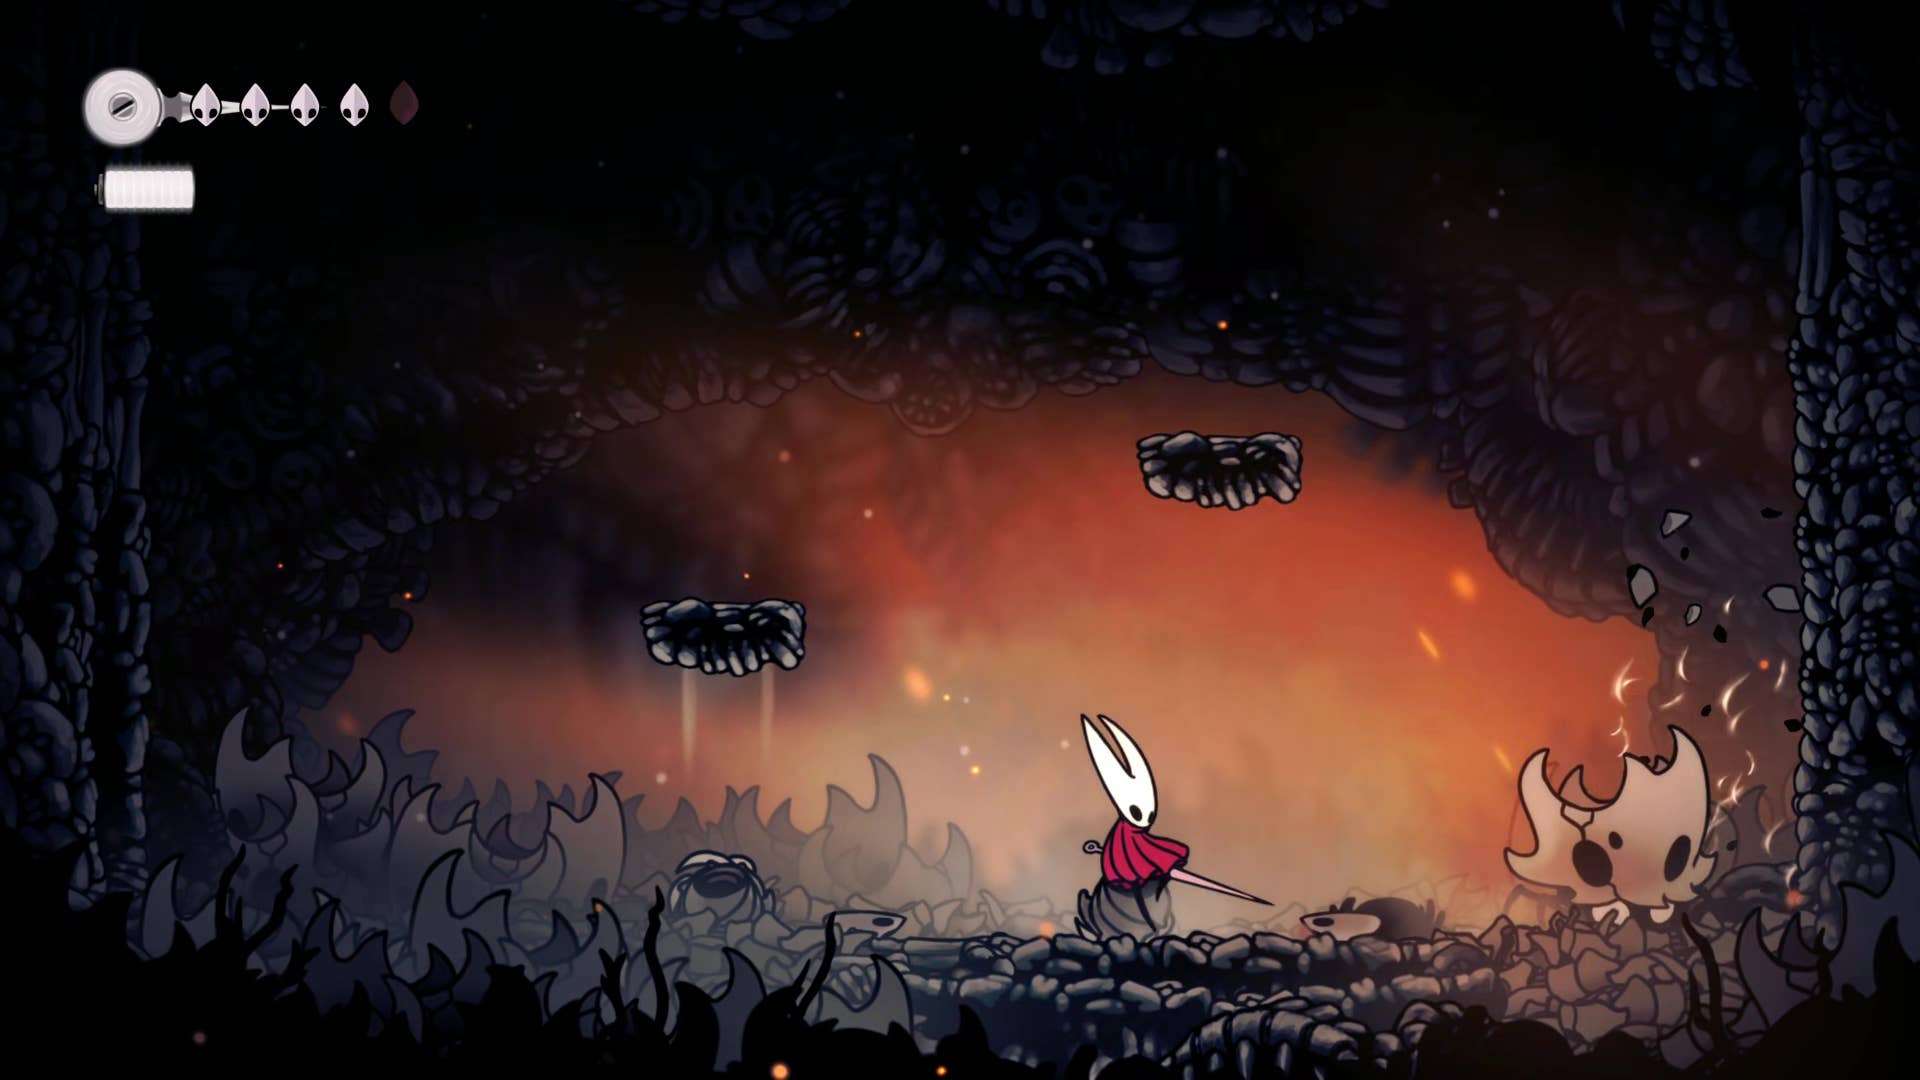
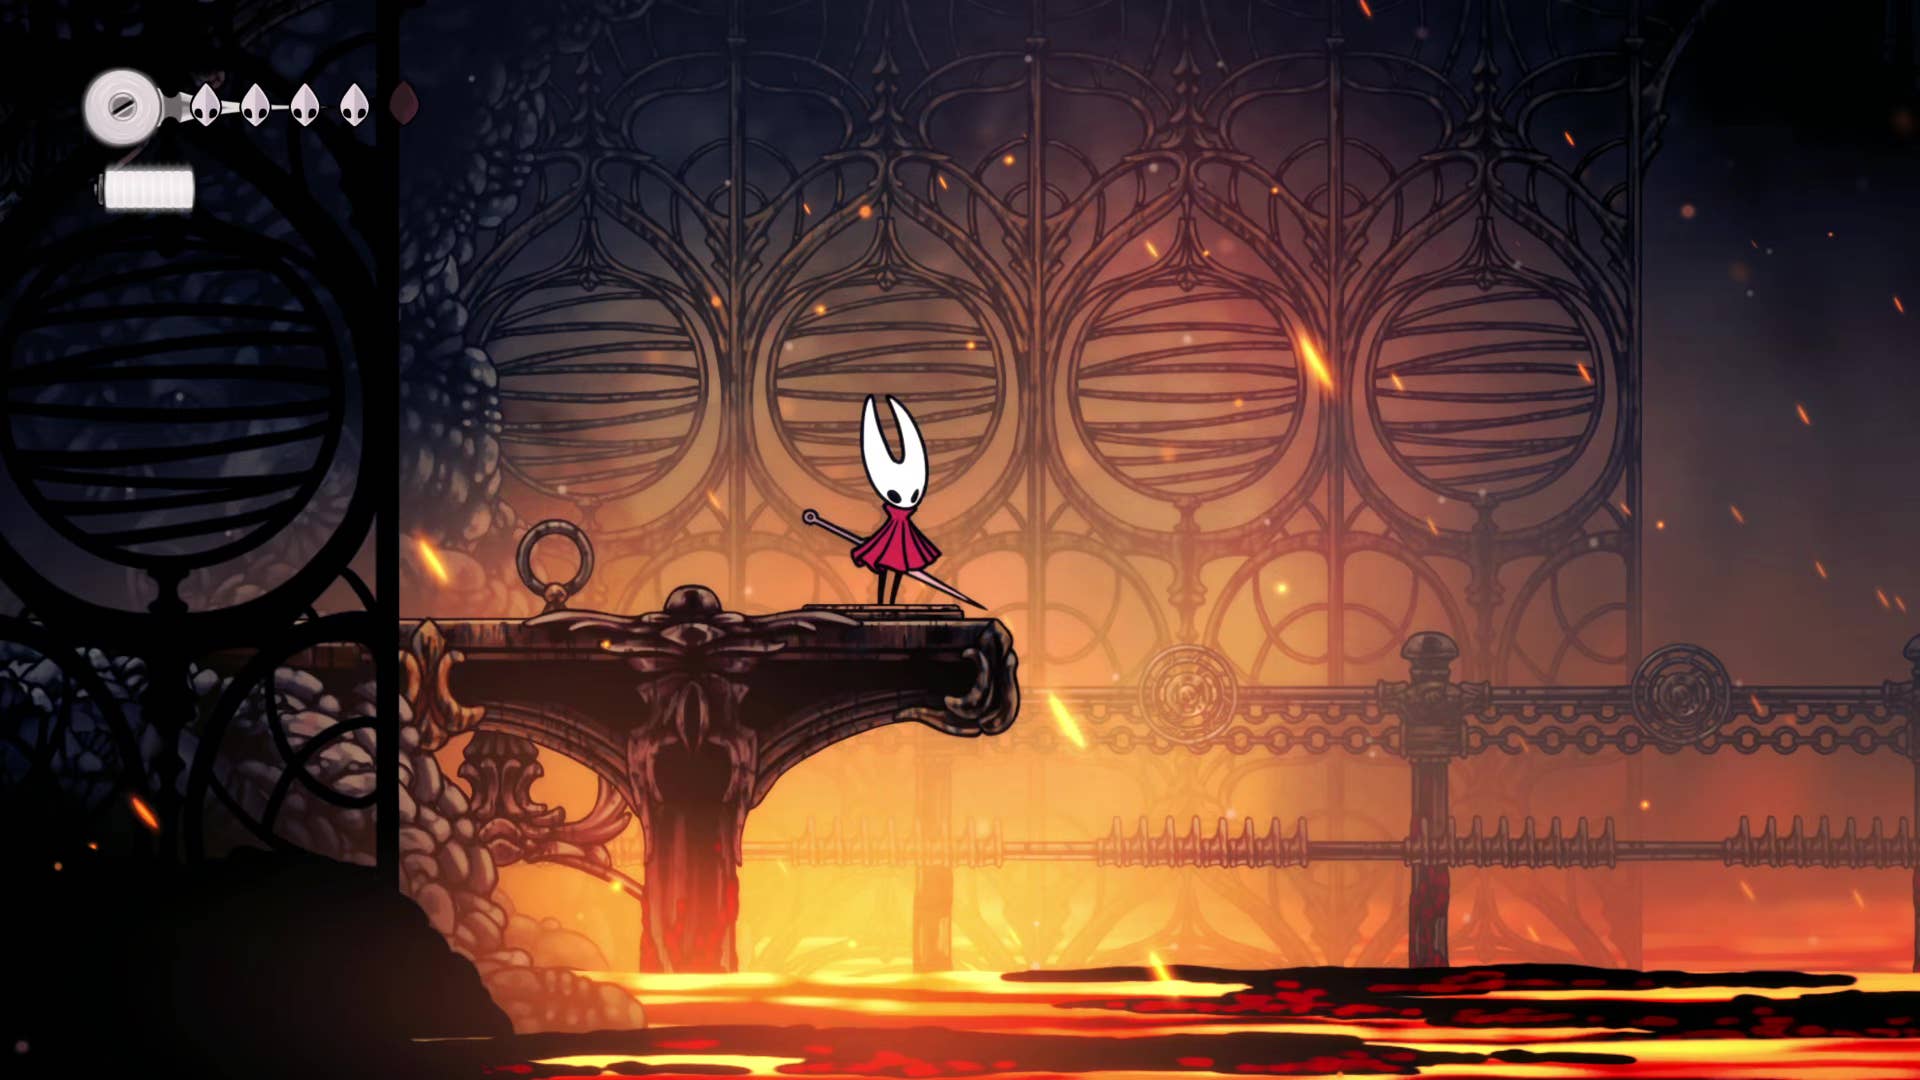
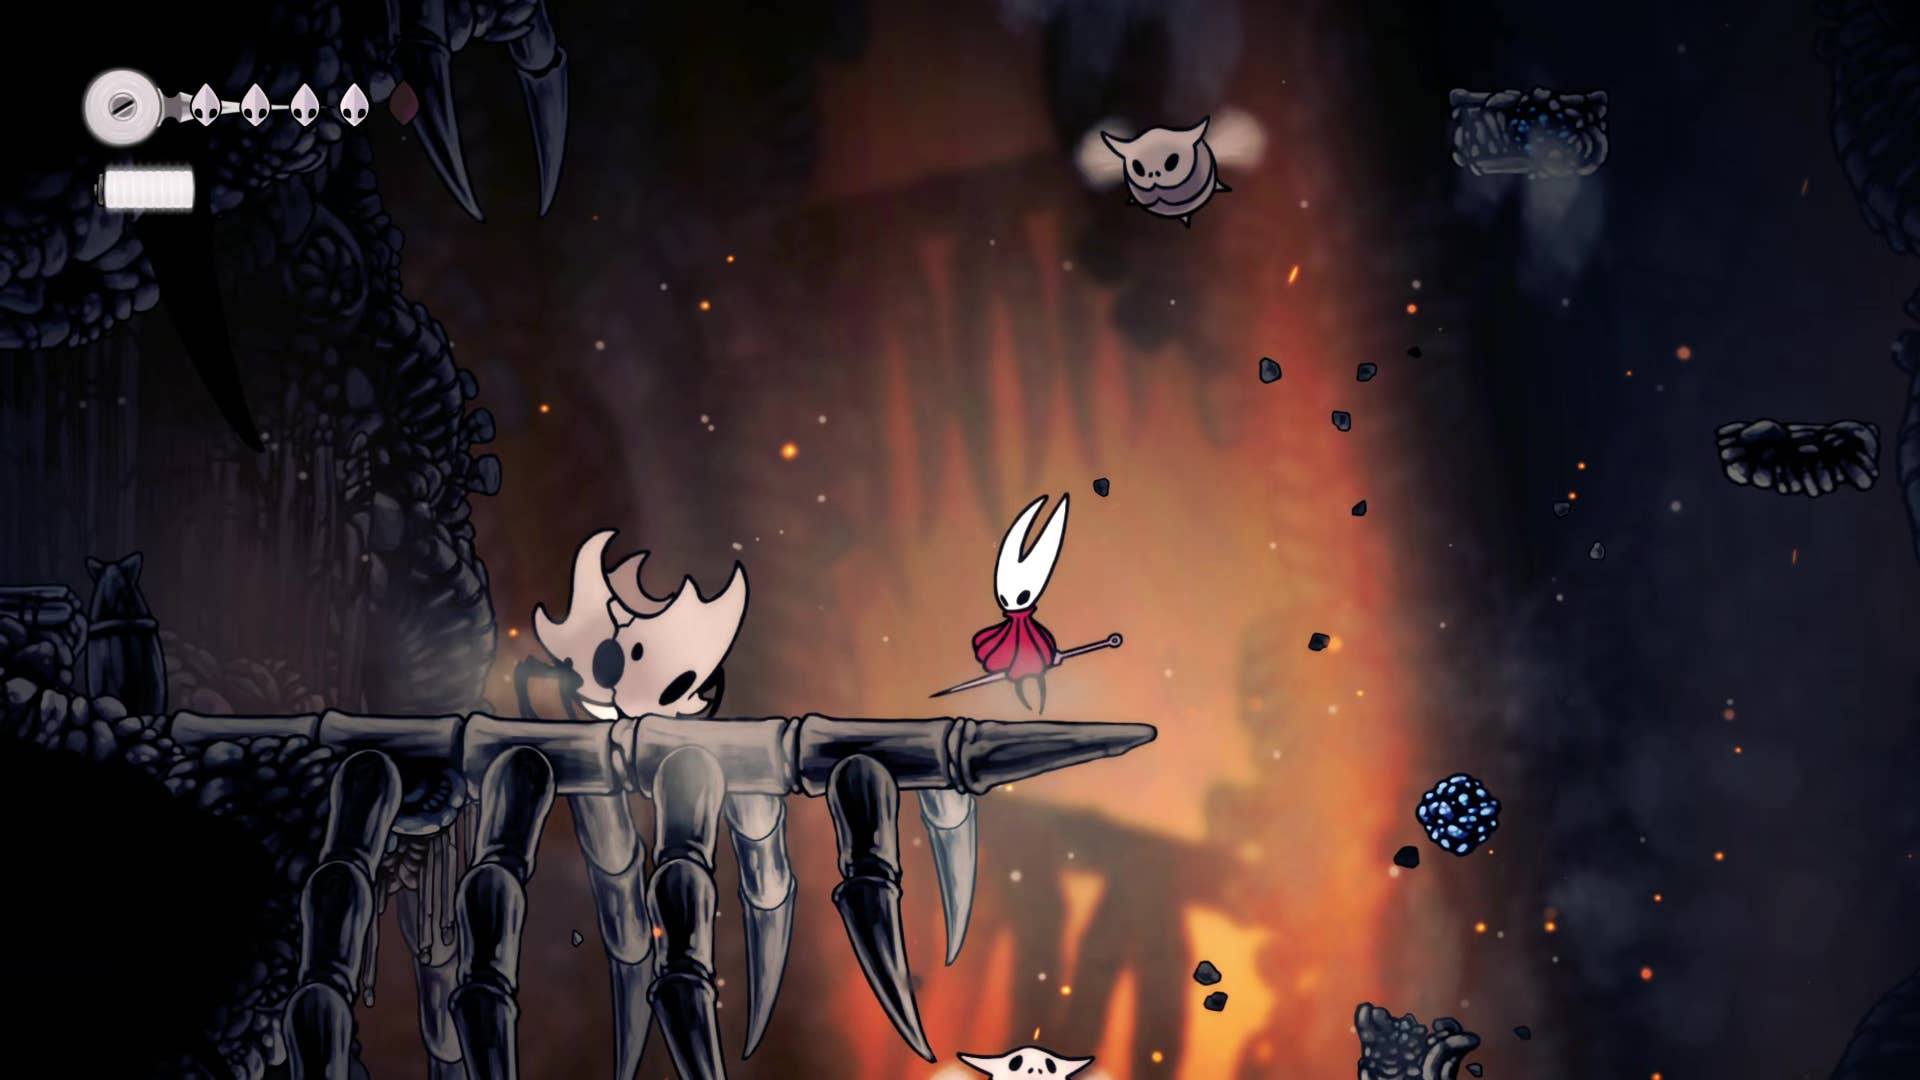
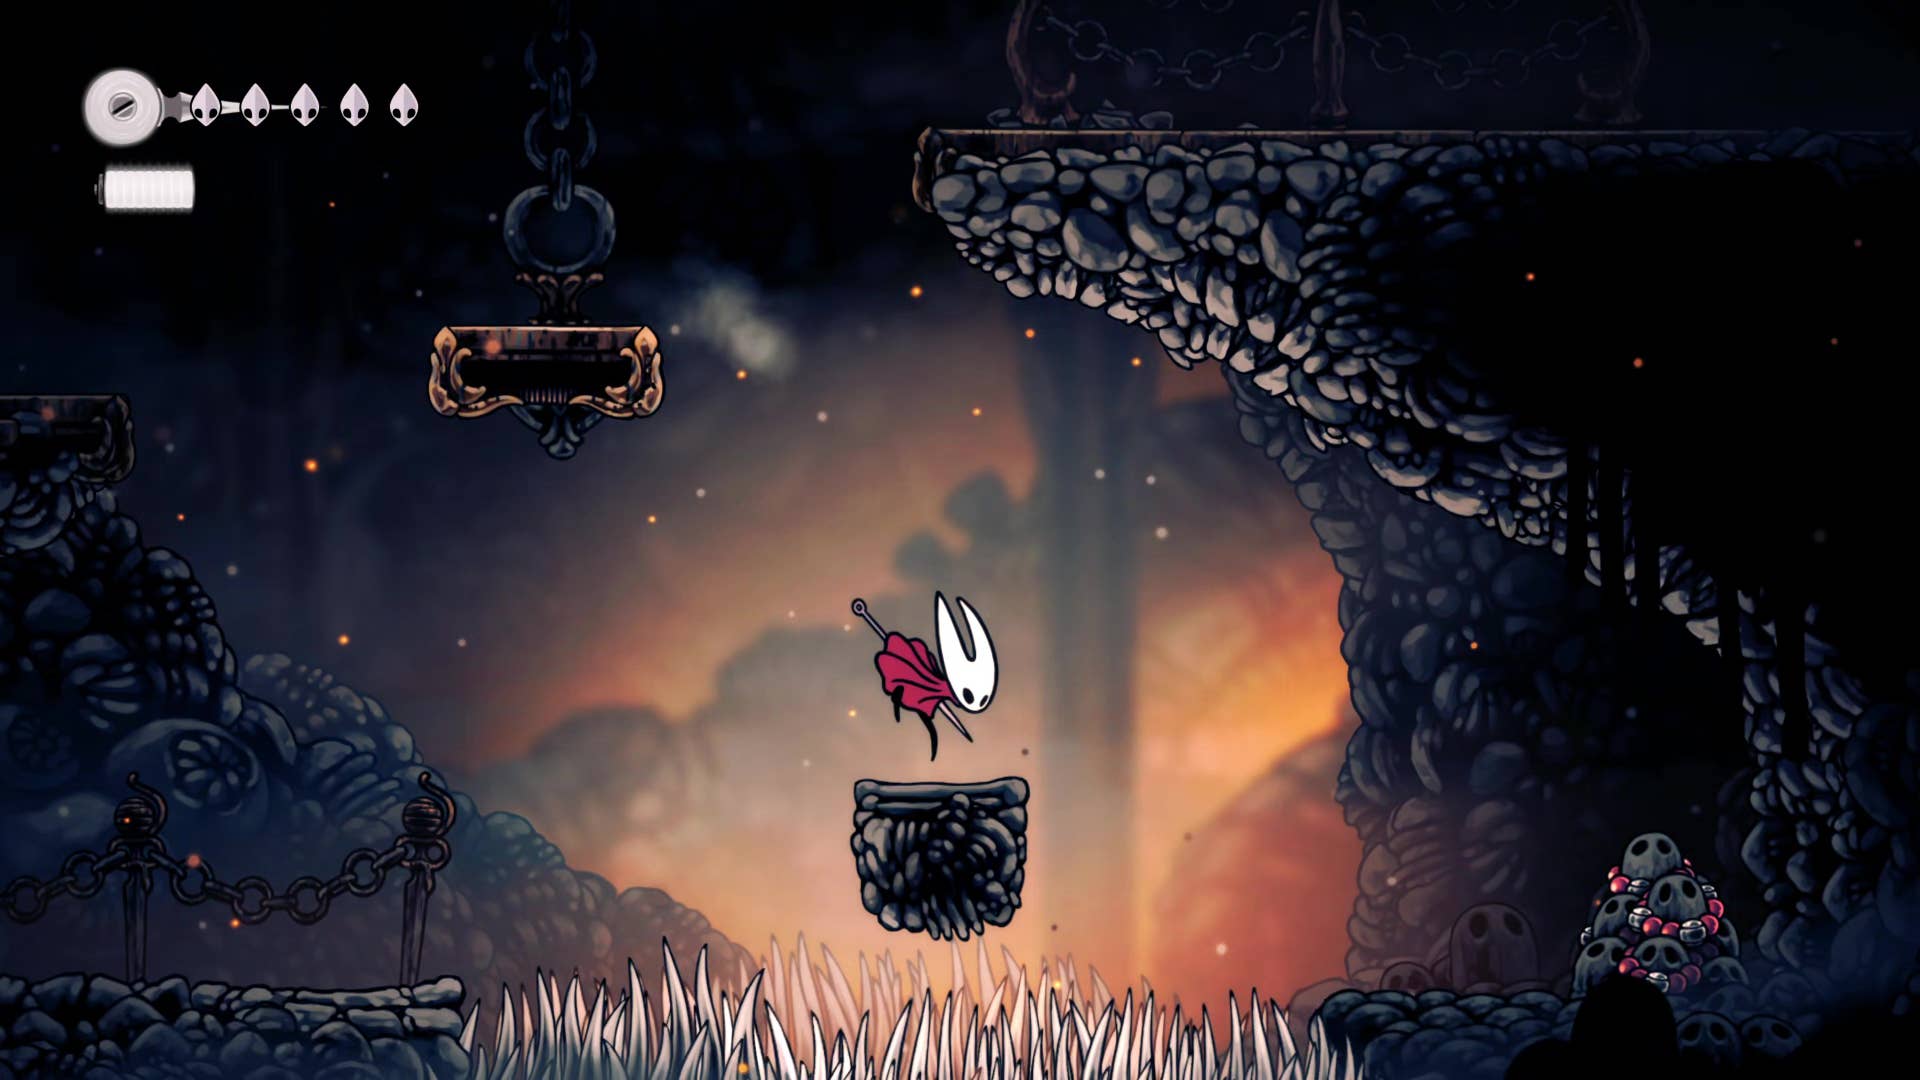
Using these next steps will enter a new area, the bone marrow. Please be careful as the lava here deals 2 damage per dunk. This room has a slightly confusing layout. There are three exits, but the far right exit at ground level still doesn’t go anywhere. This makes things easier. Still, feel free to check it out.
Back in the main room, the other two exits are on the top left, much higher on the top right. Use the shelf to climb and head first to the right exit. Once you see the wooden sign illuminated by the wheels, you are on the right path. From there, head to the next room.
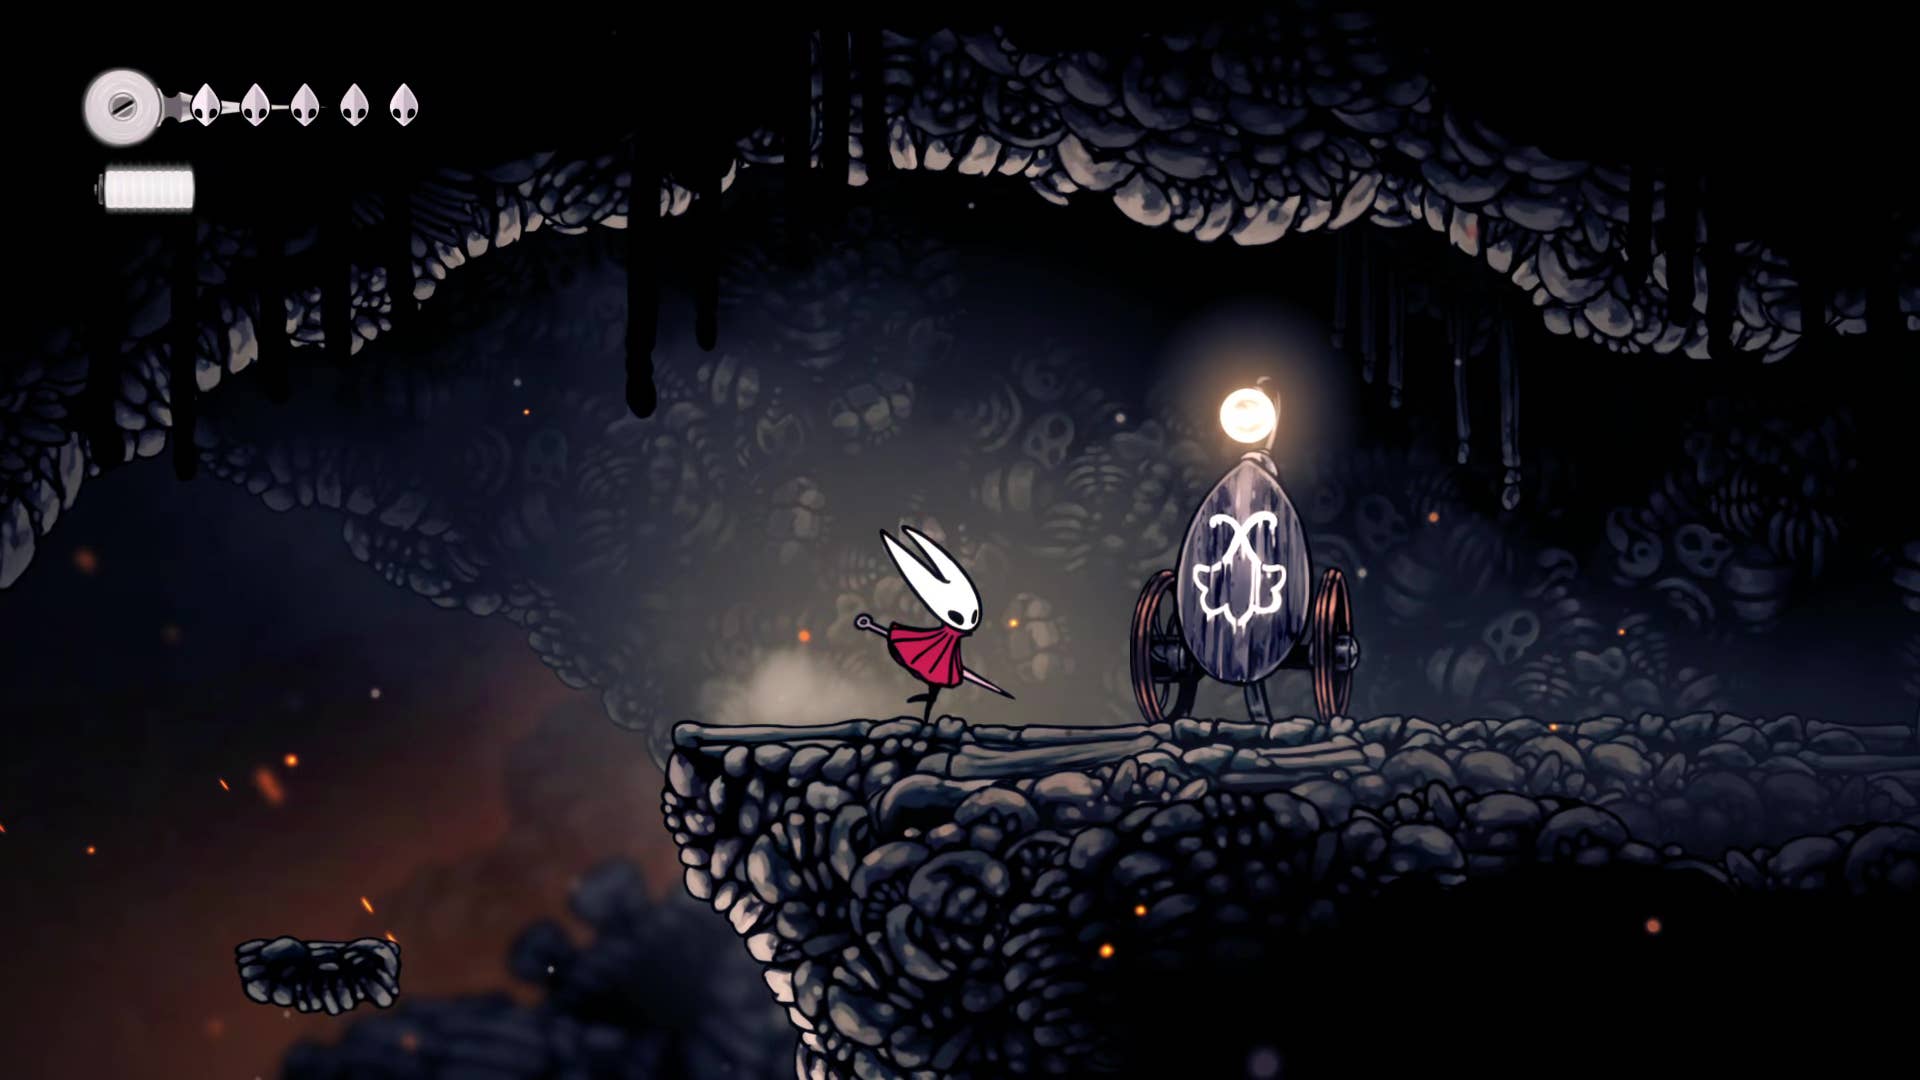
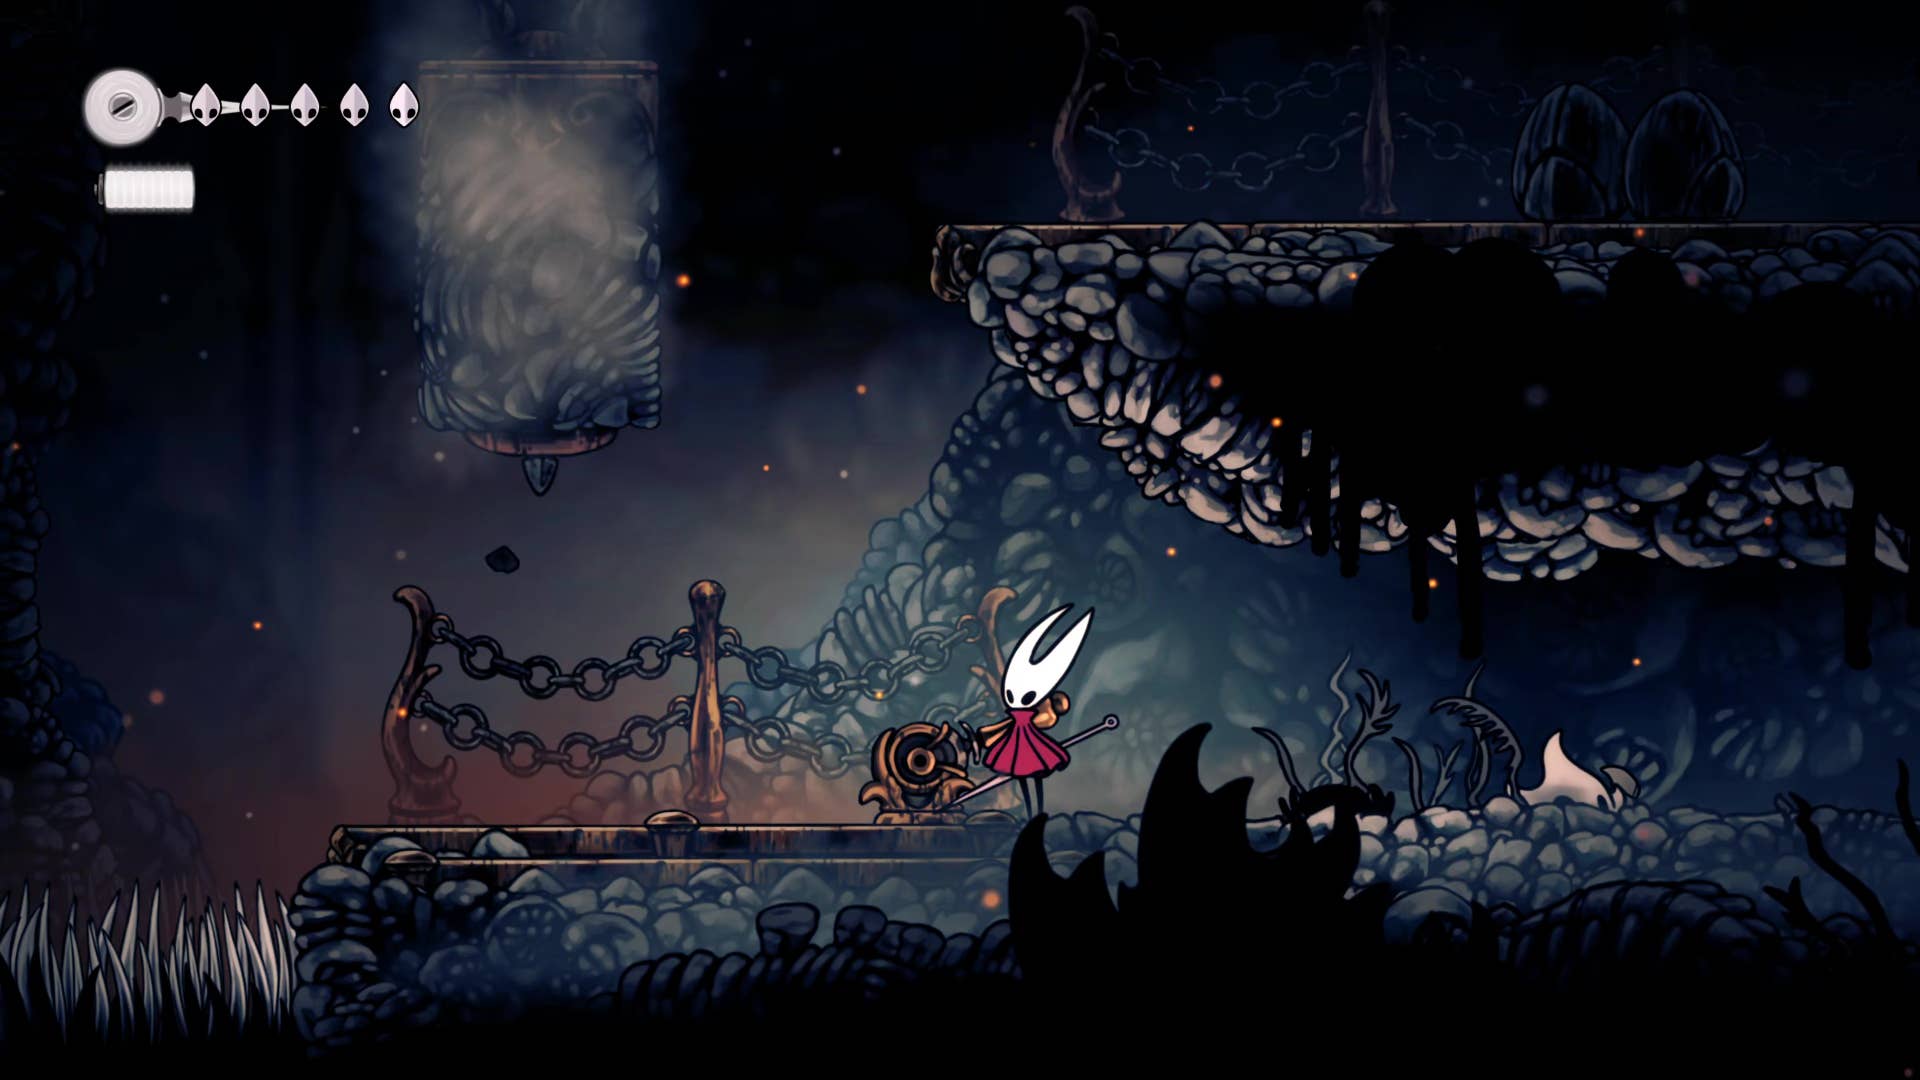
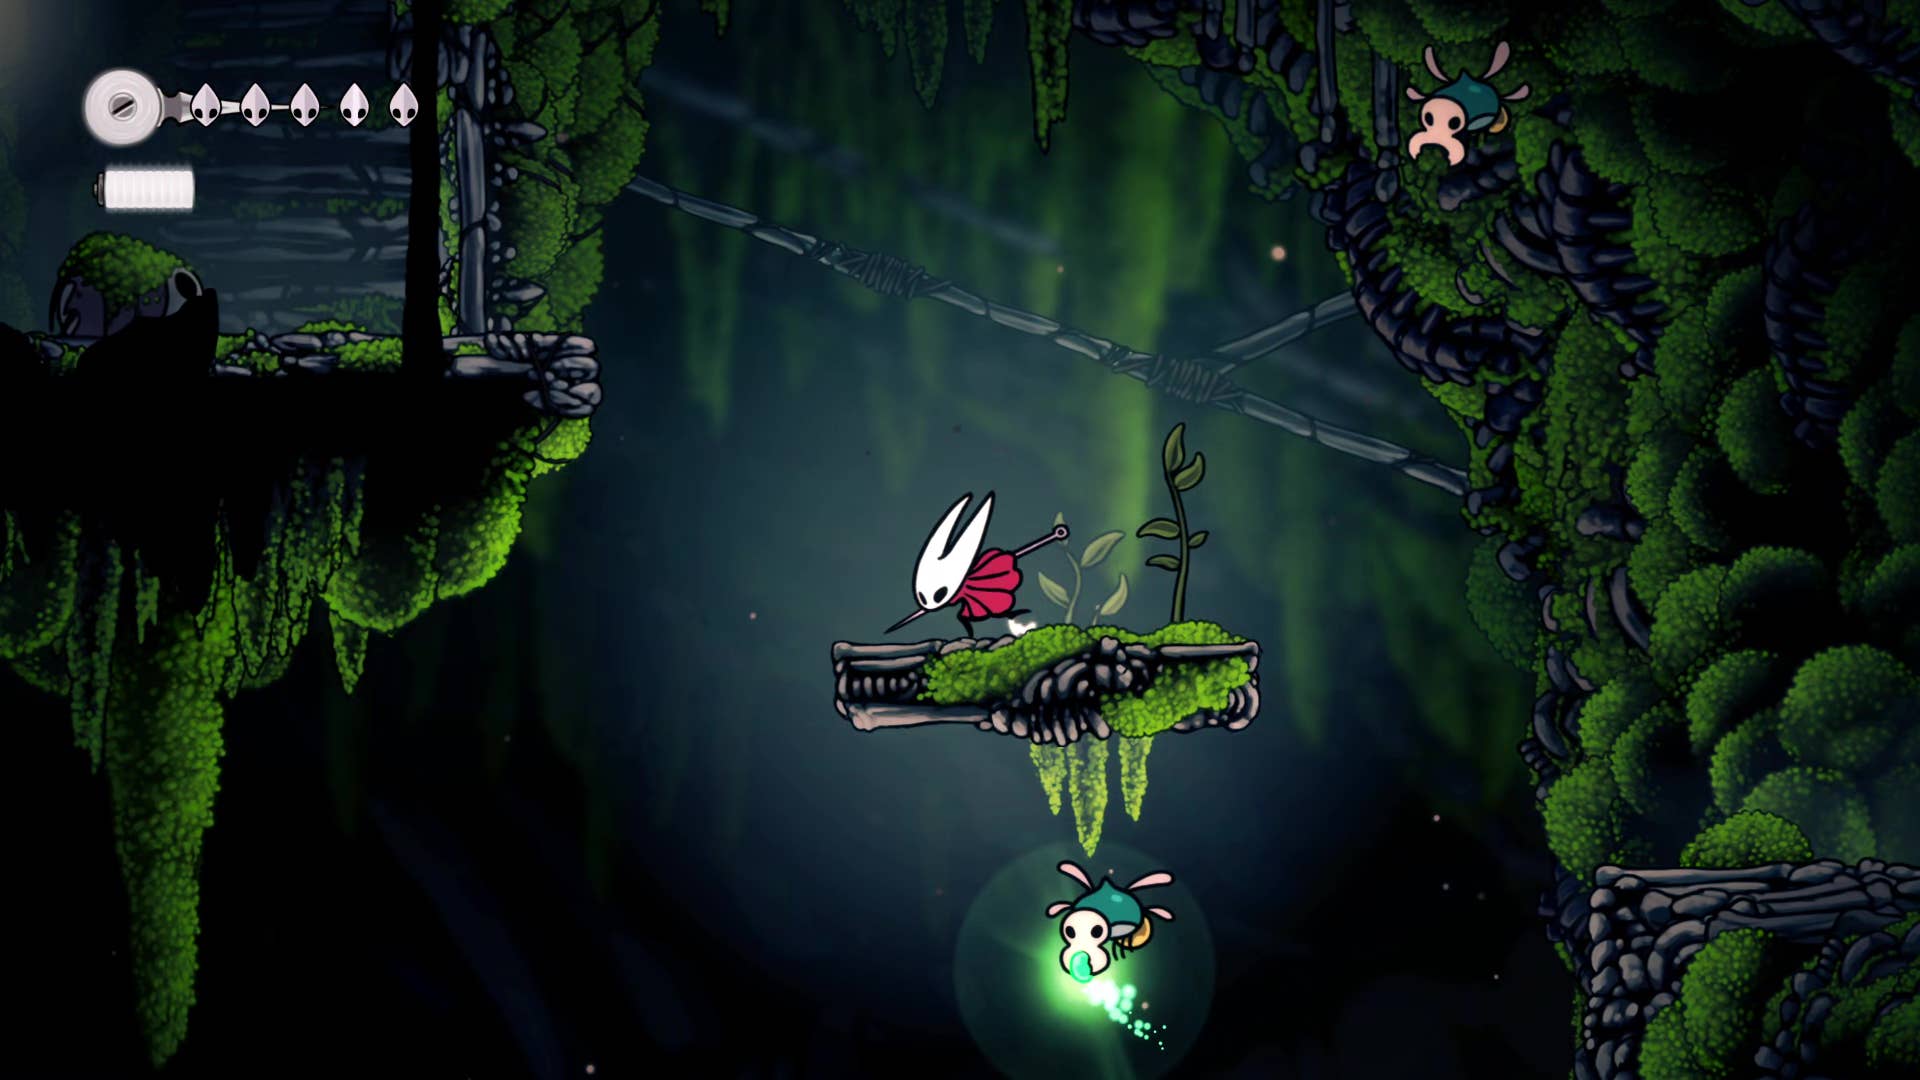
In a dark, skull-filled room over there, carefully dispatch a Spike Happy Porcupine creature, climb onto the shelf on the left, and find an unexpectedly friendly face. Here we are waiting for a caravan of flea people led by Fleamaster Mooshka.
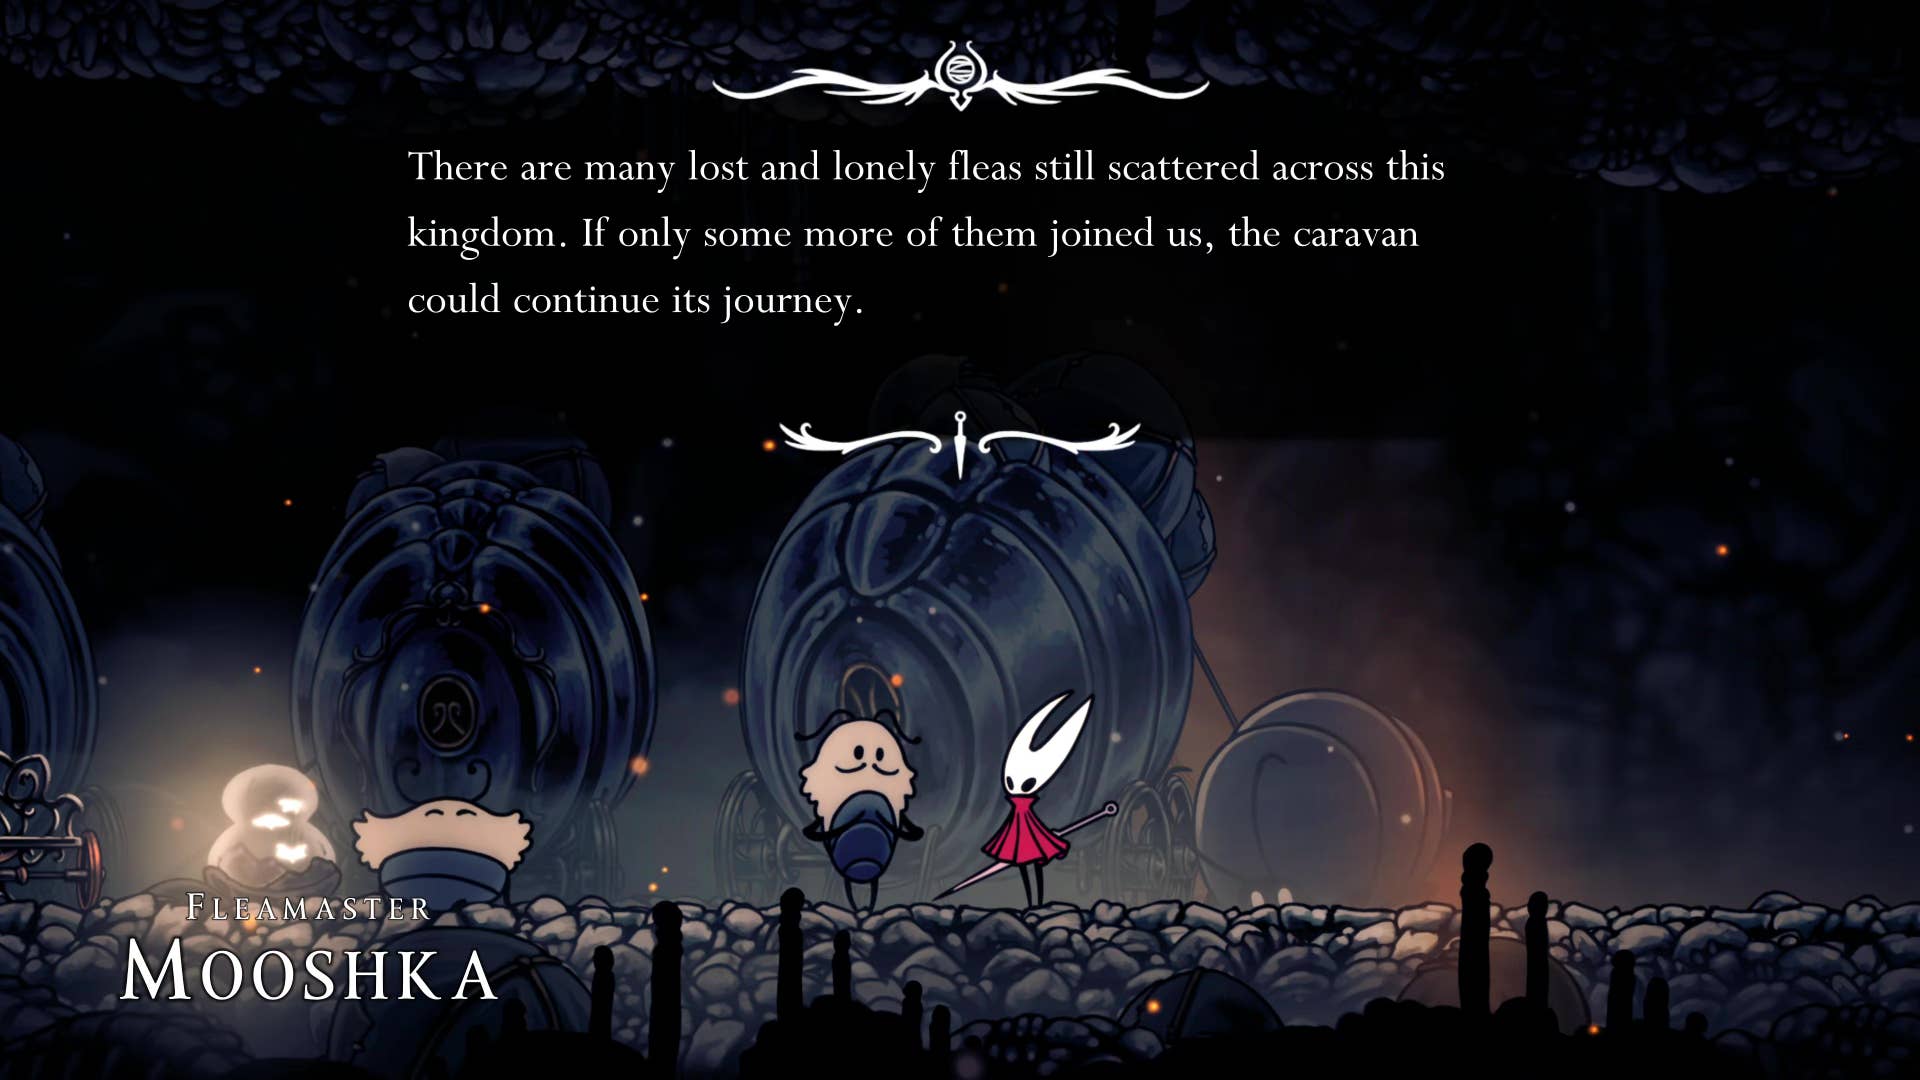
Talk to him and he gives you a quest to track and return the lost fleas that have been scattered around the land. There is also a bench here where you can rest before you venture out.
4. Gets the shell pendant.
From the caravan, use the platform to the right and climb up until you reach the shelf on the wall on the left. Here you will attack the wall and reveal a secret passage. Kill the enemies inside, reach the edge and plunder the rosary’s cache, then go back and continue climbing upwards.
Once you reach the top, head straight to the right until you reach the end of the pass. Finally, next to the spikes, you can plunder the frayed rosary string.
Once that’s done, head left to the next room and you’ll come out midway through a long vertical passage. To get the bearings – if you had photographed the upper left exit instead of the exit leading to the chisel, it would have appeared at the bottom of this vertical passage.
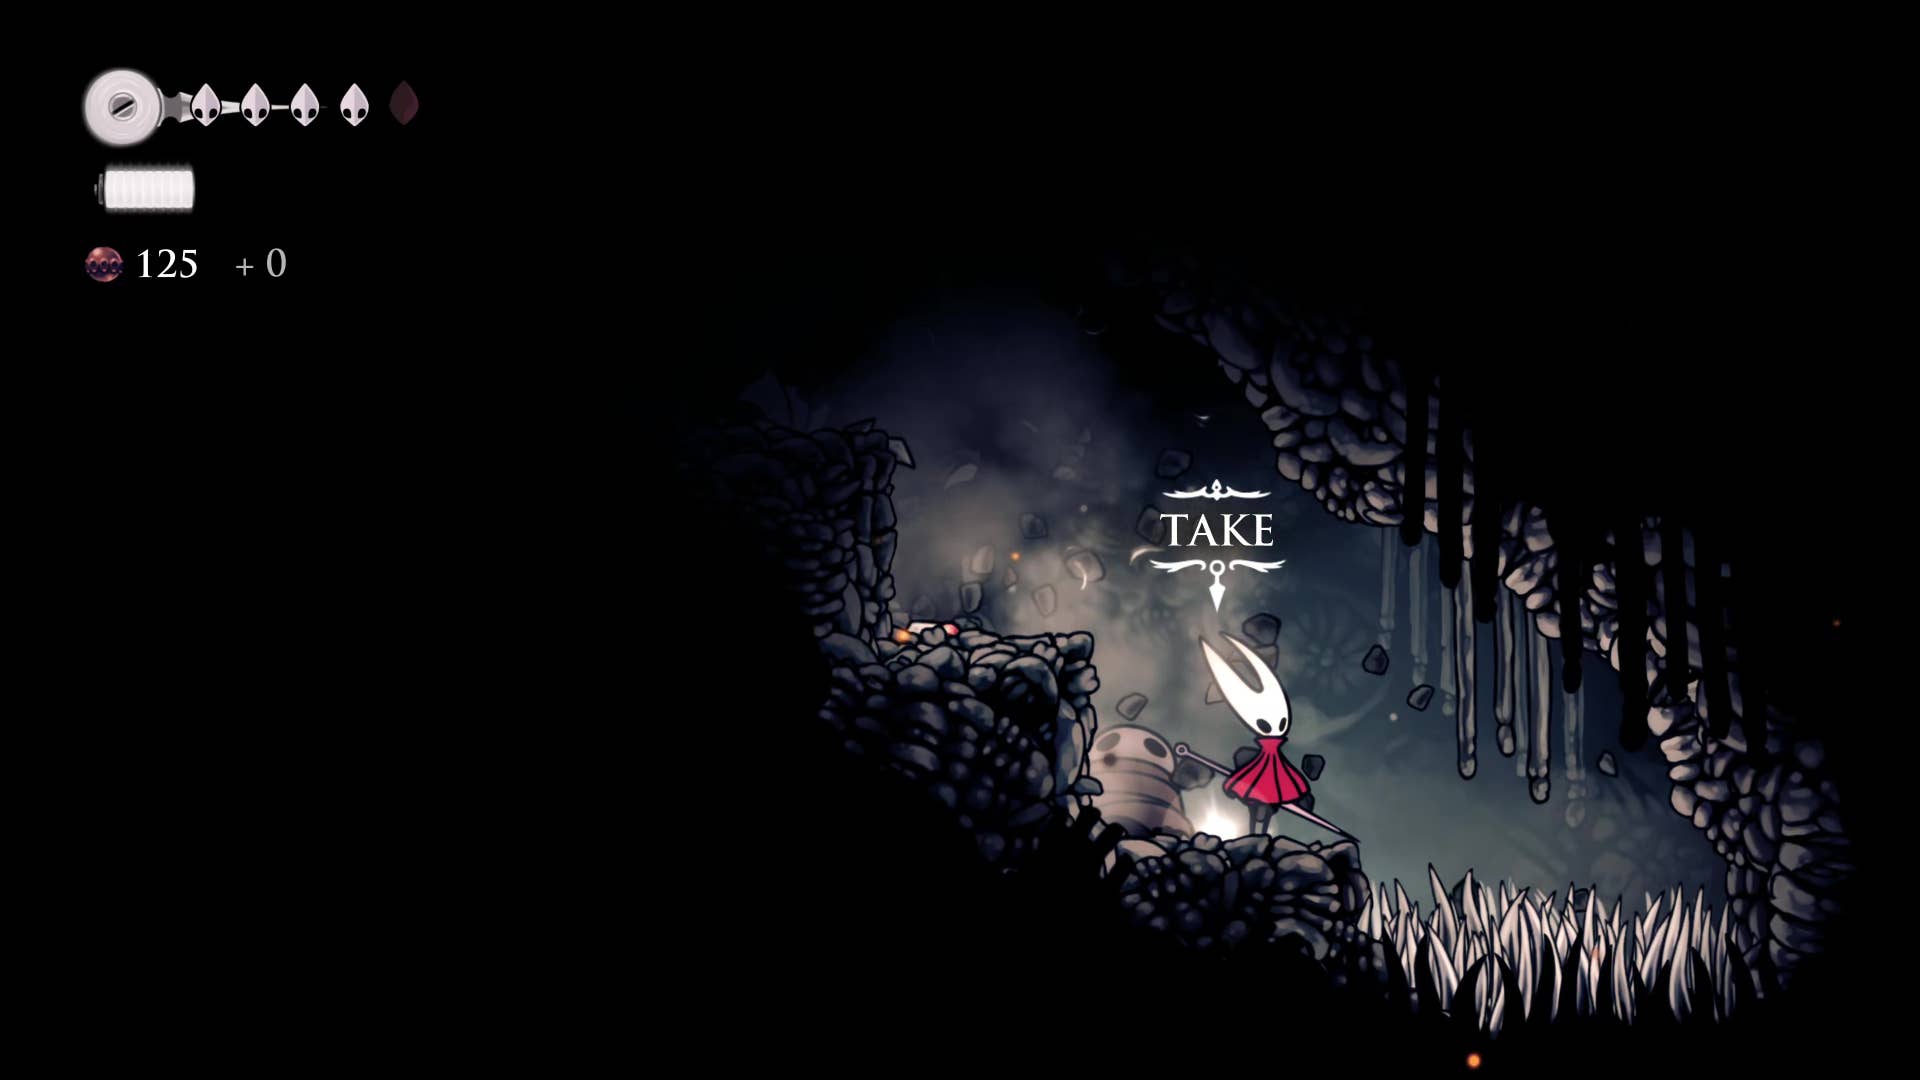
Drop some shelves until you see another boney platform protected by the enemies of the large, charged skull. Pass the creature, go left and enter a small dark room where you can plunder Shard Pendant Tools from the ground.
What does a shell pendant do?
5. Meet Shakura and buy your first map.
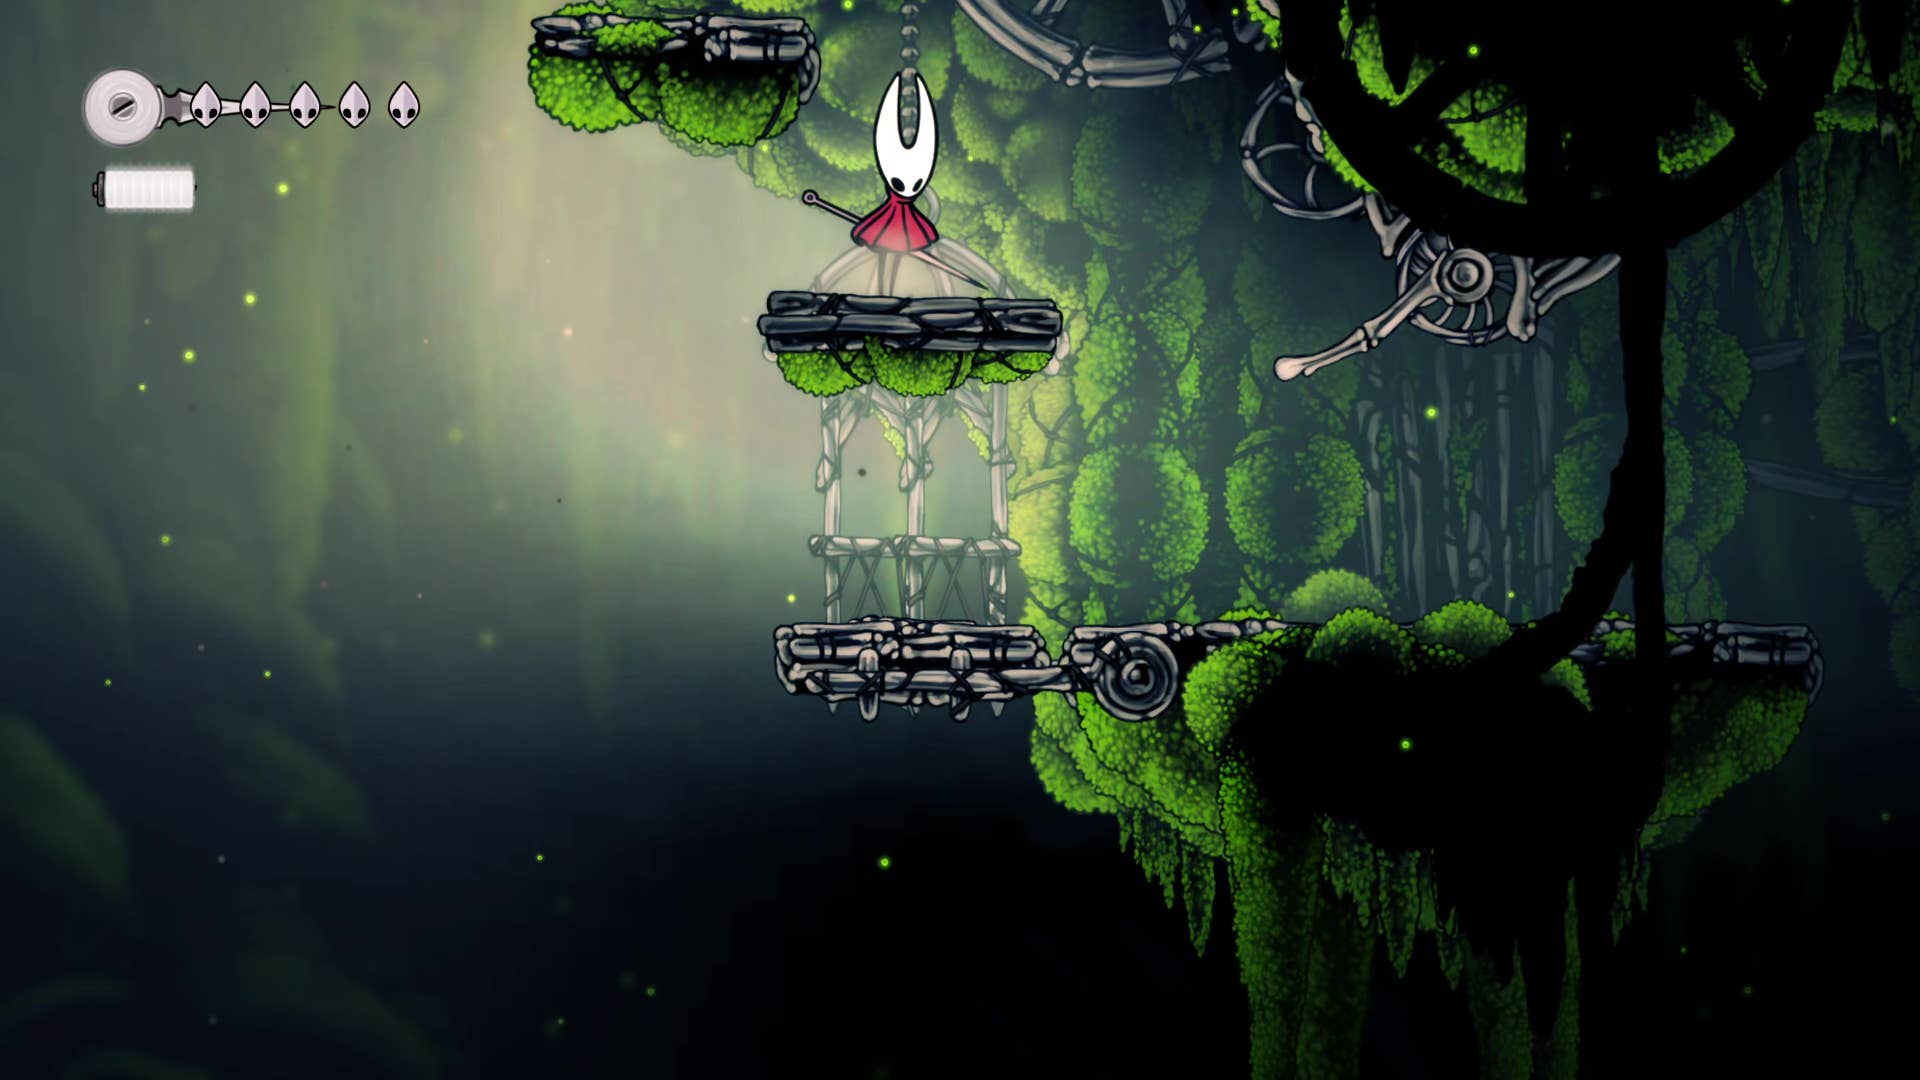
Go back to the vertical path and climb as much as you can use the (collapsing) platform. Pass the exit, take left and enter your new room.
From the platform hanging in a chain, drop down to the right to open the Rosary Cache. Next, proceed along the ground to the left and press the lever to lower the hanging platform.
Now, backtrack it, this time head left on the top shelf. Using the newly lowered platform, you can reach even higher shelves with yet another lever. Another Platform. This platform will fall into the room below, but don’t chase it. It only leads to where you came from, and the dropped platform acts as a shortcut back here.
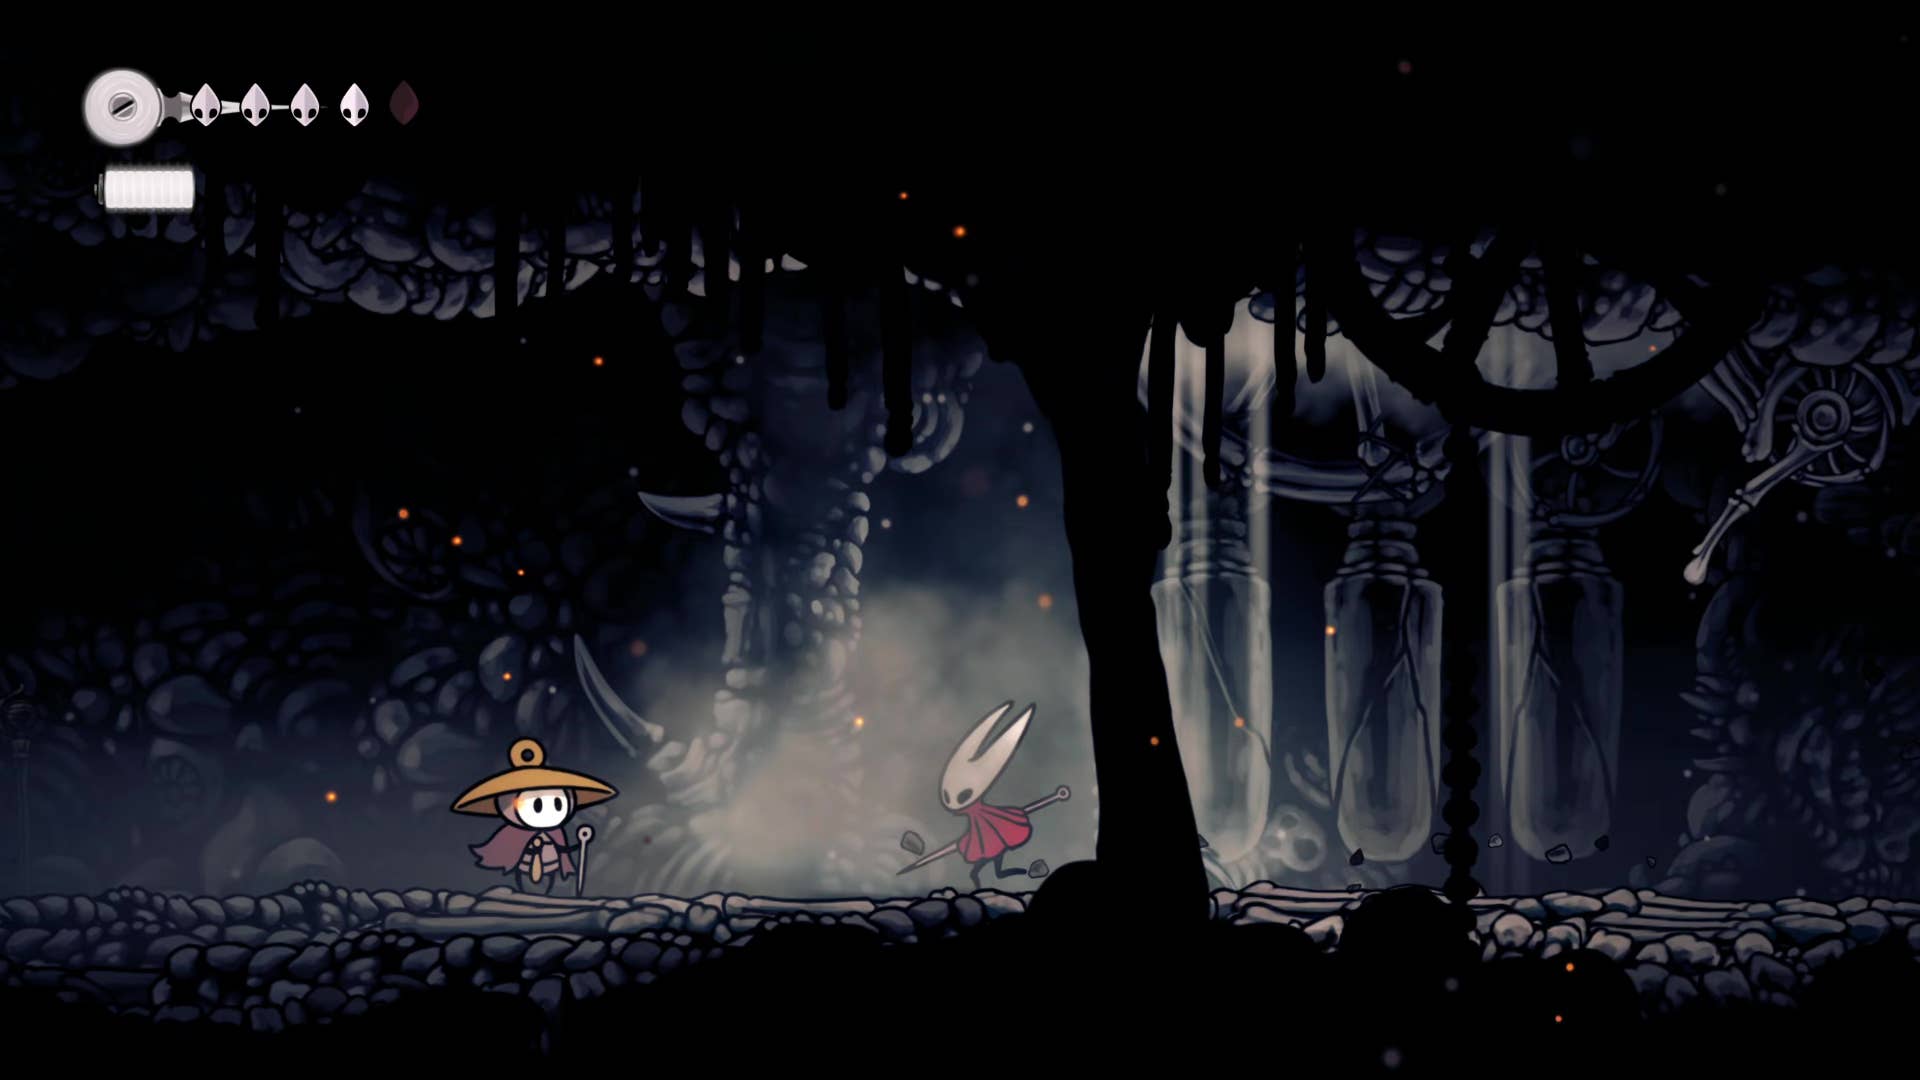
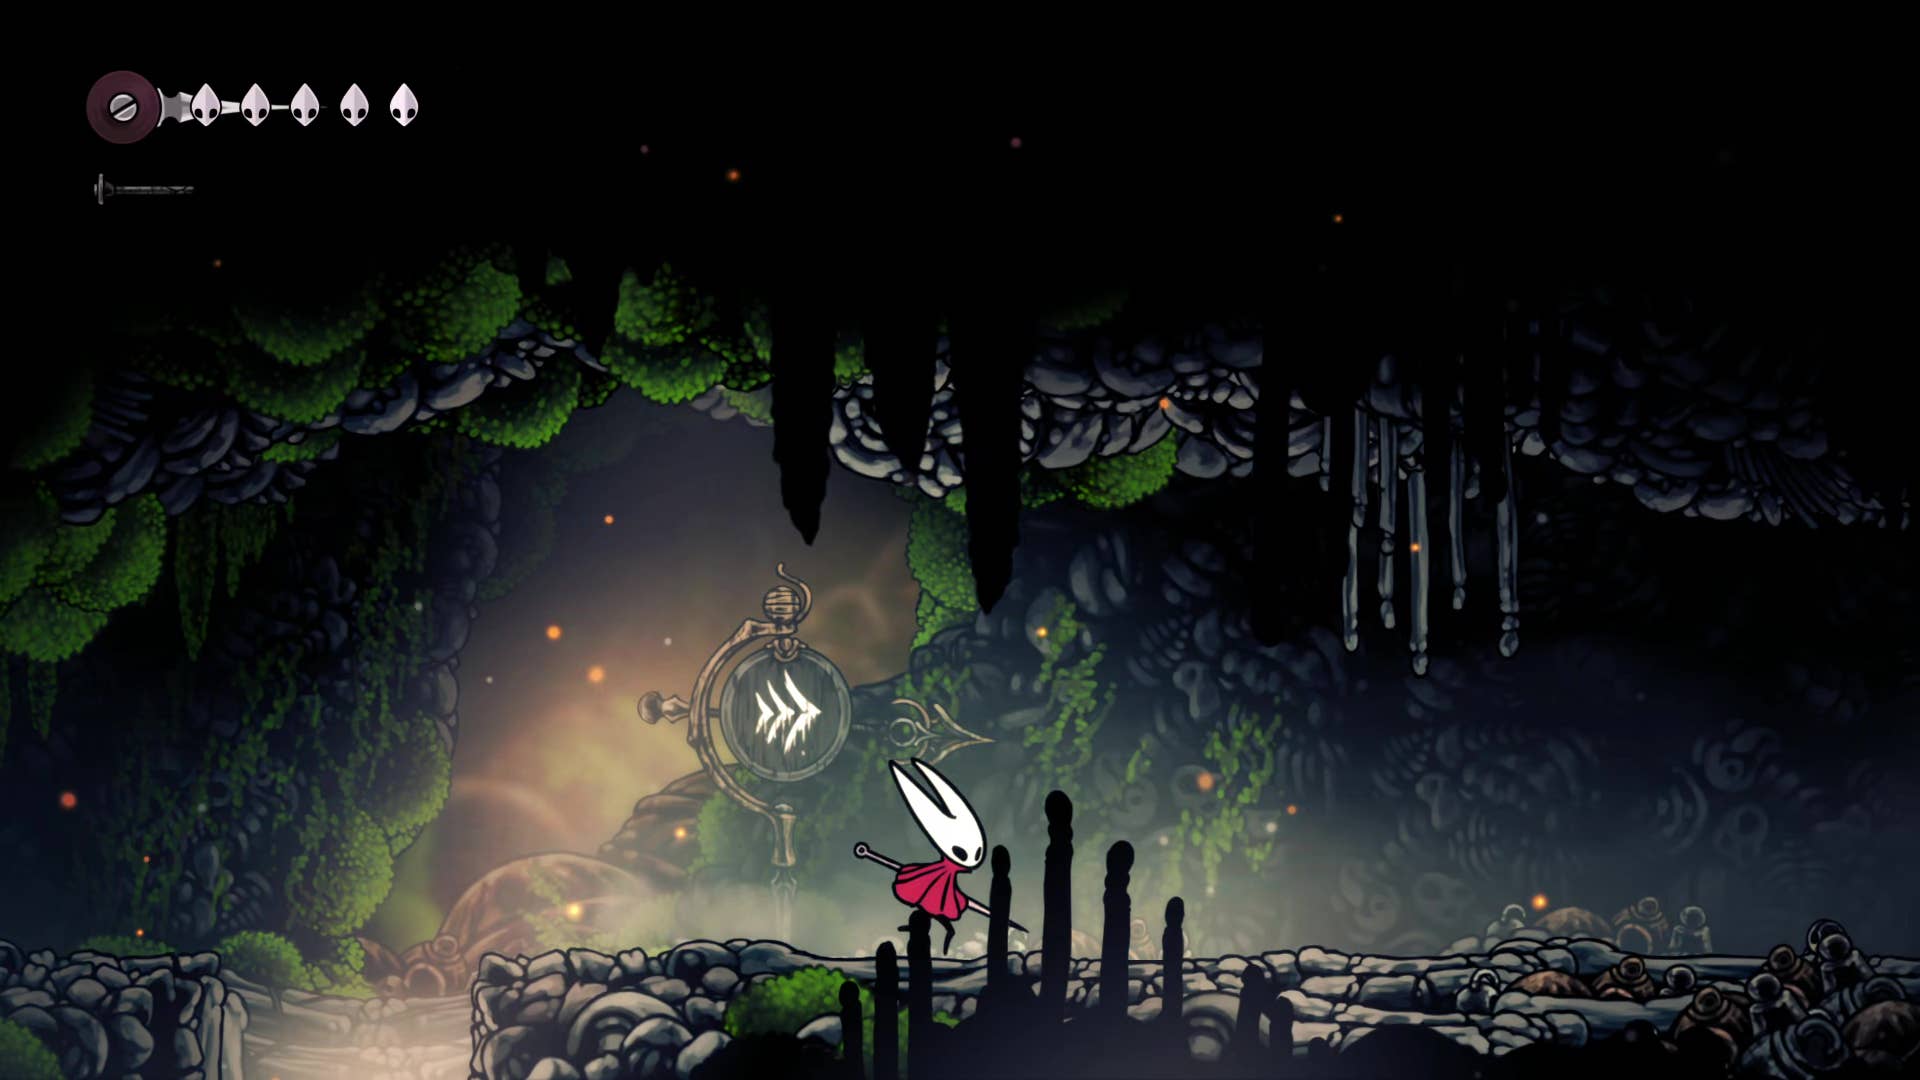
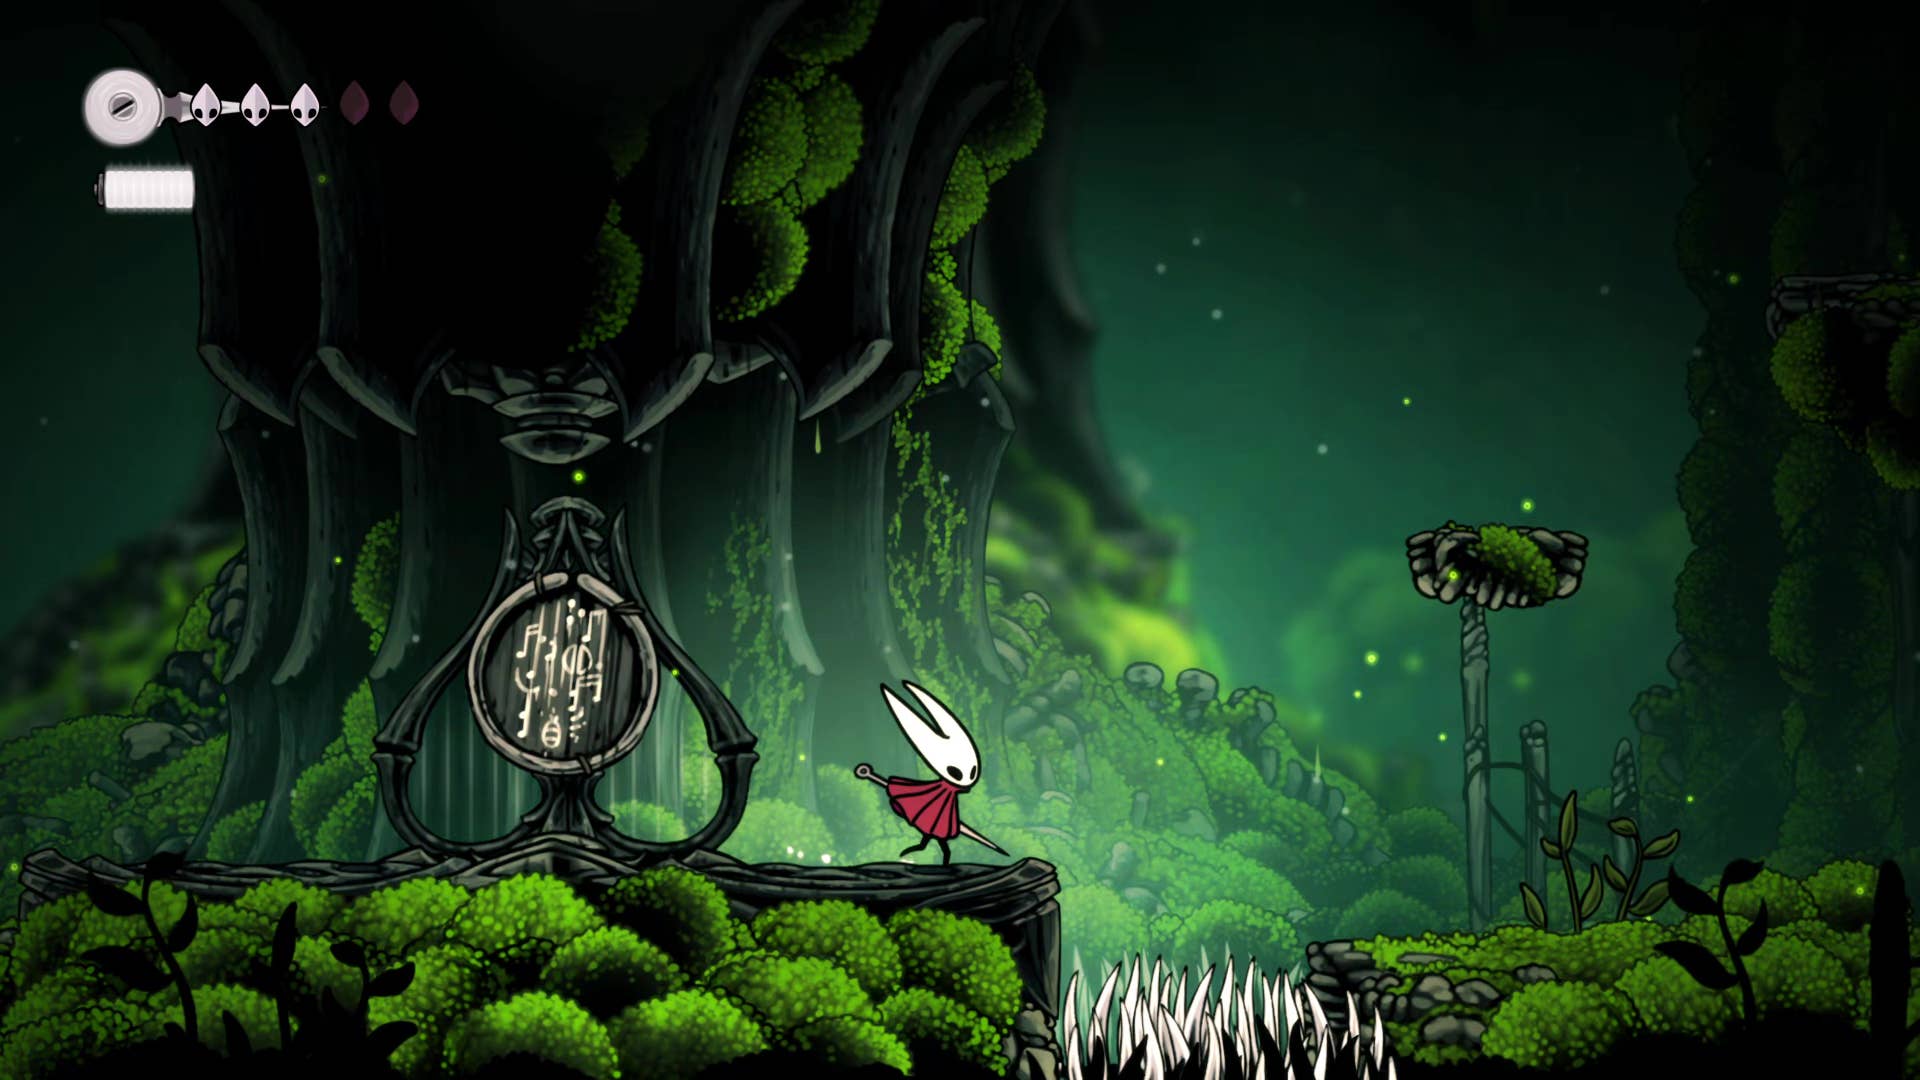
Head to the left of the room and you hear a singing sound. Get closer to the source of the song – after a rather terrifying introduction, you will meet Shakura. She is a fellow warrior and, crucially, the creator of the map.
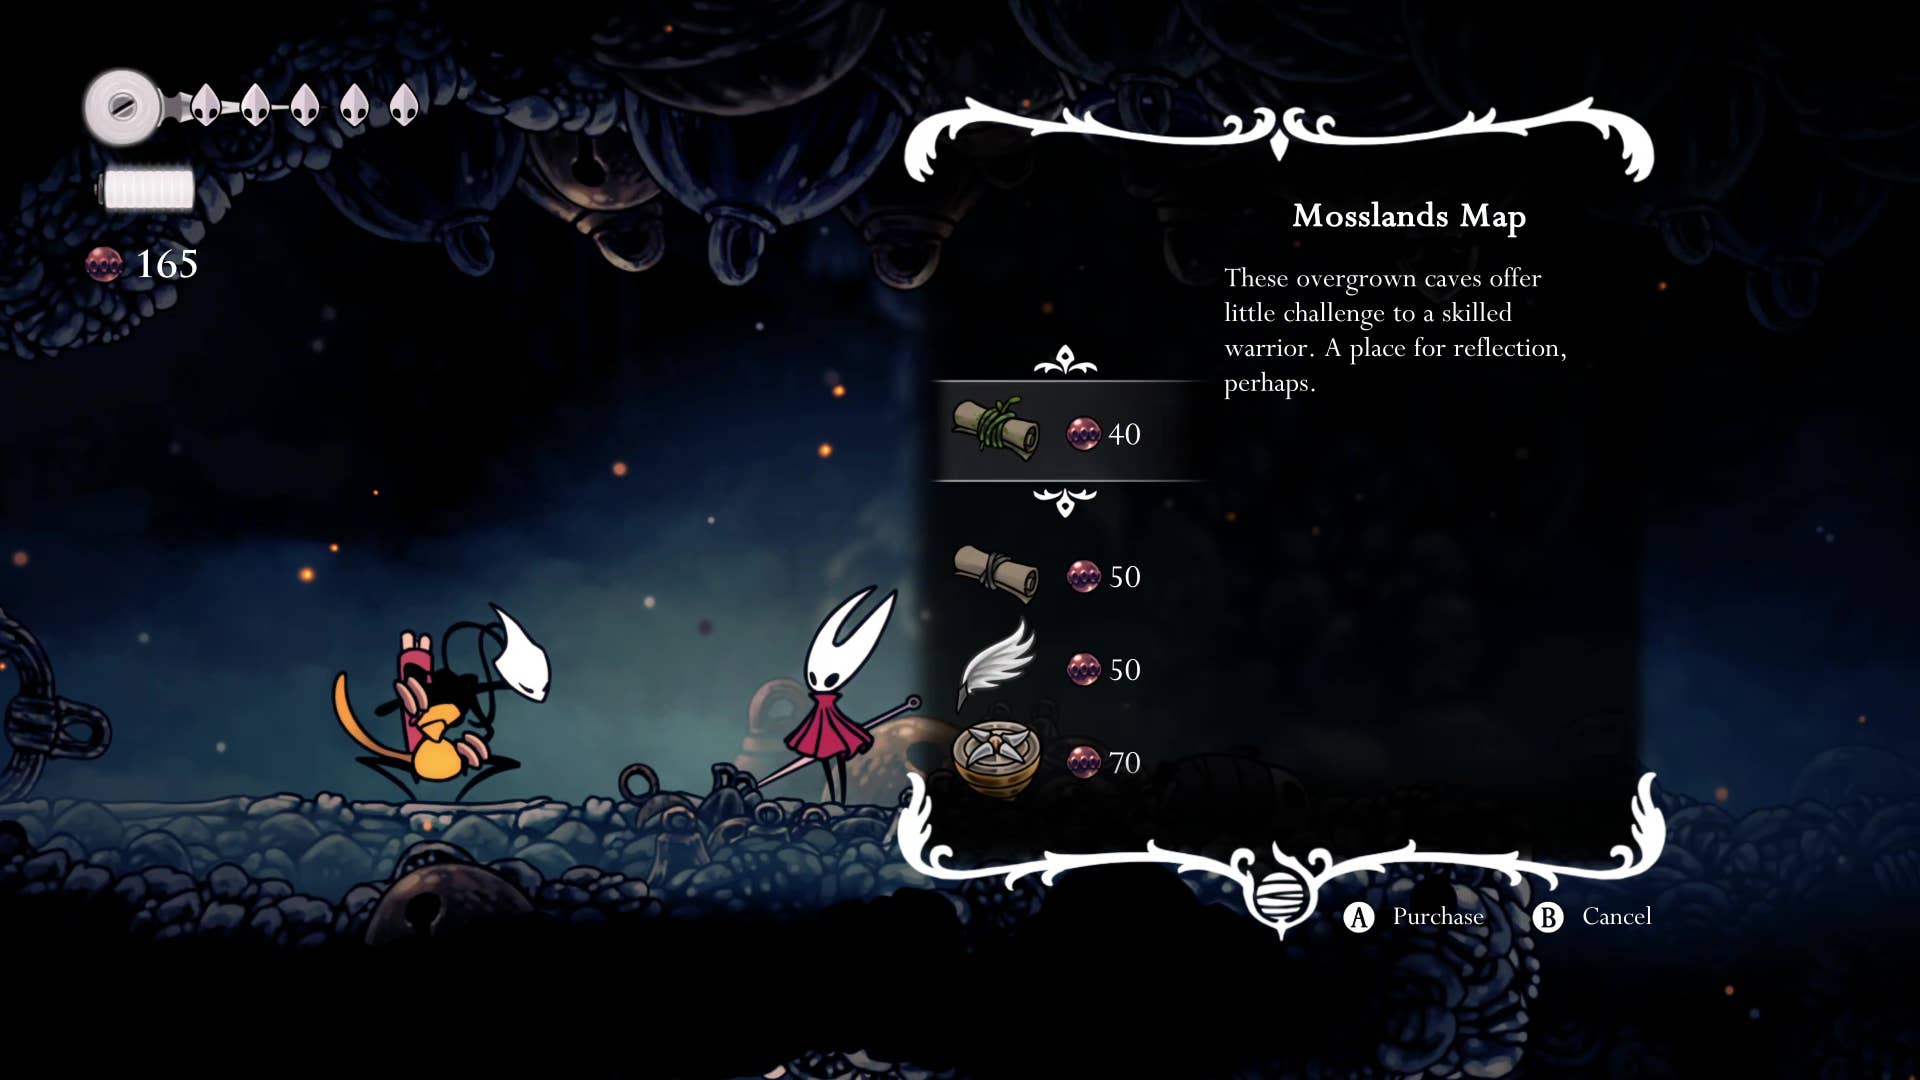
By this point you will need to save enough rosary to purchase both the Mossland and Marrow maps. If possible, buy quills so that you can add them to these maps. And if you’re really stocking up, buy a compass too. This will display your location on the map. Otherwise you can come back later, but these tools are extremely useful and should be a priority.
6. The venture left to unlock a nearby bench.
From the Shakura location there is an upward exit and a lower left exit. Repeat the exit on the left a little first. Explore a bit and unlock the nearby bench.
This next room appears to have returned to Moss’ Cave. In fact, we are more than that. The enemies of the ghost pilgrims here want to jump you, so beware. Fighting the road across the room, you can plunder the hanging Rosary Beads. Next, climb to the right of the platform and follow the path that comes out of the room.
Ah, that’s a bench! How about that? Put it on and then press the lever up to the right to open access to the rest of the Shakura room.
7. Return the elevator to the village.
There is a very handy shortcut that allows you to unlock by going left from the bench before heading up. Once you return to the top of the shelf you climbed up and arrive here, you will find the top shelf in the top left of the room. The only way to get up here is to pogo from the top of the flying insect enemy there. This may require several attempts. If you’re wrong, leave the room and go back again to respawn the enemy and try again.
Once you reach that shelf, leave your room and drop off the first hole by the village sign. There are some rosaries to plunder on the right, but continue until you reach the elevator. Press the lever next to the elevator to unlock it. From now on, you will be able to take this elevator from this location to the village below. The same goes for the opposite.
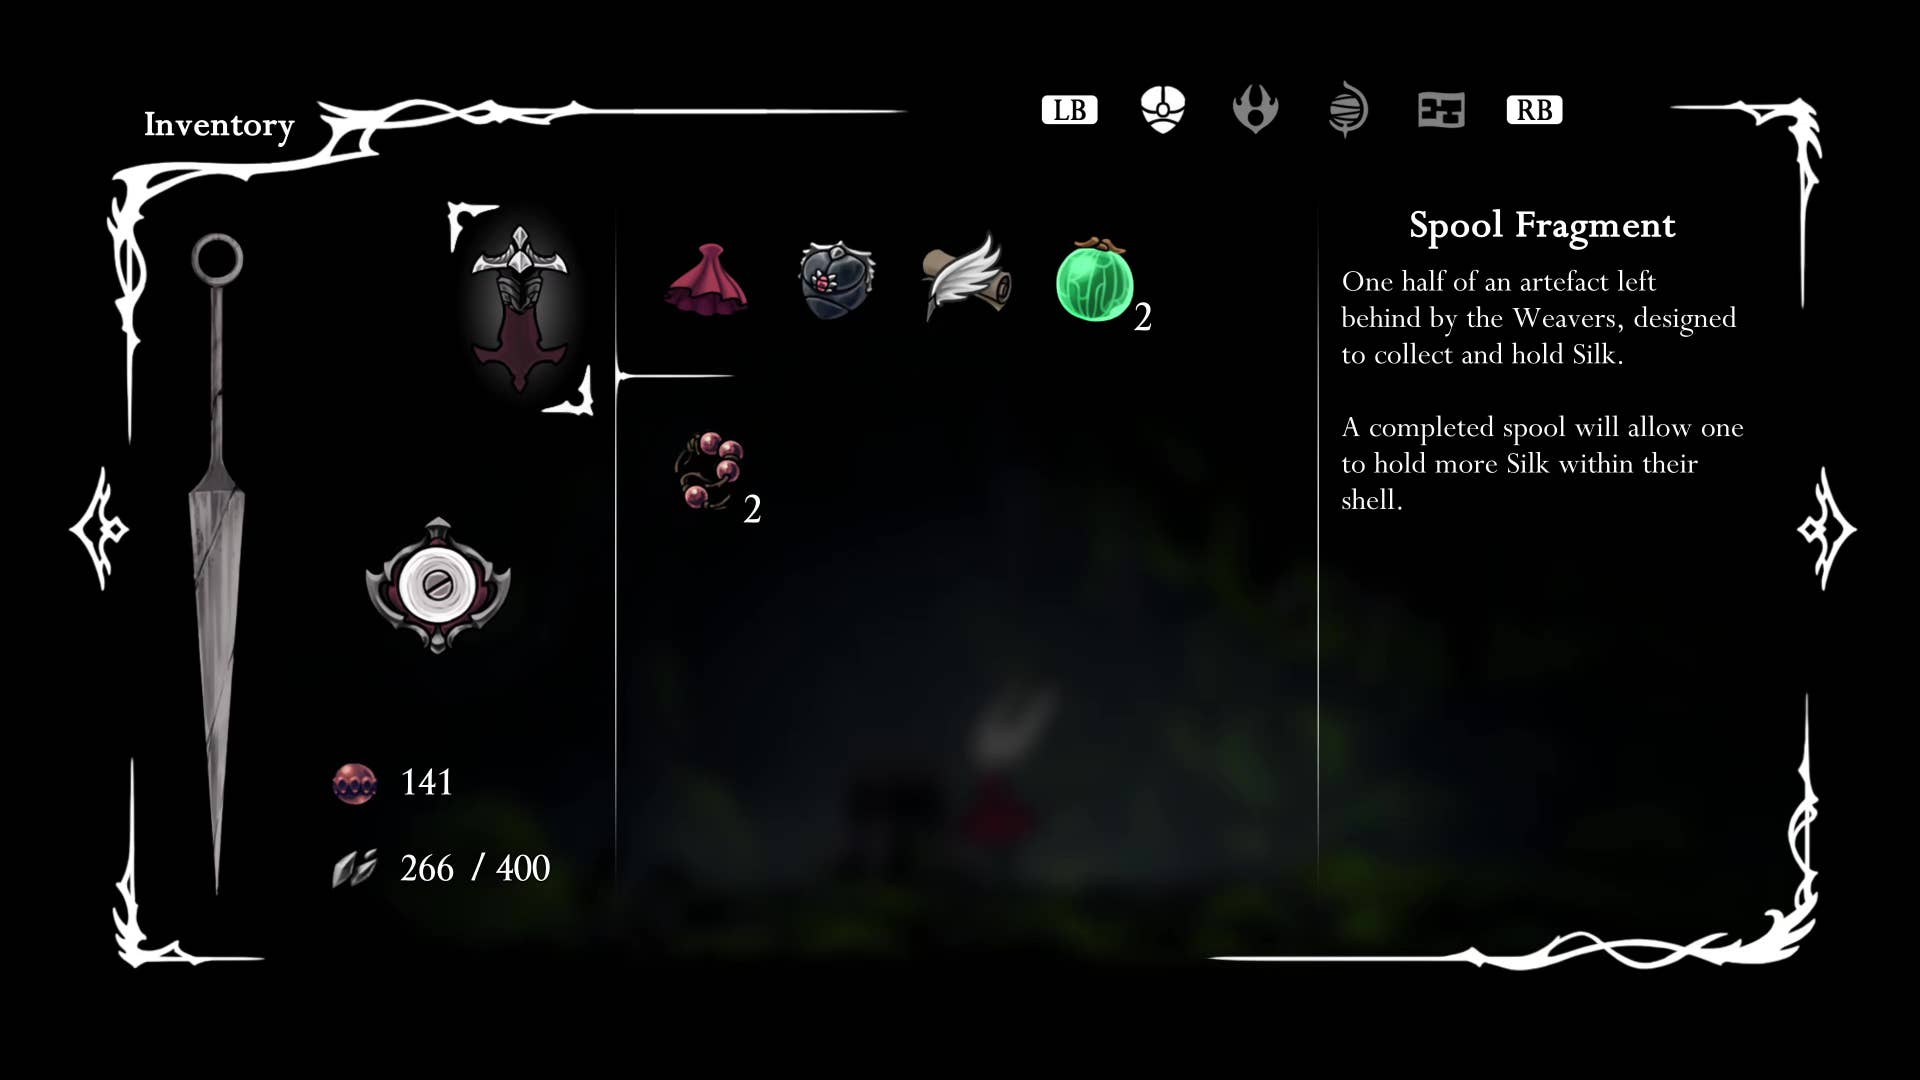
8. Collect hidden spool pieces.
From the elevator (at the highest level, not the village level), head right and kill any flying insects you encounter along the way. Go out to the next room on the right and follow the path to find the rosary cache. Also, if you cut the rope, the spike trap will activate on the floor, so be careful when entering.
Before you set off, attack the wall below the Rosary Cache, enter the secret room and plunder the first fragment of the spool. It does nothing in itself, but when combined with another, it permanently increases the maximum amount of silk for more effective skill casting.
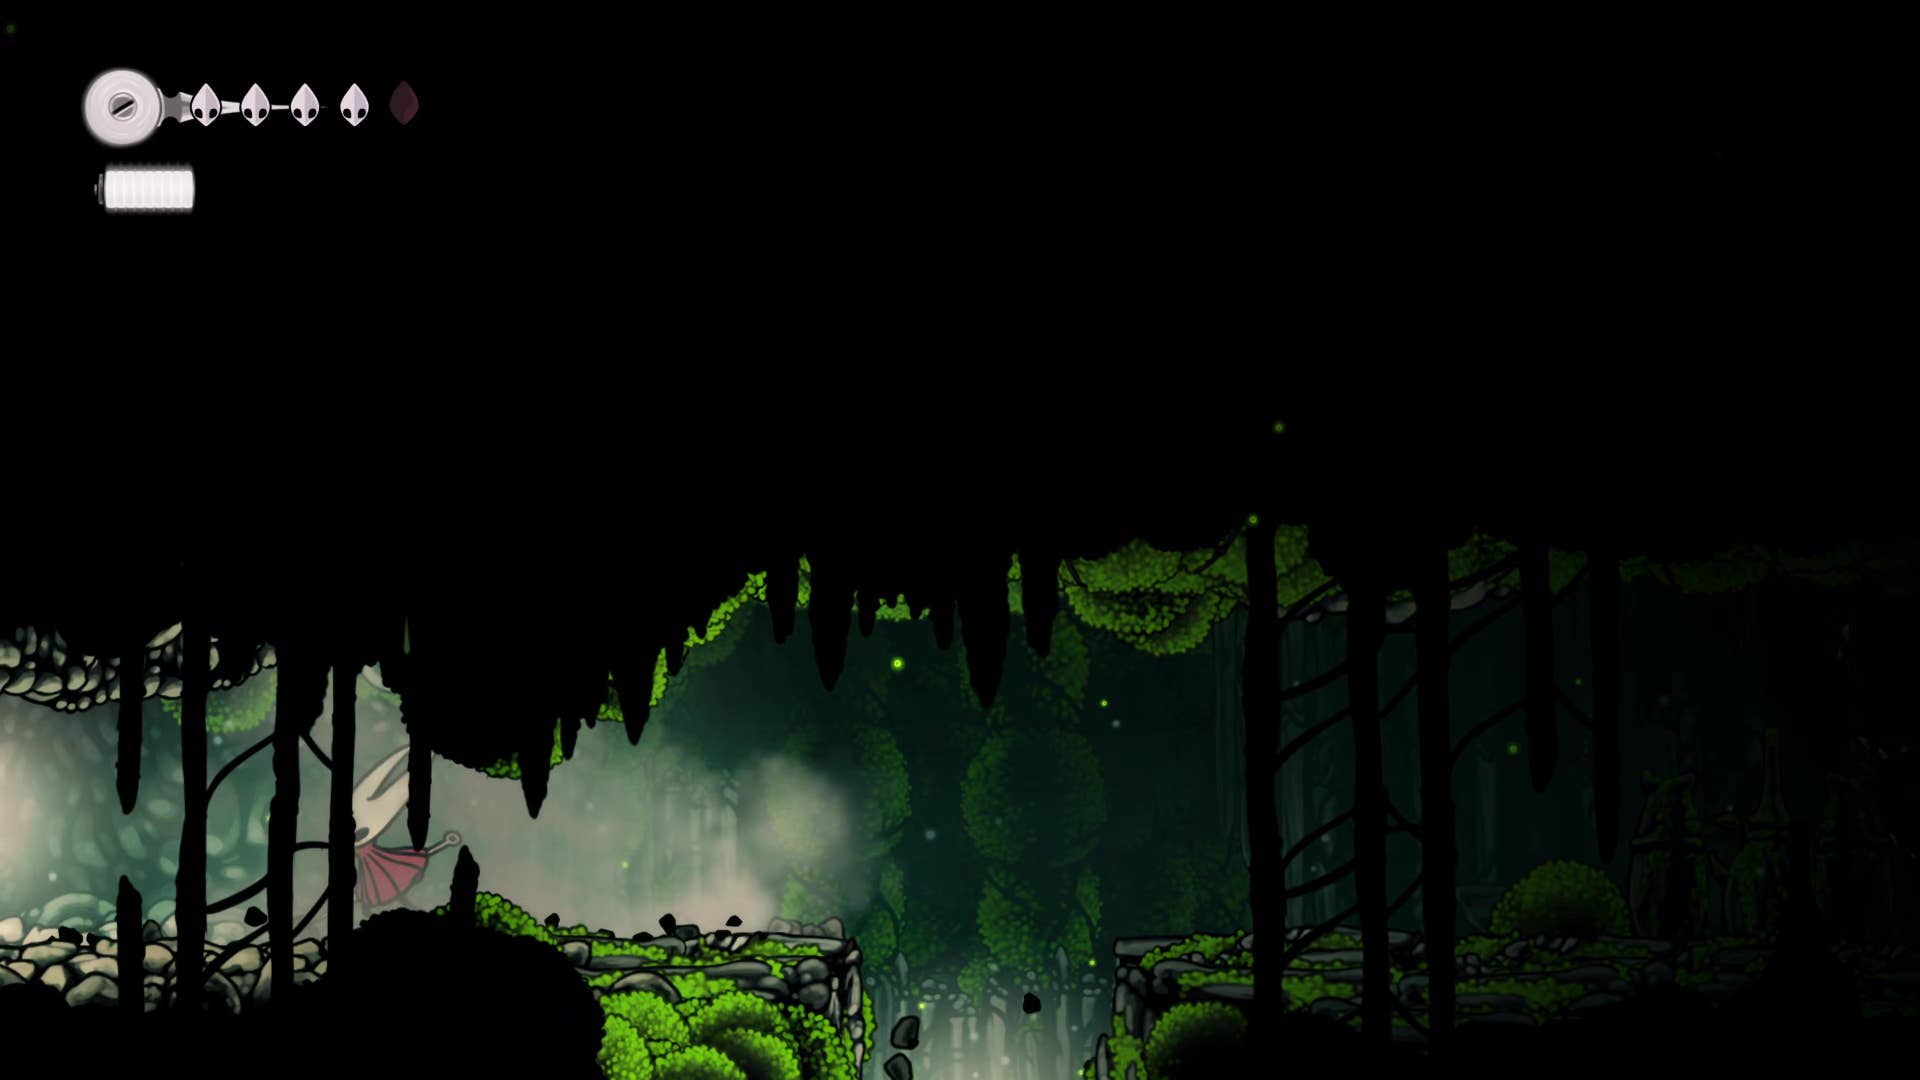
9. Explore the above and go to Mosshome.
Now it’s time to explore the above room where he finally found the cartographer Shakura. Return to the elevator. Along the way, you may see flying insects holding something green and sparkling. If necessary, you can try and attack Mosbury to drop it when he dies. Fall into the village several times and prepare to return to the summit through the elevator.
Either way, when you’re ready, head upwards from the elevator and follow the steps to the latest unlocked bench. If necessary, rest on the bench again and pass through the hole in the ceiling.
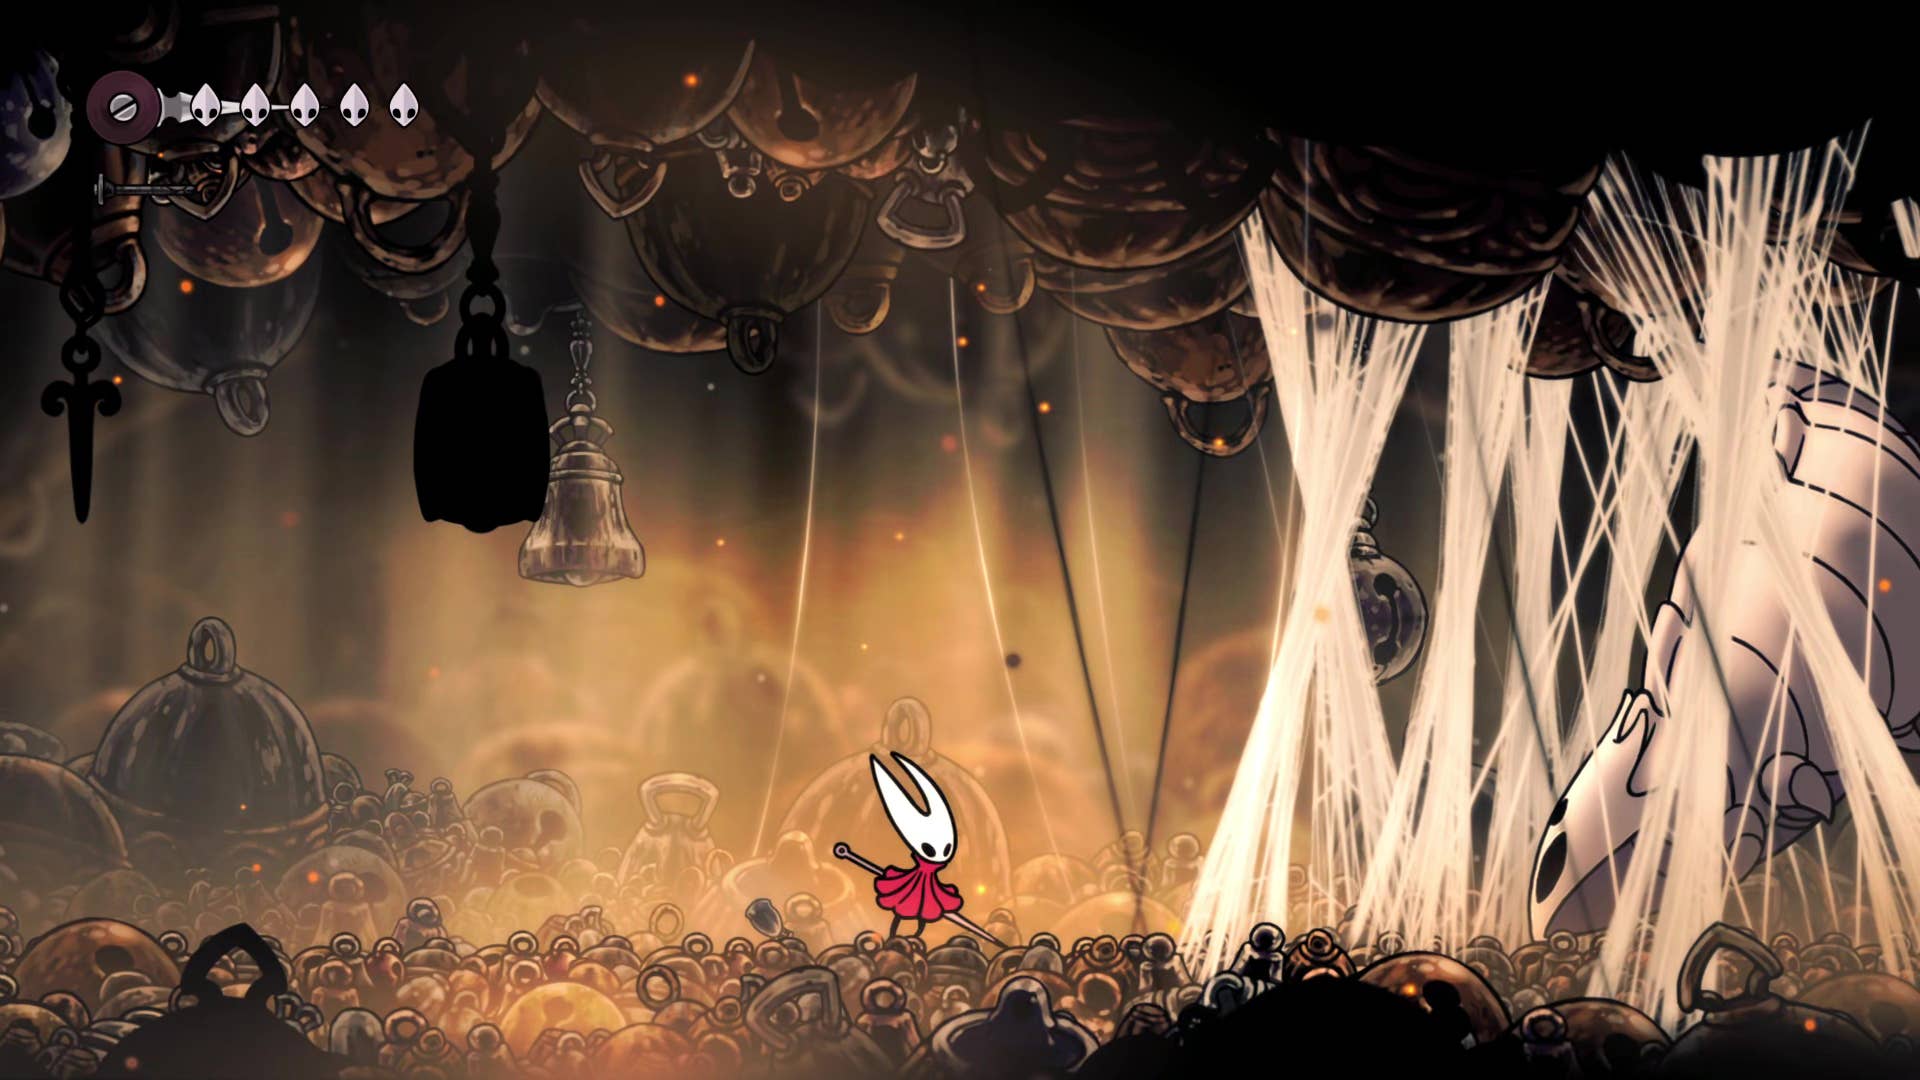
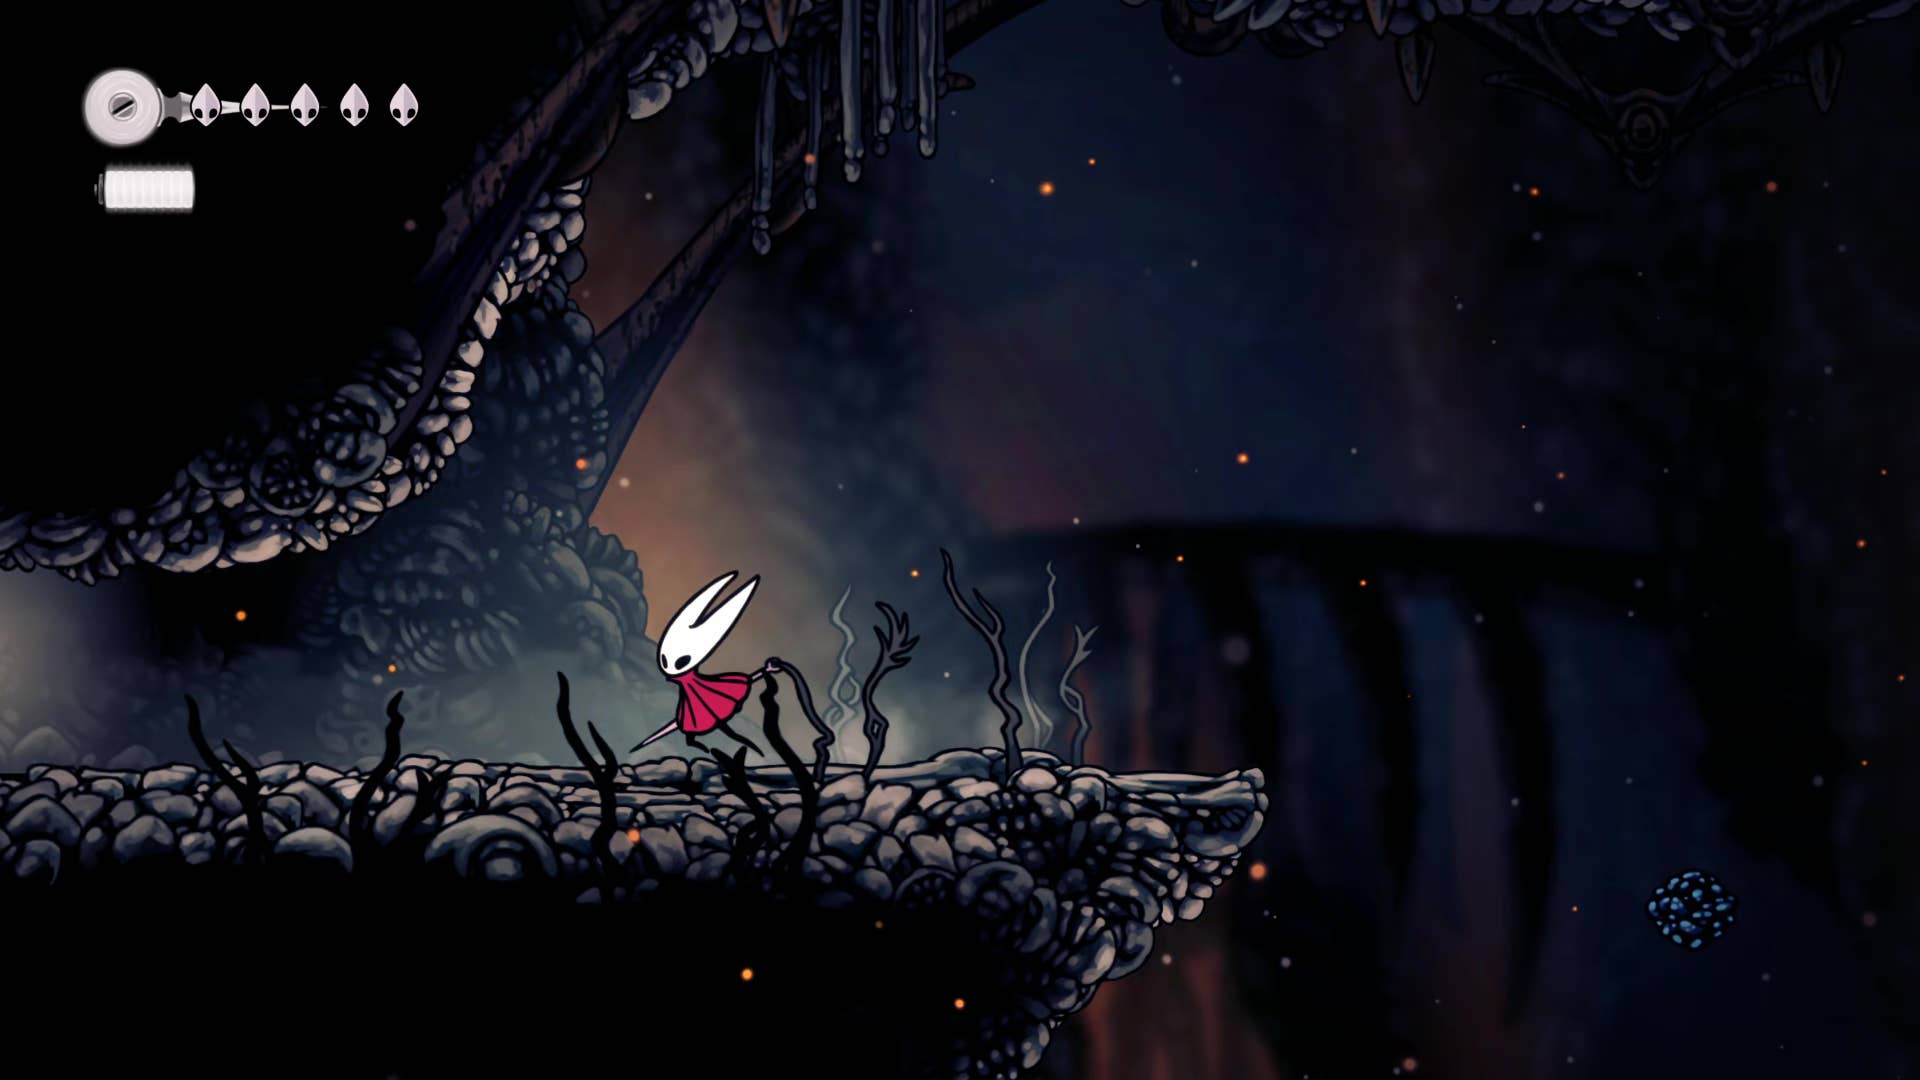
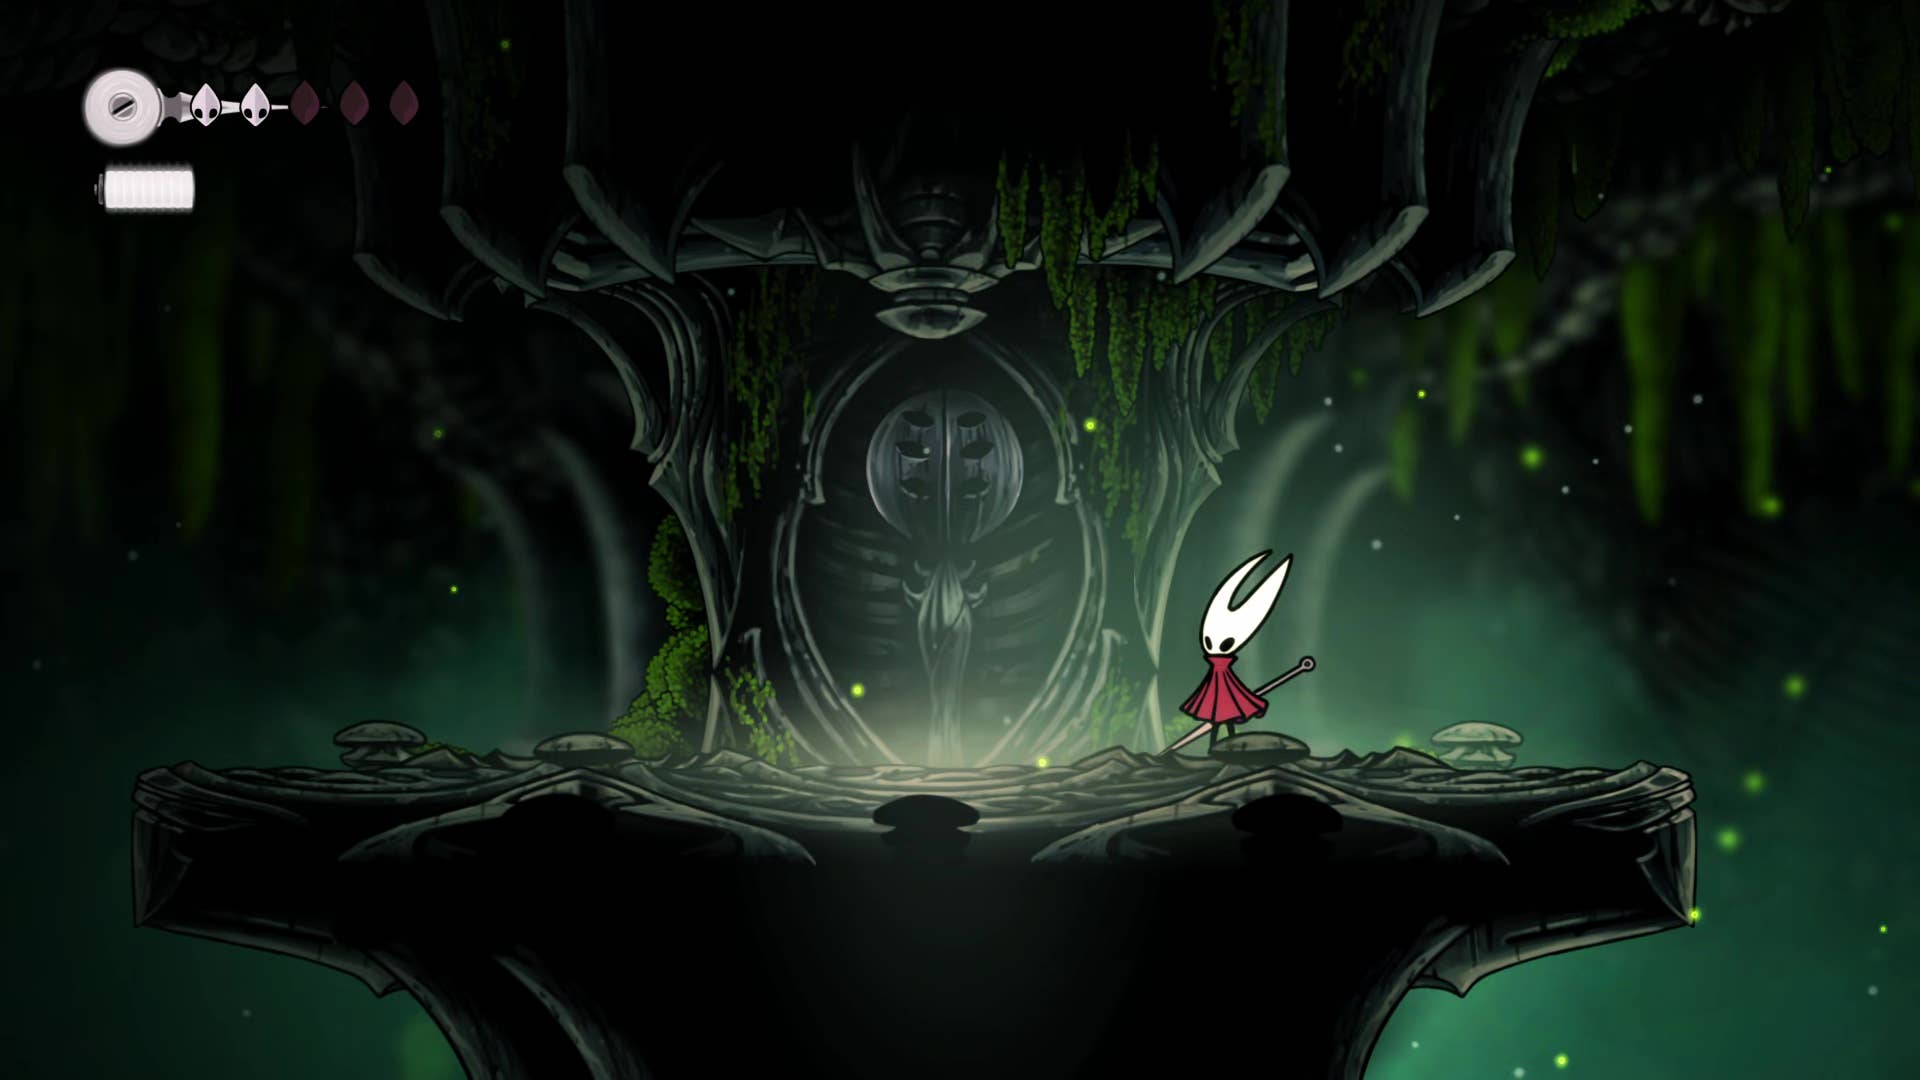
This is Moss Home. It looks like a Moss Cave, but is packed with pretty annoying enemies. To begin with, if you go right, you will encounter a rare sight. It is a very large creature, trapped in thick webbing. You can attack the webbing to refill your silk, but it does not release the creature. If you return to this place later (and you will), you may find a shama there, sing to try to free it. For now, leave it and instead head left, suitable for Mosshome.
Continue along the top shelf of Mosshome and pay particular attention to the pilgrim enemies throwing projectiles.
To the left edge of the room is a lever that hits to open the shortcut hole below. We investigate whether we want to see where it leads, but then go back and plunder the rosary beads slightly up and down the lever. After that, you will climb and leave the room.
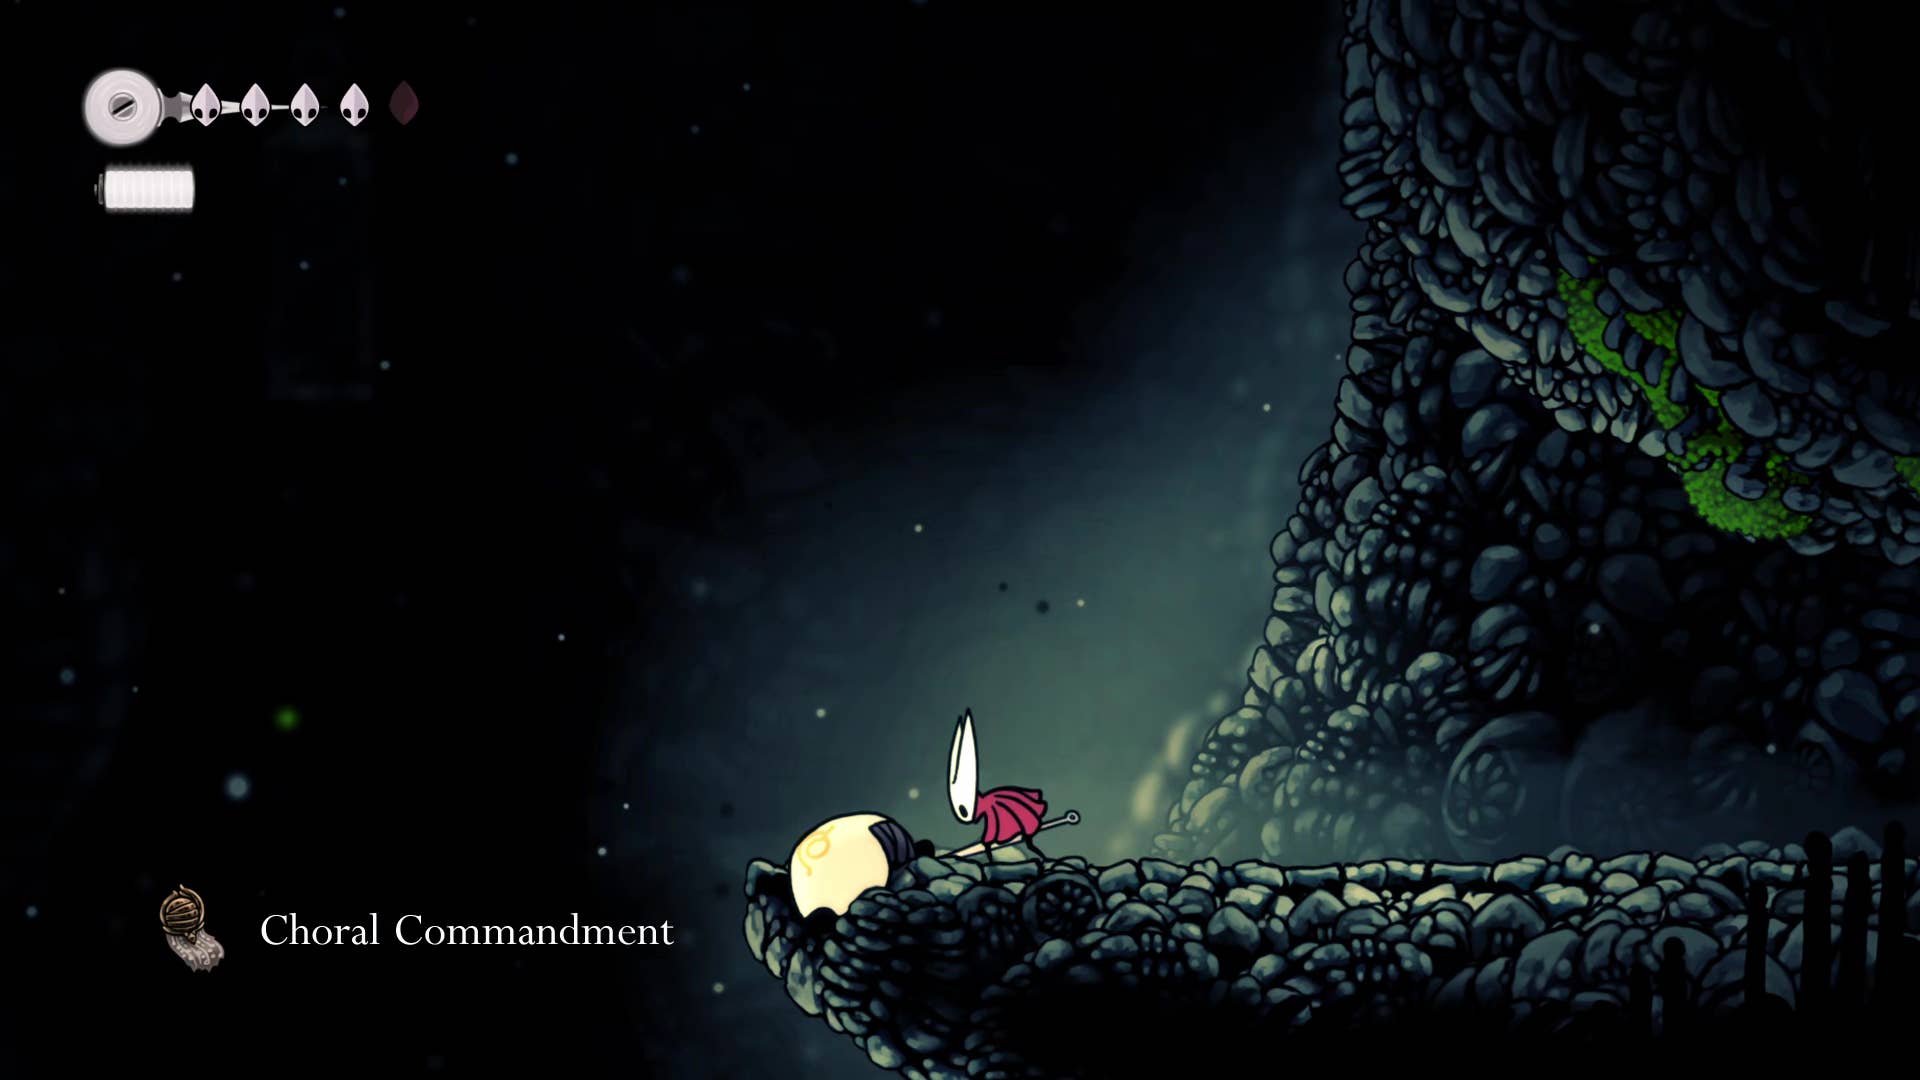
In the next room, attack the wall to the left of the wall to find a hidden secret shelf. Here you can plunder the commandments of the choir.
10. Gain Silkspeare skills.
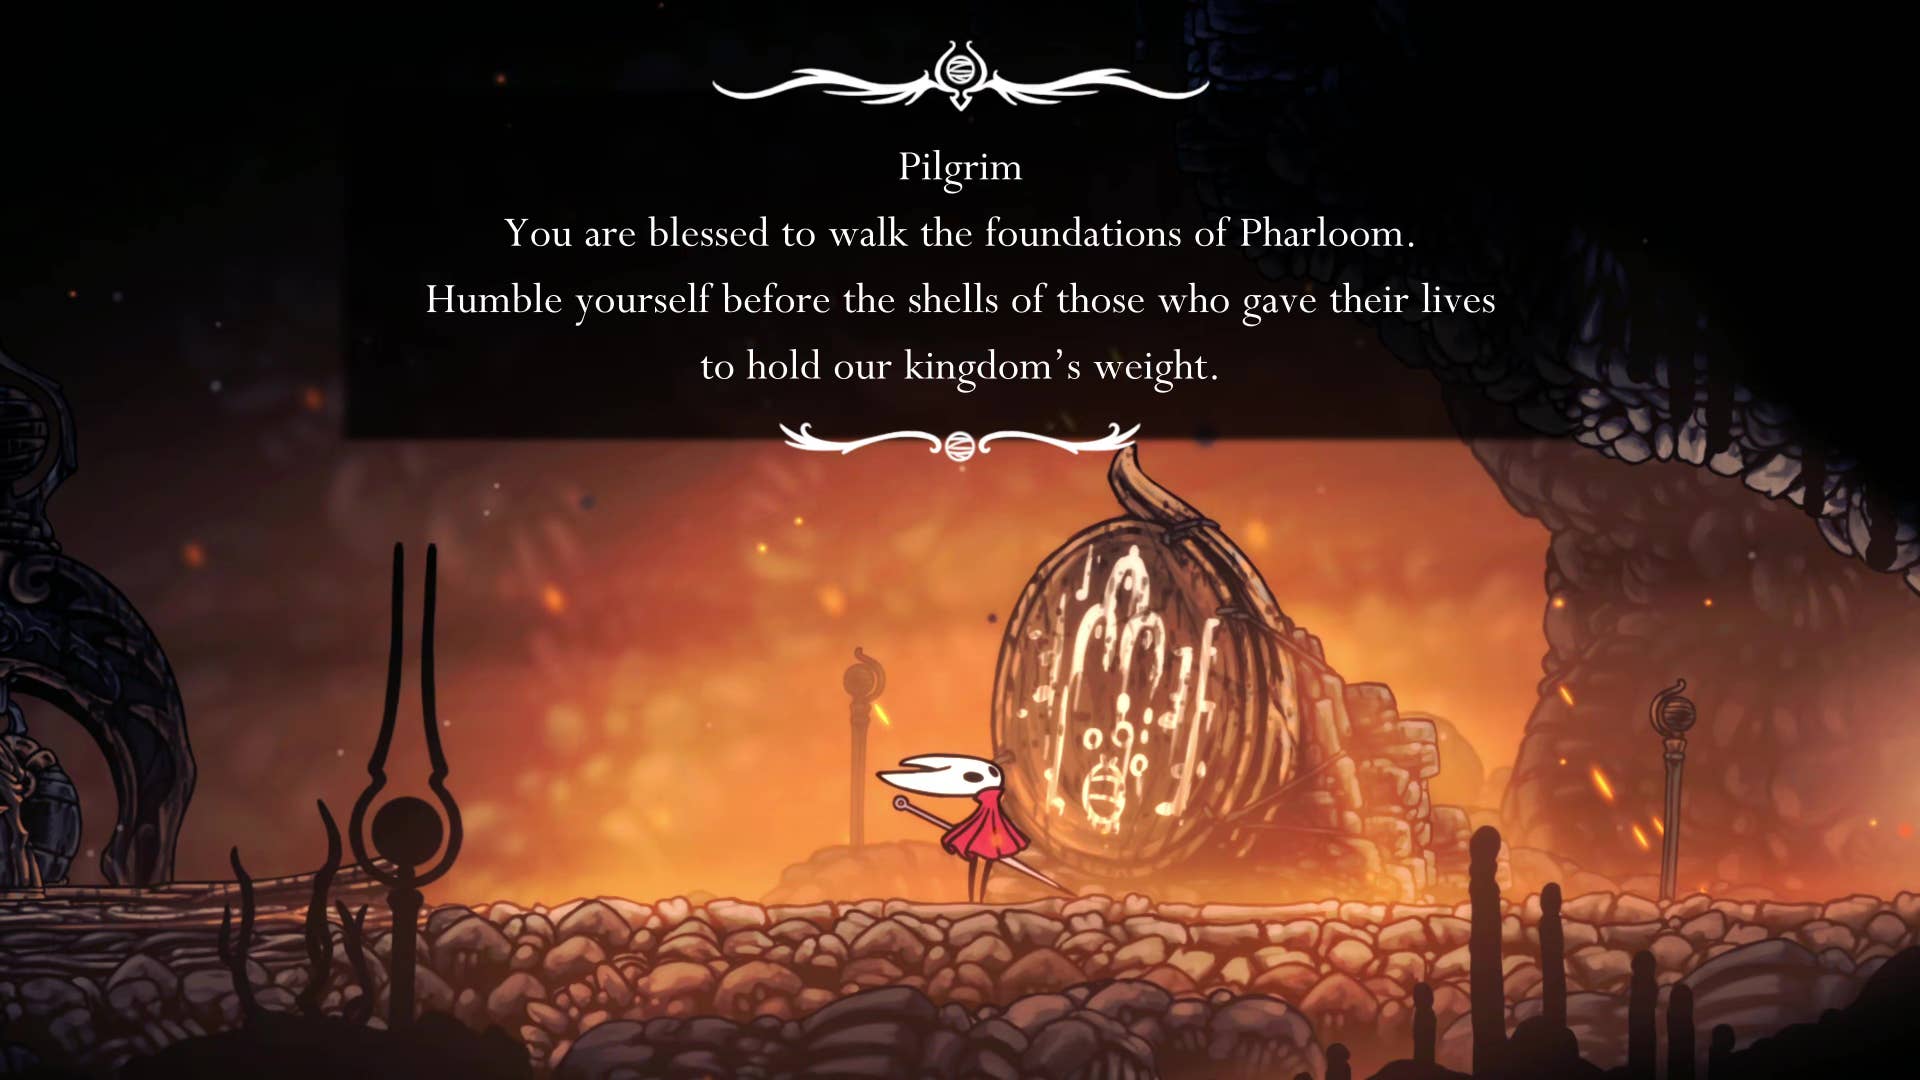
Go back to the right from the edge of the cliff and jump over the cliff trap on your way to the next room. A little further to the right, on the ground is another engraved plaque with lots of lore.

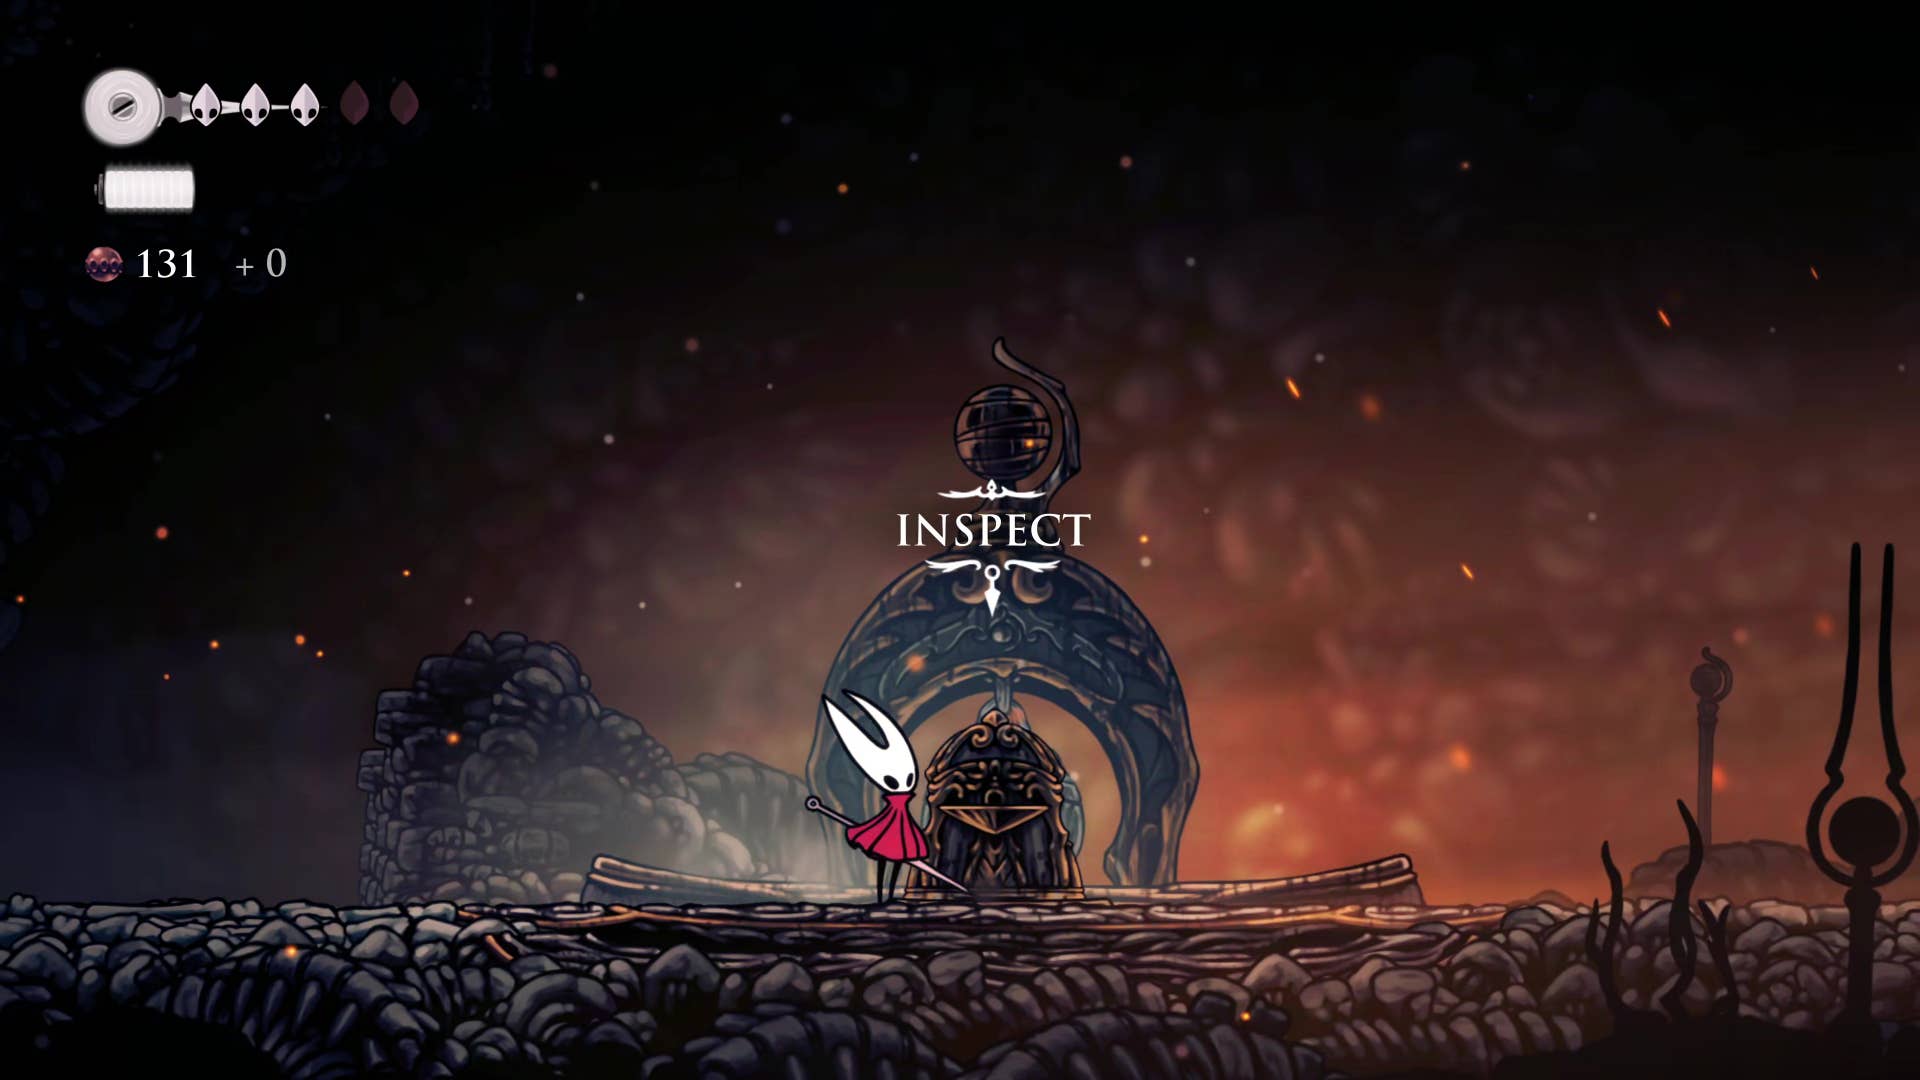
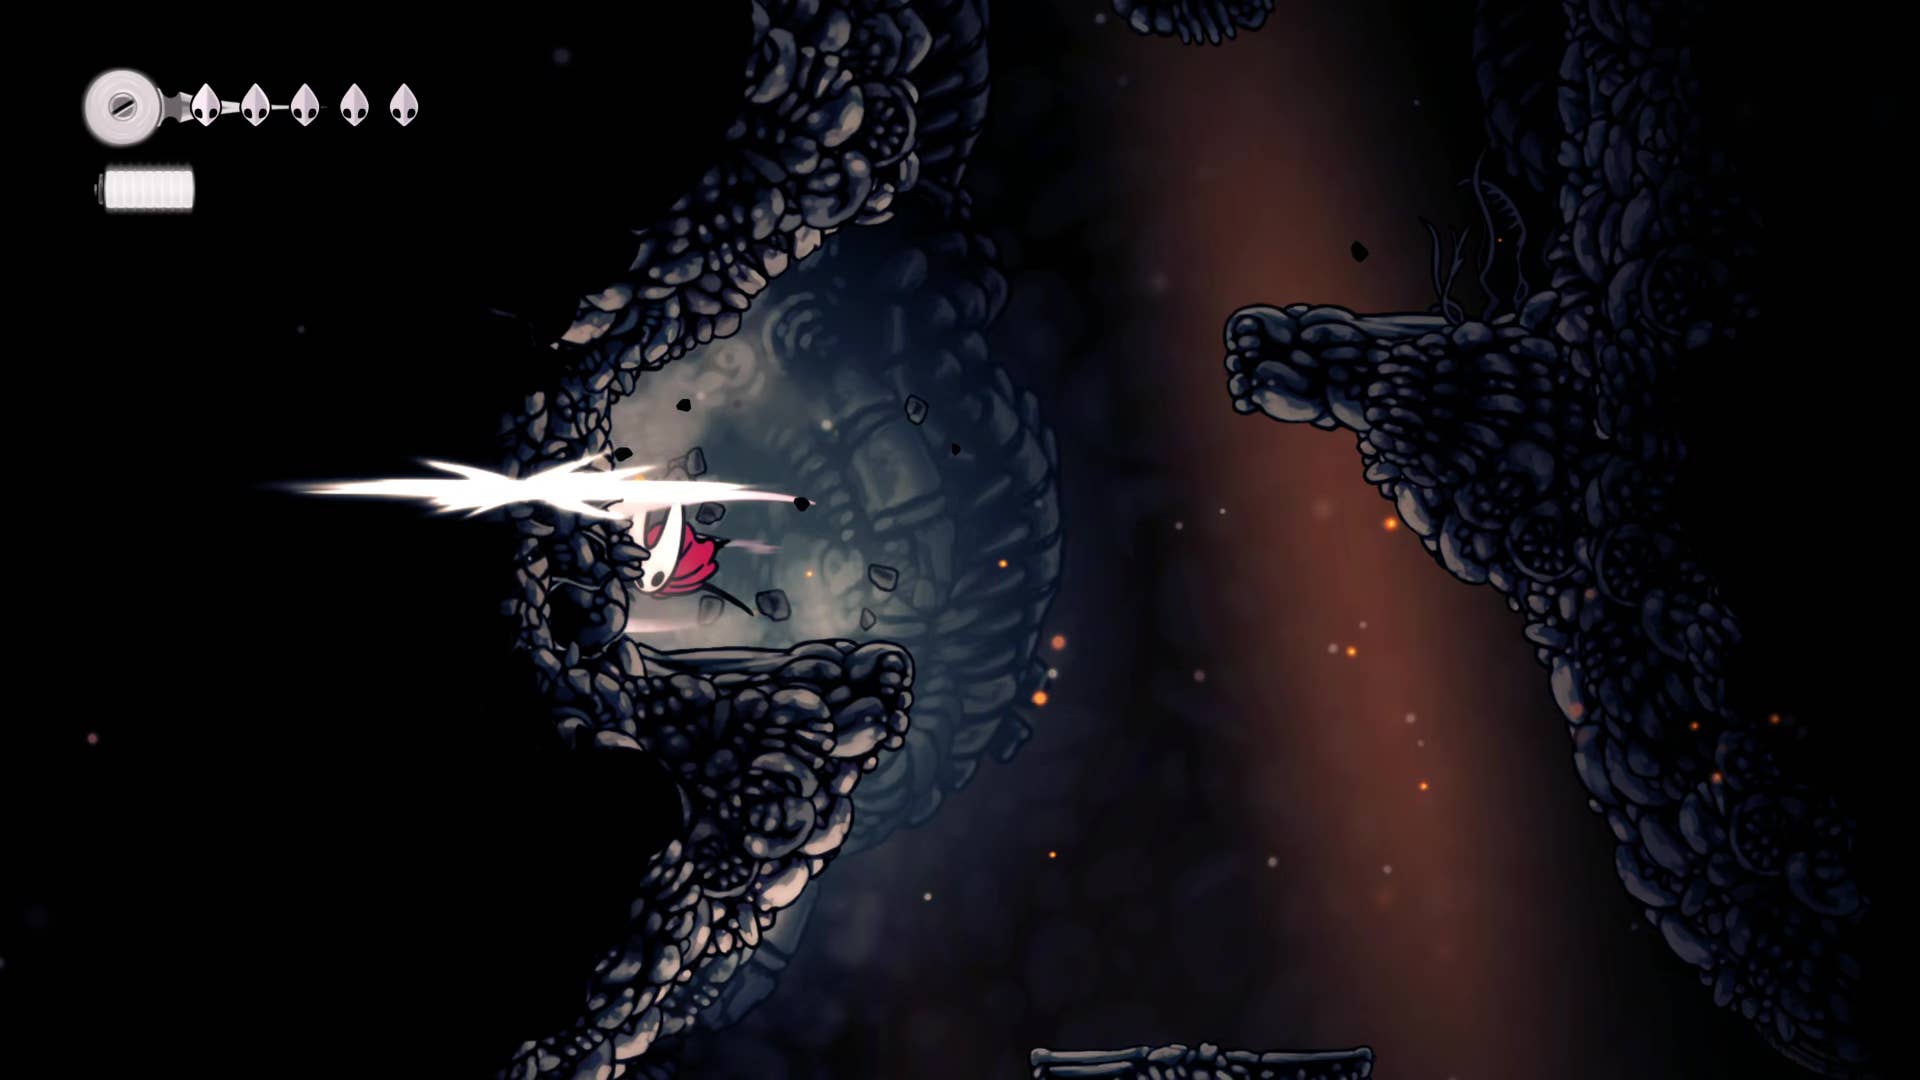
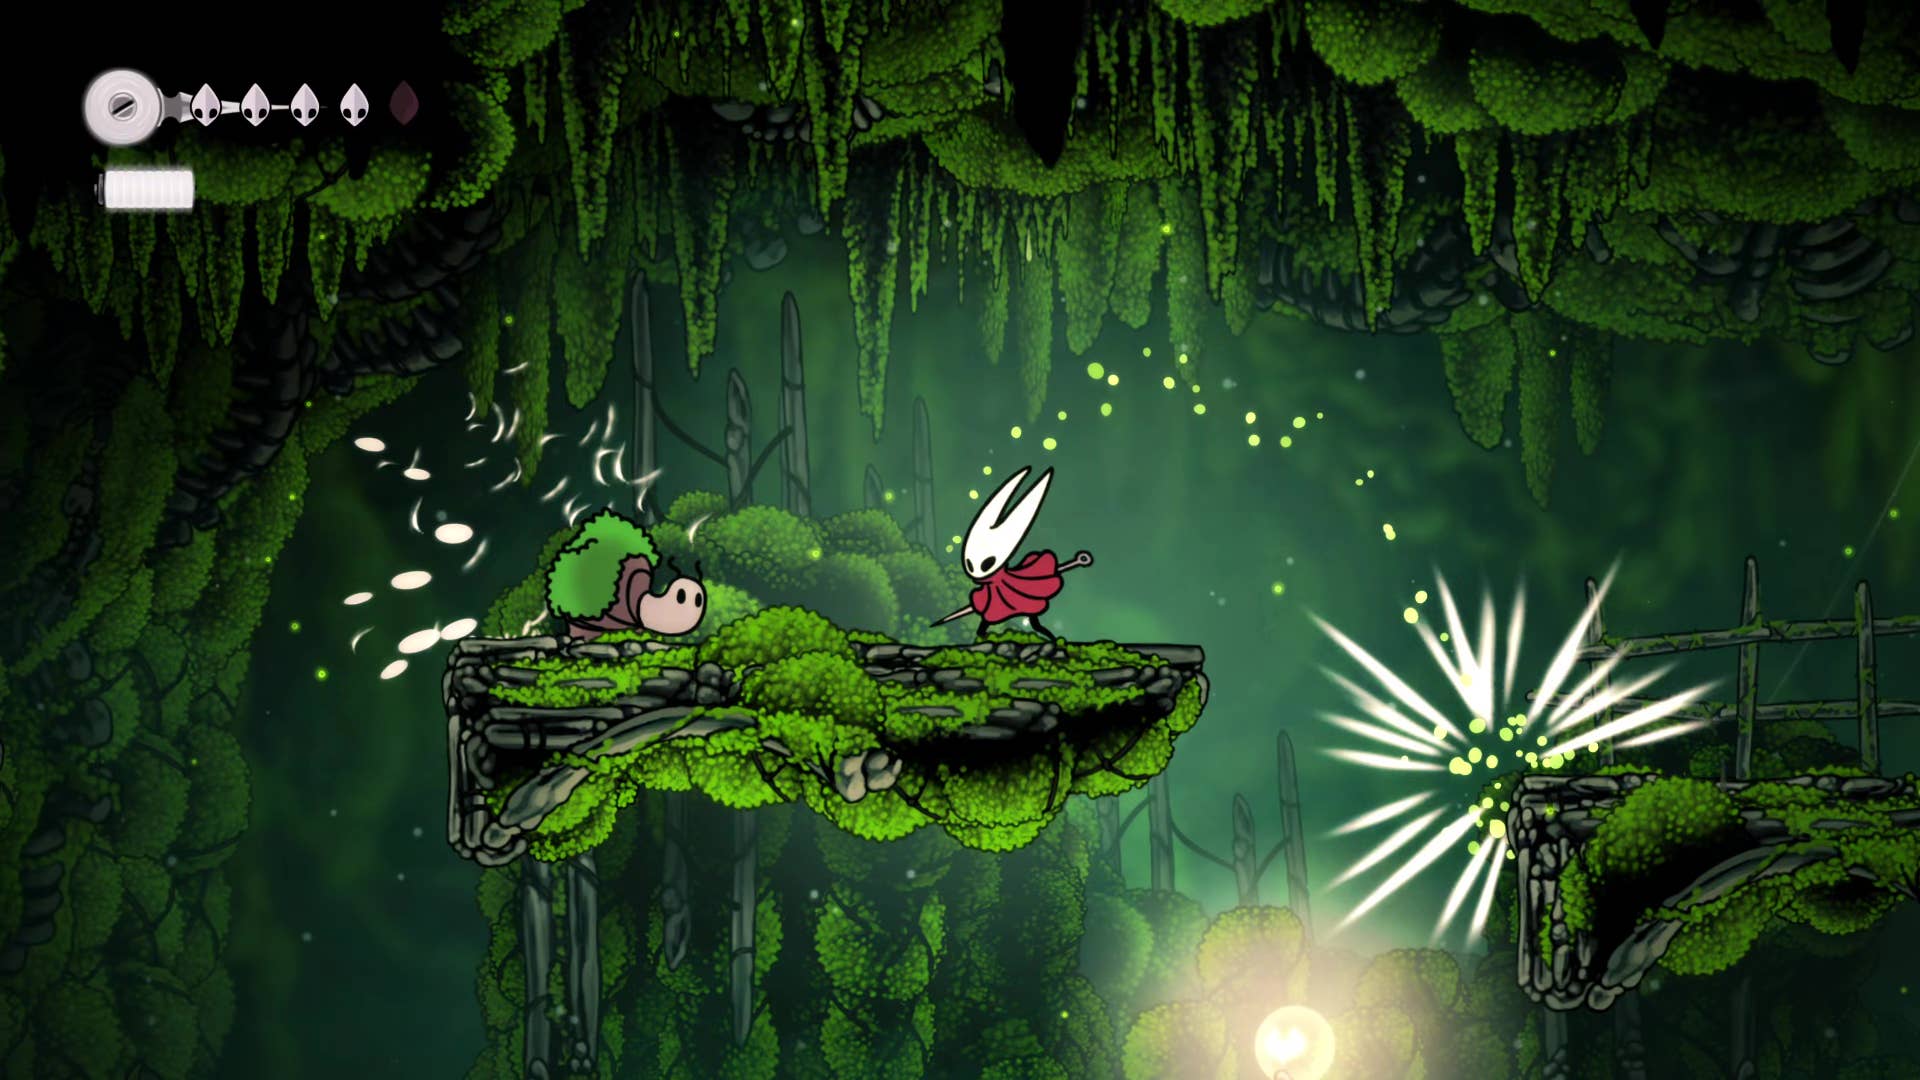
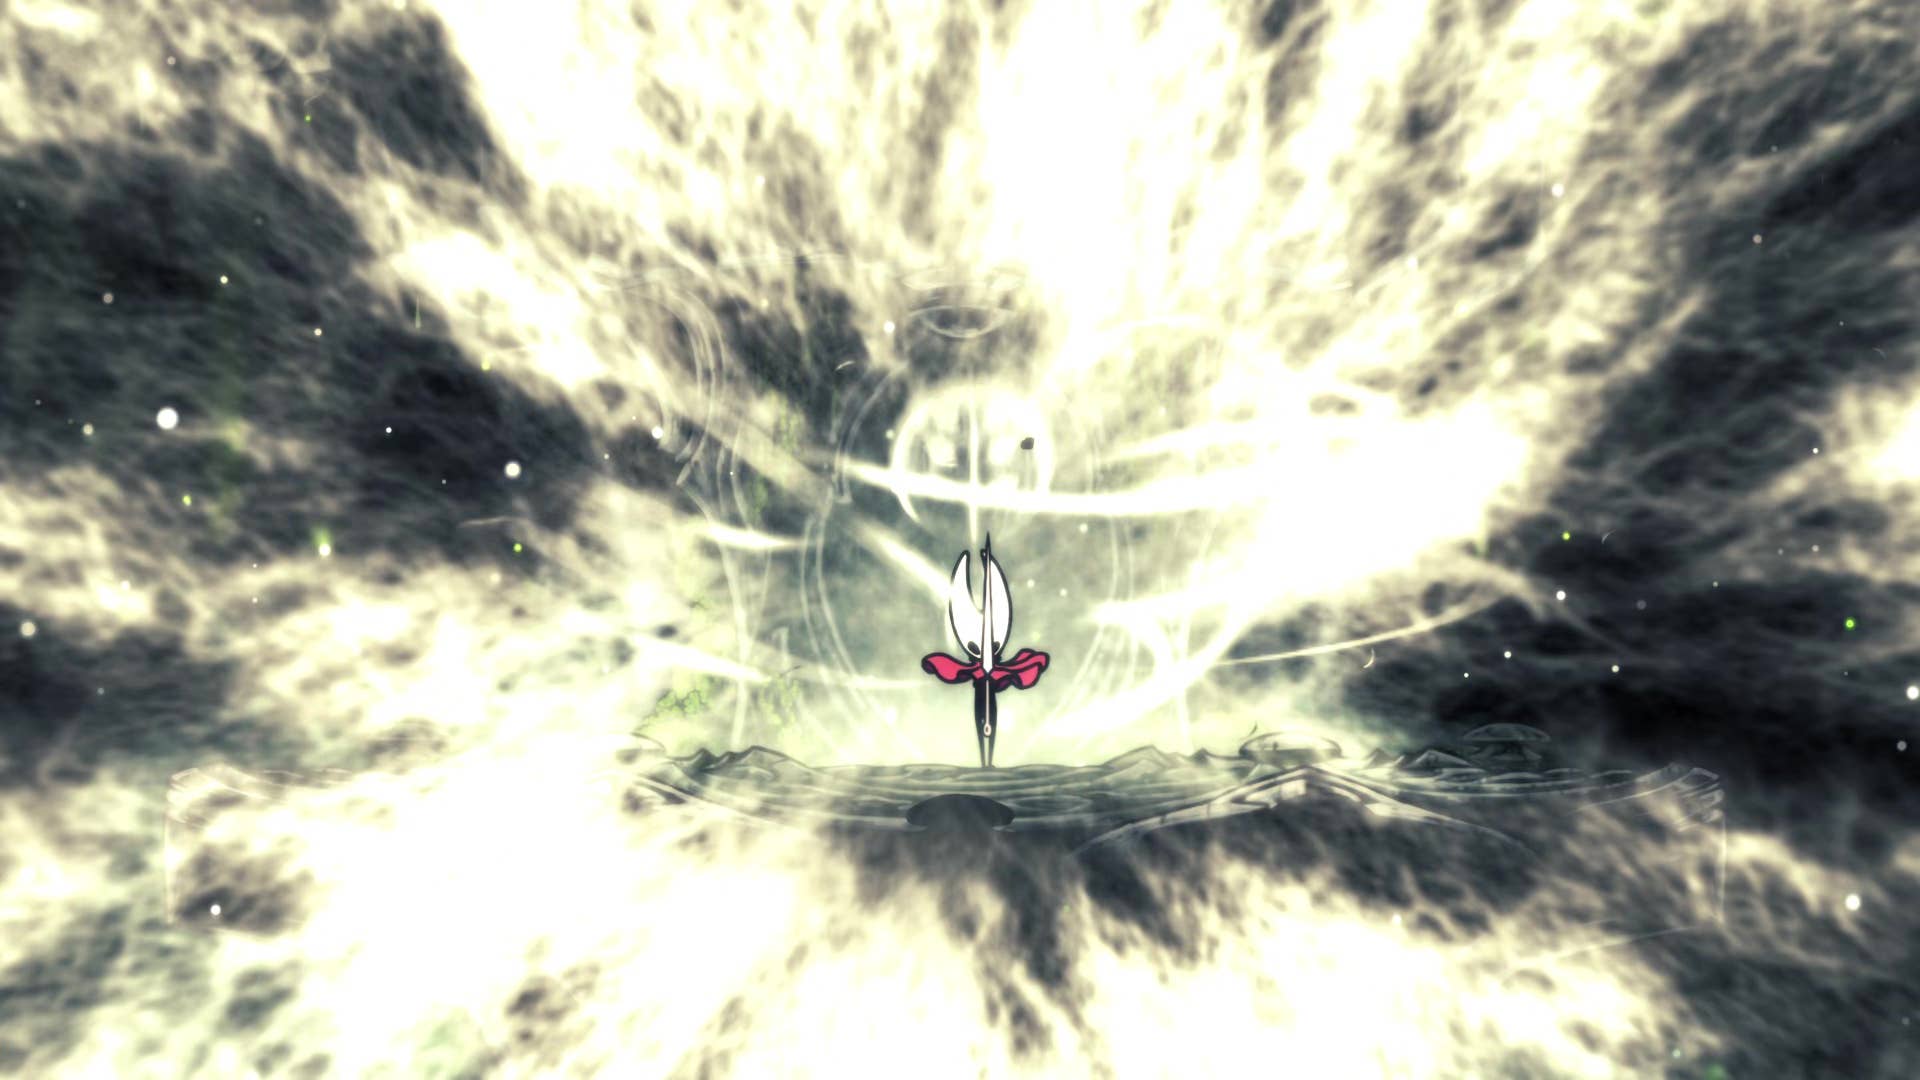
For some rosary beads, climb to the far upper right corner and then head left along the top of the room until you reach a strange monument you can inspect. Interact with it and keep the binding when prompted to unlock Hornet’s first skill, Silkspear.
With Silkspear you can run out of some of the stored silk and throw powerful remote projectiles on the screen at limited distances. This allows us to tear the thick webbing we find…but we will make it happen in the next part of our walkthrough!
It’s all in part 2 of the Silk Song walkthrough, but I don’t speculate on this. Track your progress and keep your pass with Part 3 Silk Song Walkthrough.
(TagStoTranslate) Hollow Knight: Silksong (T) Action Adventure (T) Indie (T) Nintendo Switch (T) PC (T) Platformer (T) Team Cherry