Hollow Knight: Are you trying to get through Silksong’s Underworks? It’s a tricky and often confused journey through the underworld of the fortress, but the reward is worth it. Underwork is home to Clawline Harpoon, the next move skill for the Hornet. The map looks like it’s getting bigger again.
in Part 19 of Silk Song WalkthroughI will show you a great path through every part of the underworld, such as the cauldron you get a claw line. Along the way, we also point out important items, secrets and places of interest, so we can make sure that the stones don’t turn over when they finally return to the surface.
Do you need a walkthrough in another area of the game? Check out Hollow Knight: Silksong Walkthrough Hub!
Underworks Walkthrough Steps:
- Please rest on the bench before anything else.
- Collect spool fragments from the east side.
- Get off the shaft and rescue the chisels.
- Get Craftmetal.
- Unlock the Crawline Skill.
- Complete the cauldron gauntlet.
- Meet the 12th architect.
- Bind the architect’s coat of arms.
- Activates Underworks Ventrica Station.
- Gets the spool fragment under ventrica.
- Meet Rohm.
- Gets the Underworks Map.
- Find the memory rocket in the confession stand.
- Get Delver’s Drill.
- I’ll be in the choir room.
- Enter the underwork through the ground gate.
Note: There are two ways to get underworked in Silkson. This walkthrough assumes you’ve entered underwork via the white ward (as explained in the previous section). If you enter Underworks via the Grand Gate, the order in which you complete these steps is quite messy and you won’t be able to access the entire east side of Underworks until you return to the ground and back to white.
1. Please rest on the bench before anything else.
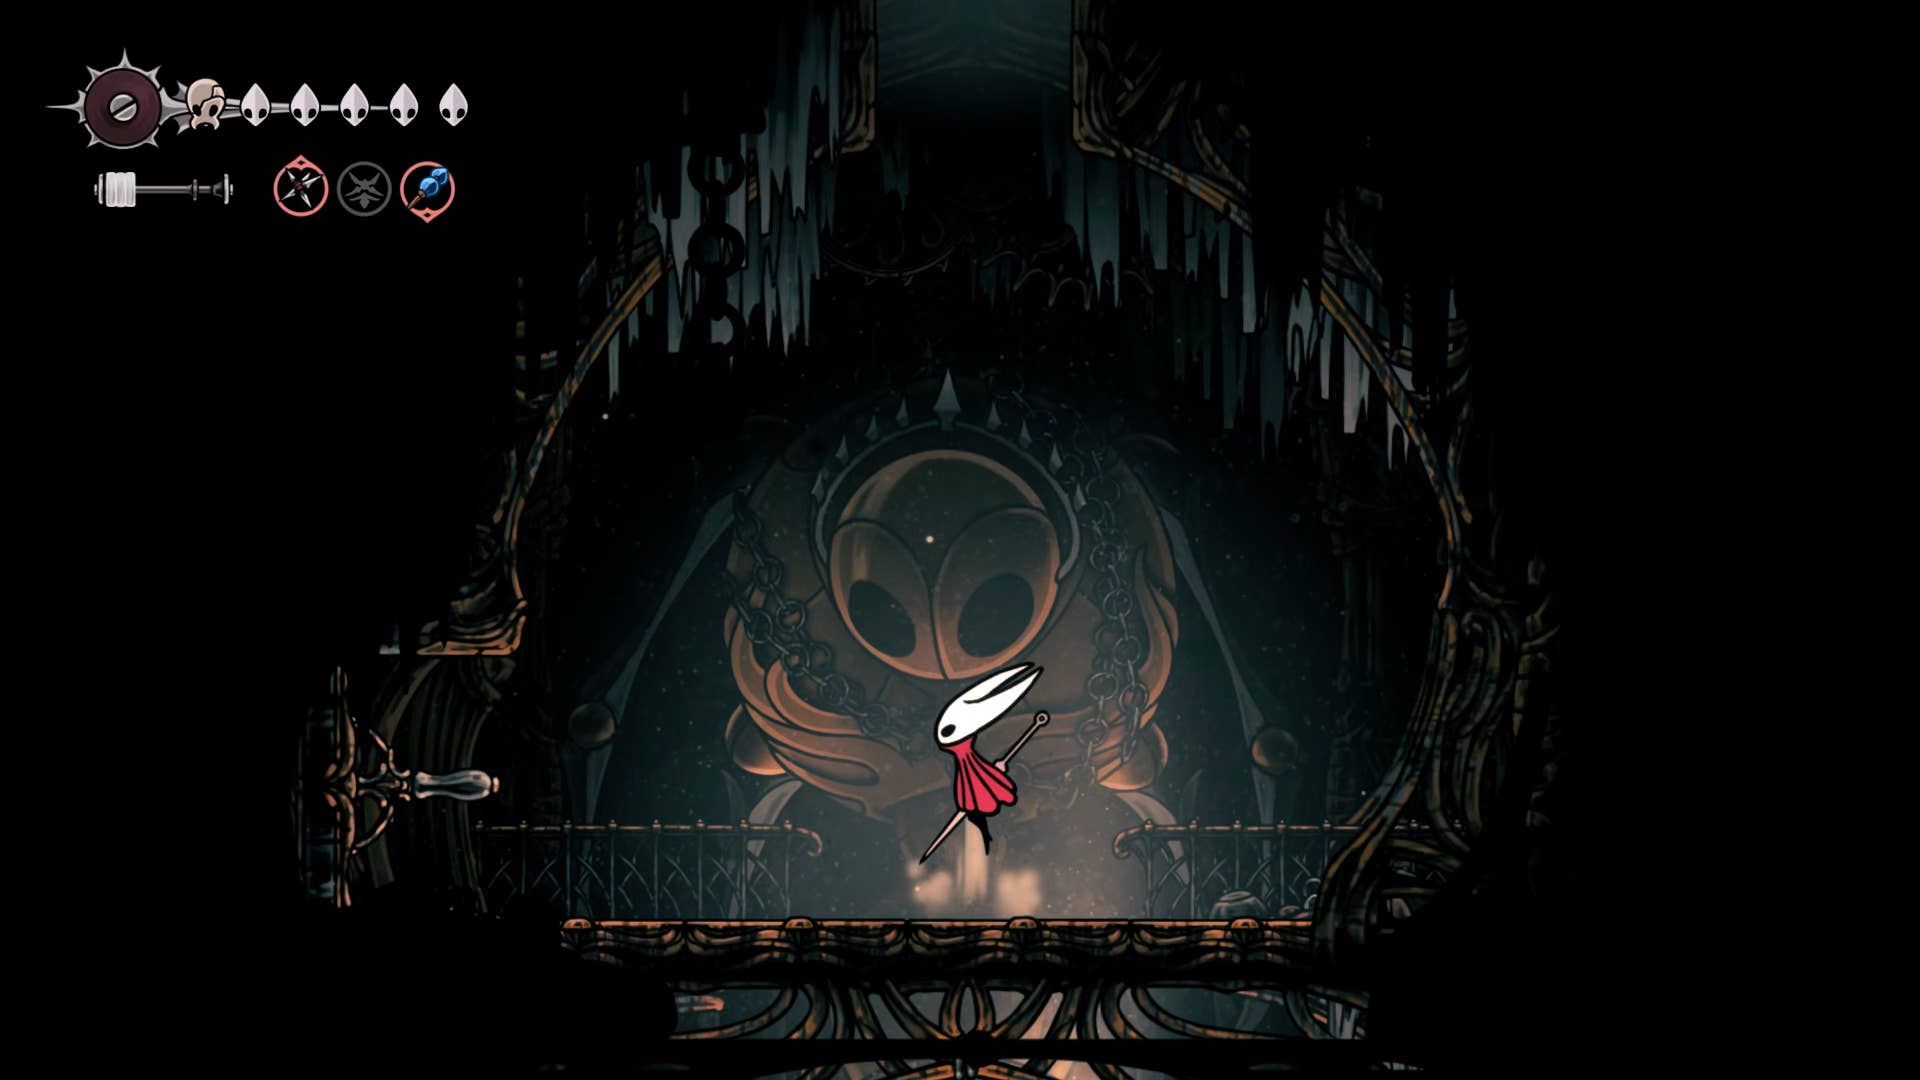
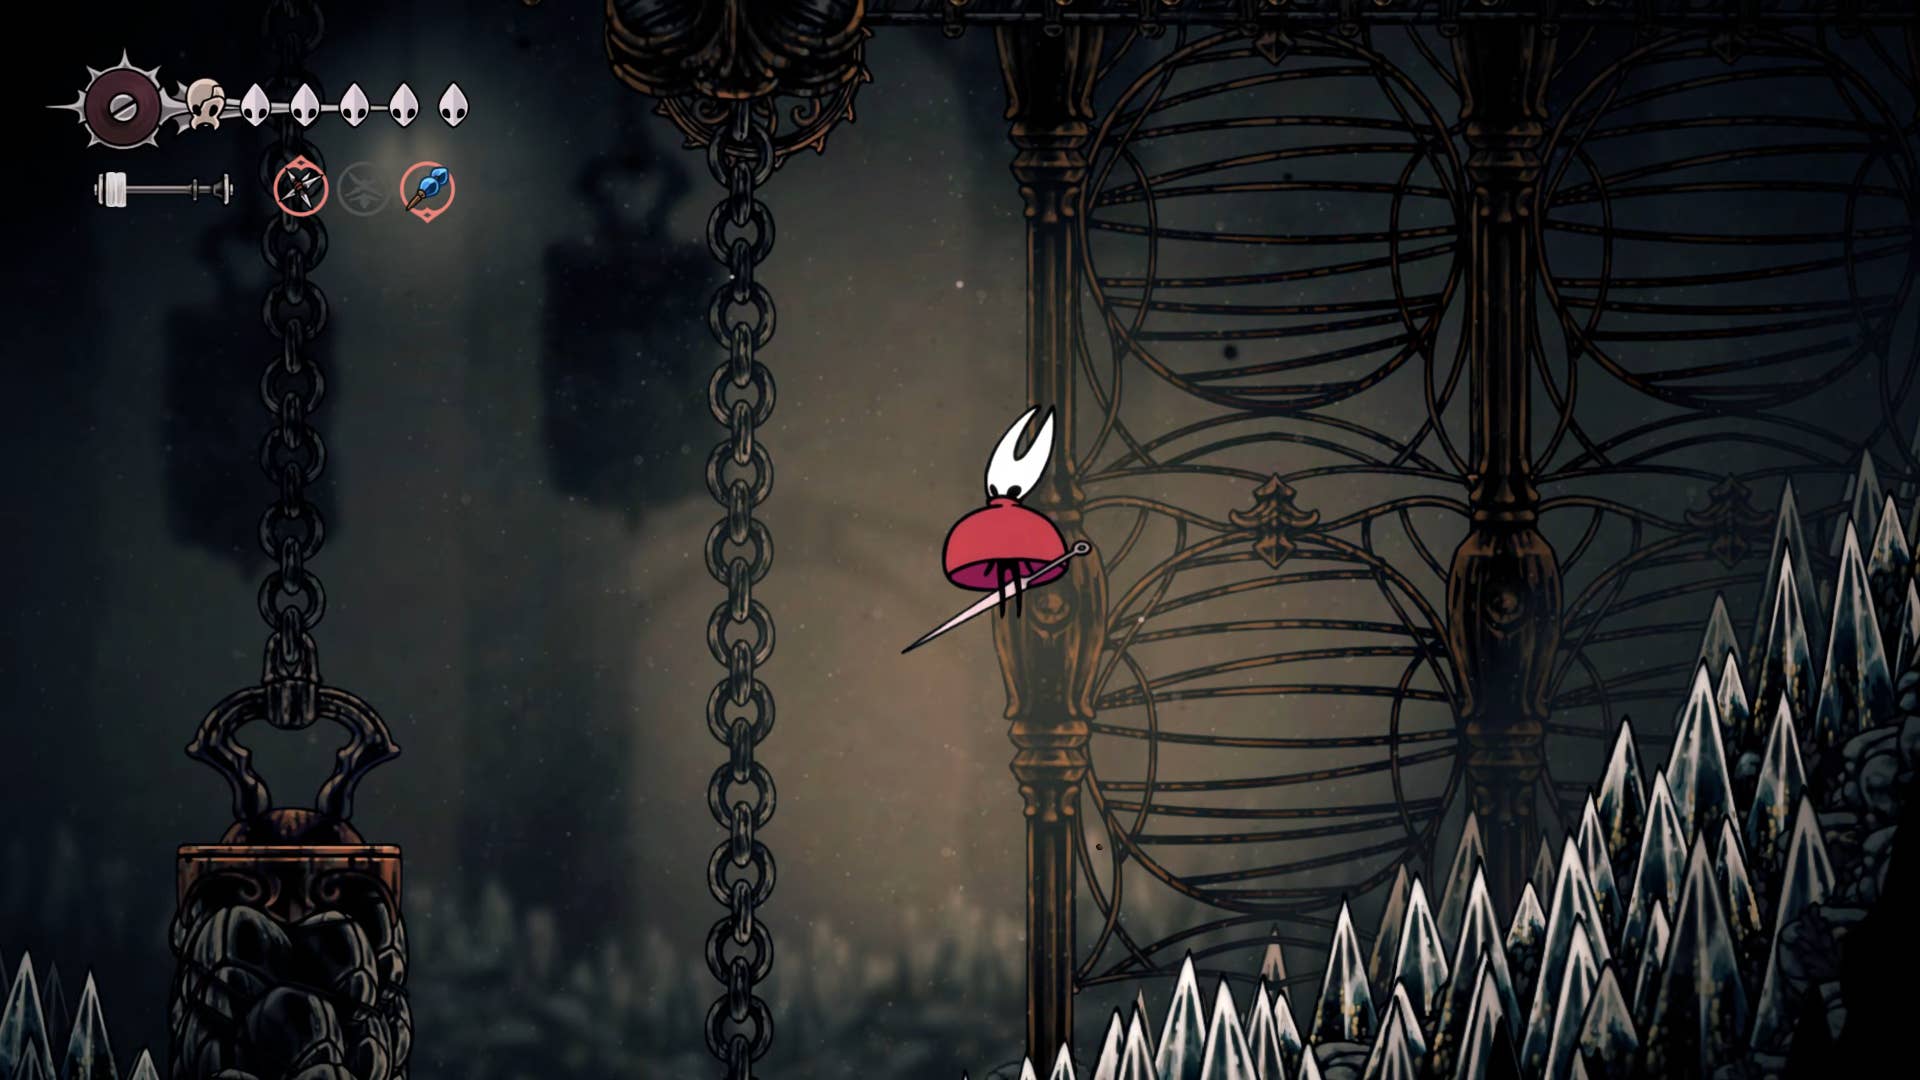
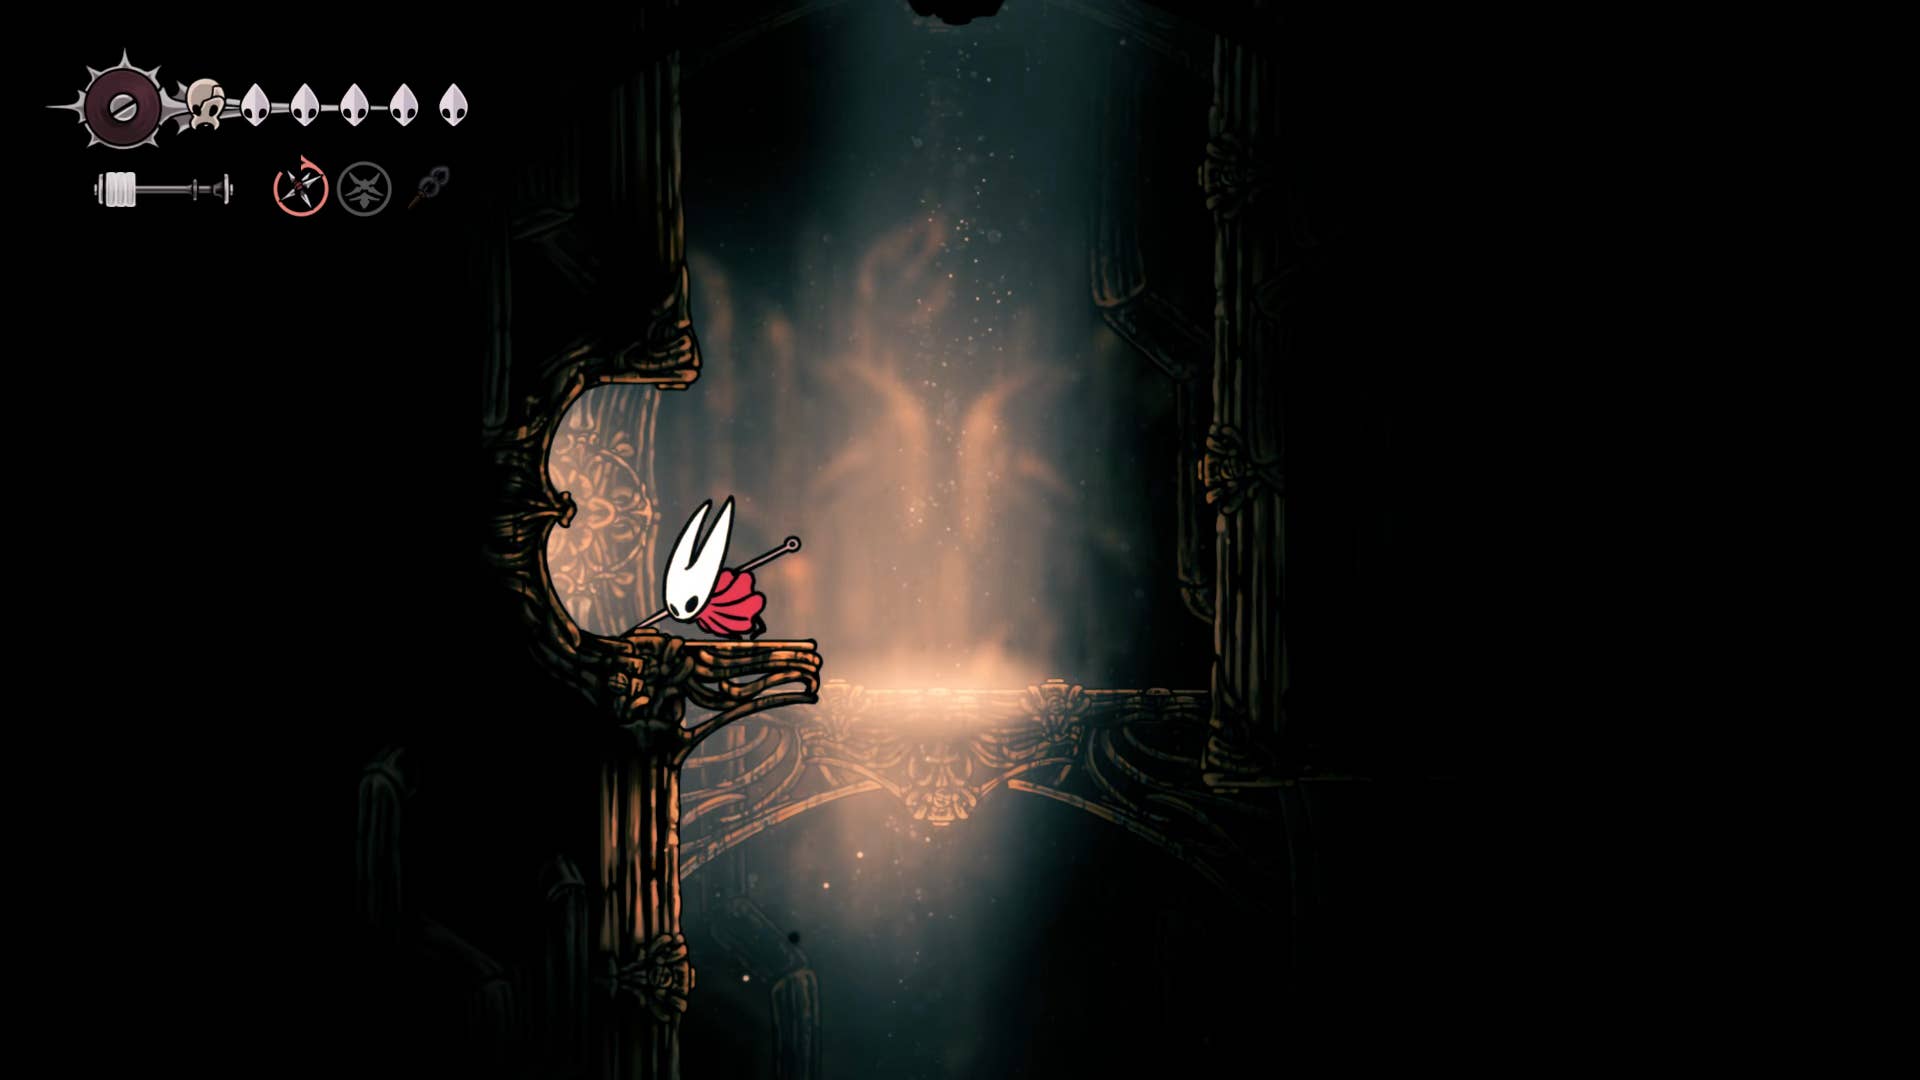
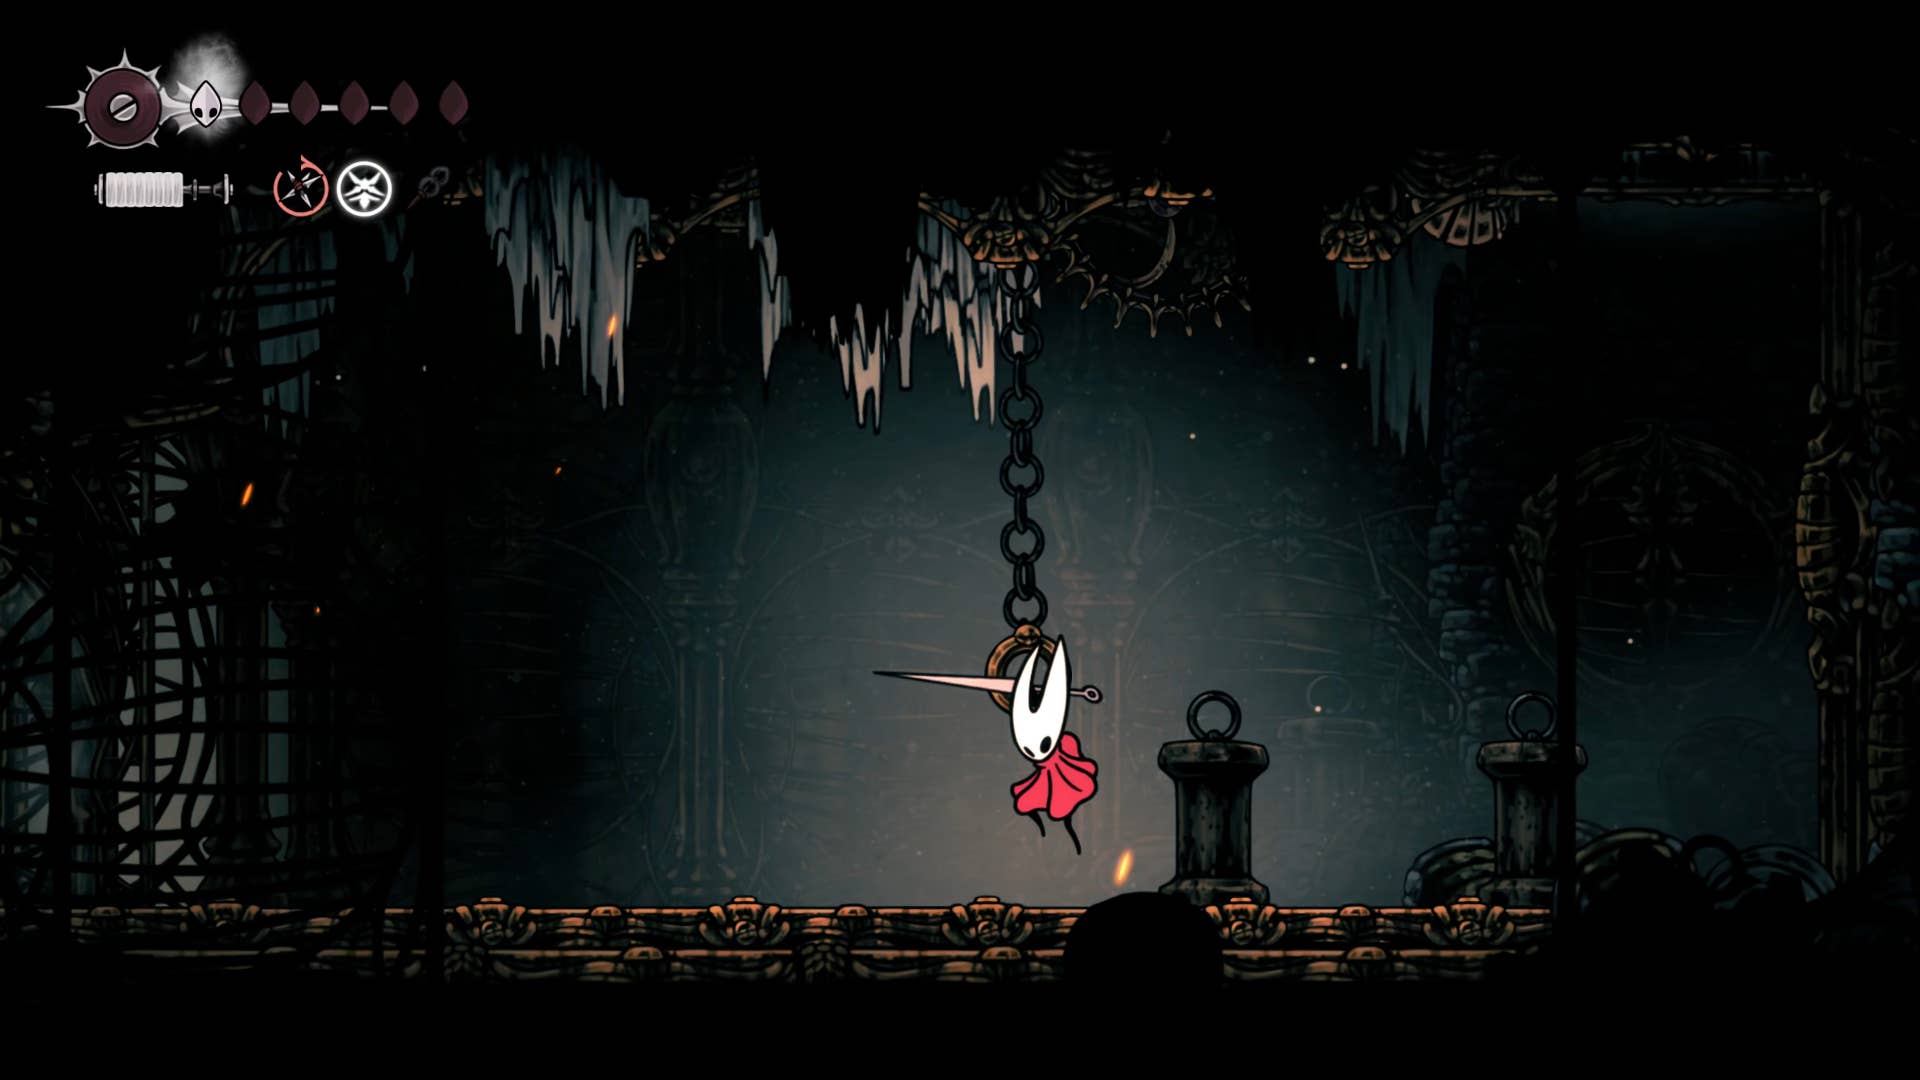
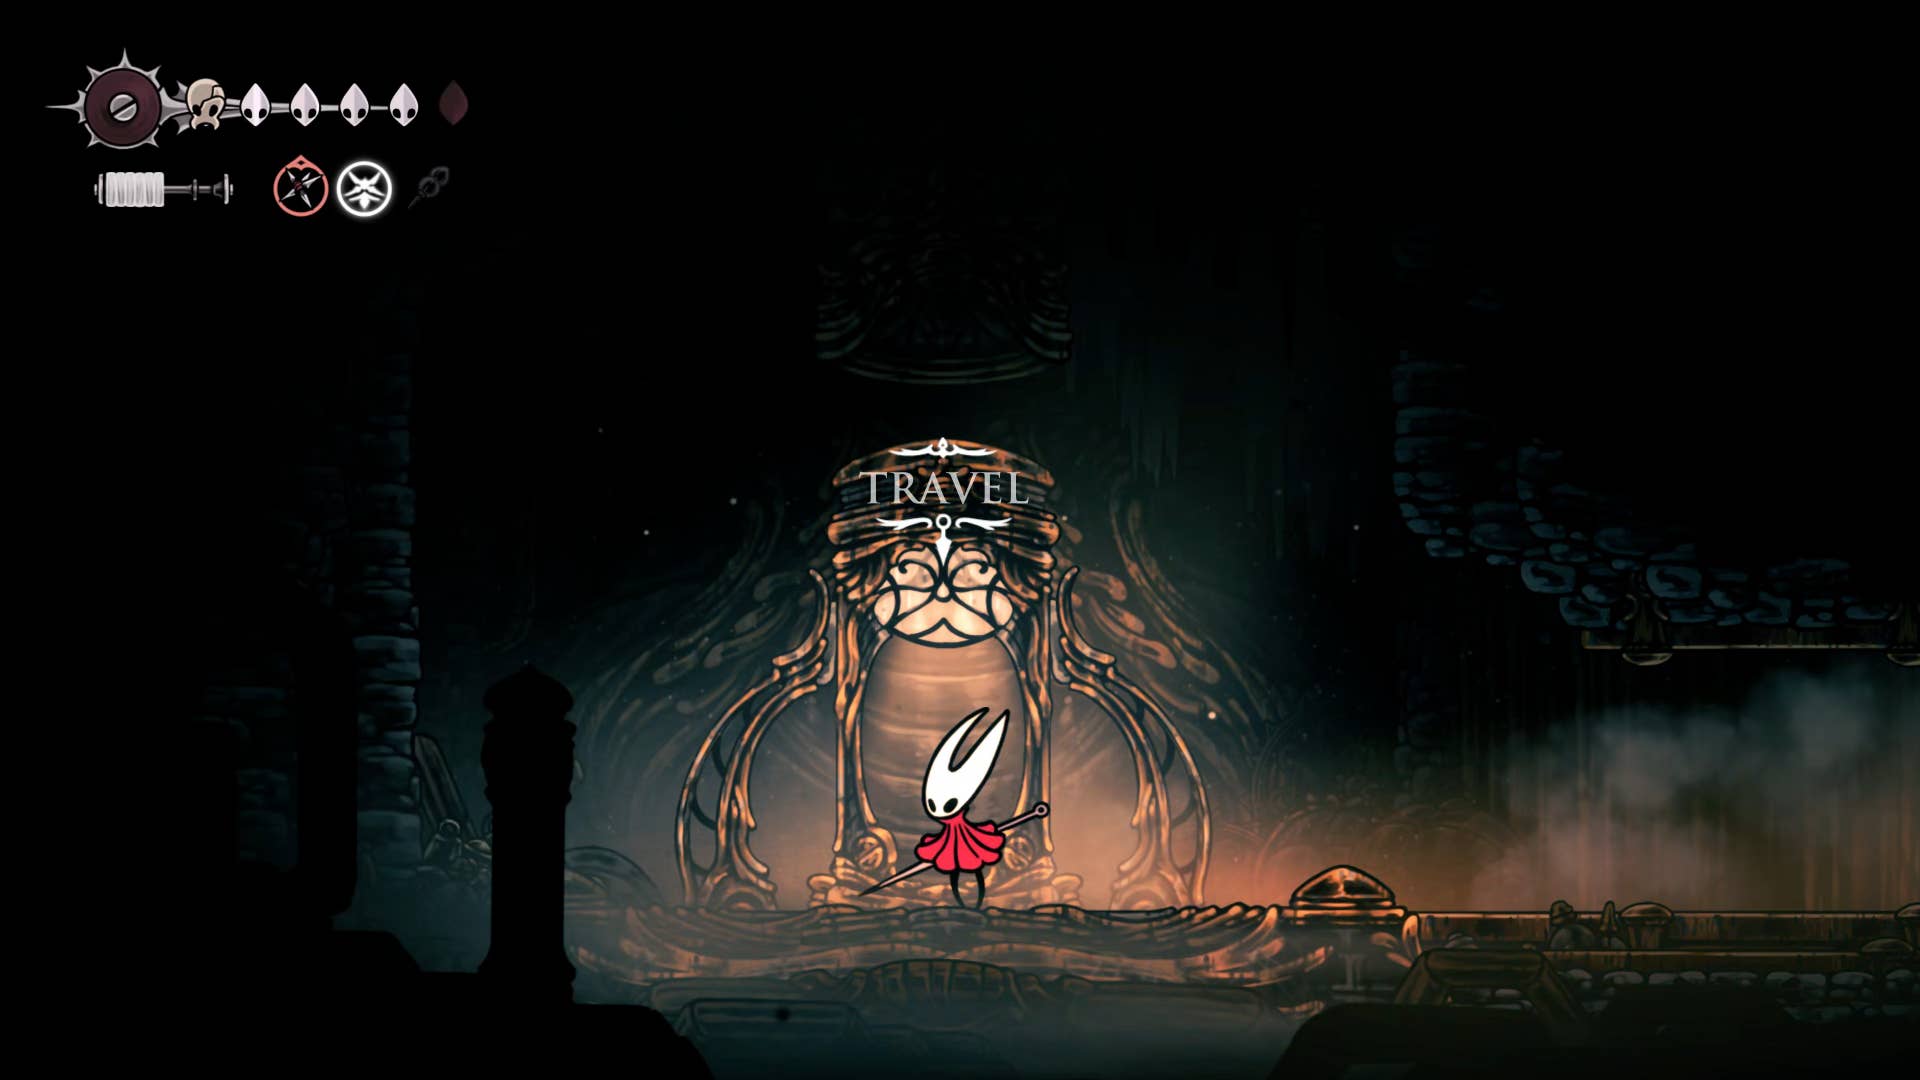
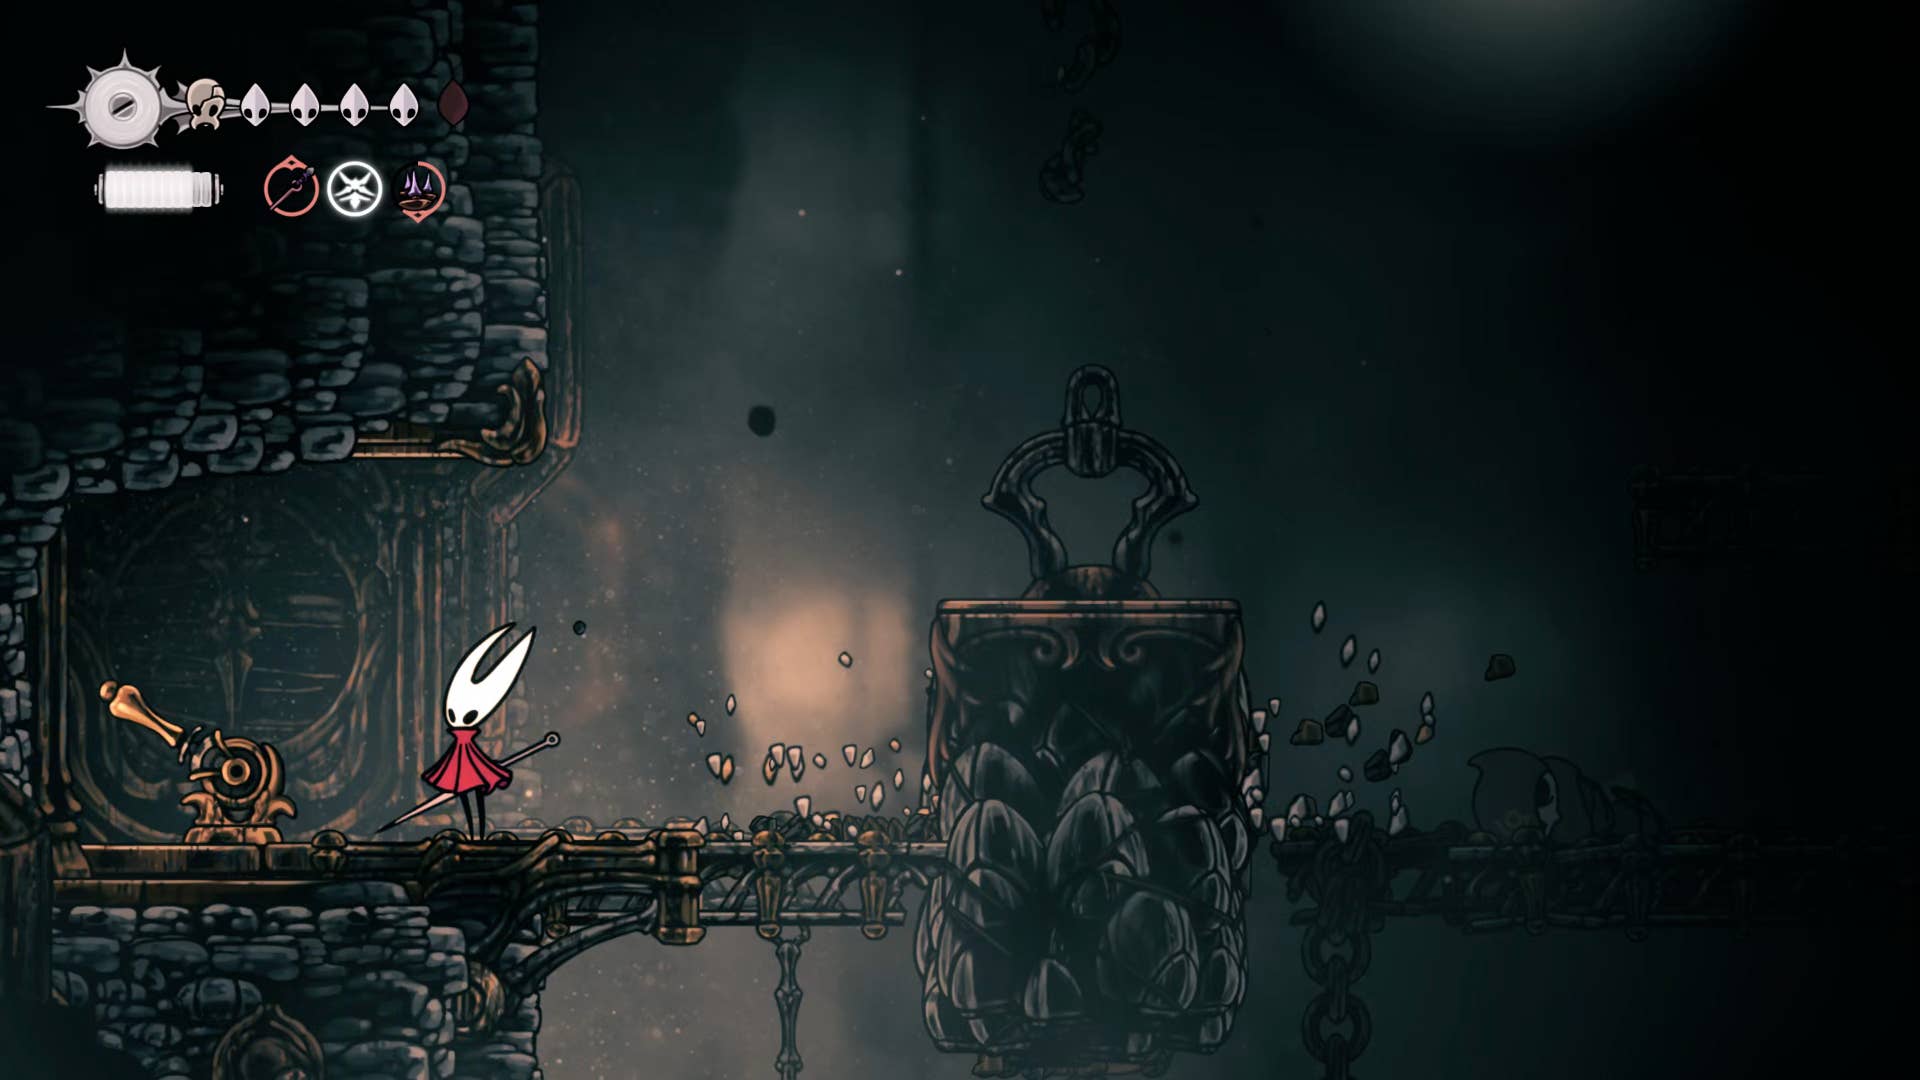
Assuming you followed the previous part of our walkthrough, the last thing you did was fall from the white word to the Underworks in front of a huge (unvibrant) automata. If you wish, you can play Needlin in front of the car here.
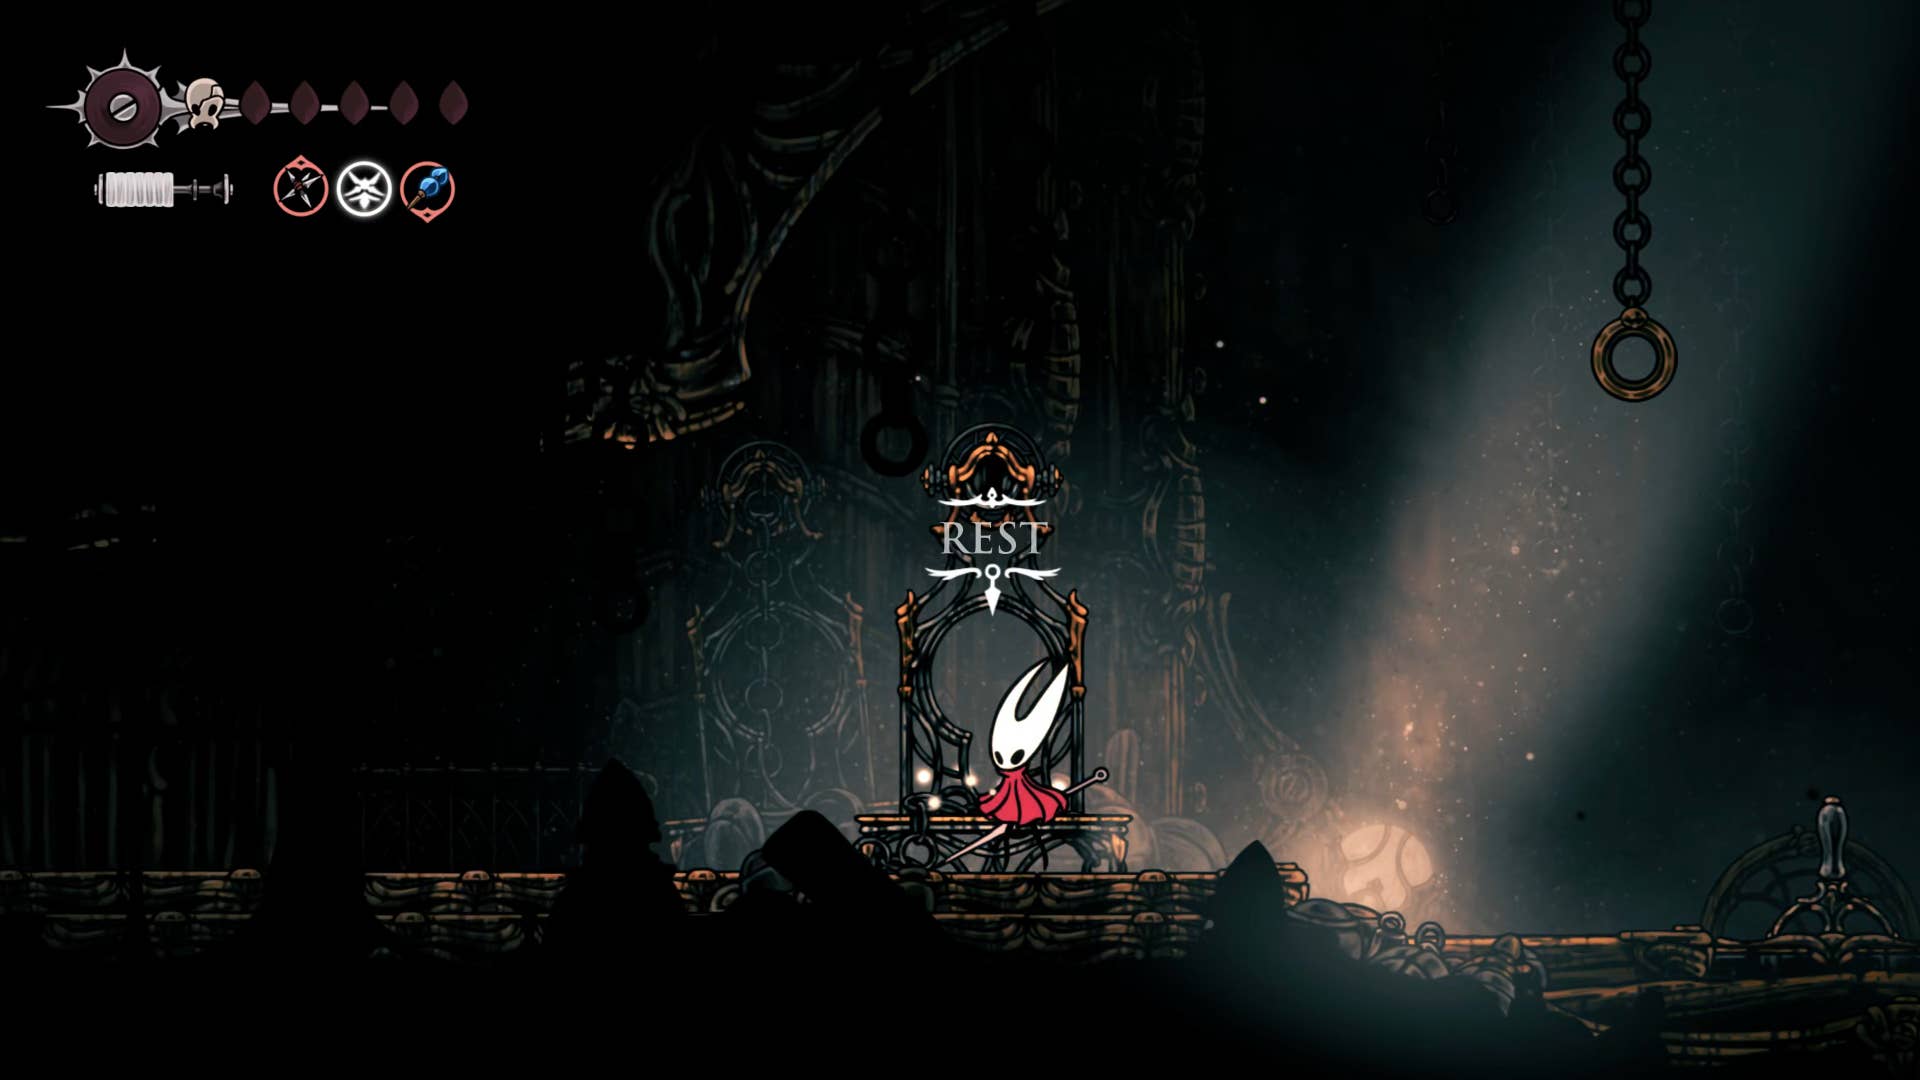
Flick the lever on the left to enter ground level. Before you do anything, head left and rest on the gorgeous bench. Otherwise, if you die, you will need to go through everything white again.
While you’re here, flick the lever on the floor on the bench and drop down for the shell shard cache. Then you will return to ground level.
2. Collect spool fragments from the east side.
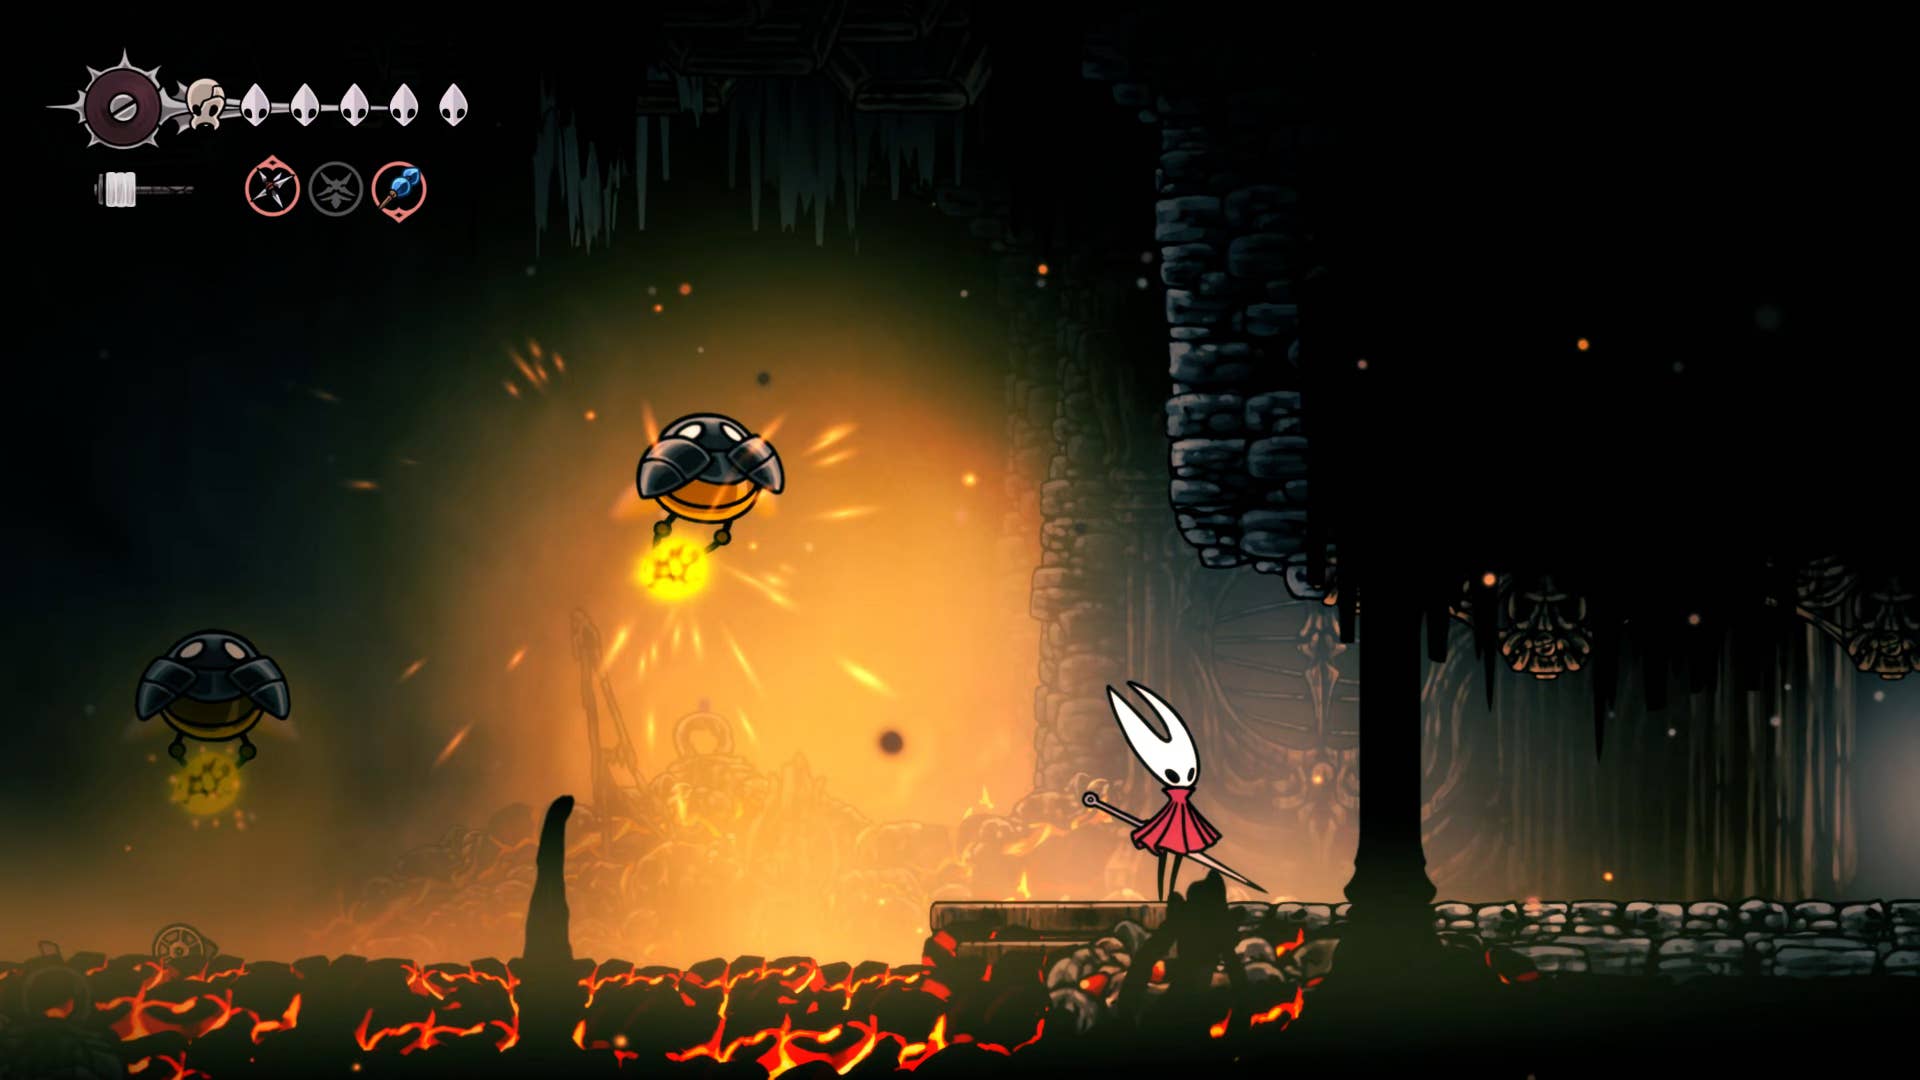
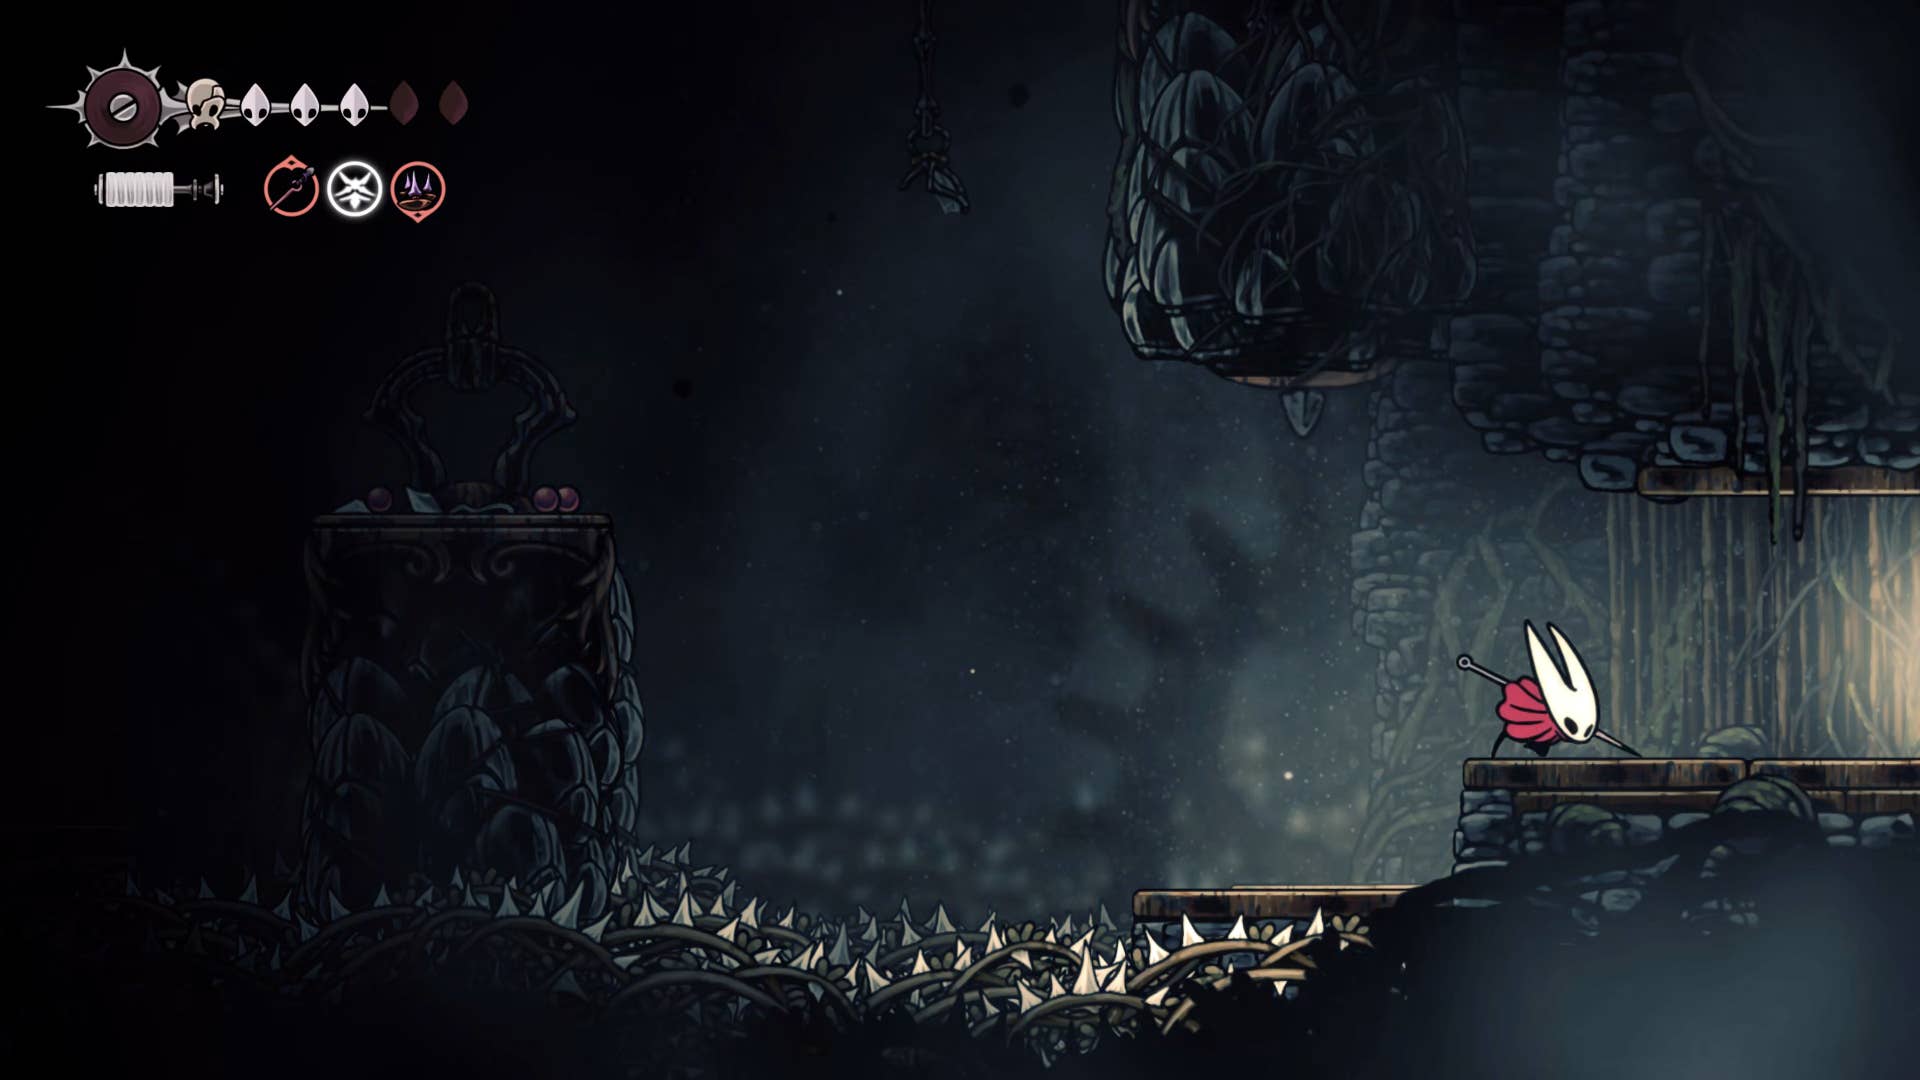
Pass the automaton again and head right. In the next room, the enemy of the First Underworks is found. These flying creatures should act like roach feeders in the way of sinners and should not bring about many problems.
You drop down right from the front door and you’ll find a small corner with a few more shard caches. Then – stay on the lowest level – jump over the spikes and lower the hole over there. The bottom of the hole is hot coal, so you can quickly jump to the shelf on the left and find fragments of the spool.
Once that’s done, go back to Automata. The right side is currently unaccessible and is not worth seeing right now.
3. Get off the shaft and rescue the chisels.
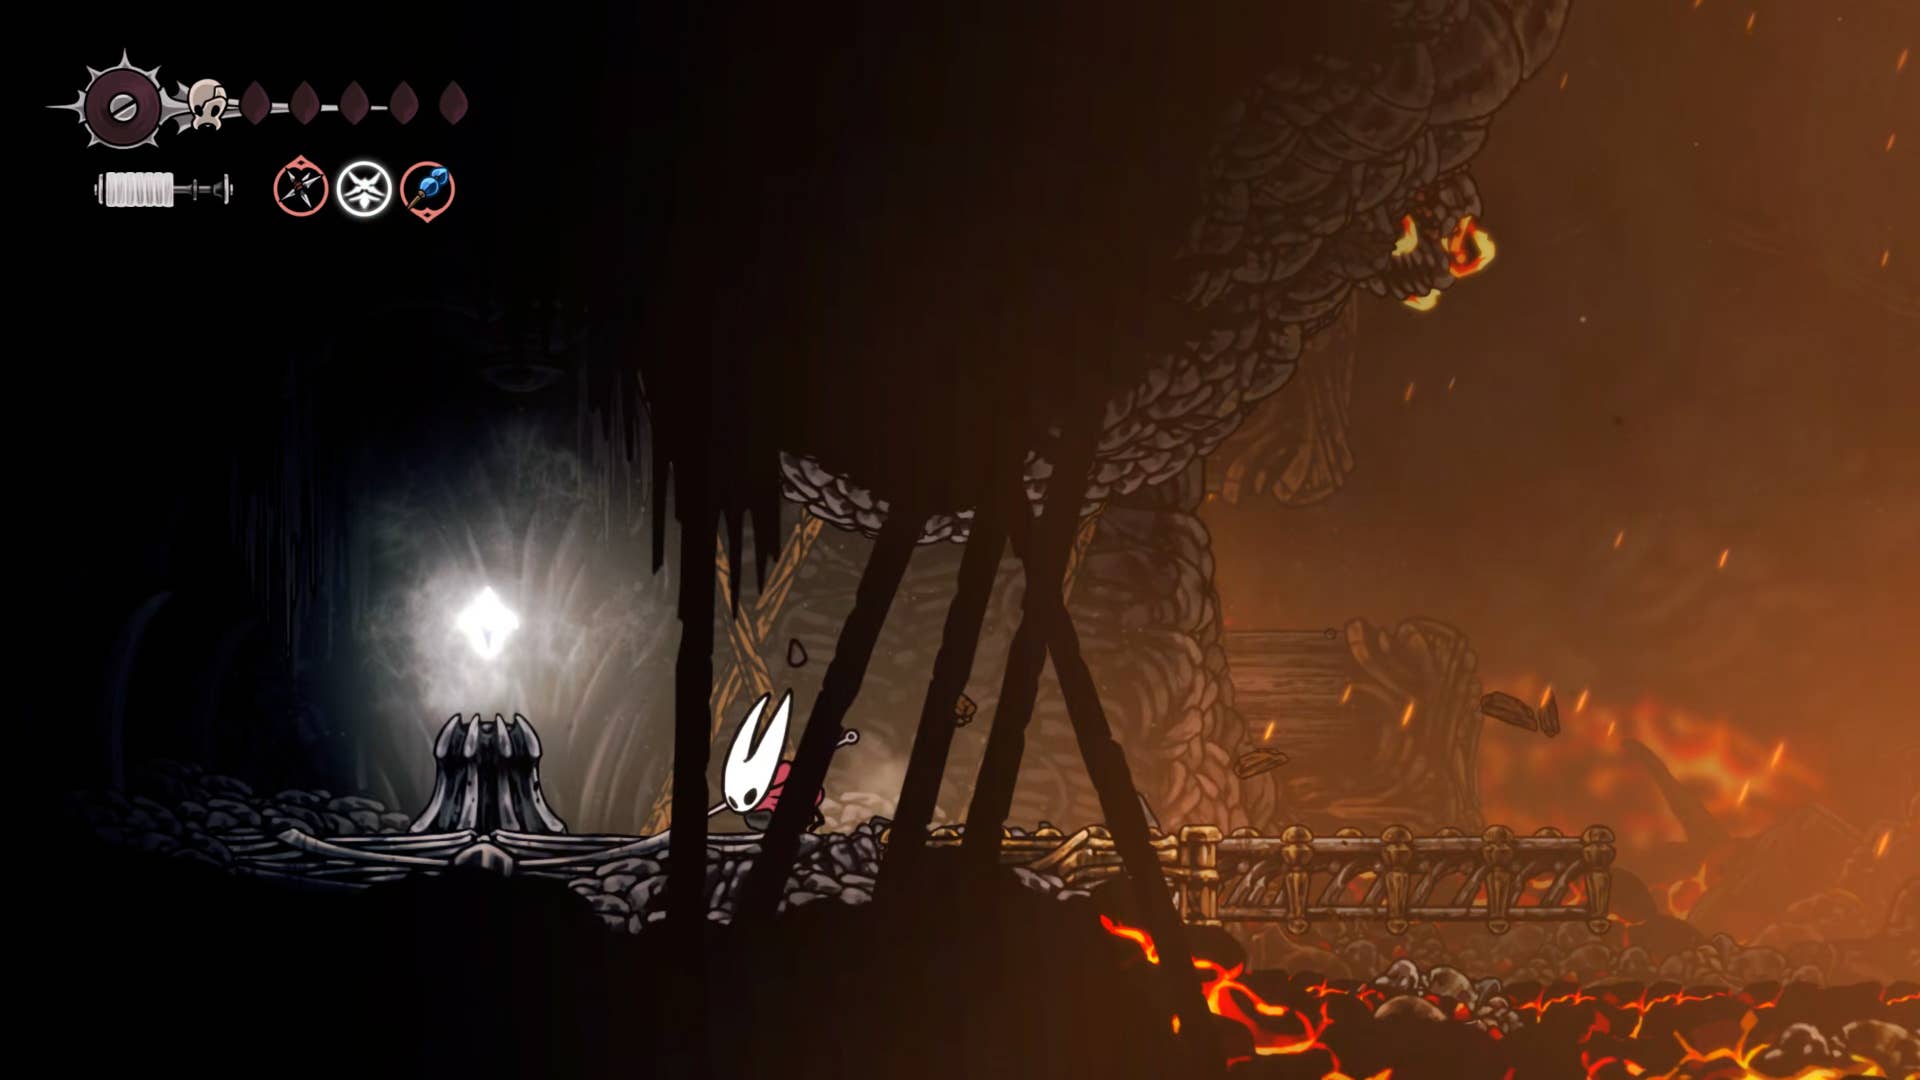
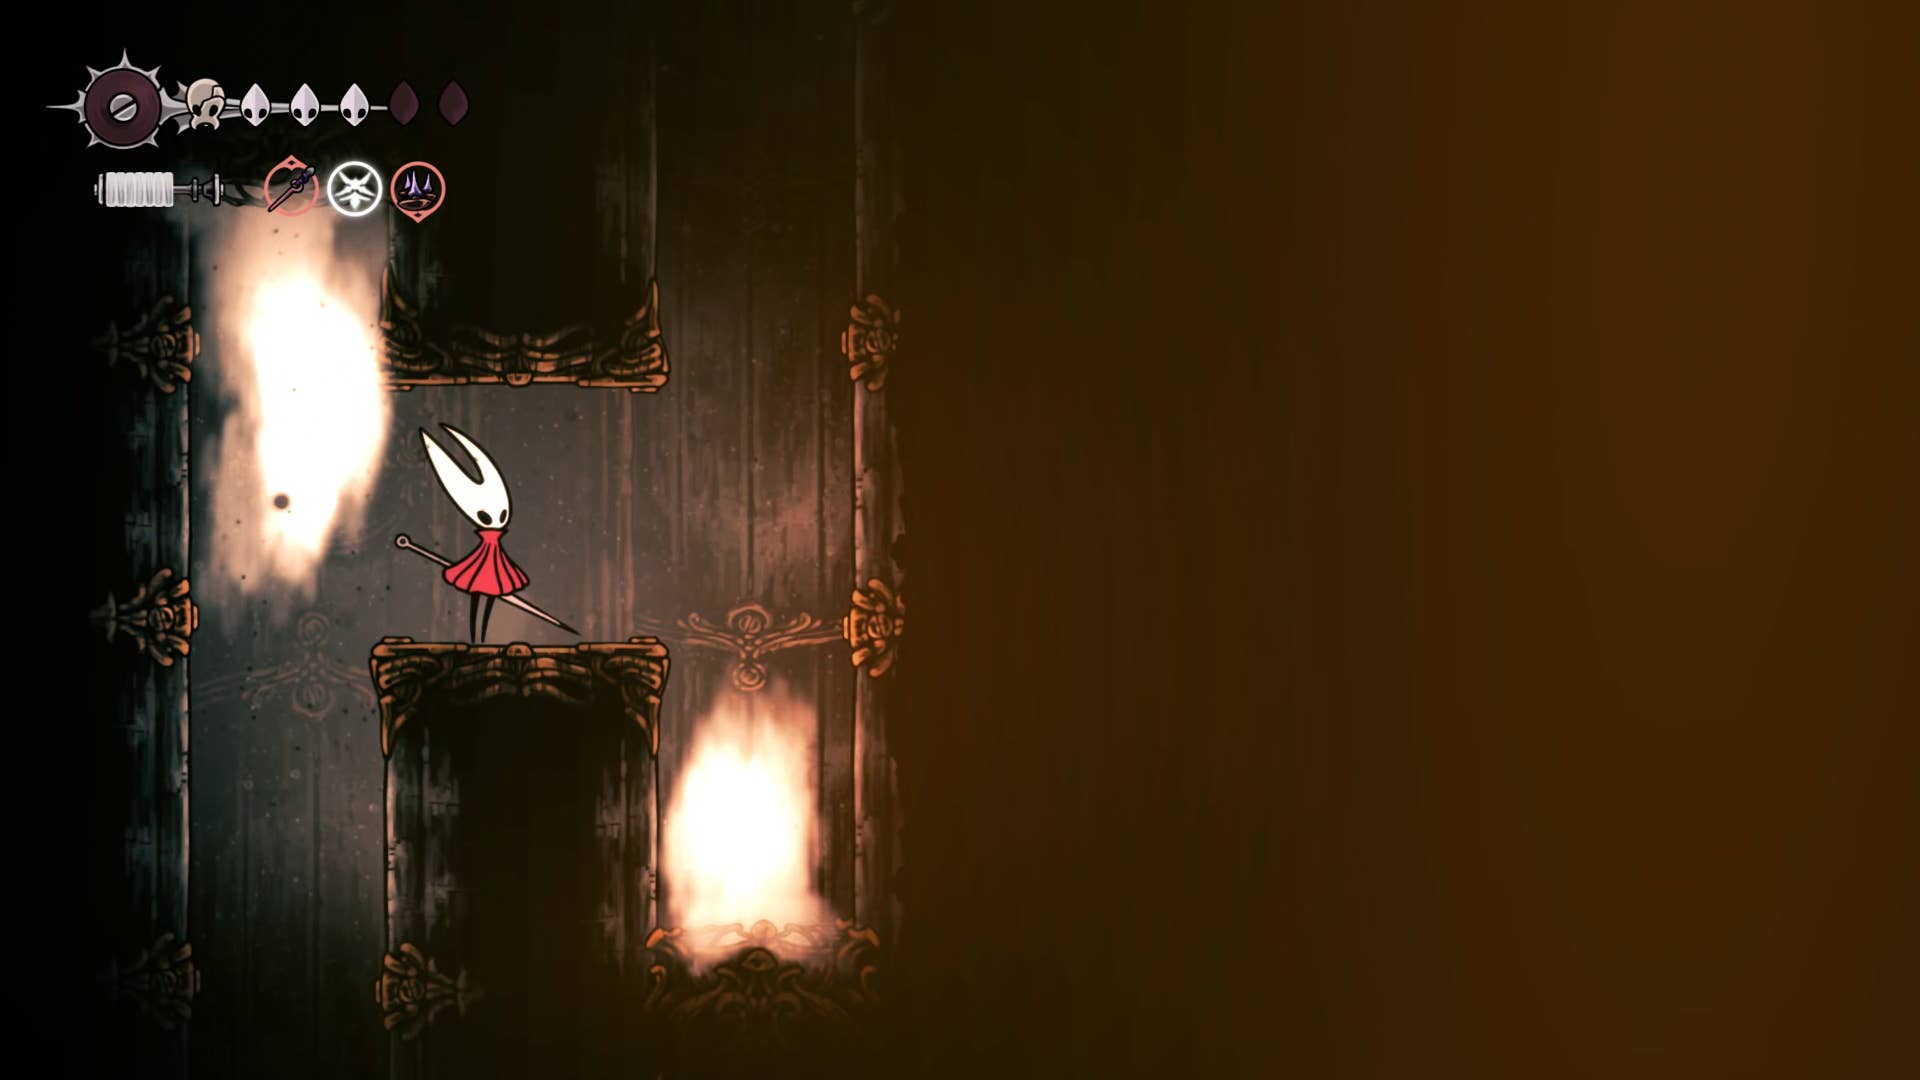
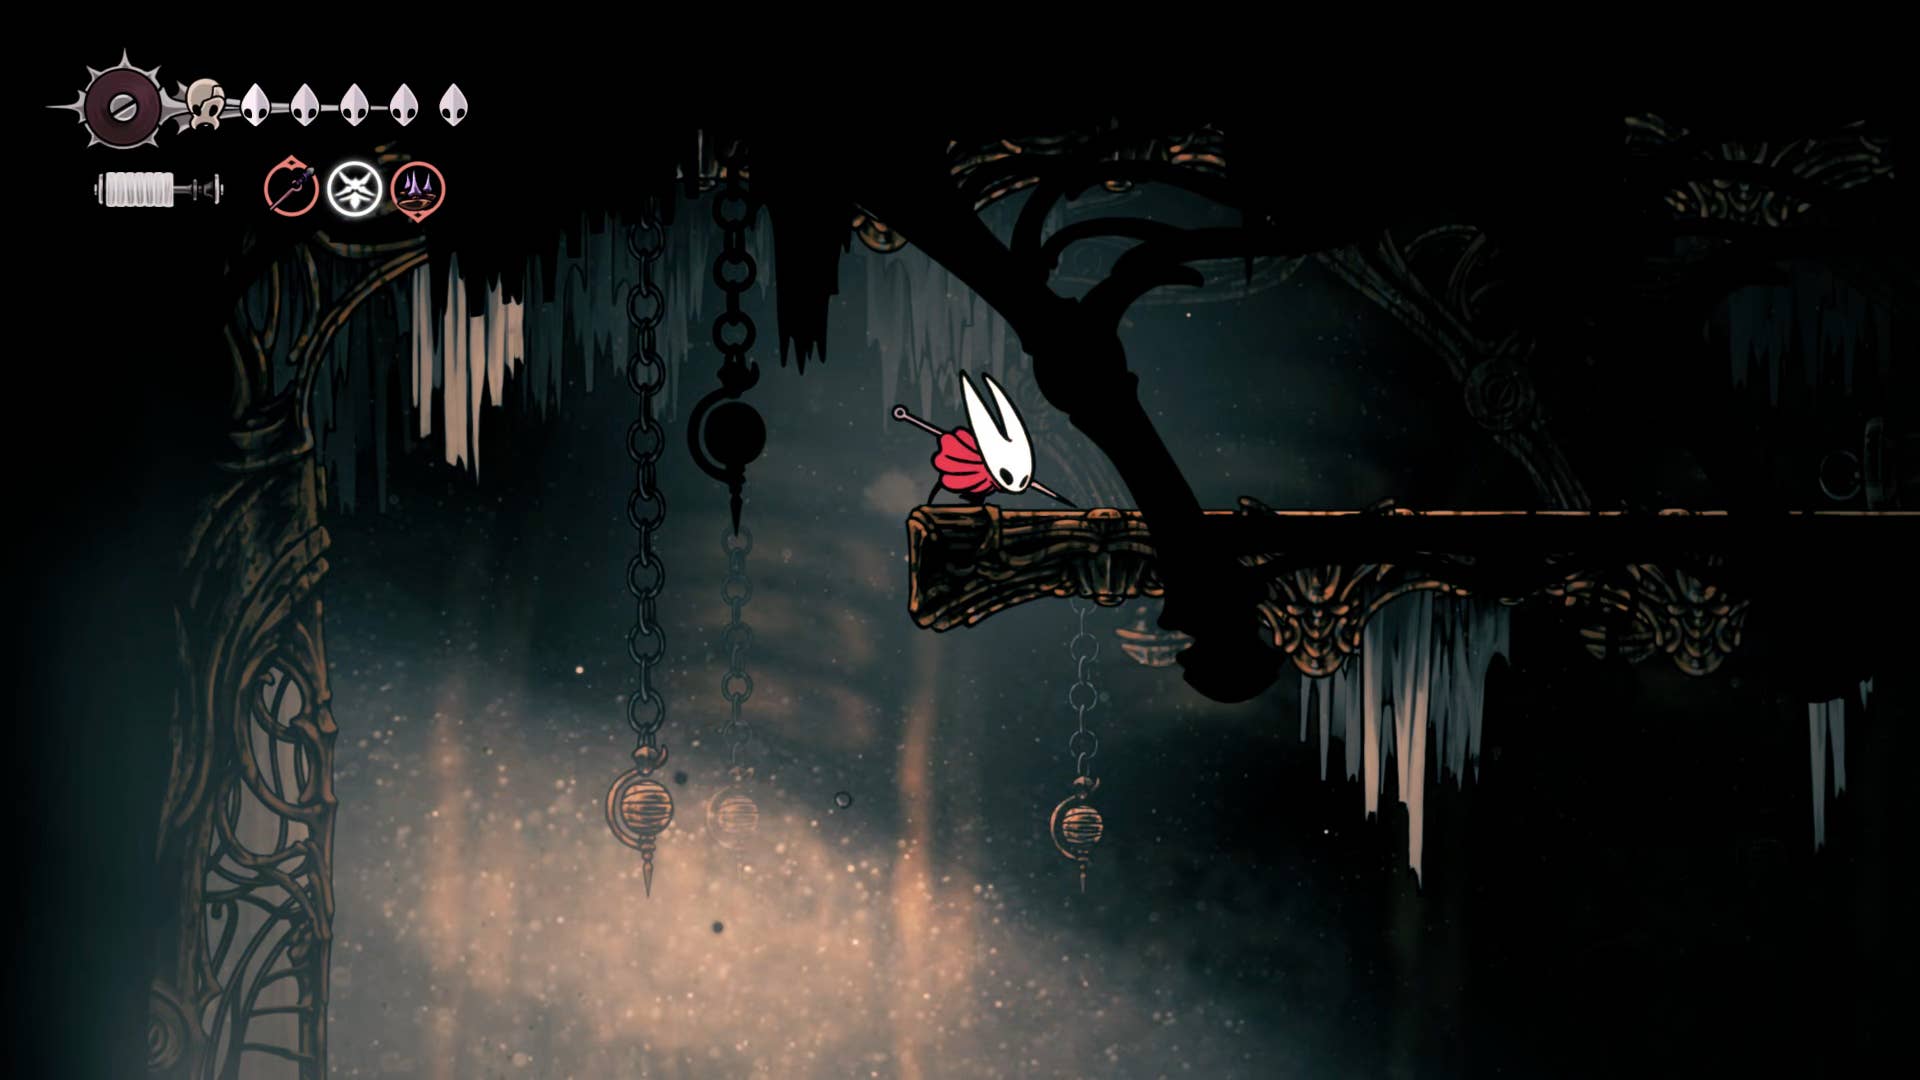
Rest on the bench again if necessary, drop down to the left and spin up the left wheel to activate the air current. Place air in the left outlet. This pass takes you to a vertical shaft filled with small hanging boards and many cogwork underfly.
By this point, these underflies need to die in one strike, so carefully step on the shaft down and land on the shelf on the left before landing on the lava.
Head to the next room and sprint straight past various explosive cogwork haulers (it’s respawning quickly, so killing it doesn’t make sense). A rescued flea is found on the edge of the room on the top shelf. Once that’s done, come back from the room again.
4. Get Craftmetal.
Head to the other side of the free room on the right. There are regular lava foals in the room over there, so jump and dash accordingly.
At the end of the hallway, head over to the top shelf and go upwards. After that, climb onto the shelf on the left and enter the next room (which acknowledges a very dangerous corridor).
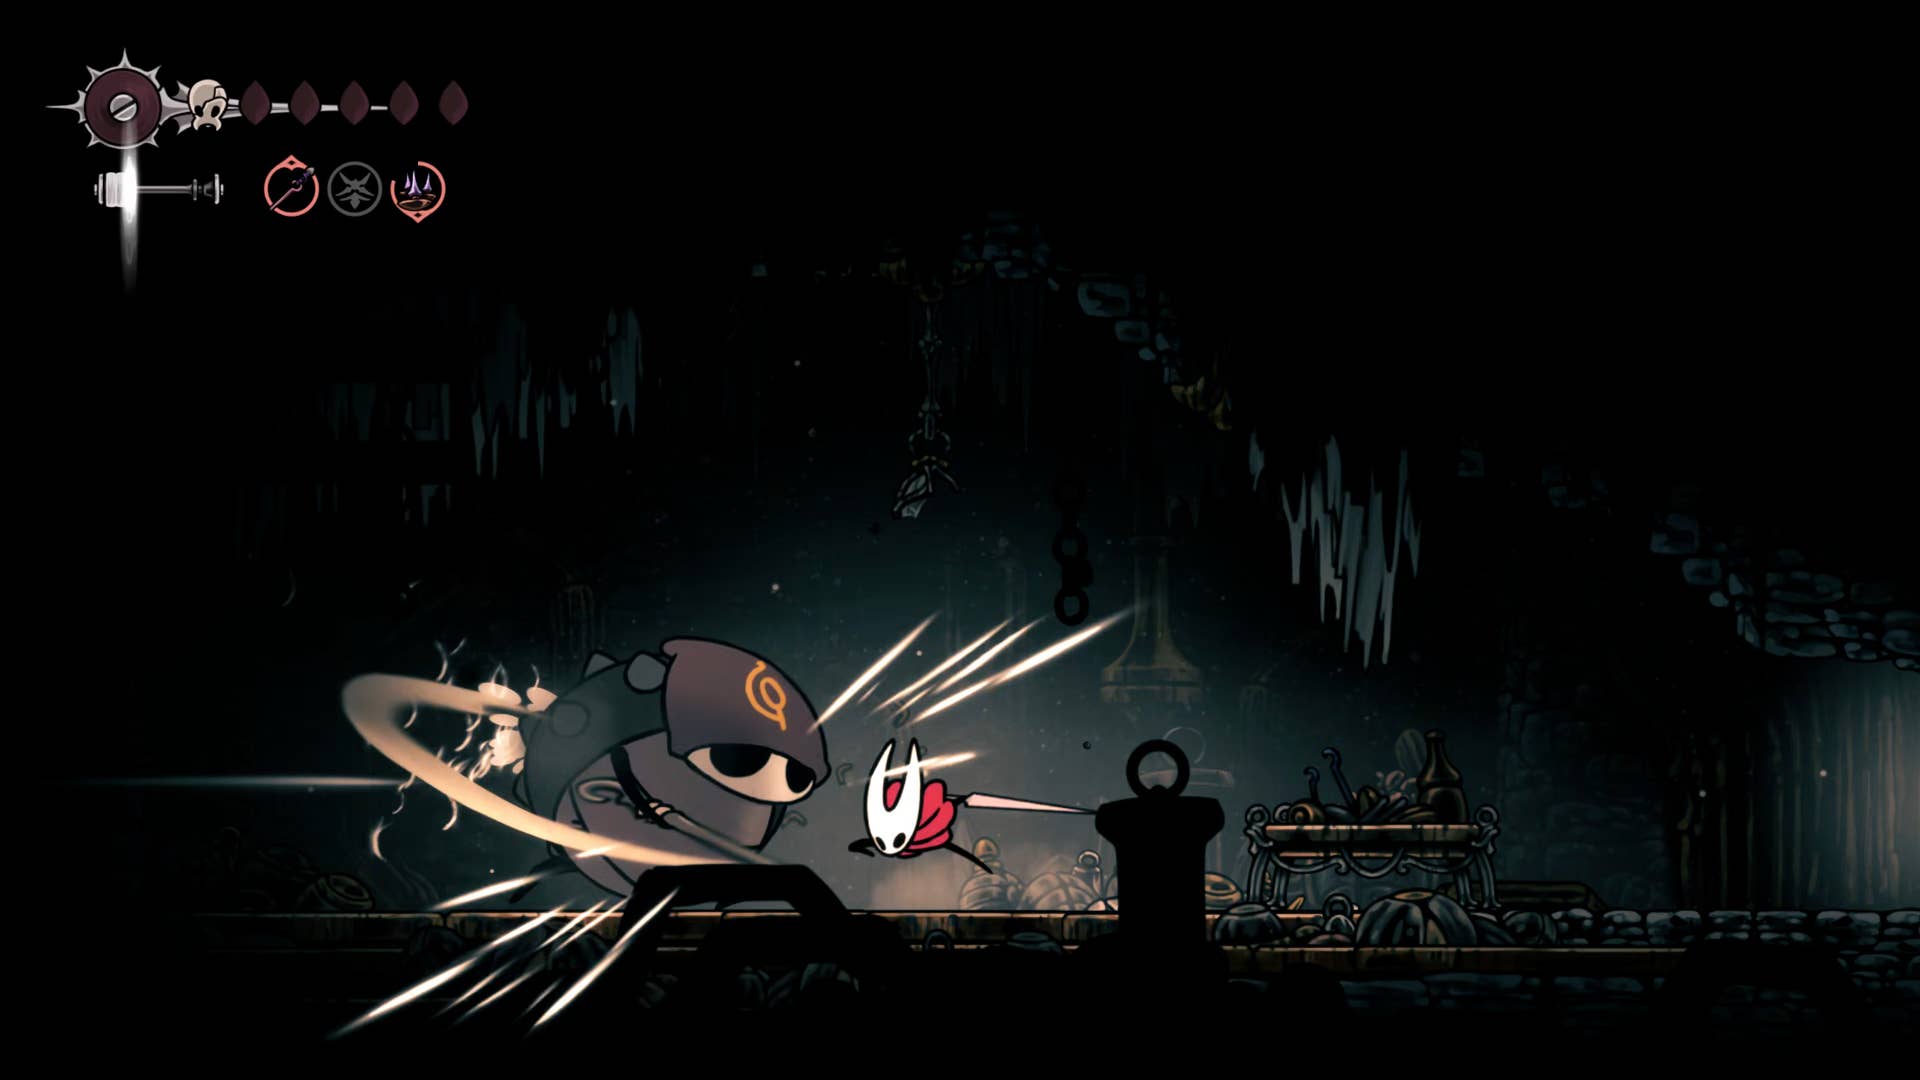
We recommend using tools to make this room easier. Take everything slowly and head towards the edge of the room where you attack the rock on the far left to attack the craft metal.
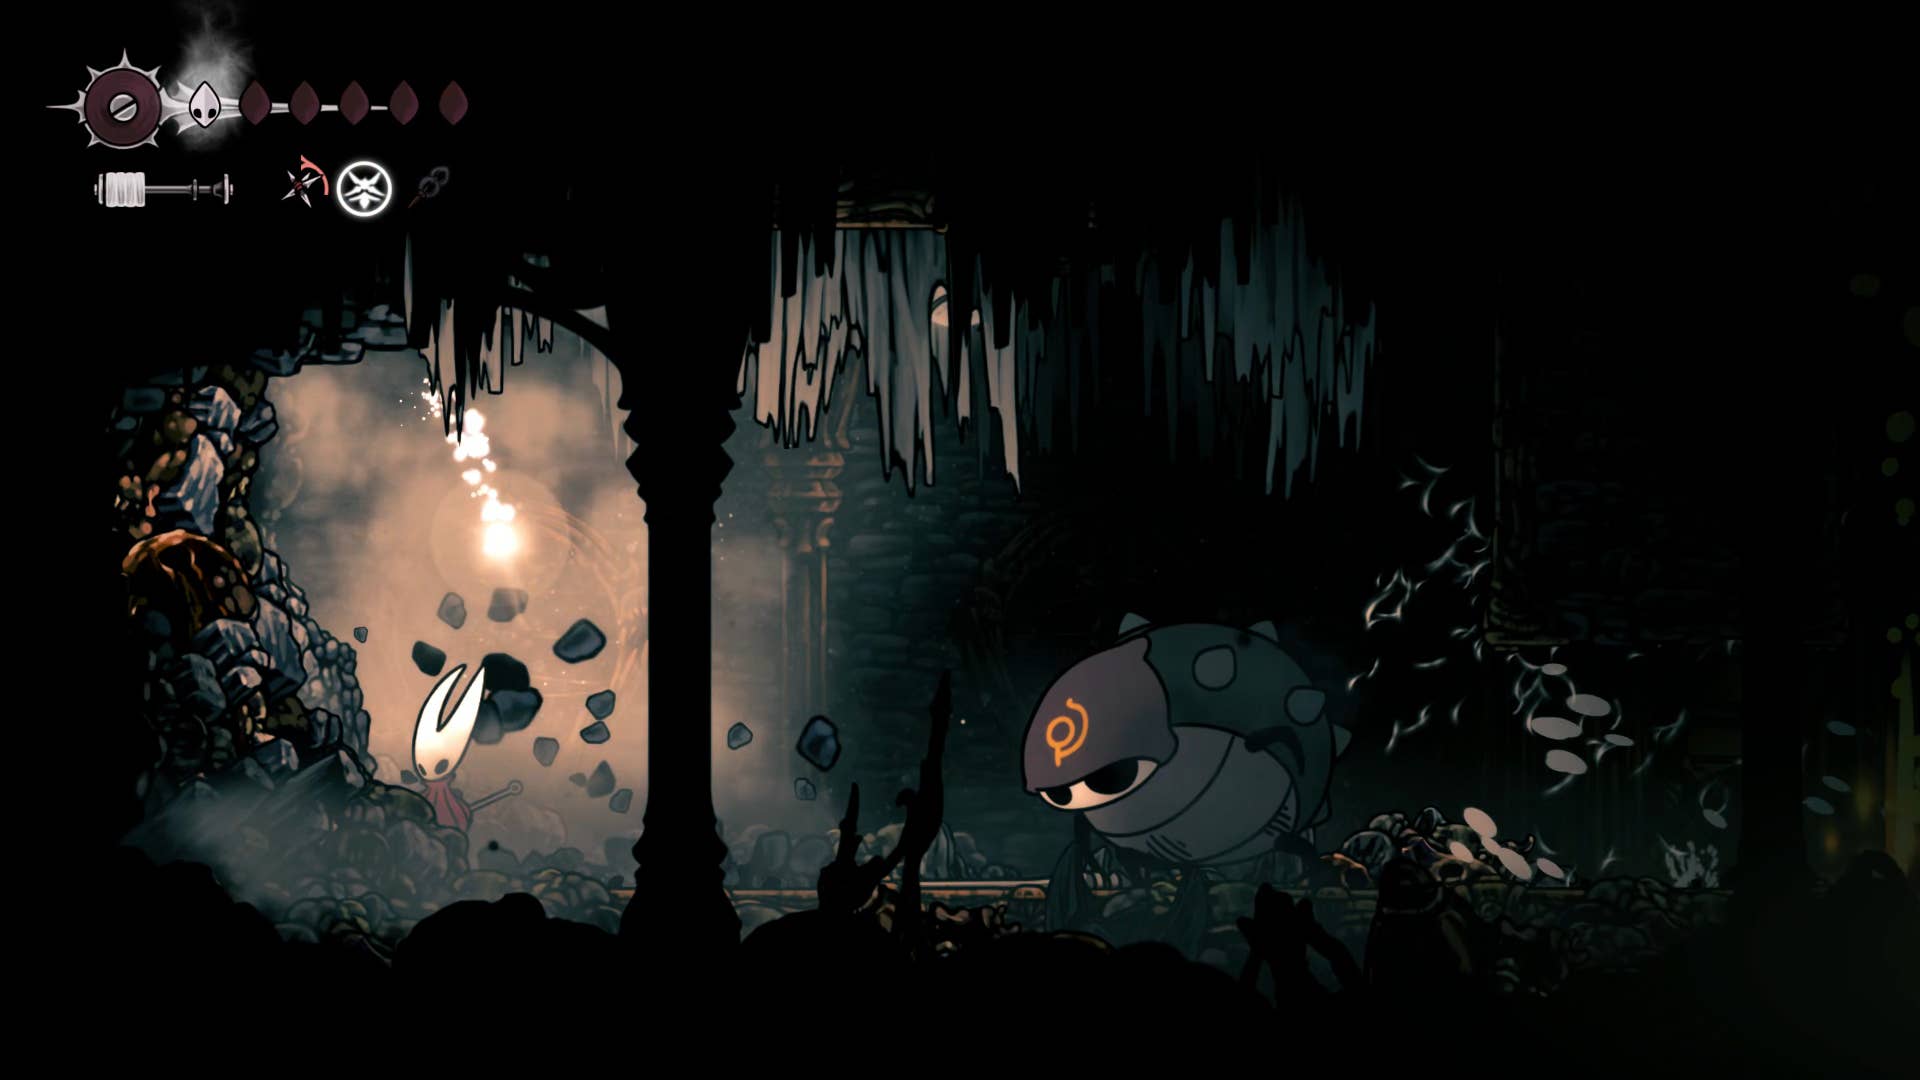
Note that as you begin to attack the rocks, large underarm branches will appear behind you. Try to give yourself plenty of space to dash, attack, or dash out to avoid his swing. Once he deals with it, come back carefully from this terrible room.
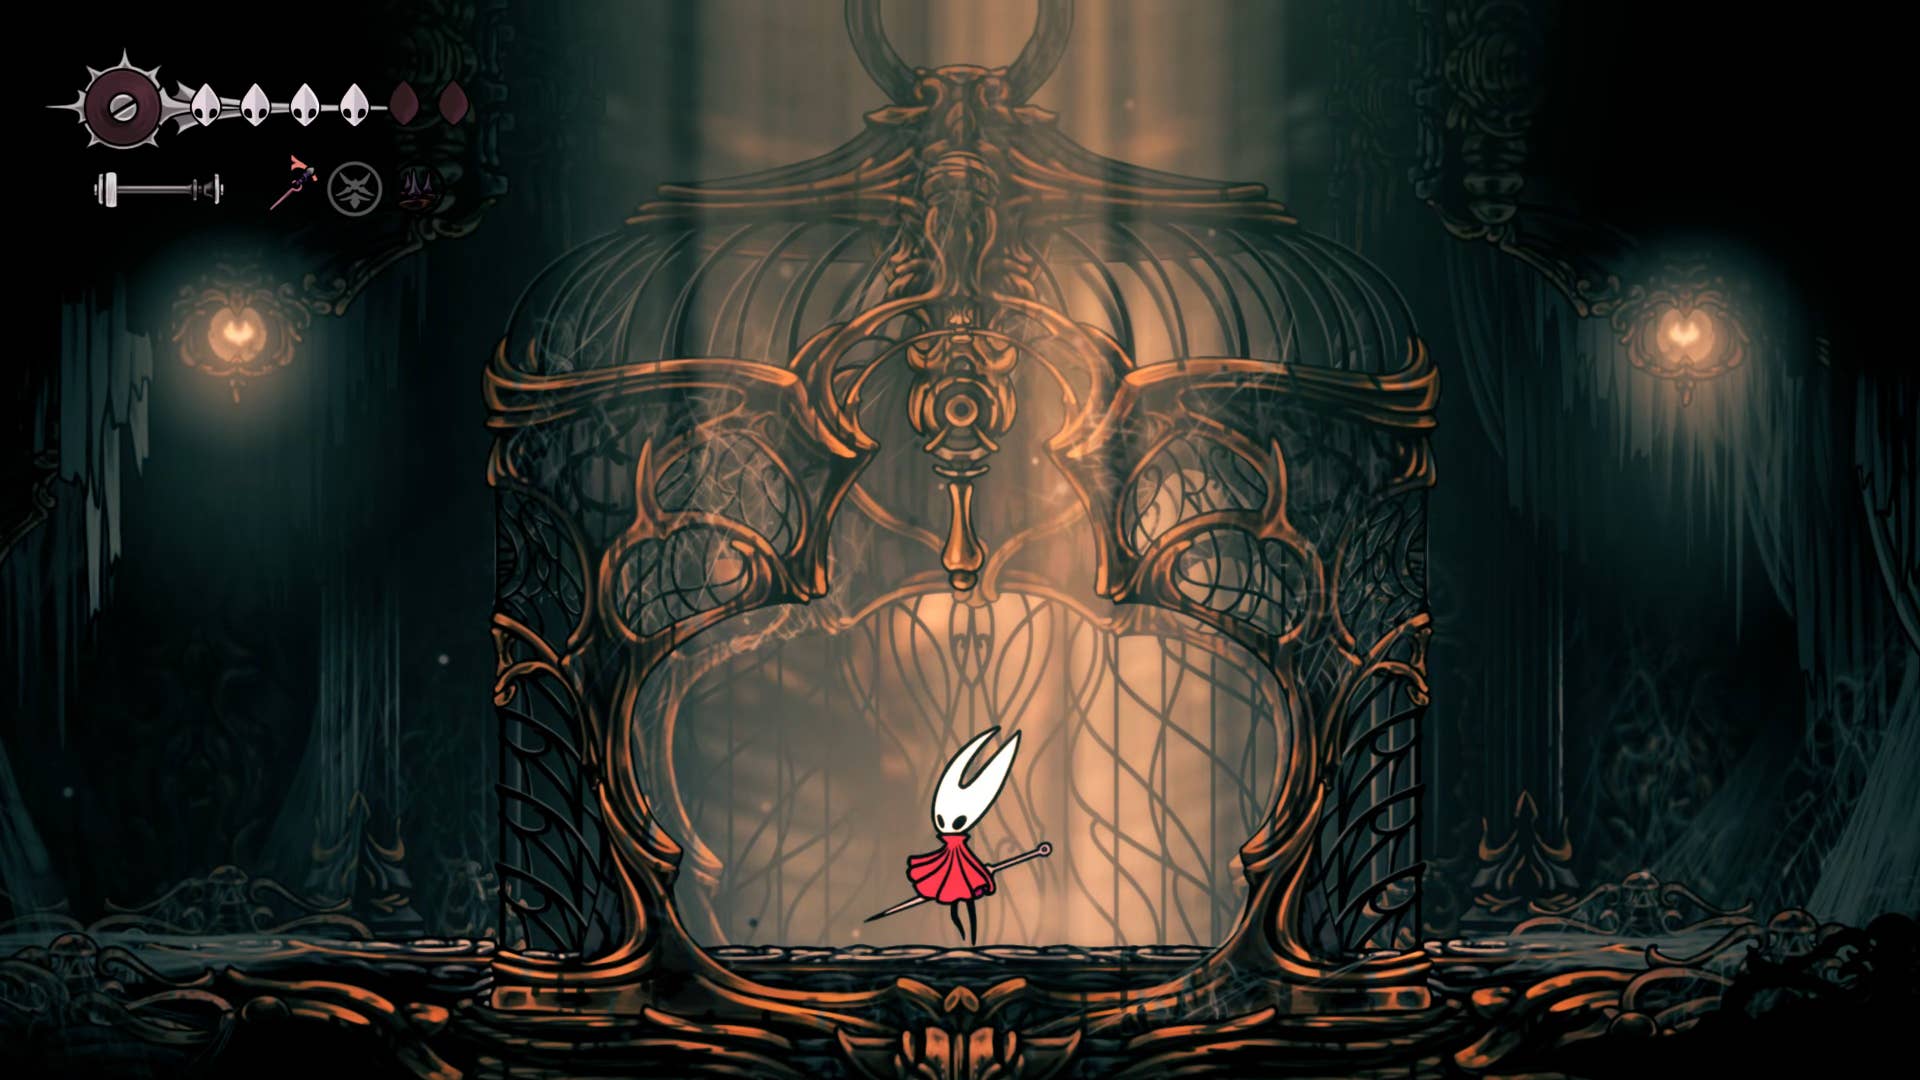
5. Unlock the Crawline Skill.
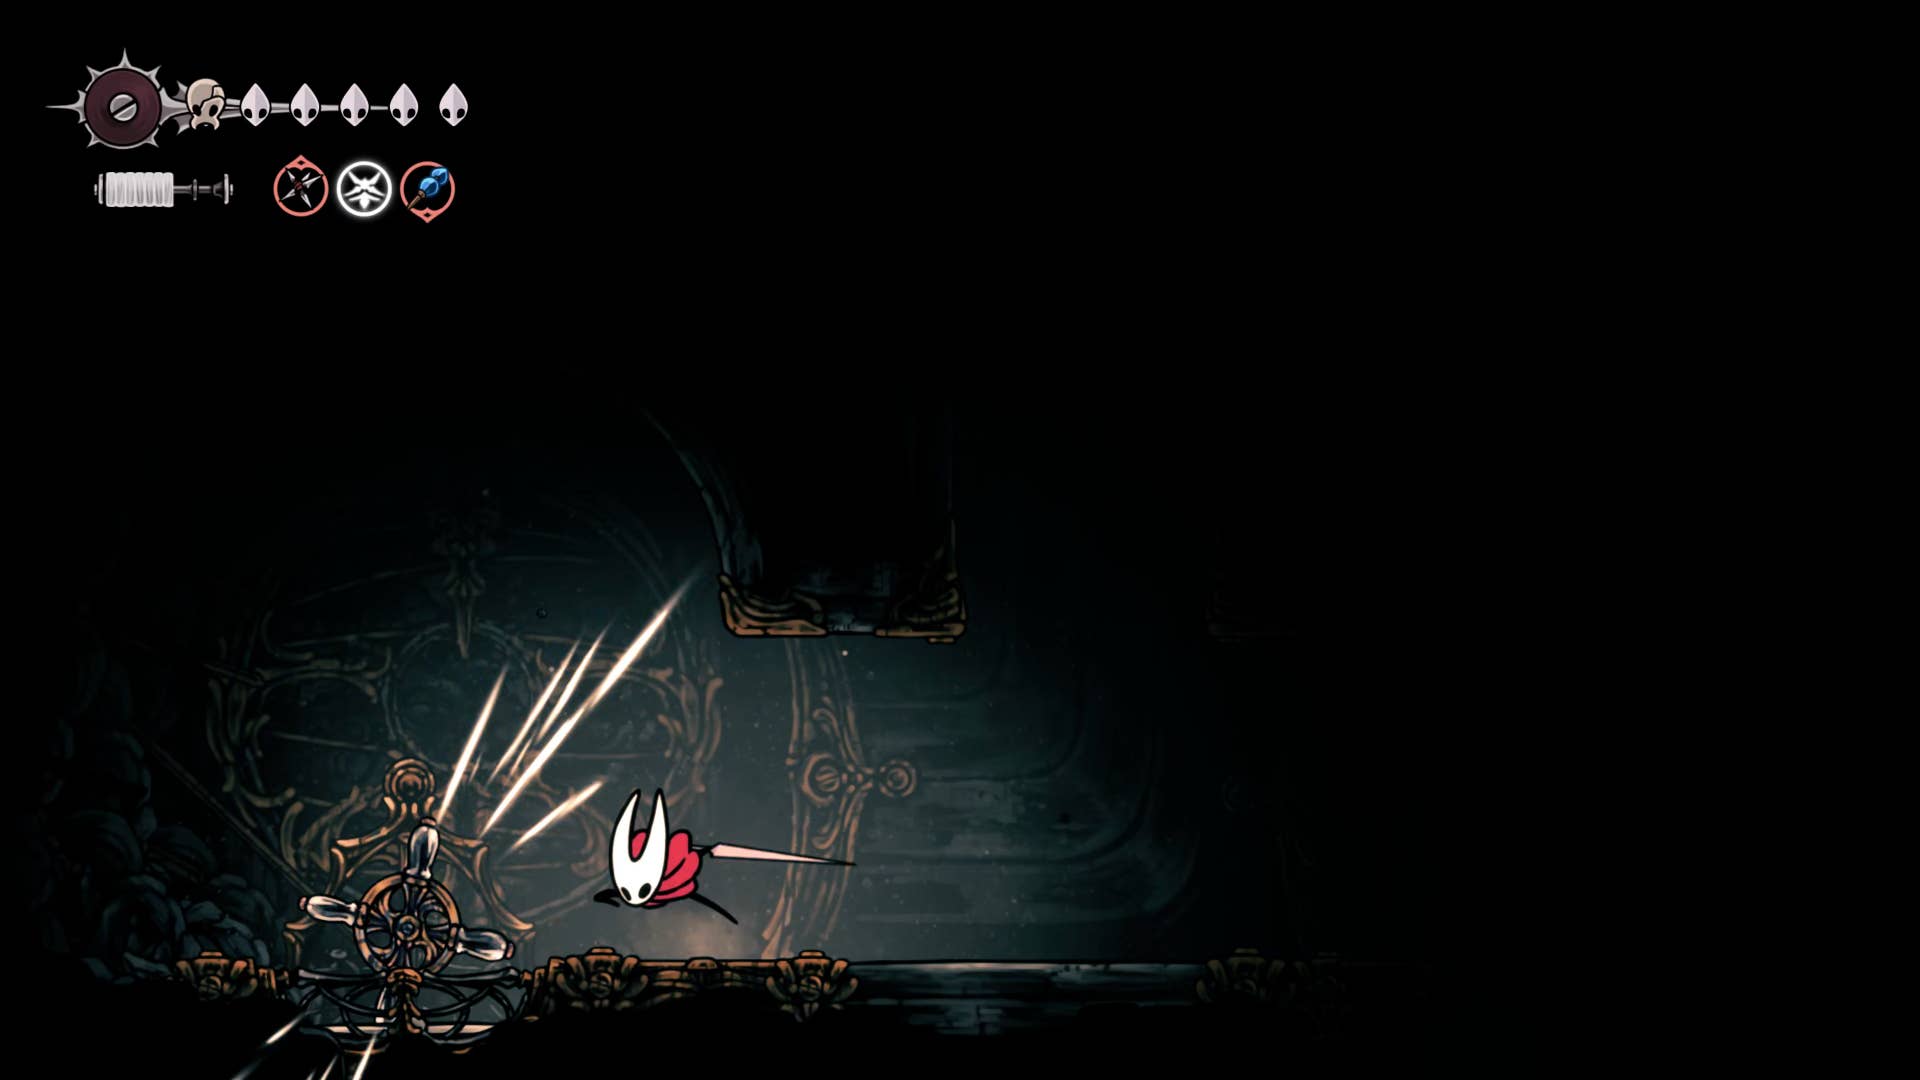
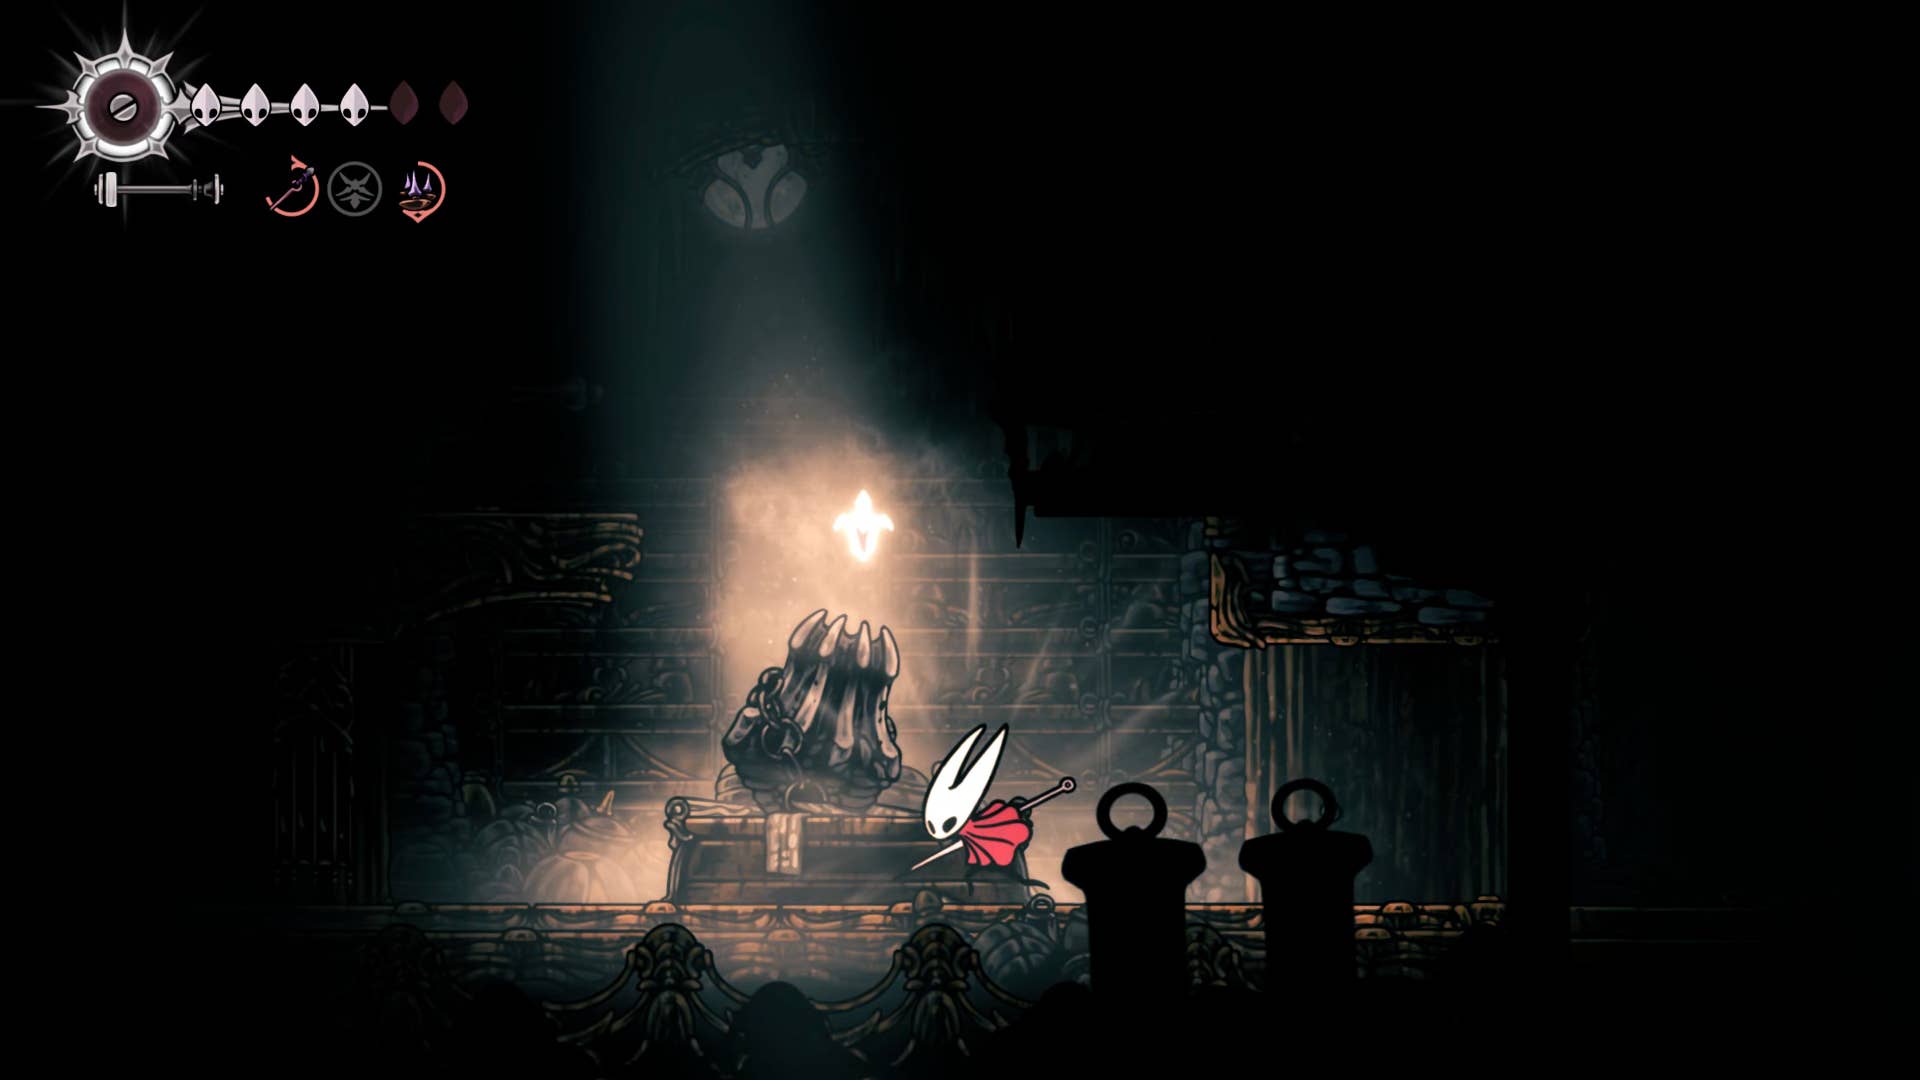
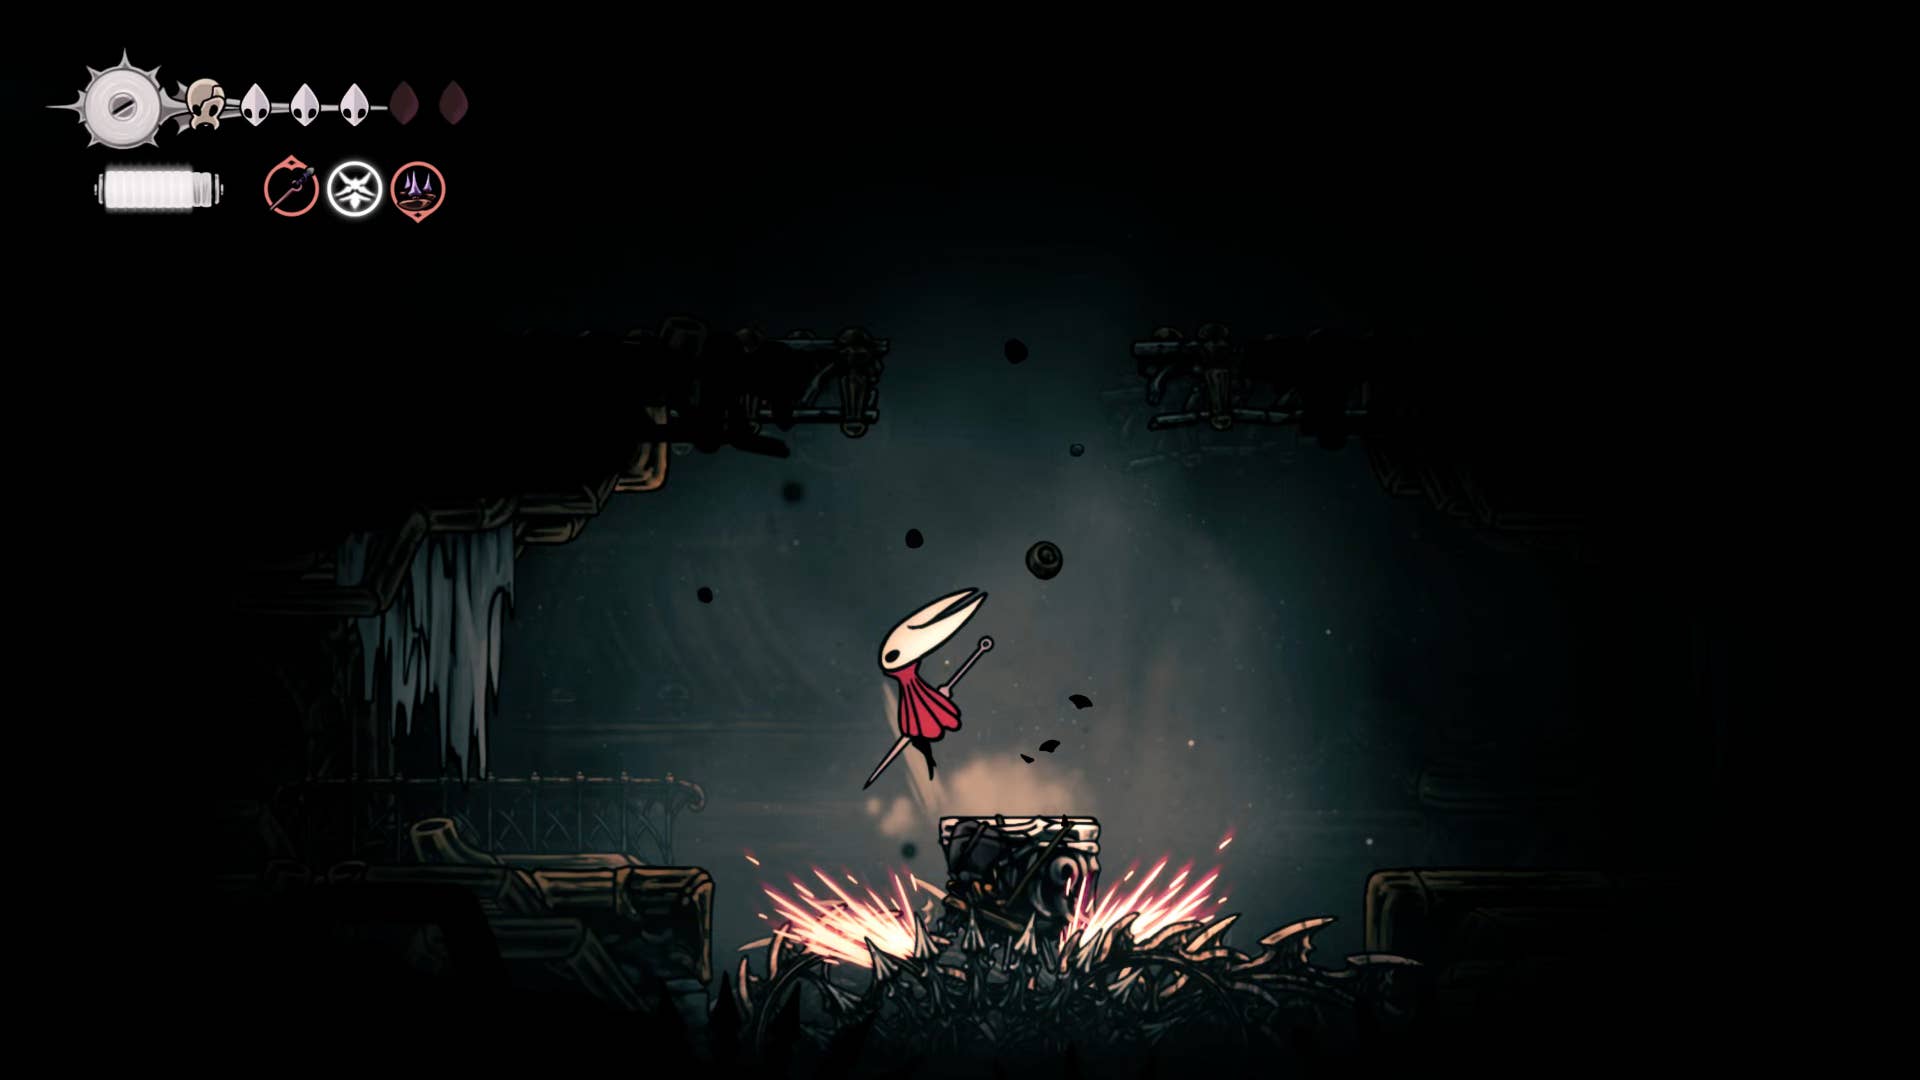
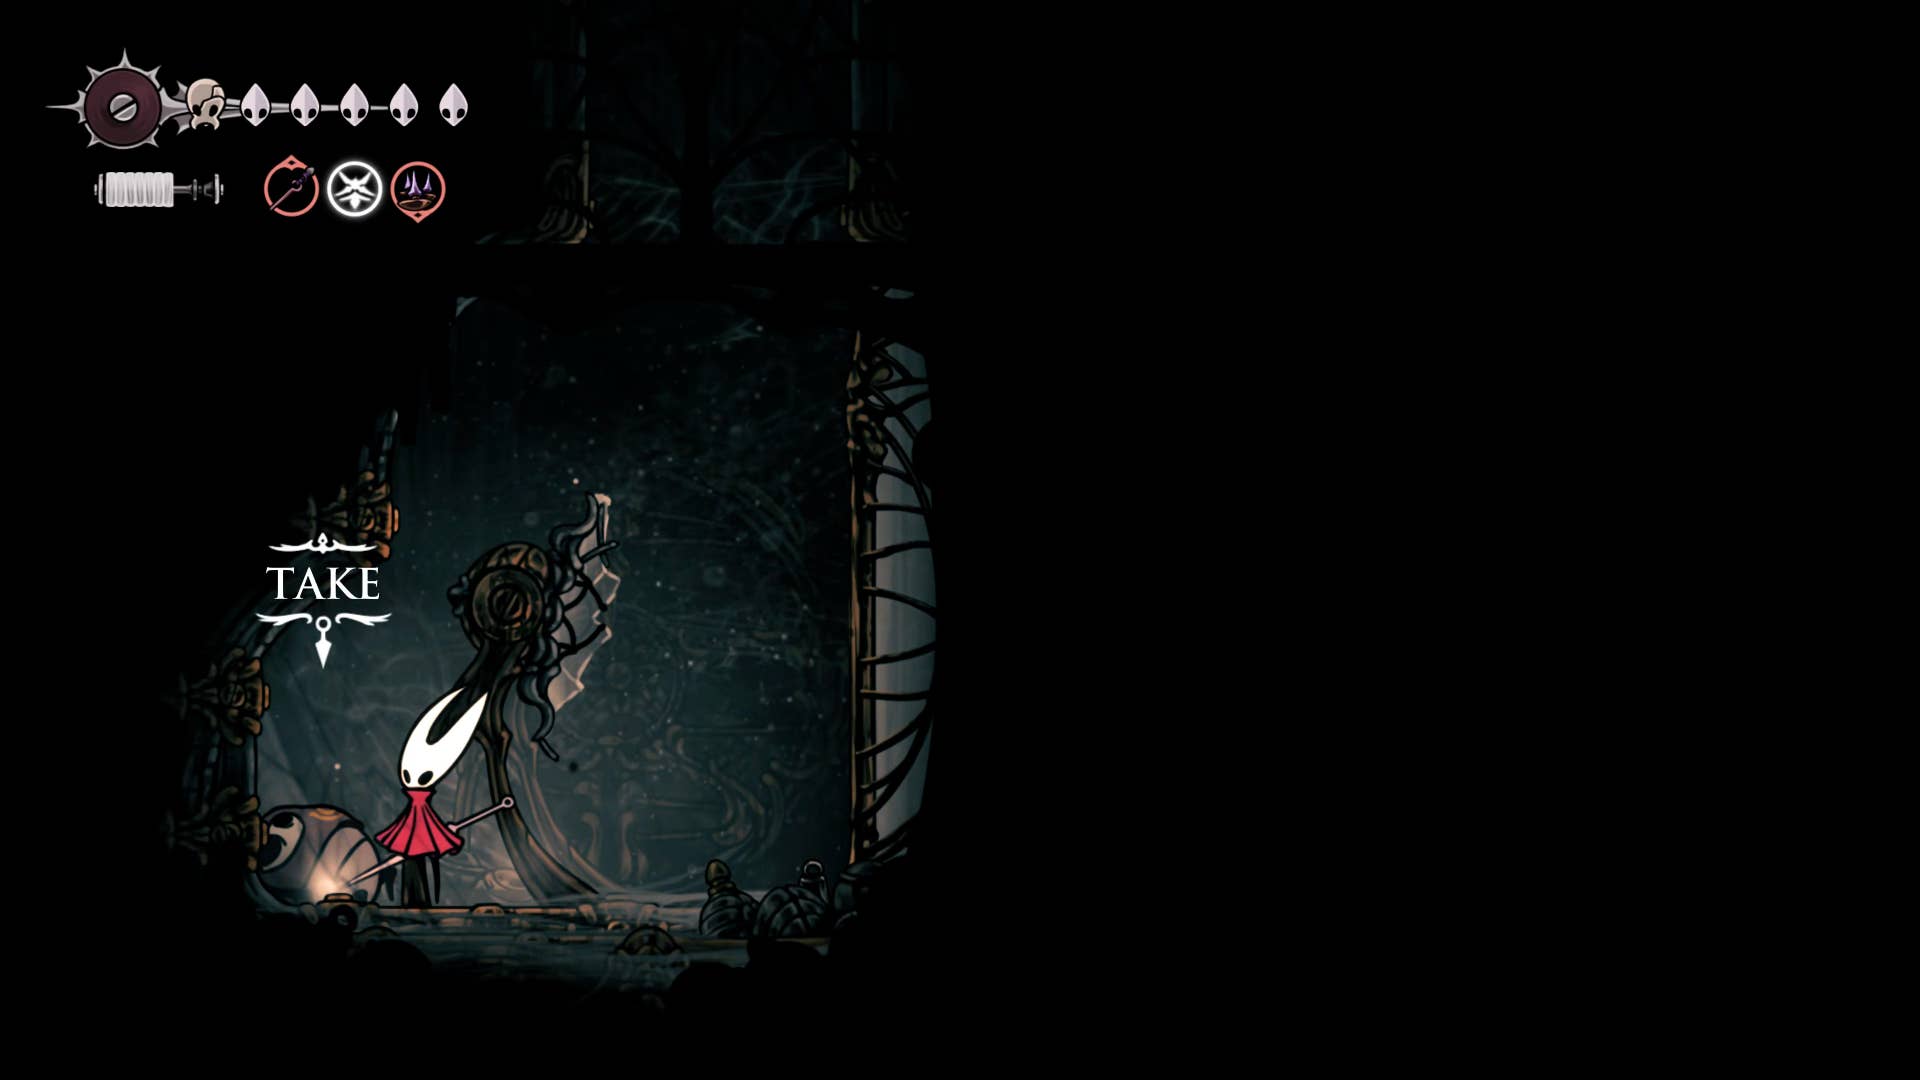
Once you leave the room, climb the shaft onto the shelf on your left and hit the lever to enter the cauldron.
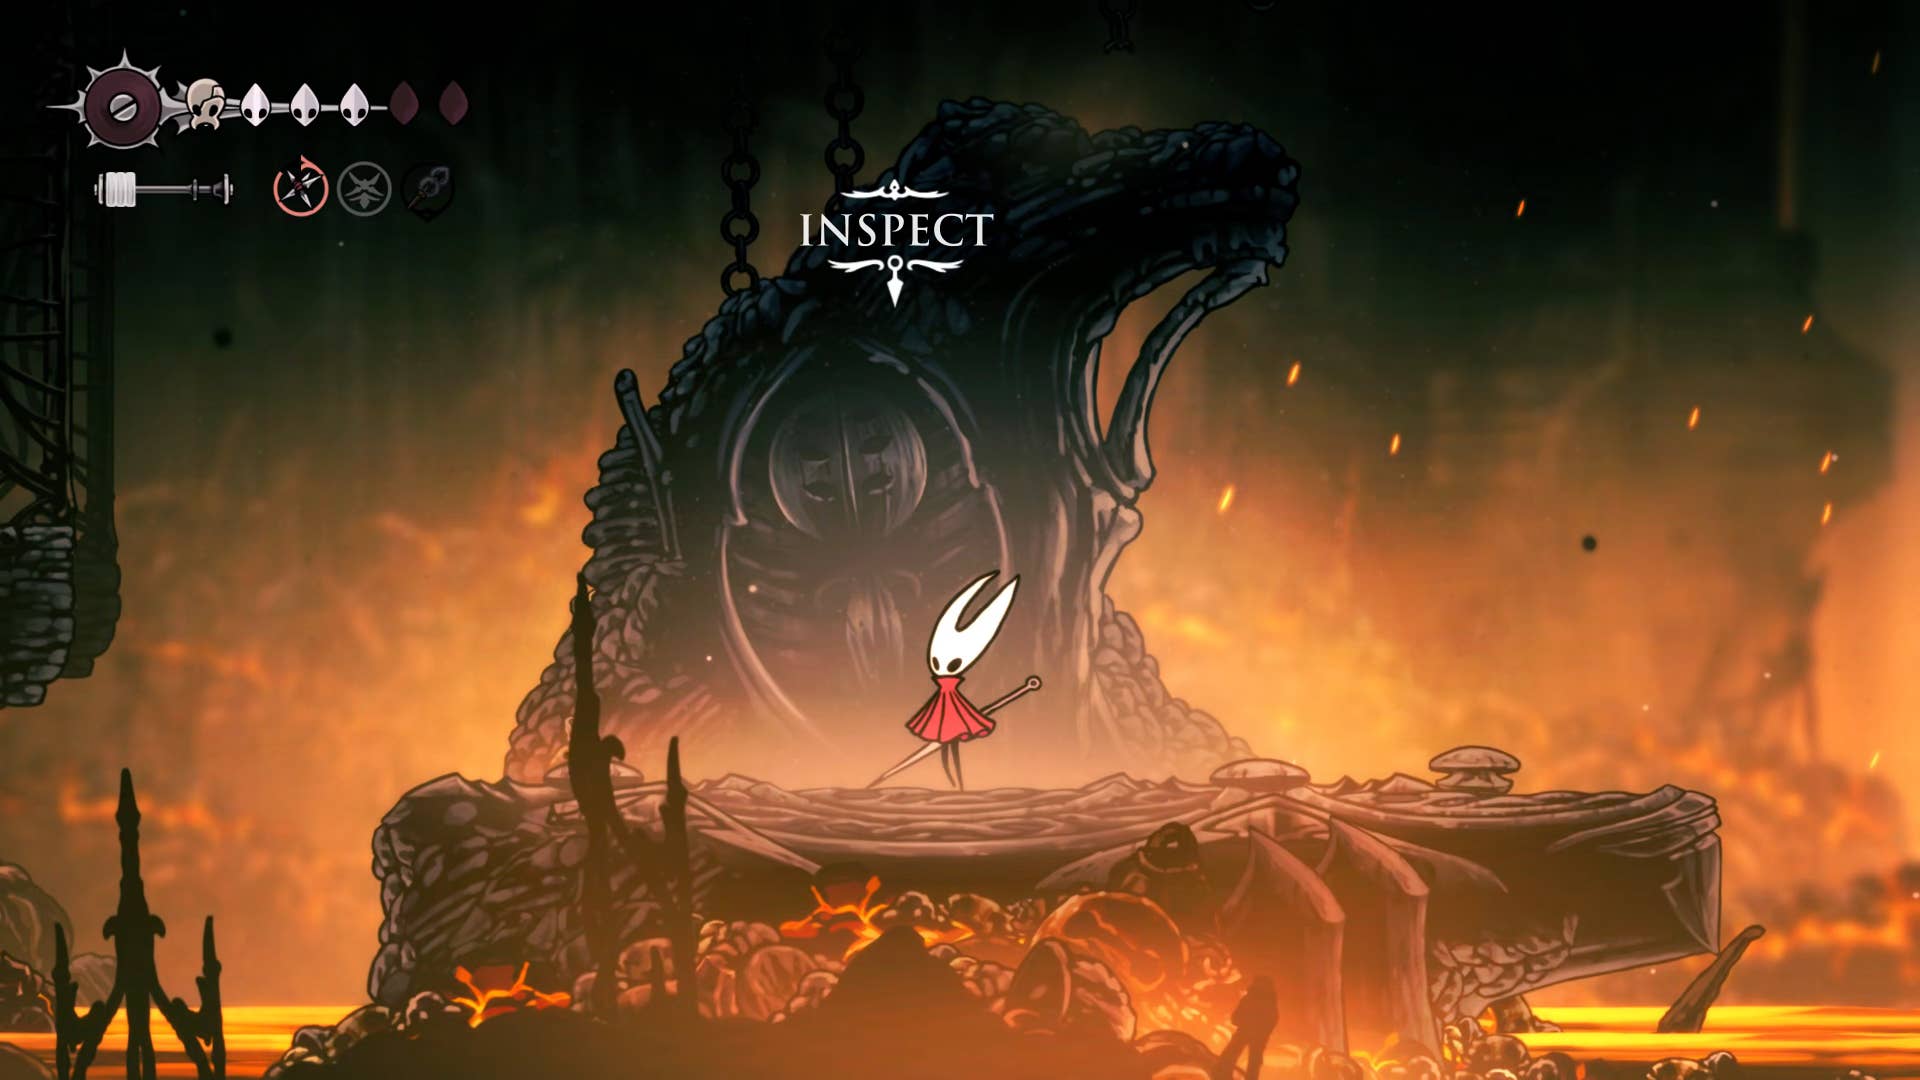
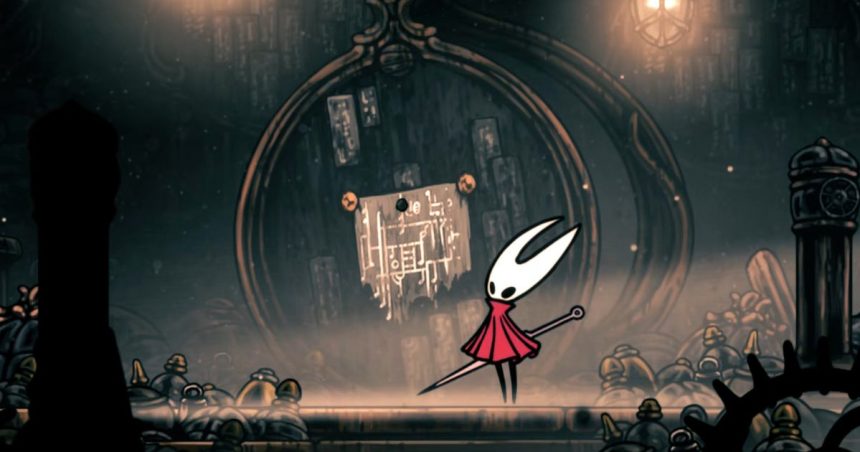
Using running jumps and dashes, head across the lava platform to the other side to see familiar monuments. To interact with it, finally receive the reason you came here through White Ward, Crawling Harpoon!
6. Complete the cauldron gauntlet.
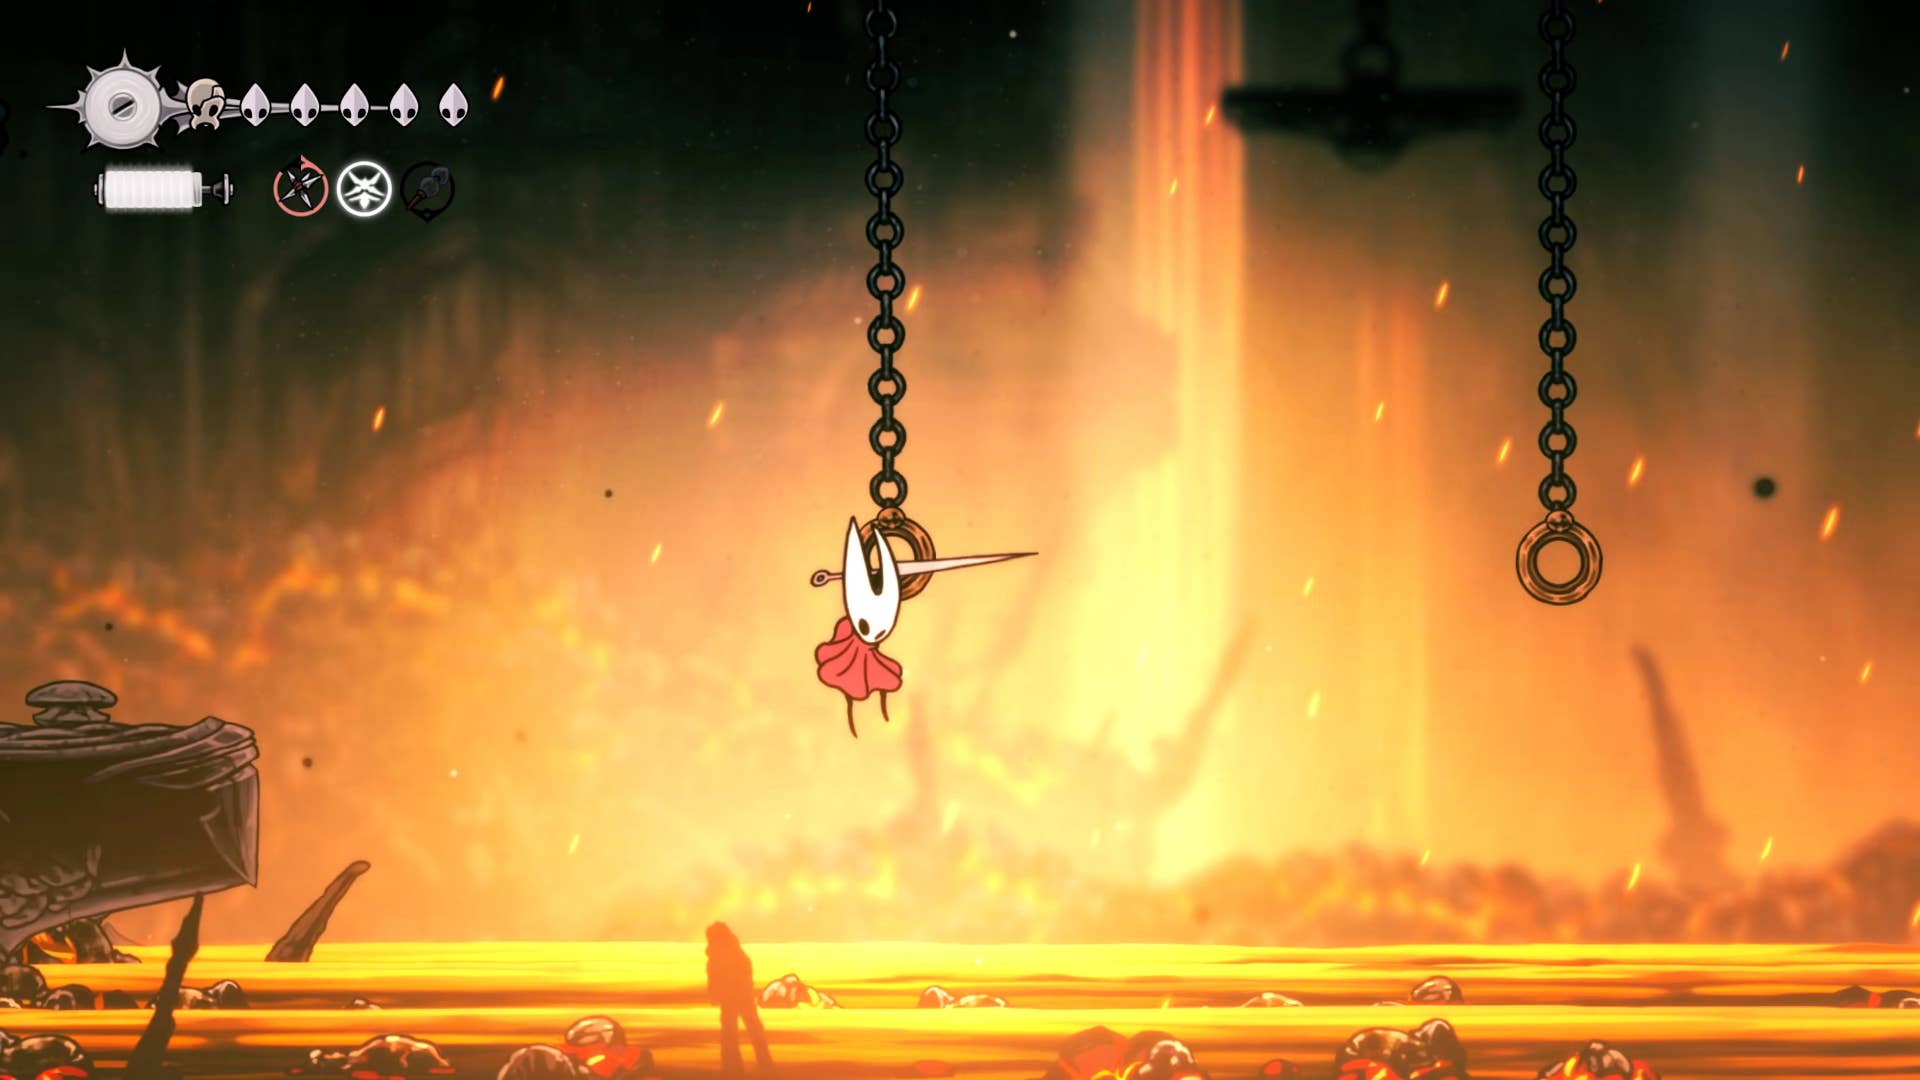
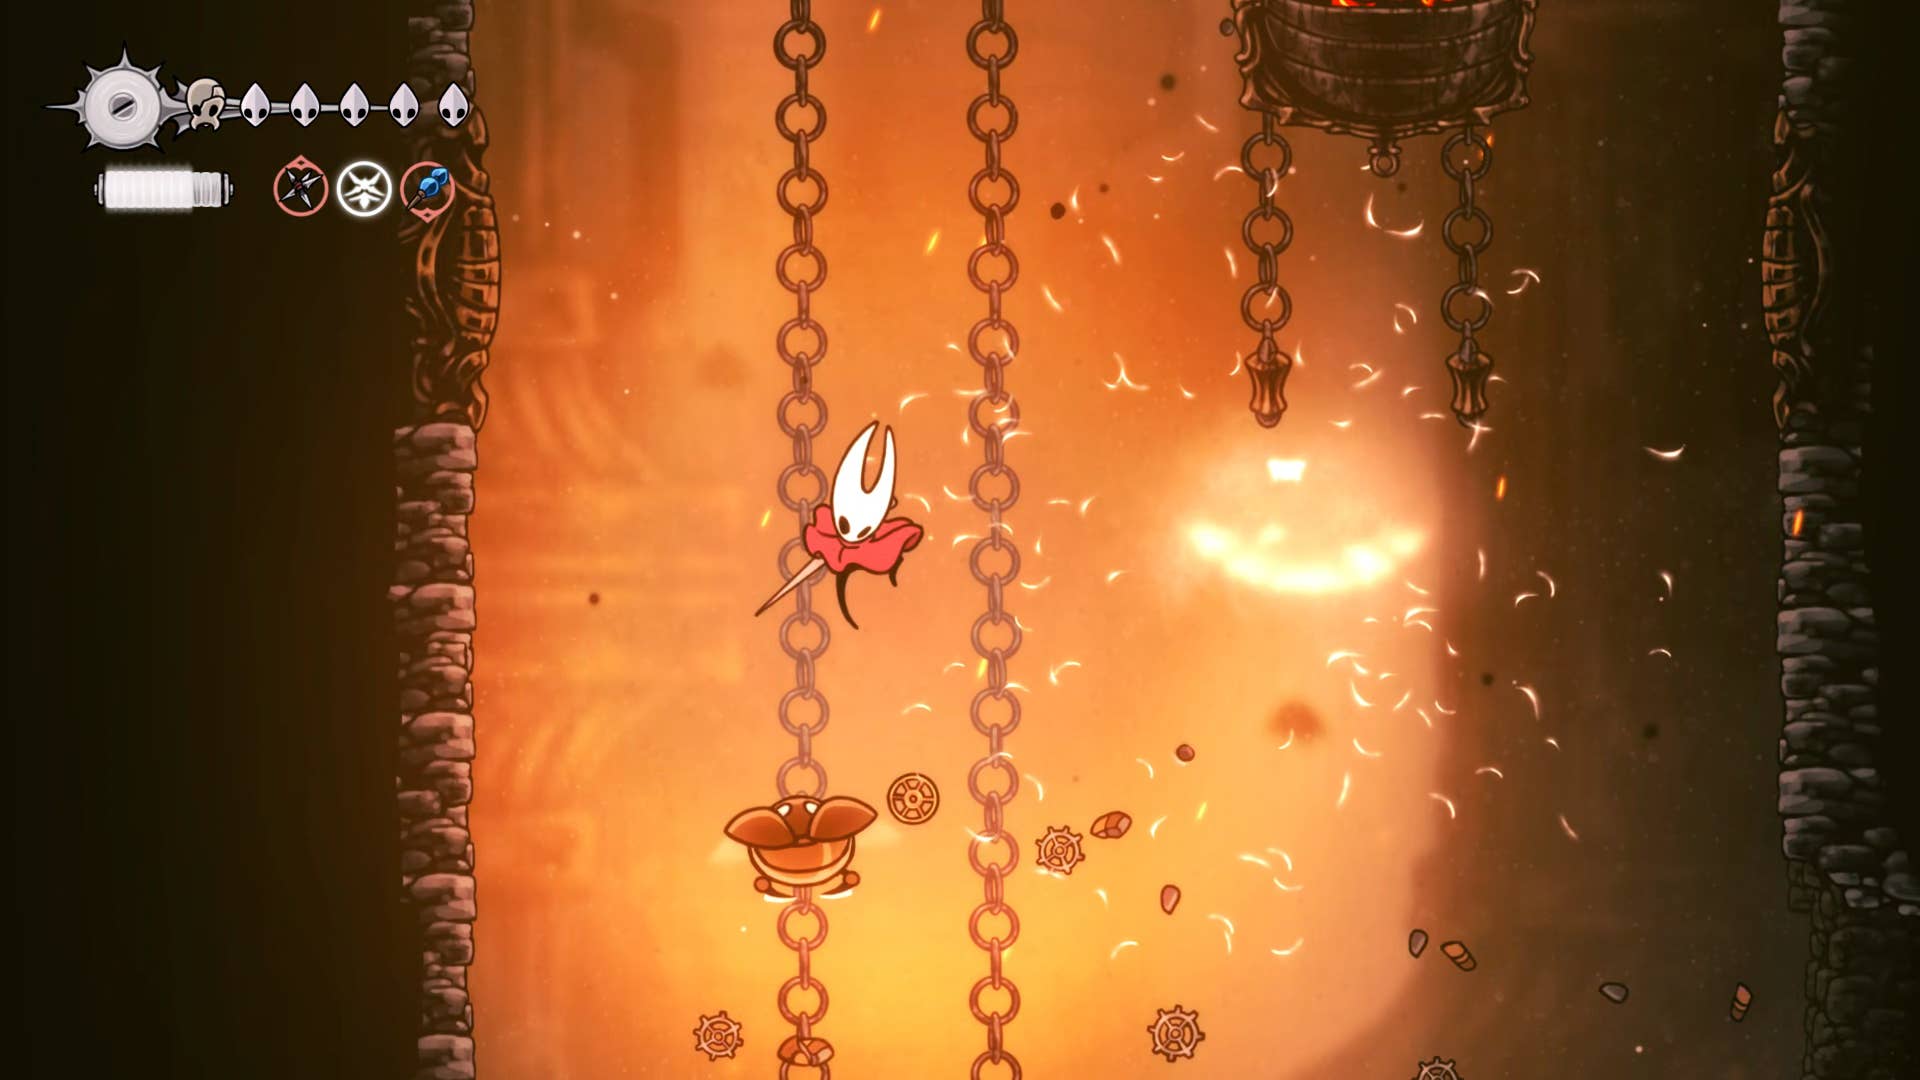
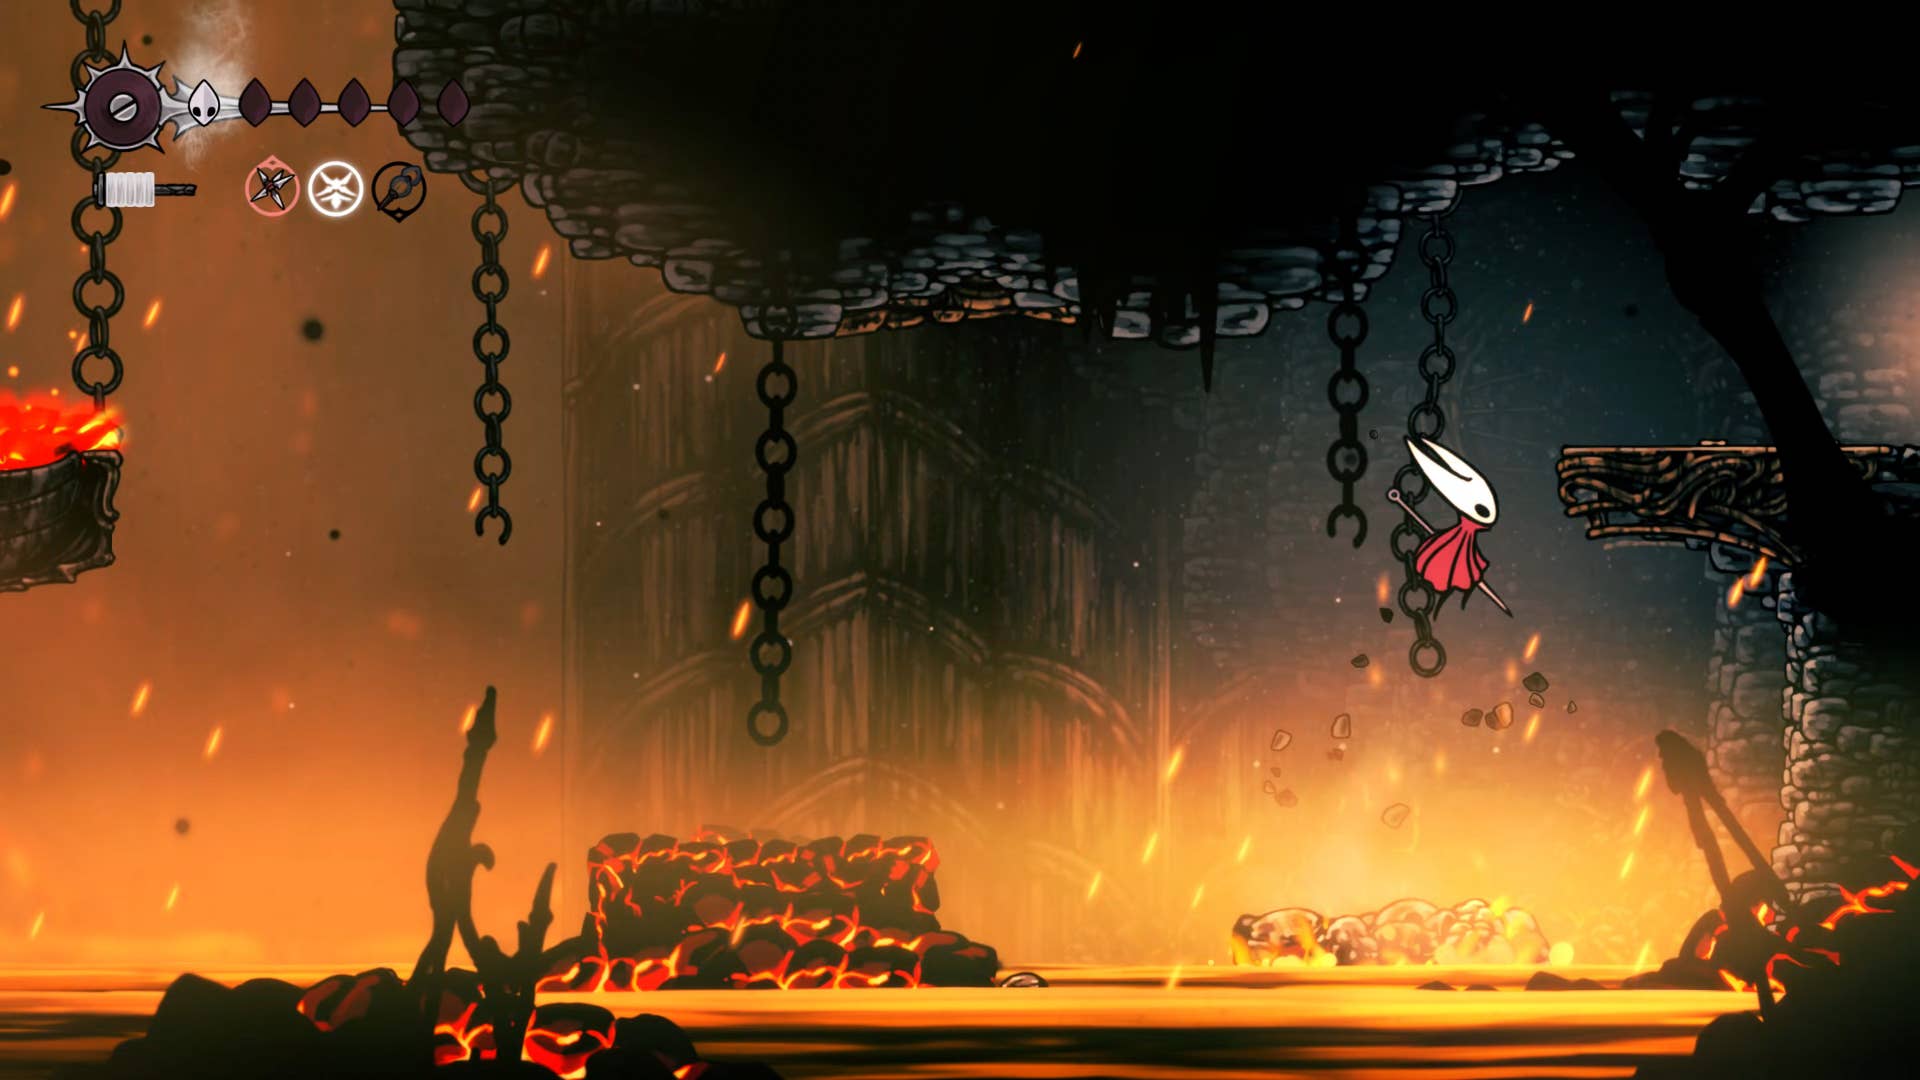
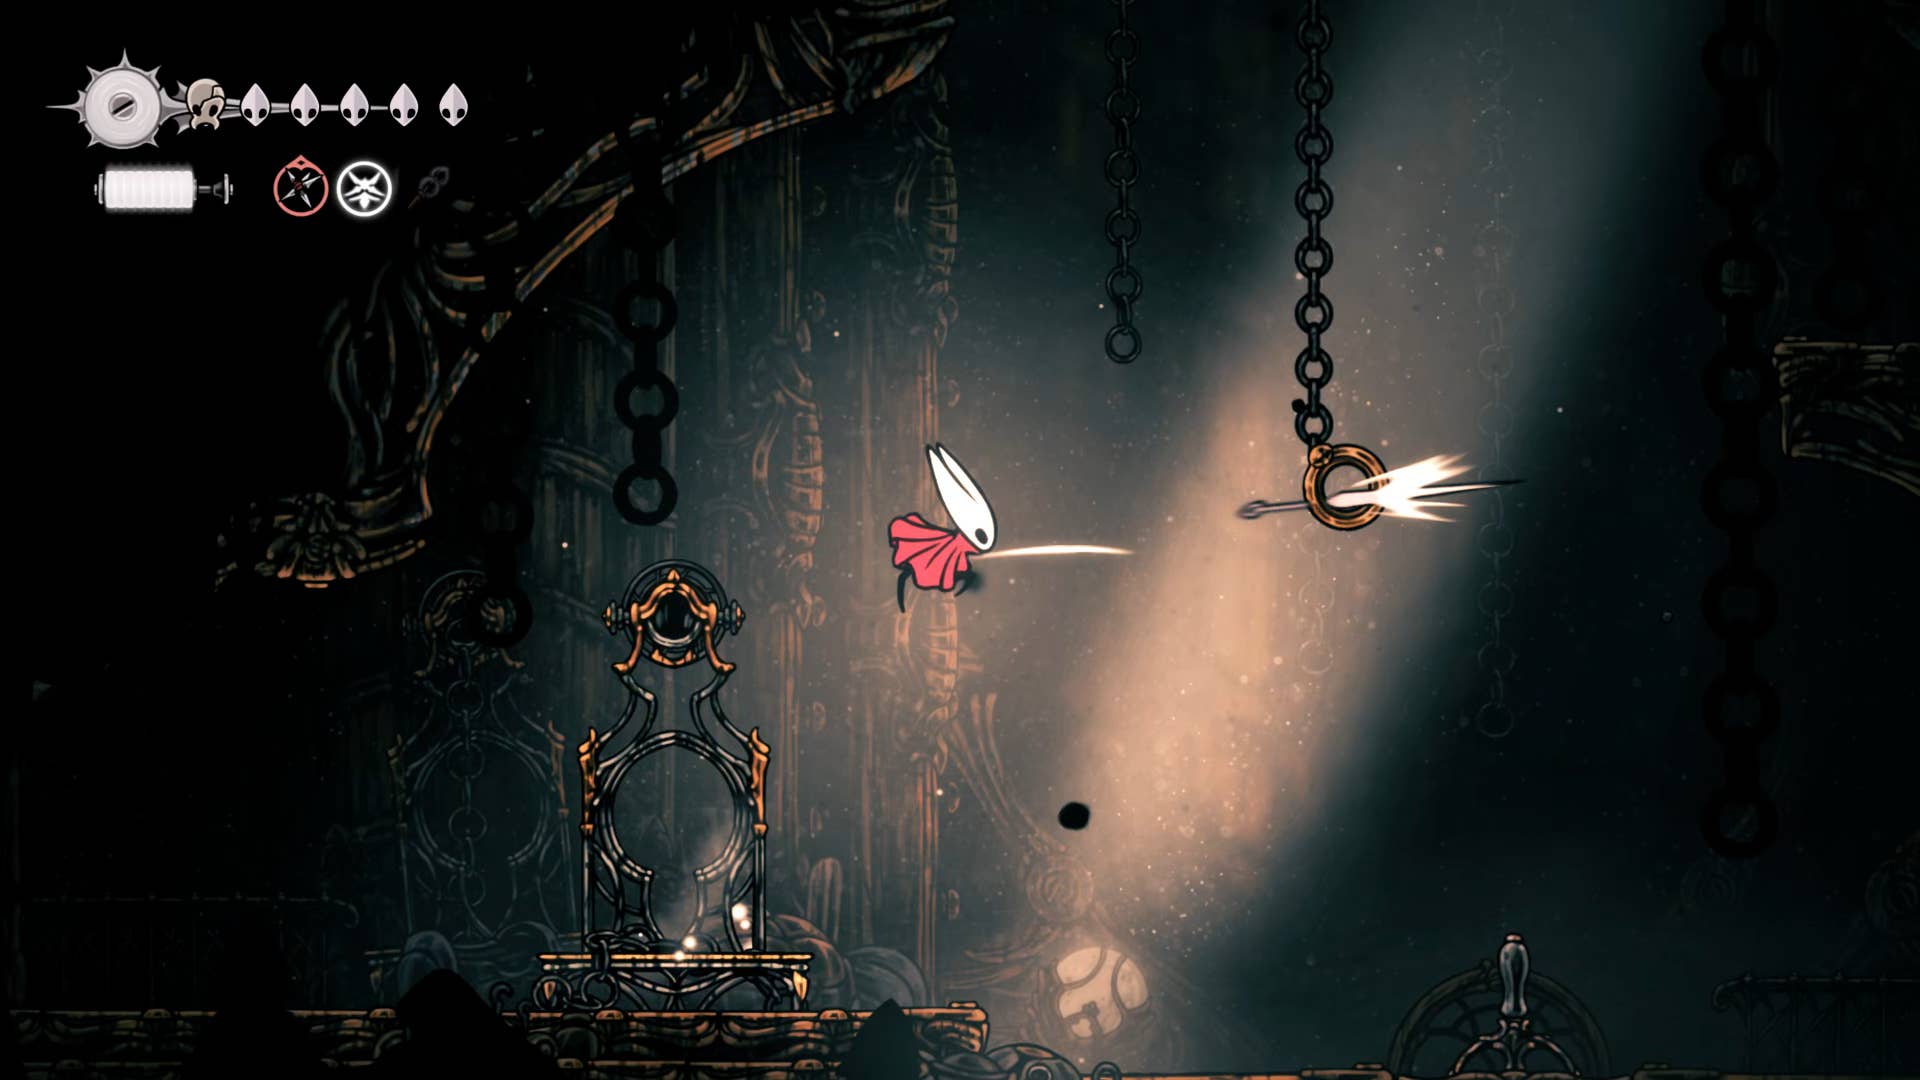
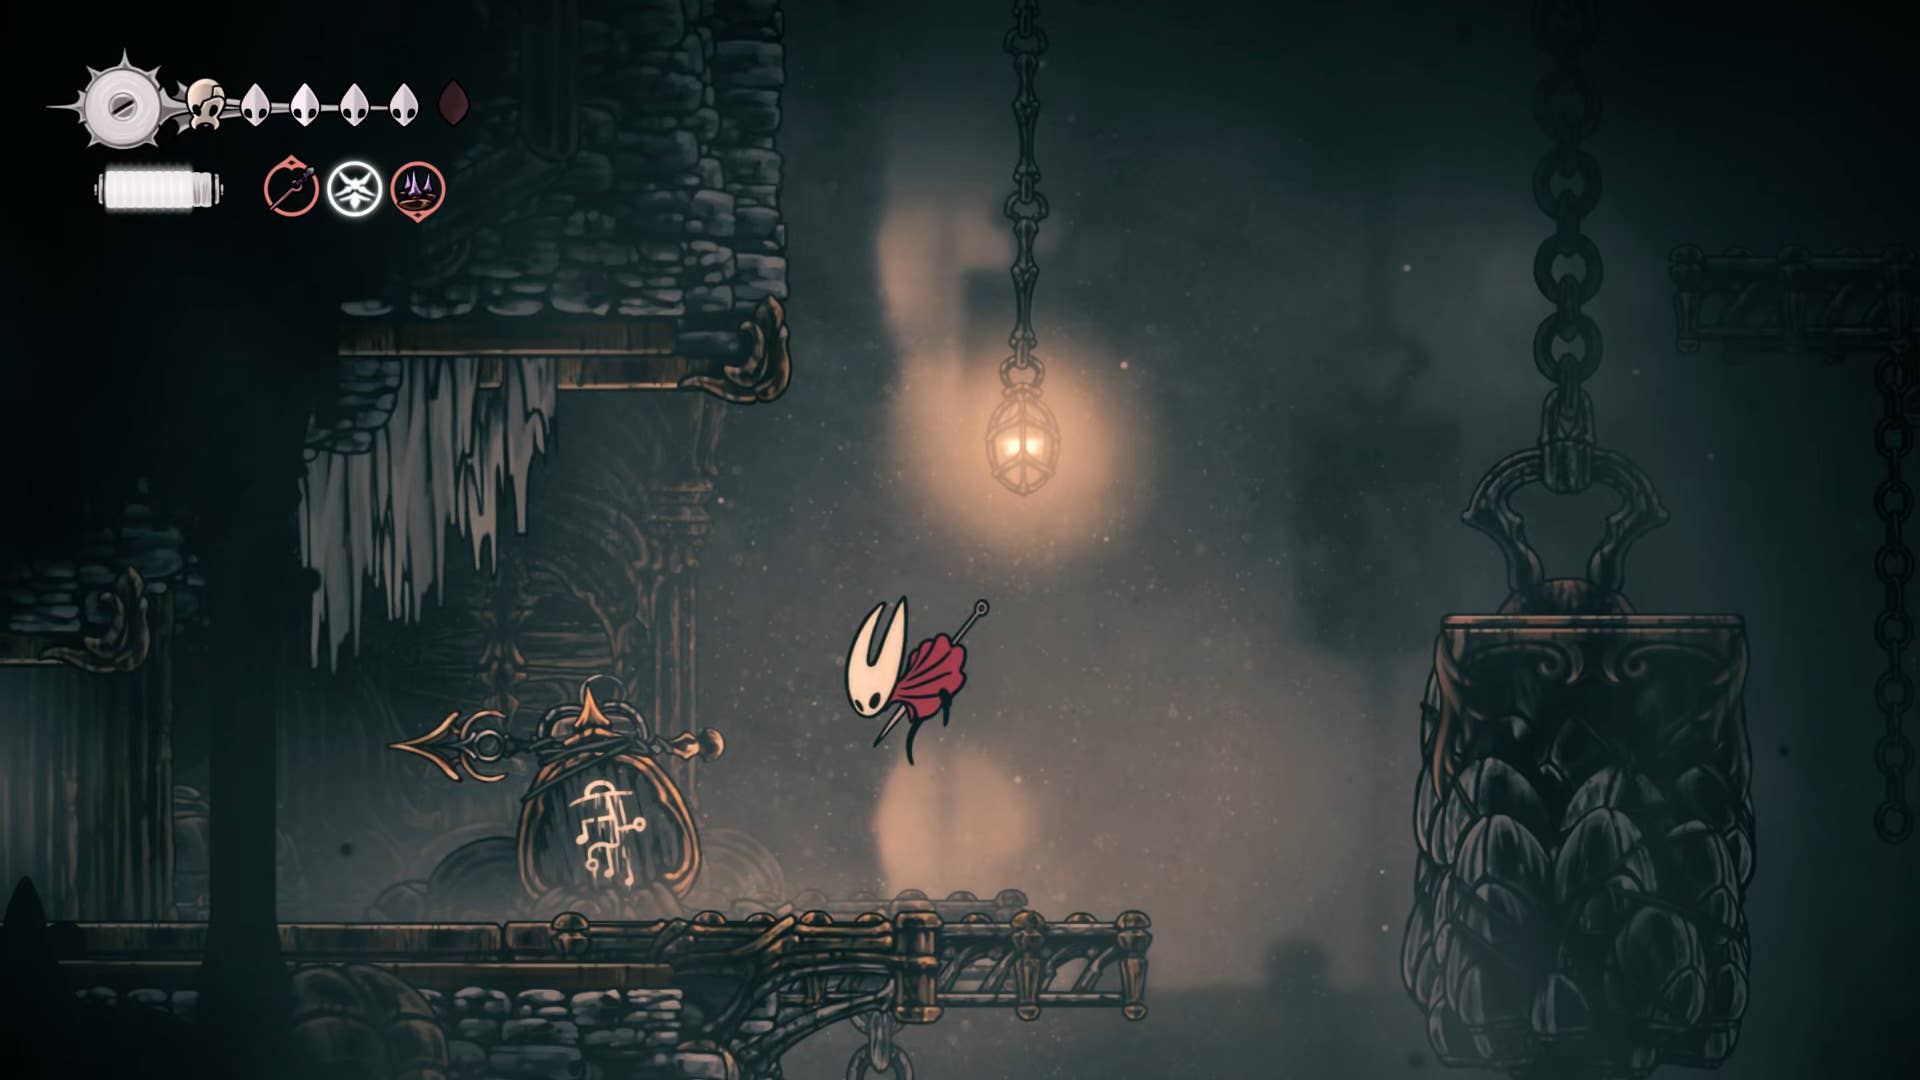
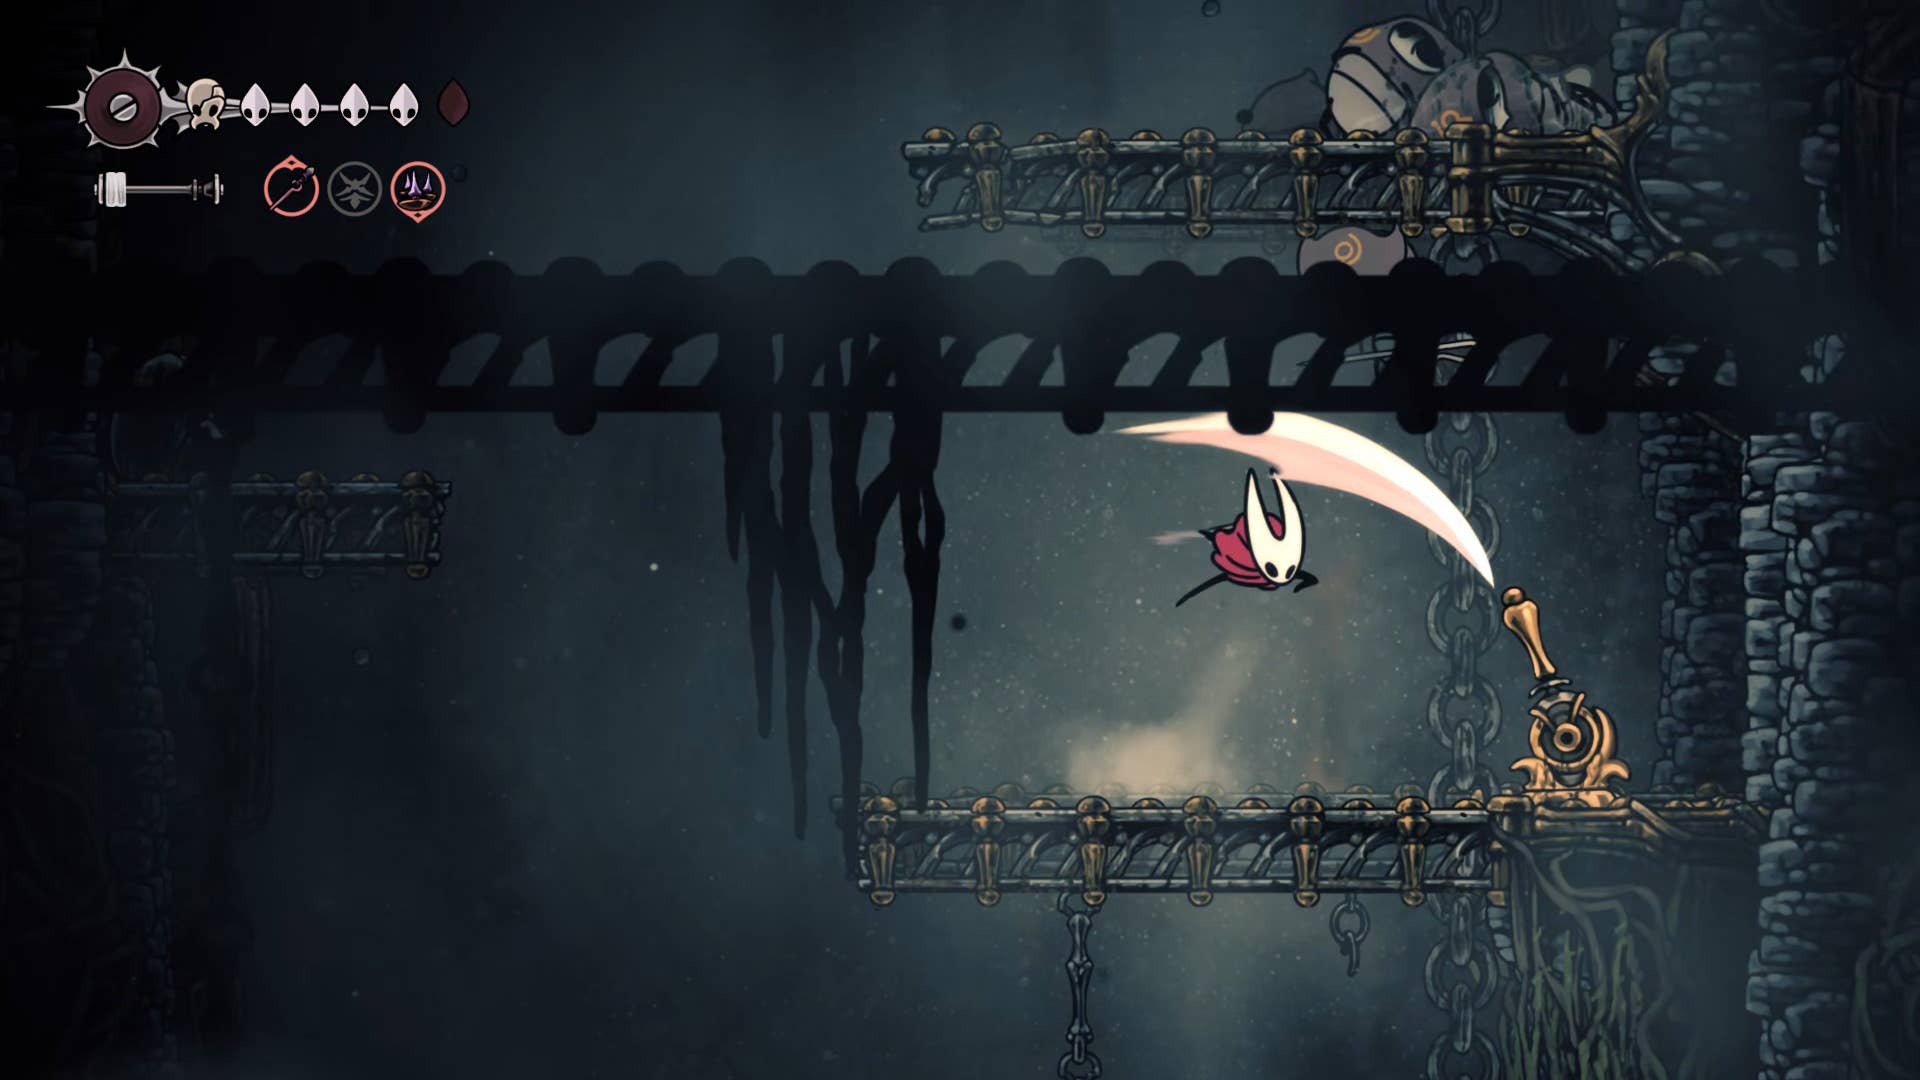
Now you will need to use the claw line to escape the cauldron. If you are the correct distance from one of those hanging rings (and at about the same vertical level as it) then you can har the ring and bring yourself in.
Another thing to understand about crawlines is that you don’t need to use it in those rings. You can simply use it to jump and cross a larger horizontal distance than dashing. And since it’s an attack, you can aim to attract yourself towards the enemy.
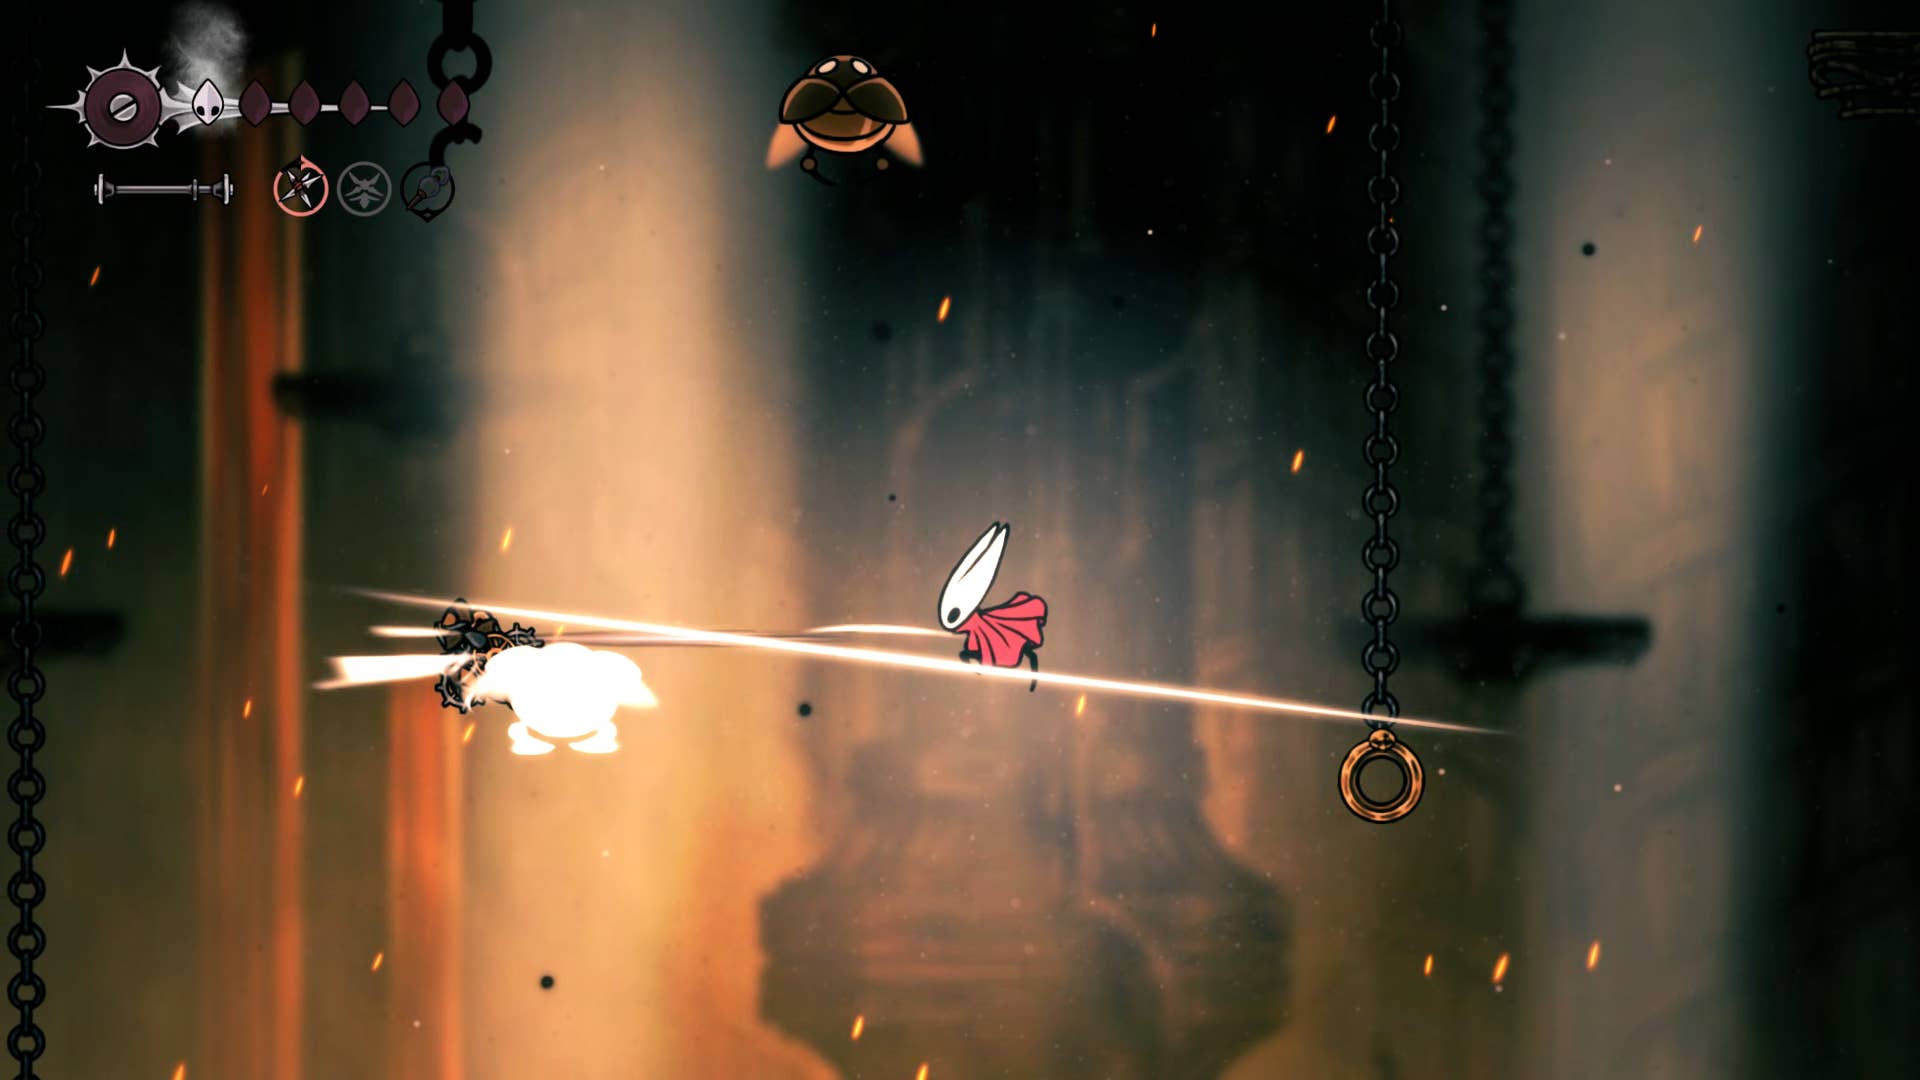
By combining these tricks you will need to proceed through all the rings and platforms in the cauldron, reaching the shelf in the upper right corner of the room. Using Clawline will wipe out the silk a bit, so if you’ve completely exhausted it, rest for a few seconds.
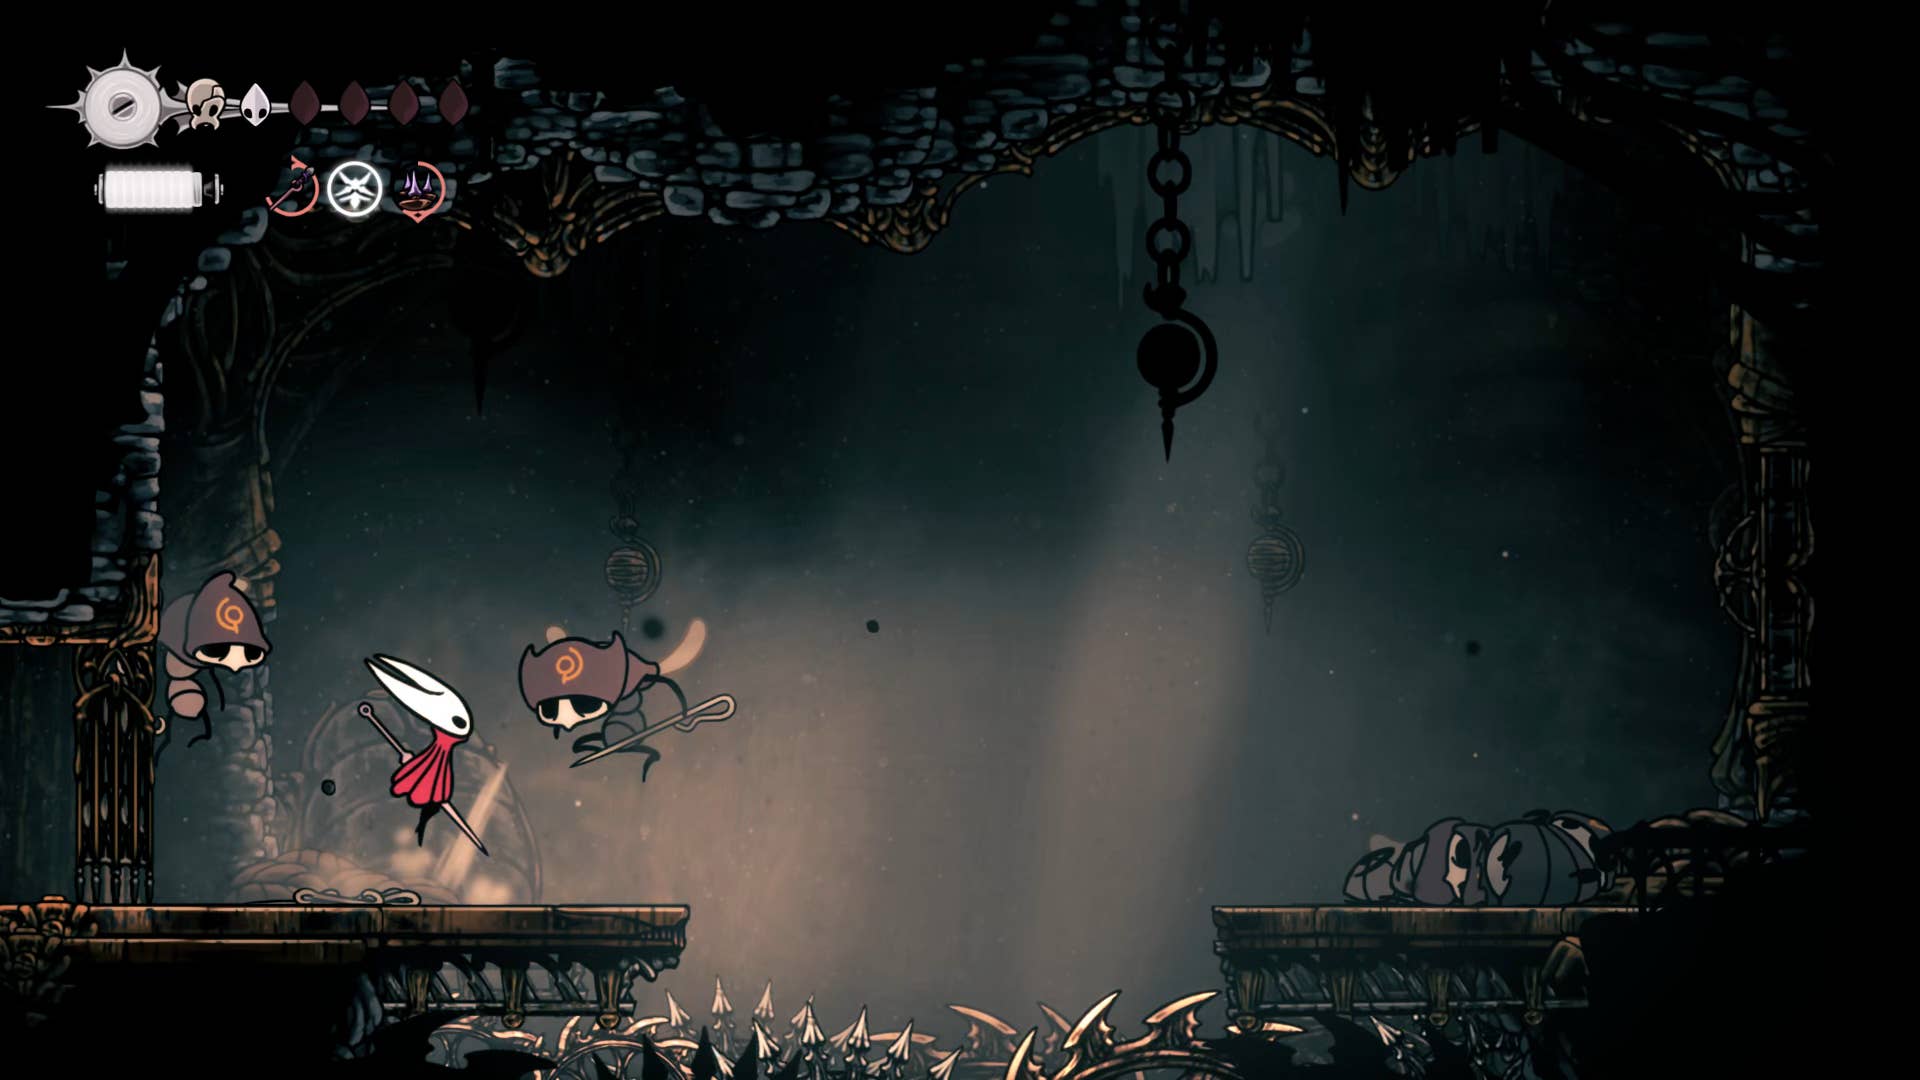
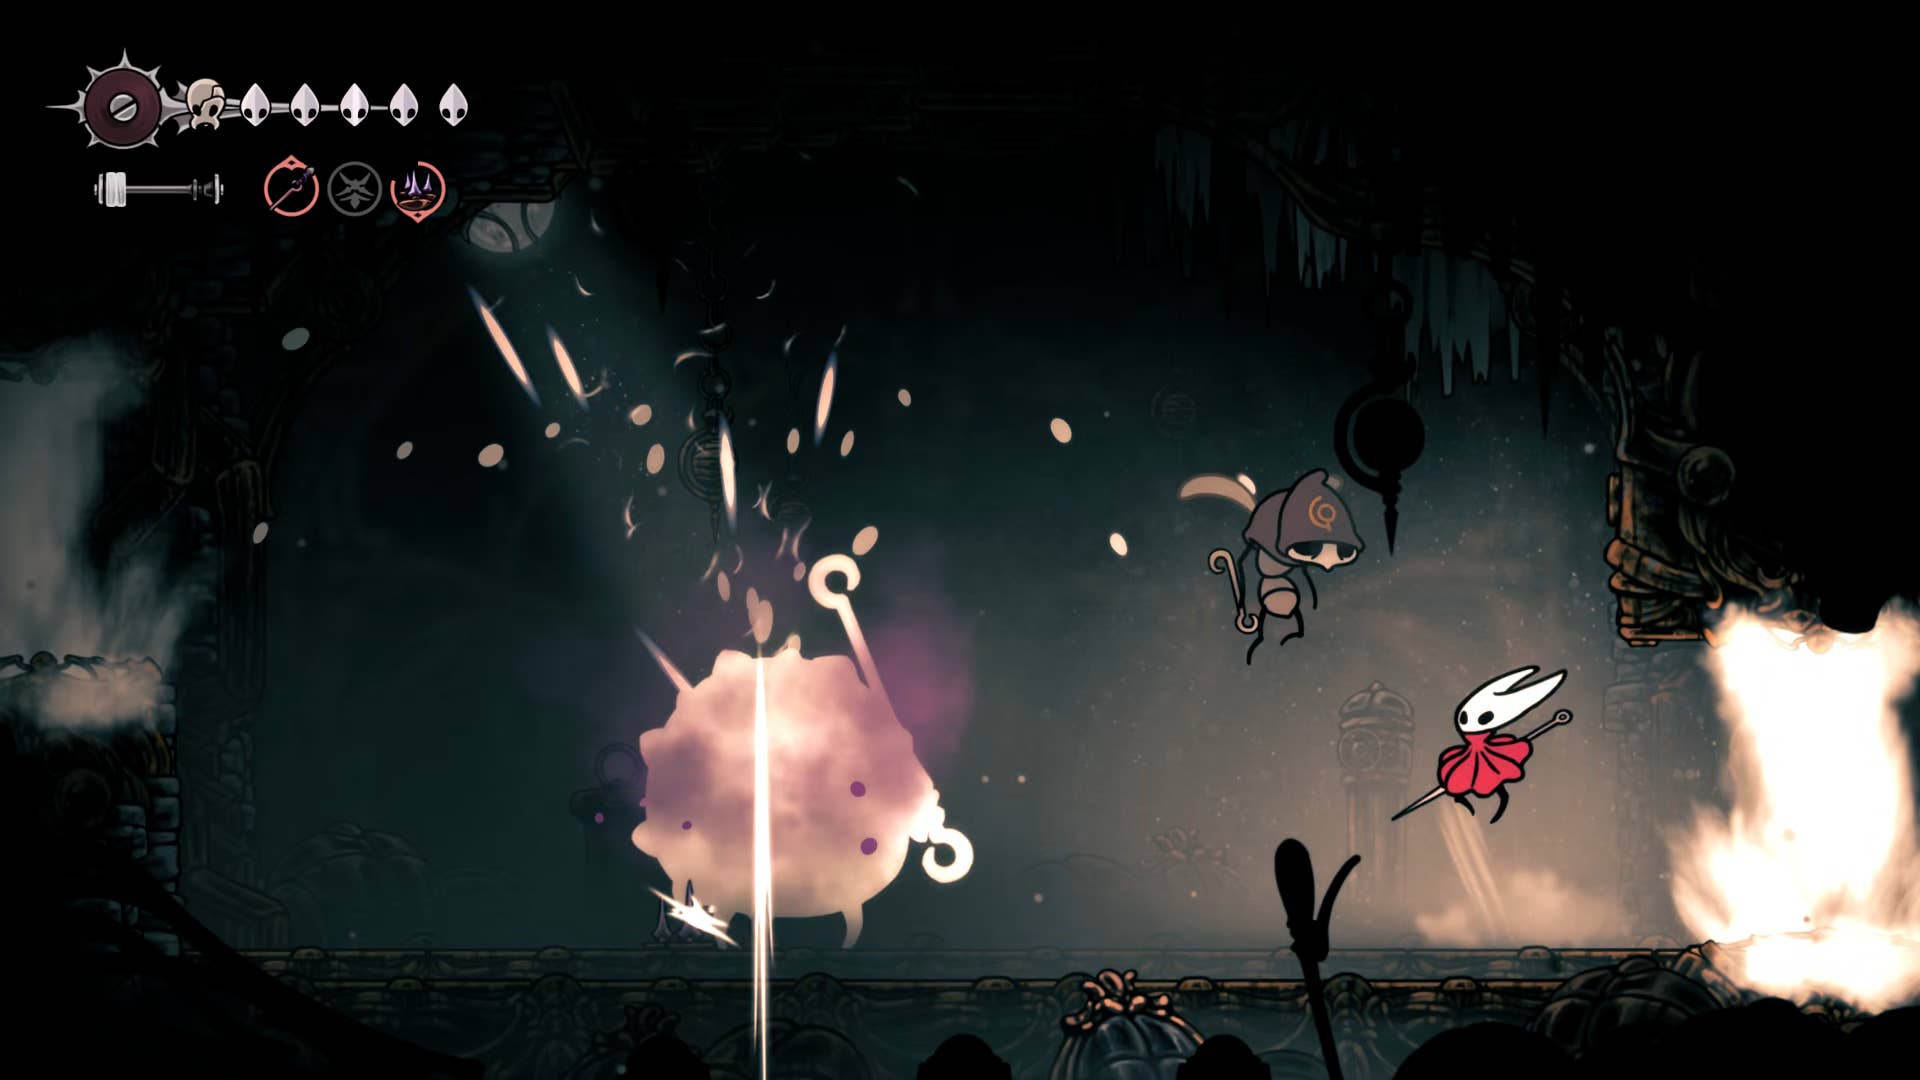
Once you reach the top, tighten the crawline to the ring above the shelf to activate the Underworks enemy gauntlet. The most dangerous of these waves is the last wave. The final wave was born two explosive cogwork haulers on both sides of you. In such a limited space, you’ll probably need to knock back one of them as they’re both on the same side to escape damage.
Once you win the Arena Battle, climb the wall on the right and head out upwards.
7. Meet the 12th architect.
Follow the short tunnel and return to the feet of the automata. Rest on the bench if necessary.
Now, with your shiny new crawl line, jump and attach yourself to the hanging ring above the bench. From there, you can jump to the shelf on the top right and head to the next room. In this case, you can come across an interesting and useful NPC: The Twelfth Architect.
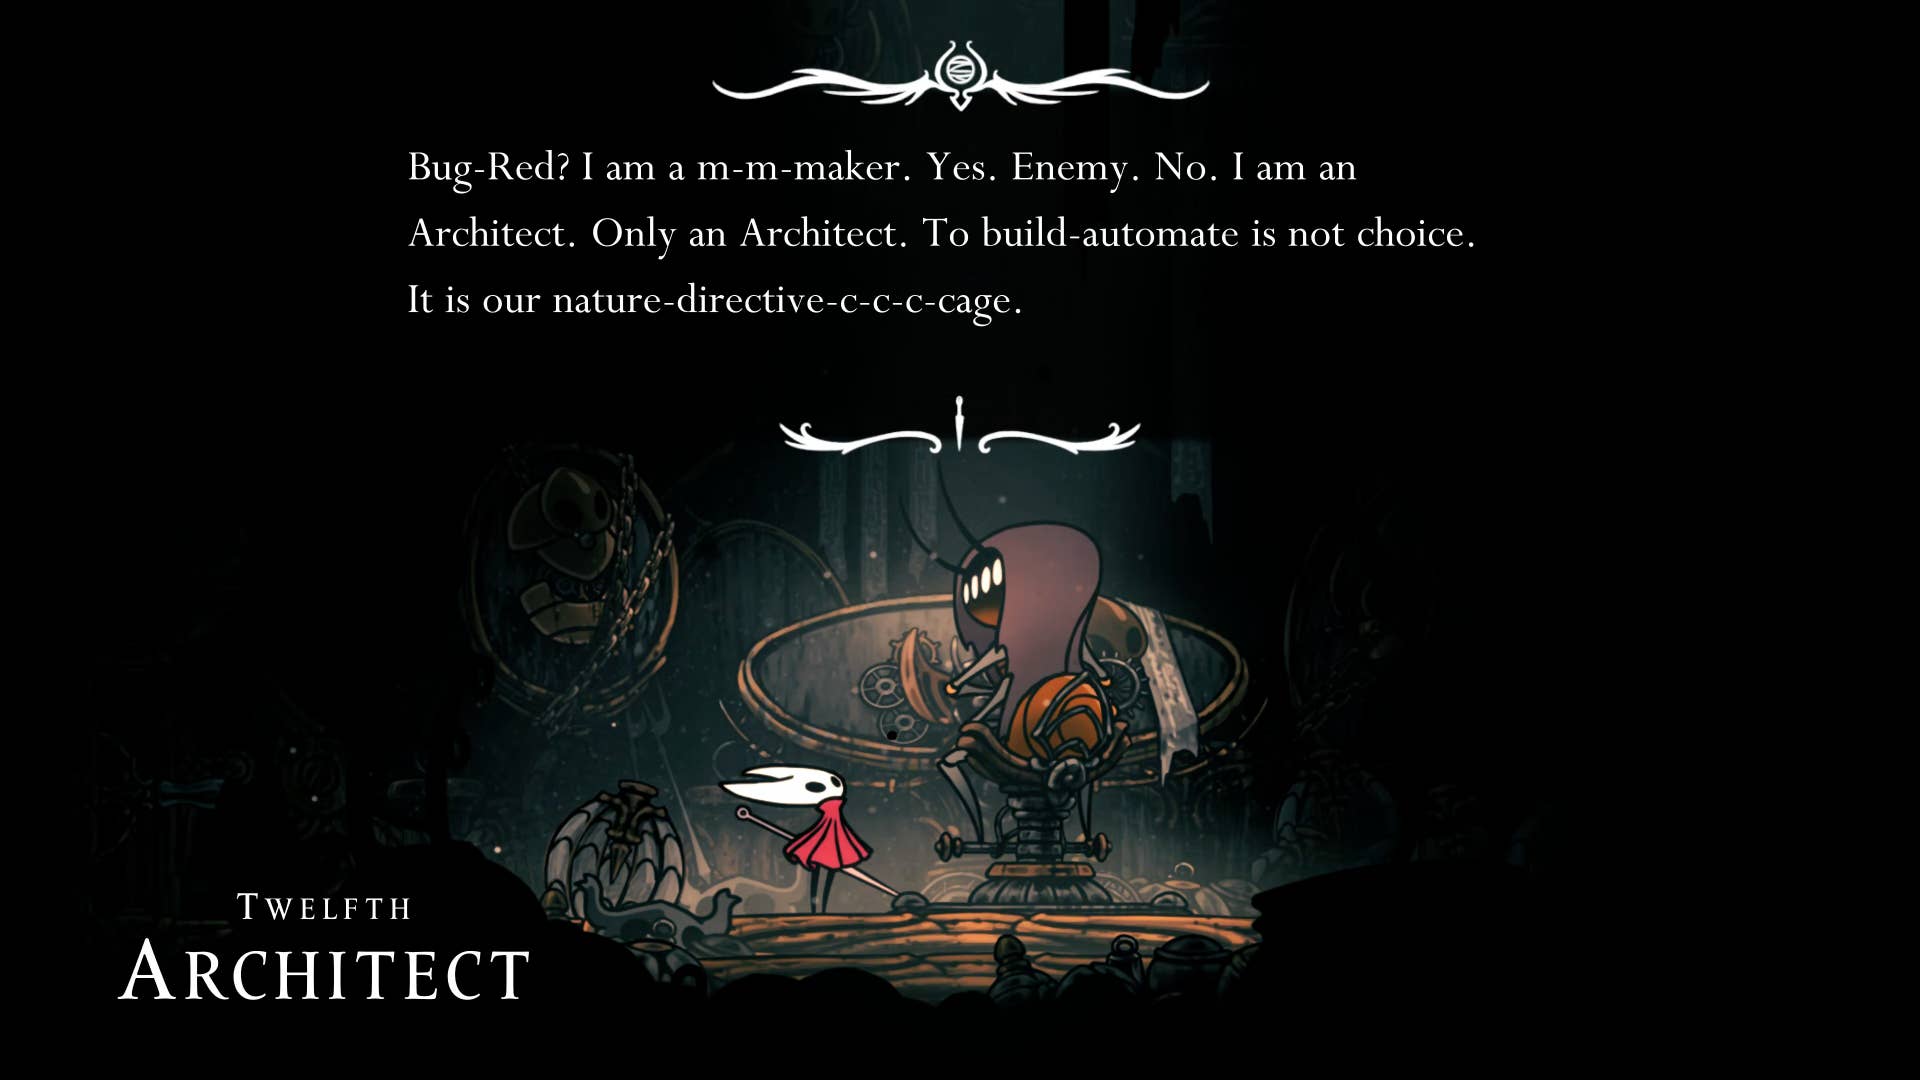
Talk to the 12th architect and look at their store – they have all kinds of interesting items for you to buy. However, you will only need to buy one at the moment. The key to the architects of the 110 Rosary. Buy it now as it’s ready to use.
8. Bind the architect’s coat of arms.
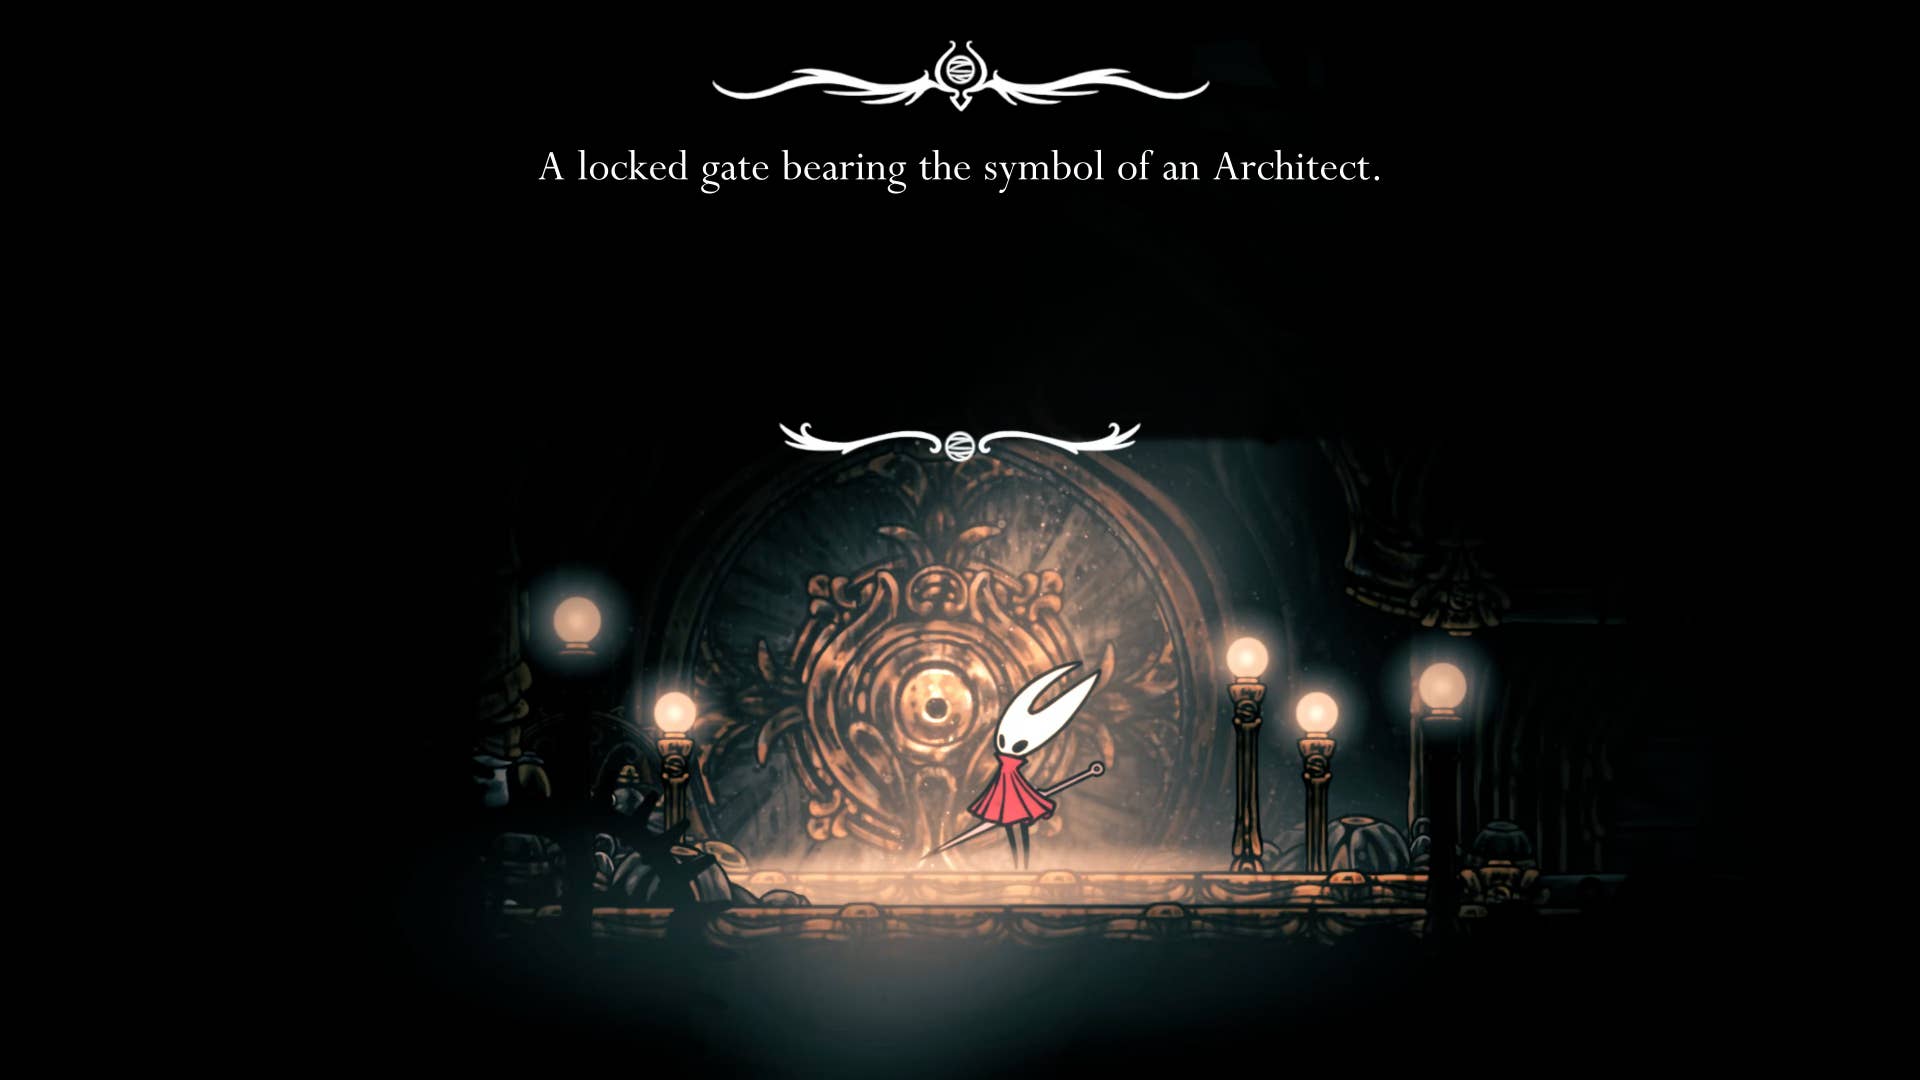
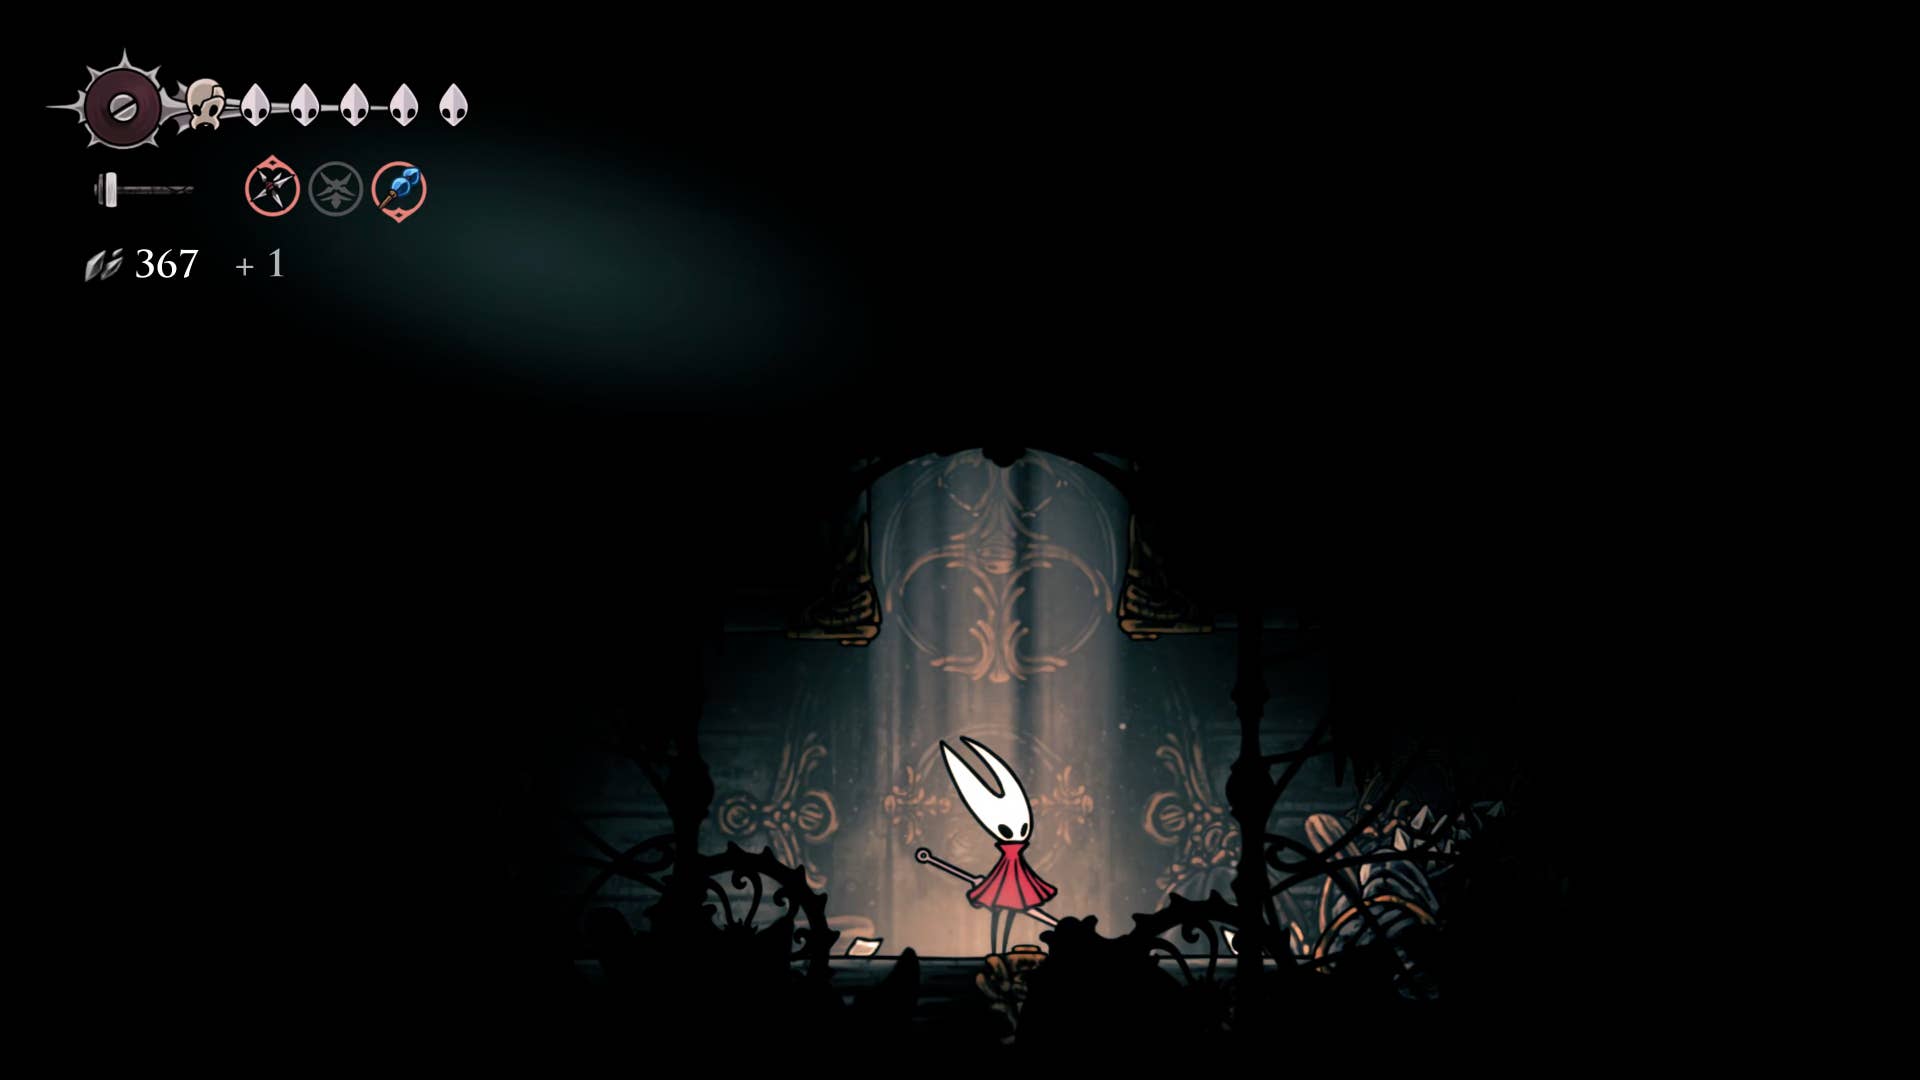
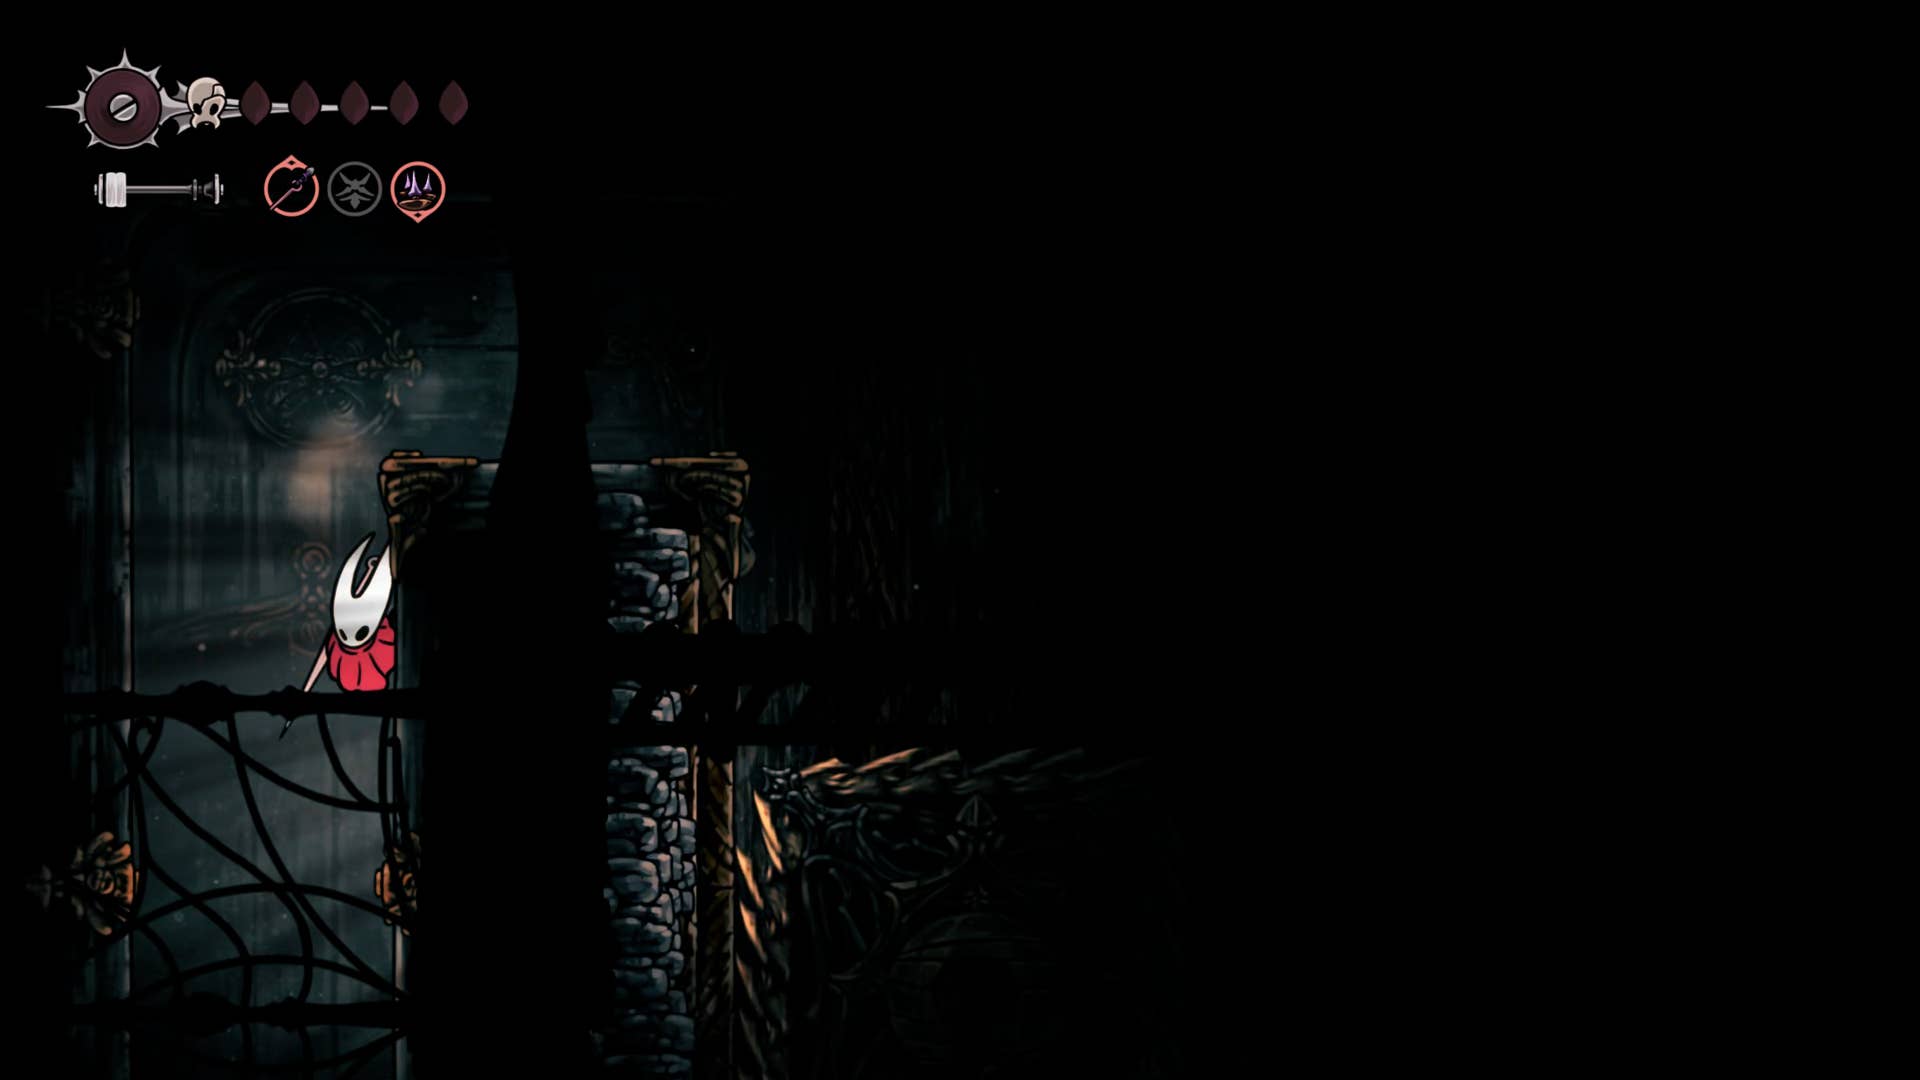
From the 12th Architect, take the right exit and climb again, then to the left again, reach the ledge at the top of the Architect’s room. Jump to the left and follow the path to the locked doorway.
Use the architect’s key in the doorway to open it and head into the architect’s chapel. Here is one small room with sparkling white nodules in the center of the floor. Stand on the nodule and tie it up to unlock the architect’s coat of arms.
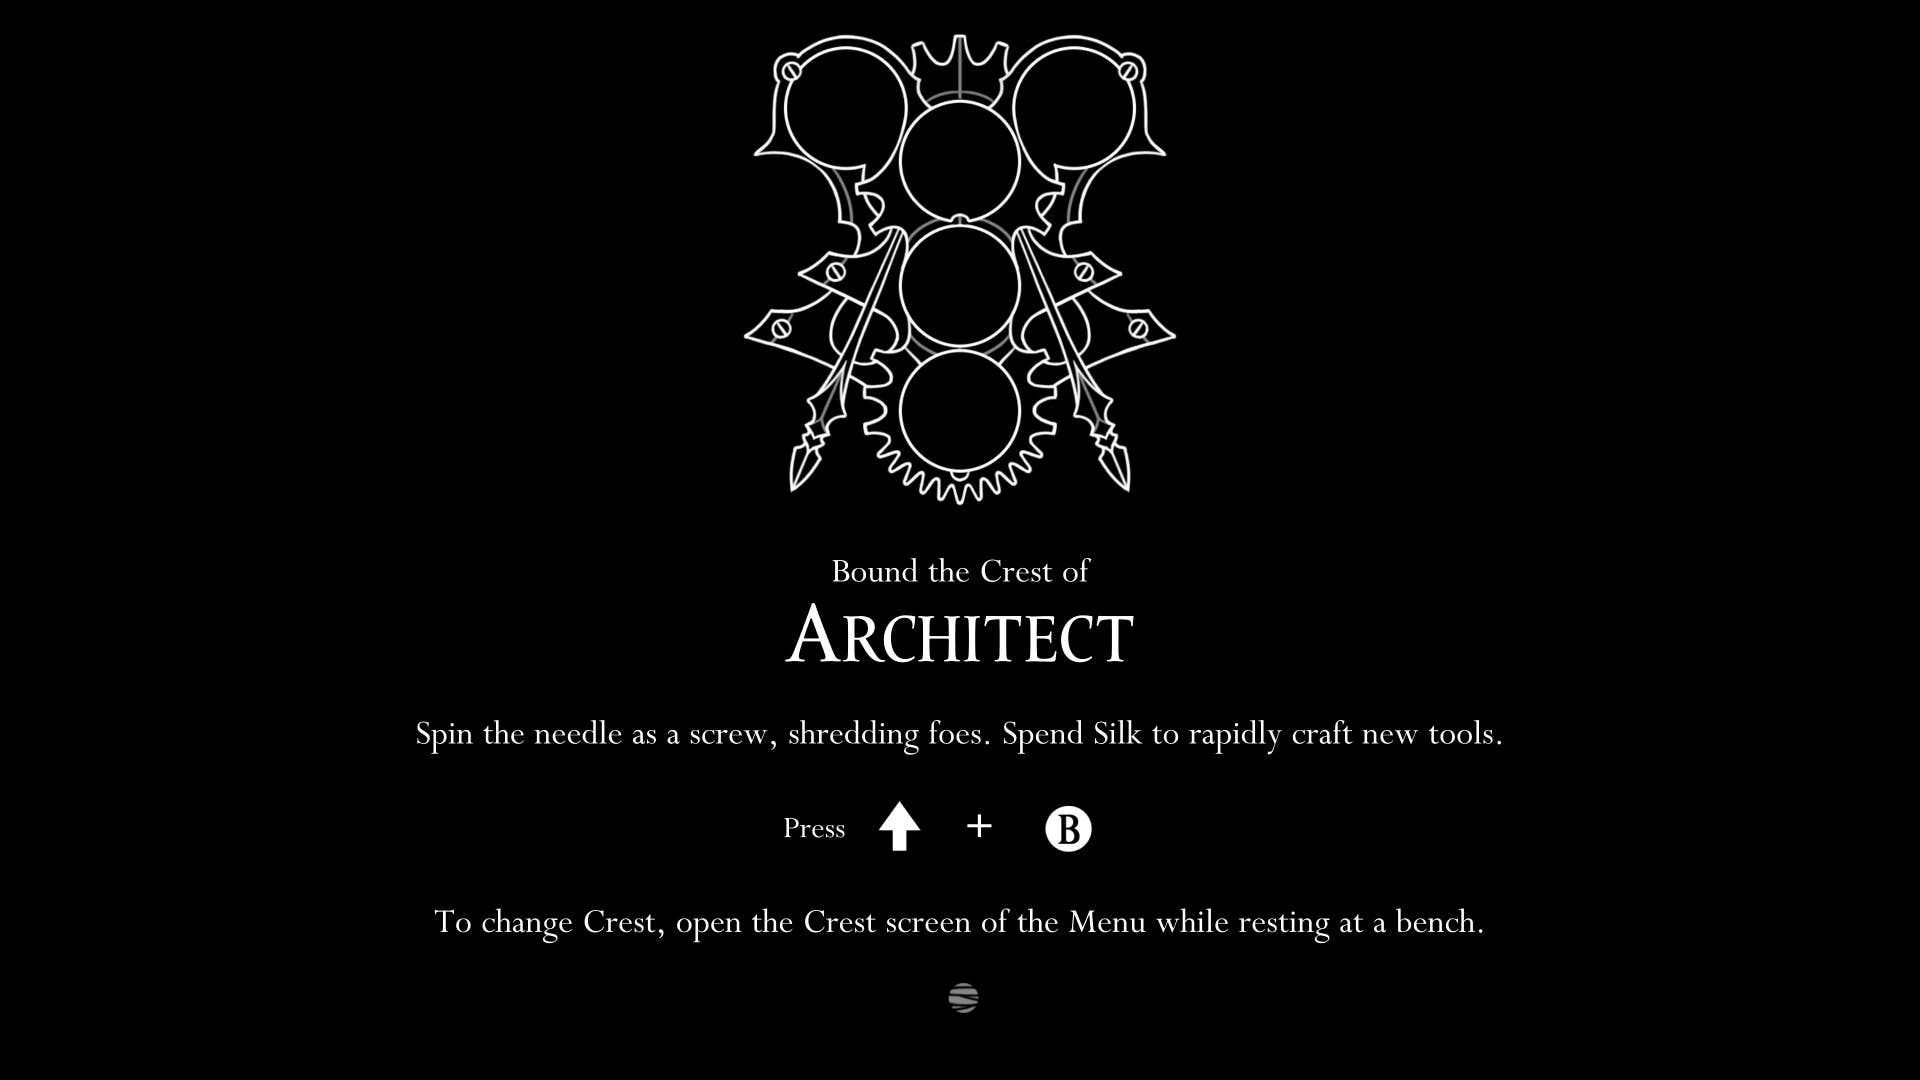
The architect Crest has several useful benefits. You can hold three weapon tools from the introduction. This is very wonderful. And you can always fashion the shell shard to use the tool without using a bench. I still prefer to use the Grim Reaper emblem in general, but it is a handy emblem worth playing with.
9. Activate the Underworks Bench Reca Station.
Go back to the bench and rest there – then take a little time to equip your architect’s crest with tools, and return to another coat of arms if necessary.
Drop the hole on the left side of the bench again, but this time, rather than letting air get on top, it comes out through the hole on the right. This will take you to the standard zone of the cauldron. There you can go left towards the ground.

In the next room (the same vertical shaft as before), climb up and then flick the lever on top. This opens a tunnel across the shaft to the other side. This is the only way you can access the west side of Underwork from here.
Exit through the doorway in front of you on the other side, pay for the 80 Rosary and unlock the Underworks Benchlica Station. You can leave now, but unfortunately there is still work to do underwork.
10. Get the spool fragment under the benchlica.
Returning from Ventrica’s room, you hit the lever on the floor. To avoid a steam explosion below, go down and cling to the wall on the left. Next, go left with the bottom down.
Note: To go further west, there are two ways to head towards the next main shaft. This path is one of them. The other one is easy – just leave the exit above the Ventrica station. But we are going this way, as we provide a piece of spool. If you want to see any part of the underwork, don’t forget to explore the top path at some point as well.
The winding tunnels in the next room quickly lead to another arena battle with various Underworks enemies. The quirk of this gauntlet is that along the way, a large branch from a large branch falls from the ceiling, quickly causing the floor below him to collapse. The good news is that it kills him instantly. The bad news is that you need to keep a hole in the floor in mind for the rest of your fight.
Once the gauntlet is cleared, collect the spool fragments towards the left, then press the lever above to exit the main shaft.
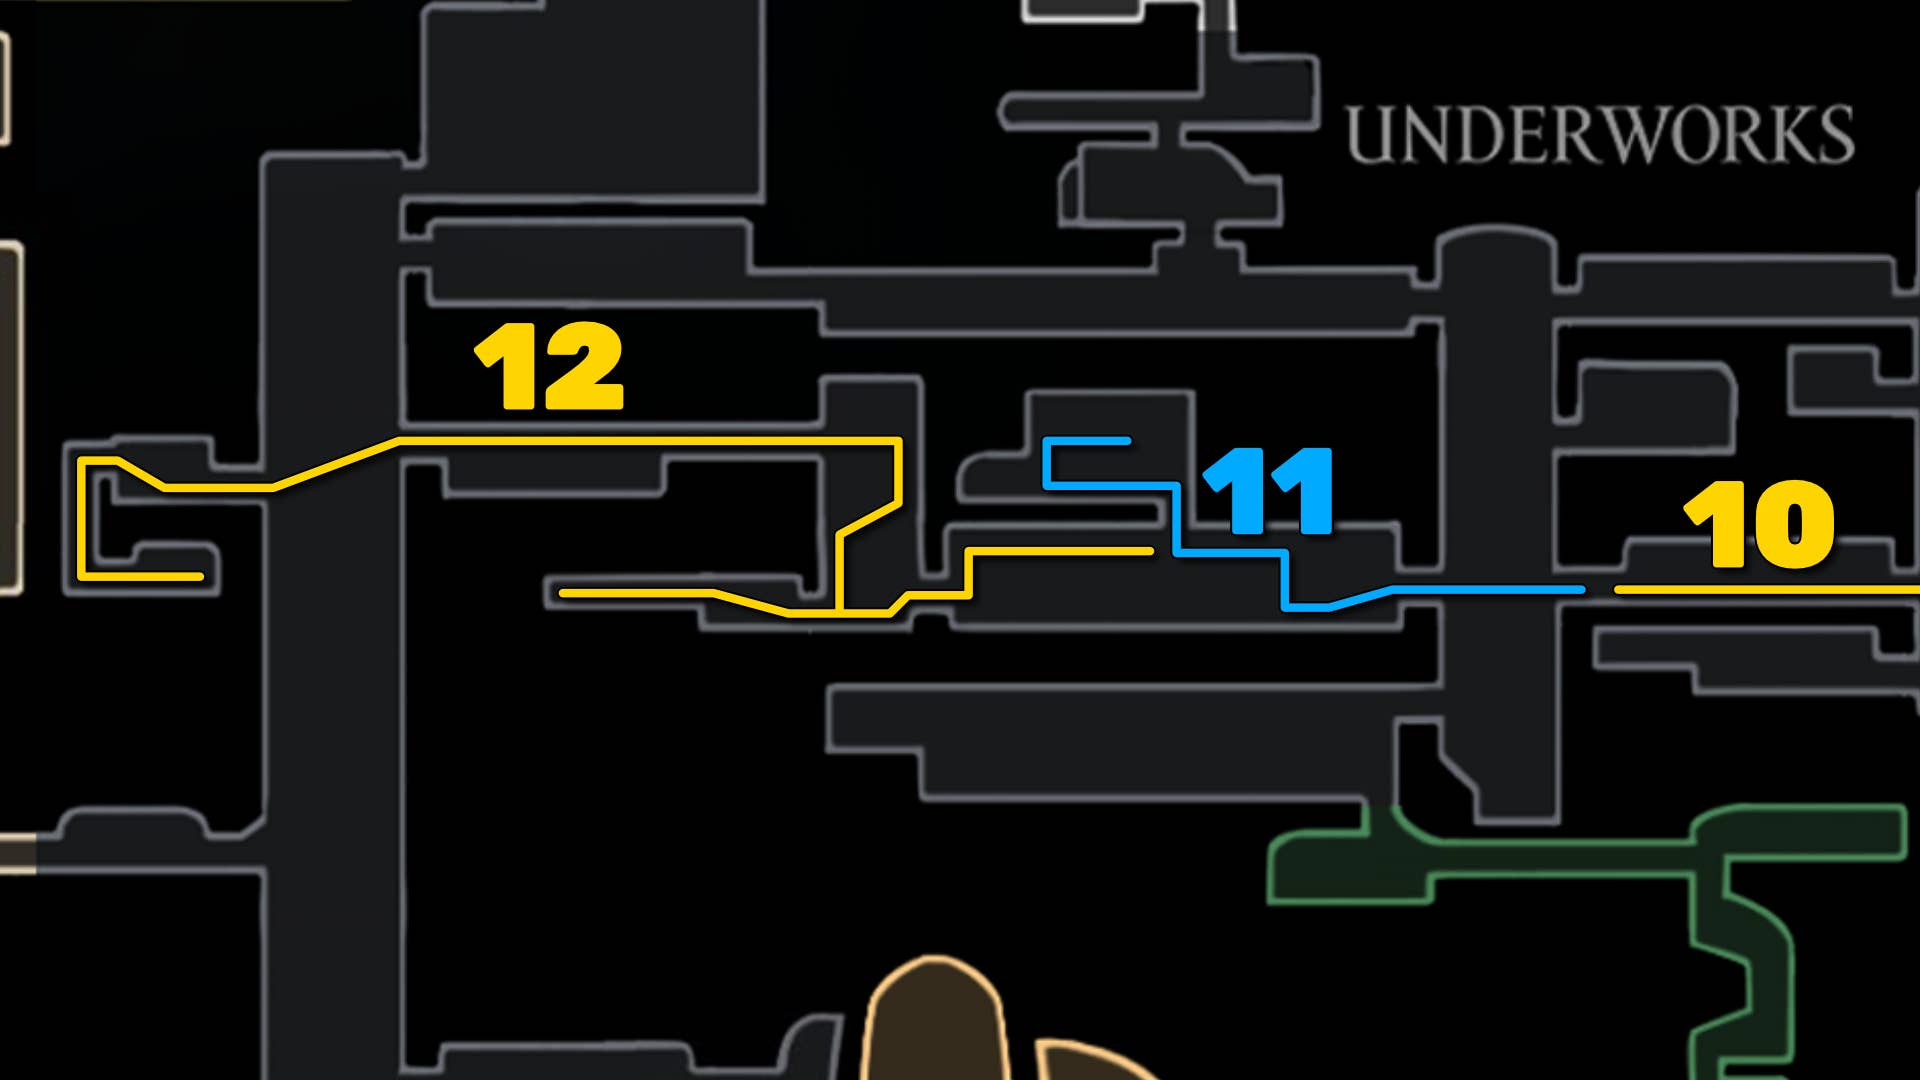
11. Meet Rohm.
With the shaft, jump across the saw to the other side and enter the new room on the left. Carefully feed and kill enemies on the wall above you and jump over to the next platform.
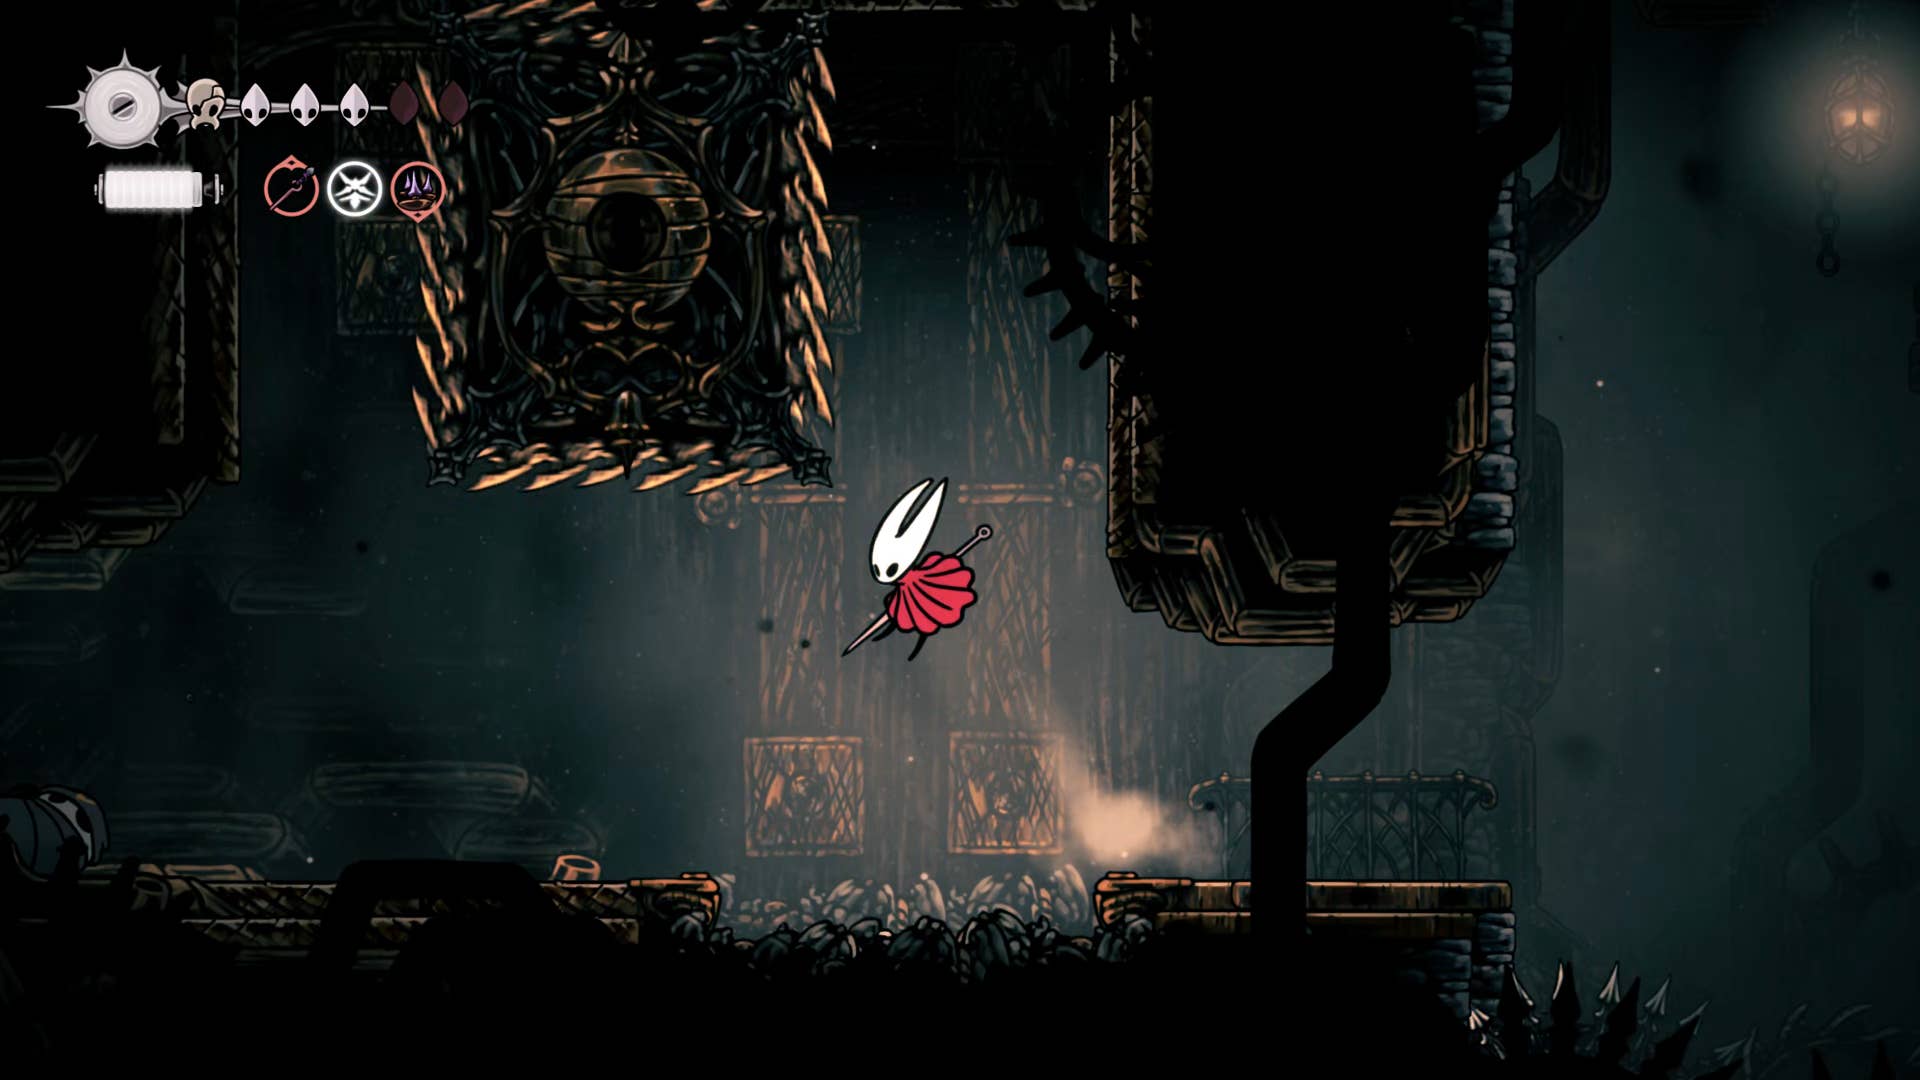
Here you will be faced with a block that looks like a scary saw moving along the L-shaped track in front of you. Jump over the gap and climb onto the wall on the left and at the right moment to reach the tunnel above.
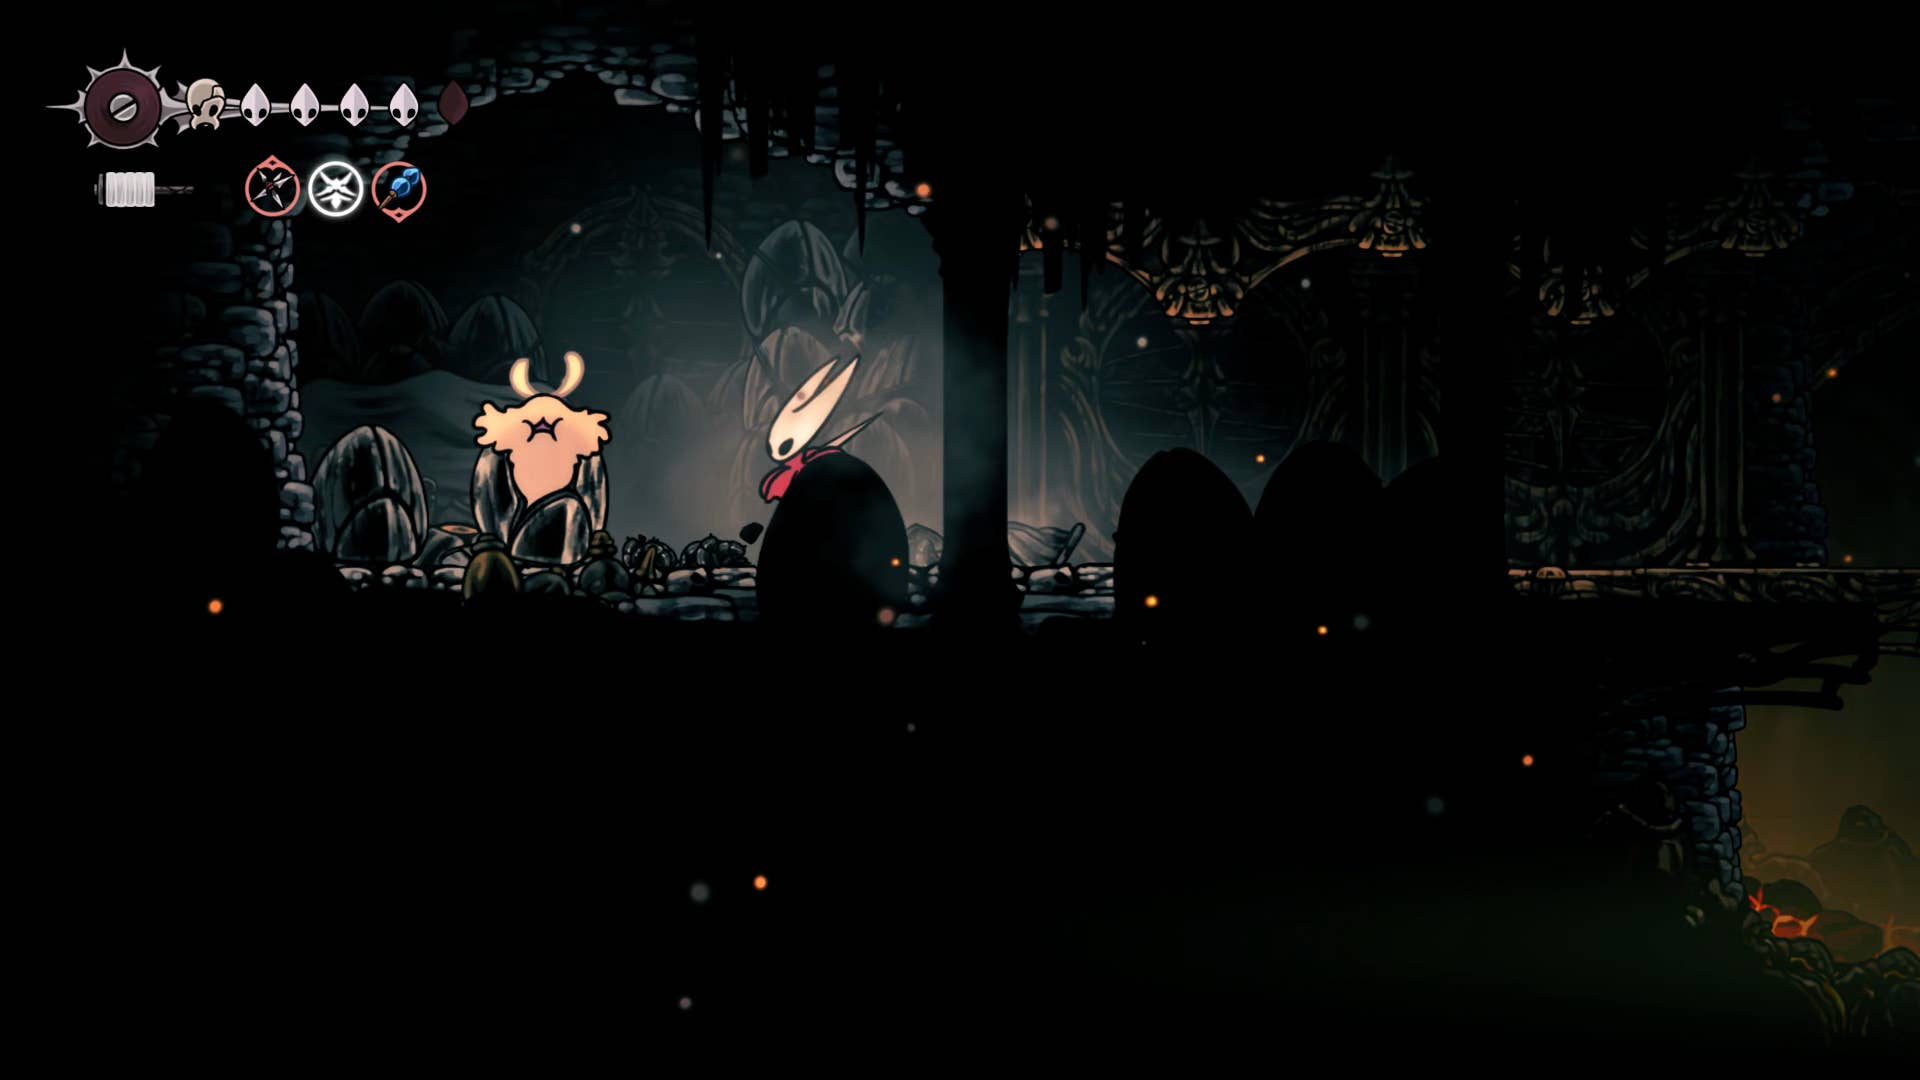
Head left and kill the sweeps in front of you, breaking the ceiling above you and climbing into a hidden room. Head left and take the first upward pass presented to reach the new character, Rohm.
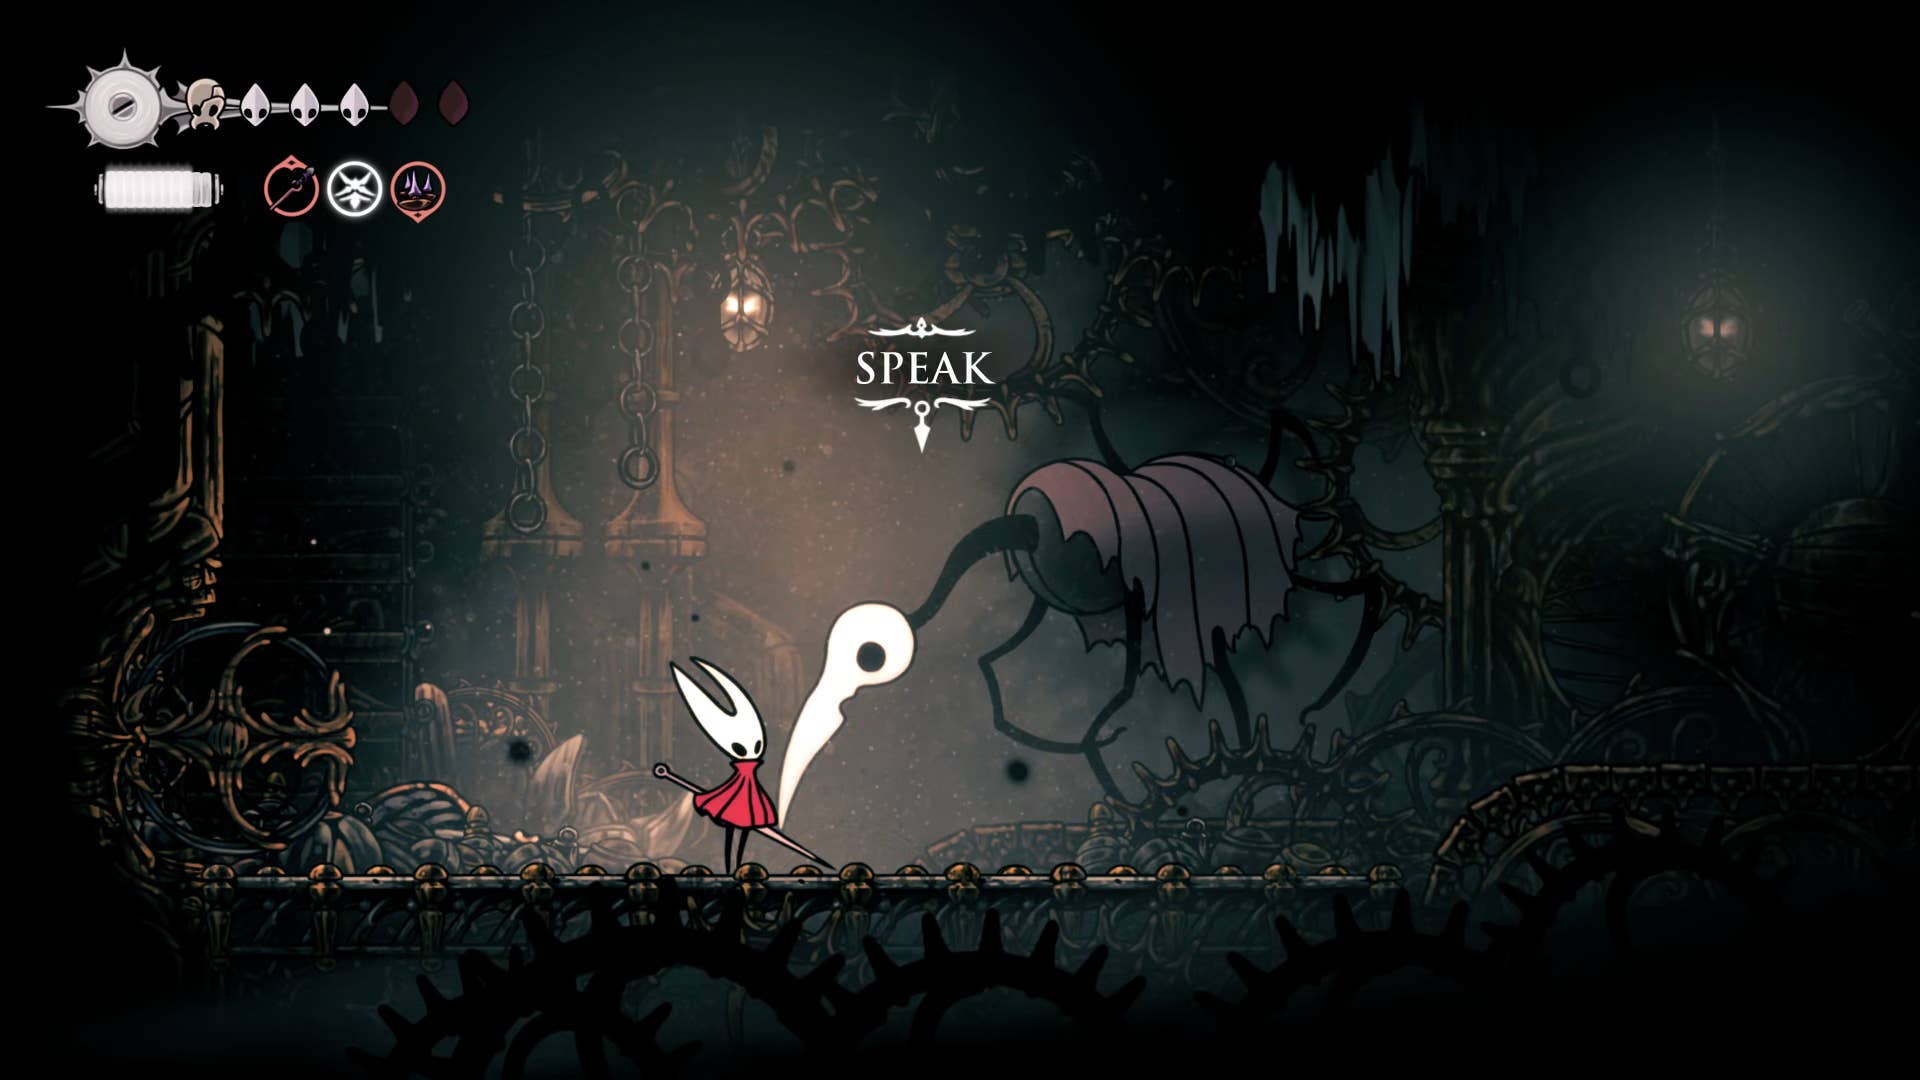
Talk to Rohm for a sad lore about the fortress. As an extra small Easter egg, sprinting long enough to the right on the treadmill will reward a single small rosary bead. Haza.
12. Gets the Underworks Map.
Return to the previous room and follow the left path and immediately find the shard cache for shooting. The last part of the floor will give you when you hand it over. Drop down and float on the shelf on the left before leaving the room.

Jump past the next gap and go through the doorway on the other side to kill a small room containing a large angry lower branch. Once he dies, he breaks the wall on his left side and jumps over the fan to make a shard bundle.
Now, go back to the previous room and climb onto the wall just above it. Next, jump to the opposite wall and climb to the right (obviously timing your jump so that it doesn’t get crushed by moving blocks). You can explore the top area (with nothing but drapemite to kill) but end through the left doorway at the top of the block’s path.
This next room requires more careful timing. Wait for the temporary platform to land from above, then hopscotch across them. Then take the top pass on the left and go out onto another vertical shaft.
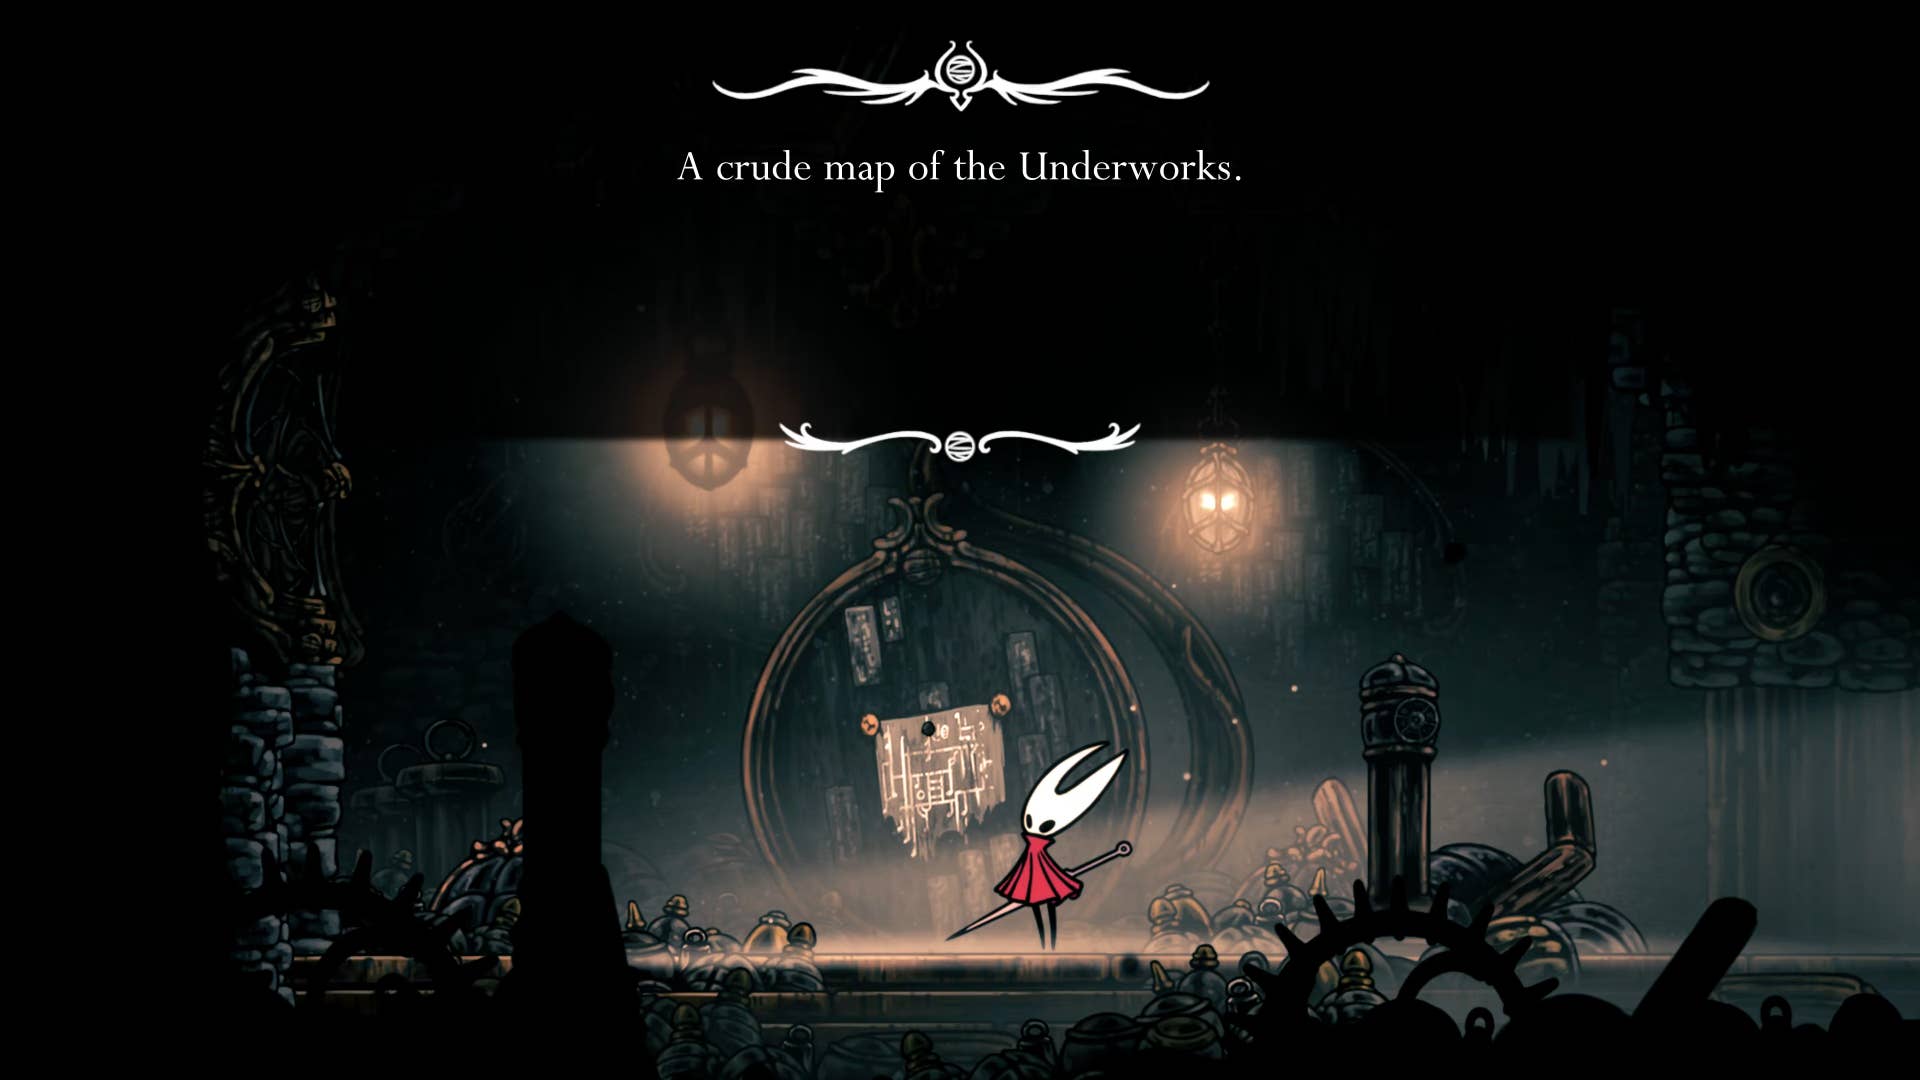
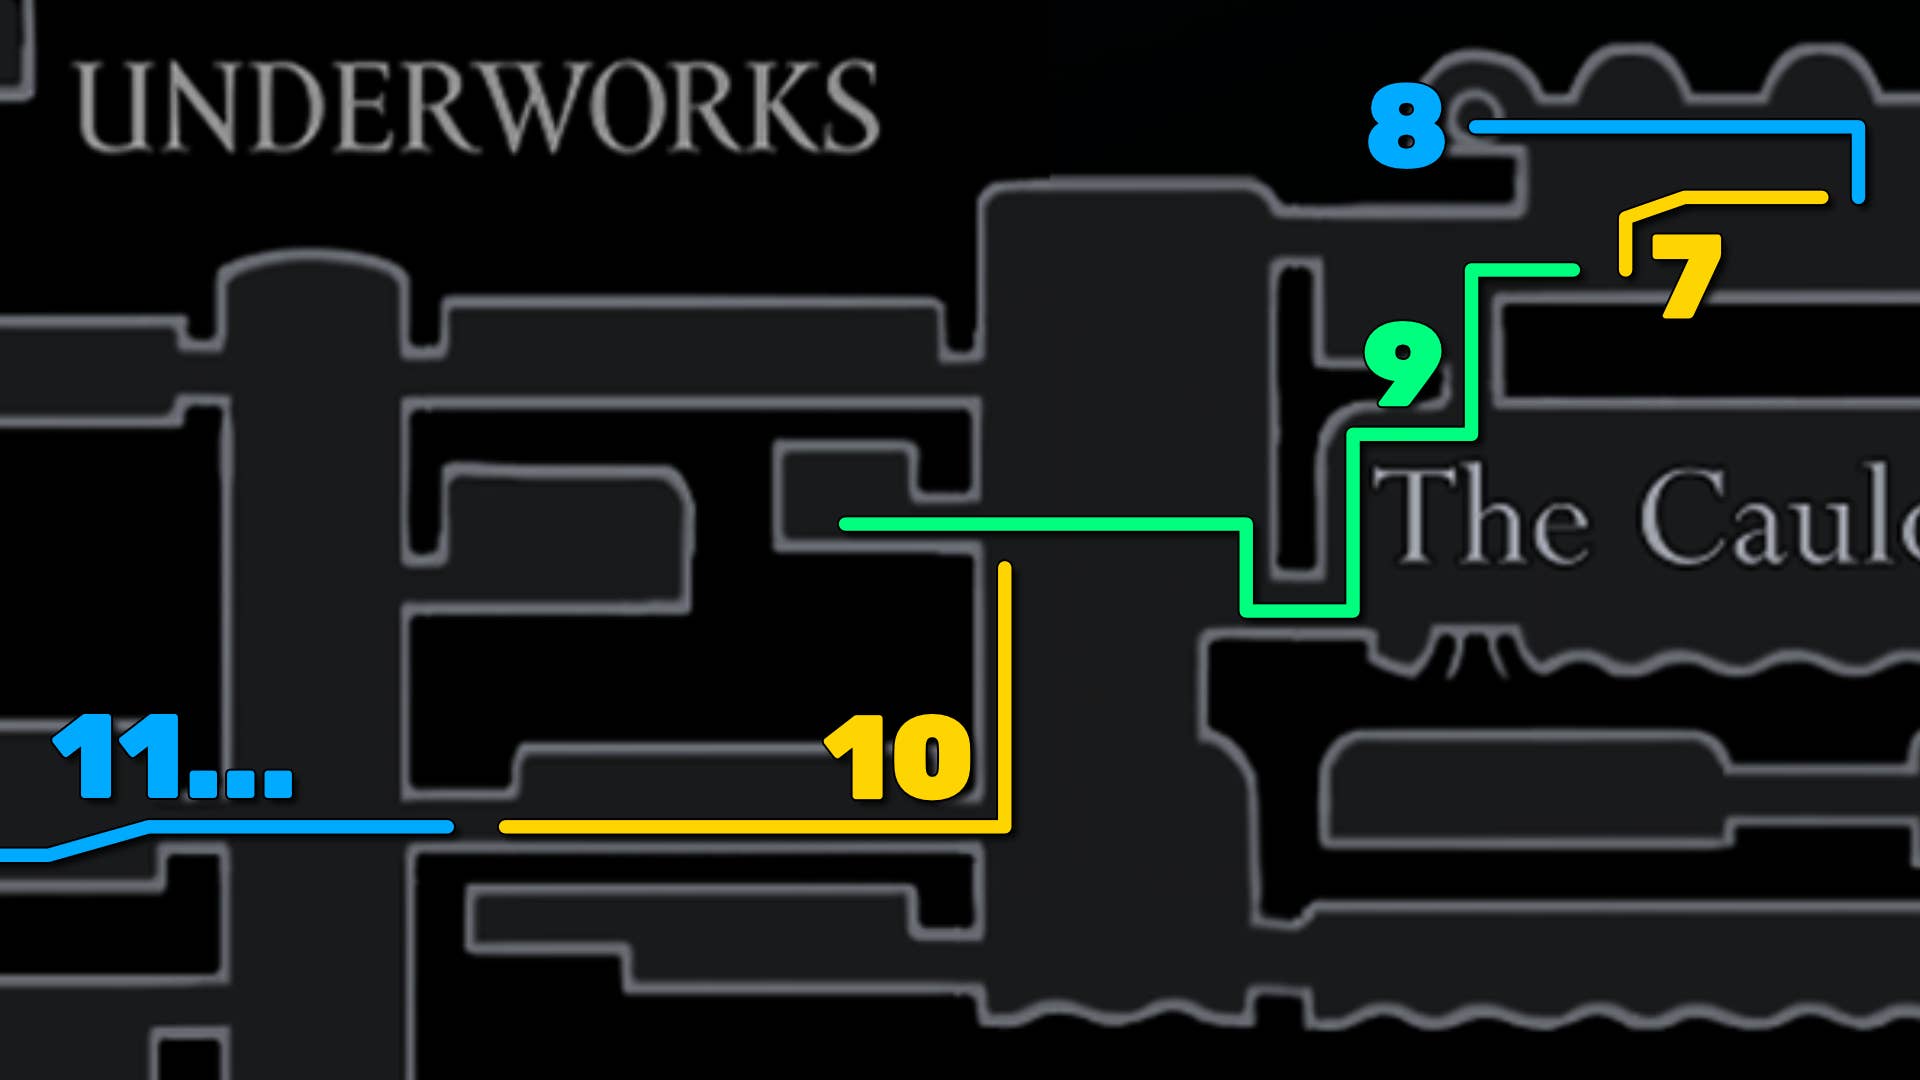
Jump over to the other side of the shaft and take the exit marked with a sign. Here you can interact with maps pinned to the board and take it for yourself. Finally, there is the in-game Underworks Map – already exploring most of the region!
Before leaving the map room, find a bone scroll where you can break the wall on the top left and follow the path back to the Bell Heart scroll. Next, go back to the shaft.
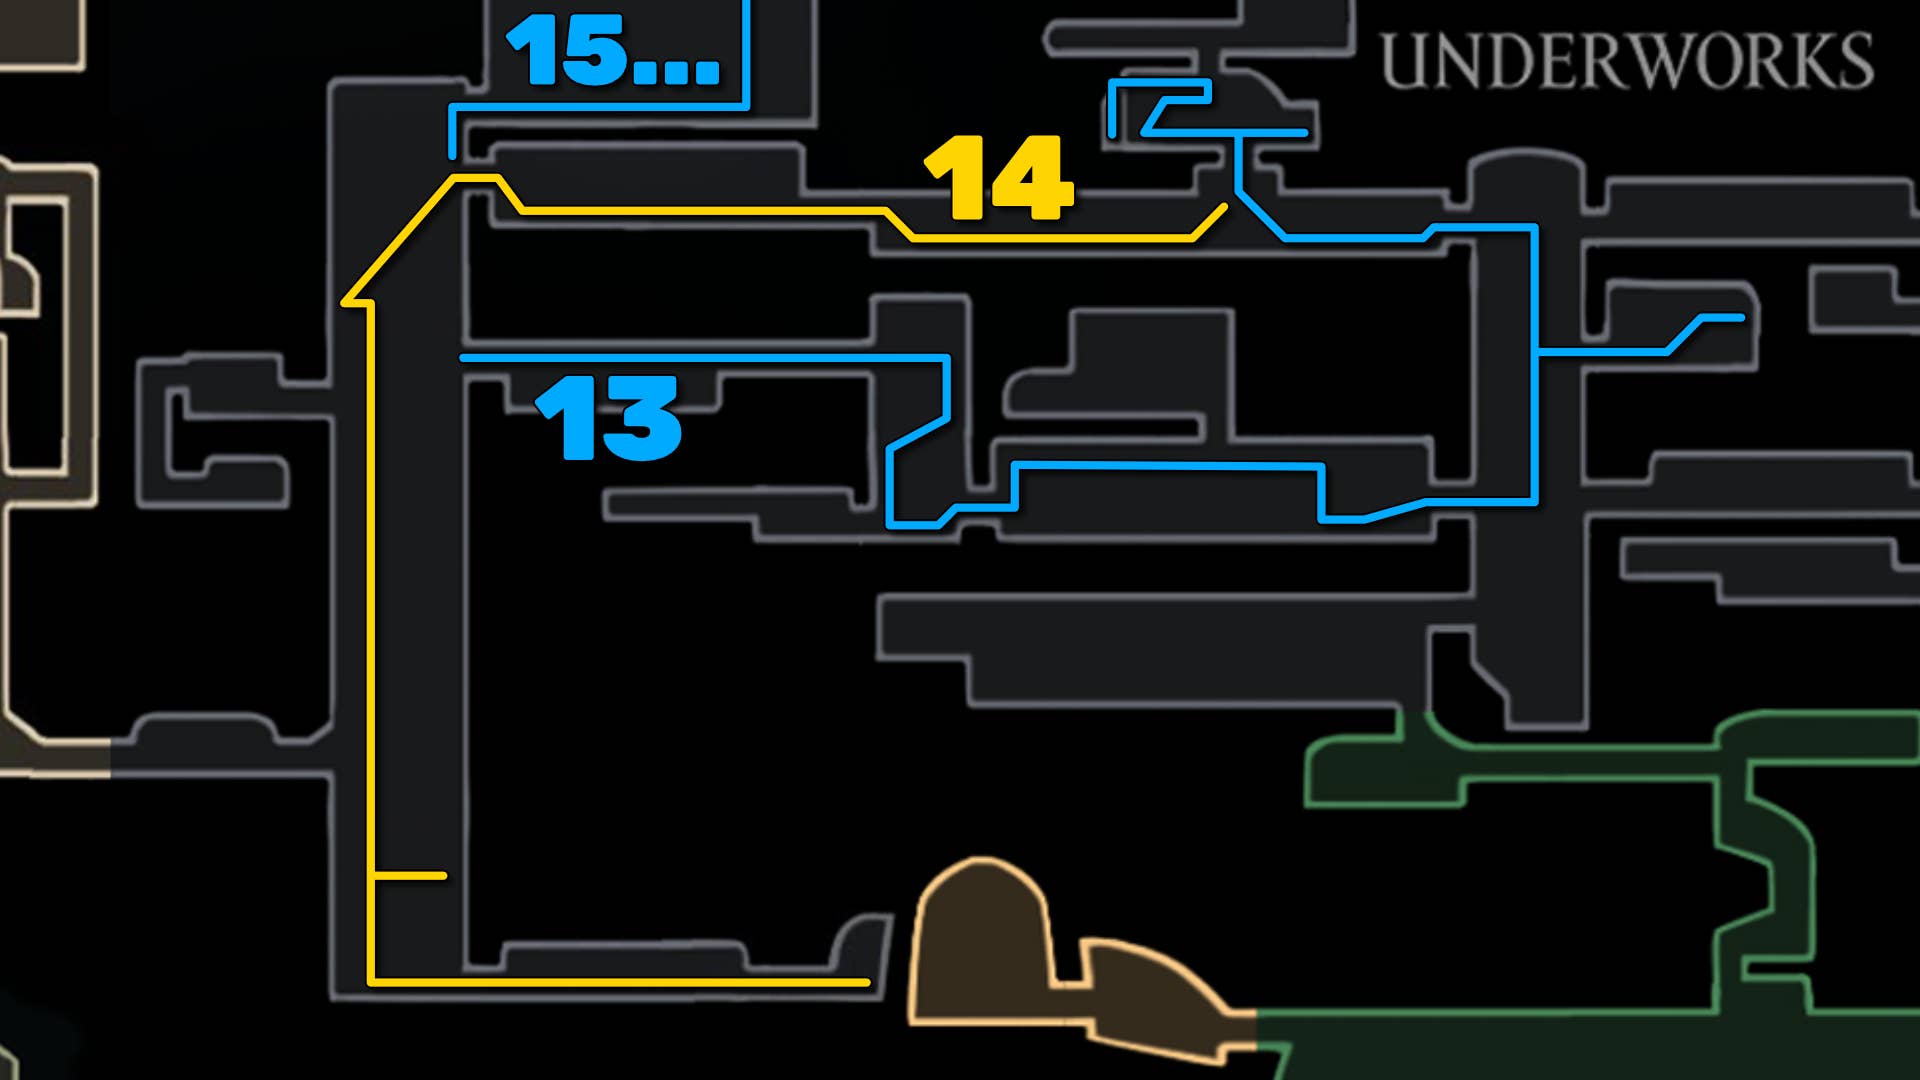
13. Find the memory rocket in the confession stand.
Unfortunately, for now, the method of lifting the shaft is blocked, so you will need to follow the steps. We go back all the way back through the room we just detoured until we returned to the small shaft east.
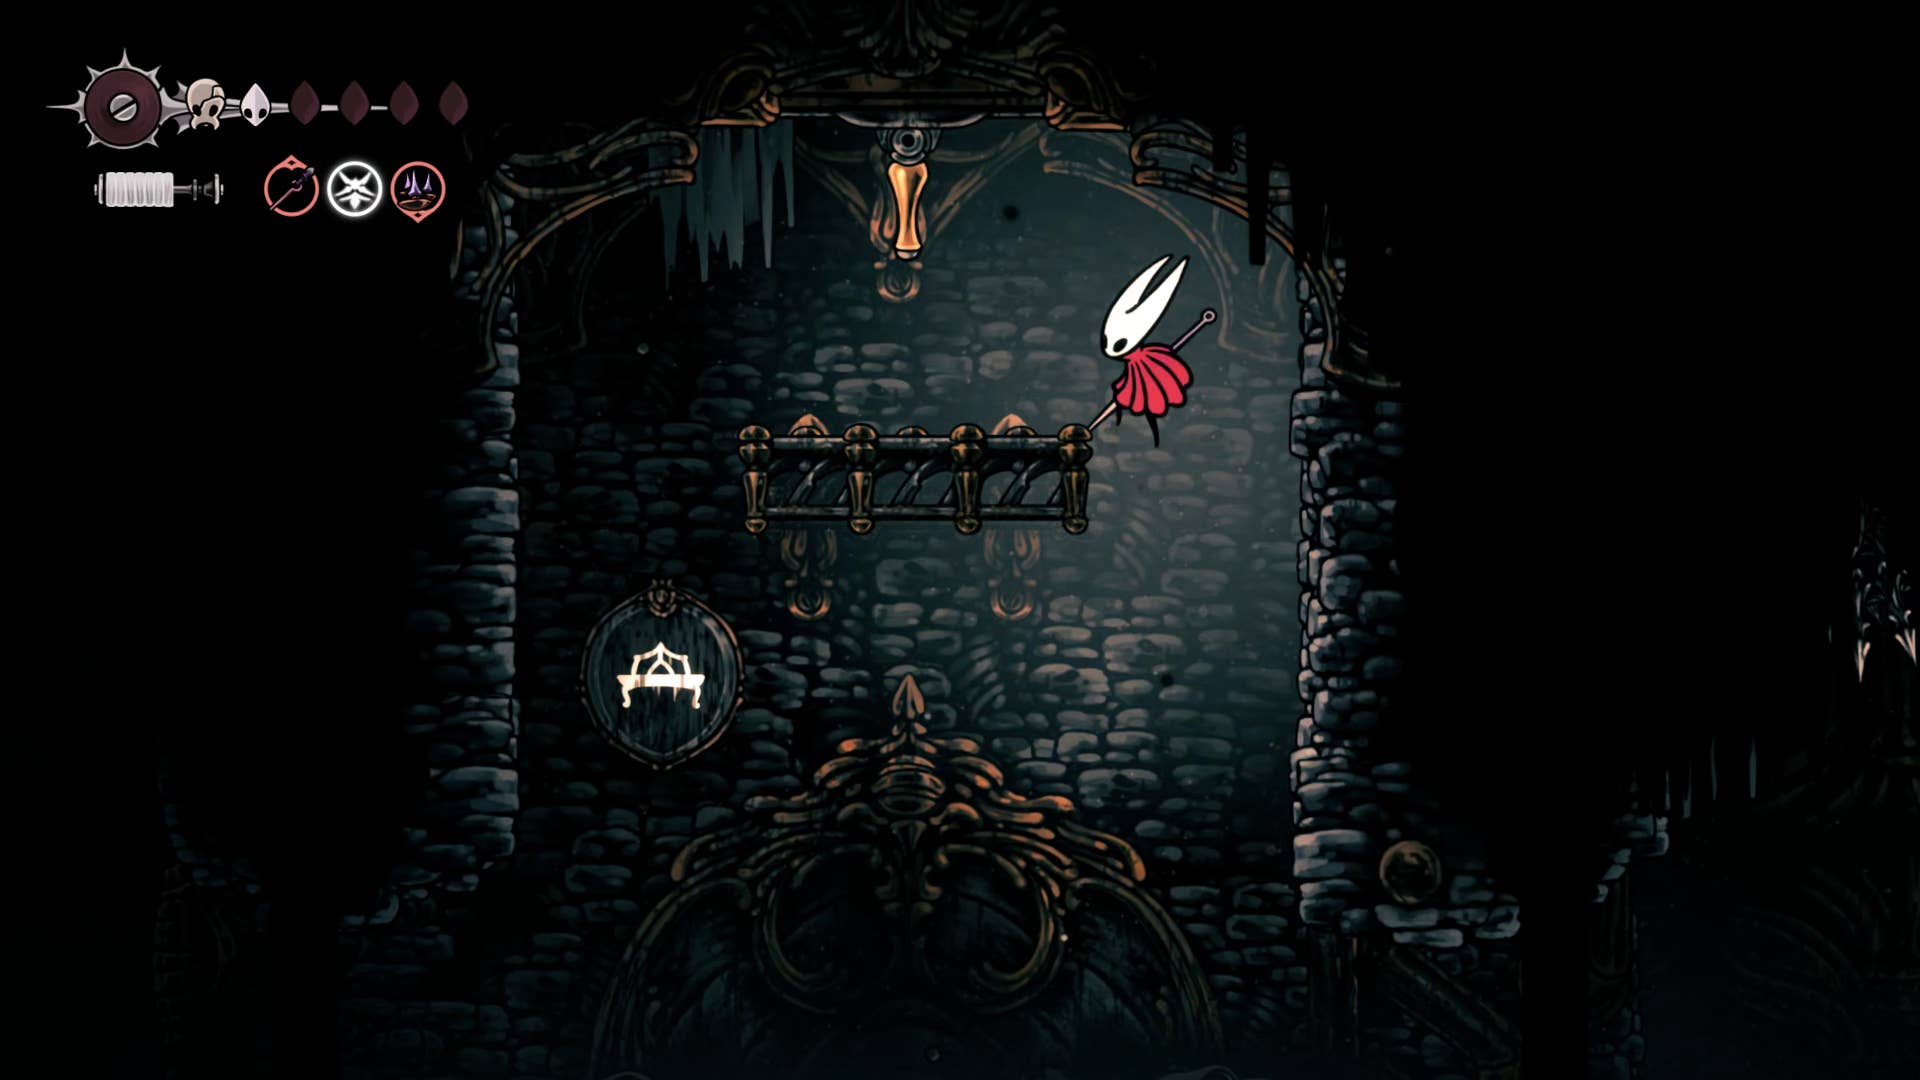
Climb to the exit on the right for a small room with frayed rosary strings protected by two enemies. You can then return to the shaft and climb to the top and exit to the left marked by the bench sign.
Over the next obstacle course of falling debris, climb the wall with the next bench sign and reach the room above. Here you can pay 15 rosaries in one of three booths. Temporary Rest bench. Please note that you will need to pay 15 rosary every time We’ll use the bench here.
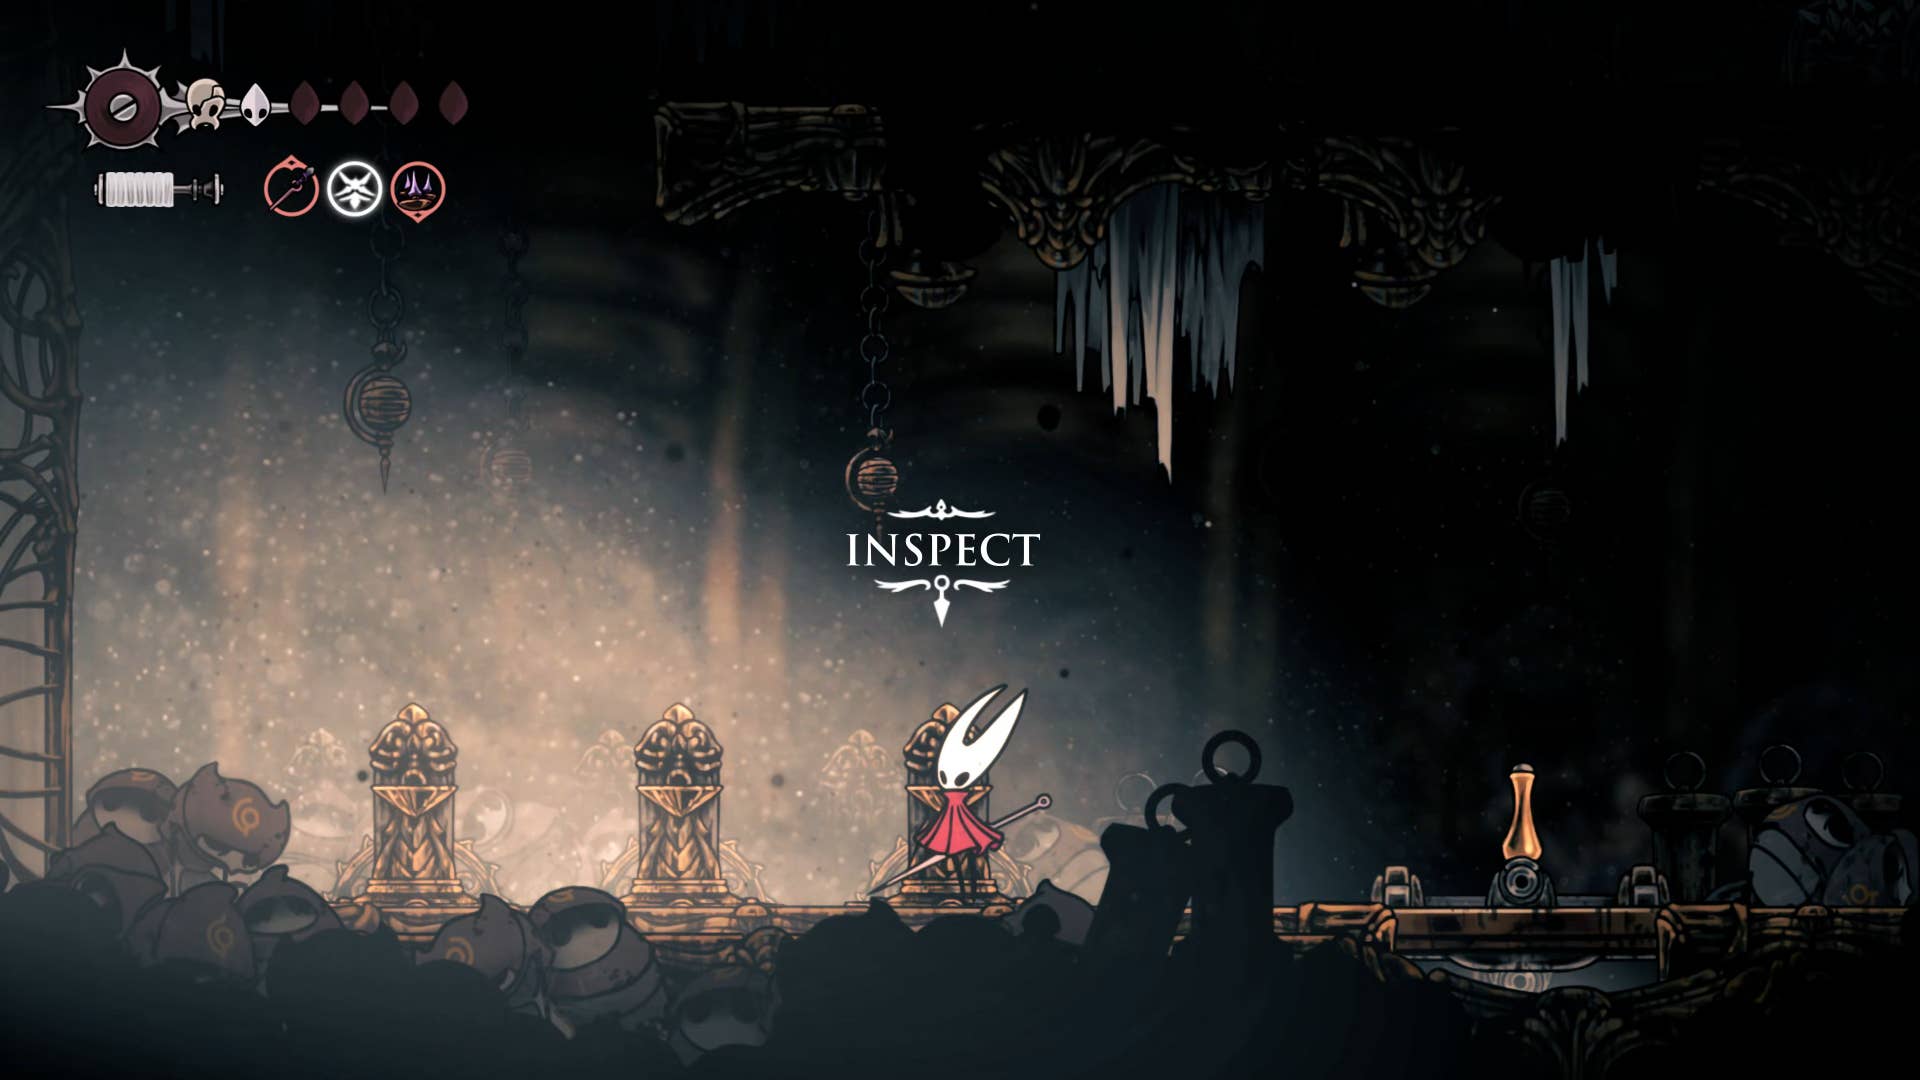
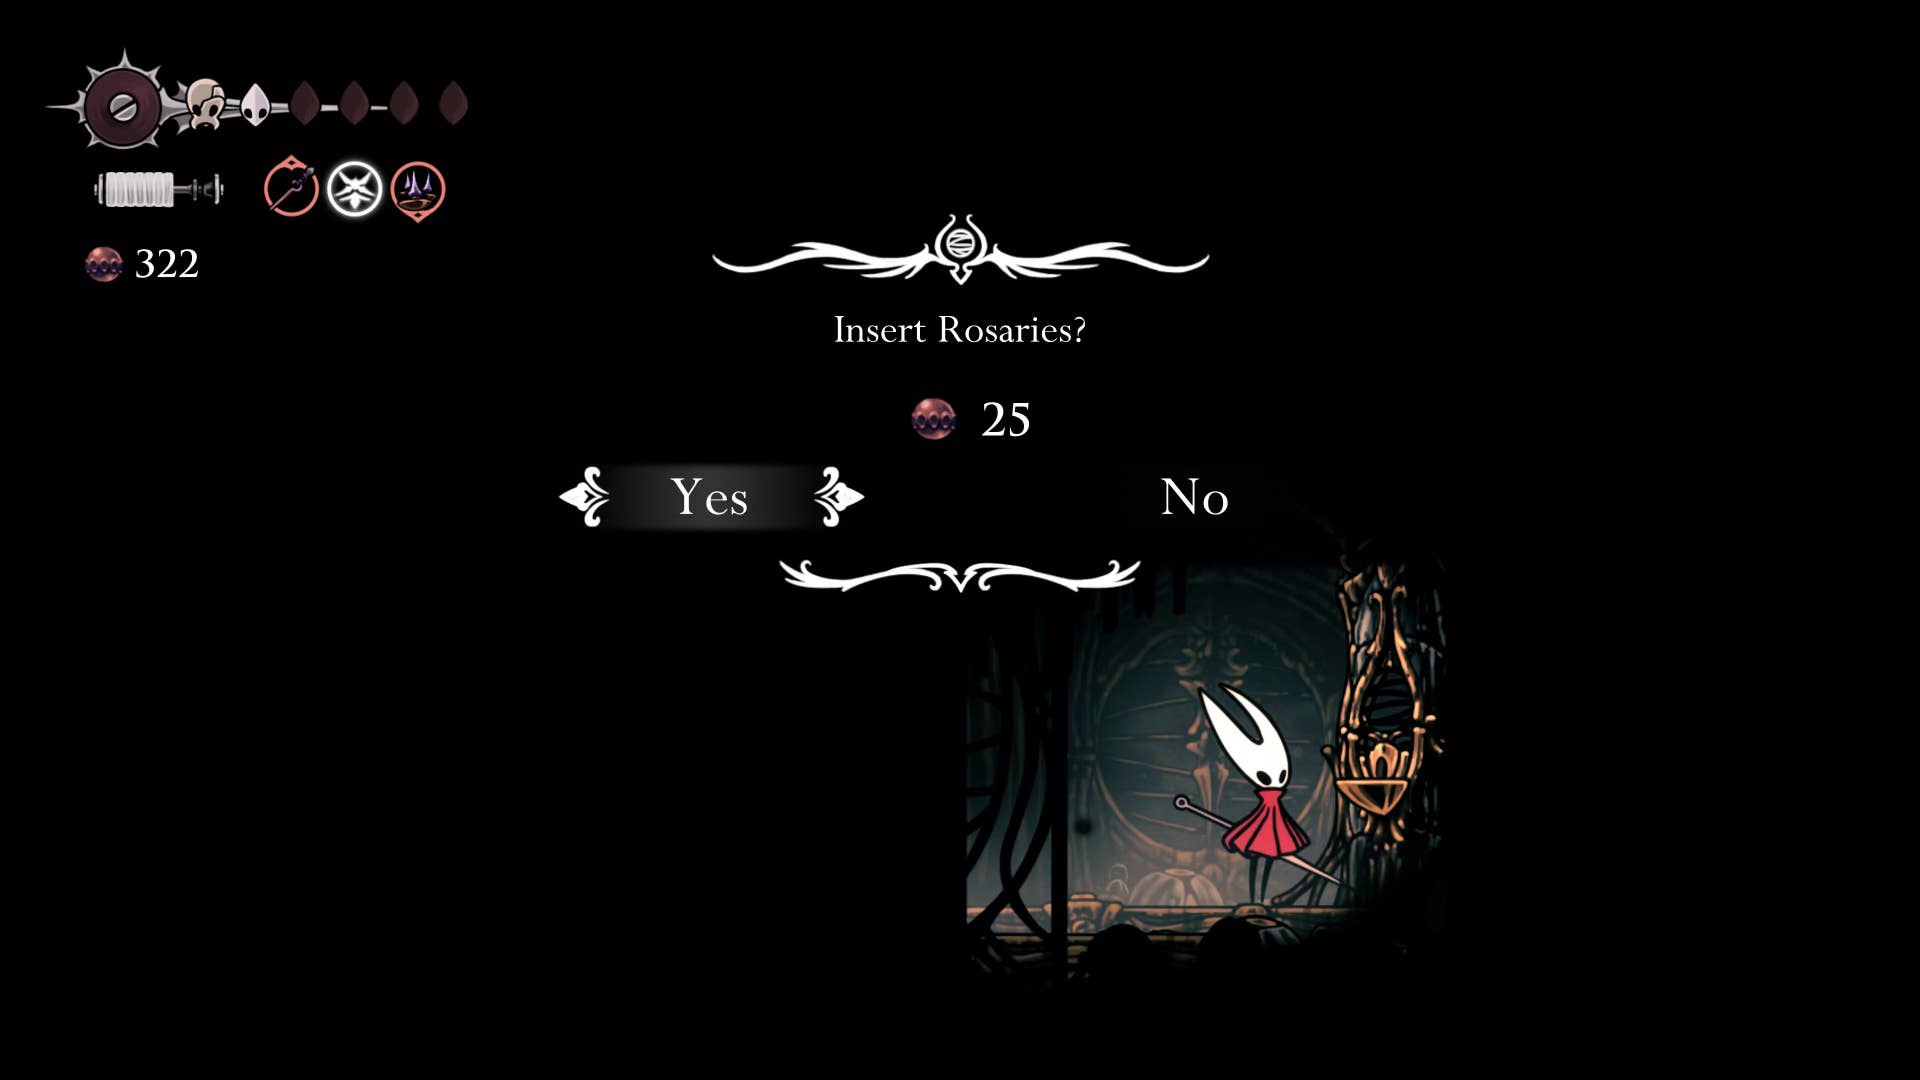
You can also head to the right side of the bench for a fun little confession stand and pay 25 rosaries for the next inspirational message.
“You confessed most to the grave and by purifying the work yourself. You will not return to your work and eat or restrain yourself until a new cycle begins.
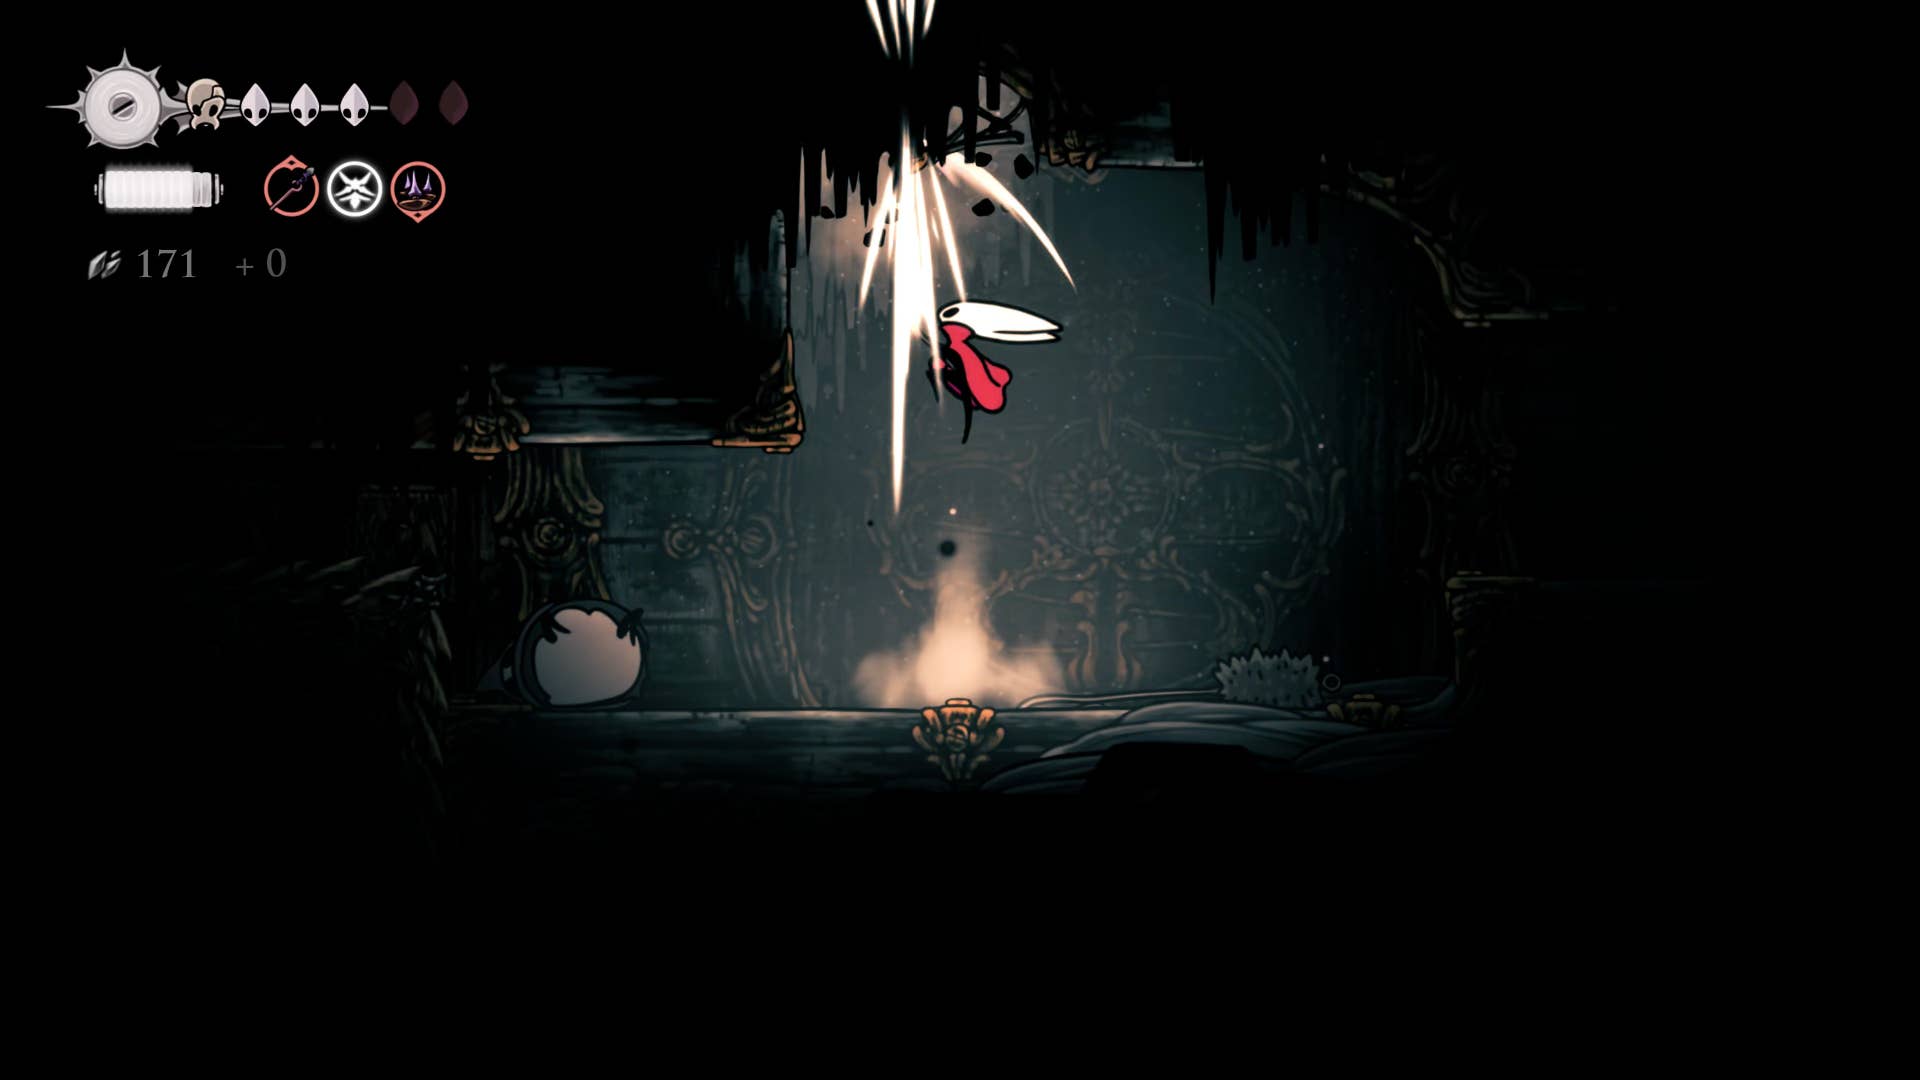
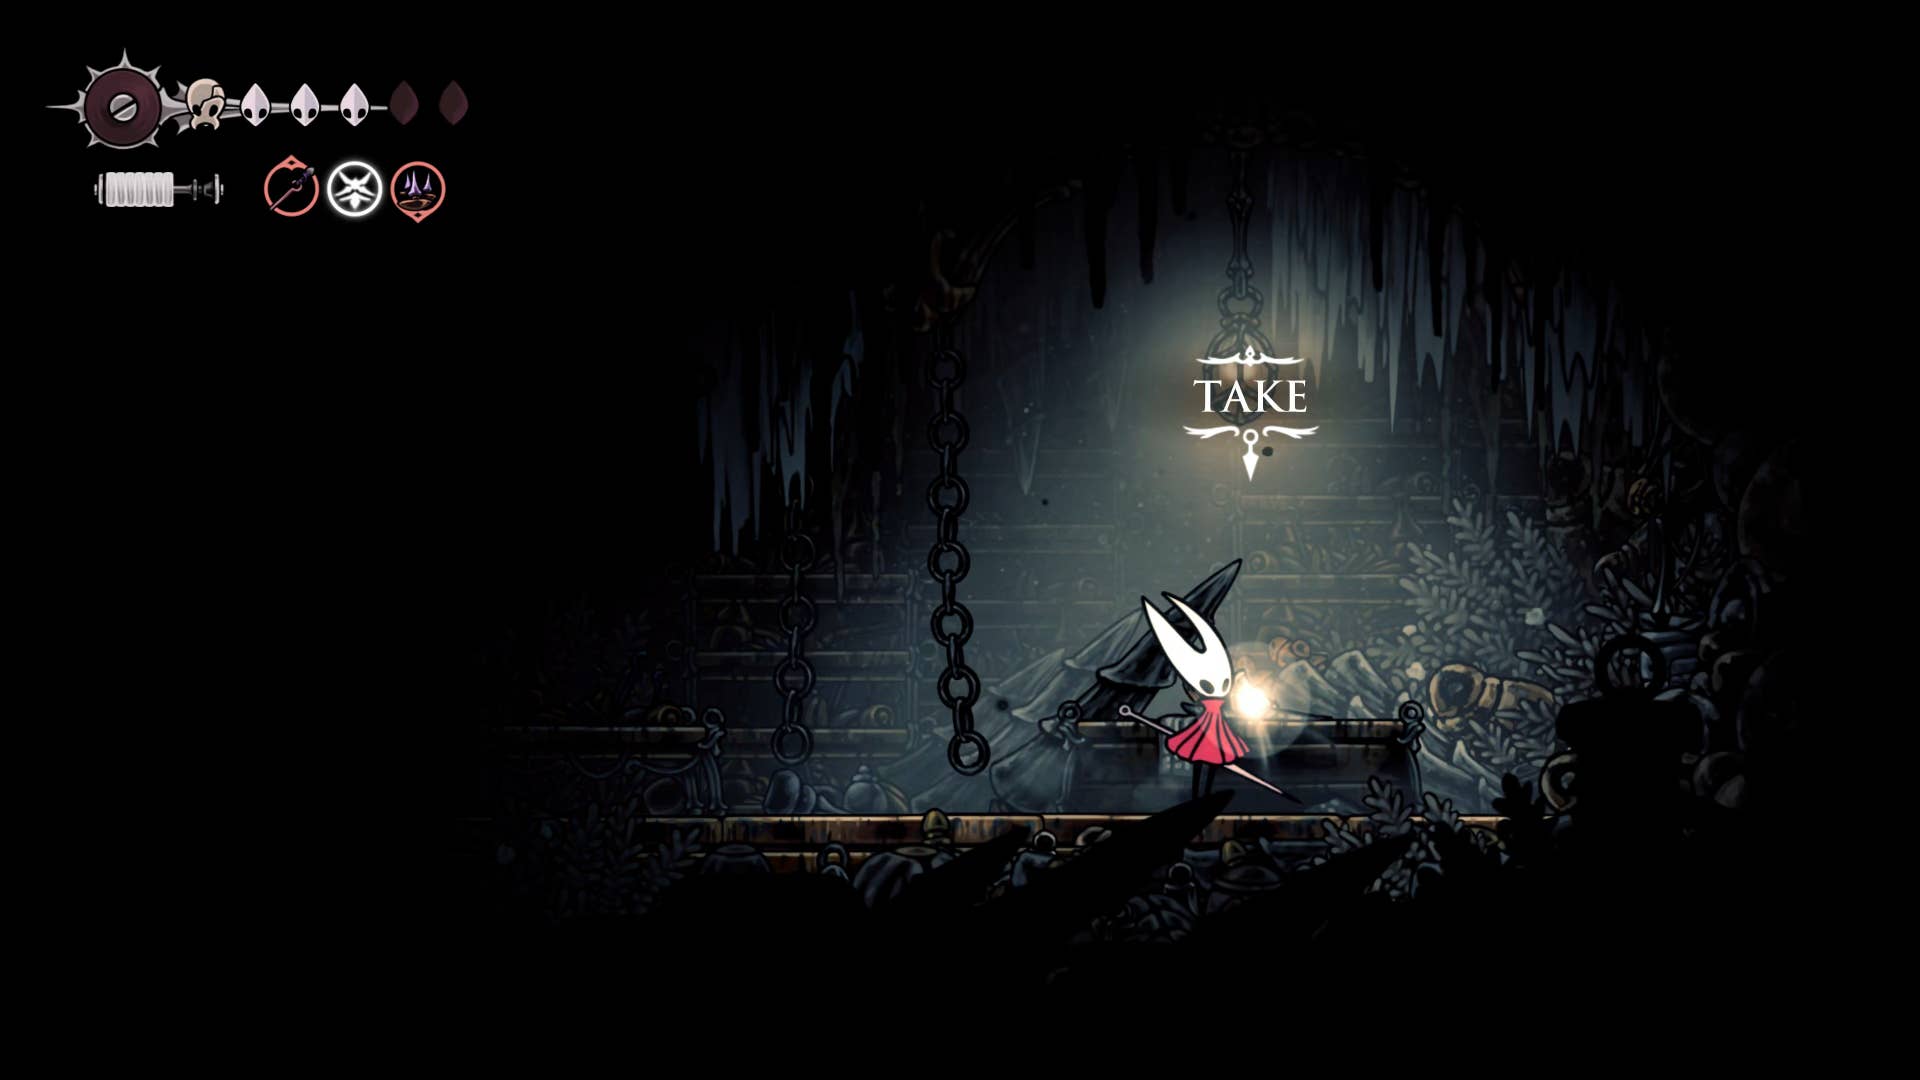
Before you leave, climb the glass and metal wall to the left of the bench and fly to the top shelf. Just above the shell shard at the end of the path is a hidden hole that you can dive in. Follow the path to the left and you will fall into a small area where you can plunder memory rockets from the pilgrim’s body.
14. Get Delver’s Drill.
Now exit the bench room, head left and pass further falling debris. Eventually, you will face another gauntlet of enemies to kill. Once they die, go left and find themselves at the top of that shaft where the Underworks map was previously found.
Drop down to the ground level and a lever appears on the left. Activate it and drop the block from top to bottom, making a pass all the way to the bottom of the shaft.
Now follow the path of the block and drop all the way to the bottom (there are pointy grapes at the bottom, so make sure you take the exact path of the block so that it lands instead of spikes). The path to the right is blocked by another large block, so climb slightly up and flick the lever to the right to keep the block out of the way. Next, take the exit to the bottom right.
More platforms! You can proceed across the falling platform and at the end of this room you can pick up Delver’s Drill. This weapon tool description may sound as if it was being used to reveal a secret passage, but I put that idea to rest now – it’s just a weapon. Still, it’s a handy thing.
15. He goes to the choir room.
I’ve done it already! Return to the shaft, climb to the top and take the exit on the top right. This next room is a mess of a big old maze of tunnels, with some side passages and fragile walls, with very little cache of resources.
Once you reach the top of the tunnel you will find a lever hanging from the ceiling. After hitting it, I finally climbed from the underwork. We return to the choir room next to the Far East bench near the Grand Gate. Rest and relax!
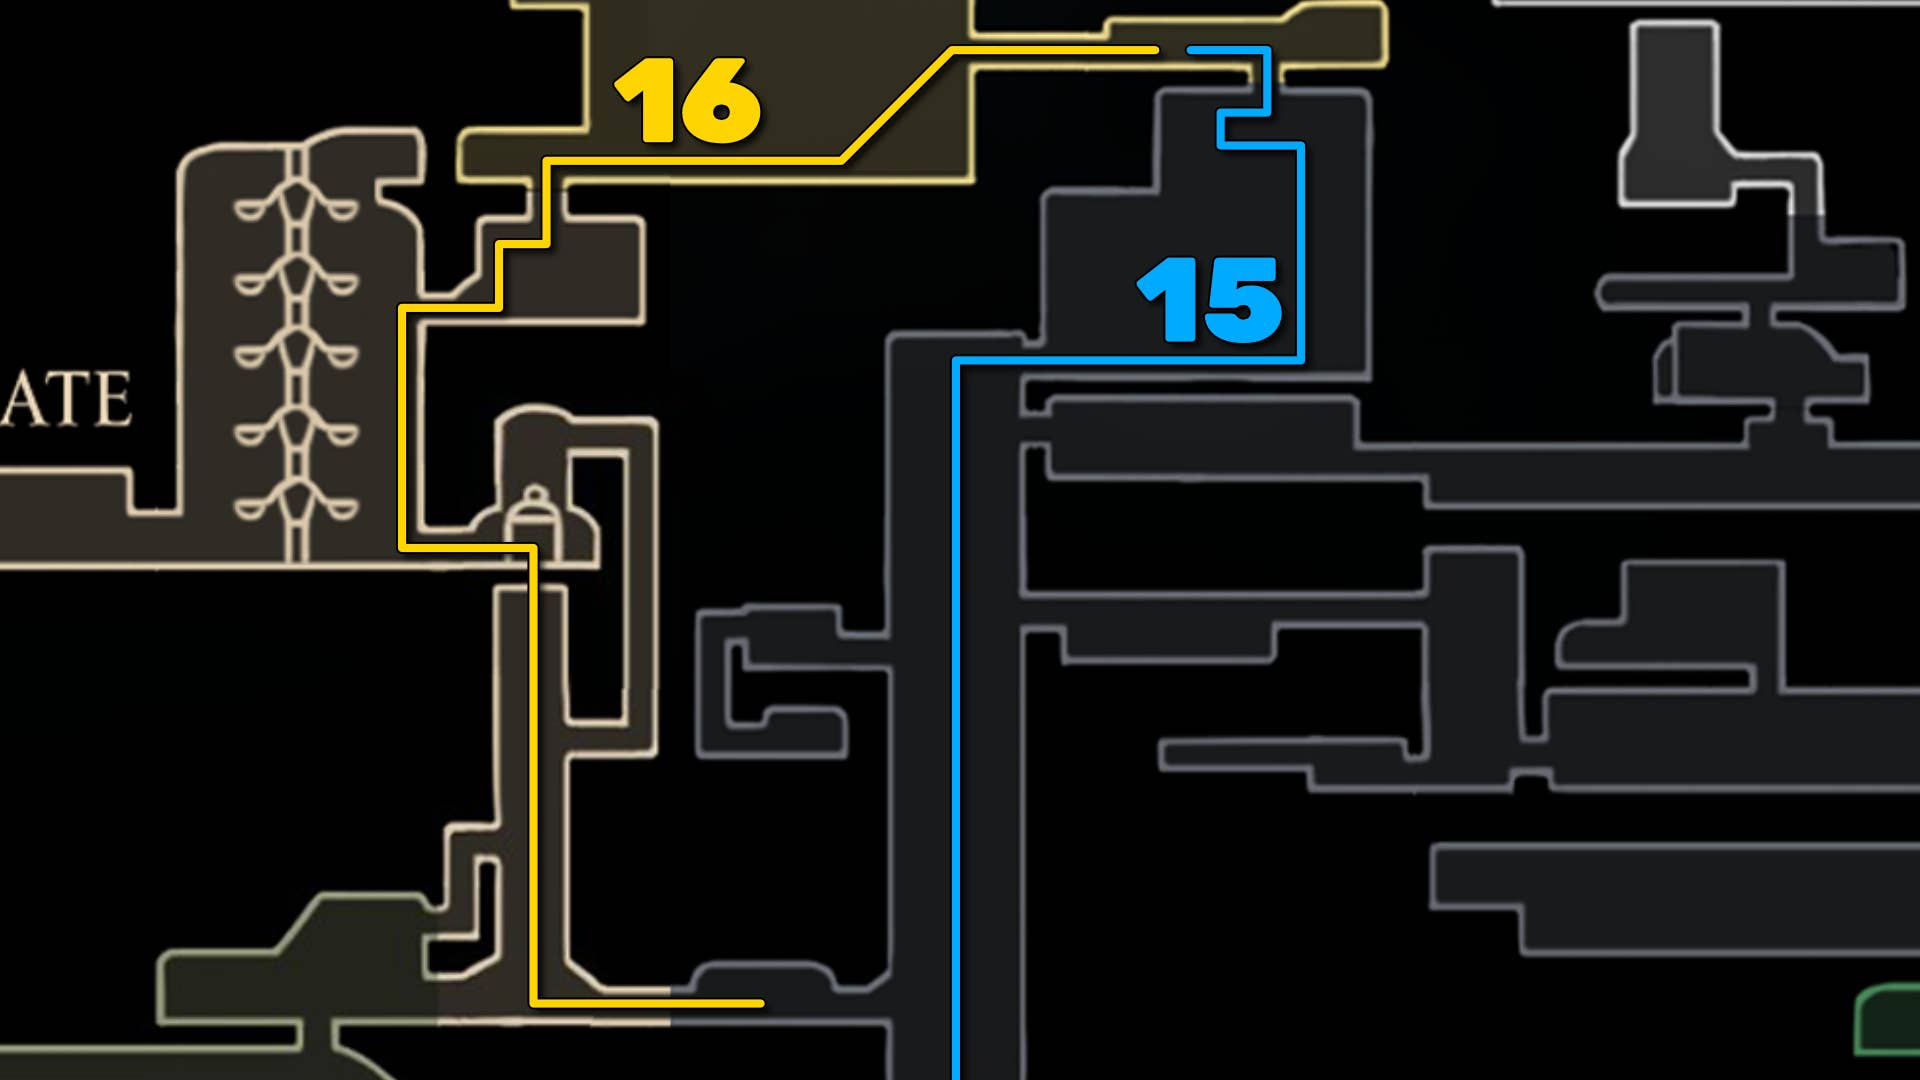
16. Enter the underwork from the ground gate.
The last small optional bit bit is more for completion than anything else. From the bench, head left and descend the ground level hole to reach the ground gate again. There you will fall onto the floor and enter the elevator to the right.
This is another entrance to the underwork you might have been able to take right after you defeated the last judge. But doing it like this would have meant you had to fight the western half of the Underwork before you could fill it up in the choir room. Still, it’s good to see what happens.
Flick the switch on the elevator to allow it to go down a little further before stopping. A few more hits on the lever and then drop a little. Then it hits more and eventually everything collapses to the bottom, leaving you stuck.
Once Hornet gets up, he takes her to the right and asks for another “payperdew” bench. Then head towards the shaft again, climb to the top again and re-enter the choir room.

It’s an undue, truly conquered, and you made it with a brand new clawline harpoon. Not bad! Cogwork cores up and down the Cogwork Dancers Arena arena are waiting for us next. Follow part 20 of the ever-growing Silk Song Walkthrough!
(TagStoTranslate) Hollow Knight: Silksong (T) Action Adventure (T) Indie (T) Nintendo Switch (T) PC (T) Platformer (T) Team Cherry