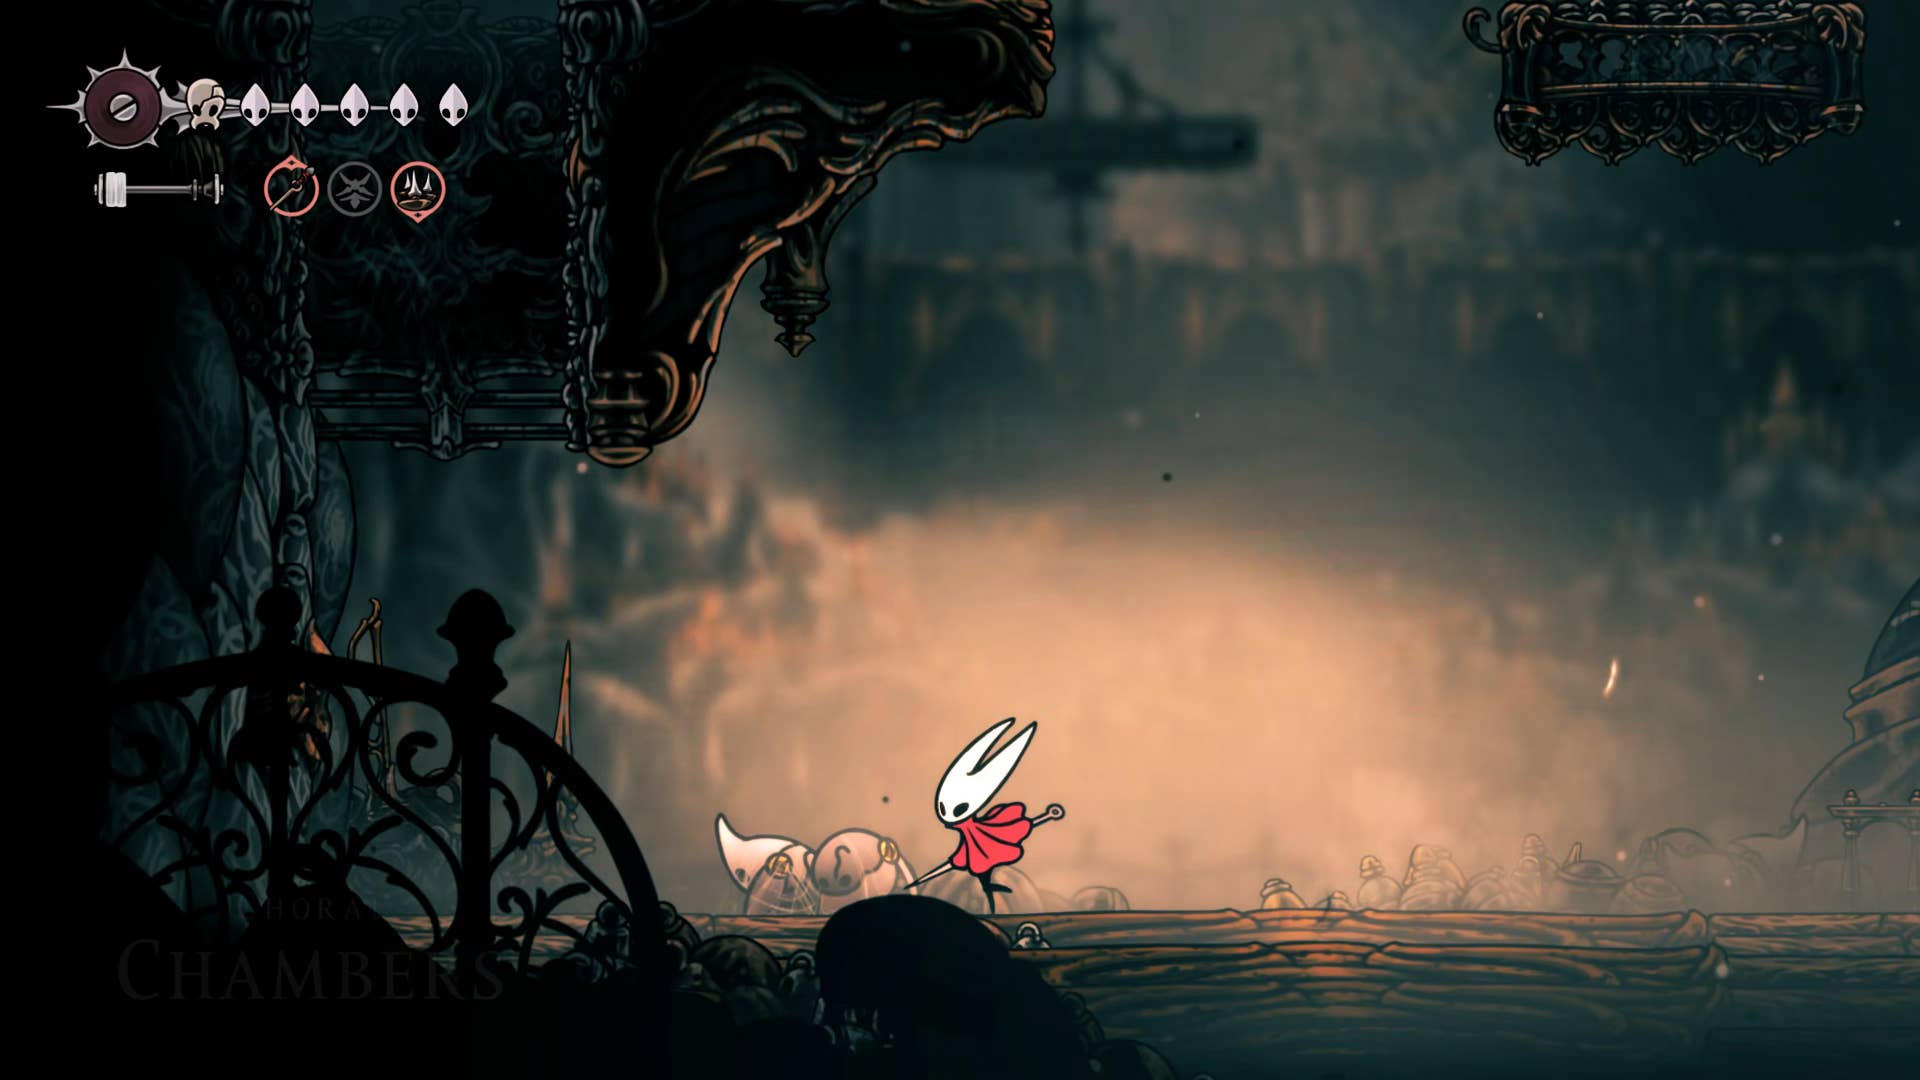
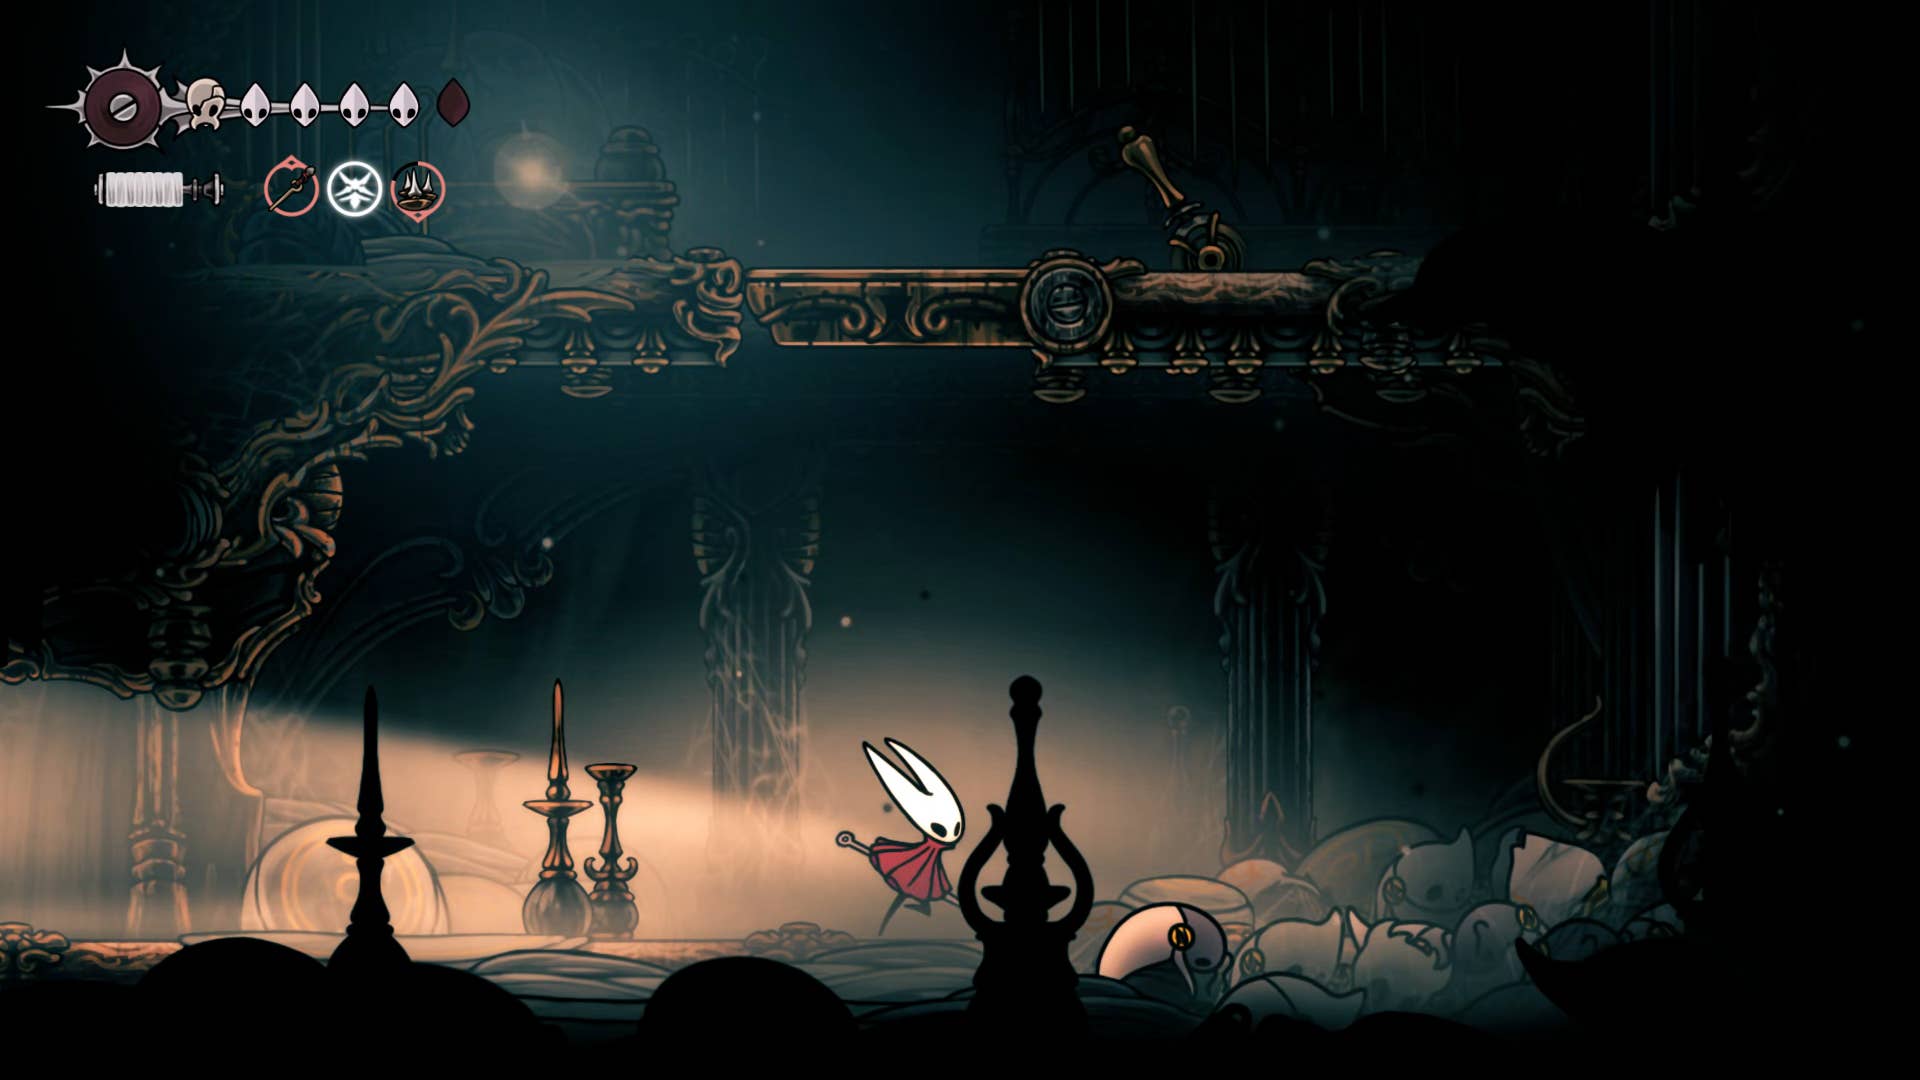
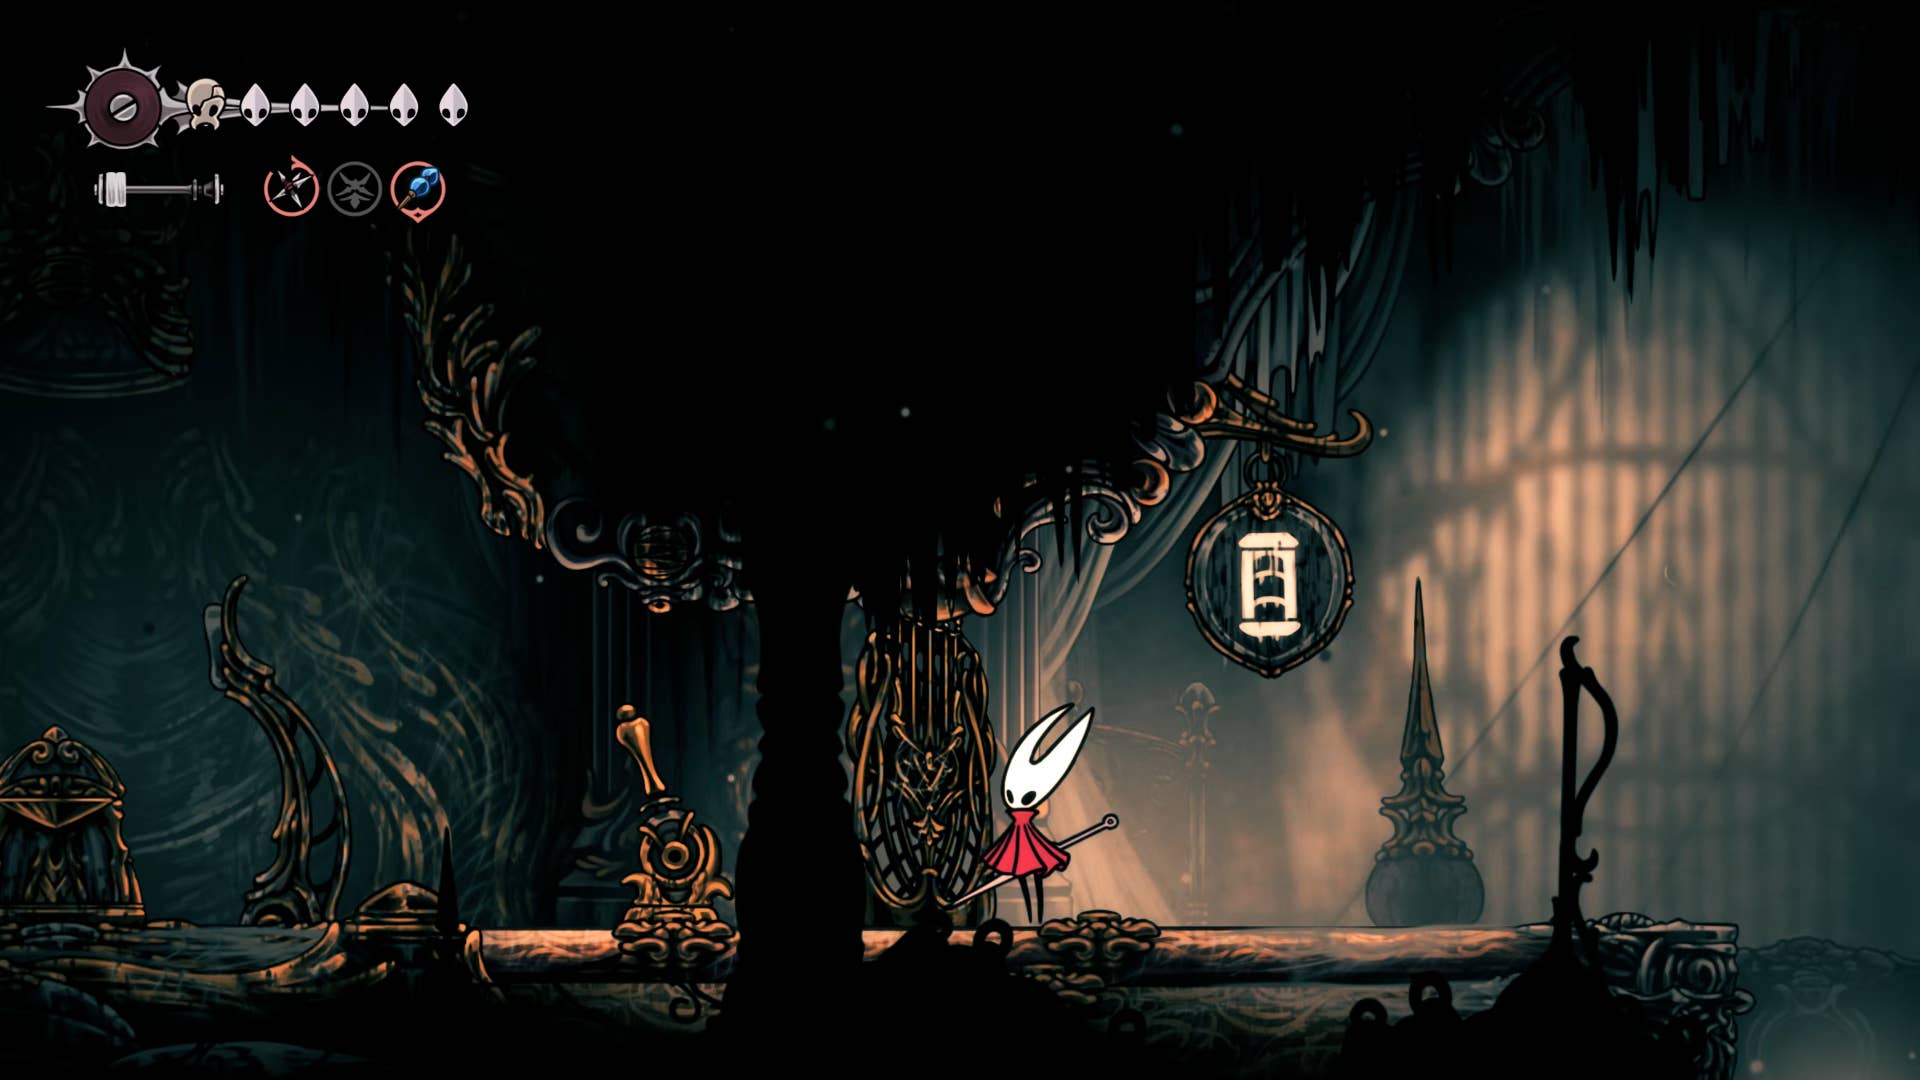
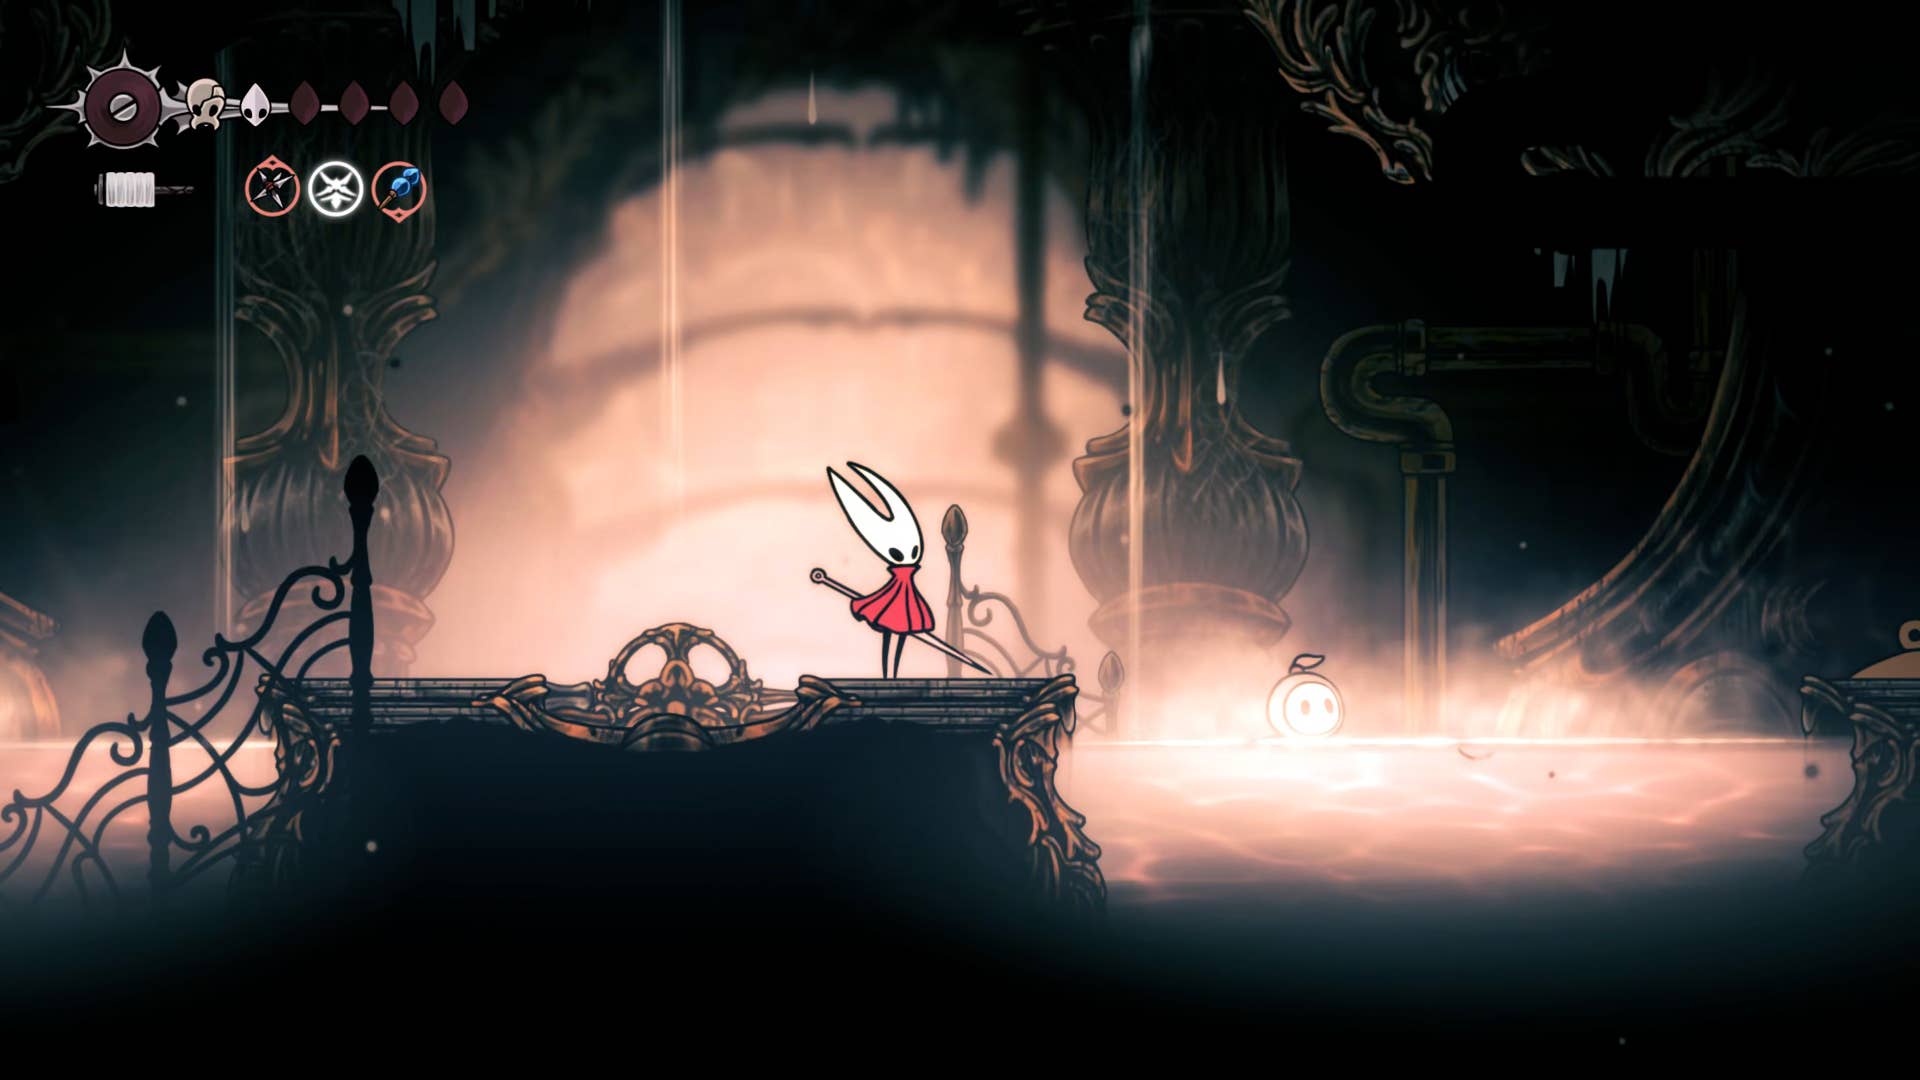
When I arrive at the Silkson choir room, where should I go? Act 2 really begins once you step into the choir room at Falroom’s Fortress. In this sparkling area, there is plenty to explore more than a few enemies who will massacre along the way.
Part 17 of the Growing Hollow Knight: Silkson Walkthrough introduces you to the excellent path through the choir room. This will take you to all the points of interest in your area in order. There are many different new NPCs to find, merchants to save, white keys to find, and fleas to rescue. There are many covers here.
Do you need a walkthrough in another area of the game? Check out Hollow Knight: Silksong Walkthrough Hub!
Choir room walkthrough steps:
- Get a Silker in your first room.
- Revitalize the first shrine.
- Talk to the residents of Songclave.
- Find Jubilana.
- Please rest on a nearby bench.
- You will reach the ground gate from the other side.
- Reach the Citadel Spa.
- Get your first cogheart piece.
- Rescue nearby fleas.
- Talk to the loyal mergwin.
- You will reach the upper left bench.
- Defeat the cogwork dancer.
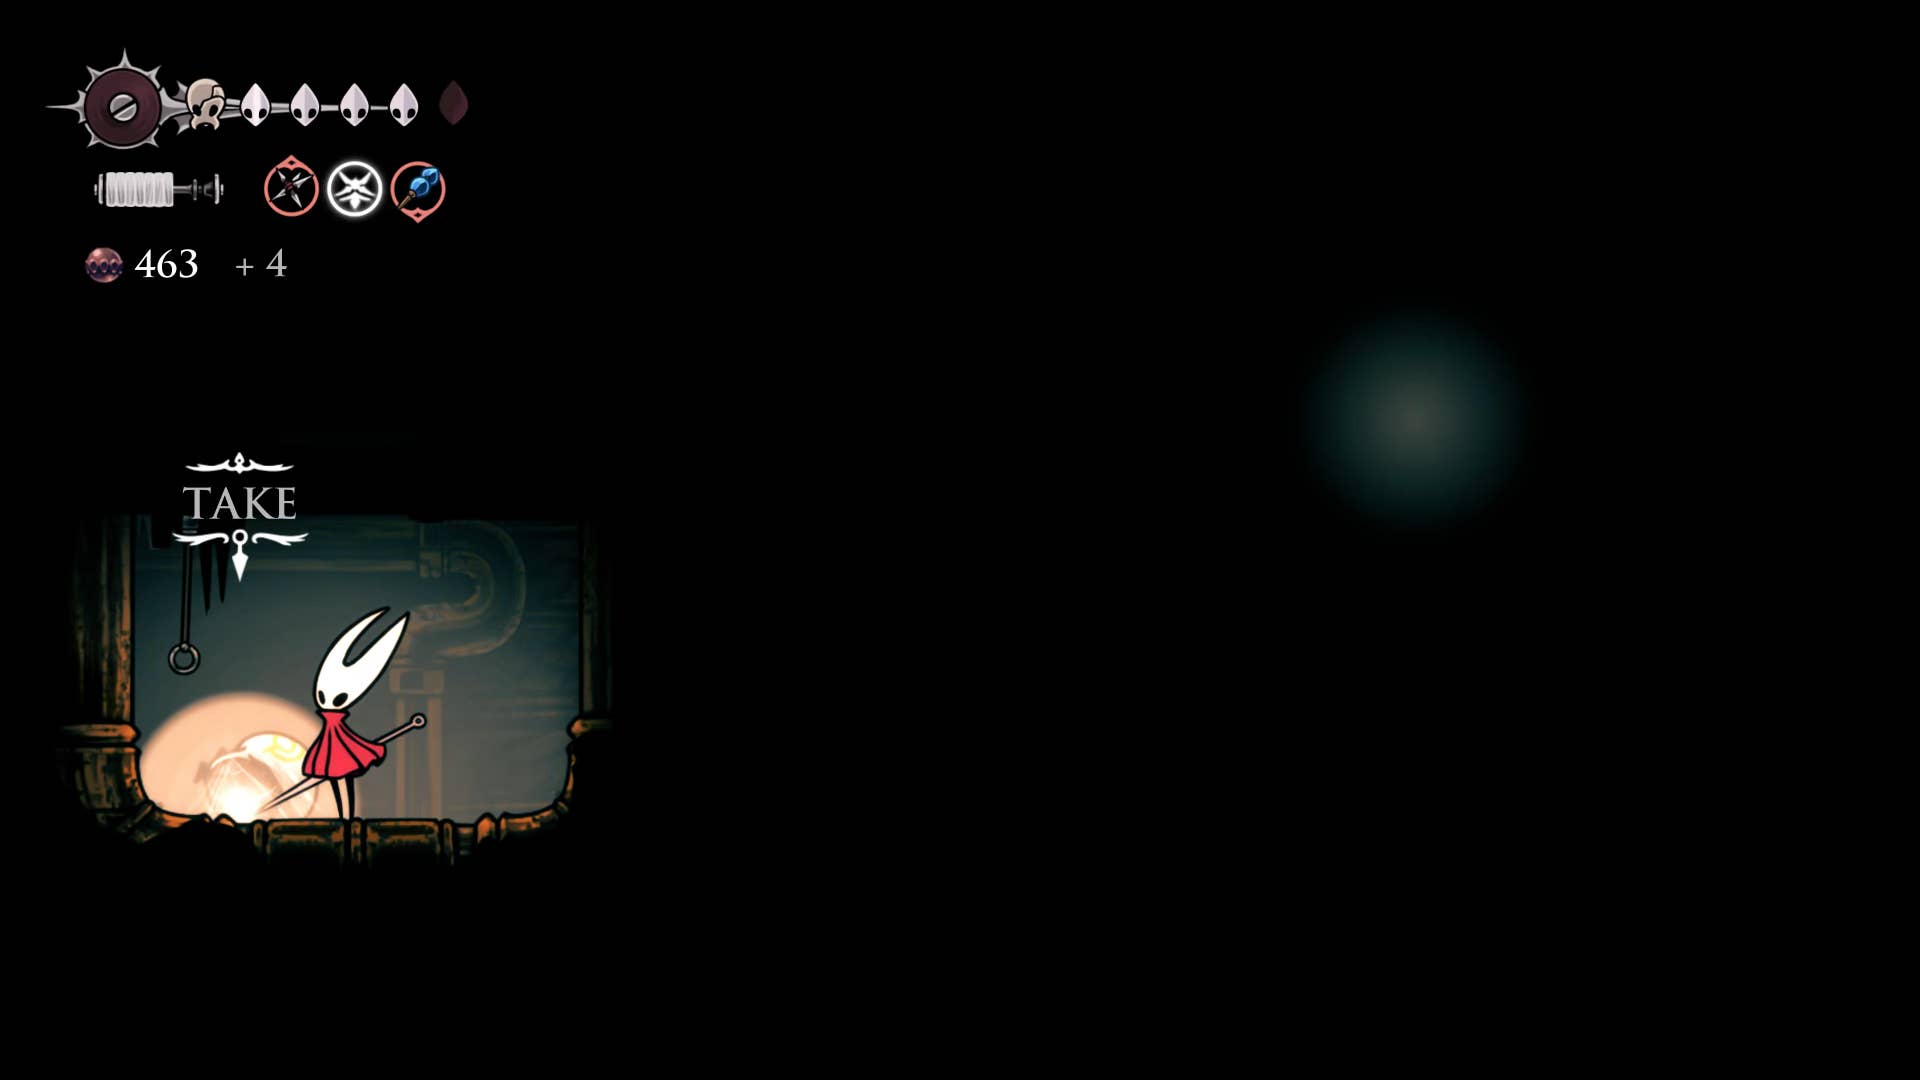
1. Get a silk titer in the first room.
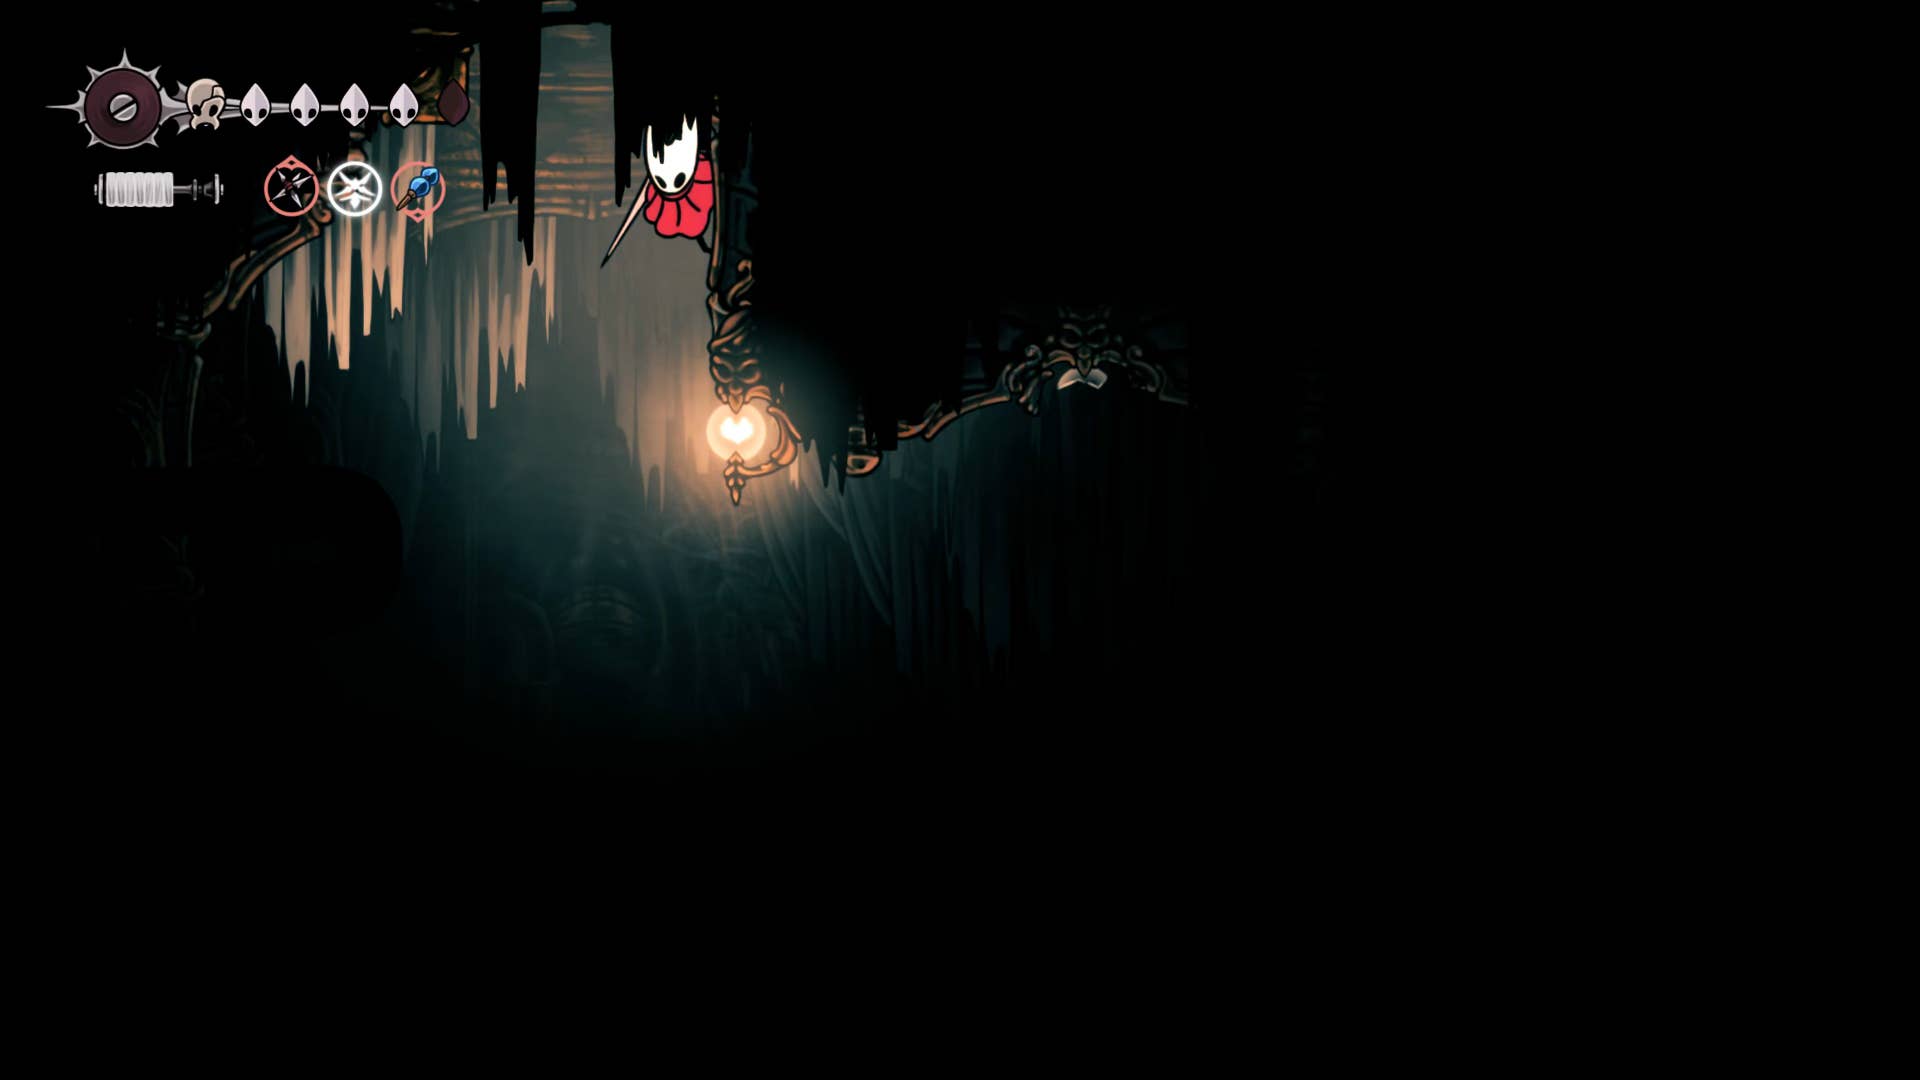
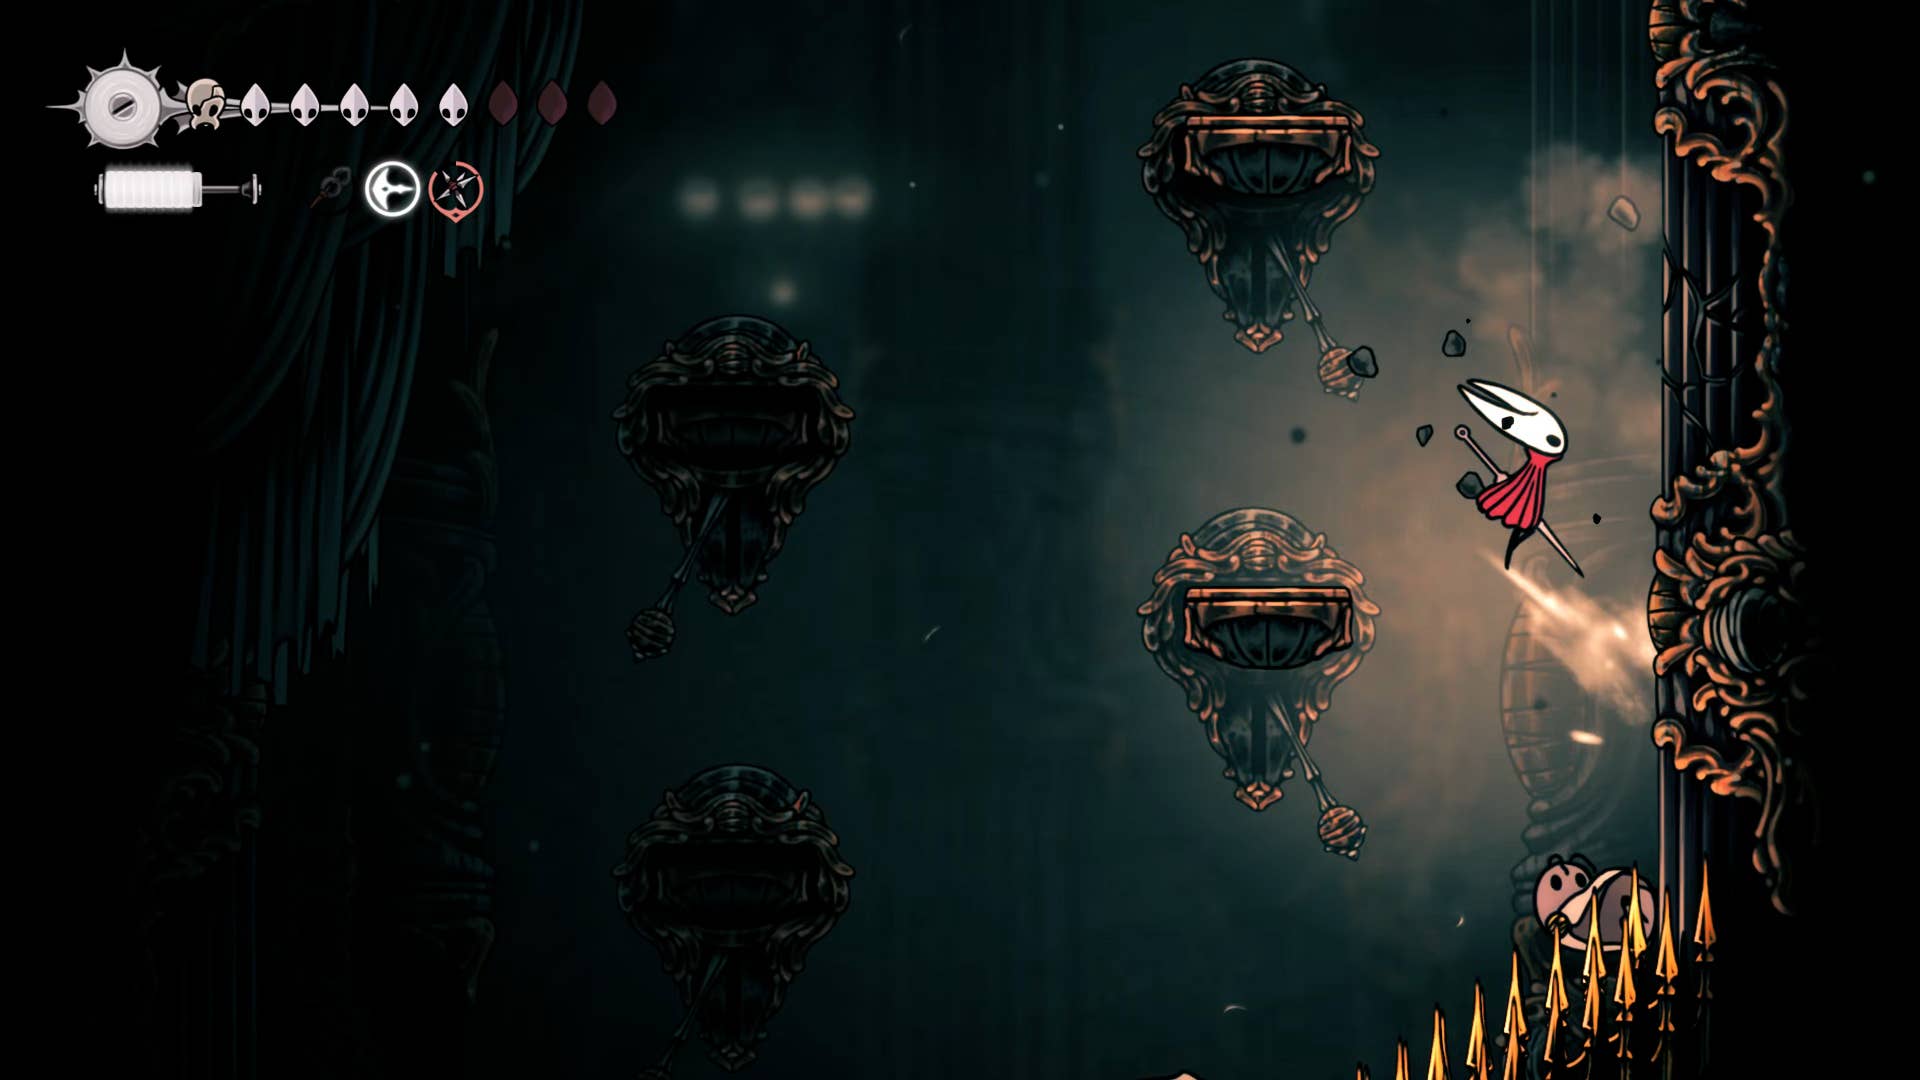
From the Grand Bellway, jump on the other side of the Bellbeast pit and go left. Climb the wall on the far left and head through the doorway on the left to the dark side of the corridor.
In this passage, drop a spike-lined hole and hang down to the bottom to prevent it from landing on the spike (float the cape). At the end of this path is the egg of Silctor, but when you approach it, you will be recited behind you. Kill it, get on a Silk Teater and go back to the previous room.
2. Revitalize the first shrine.
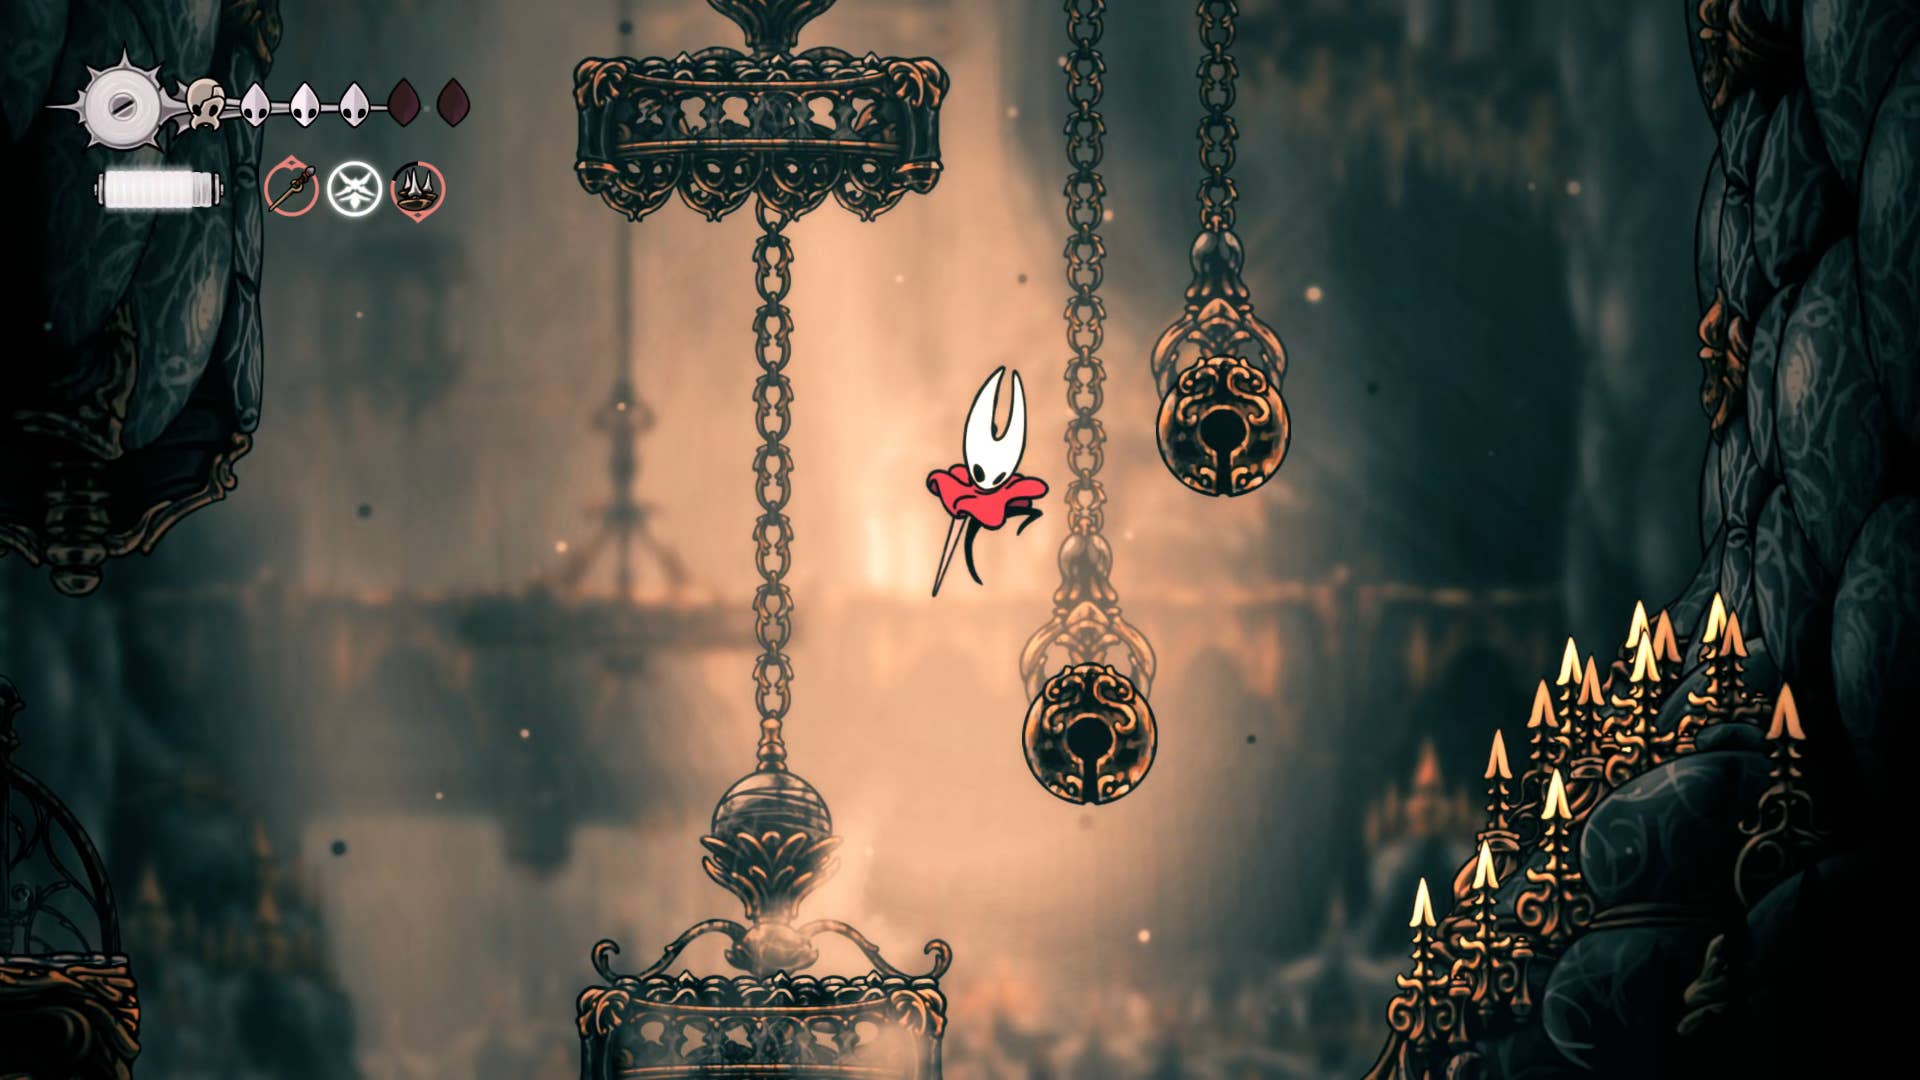
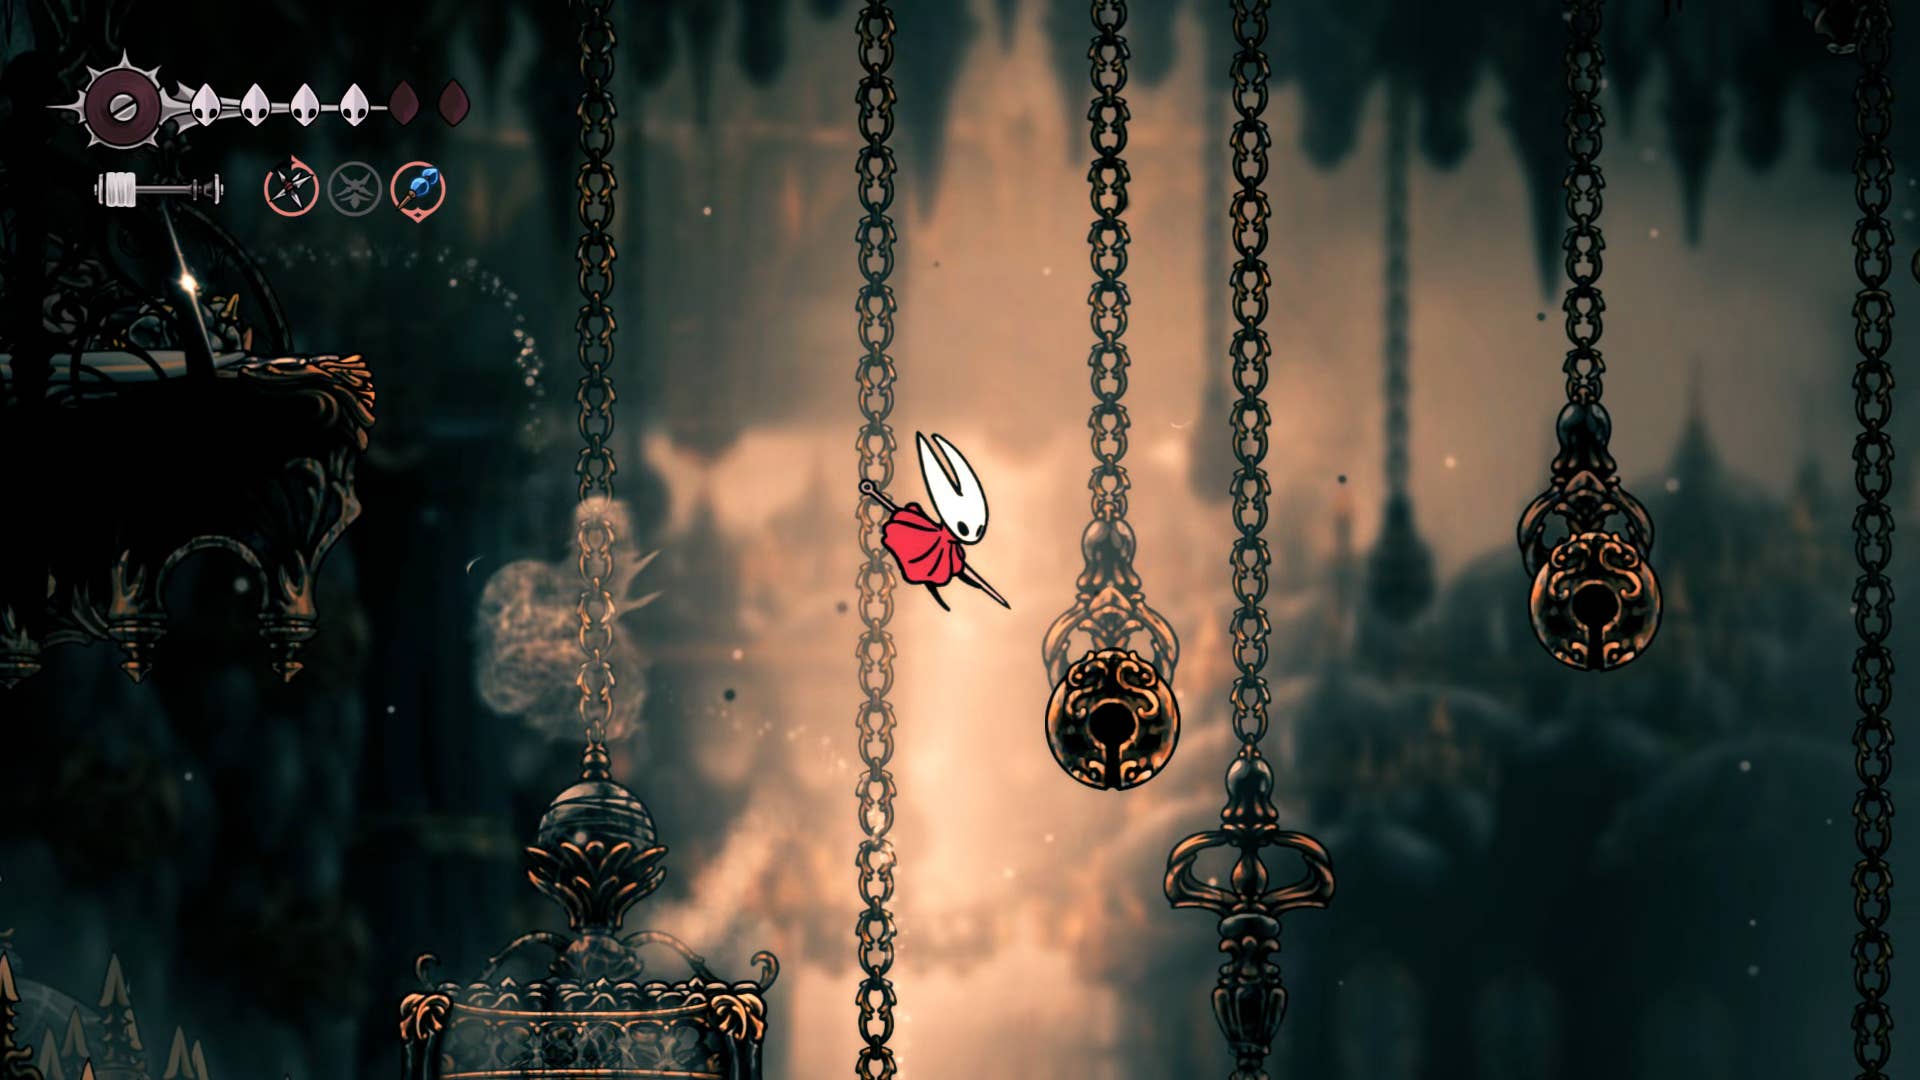
Next, you need to raise the entire vertical shaft where you are. So start climbing and use hanging bronze bells to raise yourself if necessary. Along the way, we see that various enemies were brought about by the chains of silk. It is best to take your time and defeat each one safely before continuing upwards.
On the right halfway through, you will see a sign (three white masks) next to the exit. Take a quick look at the stage. There are scrolls you can read here, but there is nothing else, so go back to the shaft and continue climbing upwards.
There is another route to the left just above the entrance to the stage, but for now, ignore that and climb higher. Near the top of the shaft is another sign with three pins drawn on it. Here you will break the glass and head to the room on your right if necessary. There’s nothing to do here now, but above you you see items out of reach – this is a pale oil you need to take to the Prinny of Bell Heart to further improve the damage to your weapon. Later, you’ll return to this location from the other side.
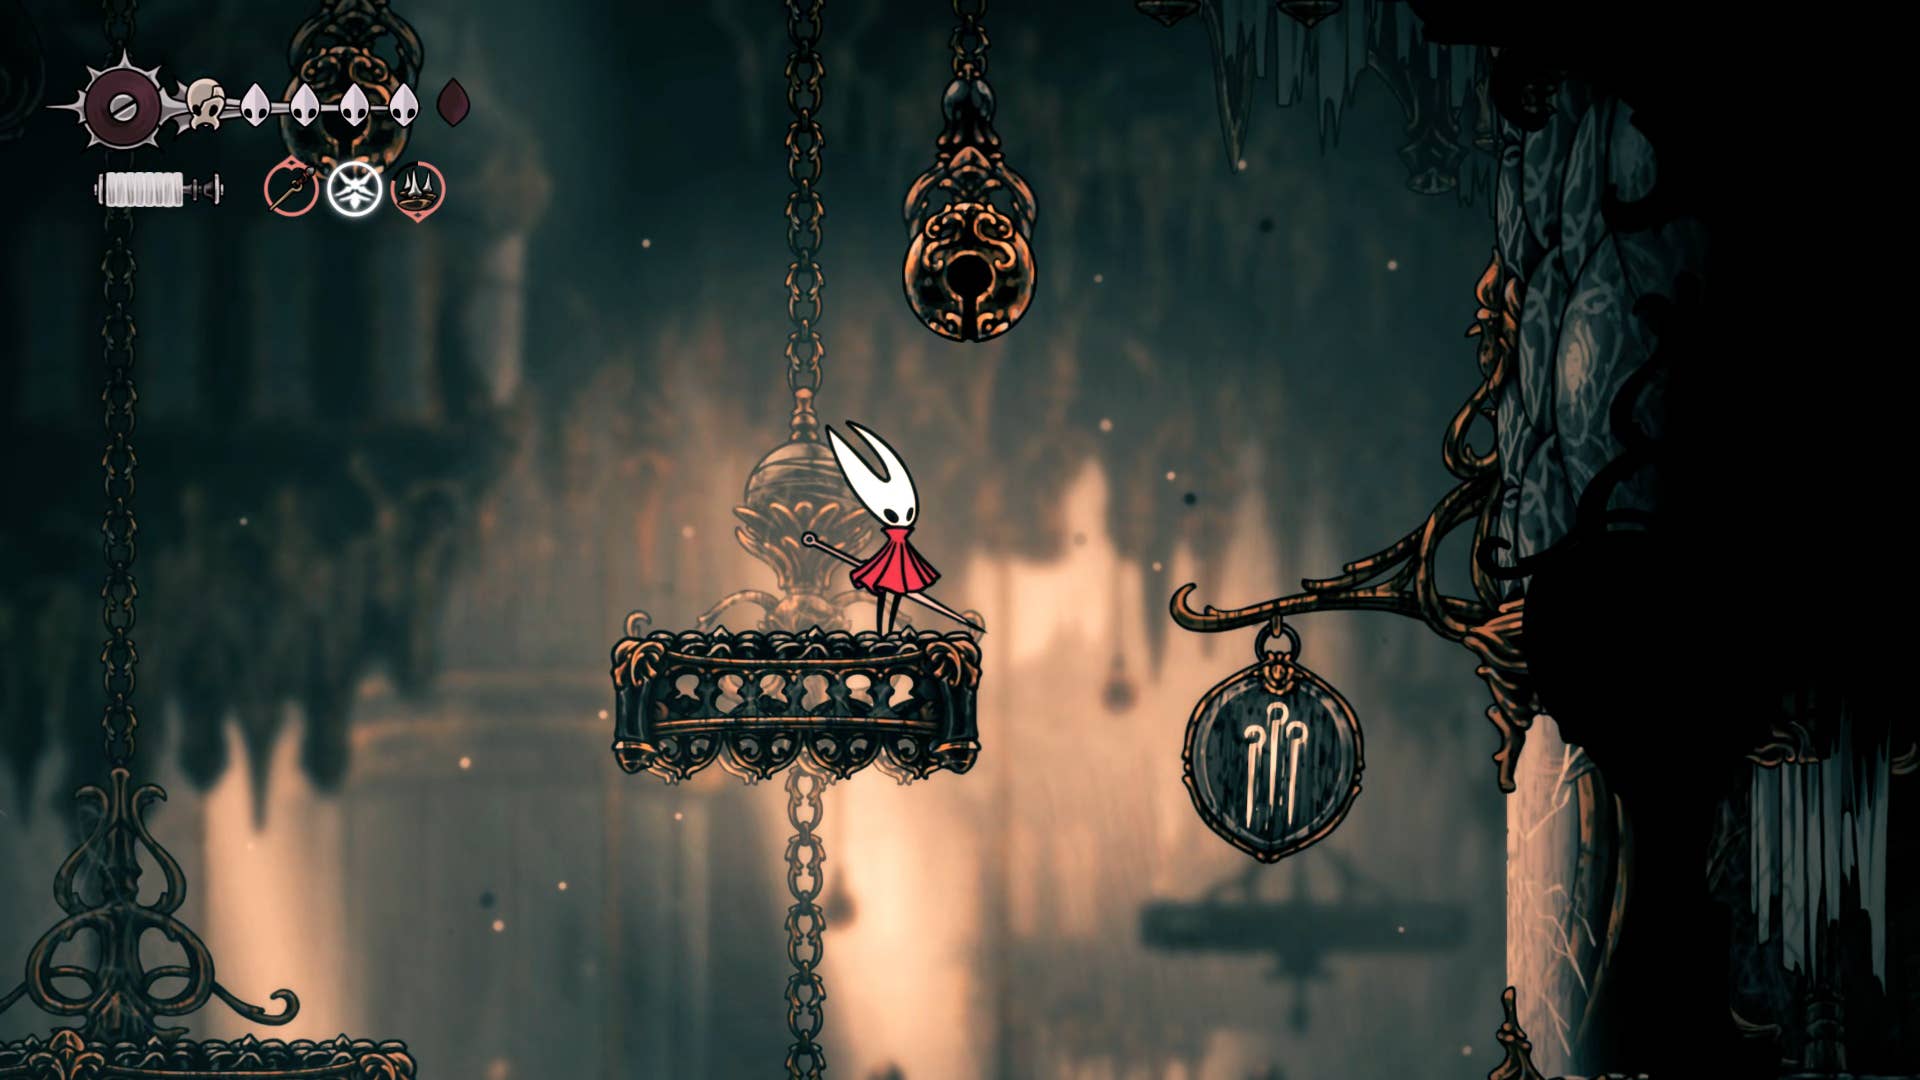
Climb to the top of the shaft and come up above. In the next room there are large rotating wheels with passageways. You can press the silver lever to rotate it and climb up.
As you climb ever there is an exit to the left where you can peek. You can find a silk machine here. This can sell a bit of 40 rosaries. Don’t worry because it’s not worth the remote. Return to the wheel room and exit the entrance and exit on the top right.
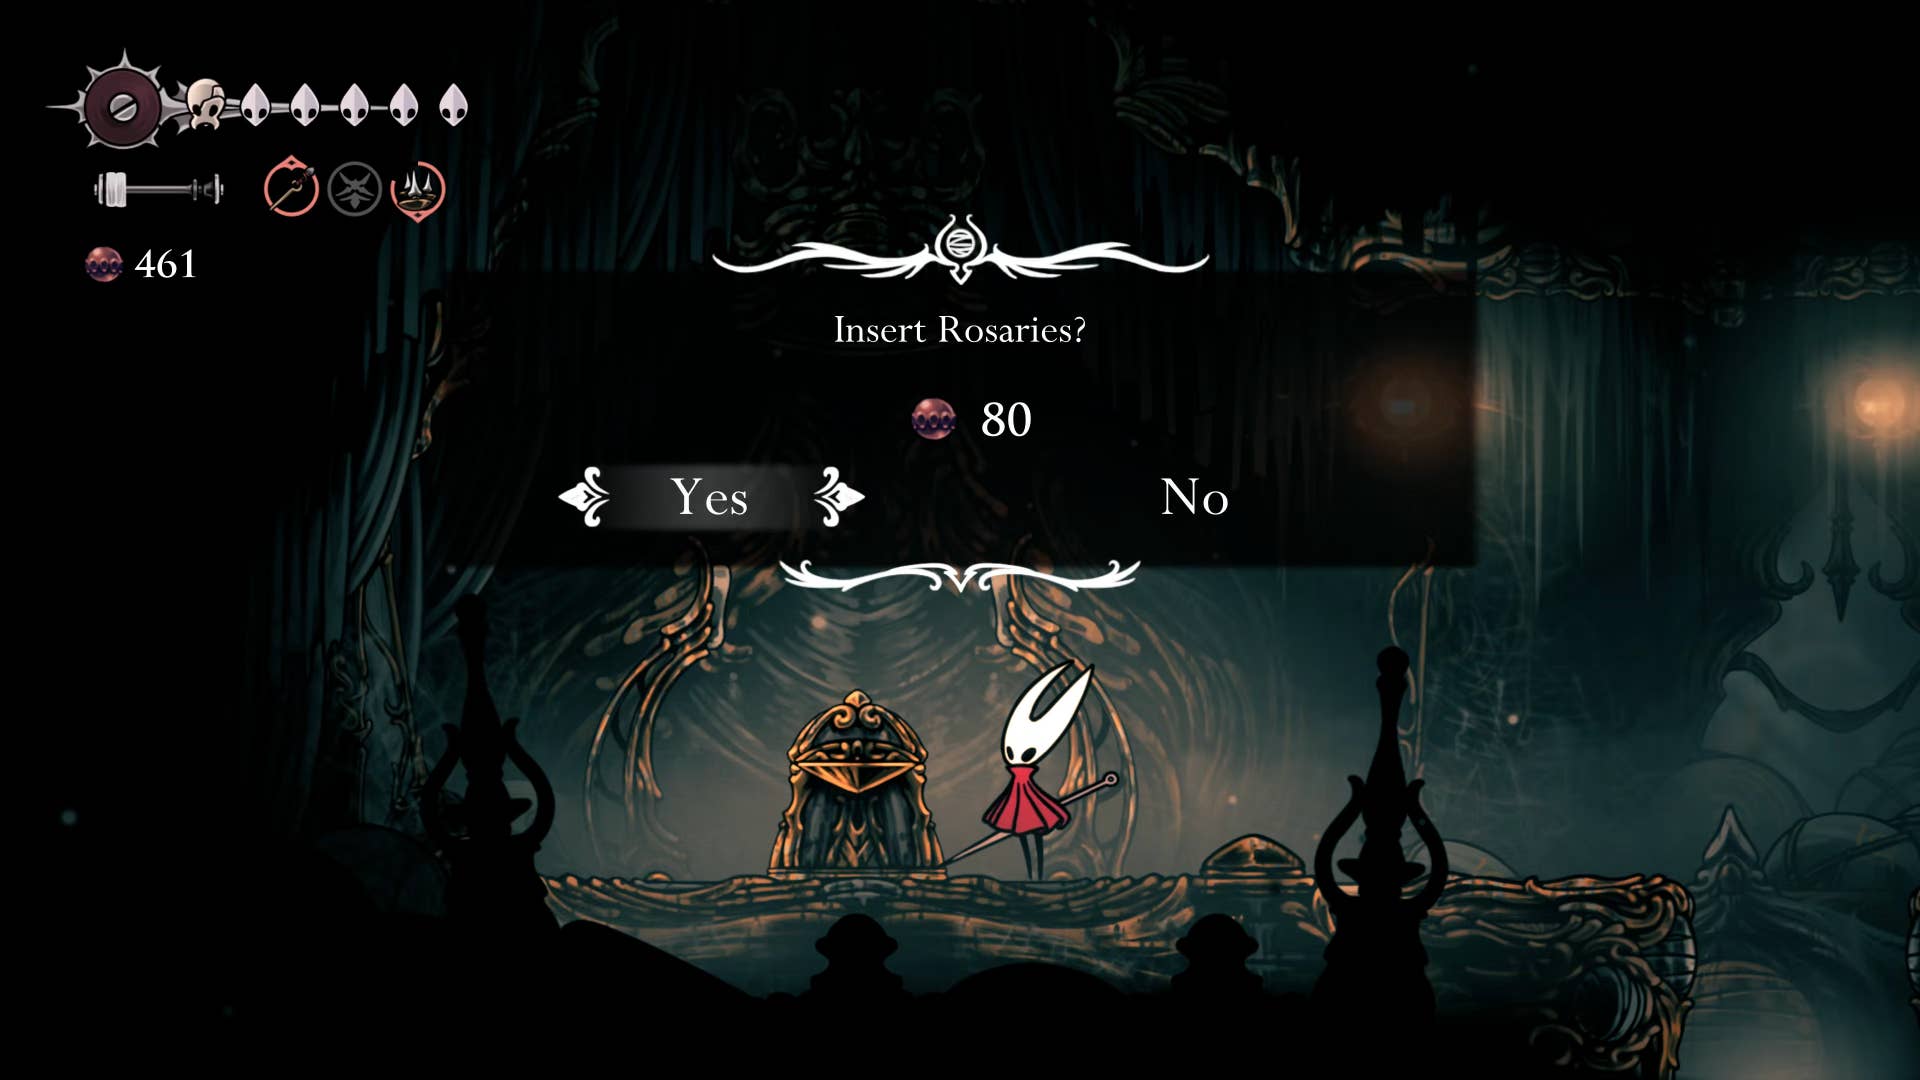
The next room is filled with small corridors that need to dodge between the various steam holes, like exhaust organs. Head to the next room and climb the wall just above you. You can use the shelf to reach the room and pay 80 rosary on the left to activate a new bench lica station (and a simple pass to the Grand Bellway). But don’t use it now.
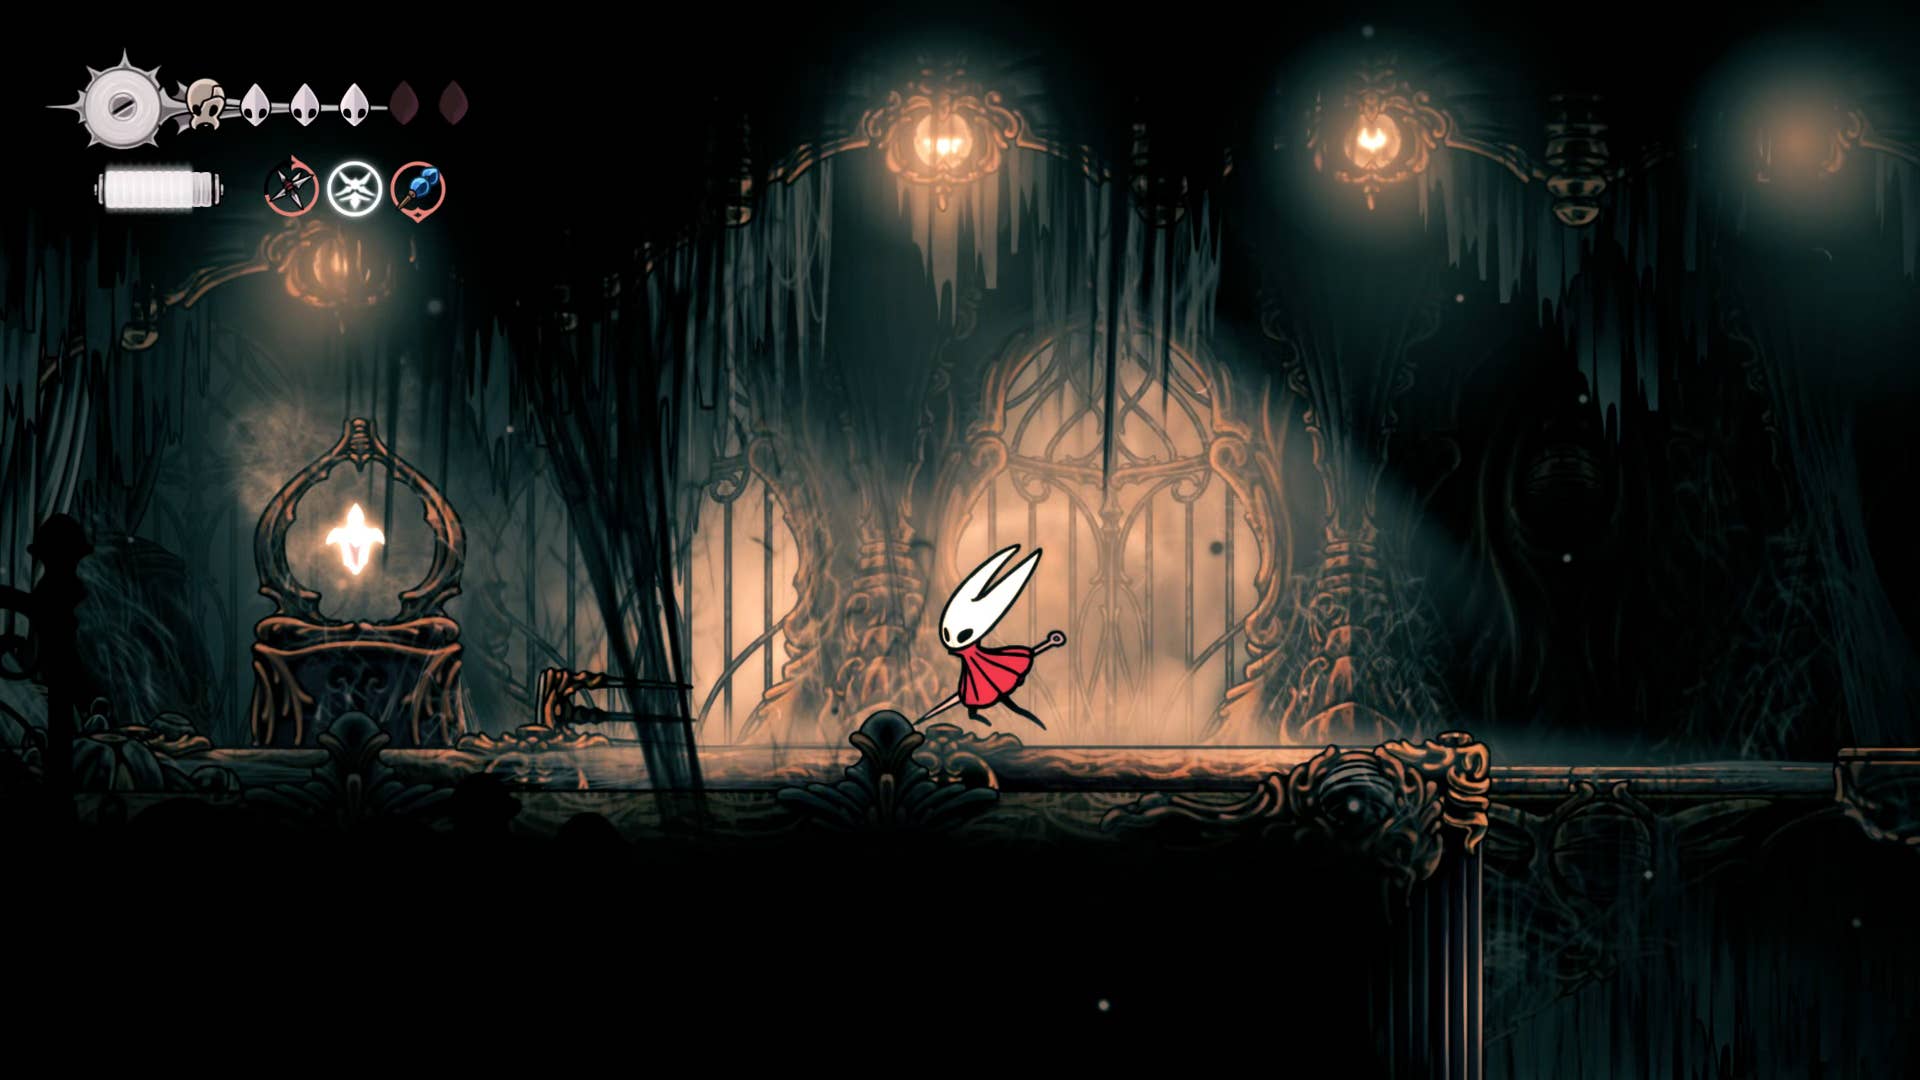
Return to the bottom of the previous room, head right and pass through the gorgeous building with a tent outside – the first shrine. First you pass the building. At the end of the path, you can pick up a white key. This grants access to the white area under the Citadel. This will be covered in the next part of the walkthrough.
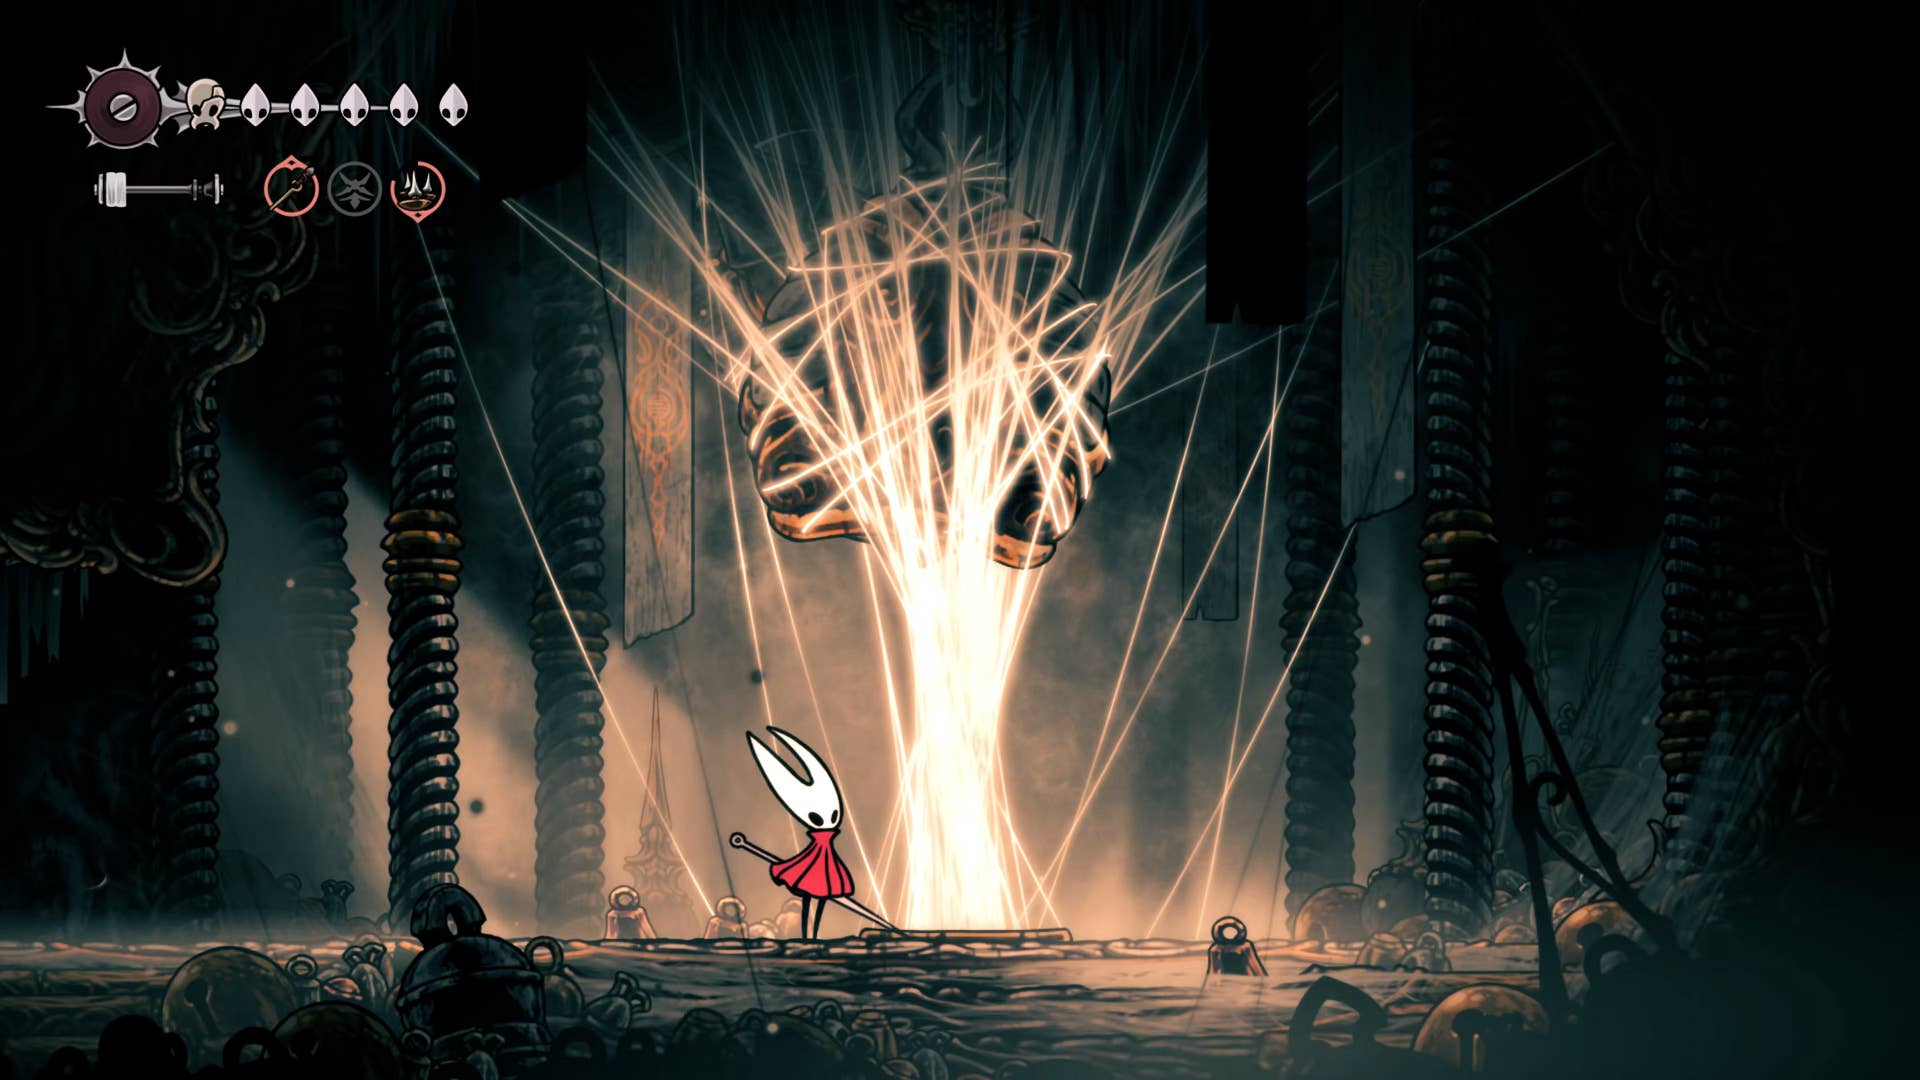
Now, go back to the building and enter. The magnificent bell is tied to the silk. Attack Silk to destroy it, flick the lever and ring the bell, unlock the new bench for you to rest.
3. Talk to the residents of Songclave.
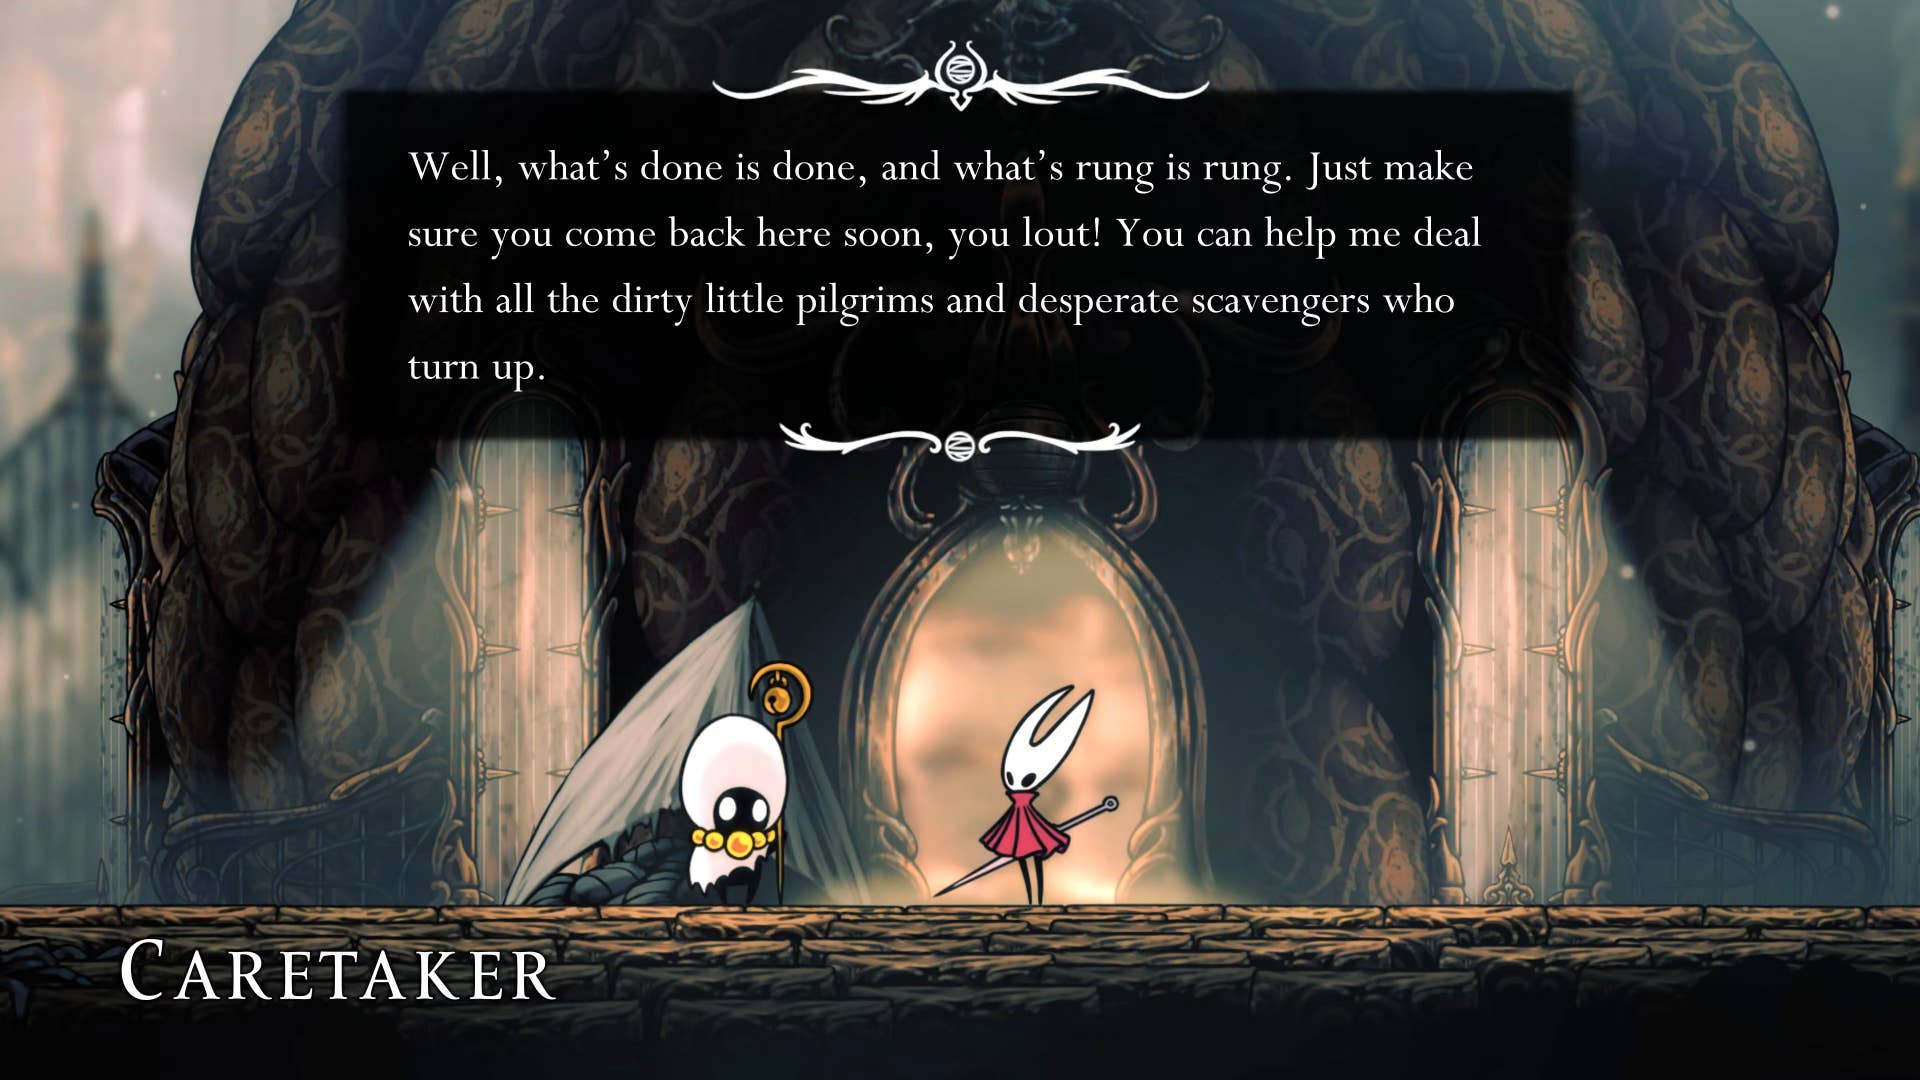
Once you leave the building, you will be automatically taken to a conversation with your new NPC, the caretaker. He will explain that by ringing that bell, you have heard the call of the wide pilgrims of pilgrims to reach this old settlement. Basically, you just unlocked a new village.
I can’t see much for now, but all you need to do is reload the area. Go to the Benchlica station, which you just unlocked, move to Grand Bellway, then head straight back again. Now, as you approach the first shrine, you will see that the settlement of Songclave works well and truly exists.
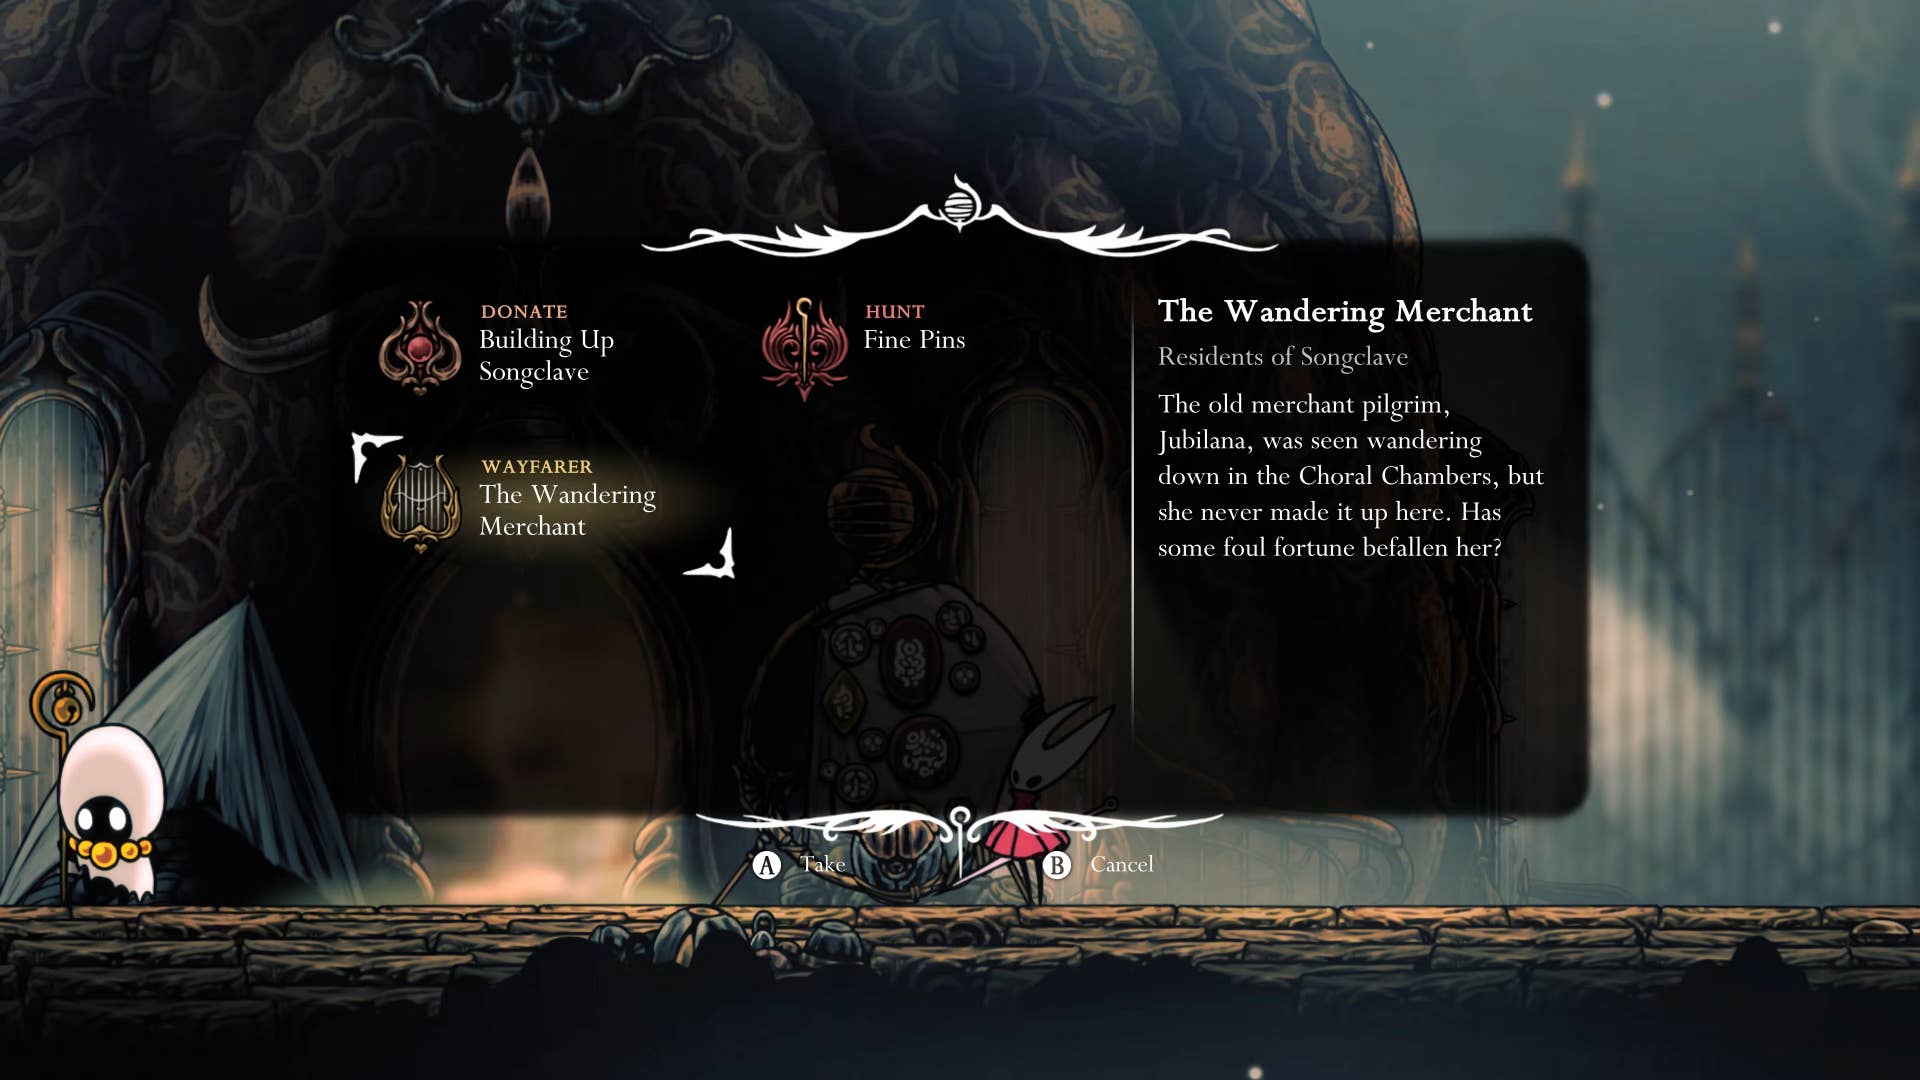
Talk to residents here, check out the new wishwall and accept all the quests. One of these quests, the Wandering Merchant – leaves it up to us to find the merchant Jubilana. She would be able to sell us some nice things if she was rescued. That’s why this quest is our priority.
4. Find Jubilana.
Use the Ventrica Station to return to the Grand Bellway, climb again halfway through the main shaft and take the exit on the left.
Next is the long corridor of the enemy. Now is the best time to get used to using the new cross-stitch biasing skills. Kill all the enemies you meet and head to the next room.
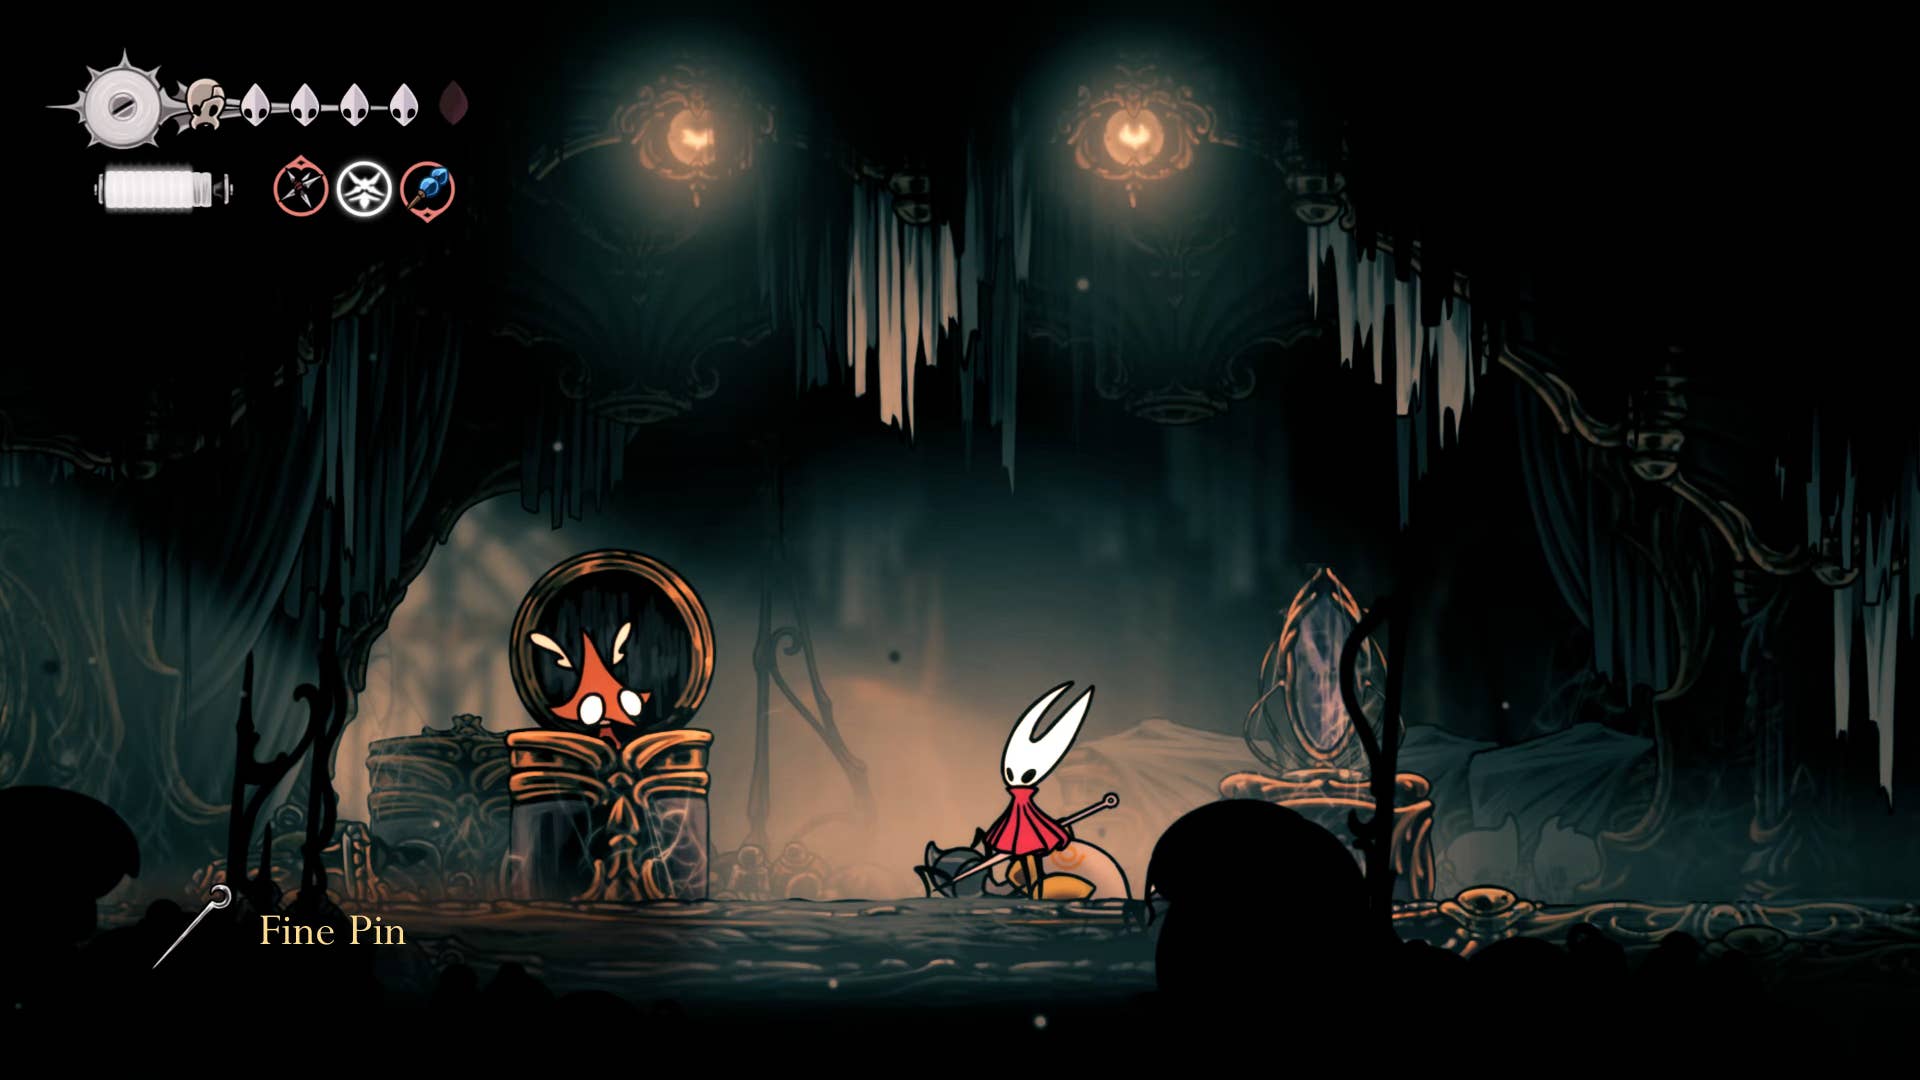
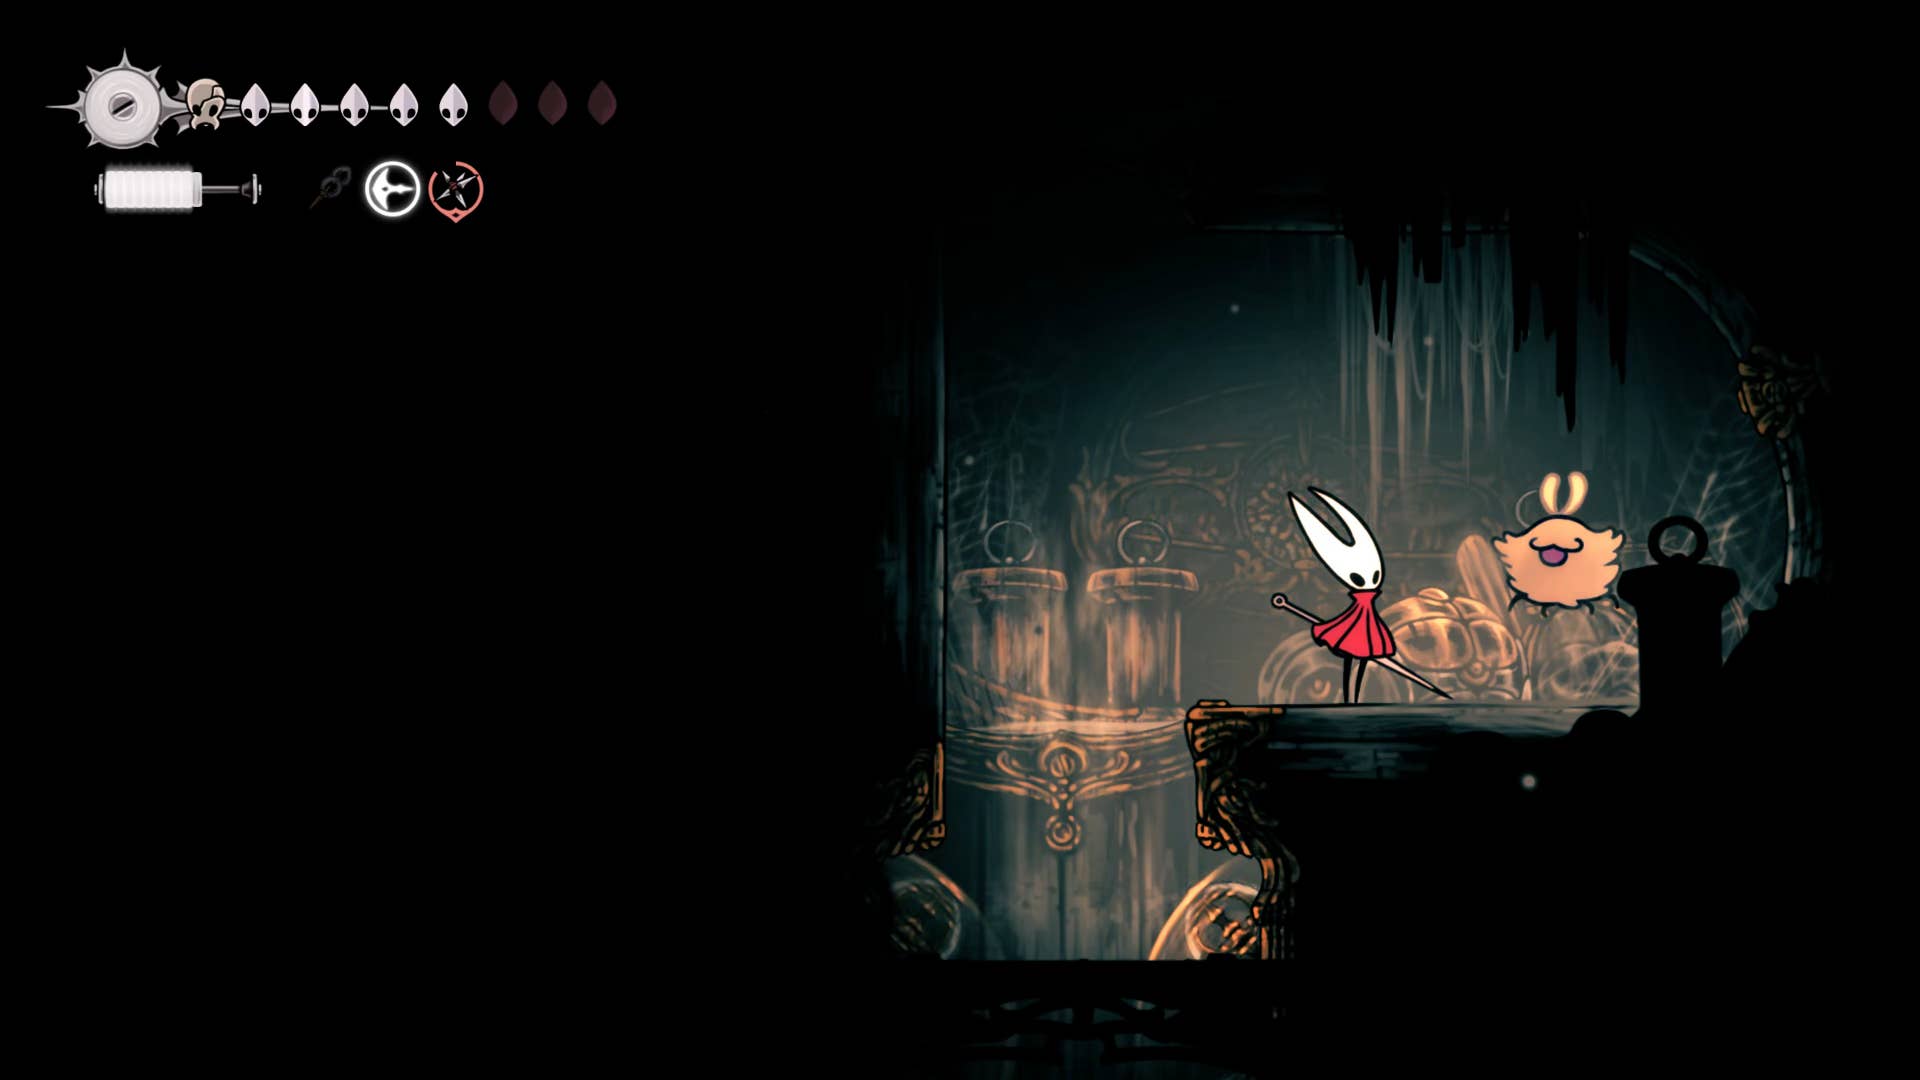
You can attack and destroy the glass window in front of you. Head towards the other exit on the left and enter a small room. There, several enemies call for a hidden pilgrimage. Defeating the enemy, the pilgrim reveals himself as Jubilana, the merchant you are looking for. Tired her dialogue to complete the quest.
Before you leave, you can climb onto the wall on the far left of the room and jump to reach the hole in the ceiling. Follow the path and it will take you to the corpses of pilgrims where you can plunder the rosary necklace.
5. Please rest on a nearby bench.
Returning from the room where he found Jubilana, he jumps out of the crushed glass window. This time, climb the wall above and use the shelf in the main part of the room to rise to the top right exit. Here you will find a free bench to rest.

The path to the right of the bench continues, so follow it by pushing three levers in succession to reach another section of the dark Cobwebbed tunnel. Drop down once, then drill a hole on the right and return the shortcut to the long corridor below.

6. Reach the ground gate from the other side.
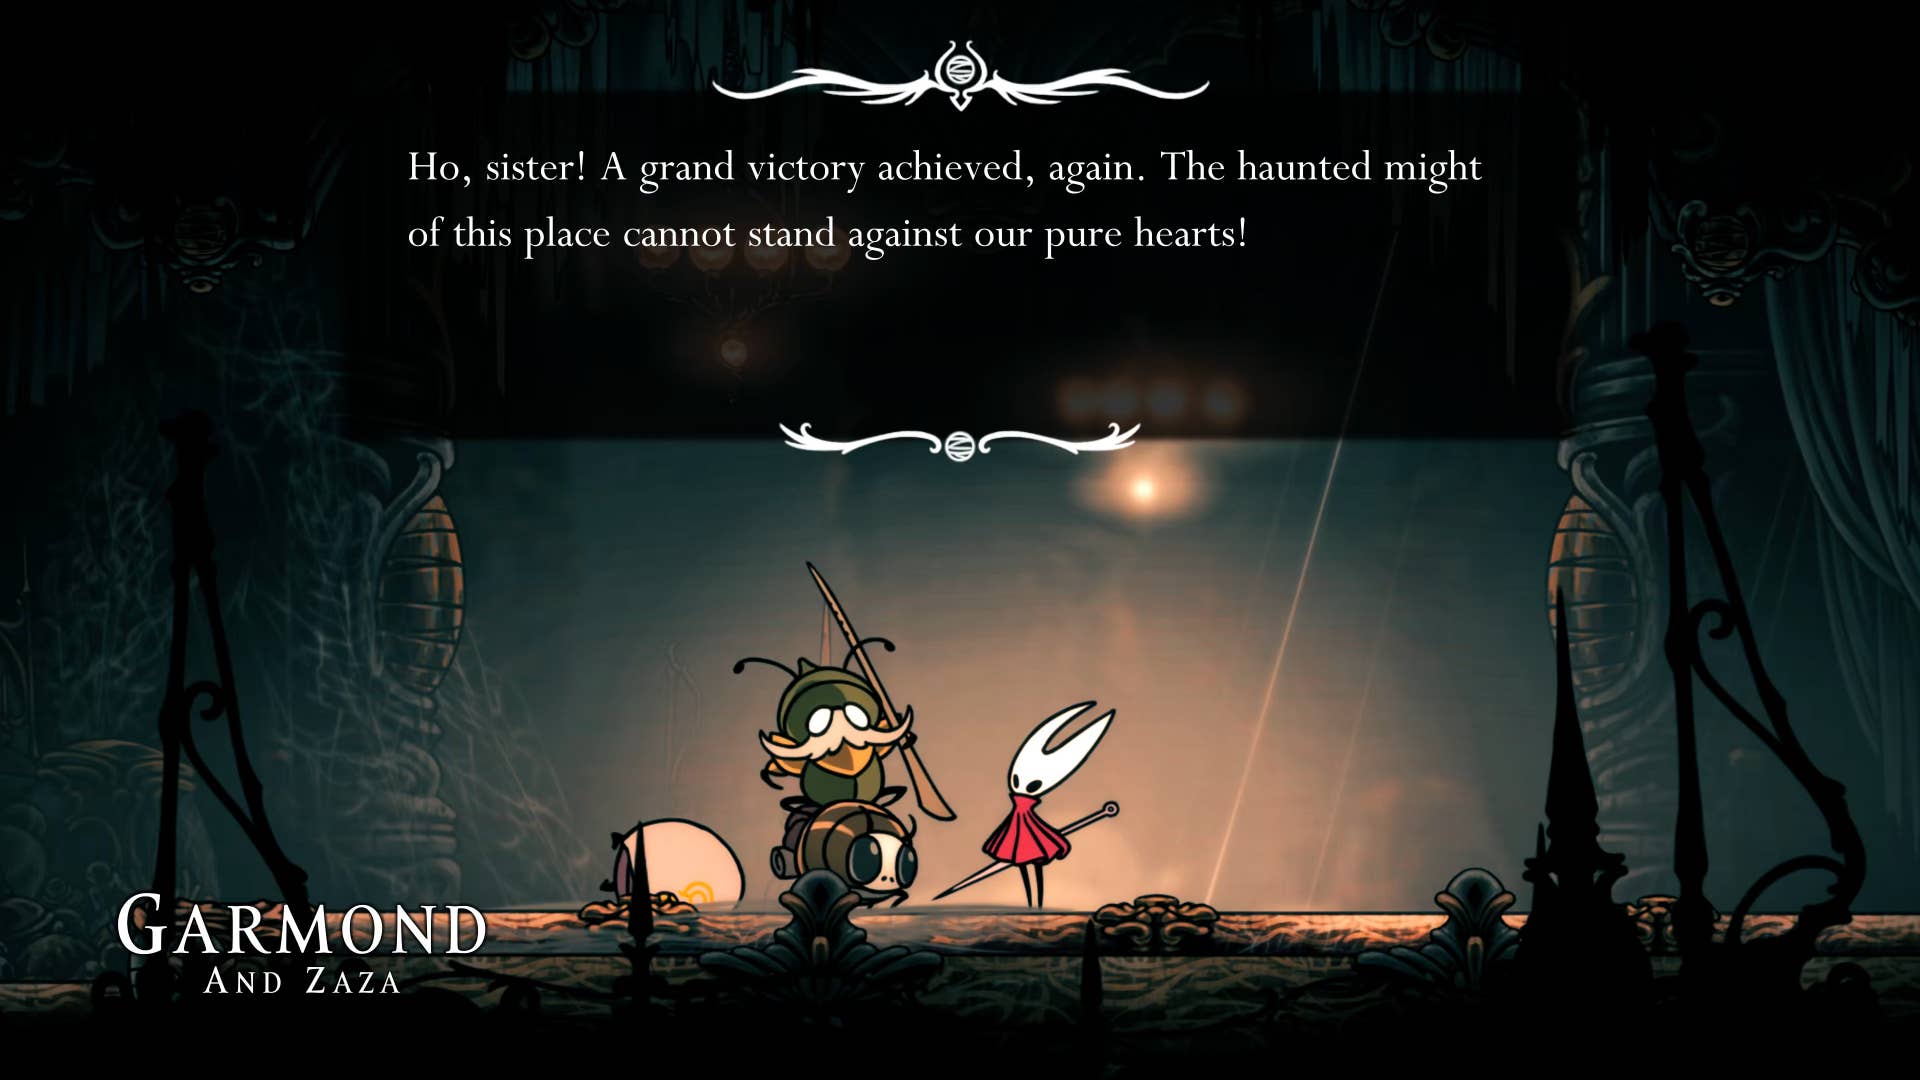
We headed left again to the tall stout room adjacent to the bench room and Jubilana hideout. This time, go left at the ground level exit. Next is another corridor of the enemy, but you can find help in the form of friends Garmond and Zaza from Greymore. Finish the fight and talk to them if you like it.
Flick the lever at the end of the pass and drop into the lower segment of the hallway, turning towards the other side. Another lever returns to the top. From here, head left and pass another enemy patrol group to the next room.
There is a hole in the floor on the left, and beyond that is a locked gate leading to Benchlica Station. We’ll reach this soon. For now, I’ll lower the hole.
When you are off, flick the lever on the left to reach the Shell Shard cache. Then head downwards to the ground, where you kill the enemy. Next, press the lever on the ground to unlock the ability to lower it even lower, allowing you to find a bench with a sign in the room on the right.
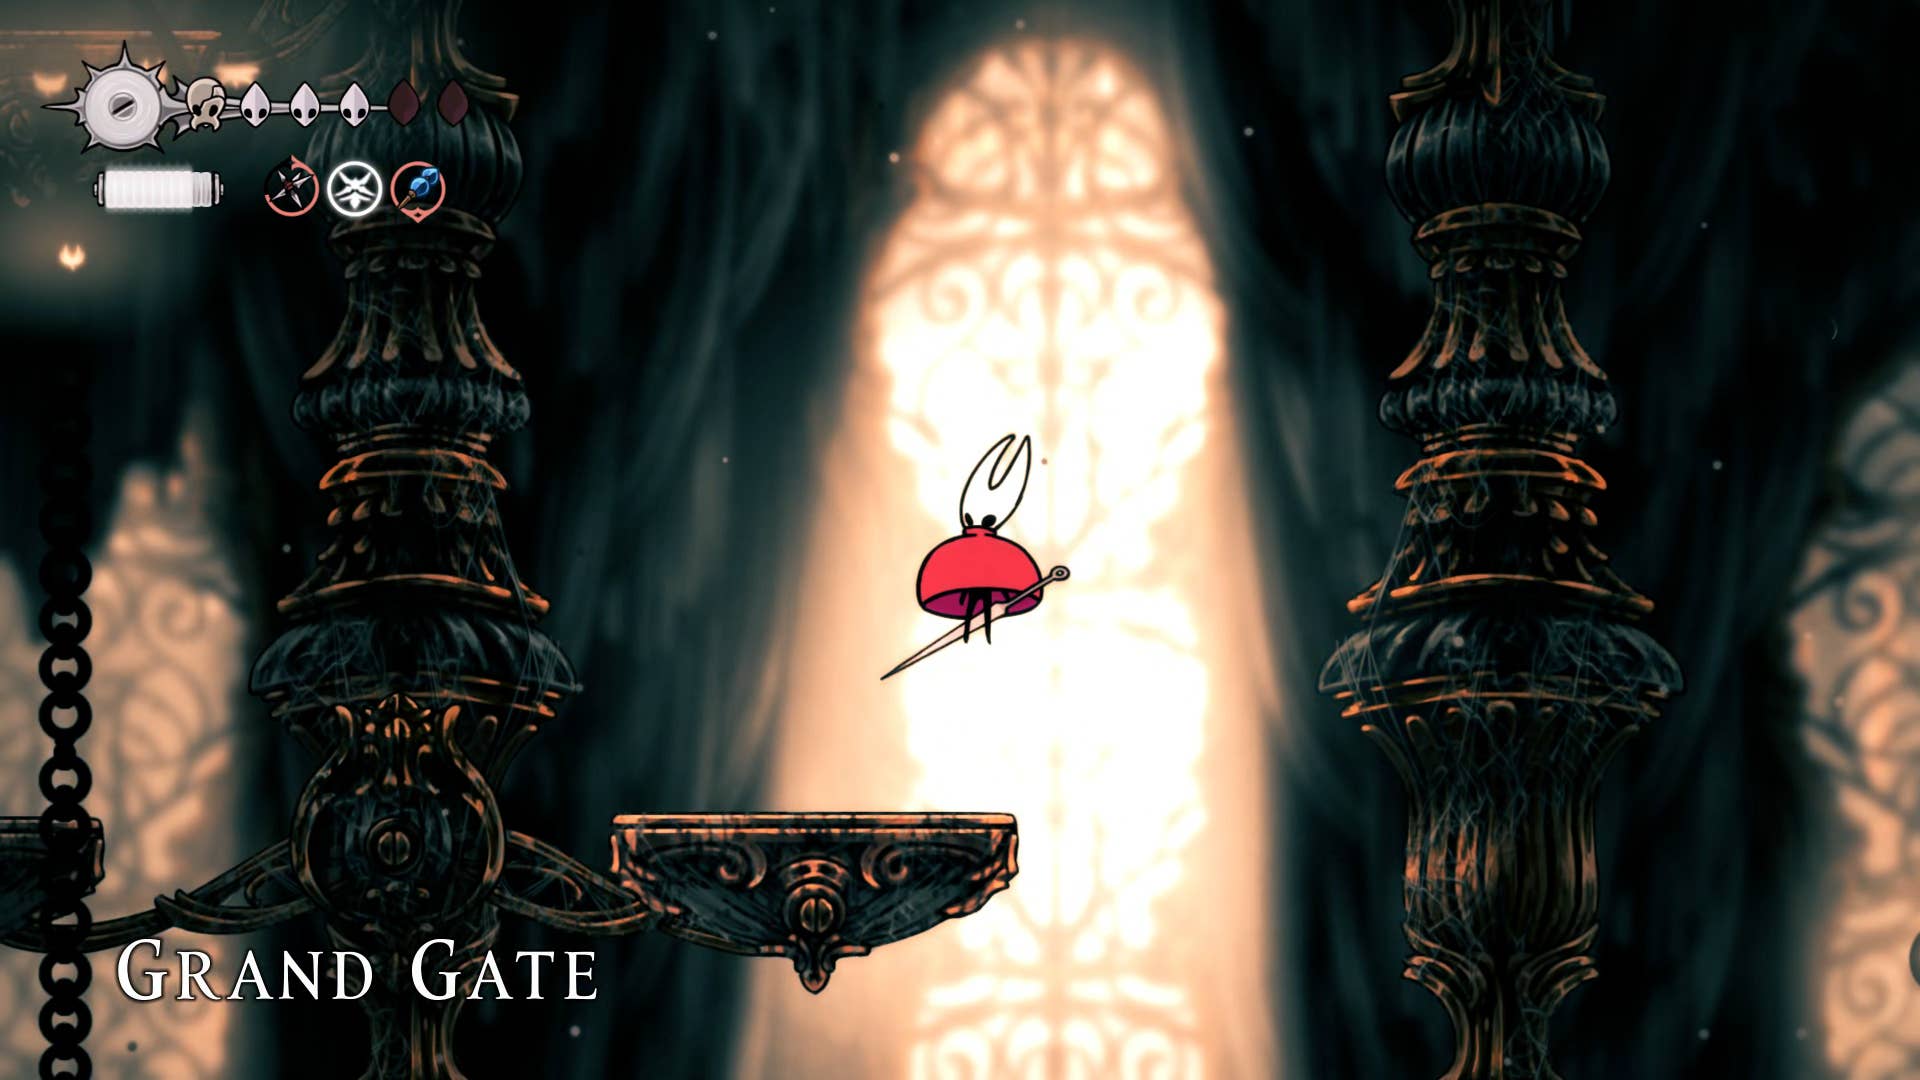
Once you rest, go back to the main room on the left and fall to the first floor with a breakable floor on the left. Fall there and follow a short passage to the ground gate to arrive – over the place where you fought the last judge on the blasted stairs.
Don’t drop below – instead, use the room seesaw platform to reach the top left shelf where you can get spool fragments. Then go back to the way you came. If it falls to the floor, you will need to return to the blasted staircase Bellway, move to the Grand Bellway, then follow the stairs.
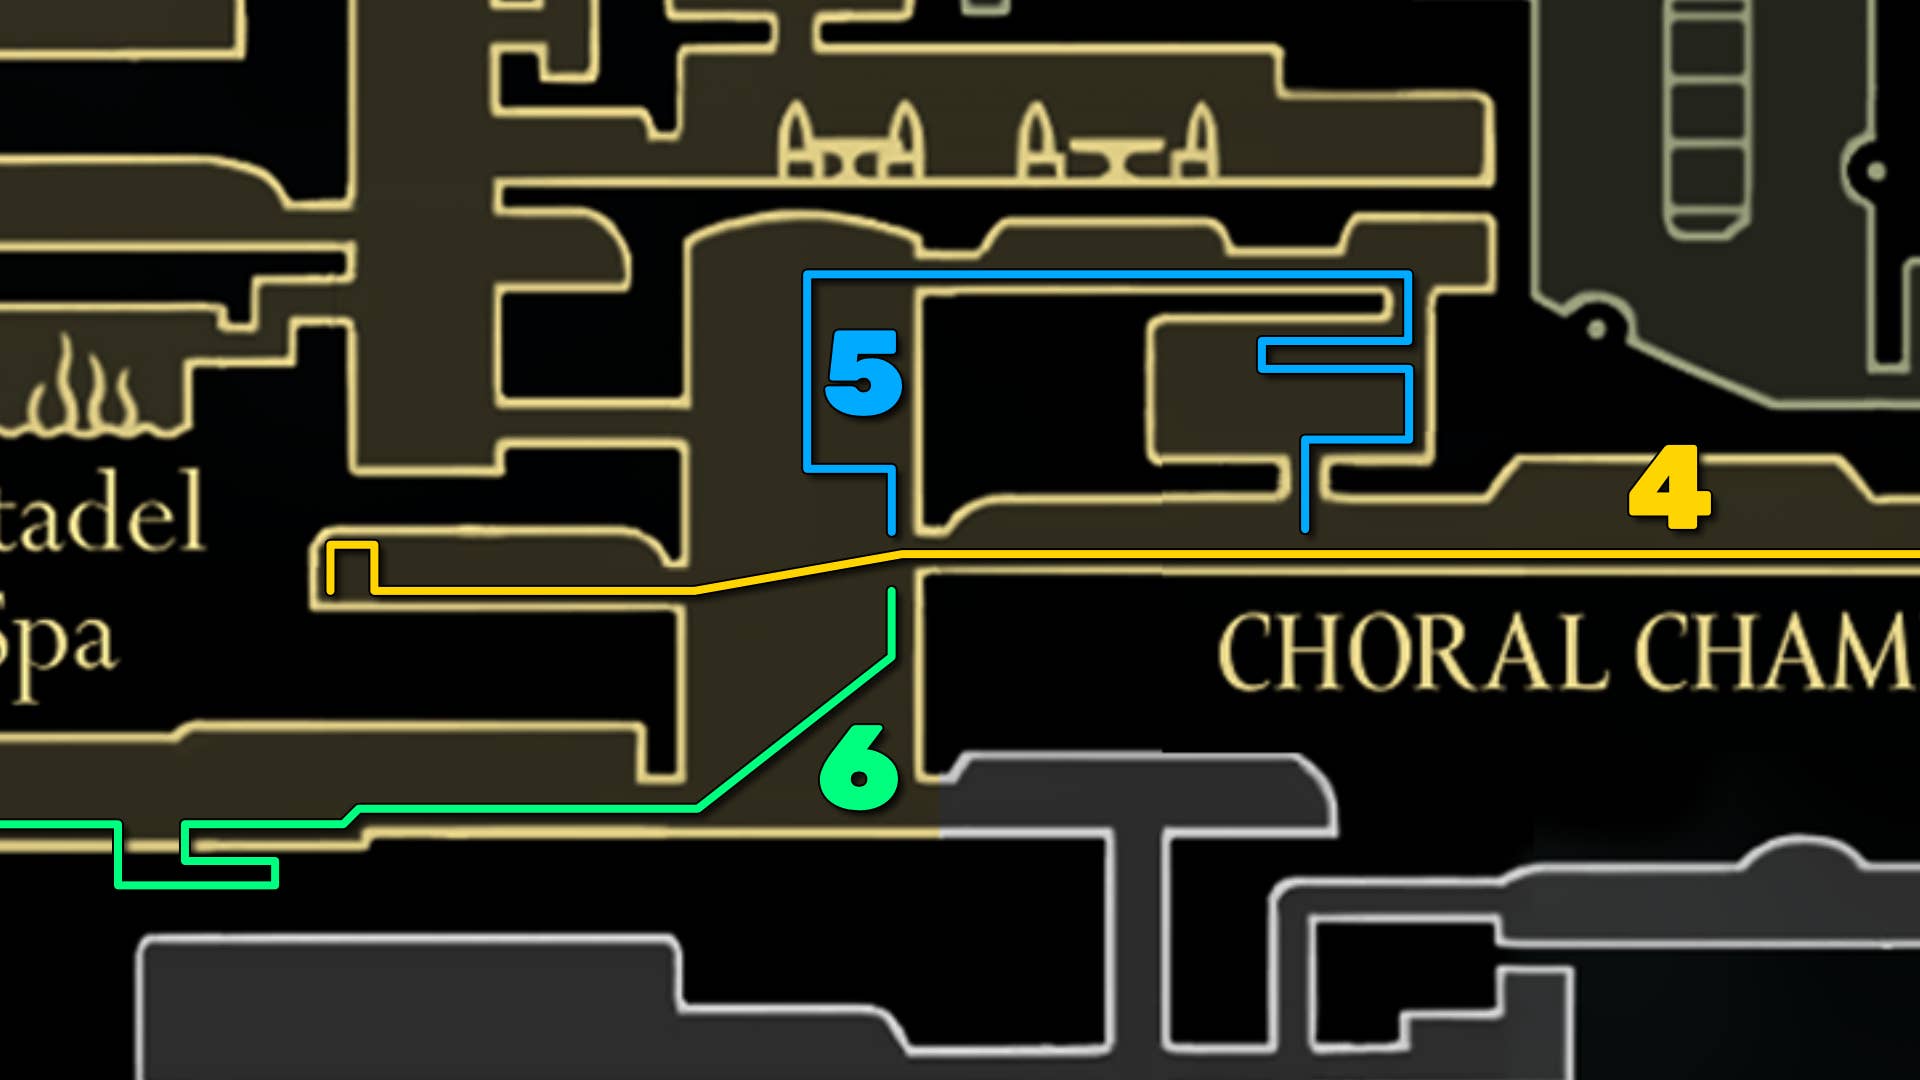
7. Reach the Citadel Spa.

Return to the sturdy shaft adjacent to Jubilana’s room and climb to the top left exit (above Jubilana’s room). In the next room, climb to the shelf on the top right. There are some hanging rosary beads. Next, jump to the top left exit.

He kills two Kollisters in the hallway and passes to the room over there. Next, drop down to the left exit (have spikes in mind on the floor when they fall). Remove the hole in the next room and follow the path to the right to reach the bench and rest. Pass the bench and enter the western part of Citadel Spa.
In the shower, climb onto the shelf on the top left, break down the wall on the left to reveal the chain, and lift up the large block. You can destroy the chain and then drop the block and create a path below, and follow it.
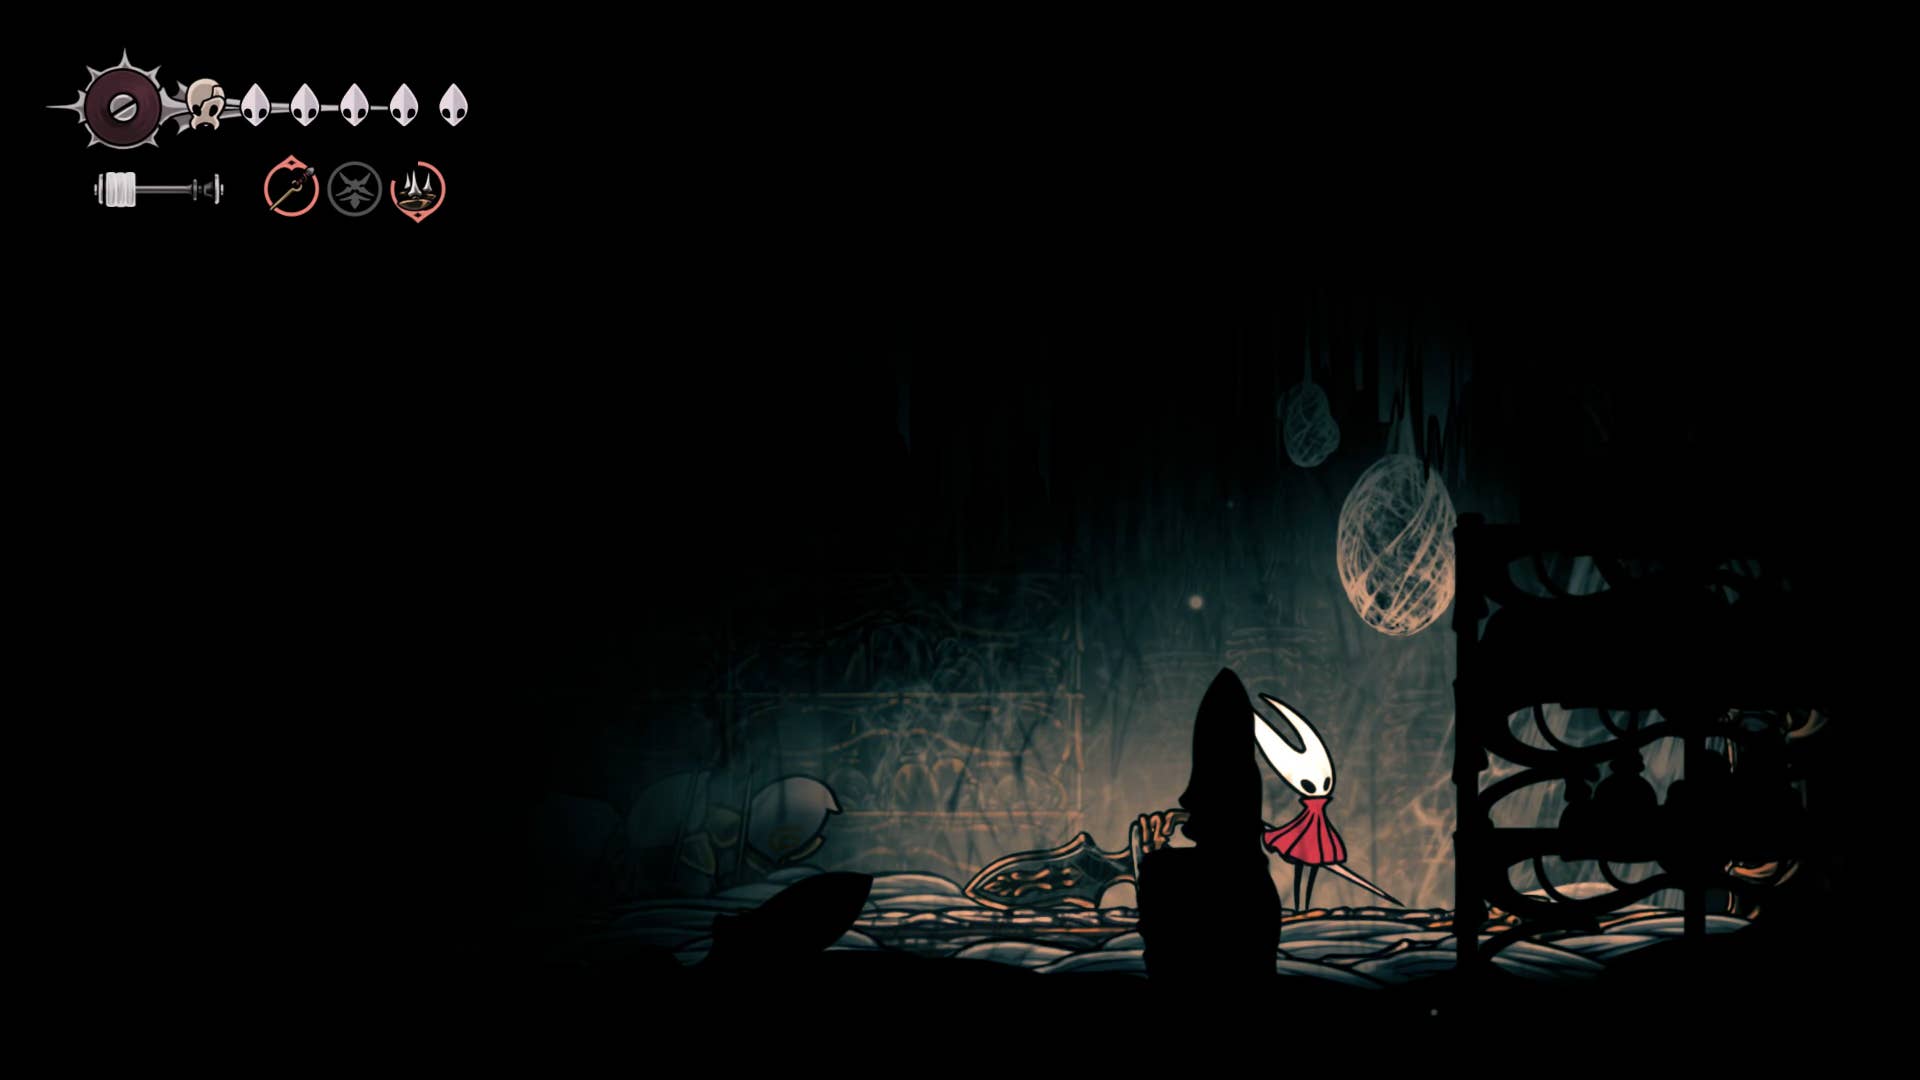
Follow the tunnel (avoiding steam holes) until you descend to the bottom and head to the true Citadel Spa (a rare safe location within the Citadel). Sharma is already here, paddling around and can talk to him while he’s here. Drop the water if necessary – it will heal you and also replenish your silk like the spa of the flea caravan crat.
Exit the right exit and release the shortcut to the vertical shaft west of the coral chamber. However, they then double back, unlock the gate on the left, and reach the bench again by the Citadel Spa. Here, head left and face the arena battle with four wave enemy enemies.
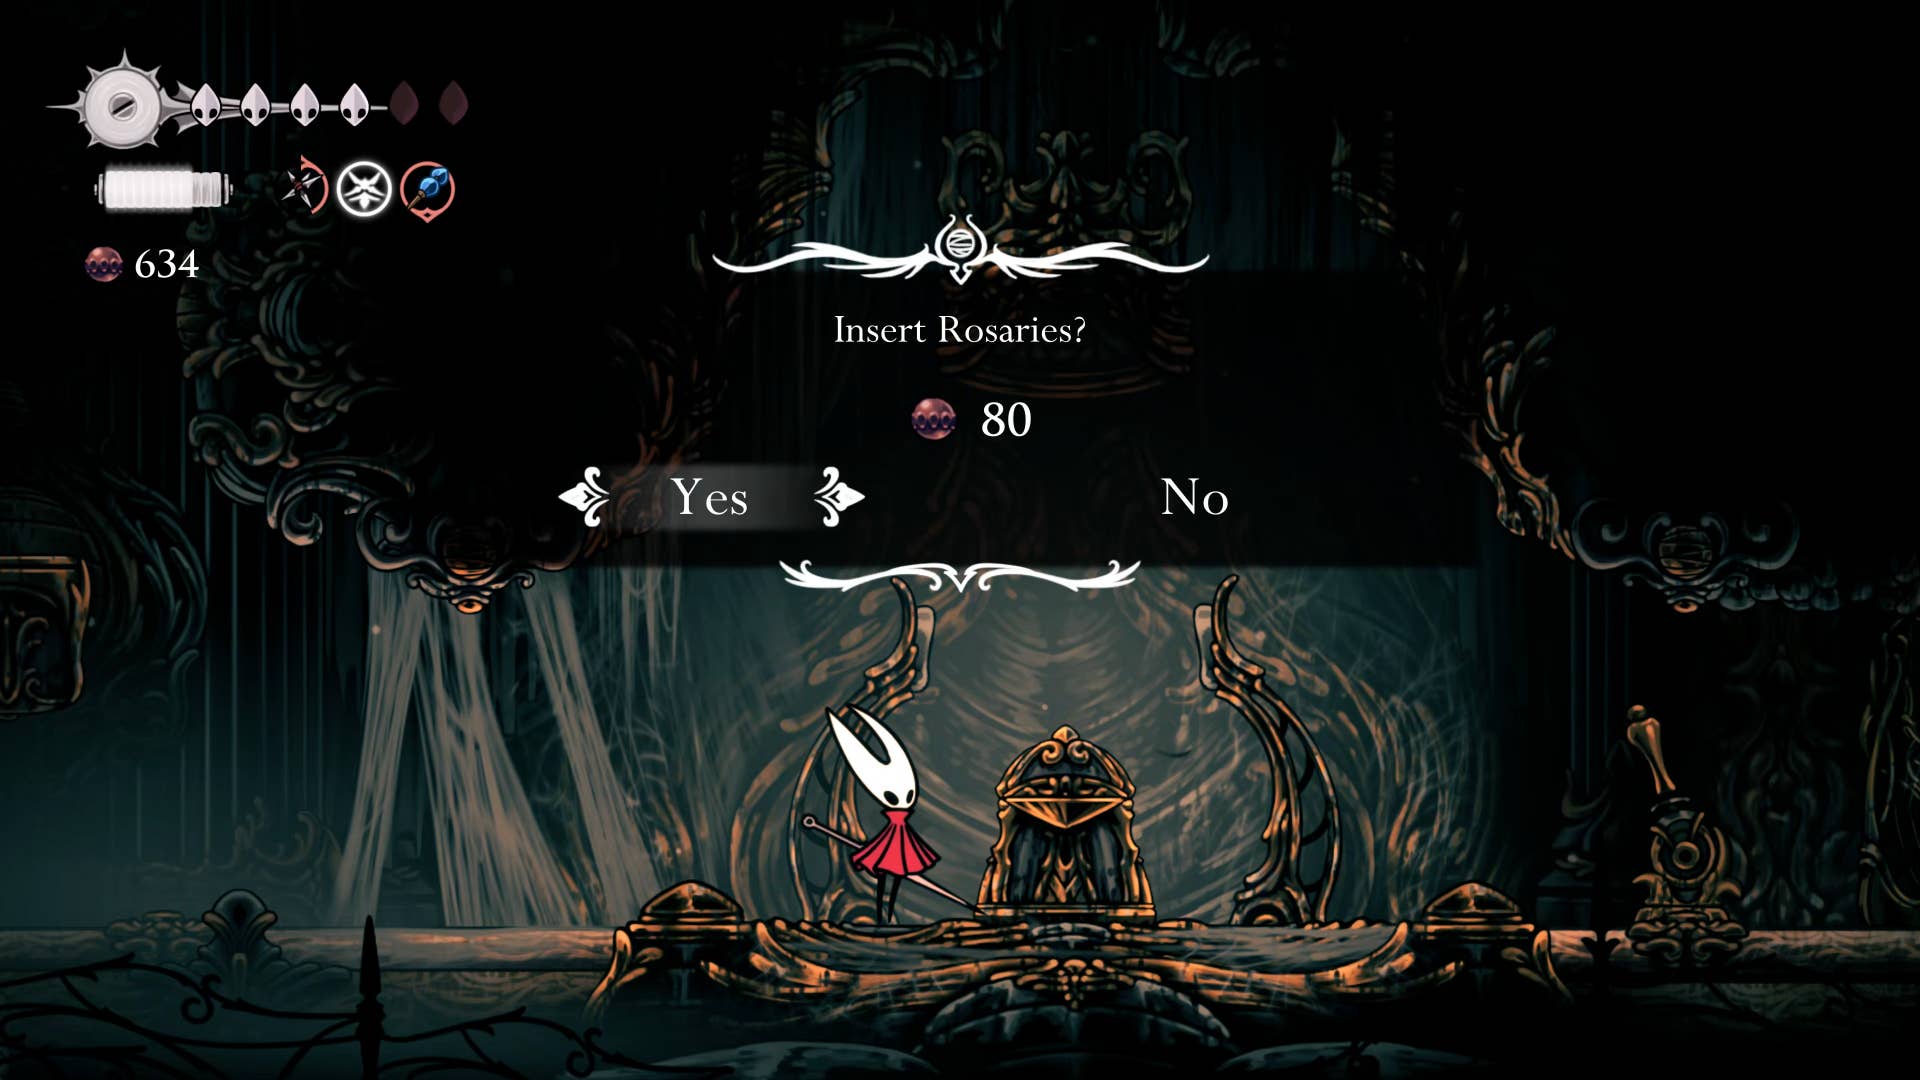
Once the gauntlet is complete, flick the lever on the left to descend and explore the room completely. In the lower right corner of the main part of this room there is a hole that can be dropped on it, taking you to the Benchlica station you saw previously. Unlock the rosary of 80, then flick the lever to the right to open a simple pass.
8. Get the first cogheart piece.
Backtrack into the Citadel Spa and exit onto the vertical shaft on the right. Then jump, take the left exit above your current location and re-enter it into the same small corridor as before. I head to the next room again, but this time I look into the three rooms on the left On top of that The road on the first floor that took you to the Citadel Spa.
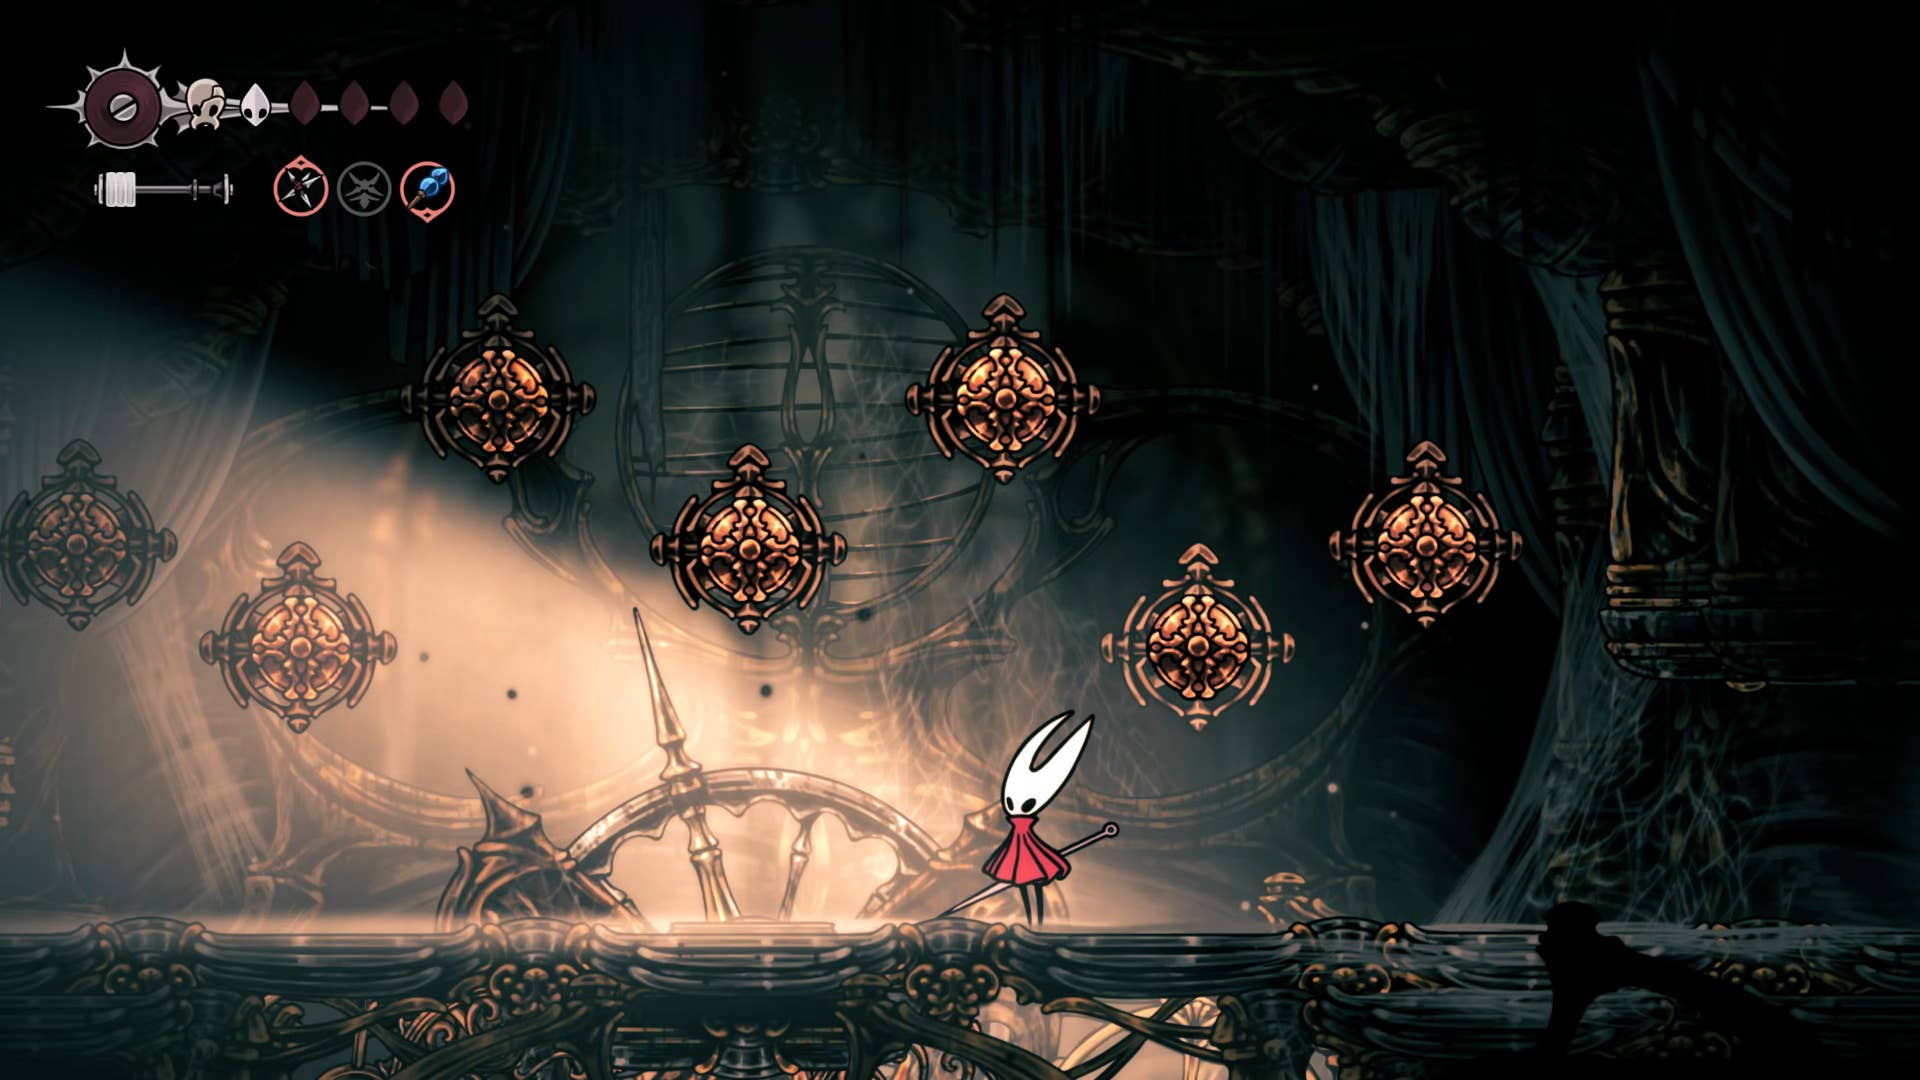
So, climb to the first top left entrance and exit, then go through it and find another useless silk machine. After that, we head to the next room above it. This room is even more interesting – pushing the pressure plate in the middle and the round bells on the wall begin to ring. This is a simple memory puzzle with three stages. At each stage, simply hit the bells in the same order they rang. Orders are as follows:
- First stage: 1-5-4-6
- Stage 2: 3-6-5-1-7
- Stage 3: 2-4-6-3-5-1
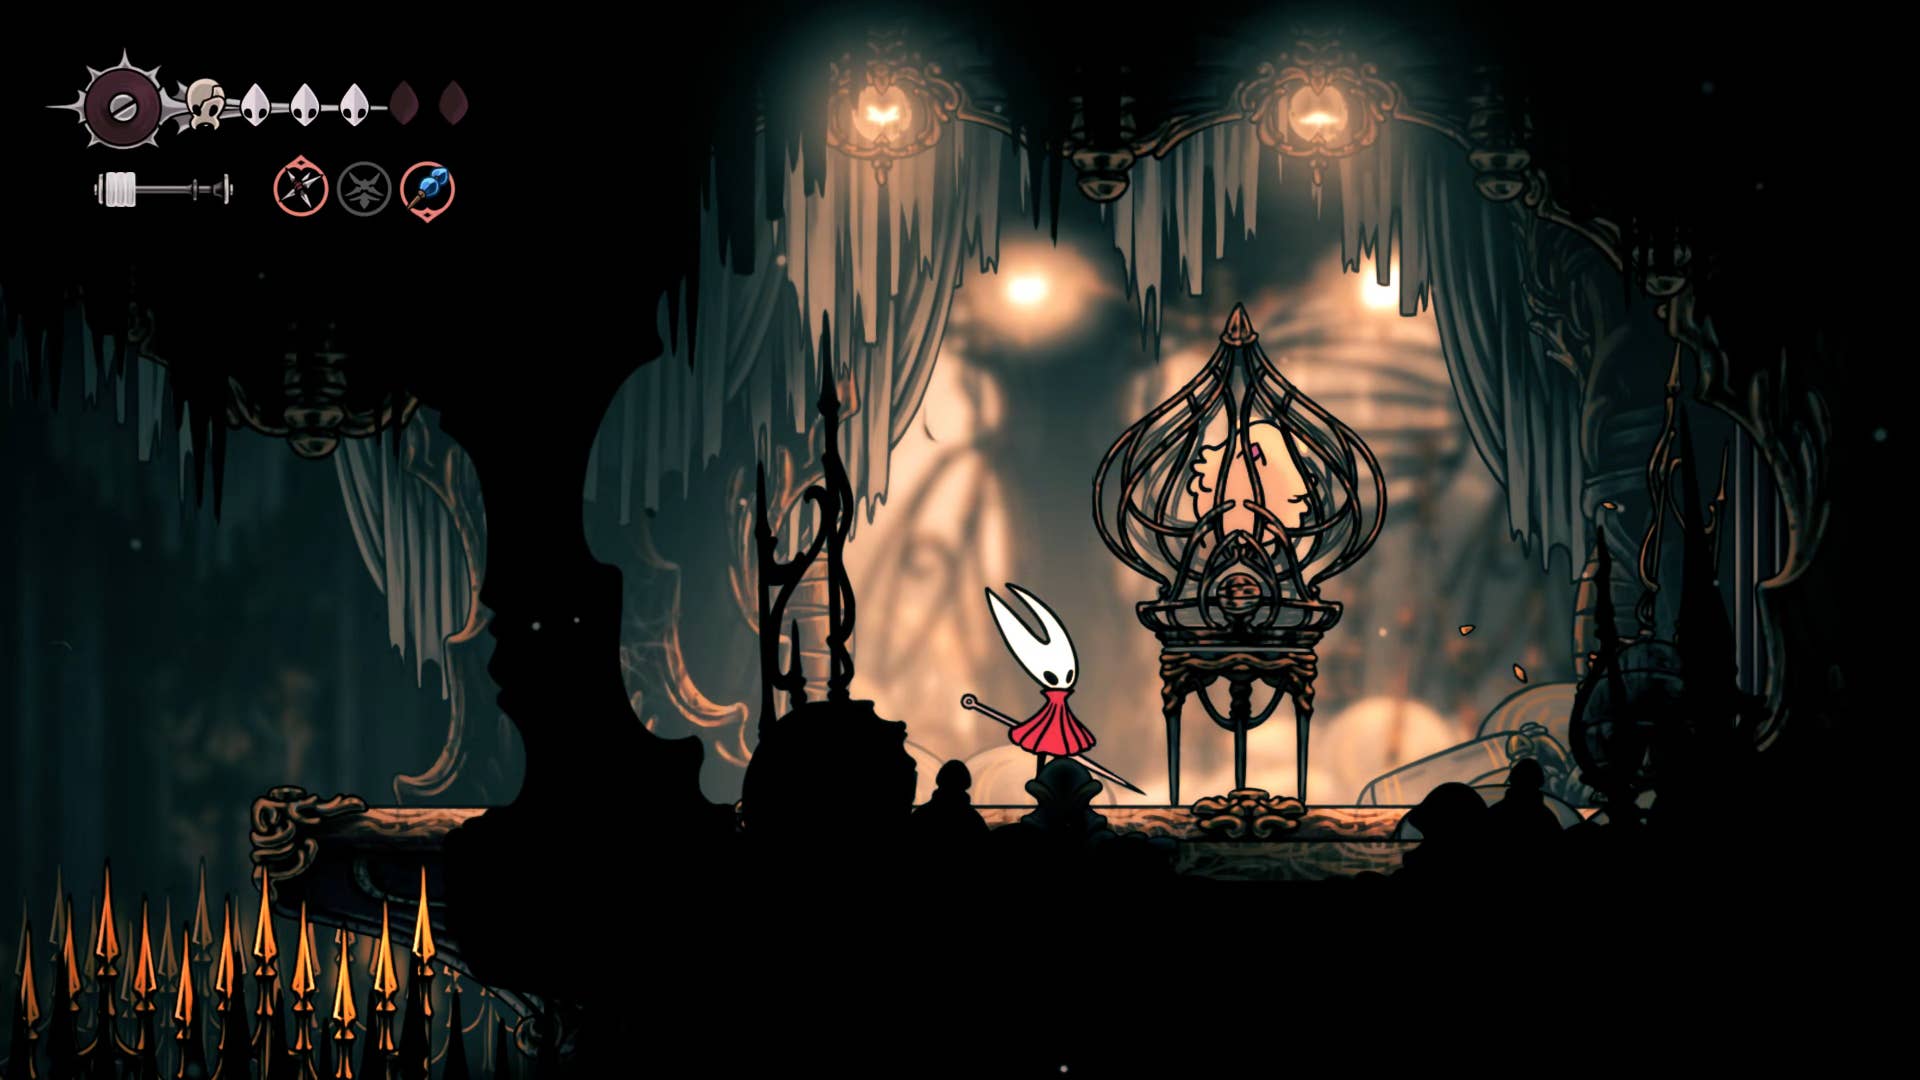
Once you complete all three stages, the pedestal will rise from the ground and collect Cogheart pieces, an important item for your future quest line.
Leave this room and climb to the room on the top left. Here you will be attacked by the enemy and find Grindle again. If necessary, kill the enemy and eliminate Grindle’s dialogue.
9. Rescue nearby fleas.
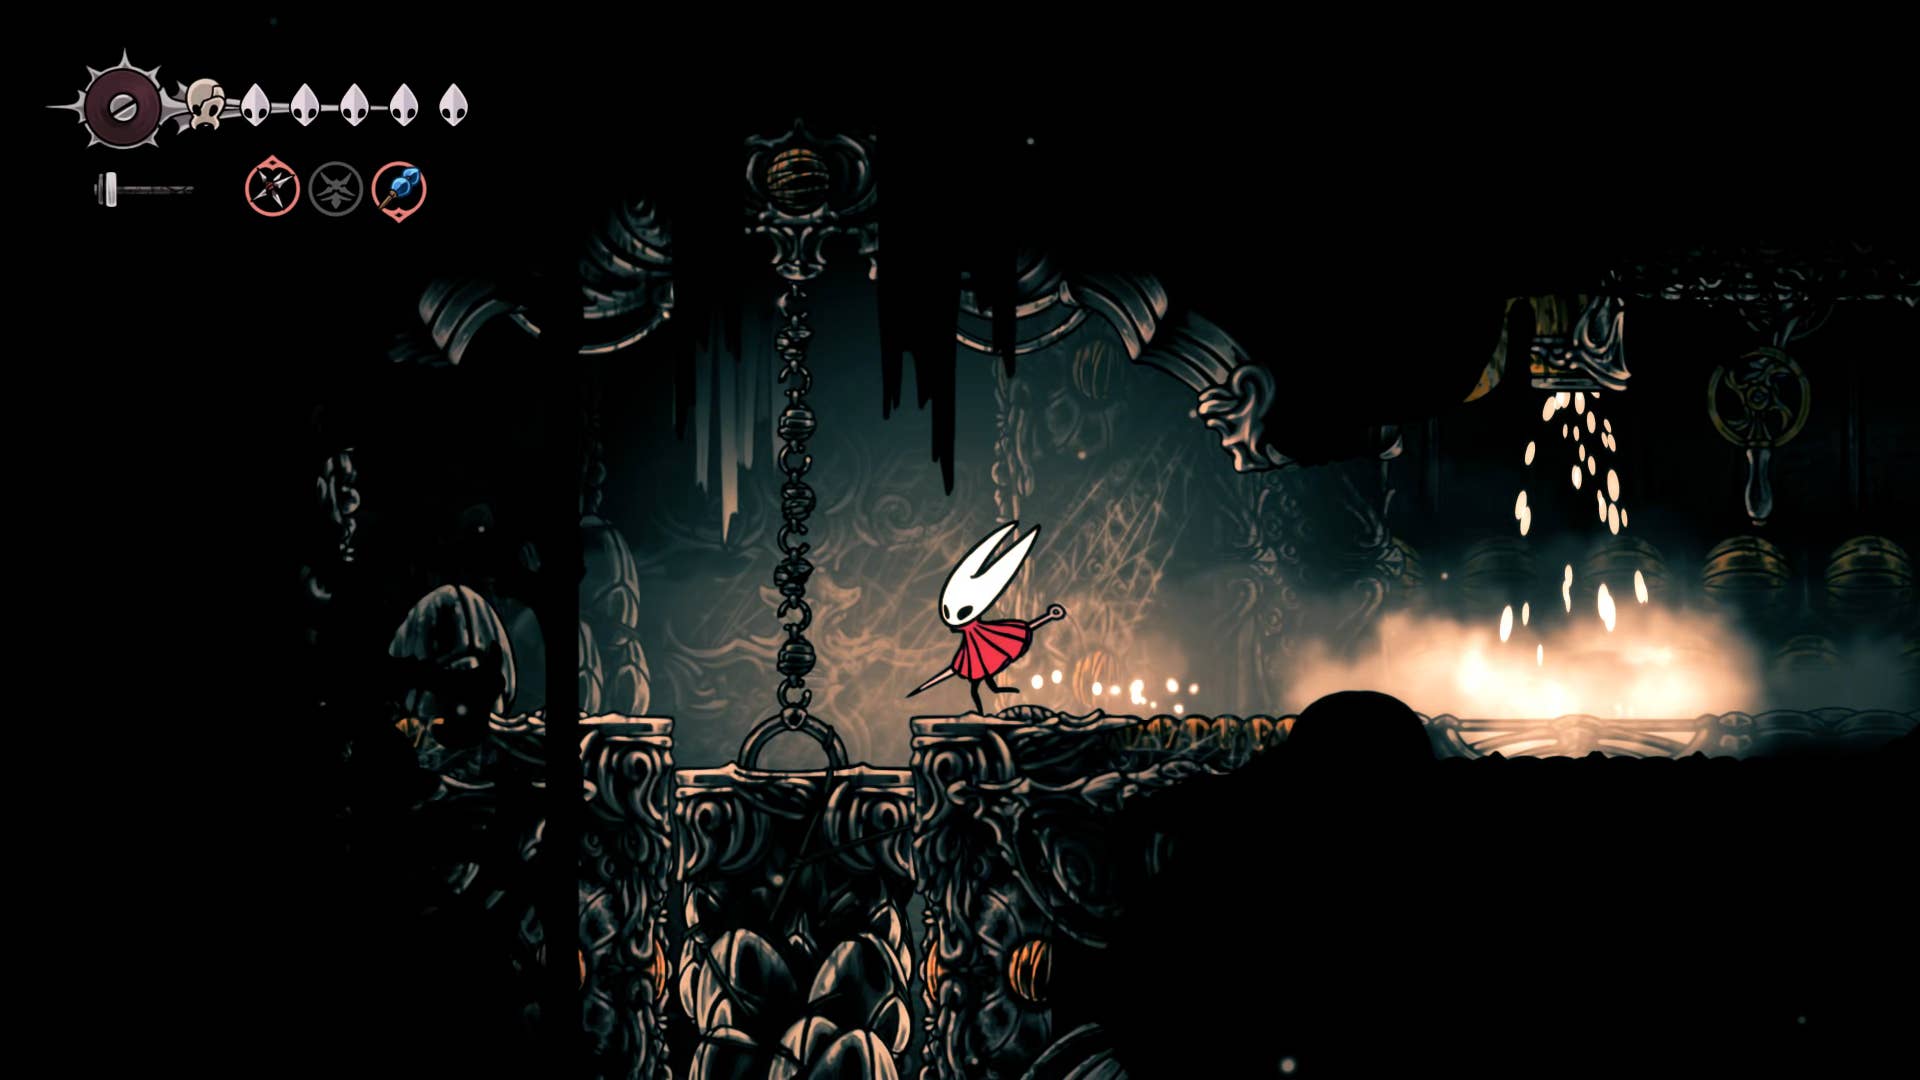
Now we’re exploring Right hand room. First, drop down to the right exit midway through the shaft. The room has a platform puzzle with shelves that disappear regularly on top of a spiked bed. The spanner of the piece is the enemy of the lonely choir flyer along the way. I recommend that you ignore it completely until the way home.
At the end of the platform segment, a caged chisel is found. Slash the cage to free the fleas, then return the way you came.
Here, climb to the top right exit of the shaft and follow a simple route until you fall into a new corridor. Kill the laying enemy, head left to the rosary’s cache, then escape to the larger shaft on this side of the choir room. This place certainly loves its shaft.

Ride to the right side just the other side of where you are and break the wall in front of you. Don’t pass yet – instead, drop the shaft halfway through and you’ll see another fragile wall above the spike on the right side. Open this too and proceed.
At the bottom of this room, repeatedly attack the crank to open the air. Then exit the exit and return to the first broken wall. You can head straight and place the air all the way to the top to find another flea to rescue.
That’s done and you’re back to the main shaft.
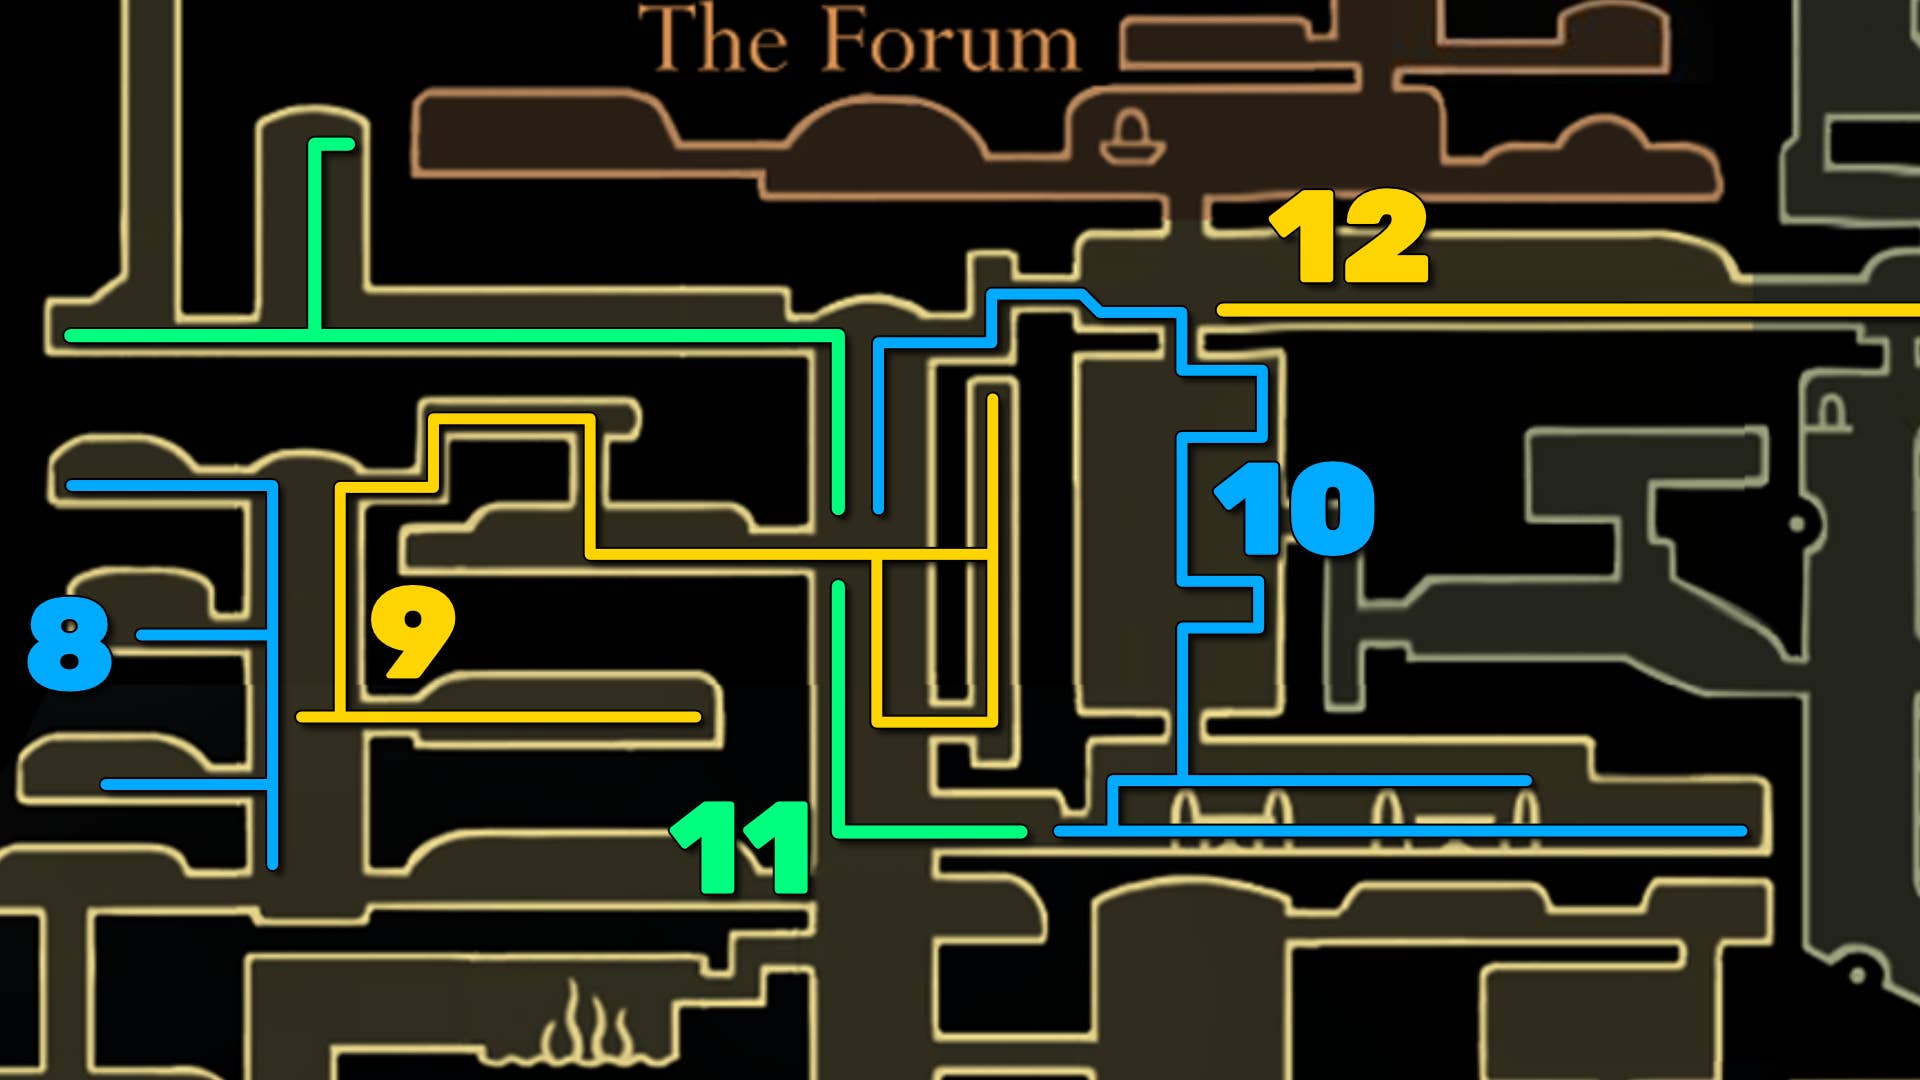
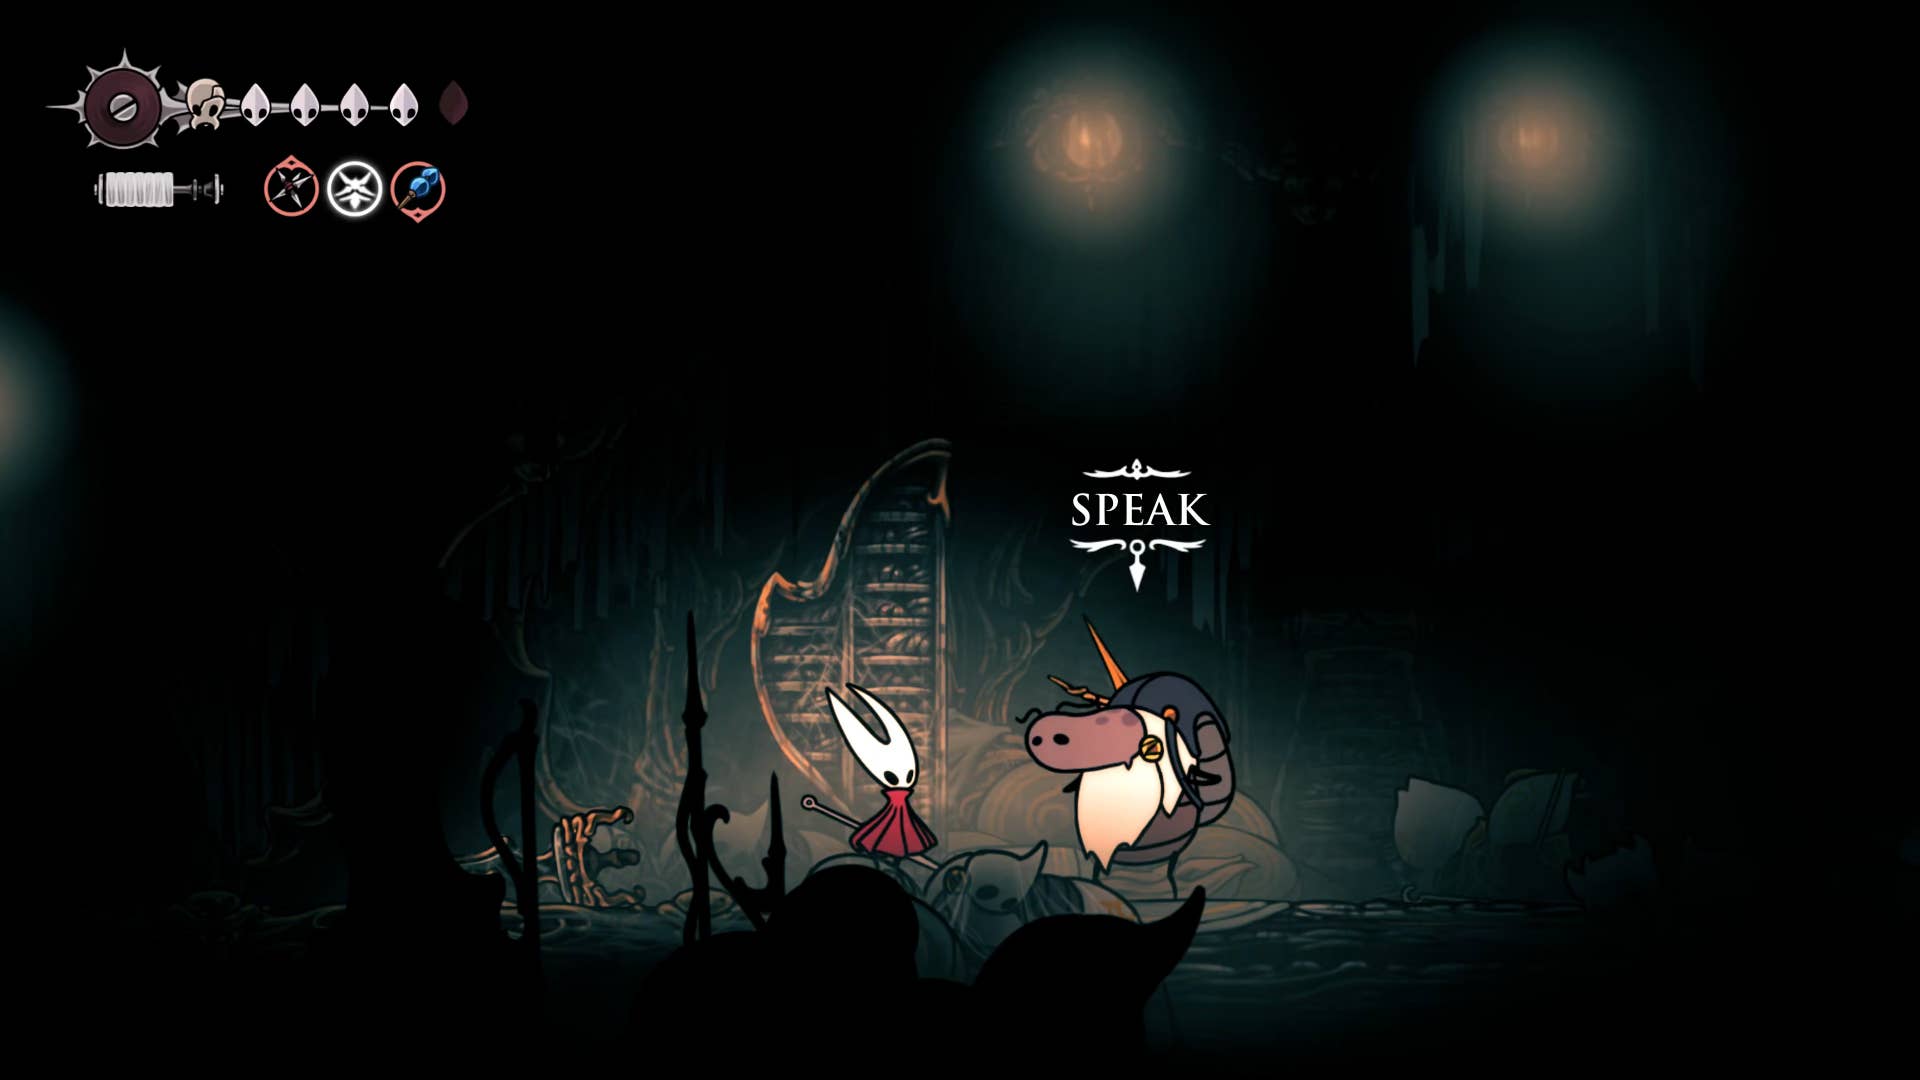
10. Talk to the loyal Mergwin.
Return to the main shaft and climb to the very top right exit and lower the hole in front of the next room. Pass a locked gate and descend to ground level, where you kill two enemies that patrol. Break the wall on the right to open a small secret passage where you can plunder the Rosary necklace from the pilgrim’s body. Then return from the secret passage and lower the hole.
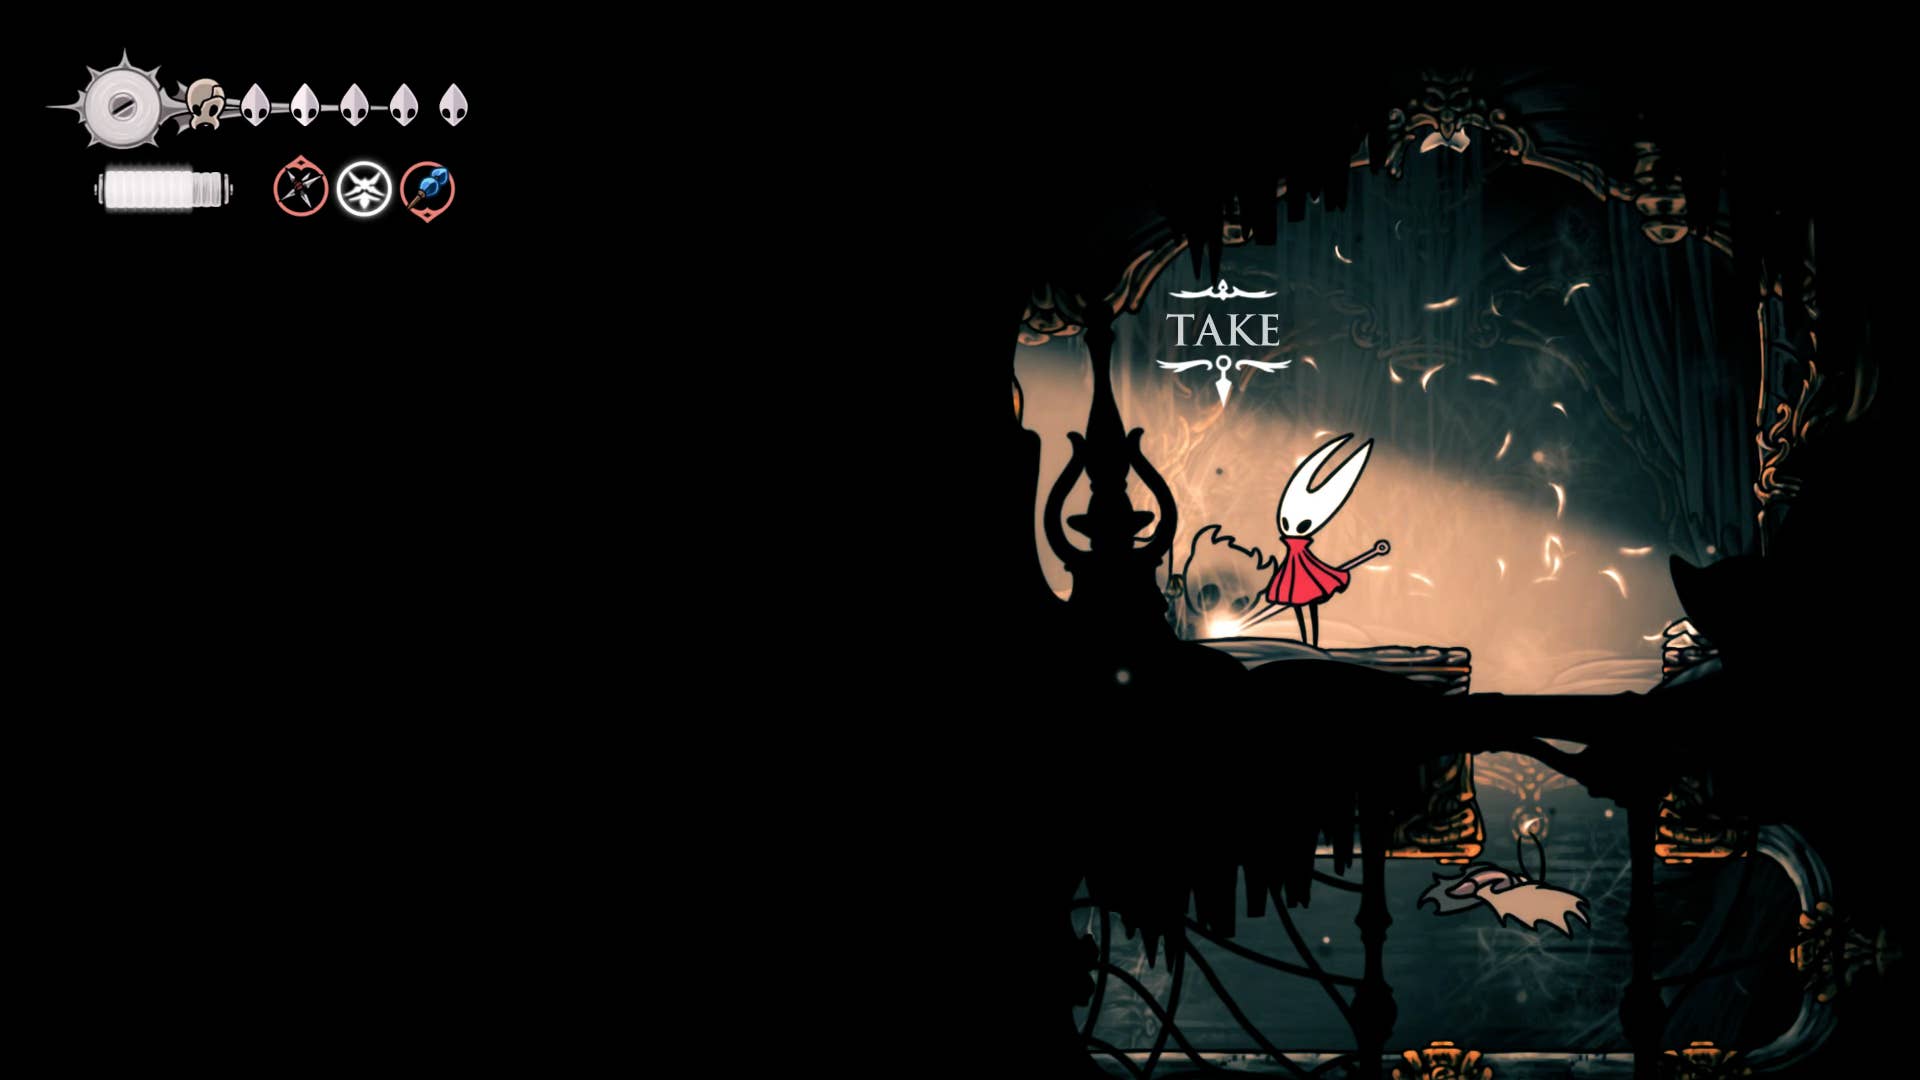
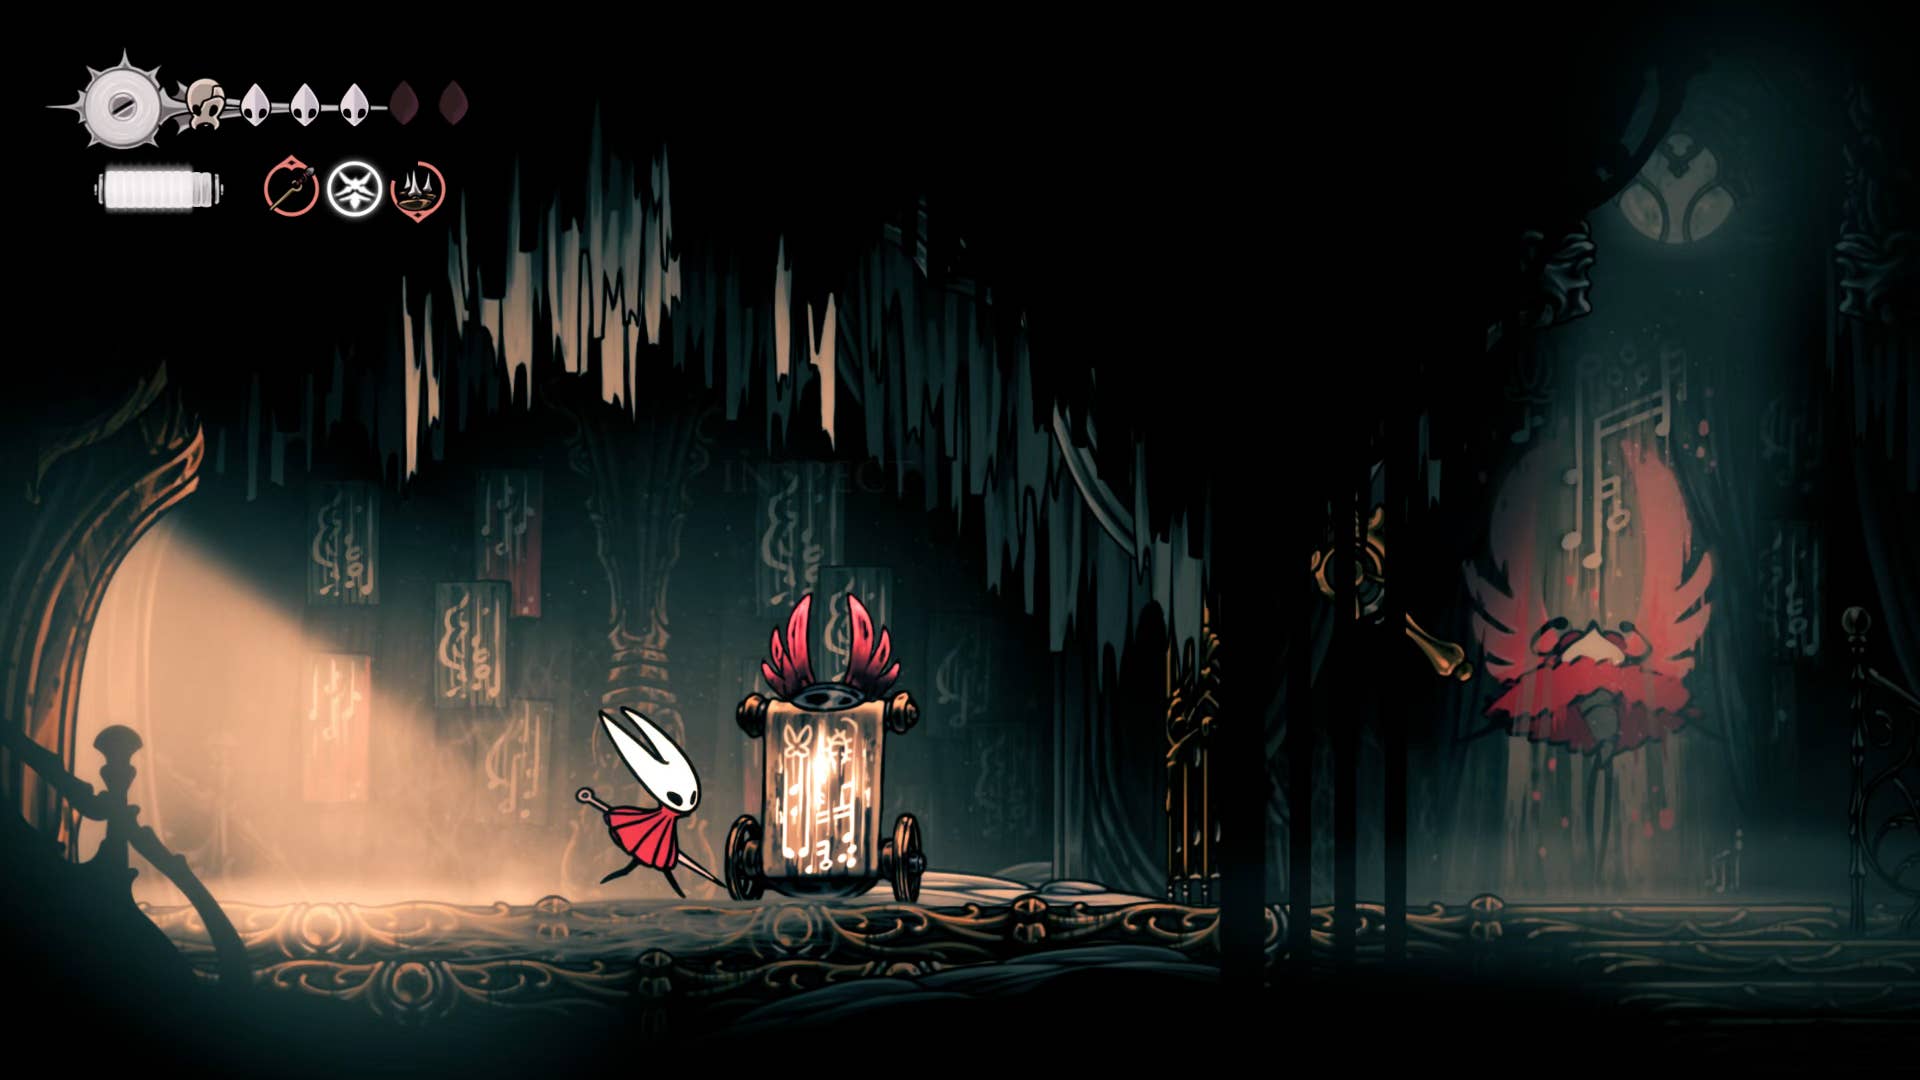
This next room looks like a dining room of sorts. Activate the left lever and bring the shortcut down to the main shaft, but proceed to the right instead of dropping. There is another lever that releases another path to the same area. Then you reach the edge of the path. There, attractive items are held in glass containers.
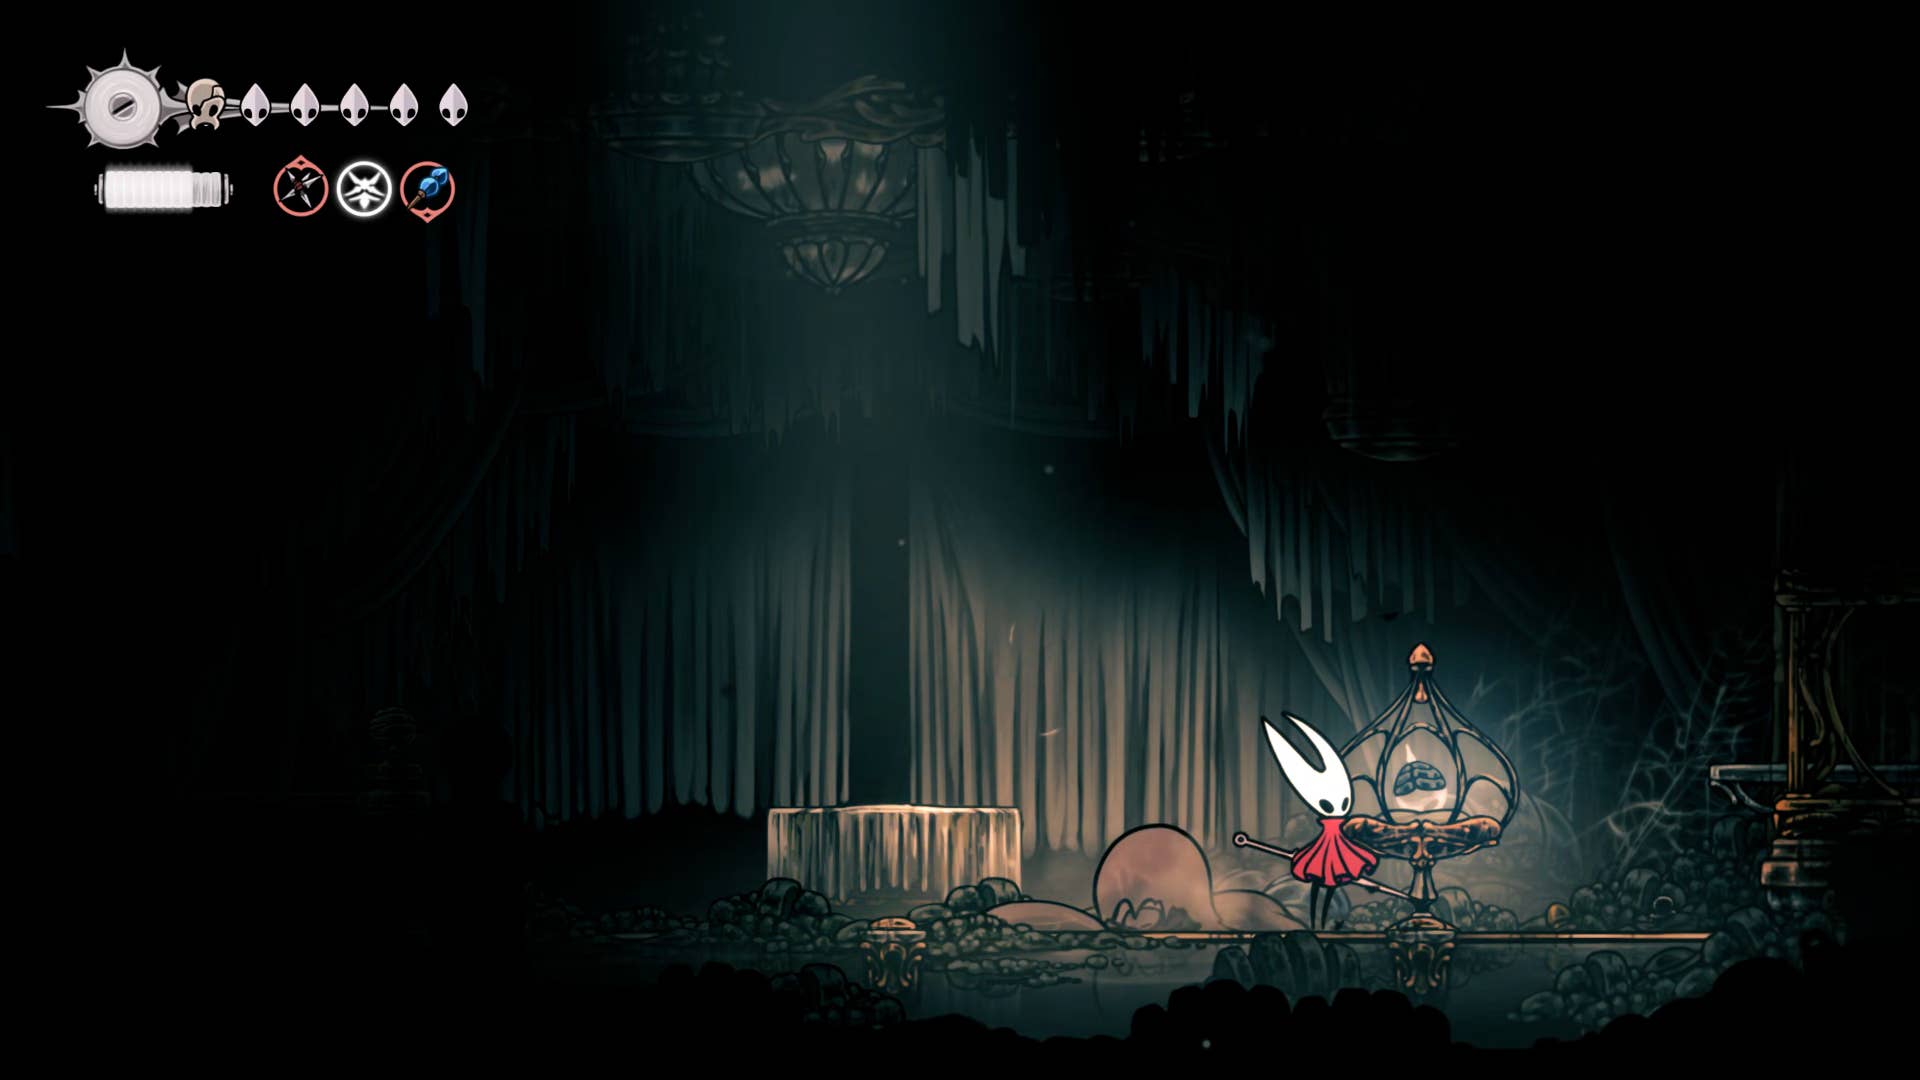
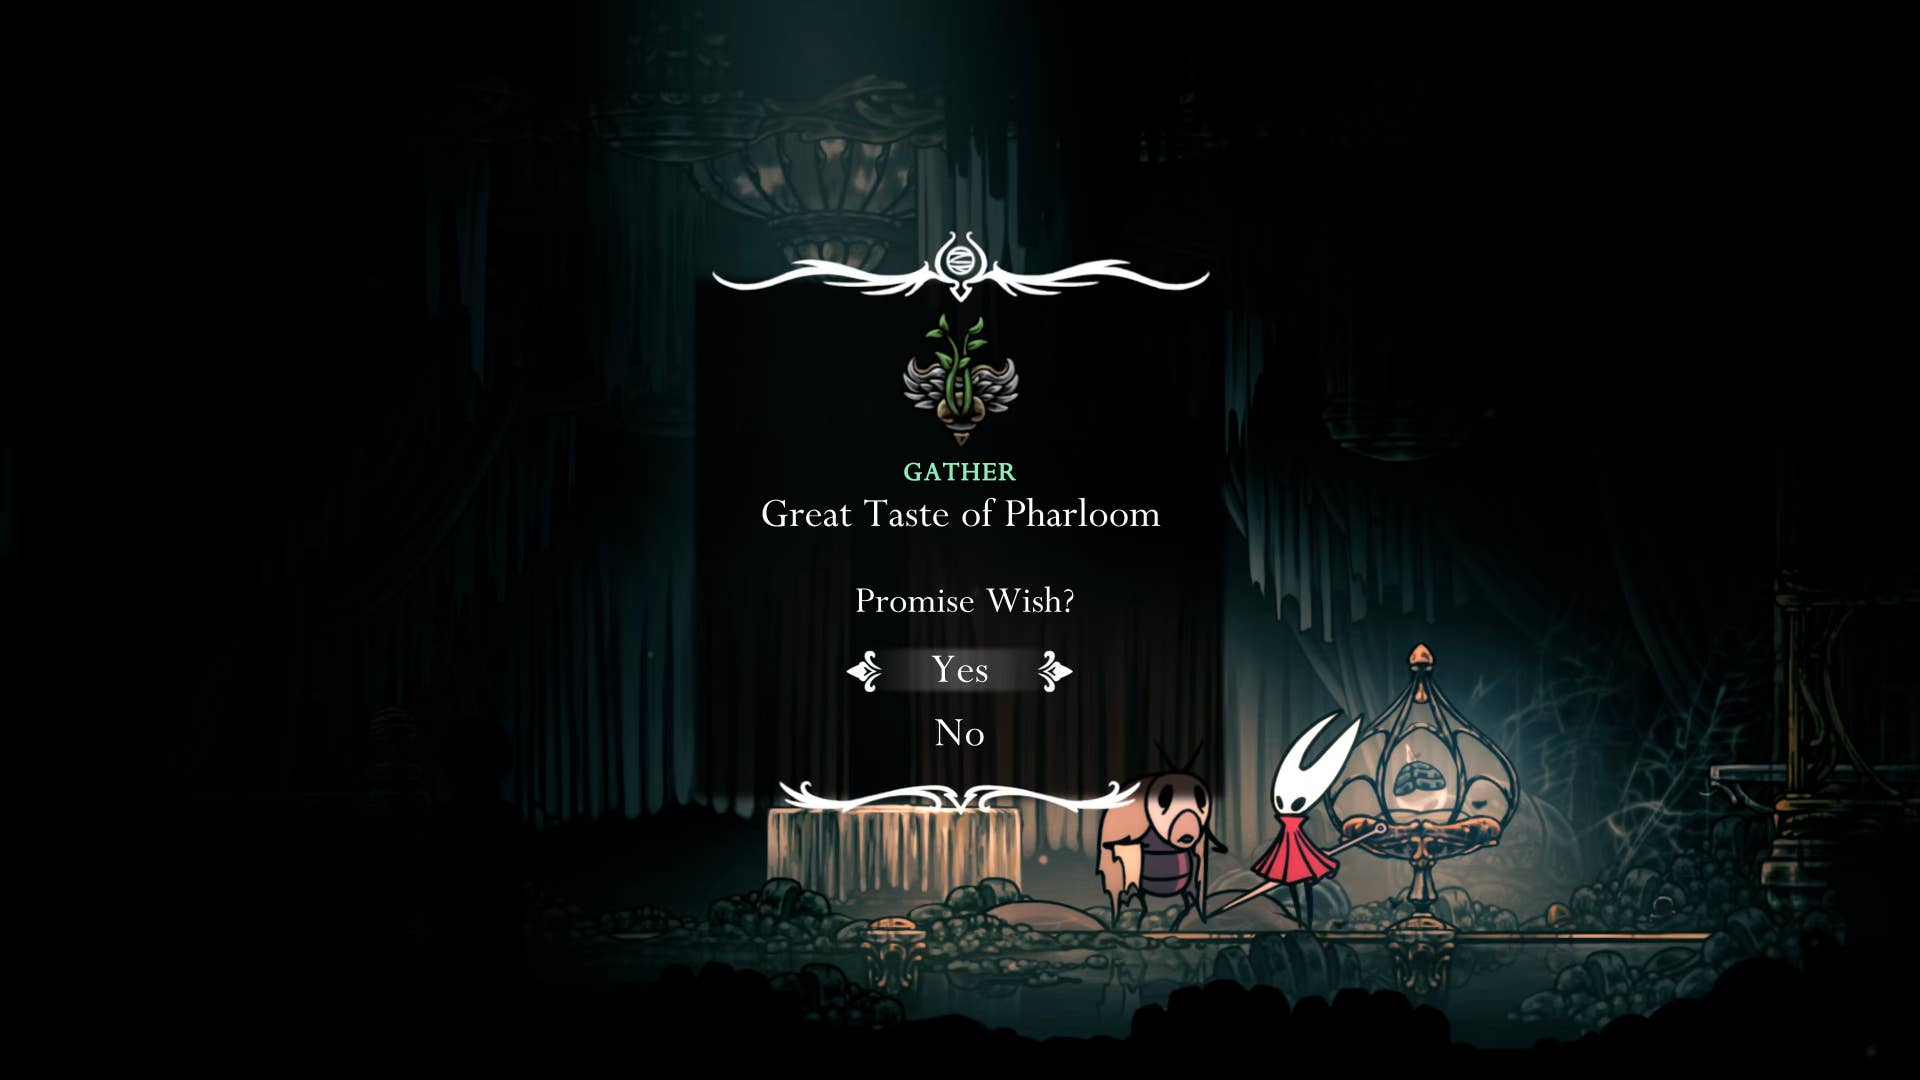
He attacked the container once and let out a faithful, faithful Melgin. You can then talk to the loyal Mergwin and embrace his quest – the wonderful taste of Falloom. This quest will take you across the entire map, so it’s not something you’ll prioritize right now.
Once you have run out of Mergwin dialogue, you can move the bottom exit back to the main shaft. You can also explore to the right of that bottom of the Great Hall, but there is a considerable rank there.
11. Reach the upper left bench.
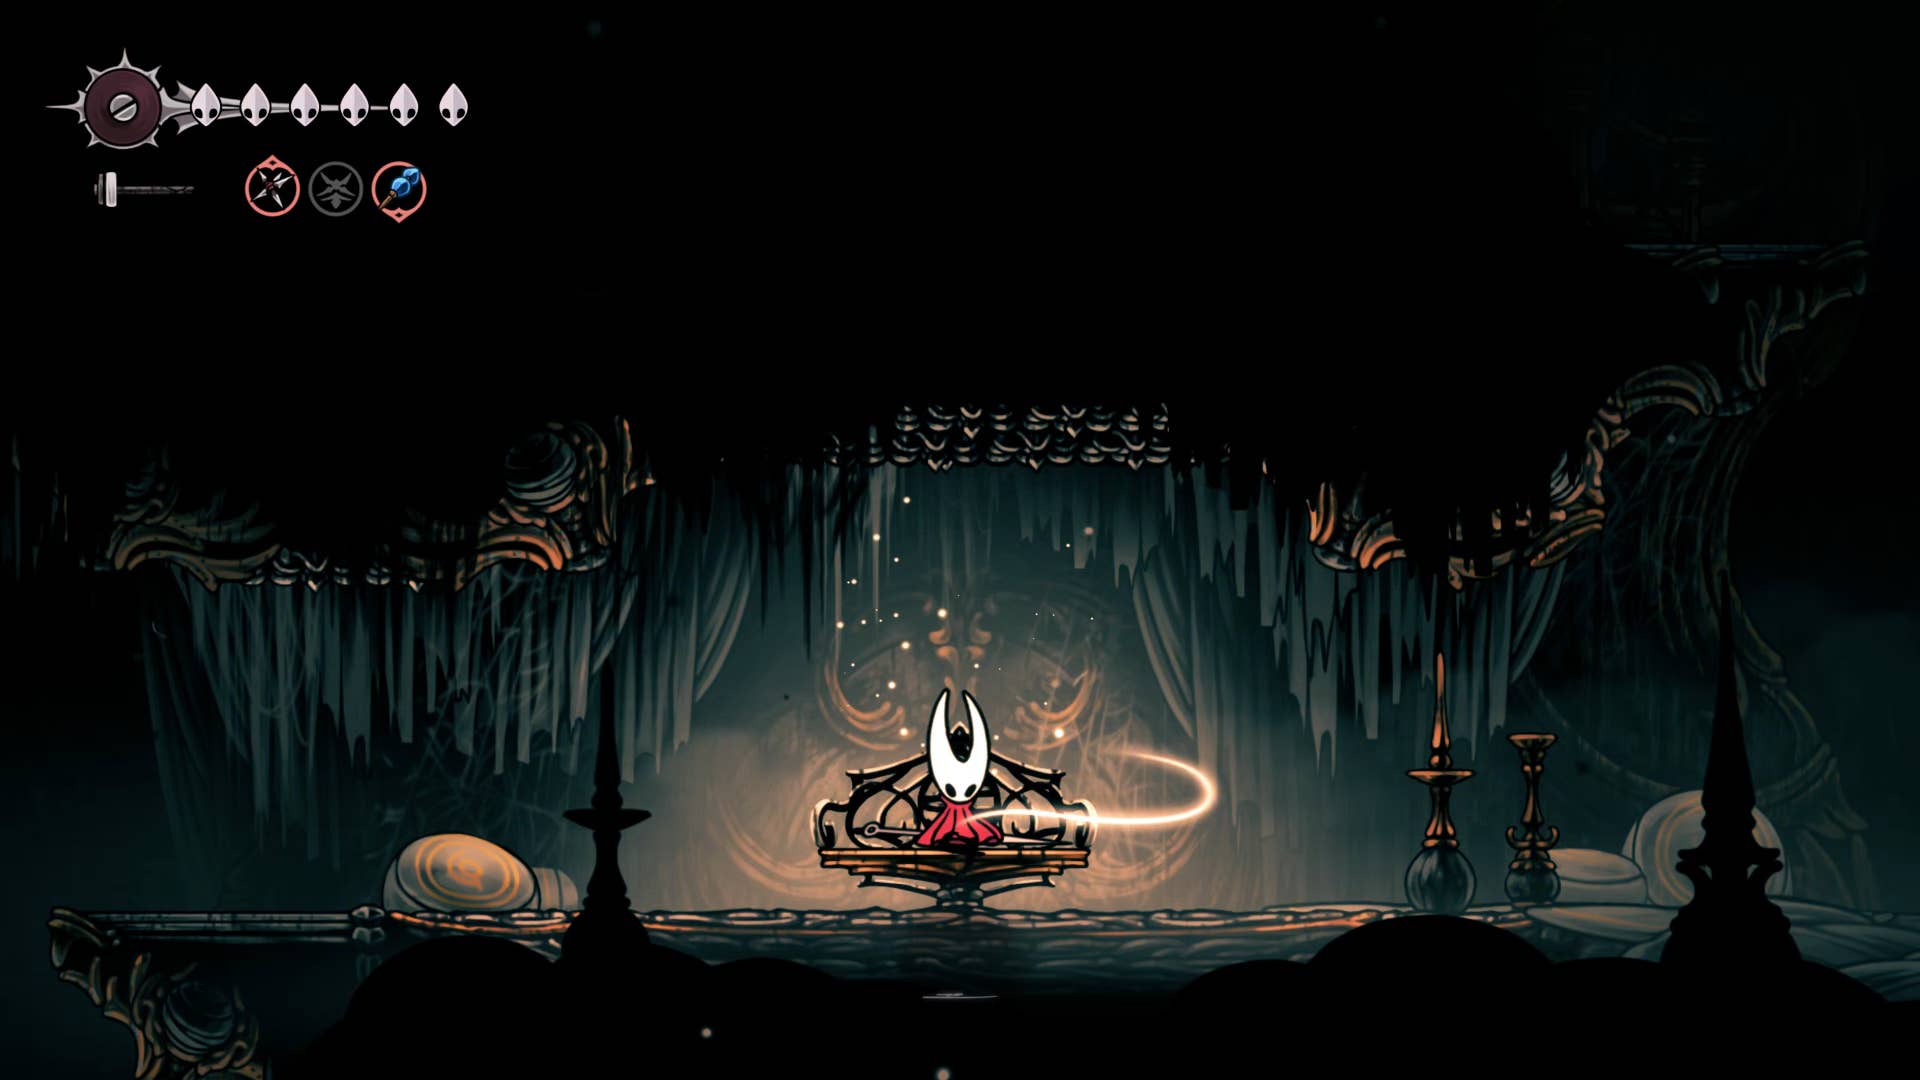
Climb back to the top of the shaft, this time taking the exit on the left. Defeat another patrol band of Holier-Than-Thou-Thou pilgrims and head towards the room at the edge of the hallway. There you can rest on a bench in another choir room.
On the way home, you can investigate the disappearing shelf above you.
12. Defeat the cogwork dancer.
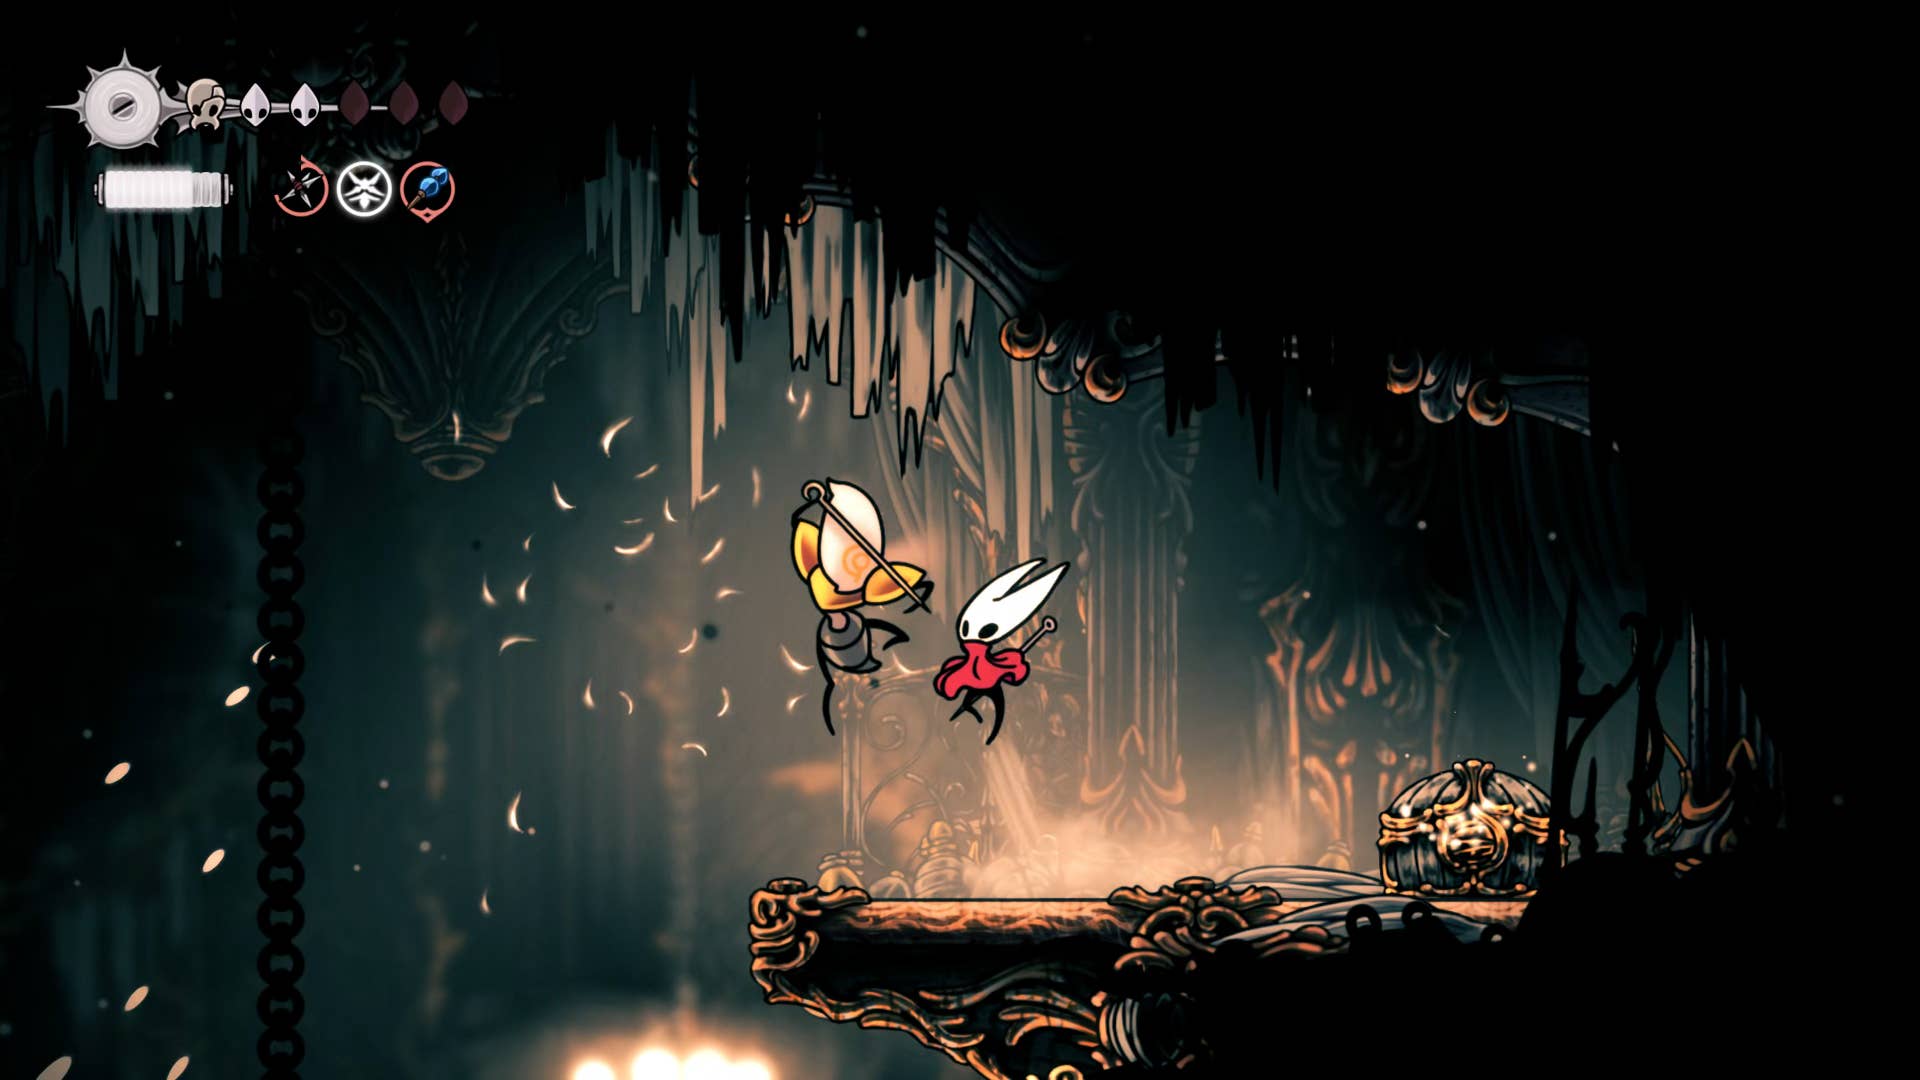
This is where the final choir room test takes place. From the bench on the top left, return to the main shaft and pass again to the top right exit. This time, we will jump over the holes that led to the loyal Mergwin. Along the way, you will need to fight or bypass two high-rising enemies called Grand Reeds. They aren’t that bad as long as they get back right after each attack, but seeing you’re about to face your boss, I don’t waste any time – just jump and pogo on them.
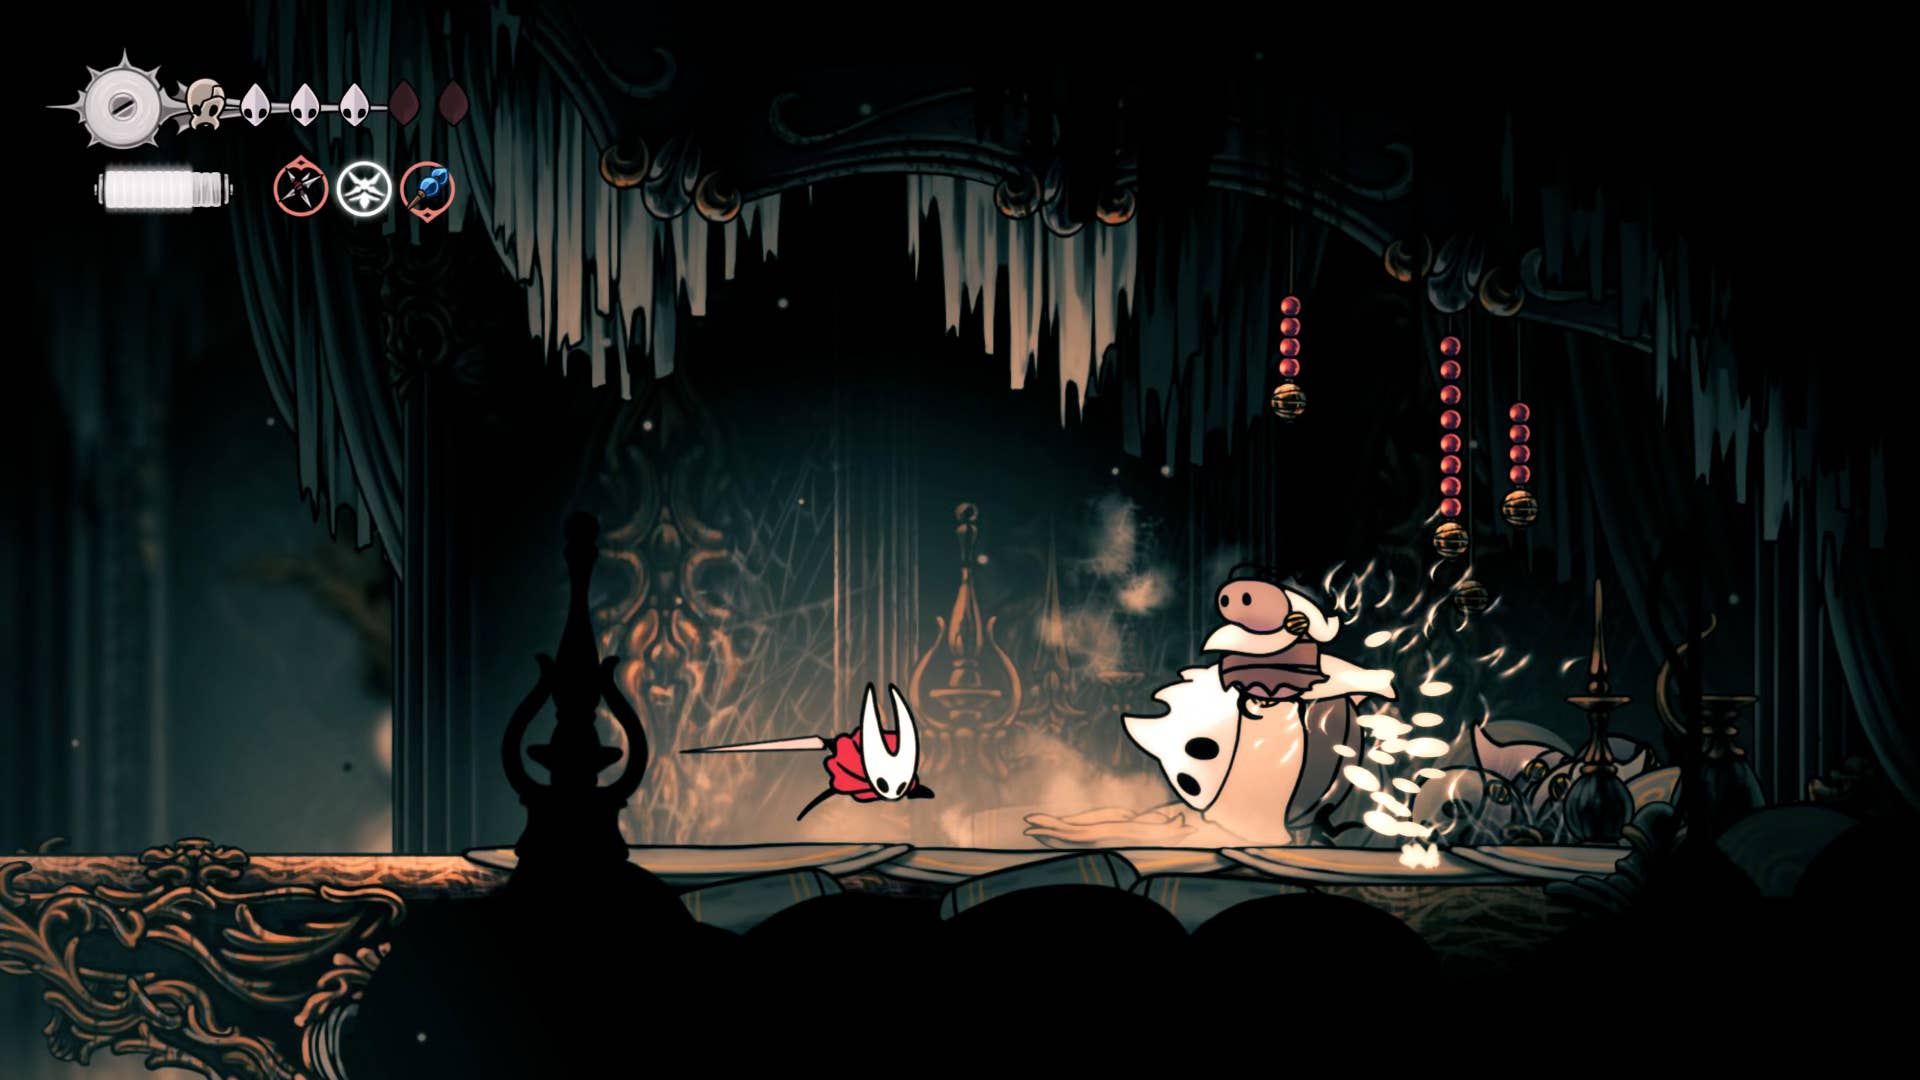
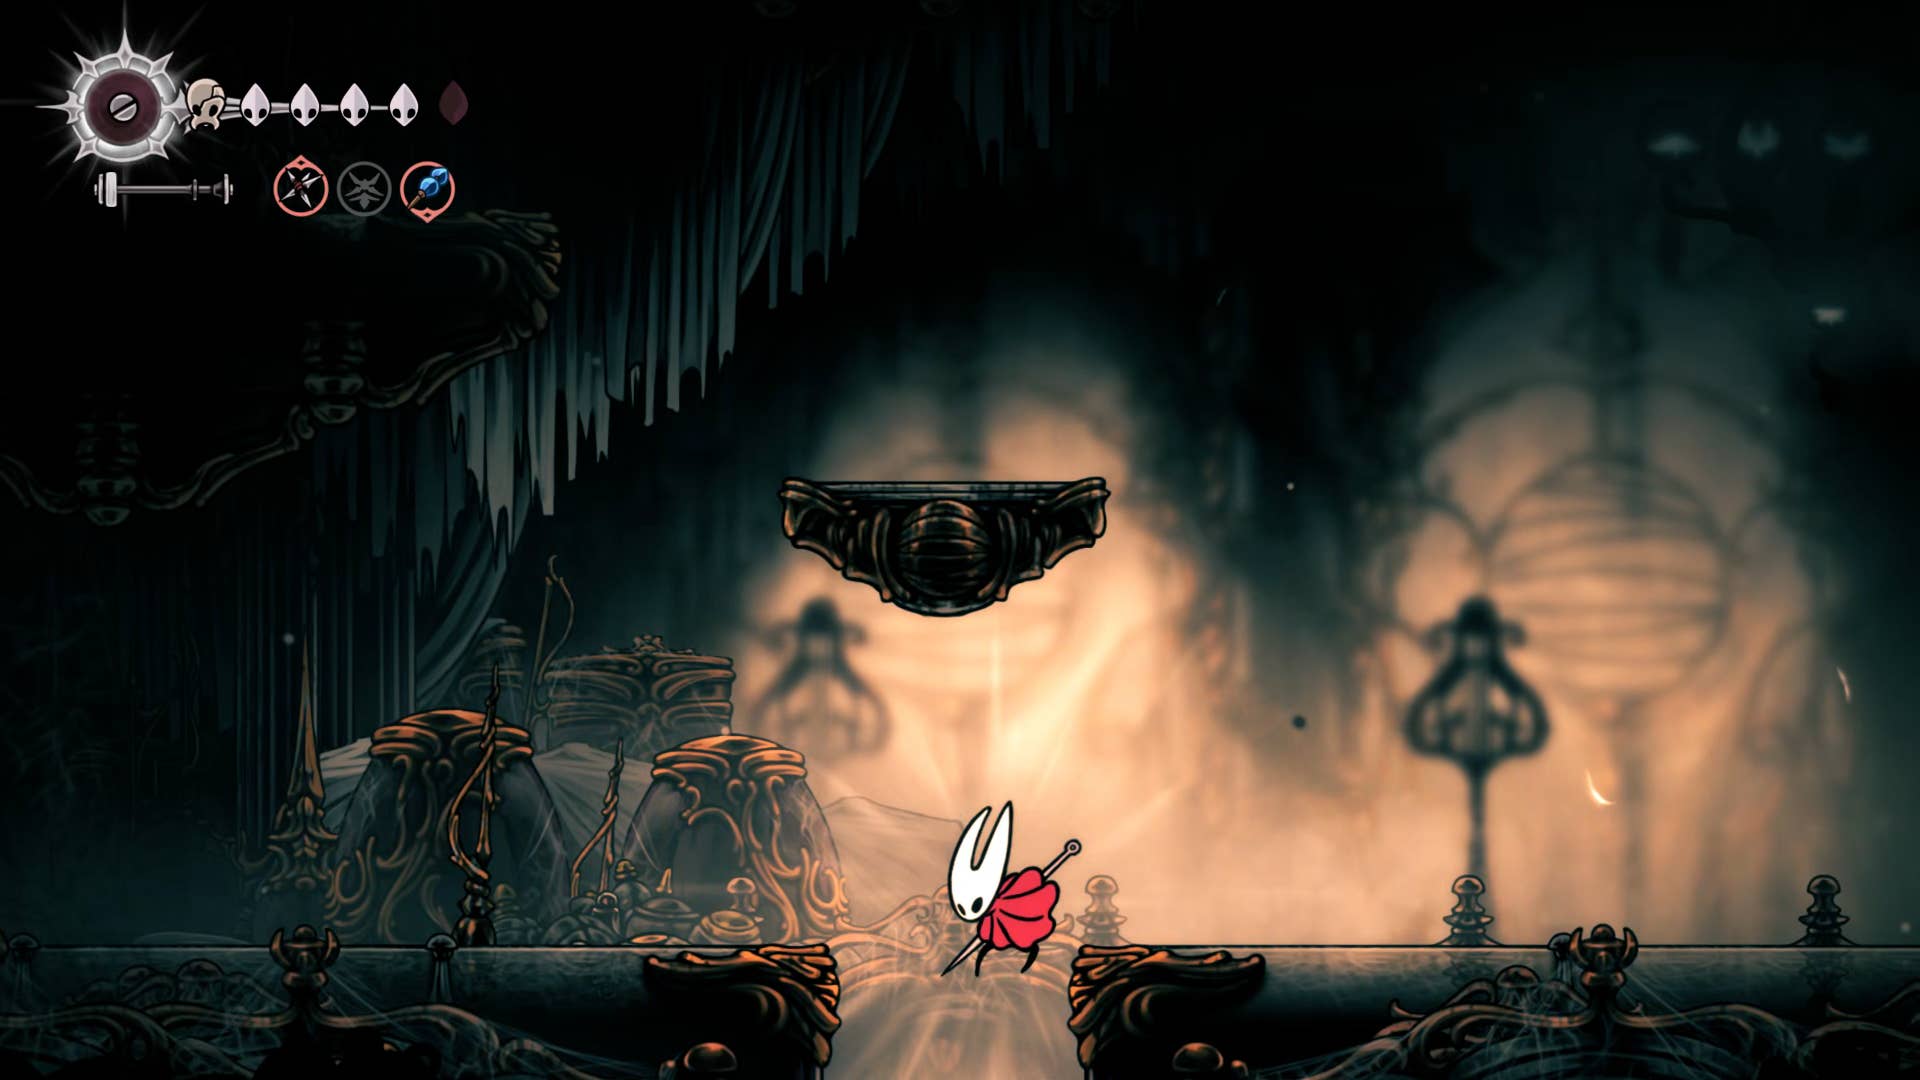
Go out into the next room and stop by its central arena to trigger the battle of the main boss in the choir room and the cogwork dancer, one of my favorite boss designs in all of Silkson.
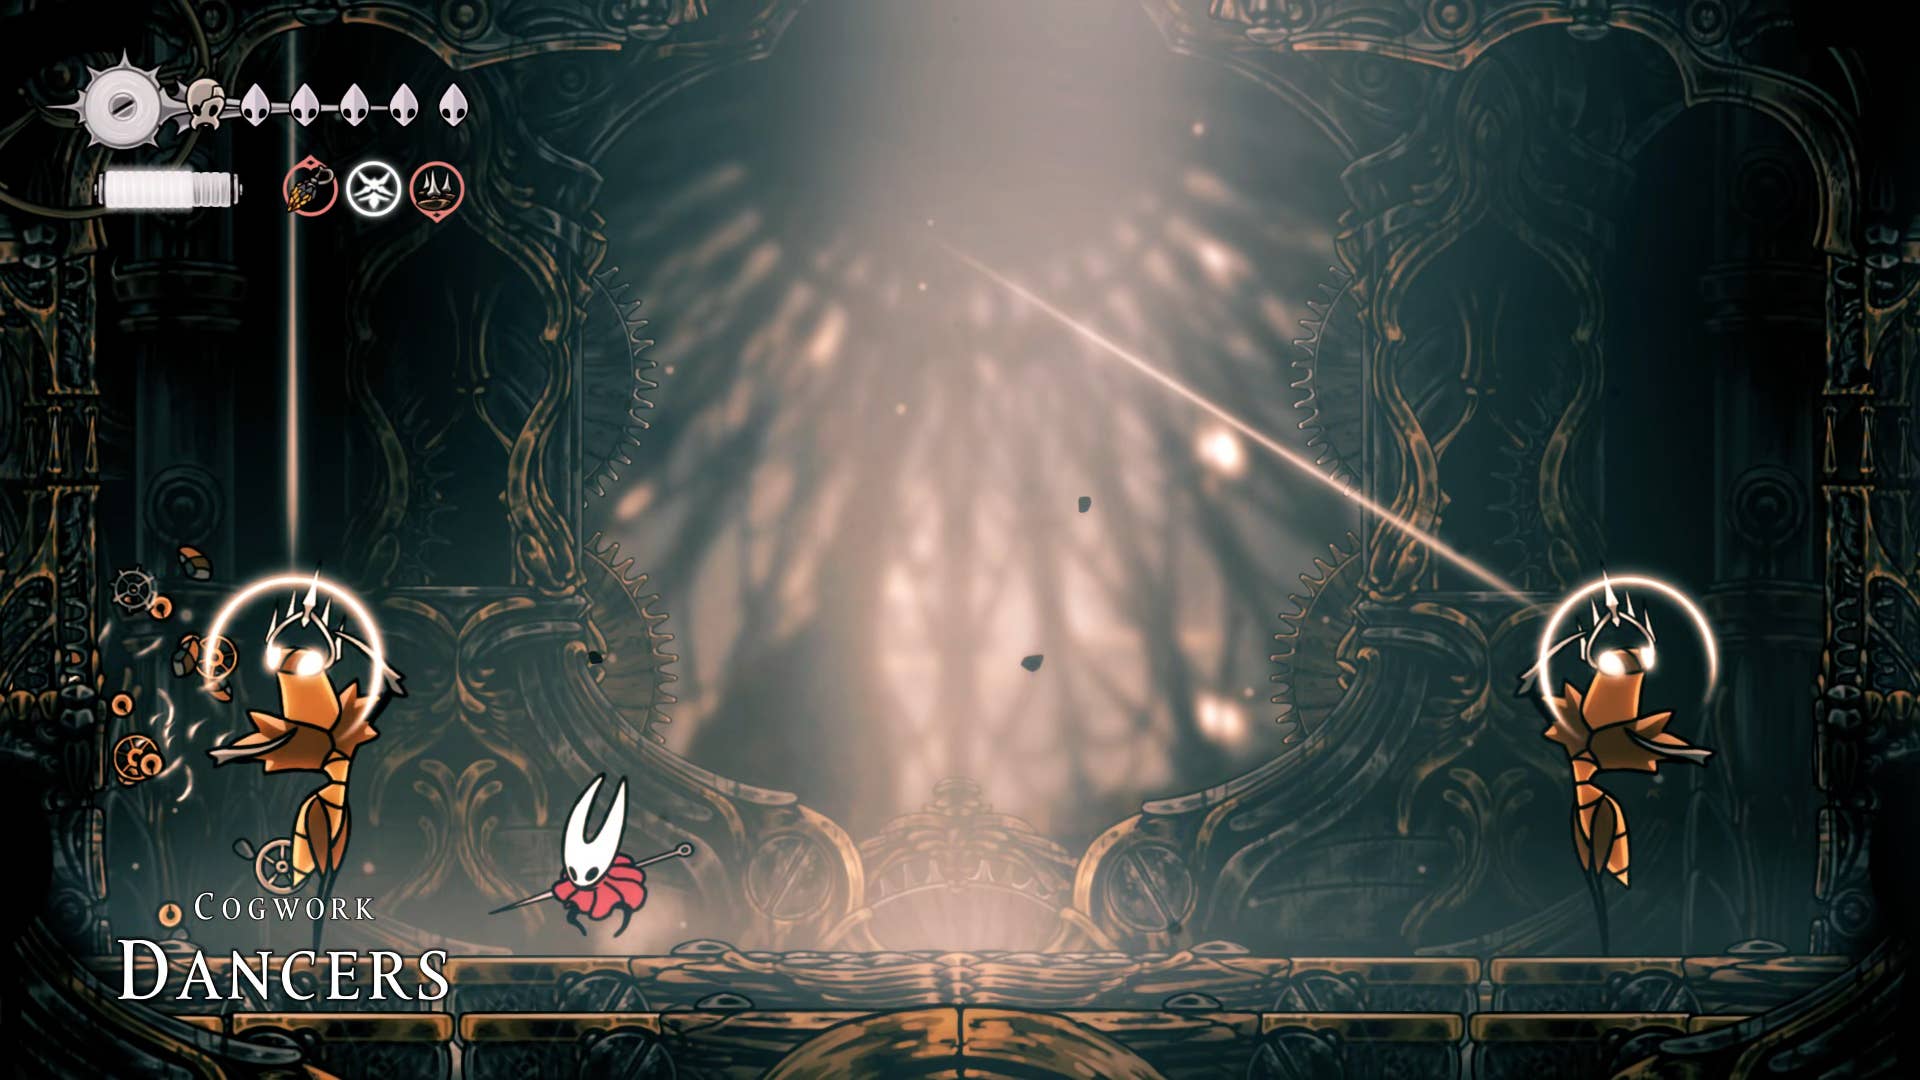
Cogwork Dancers travel simultaneously, always plotting the pass in advance with beams of light. Importantly, when either of you lands on the ground, you’ll immediately follow up with an effective swipe attack. Otherwise, this fight is very simple about tracking both moves at once.

The second phase is simply the first iteration, but at a higher tempo, there is less margin of error in the dodge. The third phase is the most difficult as the dancers begin to alternate movements at even greater speeds. Still, it’s all the same move set, so at least it’s easy to learn.
My advice is to place lots of tacks on the ground and use your cross-stitch counter skills to get out of danger when you don’t avoid or jump. It may take some attempts to get used to the strange clockwork movements, but I think that’s a good thing. enjoy it!

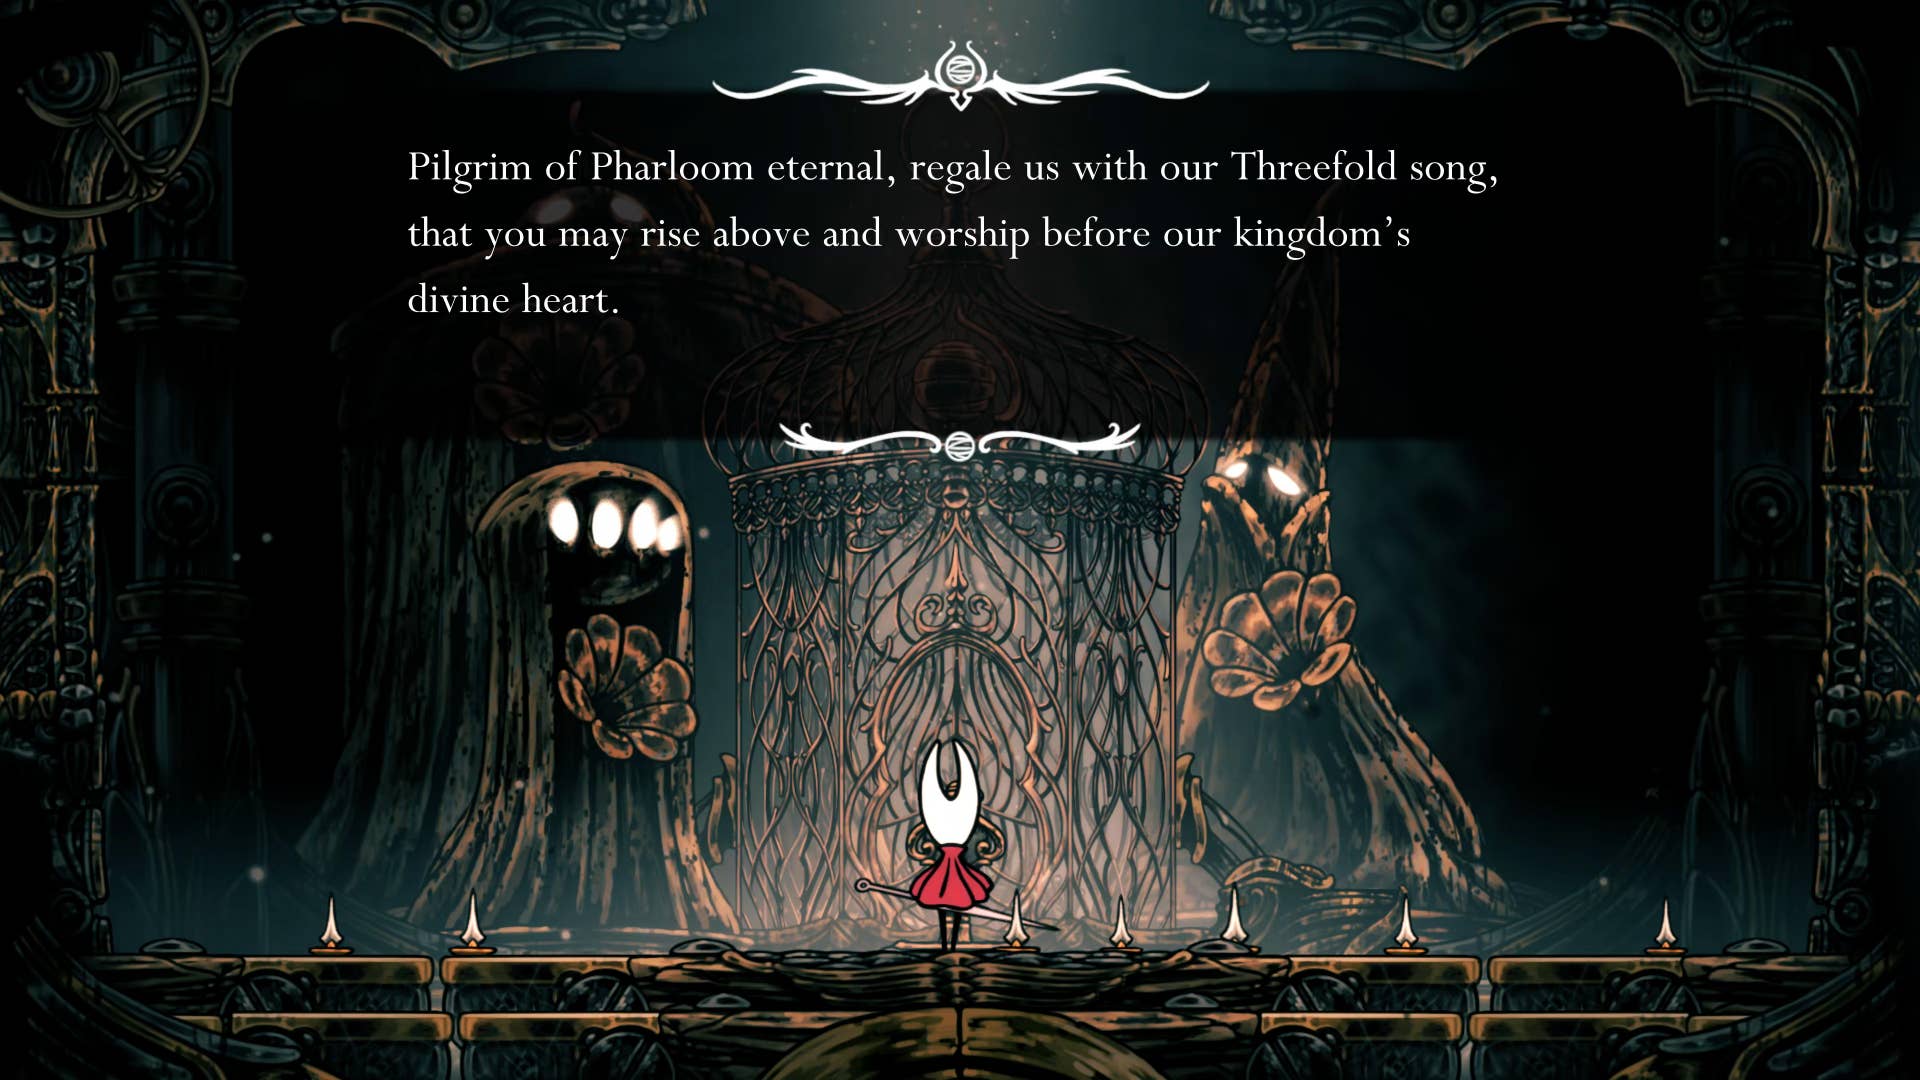
When you finally kill one, the other has a very lonely (and challenging) final stage, and for a few more seconds, you feel like a scary person. Killing the second dancer will cause the room to shift and shake, revealing a gorgeous elevator. You will interact with it and proceed through the Hornet main Silk Song quest. You need to find three pieces of 3x melody and run them in this place. You can then take this elevator and ride the Spire and face the final boss of Act 2.
But that’s not yet for a while. For now you’ve managed to get into the core of Cogwork in the heart of the Citadel – but we haven’t yet gone there (despite its amazing music). White Ward is waiting for us next!
With the vast choir room tame, there are many different directions that can be explored next. However, in this walkthrough, I want to prioritize acquiring new athletic skills as soon as possible. Therefore, you will need to participate in Part 18 of the Silk Song Walkthrough.
(TagStoTranslate) Hollow Knight: Silksong (T) Action Adventure (T) Indie (T) Nintendo Switch (T) PC (T) Platformer (T) Team Cherry