
What is your next job to complete in part 10 of our Silk Song Walkthrough? When you take a step back and think about it, you’ve already achieved a lot with Hollow Knight: Silksong. Or the fleas will tell you anyway. Still, there is still a huge amount to discover. So far, we’ve only scratched the surface.
in Part 10 of Silk Song Walkthrough Below we’ll show you many miscellaneous tasks and quests that you should consider completing before creating any major next step in the main story. Thank you for performing these tasks later. Trust me!
Do you need a walkthrough in another area of the game? Check out Hollow Knight: Silksong Walkthrough Hub!
MISC Quest Walkthrough Steps:
- Build a life-saving bridge.
- Hunt three times the flint beetle.
- Hunting terrible tyrants.
- Conquer the East Marrow Gauntlet for Mask Shards.
- Survives the attack on the bottom of the Bell.
- Buy Bell Heart Map from Shakura.
- Fight the second scalar guard in the hunter march.
- Complete the Far Fields Obstacle Course.
- Find Zylotol on the Wormway.
- Collect three plasmiums from the wormway.
- Get plasmium phial.
1. Building a life-saving bridge.
First Step: Return to the bottom of the bone and interact with the Wishwall. At this point, you will need to add 2-3 new additions. One of them can be completed quickly by donating 300 Shell Shards.
The Life Bridge is a small bridge very simply built on a hole near the ground leading to the Moss Cave. In fact, the same hole Hornet escapes in Silkson’s opening cinematic. It’s as good a time as donating money to build money. You can reload the area and see the bridge in its complete state.
2. Hunt 3x flintbeetles.
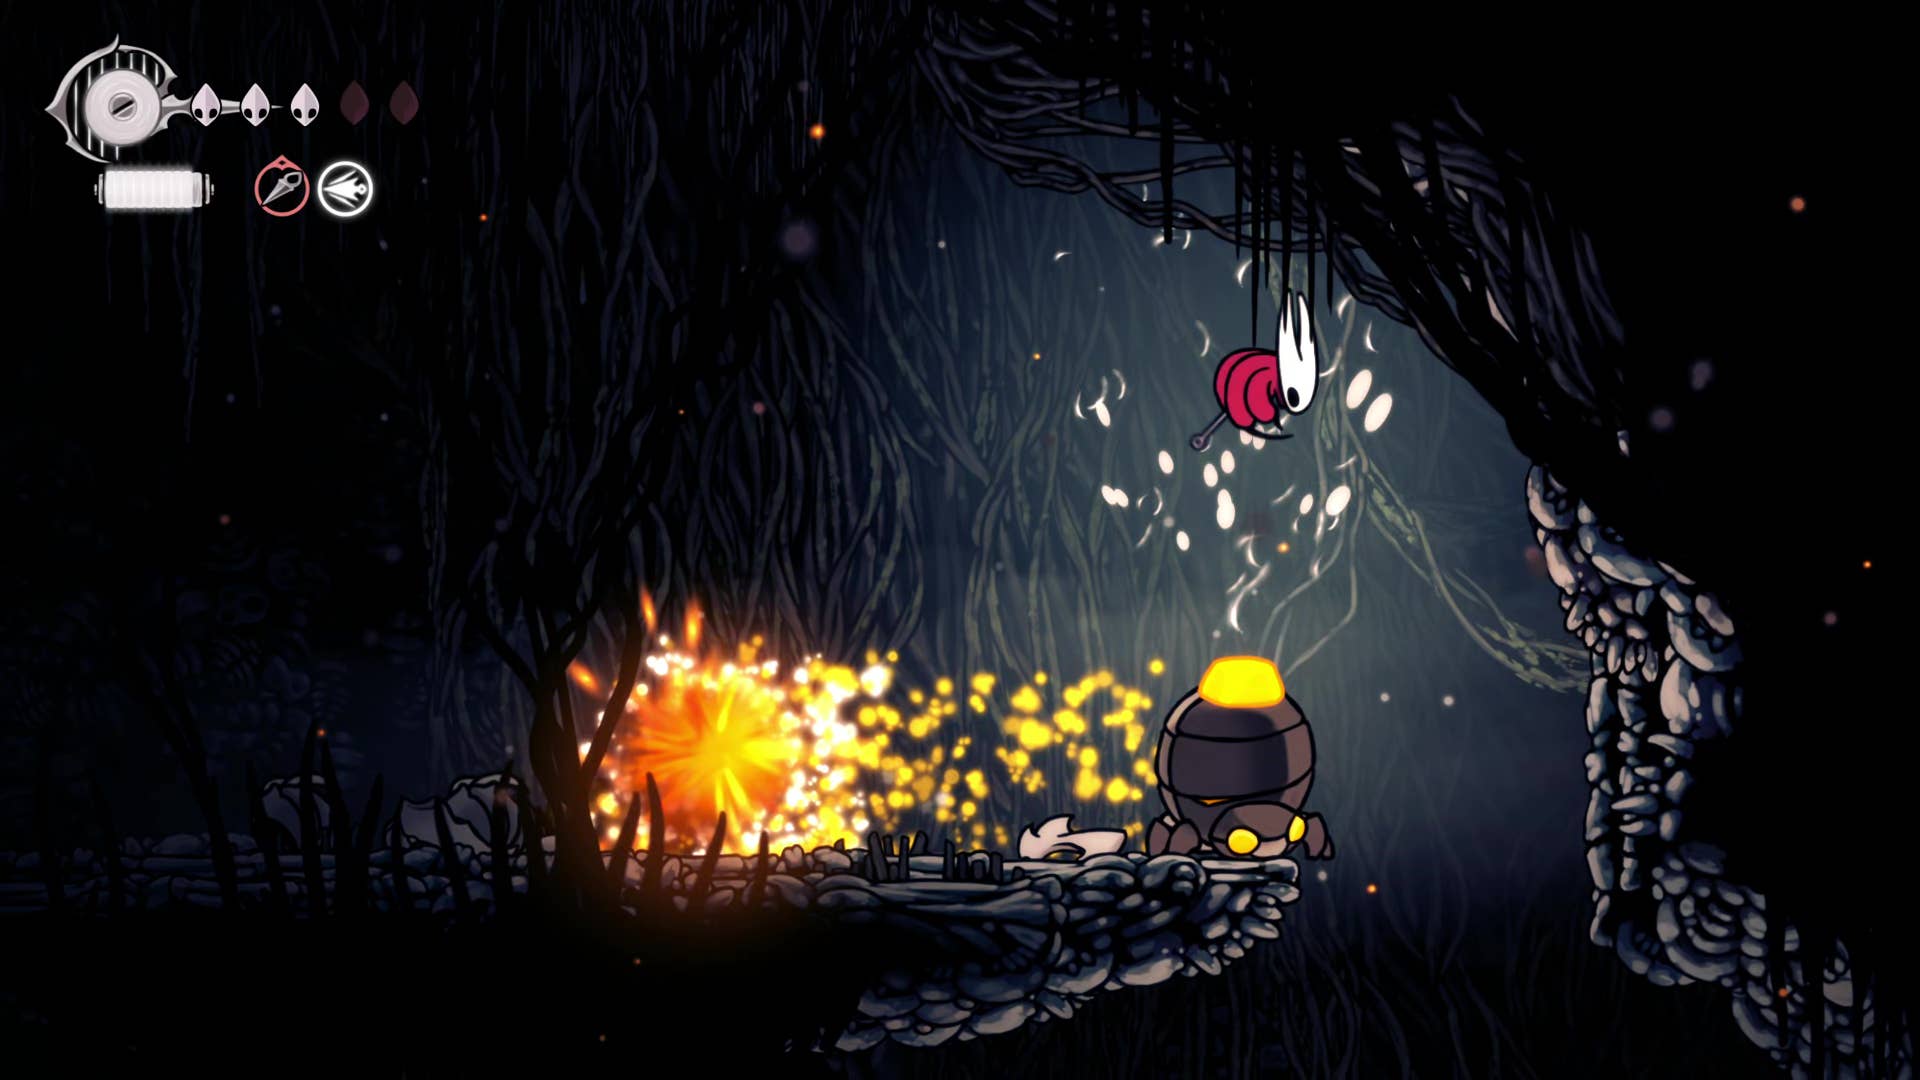
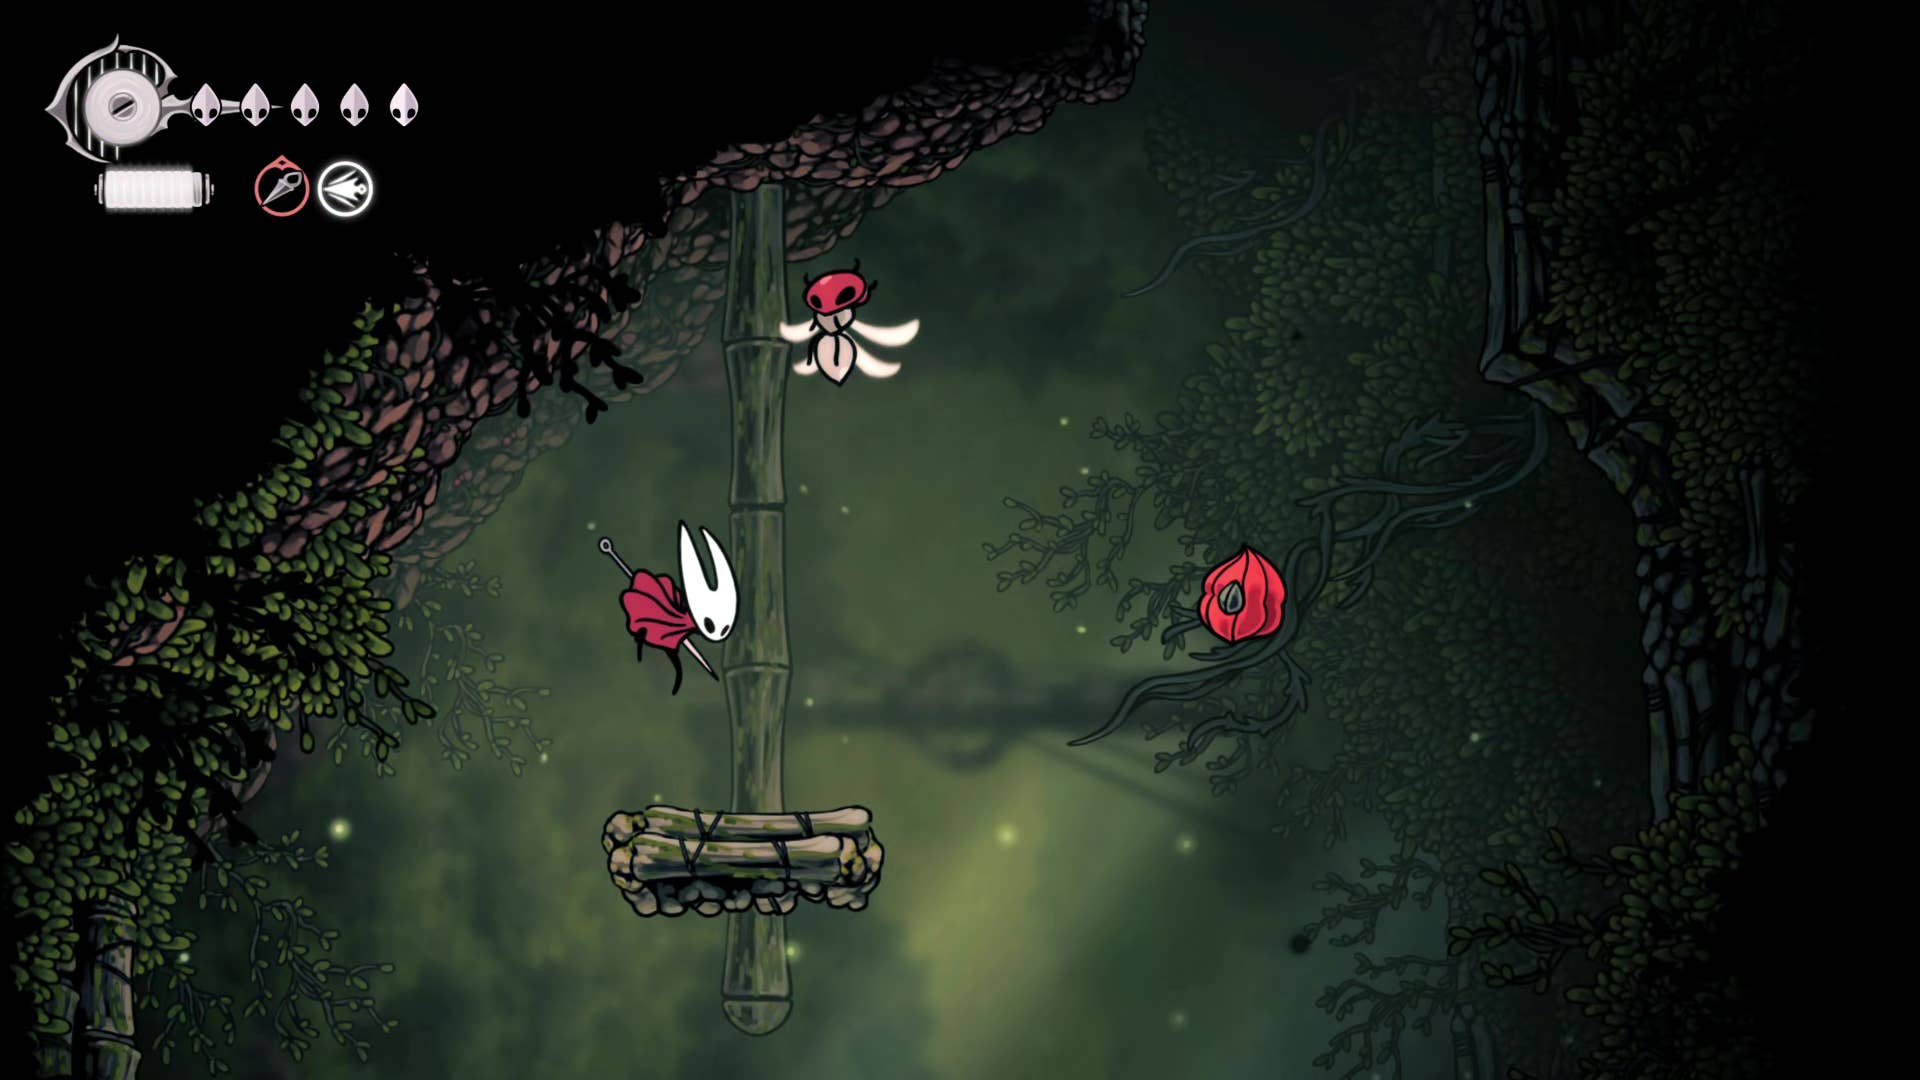
Another quest for Wishwall is the volatile flakes. This is a hunting quest that requires you to track and kill them three times faster in the bone marrow. These flints are very easy to find as they leave trails that can be followed by interacting with what the Hornet has left behind. But to unravel doubt, here are three Flint Beetle locations:
Flintbeetles are extremely aggressive and can not know you with the trajectory of explosions that follow their movements. Avoid jumps That’s all They stay on one side to avoid an explosion. They are still normal enemies, so it doesn’t take long to kill them.
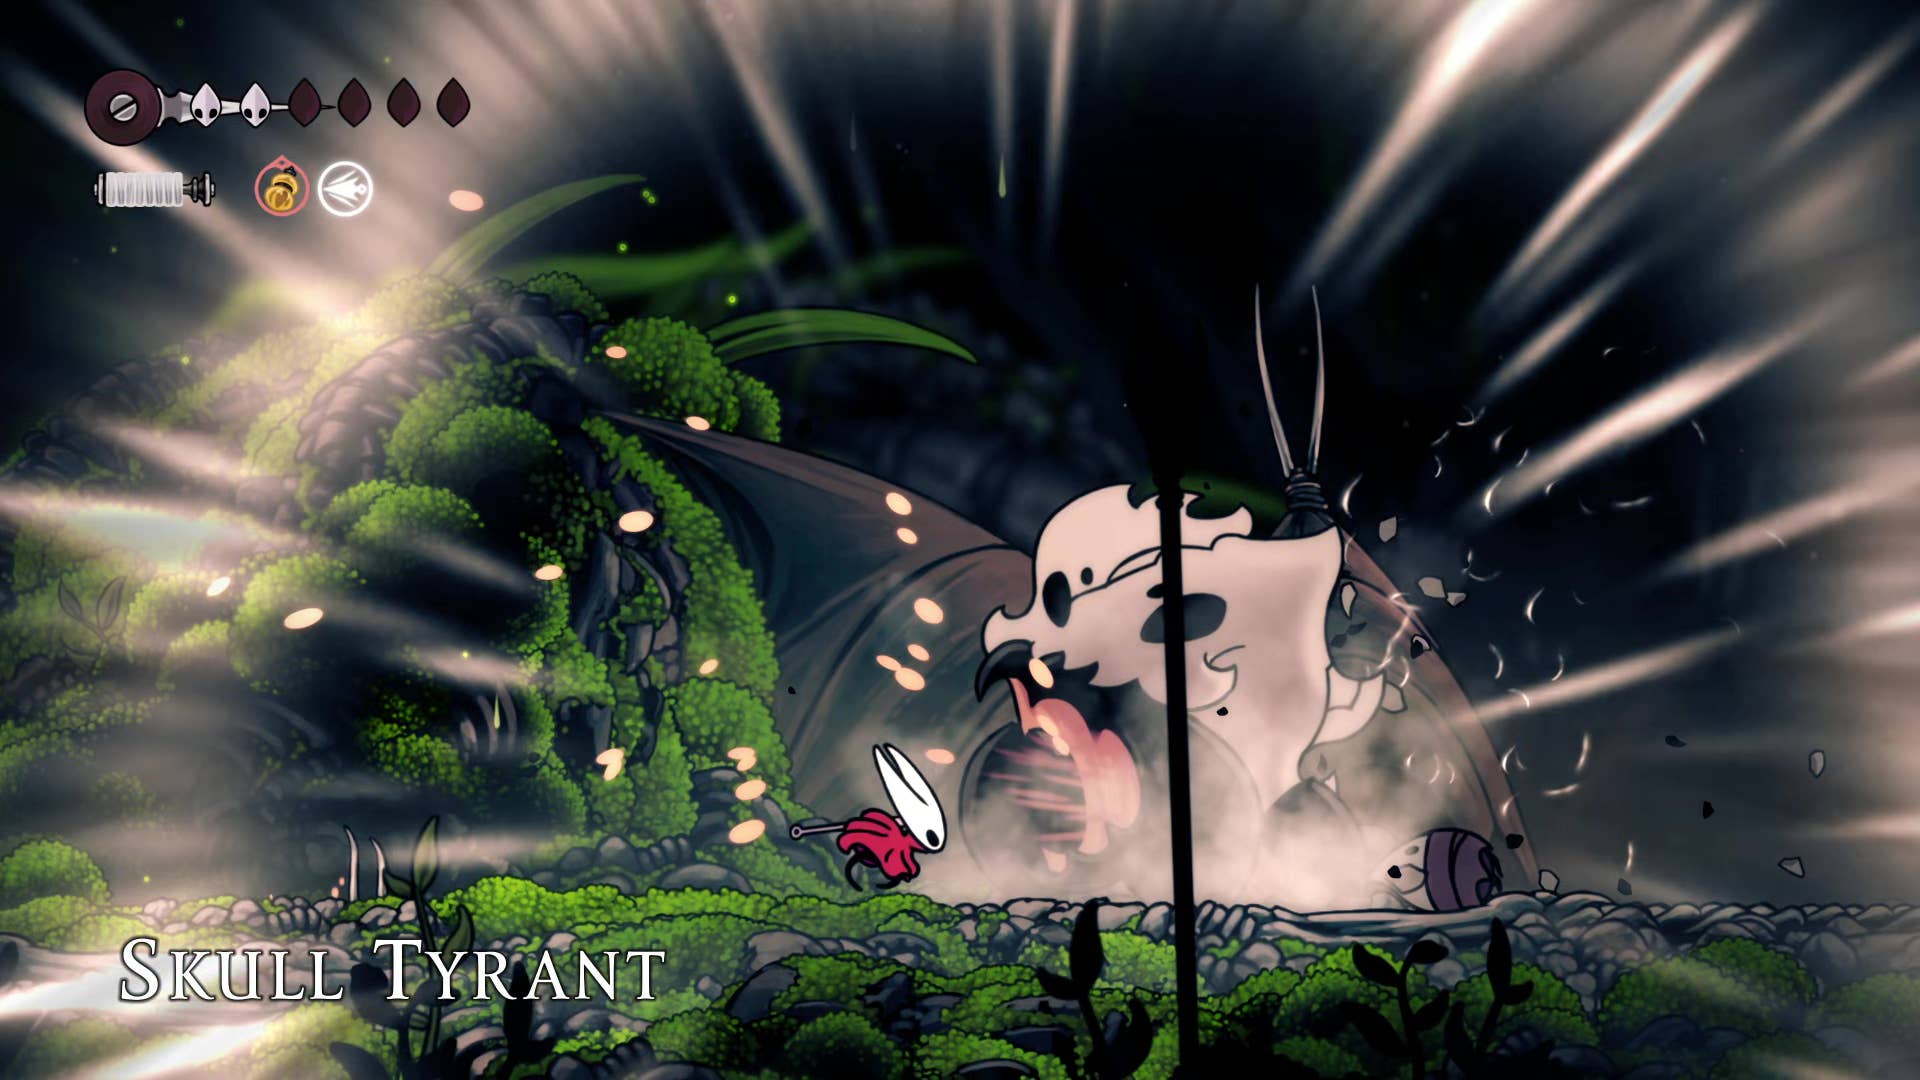
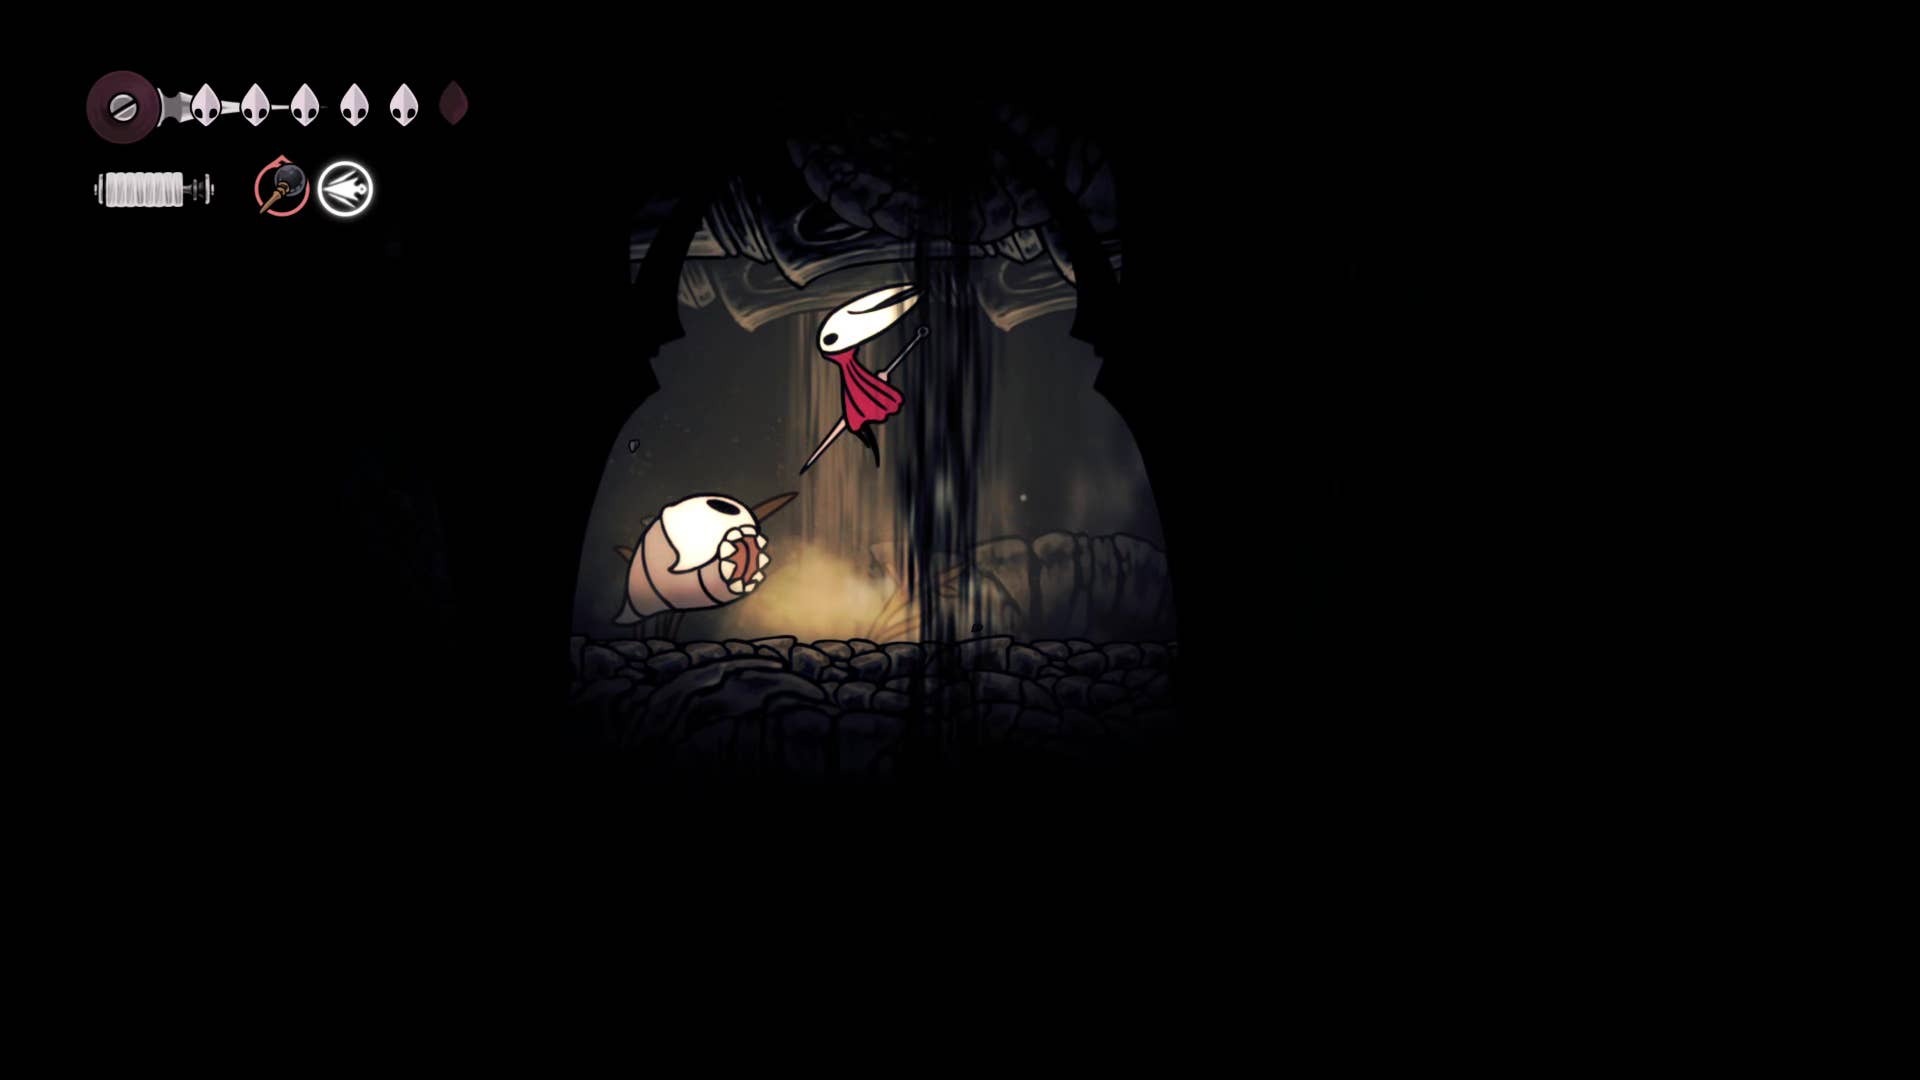
3. Hunting terrible tyrants.
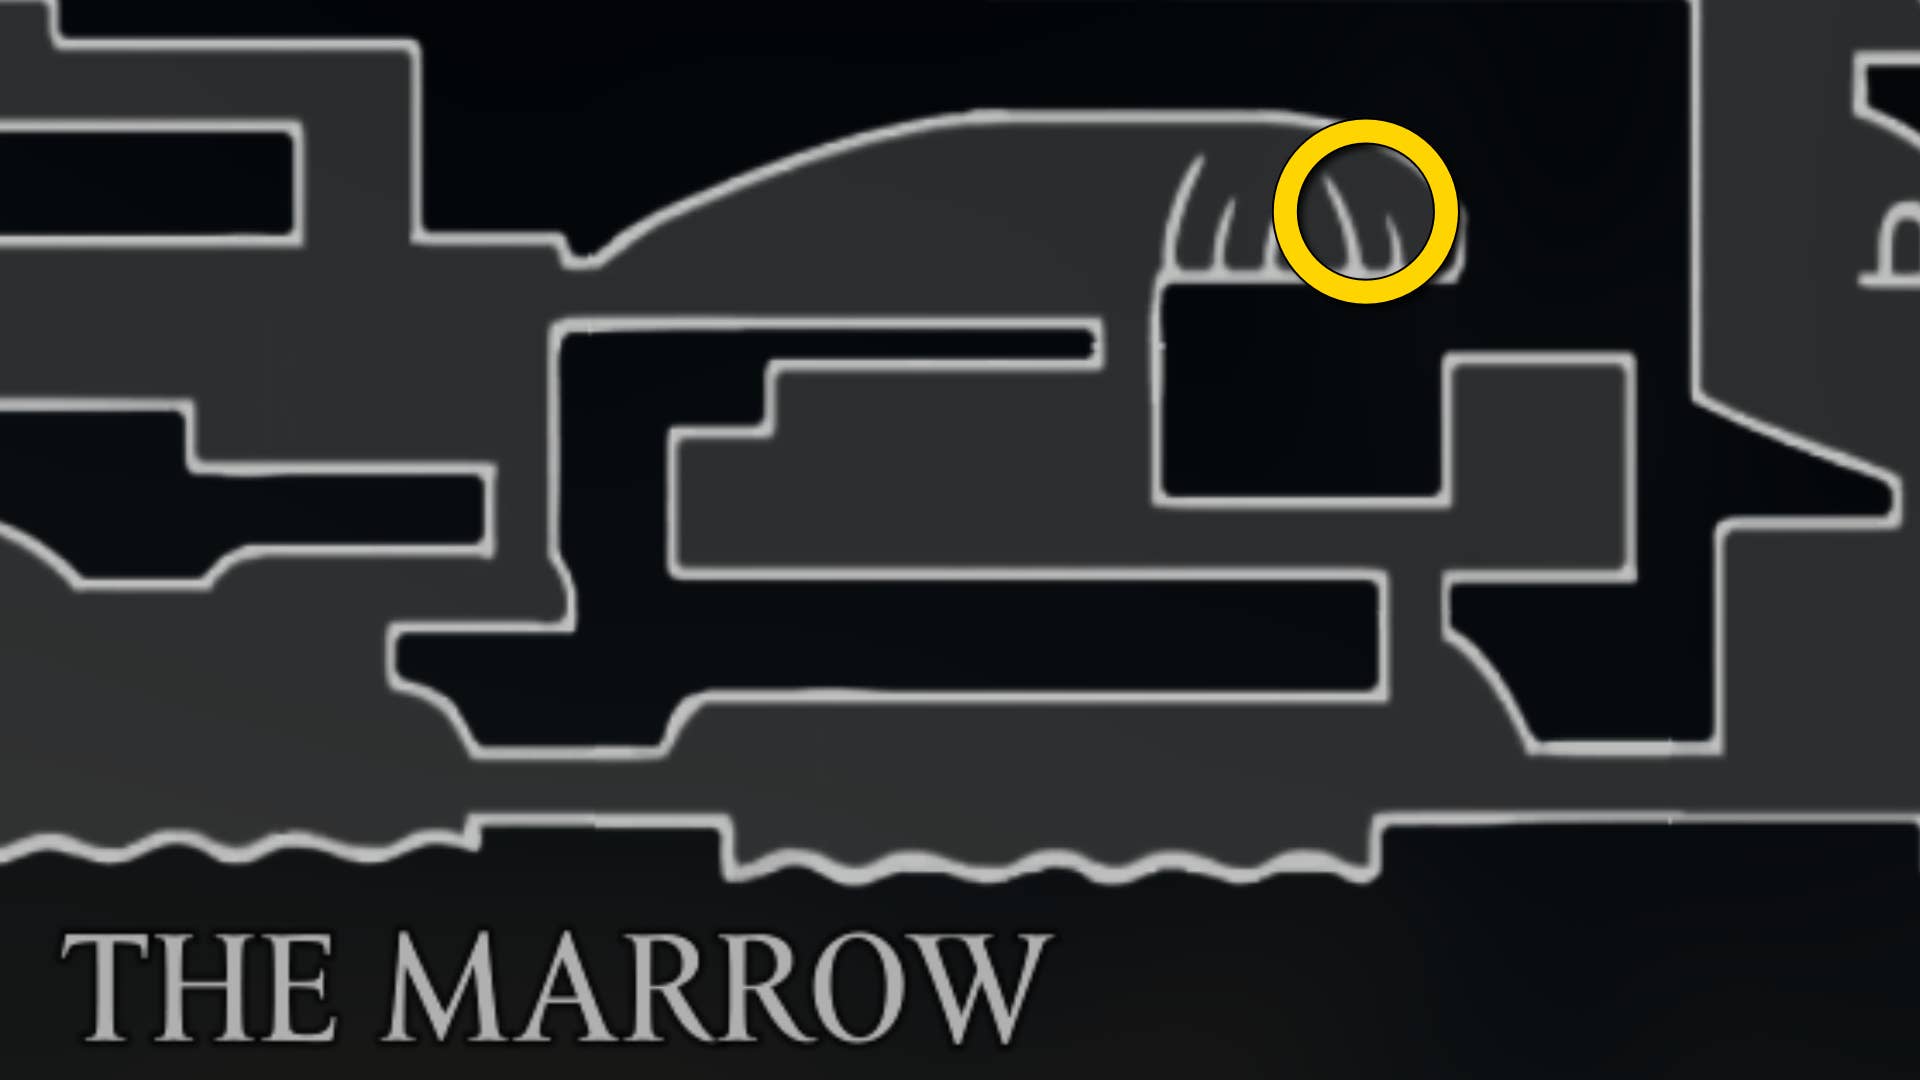
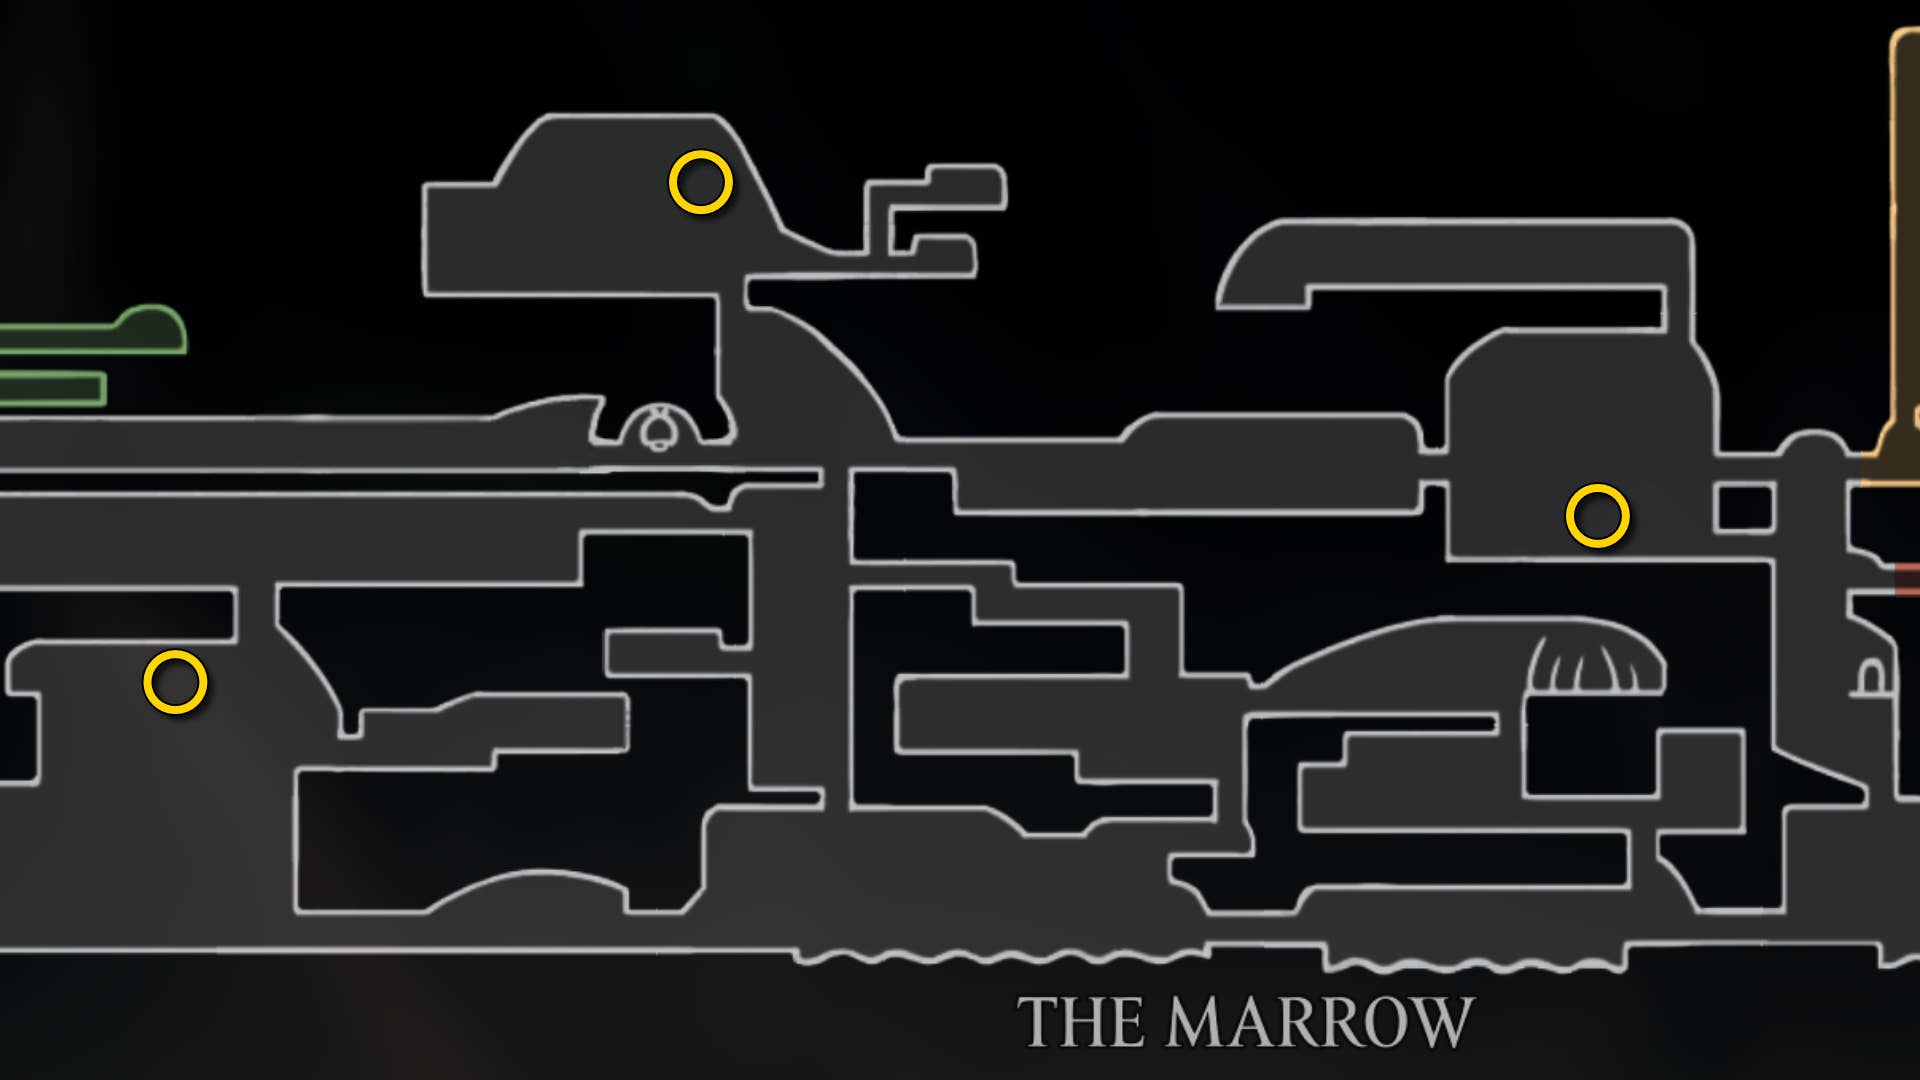
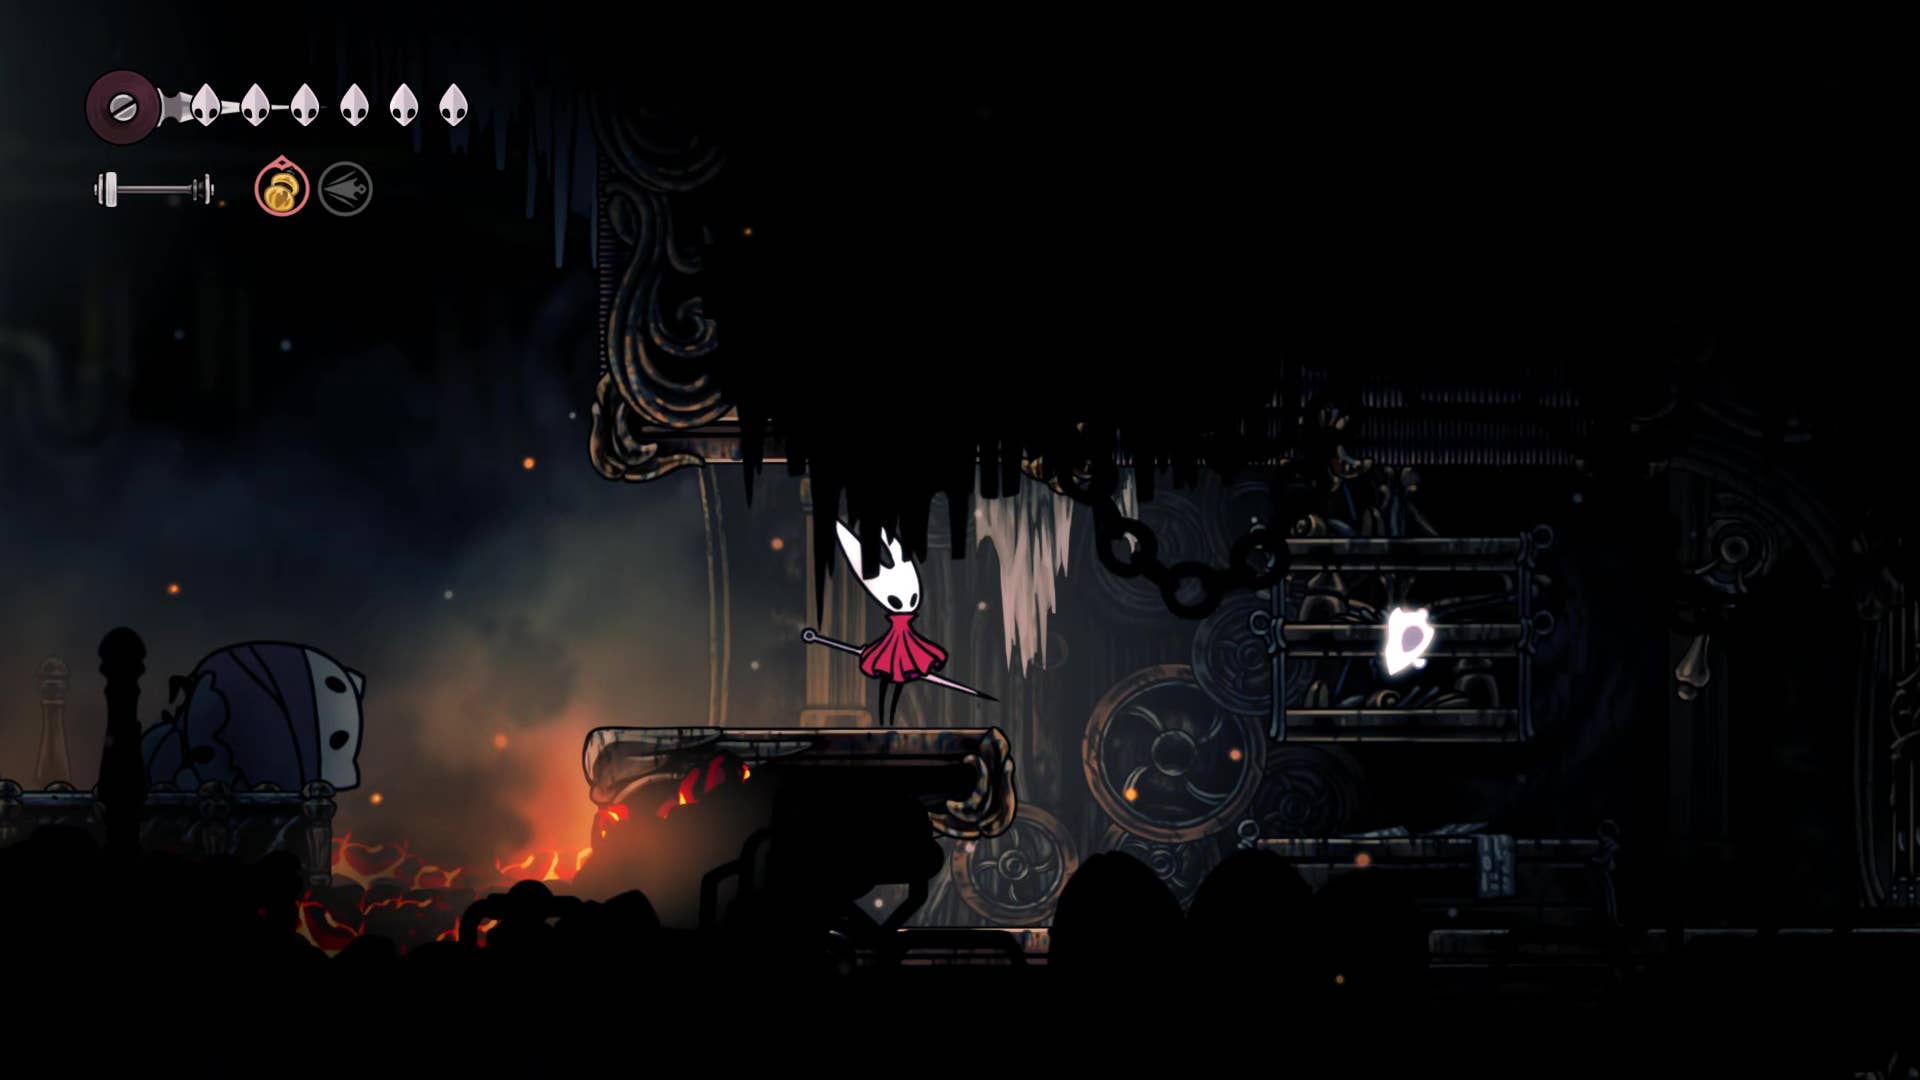
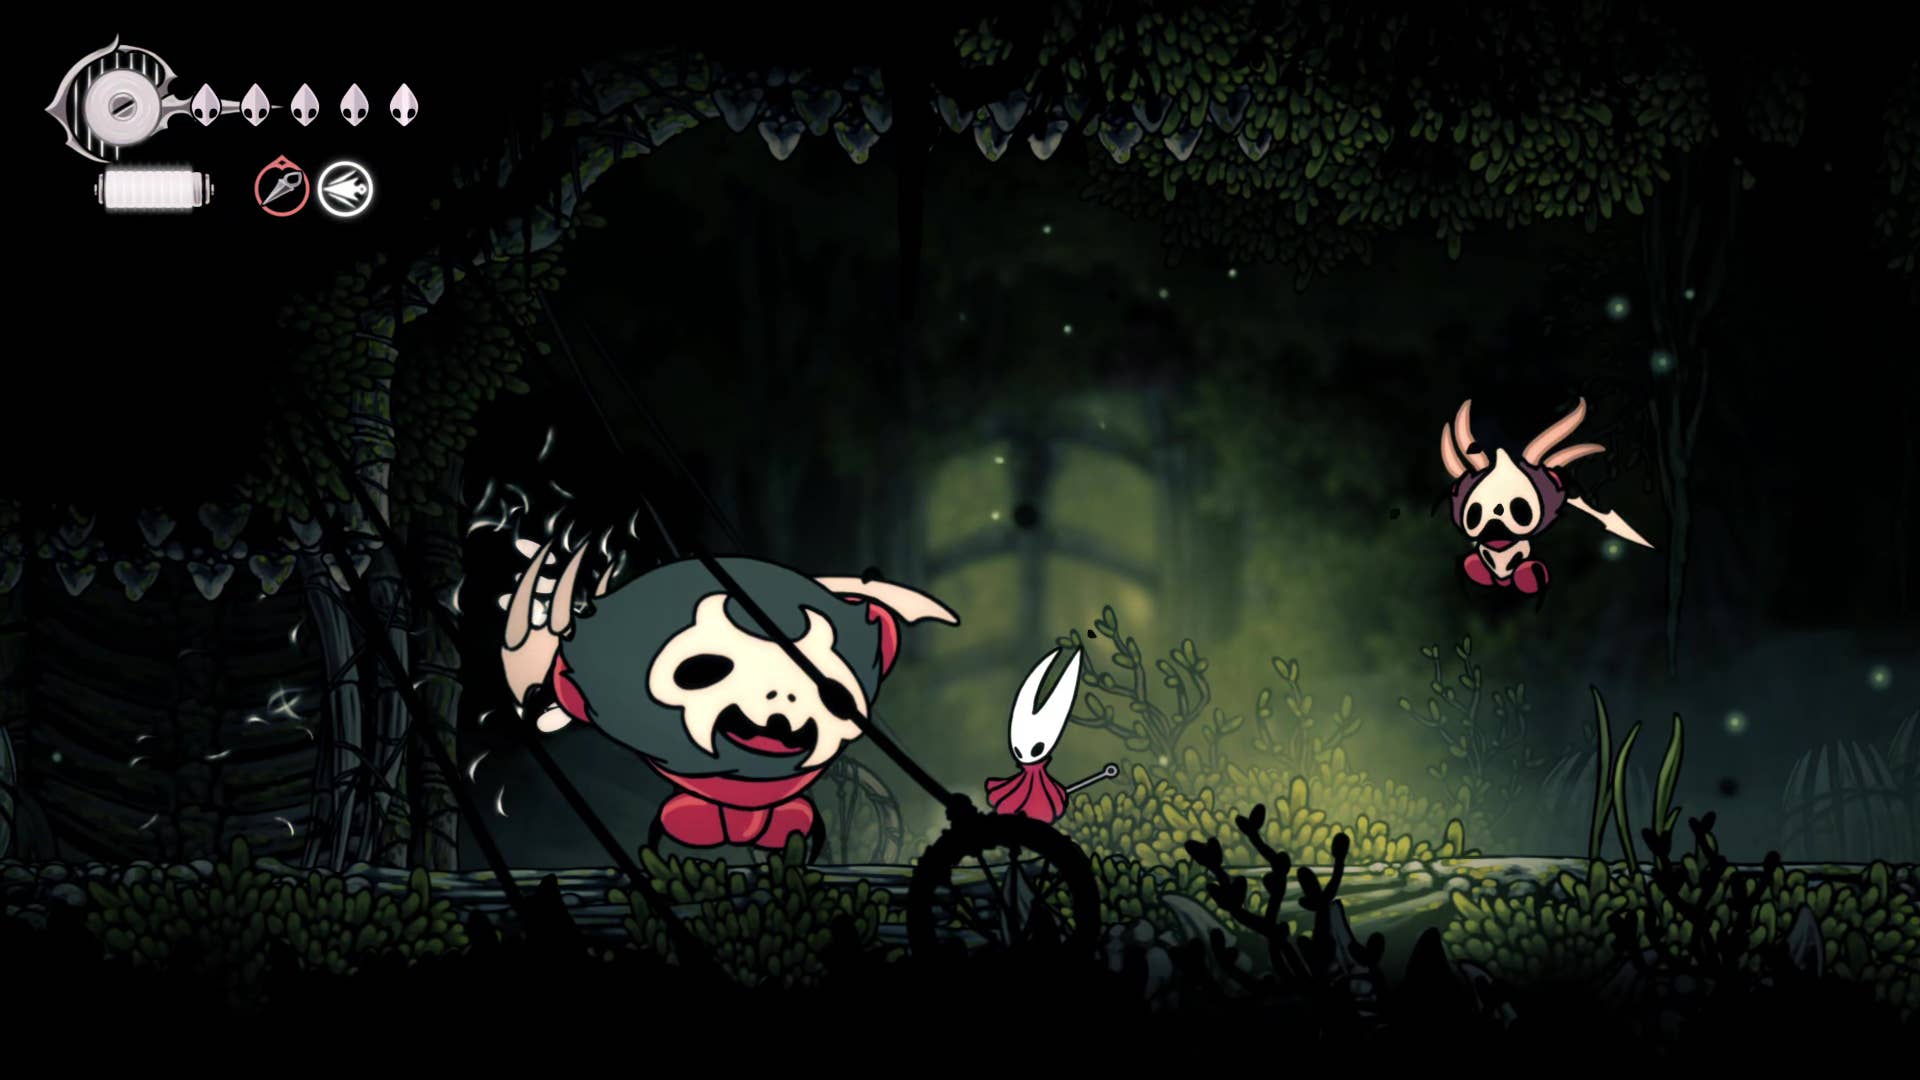
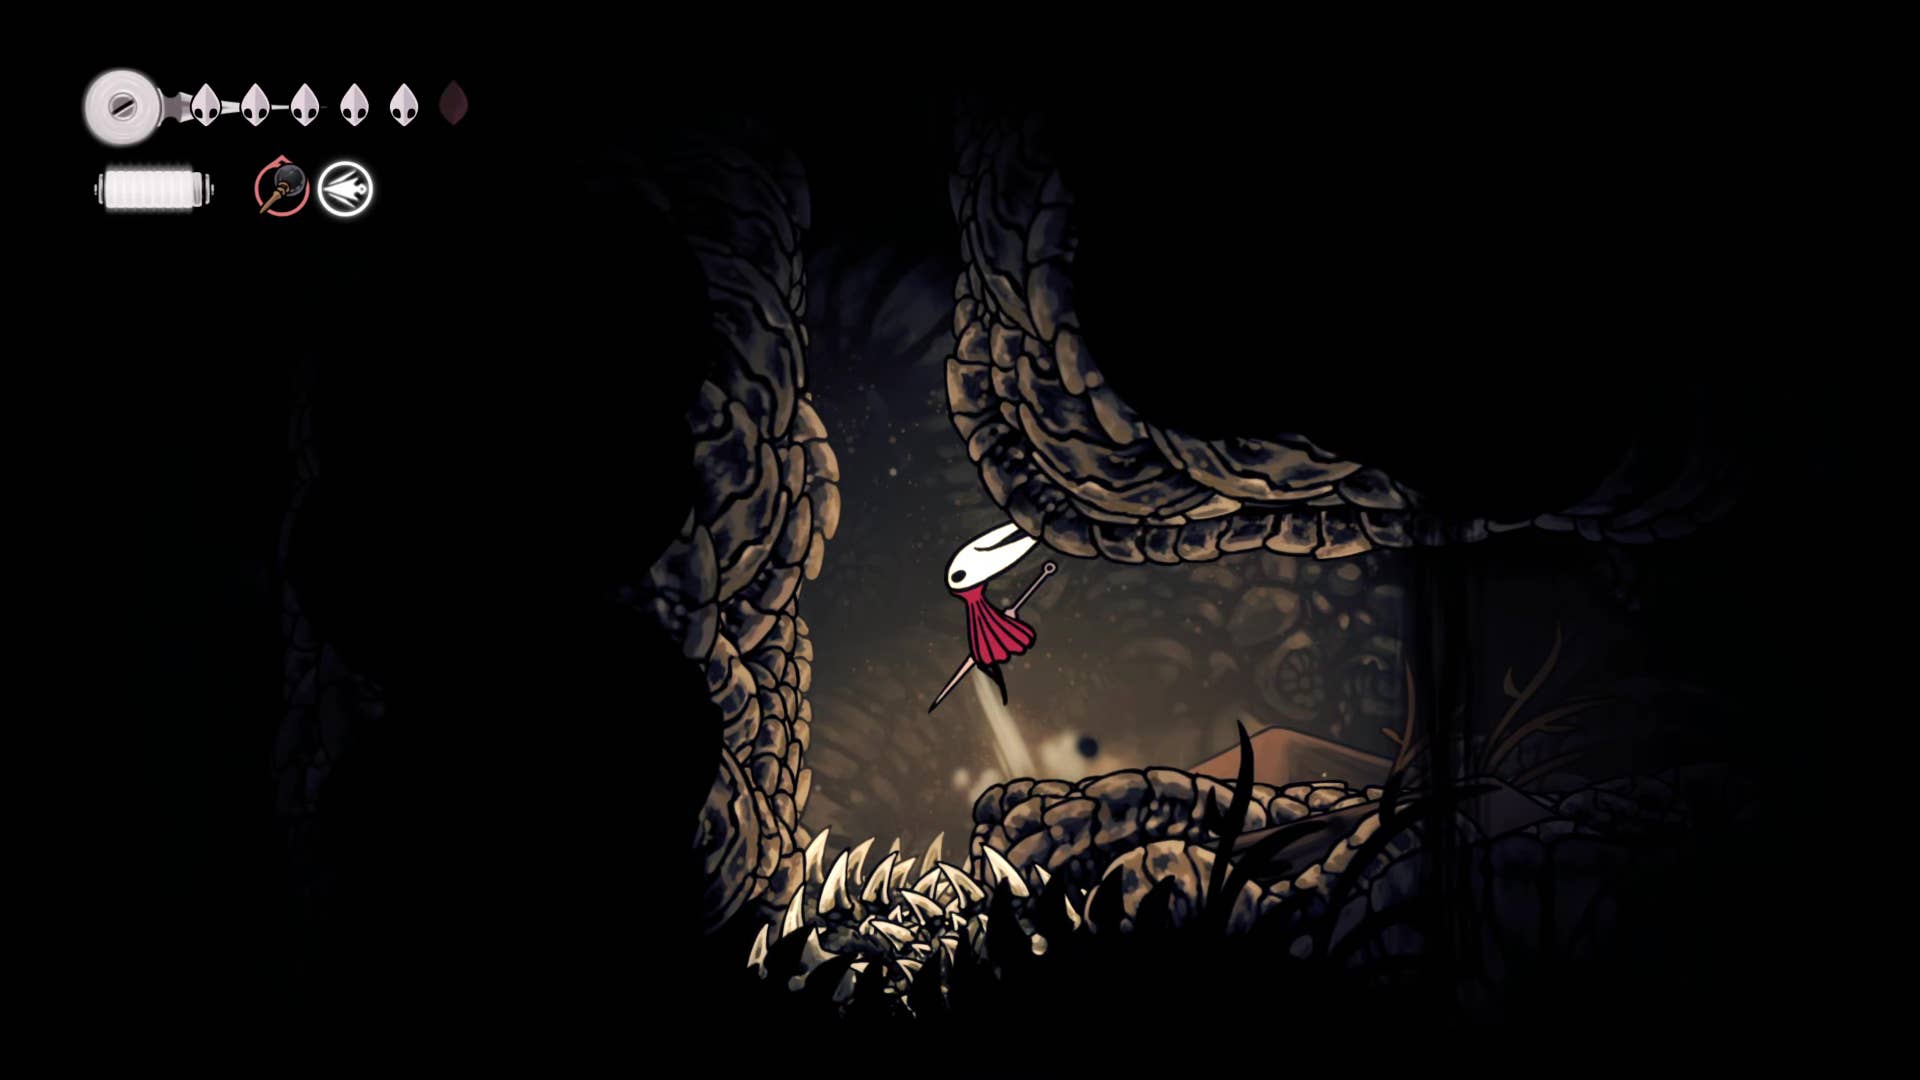
Once you return to claim rewards for the Volatile Flintbeetles Quest, accept the still delicious Tyrant Hunting Quest. This wish will appear on the wishwall after gaining the claw grip skill from Shellwood and once again need to find the largest skull bug hideout in the bone marrow.
Lair is easy to find – it is the only part of a Marrow map you haven’t met yet. Head east from the bottom of the bone and ride on the right side of the moving platform. Next, climb onto it to unlock this new area. Explore it completely – there is a fragile wall, behind which is a path leading to two rosary caches.
At the end of the pass there is the shortcut on the other side of the flea caravan (on the left) and the skull tyrant itself (on the right).
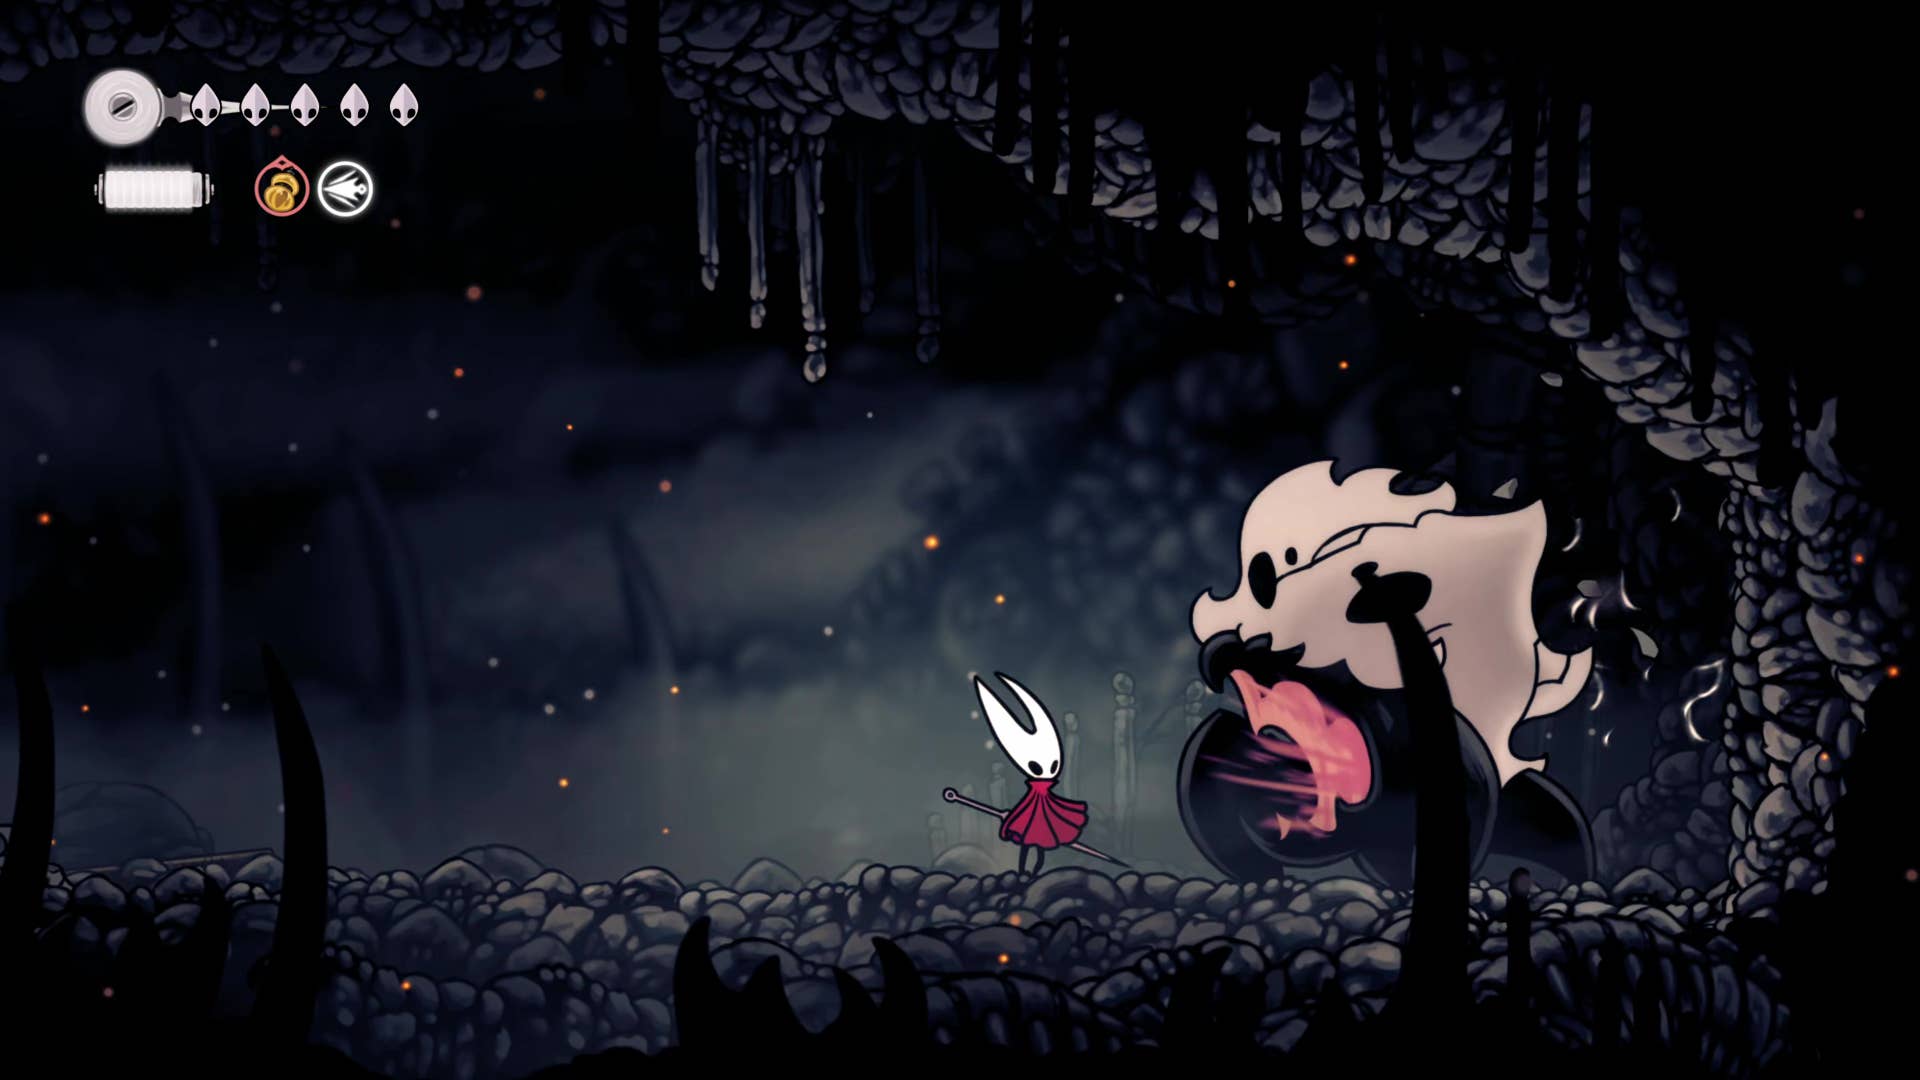
He’s a nasty person, but his story is clear once you learn them. If it is run, it will be charged and you will have to jump over it. If it wiggles in the spot, it jumps and you can dash under it. If it’s a roar, be careful of the rain rocks. It’s almost everything you need to know to kill it and plunder the crown fragments from its body.
4. Conquer the deep dock gauntlet for mask shards.
While nearby, return to the optimal room of the bone marrow, climb up the wall and rise as high as possible. You can then head right through the metal platform and unlock a slightly extra upper level room and face the enemy gauntlet of the mask shard.

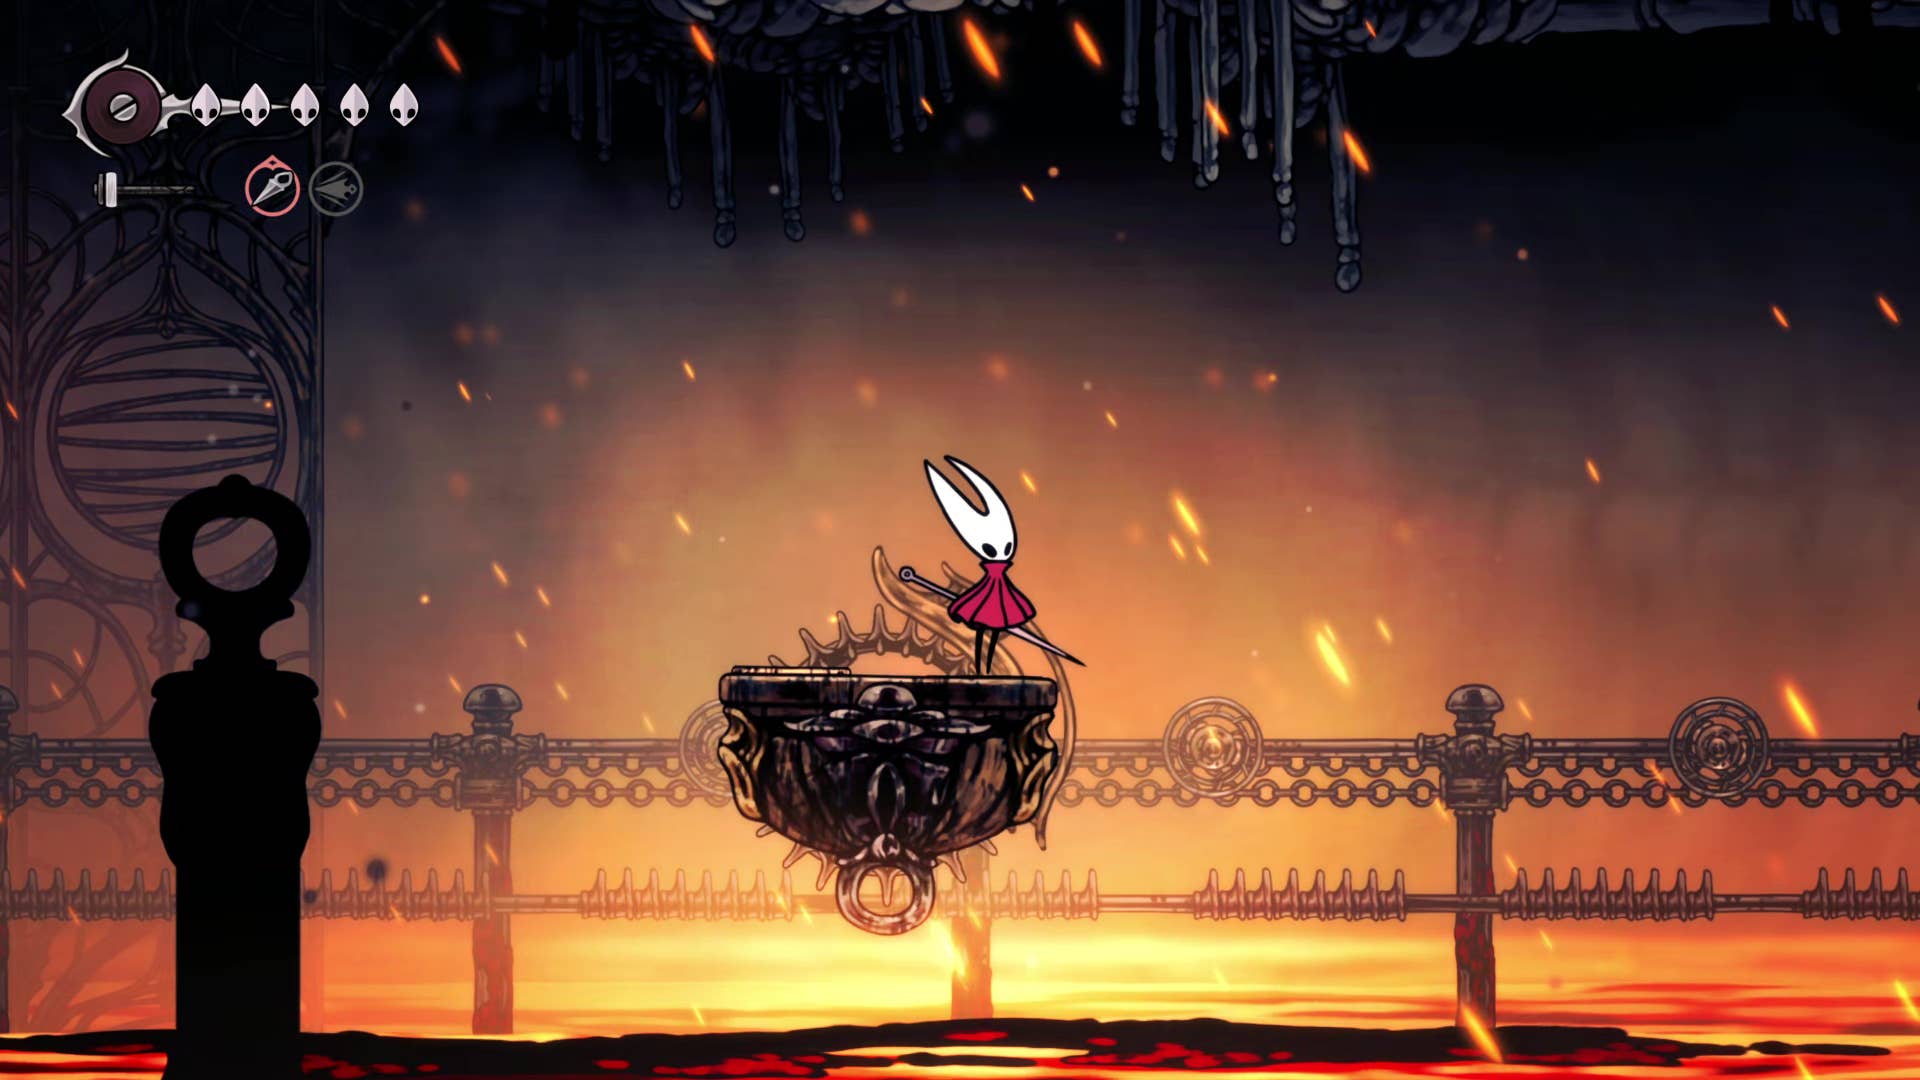
5. Survive the attack on the bottom of the bell.
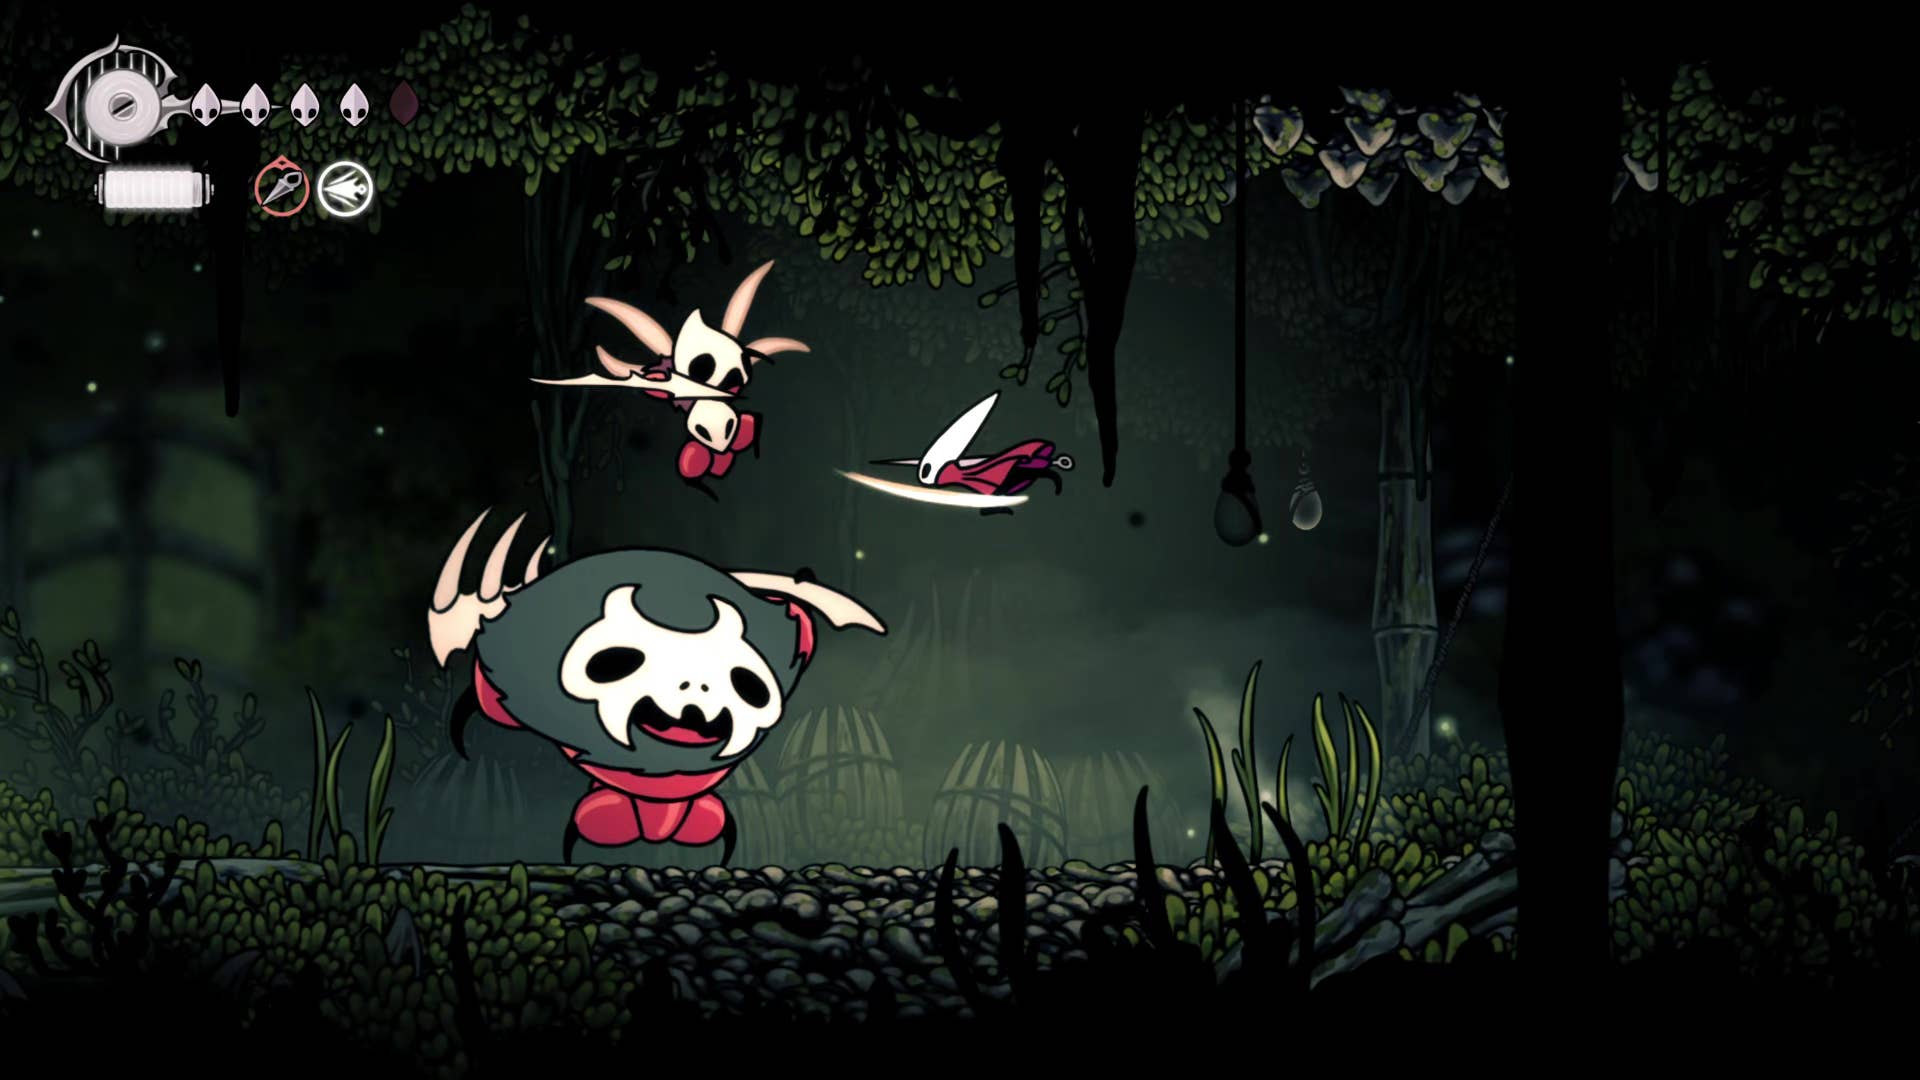
Return to the bottom of the bell, turn the crown fragment for reward, then head left. As you do, you are quickly interrupted by the aggressive appearance of another skull tyrant (perhaps the first companion?). If it doesn’t appear immediately, leave the area and returnand the skull tyrant should lay eggs.
This skull tyrant is a carbon copy of the previous one (including the rain rock), so he already knows how to beat it. If you’re killed, talk to the residents of Bell Bottom again. It turns out that there were unfortunate victims during the attack.
At a later point you can go back and witness the funeral of the fallen pilgrim.
6. Buy Bell Heart Map from Shakura.
While you’re at Bellbottom, source your Bell Heart Map from Shakura – it’ll be a great help in the next chapter of our walkthrough!
After an attack on the village of Tyrant of the Skull, the platform to Shakra’s spot at the bottom of the bell can break. If so, raise the elevator up, then go right and drop down to reach Shakura from above instead.
7. Fight against the second scalar guard in the Hunter’s march.
This task is pretty tricky, but there is another spot in the area of Hunter’s March. Return to the hunter’s march, head towards the vertical shaft and rest on the bench (previously trapped). Next, climb the wall to the top of the shaft and enter the room beyond.
In this room – and sorry to break the news to you – is another skarrgard to lose. Do you remember the giant ant warrior who protected the passage to the hunter’s march in the first place? Yes, that’s another of those people. And this is much more difficult. Because during the battle, the flying spear Scar will soon be joined by it, which will attack you from afar.
My recommendation is to use the long pins at will to damage both enemies at once from (relatively) safe distances. The attack windows are very low, making them extremely patient as both enemies are tormenting you at once.
When you are finally able to defeat the Skull Guard, you can enter the back room filled with the rosary as a reward.
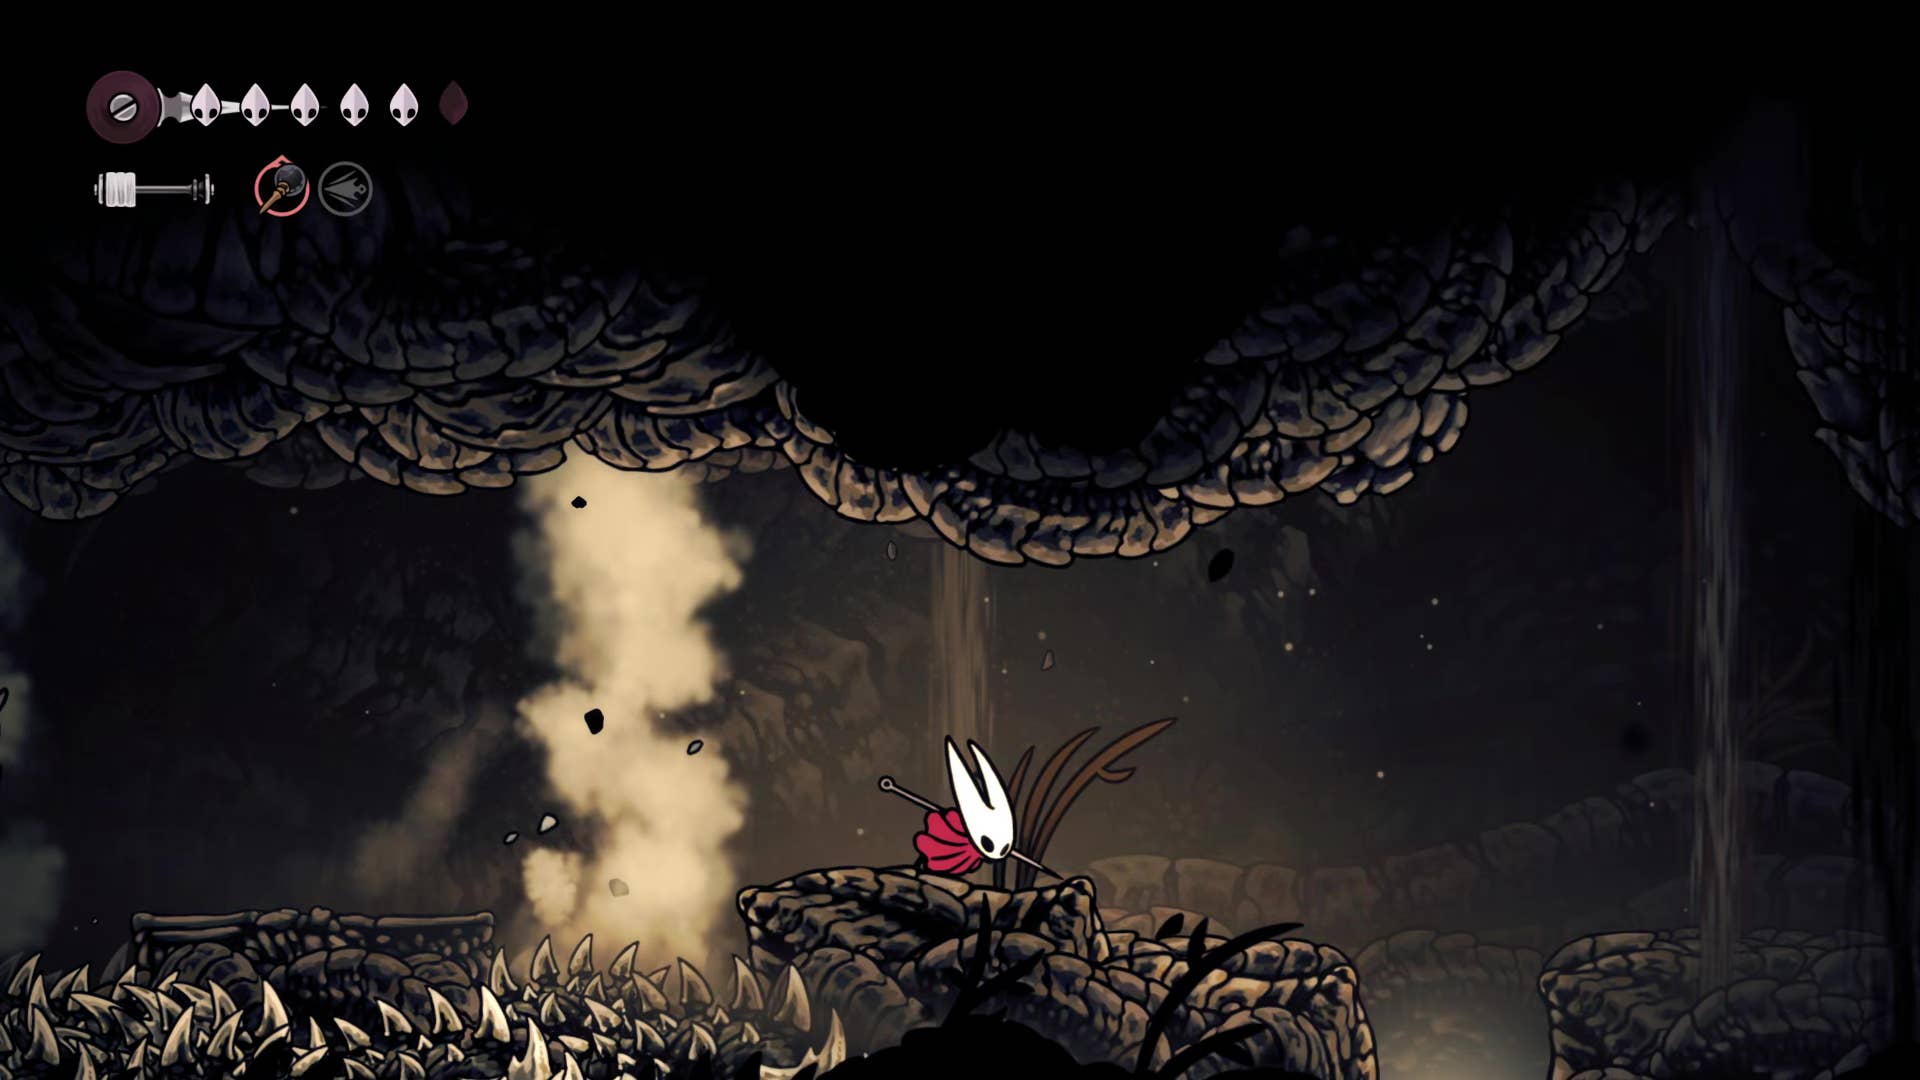
8. Complete the FAR Field Obstacle Course.
Next, head to the far field through the entrance, past where you fought the race. In this first room, the Wall-Climb can enter the upper room.
This room has a rather tricky obstacle course filled with spikes, air currents and red pogo-enabled plants from the hunter’s march. You can also unlock the top shortcut to the deep dock bench. While trying obstacle courses, it is recommended to rest there while losing too much health.
There’s not much to explain here. Once you complete the course, your chest is filled with a rosary on the edges. Next to your chest, you can unlock the short ladder to unlock it to more familiar ground within a distant field.
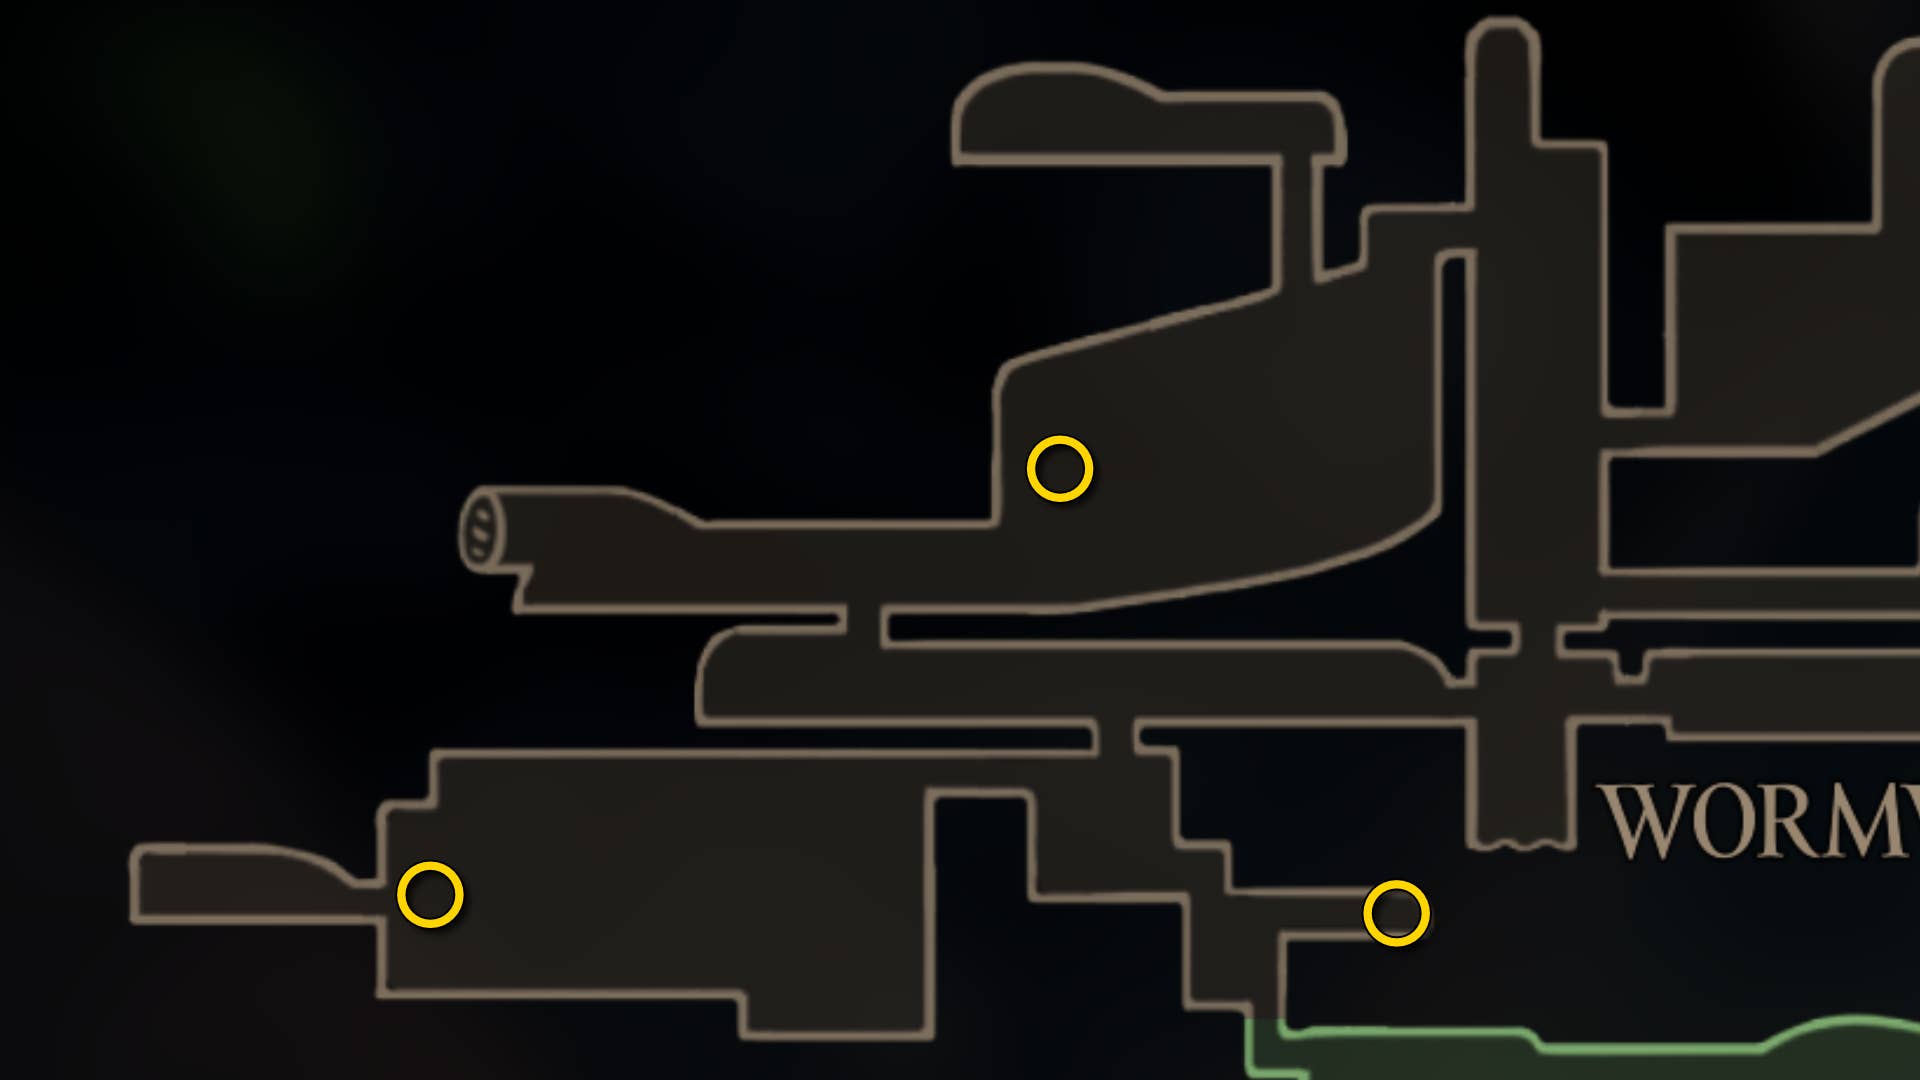
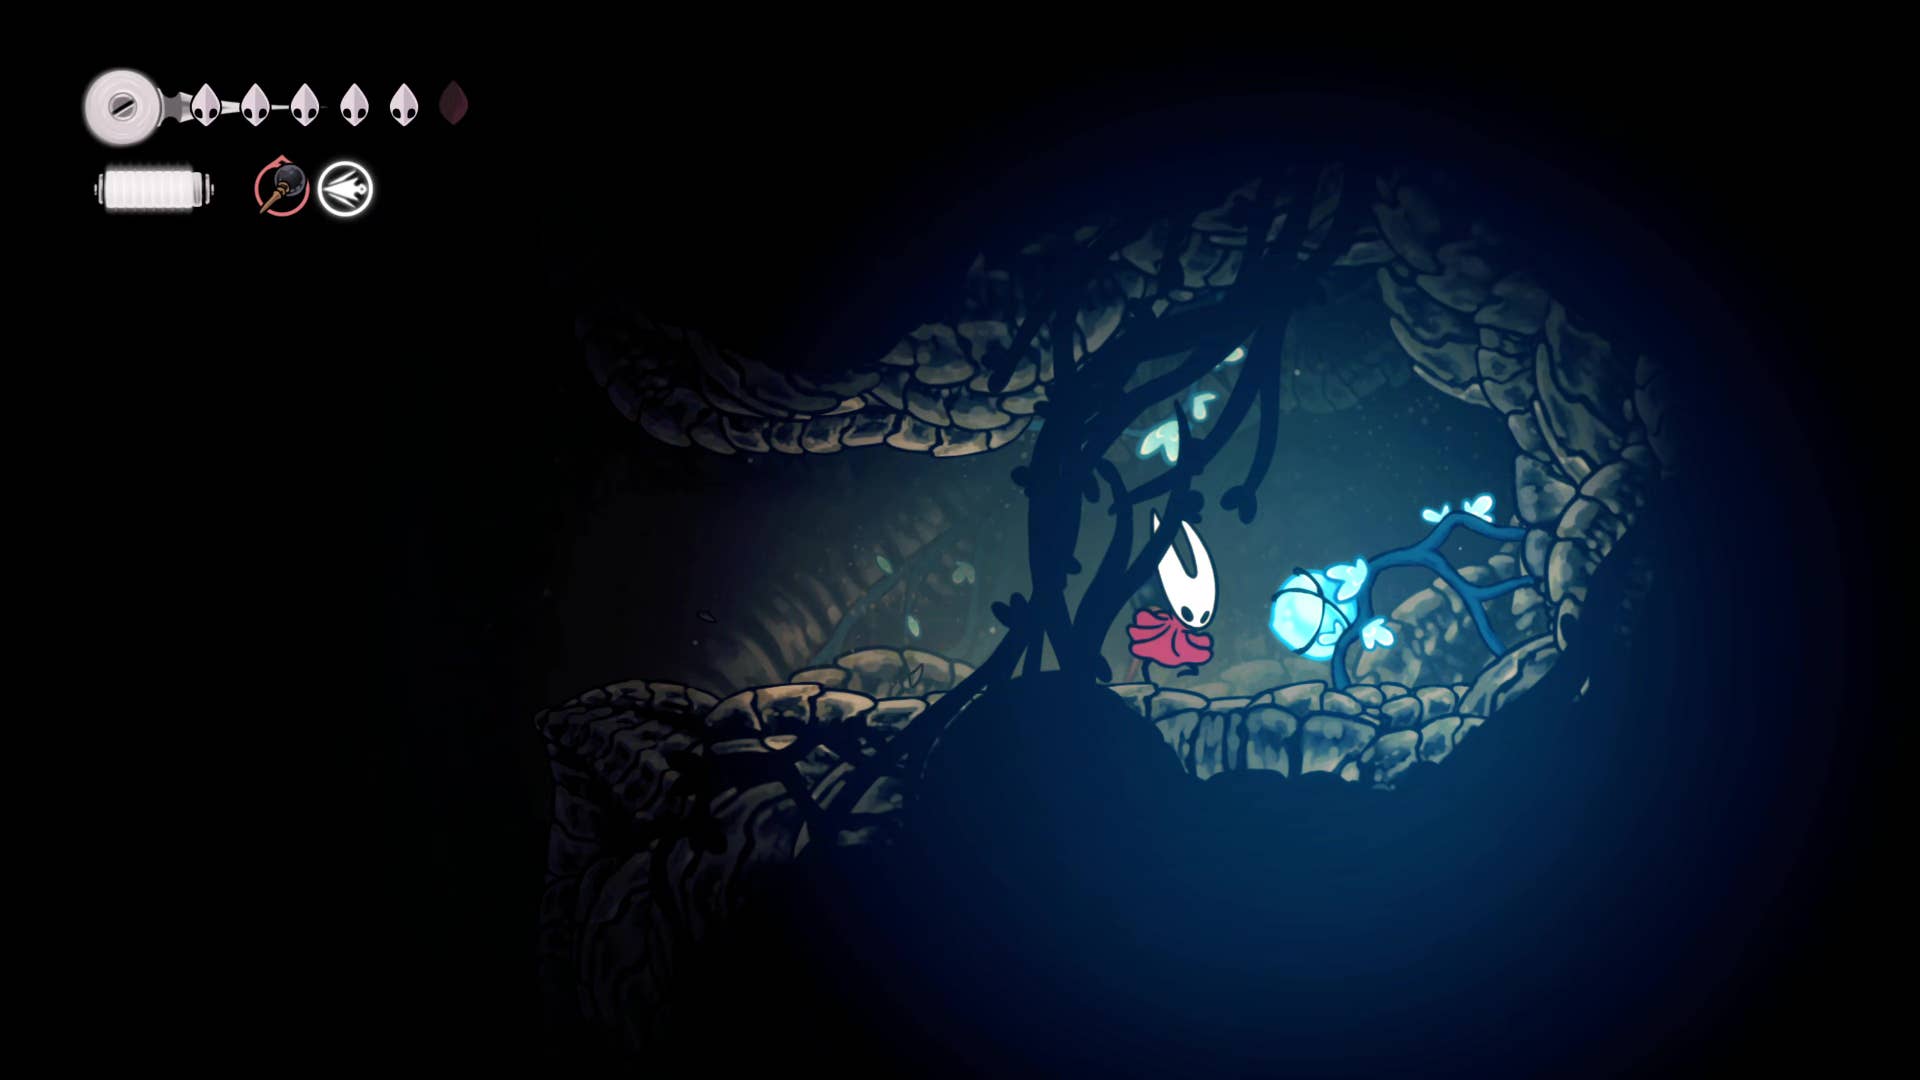
9. Find Zylotol on the Wormway.
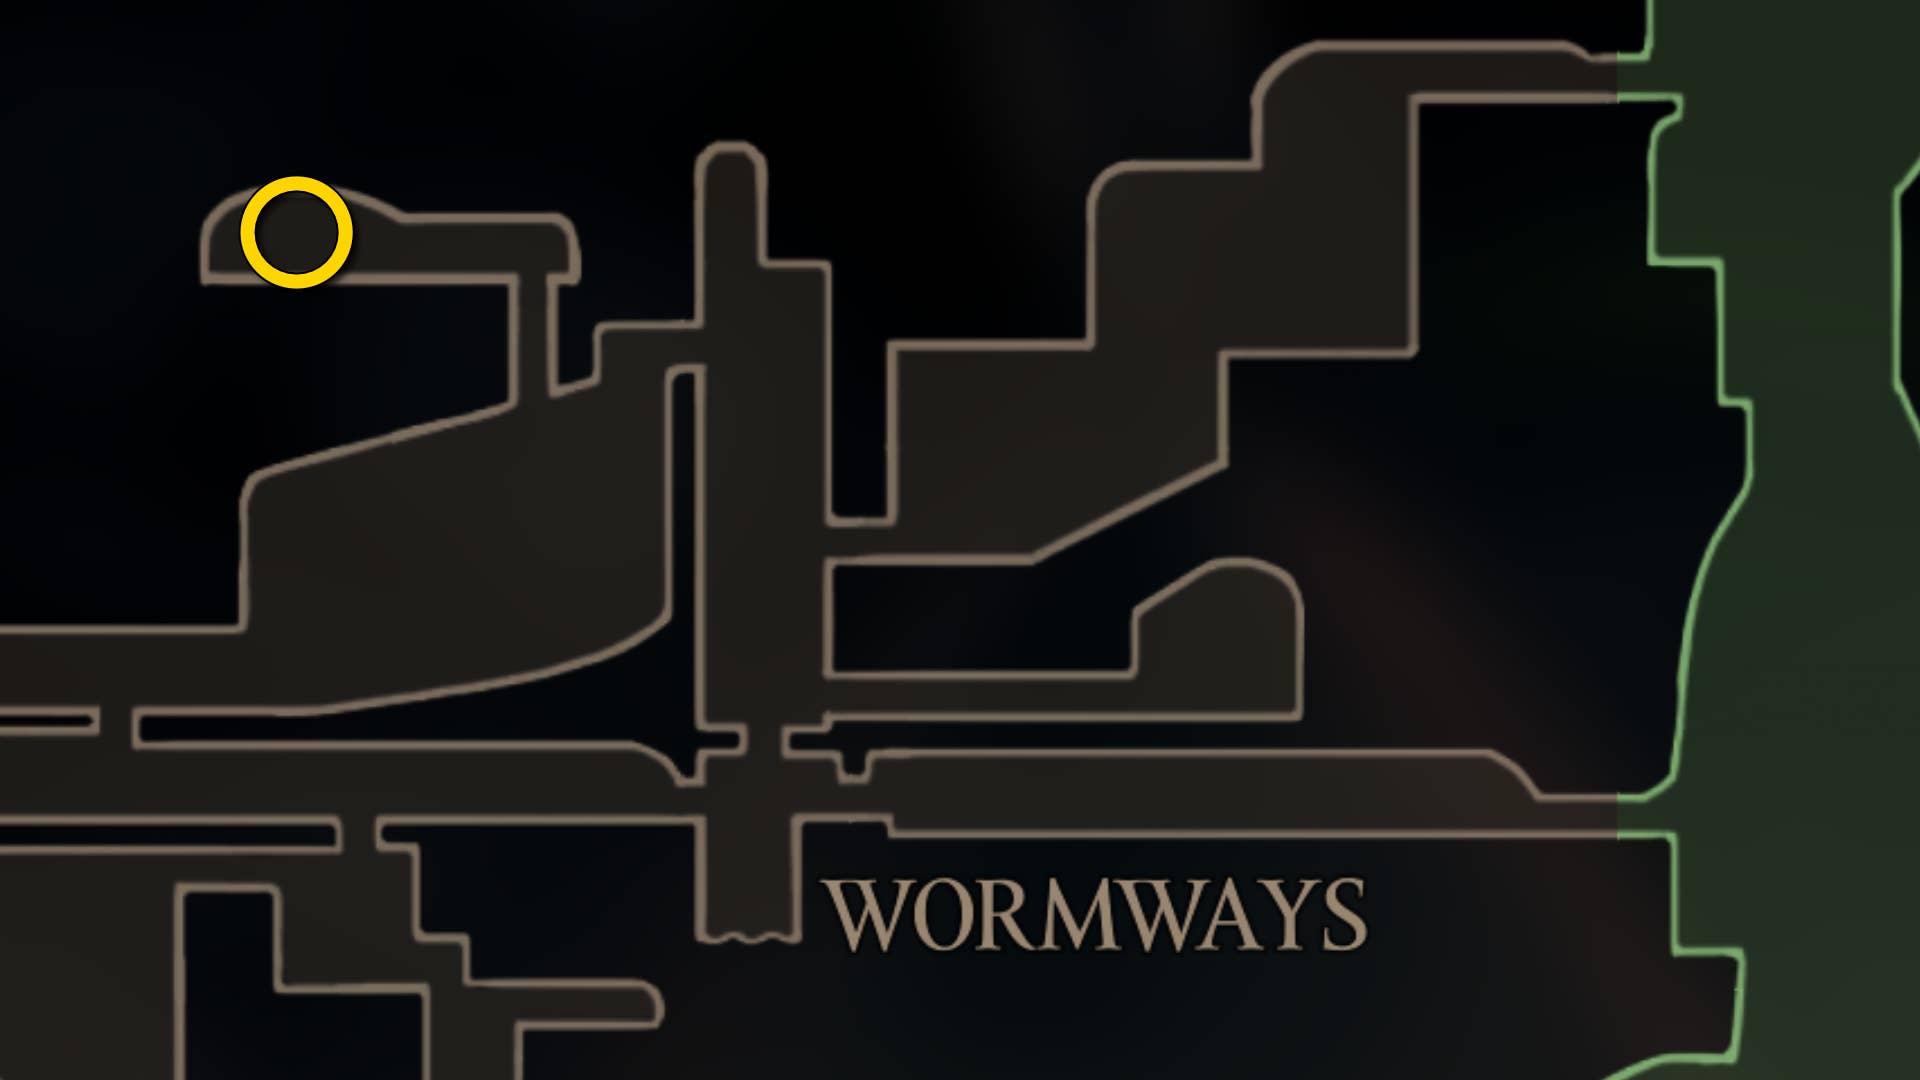
In the final task of Part 10 of the Silksong Walkthrough, you will find yourself returning to the dangerous wormway northwest of the bone base. Just like before, use the elevator to reach it and climb the unlocked shortcut right next to the doorway of the Wormway. Climb to the top of the shaft and exit the entrance and exit on the top left.
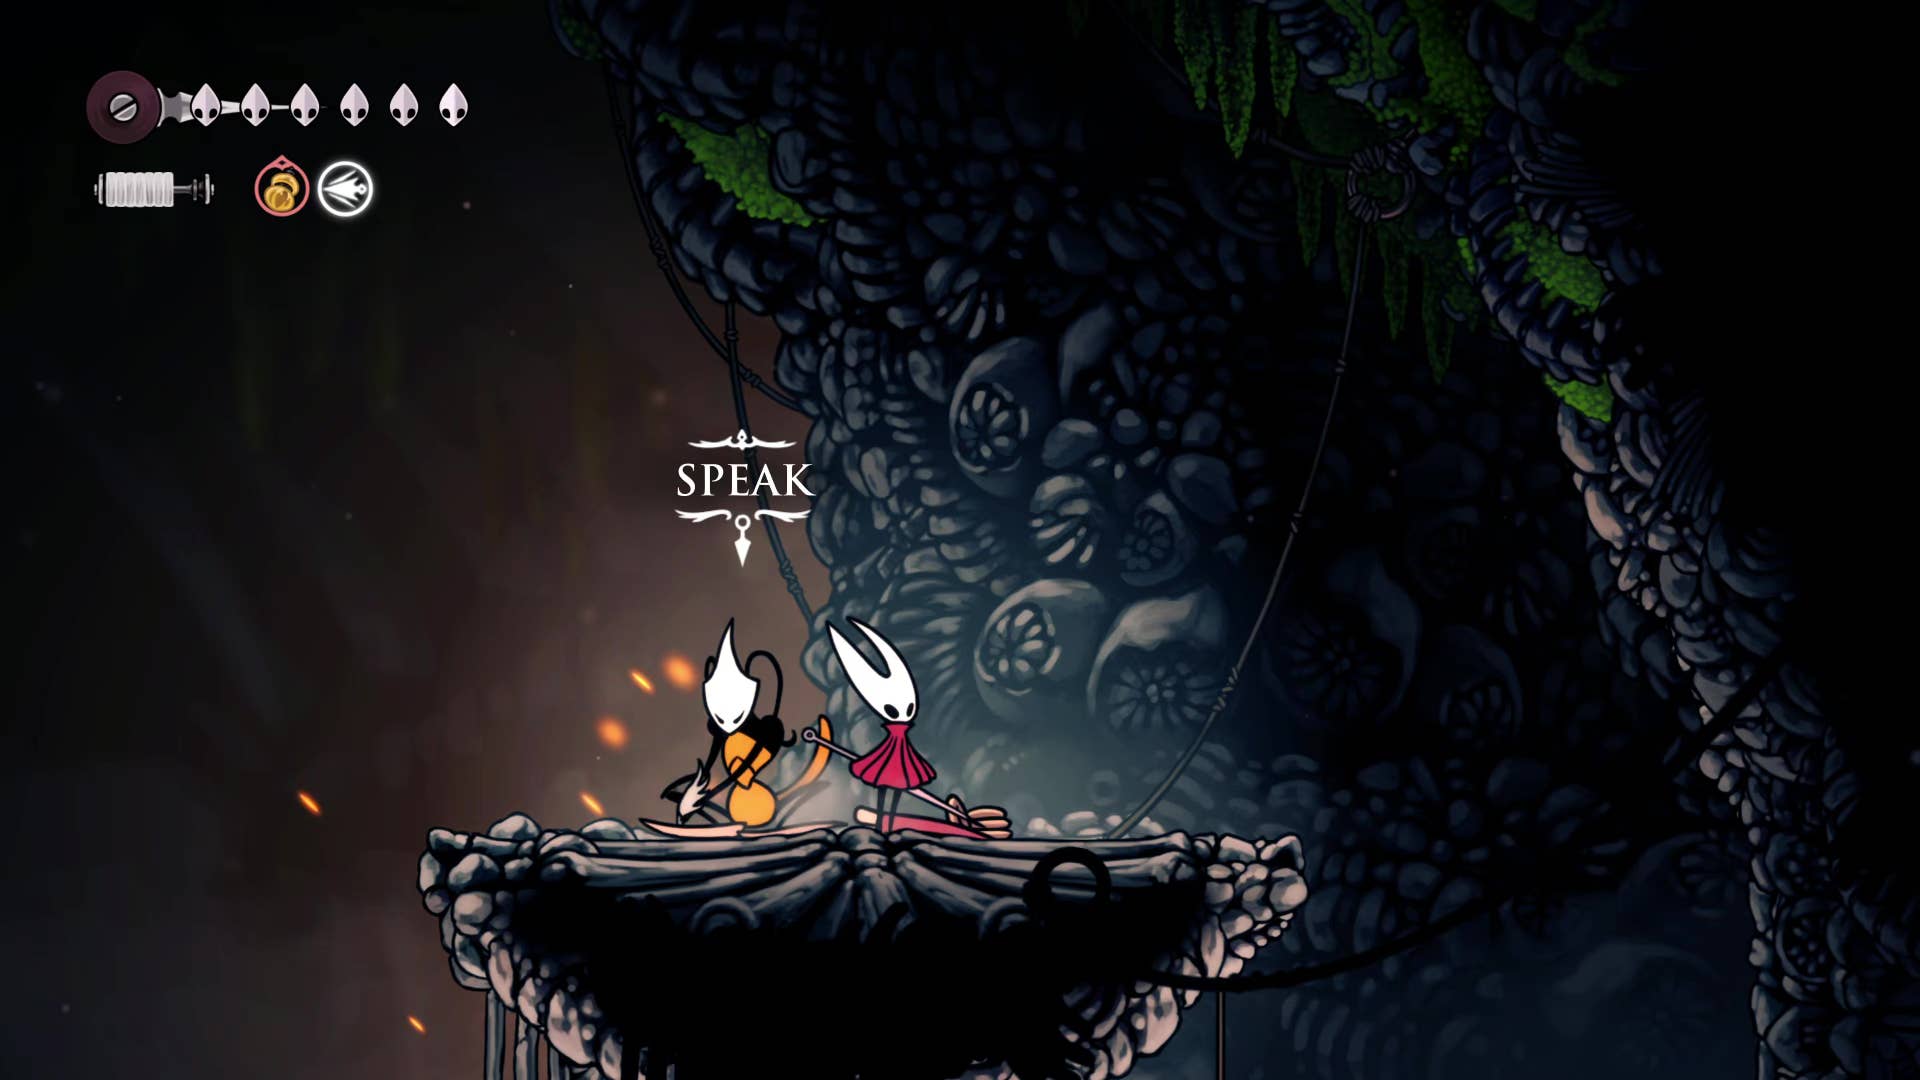
In the room over there, bypass the first worm, then climb to the next entrance. This will take you to a slightly hidden hole where you will encounter the new NPC -Alchemist Zylotol.
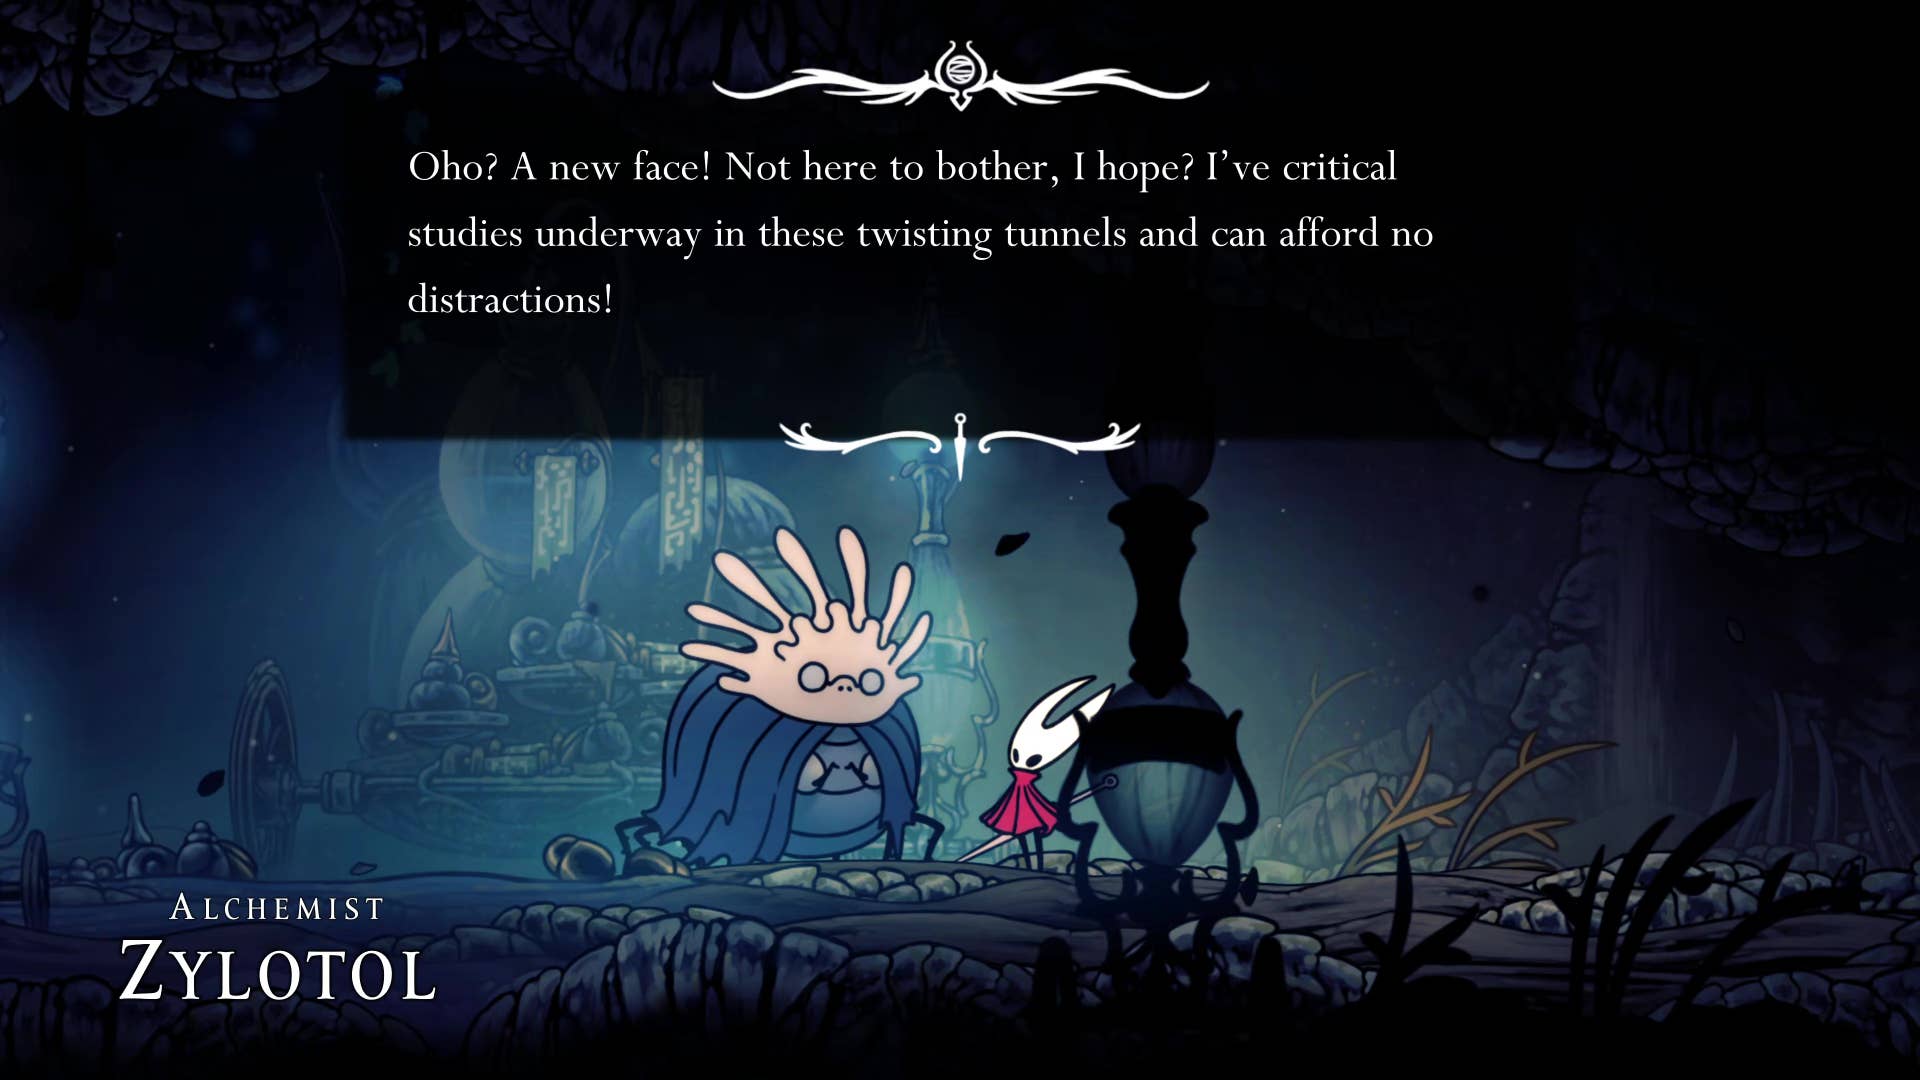
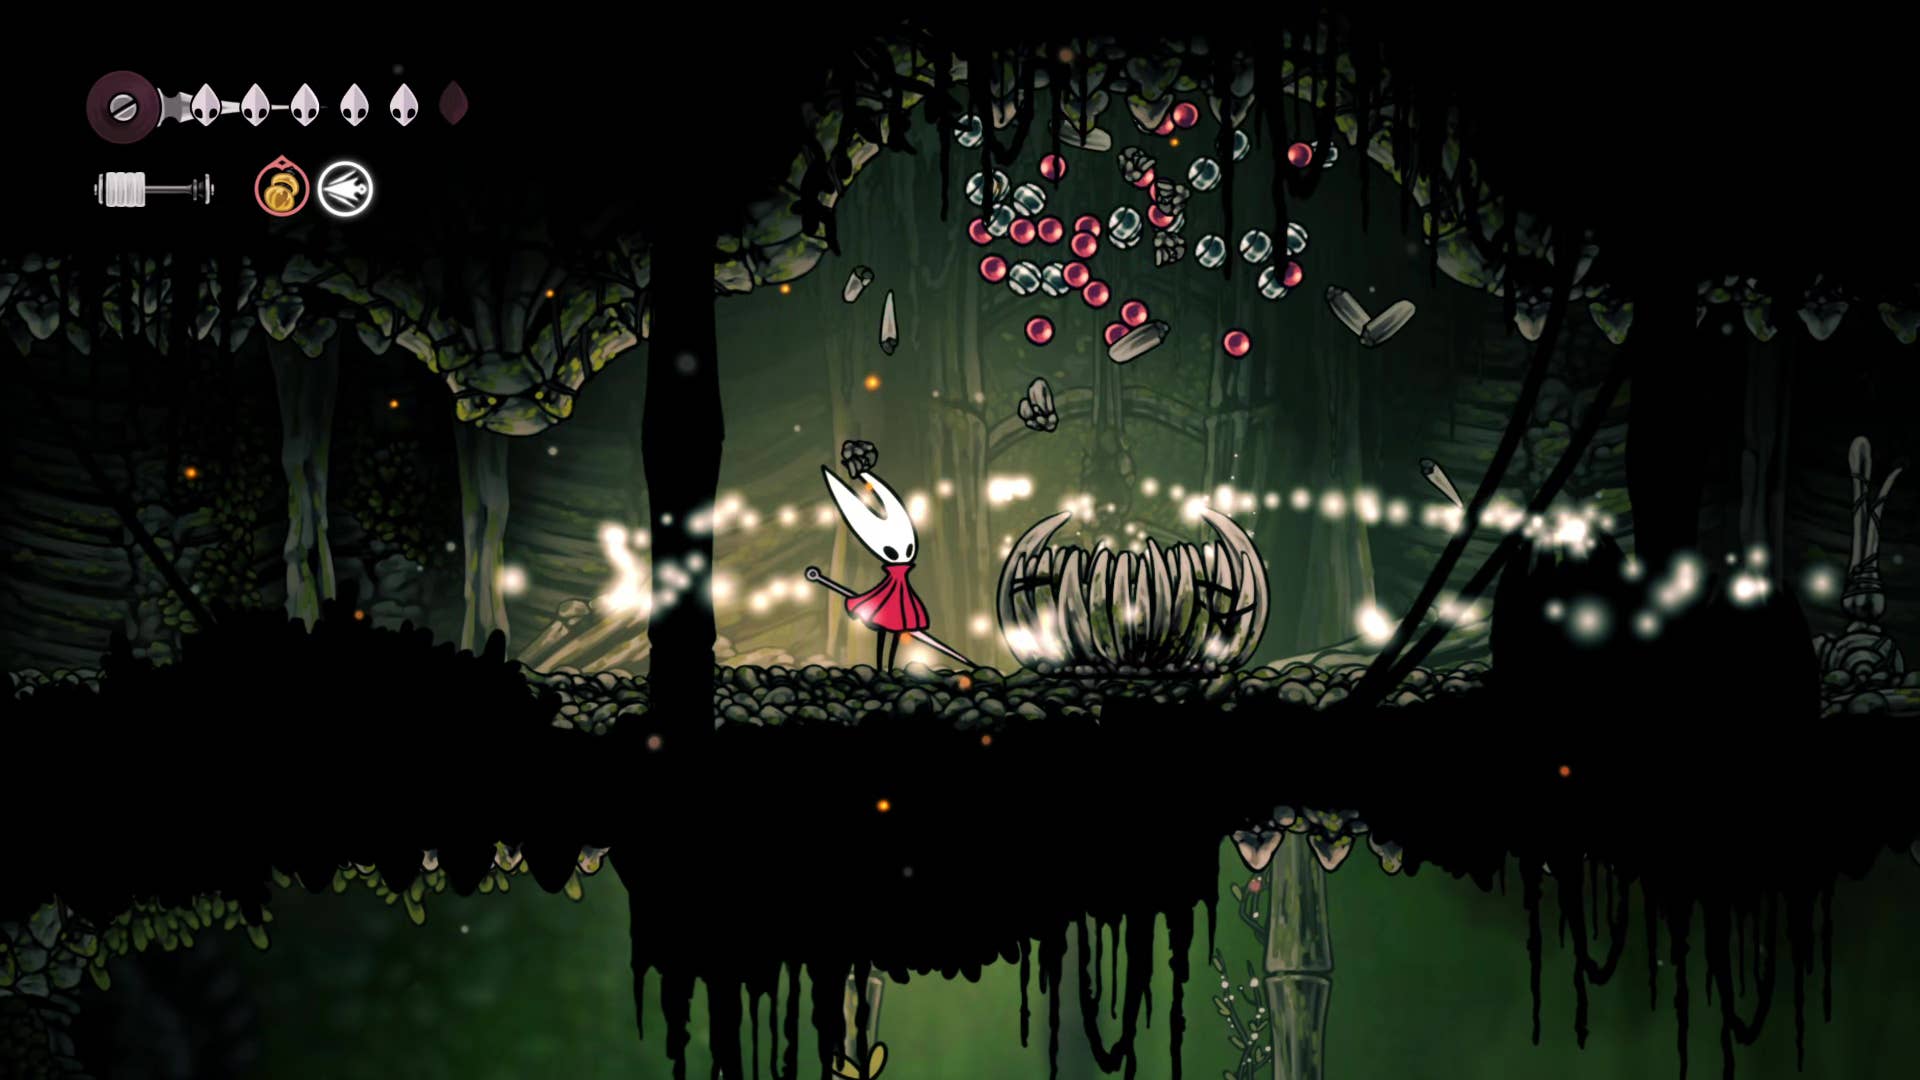
A dialogue between Girotol to embrace his quest to collect plasmiums from the glowing blue orbs of the Wormway.
10. Collect three plasmiums from the wormway.
Accepting Zylotol’s quest, he will give you a spot of needles (equipment required!). Rest on the bench next to Zylotol and equip needles in the red tool slot. After that, you will return to the Wormway.

The first plasmium is in the room you are currently in. Head left, climb the wall above the spike pit and follow the path to find the Plasmium Orb. Walk to the orb, activate the tool and continue holding the needle spots to charge. Then release it to extract the plasmium.
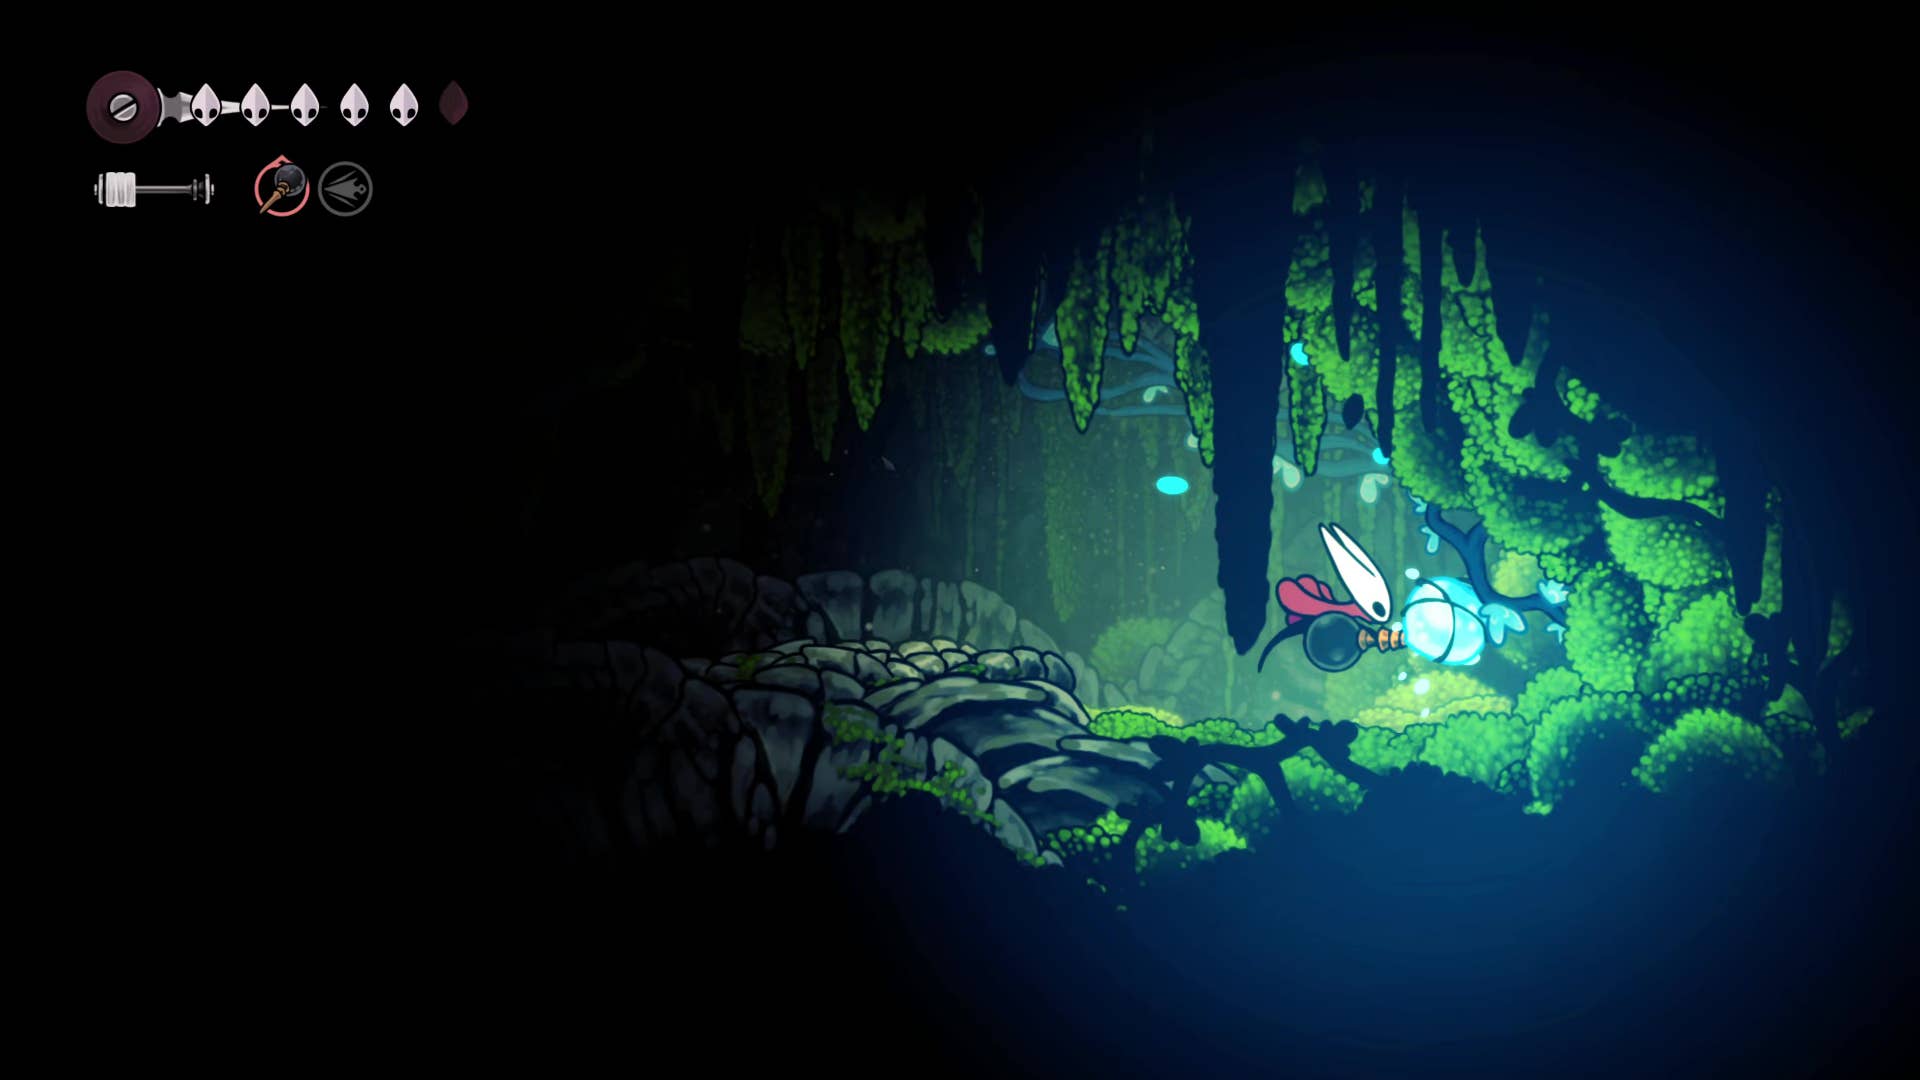
The second plasmium is something you saw before, and it’s on your way to the Wanderer’s Chapel. Head towards it and suck the plasmium off again with the needle spot.
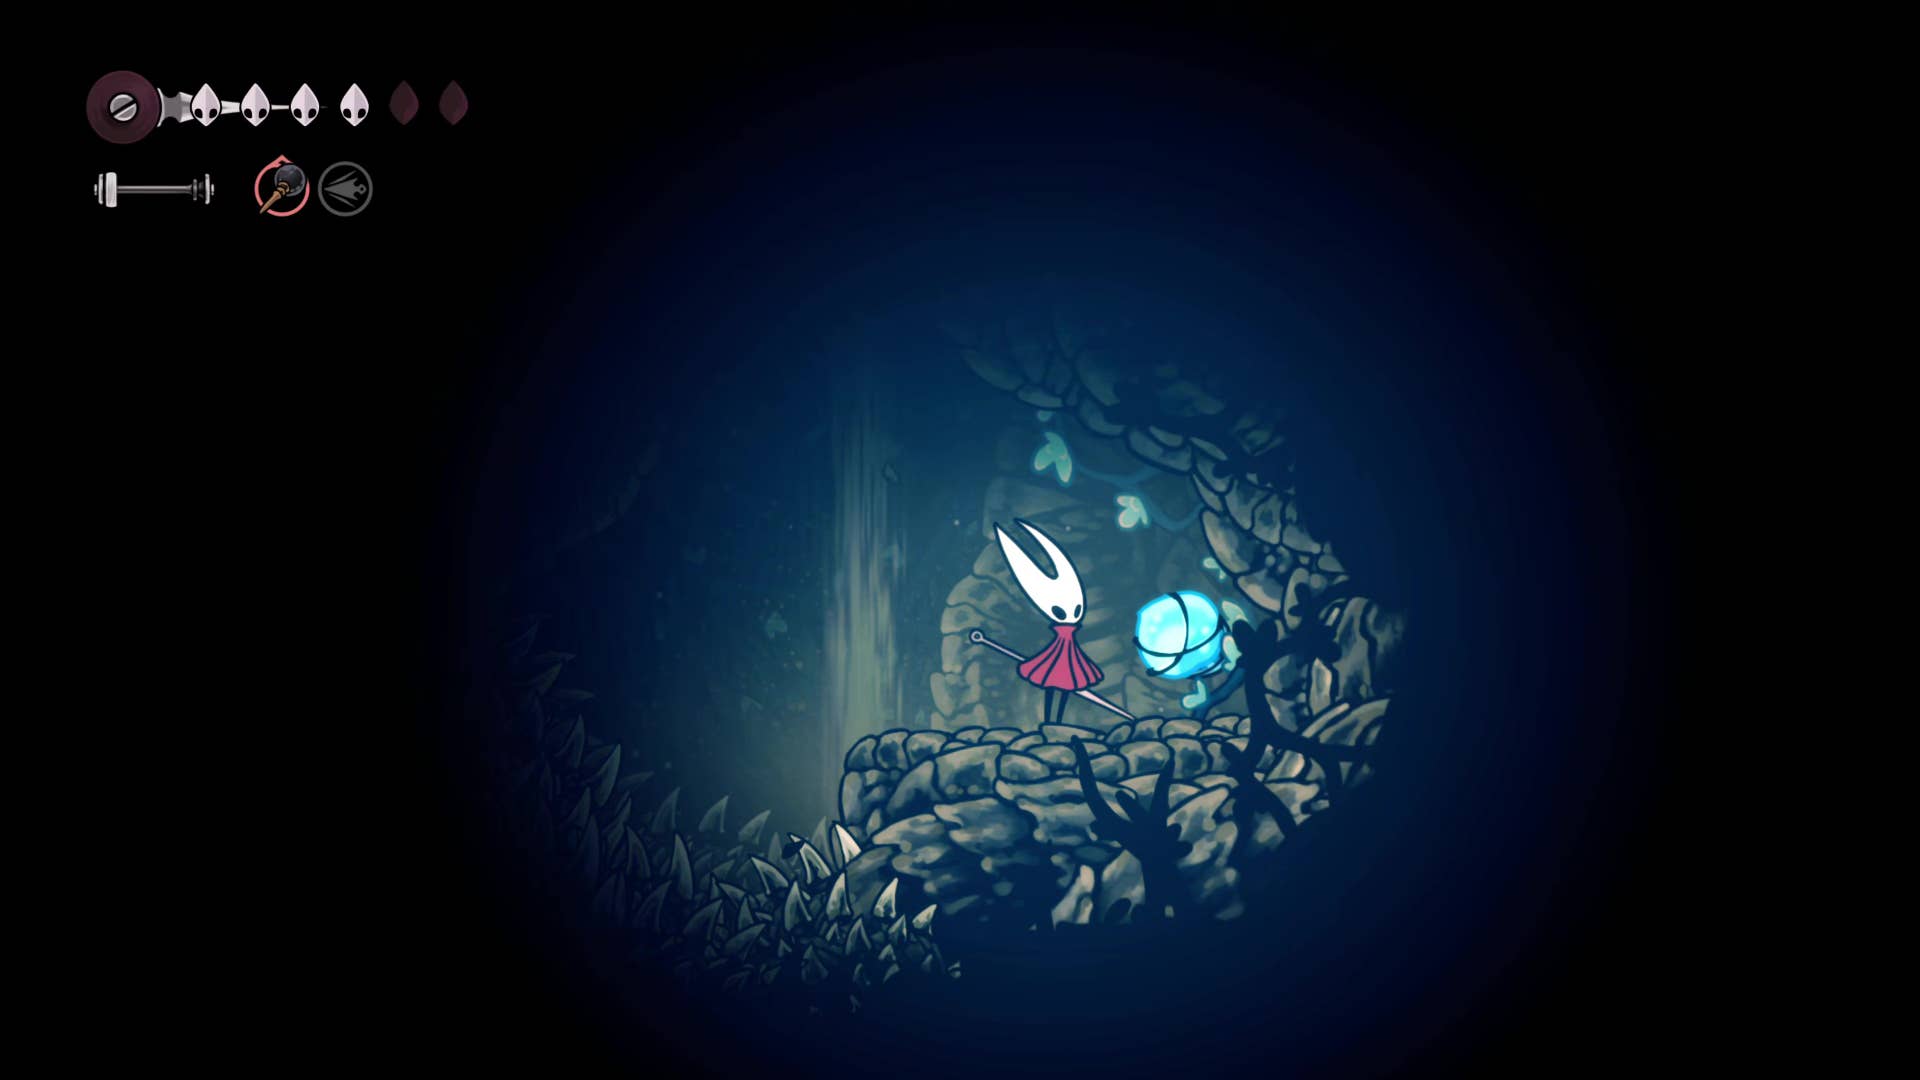
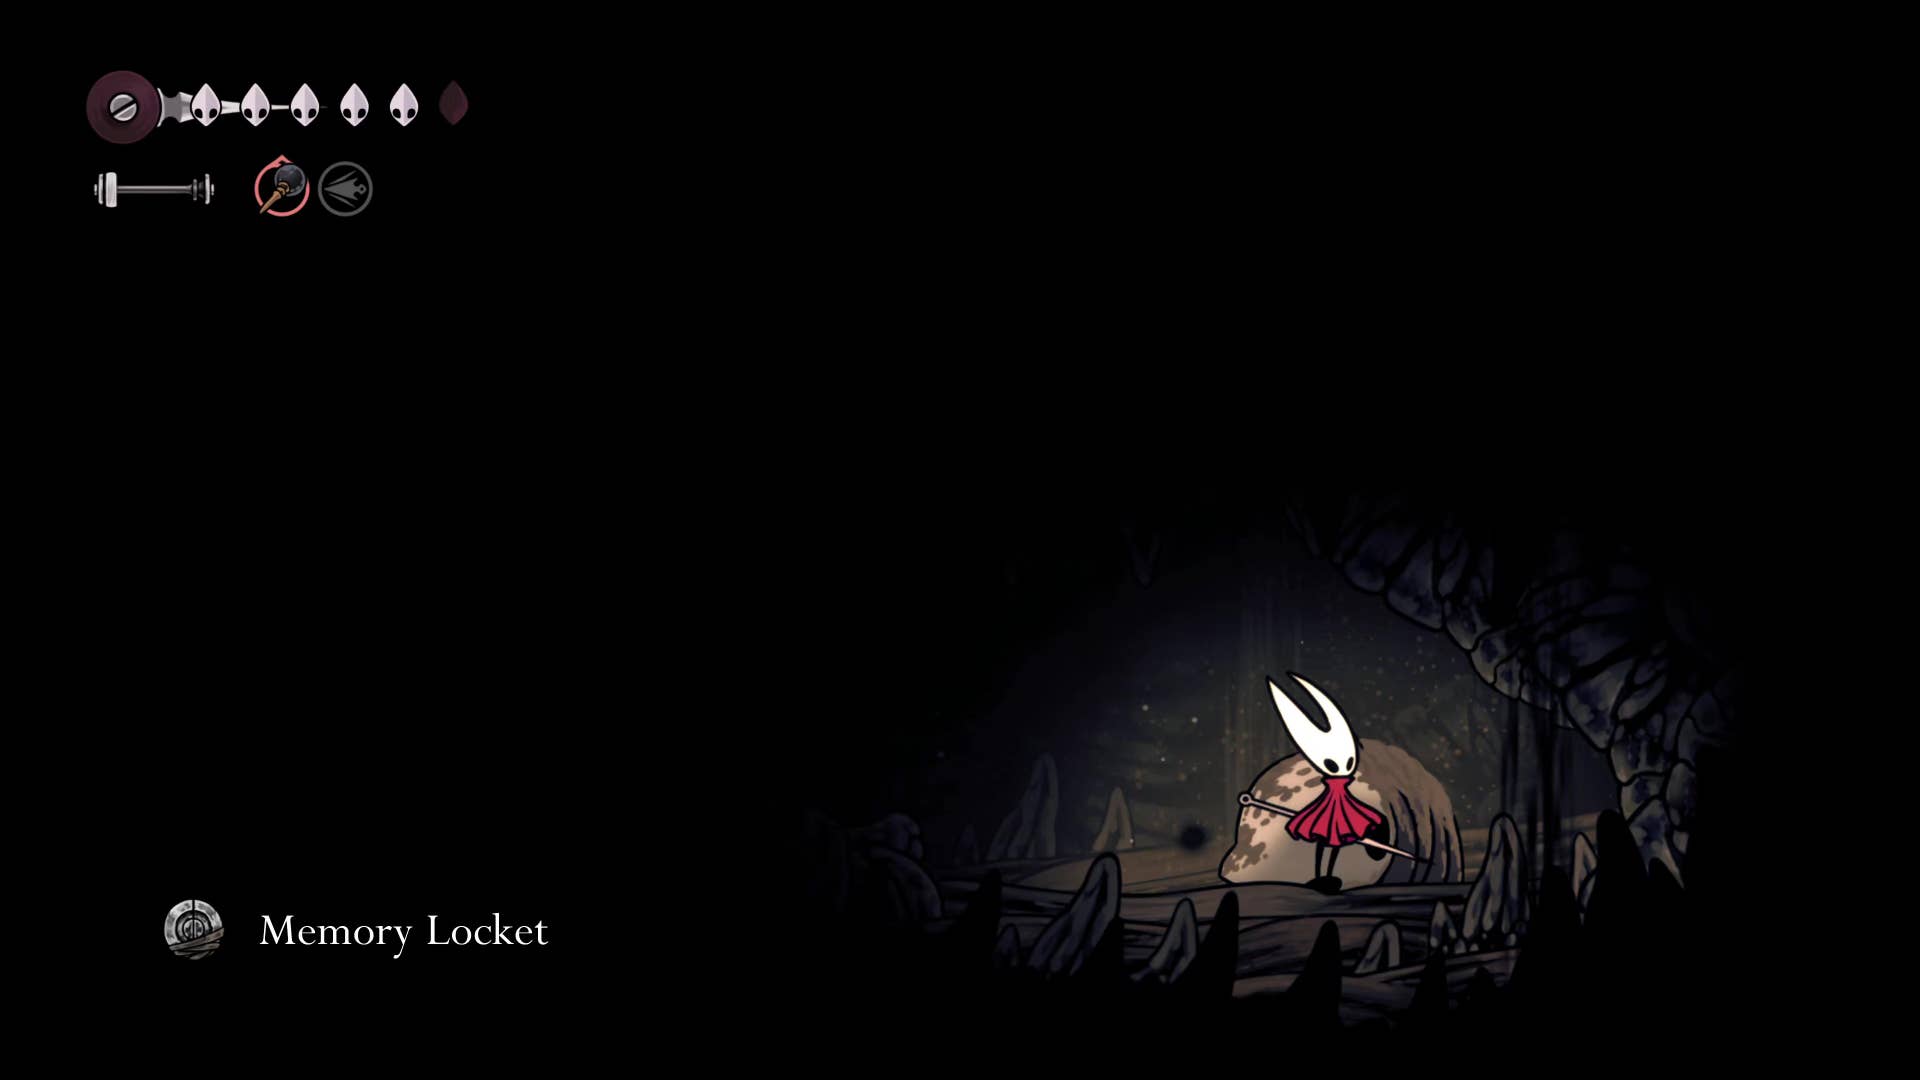
The final plasmium is in a new area of the wormway that we are exploring now. Return to the top of the second Plasmium room, head left and pass Grommling and climb the wall. There are plenty of Gromming in this area, but you will spend time healing from the worms if needed, and thoroughly explore the room to find and extract the third plasmium.
Note: This room contains the body in the sand at the edge of one path. This can be plundered for valuable memory rockets to expand Crests tool slots.
11. Get plasmium bacteria.
With three plasmiums extracted, he returns to Zylotol and he rewards you with the incredibly valuable prize, the plasmium Phial. This Phial is equipped with a red tool slot, which can consume charges and give you temporary extra health points.
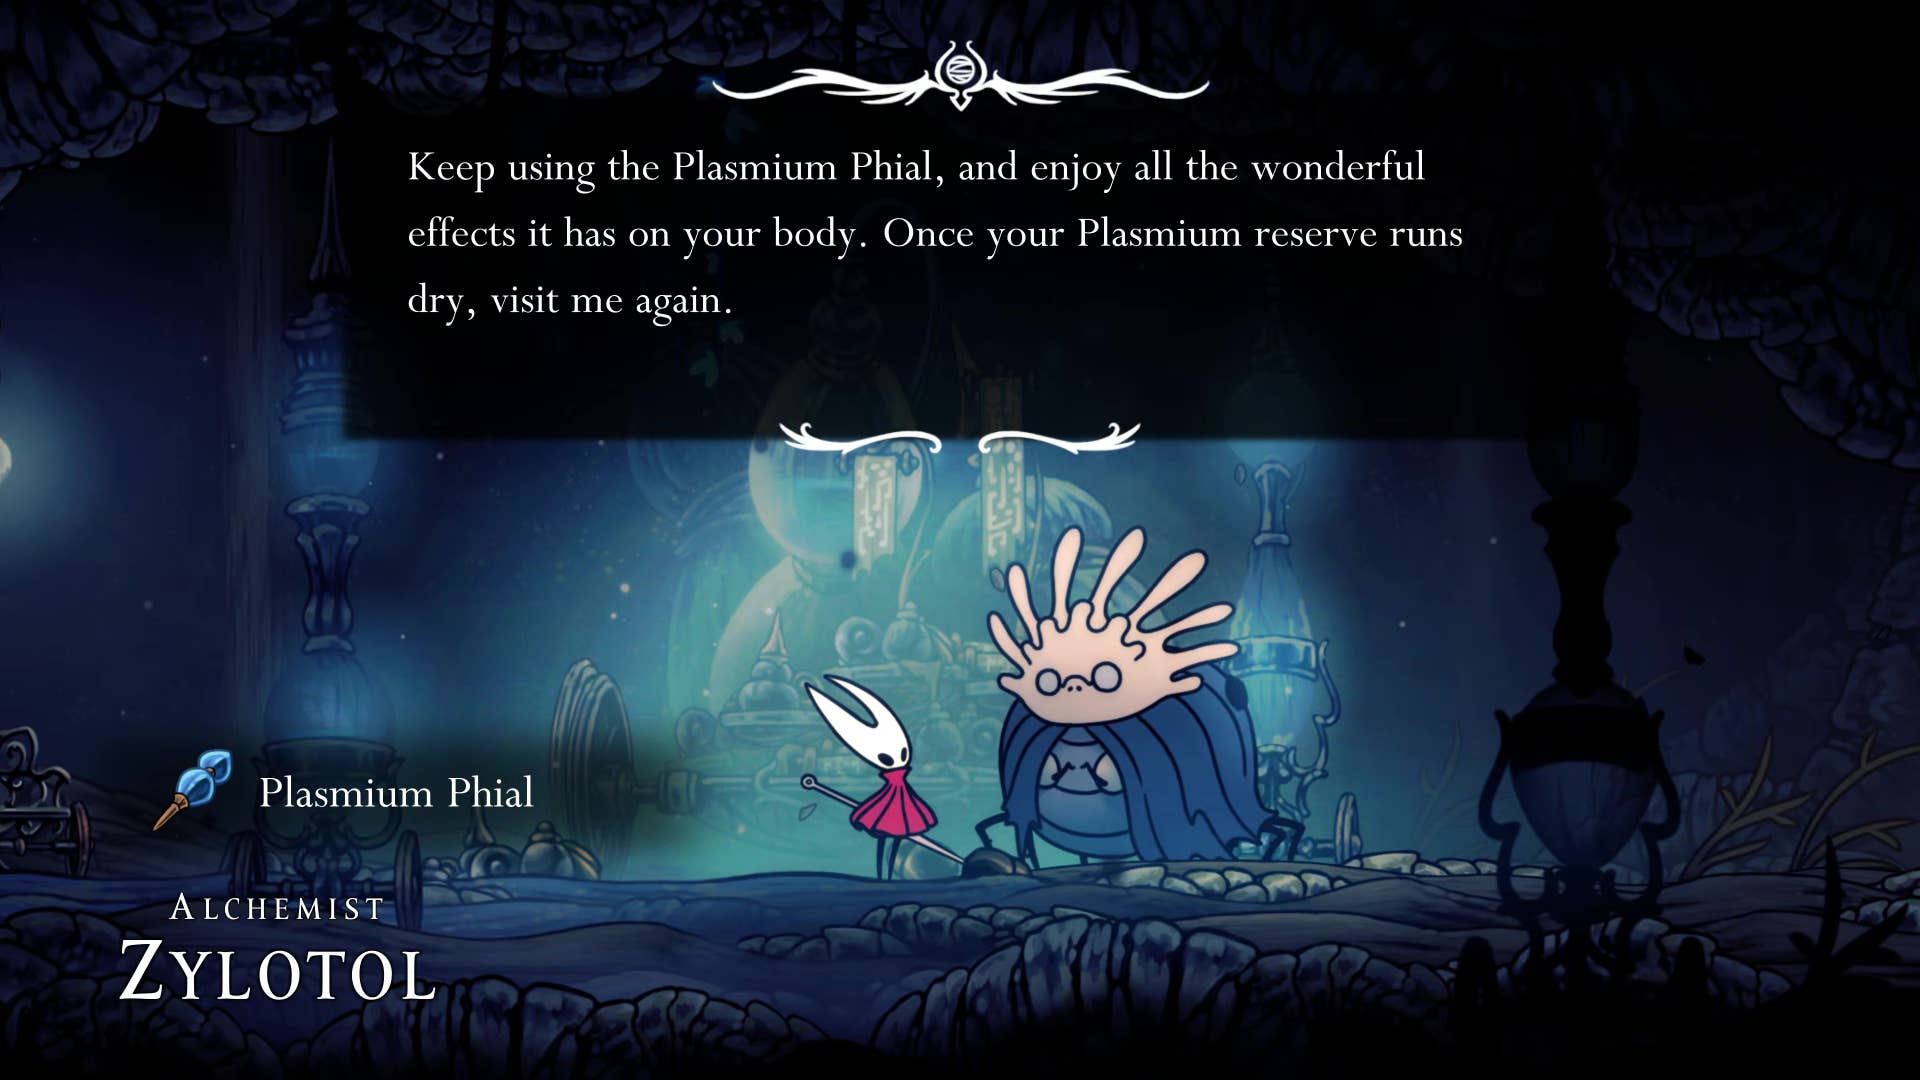
Can only be used three times per break. It may also be that the overall use is the maximum number before returning to Zylotol on Wormway and paying for and refilling the rosary. Still, it’s a very useful item, especially in the next section, where you’ll face one of the most challenging bosses in Act 1 of Silkson.
Well done; it was a lot of the small tasks you just checked from the list. Join Part 11 of the Silksong Walkthrough to return to the main quest on Hornet.
(TagStoTranslate) Hollow Knight: Silksong (T) Action Adventure (T) Indie (T) Nintendo Switch (T) PC (T) Platformer (T) Team Cherry