What are all Metal Gear Solid Delta Bosses? Every game in the Metal Gear Solid series has at least one iconic boss, but MGS3 definitely has the best iconic boss. It is important to note early that this guide clearly contains spoilers. So, if you want to avoid ruining your surprises with this 20-year-old game, you might want to turn your back now.
Knowing the order of solid delta bosses in all Metal Gear will greatly facilitate your adventure in stealth games. You can also get a glimpse into the boss’ rewards to see if it’s worth jumping over the hoop and earning a unique lock.
All Metal Gear Solid Delta Boss
Here is a list of all the bosses in Metal Gear Solid Delta.
- Revolver Ocelot
- pain
- Fear
- end
- anger
- sorrow
- Colonel Volgin
- Shagohod
- Colonel Volgin II
- boss

Revolver Ocelot
Non-fatal reward: Animal camouflage (removing handshakes when ready)
Ocelot has 12 trademark revolvers in stock, with minions stopping before they confront the naked snake. This pistol duel will require you to use your environment to your advantage, shoot down the Hornets nest on the side of the arena’s ocelot and buy it yourself after a while. Be sure to stay behind a large rock or wood cover between shots.
The HUD shows how many bullets Ocelot is remaining. If his clips are low, use this window to blow up some shots on him. You can’t actually kill Ocelot, but you can make things awkward for him by annoying him with a shot and sending him some hornets. If you run out of resources, you may run to the right of the map and occasionally find extra bullets and healing items.

pain
Non-fatal reward: Hornet Stripe Camouflage (You can tame hornets and drive away hornets, spiders and leeches)
There’s nothing like a wasp sting to ruin your day, and if you hate these flying insects, you’ll hate pain. Using pheromones, pain slowly shaves off enemies by swarming a herd of hornets. If he finds you, he won’t hesitate to throw a hand gamble down your path. Luckily, the battlefield contains a large amount of water, providing a safe haven whenever he needs to avoid his troublesome creatures.
Hornets are the main source of damage to pain, but diving into the water can avoid all of these attacks. These bugs are also used to protect pain from damage, so don’t waste bullets whenever you use a hornet to form a protective shield. When you come out of the water, you have only a short chance to blow him away with your weapon. If you remove half of his health (or stamina) bar, the pain removes his mask, but the fight remains roughly the same, so you stick to the game plan until you’re done with work.

Fear
Non-fatal reward: Spider Camouflage (high camouflage index sacrificing stamina)
Fear can be difficult to target as he runs through the branches of a tree in his spider-like movements. You must equip thermal goggles. Because this gives him the best views as he moves across the terrain. Unlike most bosses on this list, he is an expert tracker and cannot hide from fear.
Fear fires arrows at you, which remain in your body until you remove them, and he won’t hesitate to swipe you if you get too close to him. If you are struggling to land on him, you can drop the toxic food you happen to carry. You can also use fake death pills to trick the fear into believing you are dead and force Snake to inspect his body. This is your chance to deal as much damage as possible, but please note that you can only use this trick once.

end
Non-fatal reward: Mosin Nagant (Transkillizer Sniper Rifle)
The end, said to have been over 100 years ago, is a legendary sniper who can easily blend into the environment and hide himself. This fight spans all three Sokrovenno regions and is forced to move back and forth whenever he decides to change the sniper range.
You cannot technically die in this battle. Instead, when the end runs out of your stamina bar and resumes the fight from scratch, you will be sent back to the Grain Golki prison. For a complete breakdown of how to beat this long distance specialist, check out The End Boss Fight Guide.

anger
Non-fatal reward: Fire camouflage (reduces damage caused by fire and explosion by 50%)
He’s so mad, he’s practically burning. Anger can move around the arena using his trusty flamethrower jetpack and he can burn you vividly once he finds you running through the hall. His vision field isn’t big, so keeping distances on either side of the stage should have plenty of time to land some shots. Try to aim for Fury’s suit and not shoot the helmet.
Notice the explosive barrels scattered throughout the stage. Take those benefits by waiting for rage to appear before being intentionally blown away. Keep your distance before you put your distance. An explosion can hurt you if you’re too close to it. If you see a sudden rage, make sure you are always positioned to have at least two routes.

sorrow
Non-fatal reward: Spirit Camouflage (eliminates footprint noise and restores stamina while suffocating enemies with CQC)
Without a doubt, this is the easiest boss fight in the game. Sadness has arrived to trouble you in the form of a terrifying youkai and slowly stalked you in his army of undead spirits. The amount of undead spirit you face is directly correlated with the number of enemies you killed during this playthrough, so if you were Trigger Happy, you will be troubled by many soldiers.
Once you’ve received enough damage and die, you can revive yourself by visiting the equipment menu and activating the Revival Pill. If you are trying to speed up this “battle”, you can manually view the “Snake is Dead” screen faster. To get non-lethal rewards, you need to reach the edge of the river and activate the revival pill.

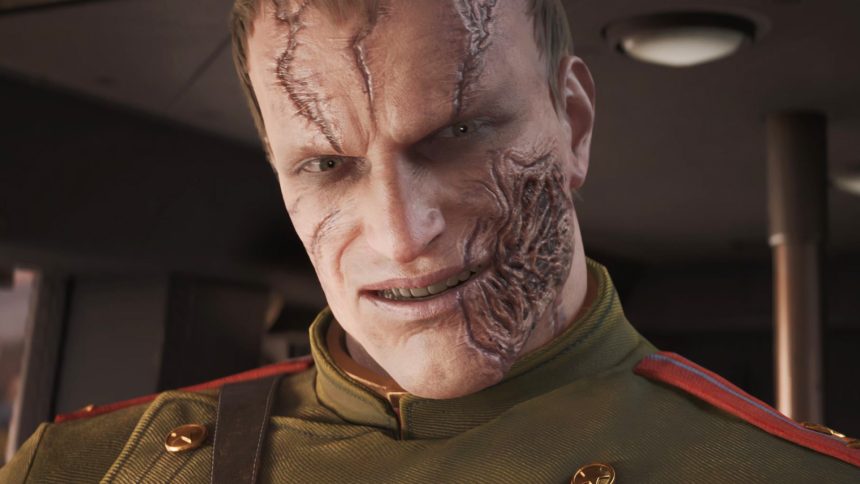
Colonel Volgin
Non-fatal reward: Cold War Camouflage (Soviet enemies will hes to fire at you when you face them)
It’s time for Colonel Volgin to get your vengeance for what he passed through you in the torture chamber. He may have the power of power at his own freedom, but you have expert level CQC skills to defeat him. Volgin uses electricity to create a shield, stopping bullets from hurting him, and is forced to resort to close combat. If Volgin catches you with an electric beam, he will sap the entire clip of bullets from you, so make sure to clean up your weapon during this period.
Running at him and using CQC to hit him on the ground, you can catch Volgin off guard in the middle of his attacking pattern. While lying on the floor, he is vulnerable to your weapons, so take this opportunity to handle some headshots with the gun you have. After removing half of his health, Volgin uses this opportunity to activate a new power set, but he is still open to the same tactics. He fired electricity and then he approached him and slammed him onto the ground, repeating the process until he died.

Shagohod
Sokolov’s mobile nuclear launcher, the ultimate weapon on the wheel. The first part of this boss battle is primarily for the show when you reap soldiers who dare to stand in your path. With unlimited bullets, you’re free to choose the weapon of your choice as long as you get the job done. Shagohod will not be vulnerable to gunfire until after the second phase at Groznyj Grad Rail Bridge, where you will need to destroy C3 charges. Doing so will significantly reduce Shagohod’s mobility and will deal actual damage.
With Shagohod badly weakened, you can take it out by using an RPG to target two drill treads. Once both treads are electrified, aim to the middle of the Shagohod to remove its health. Apart from some of the rockets you can destroy as they fly towards you, the attack pattern remains the same. That is, until Volgin reappears…

Colonel Volgin II
Just thinking that Shagohod has been destroyed, Volgin puts his ugly head back and uses power to back up to the machine. Thankfully, this battle is roughly the same as the battle of Shagohod, but this time you will need to aim for Volgin when you break the tread of the tank. To maximize your damage output, make sure to switch to a sniper rifle and land your headshot and defeat it immediately.

boss
Non-fatal reward: Snake camouflage (provides high camouflage indexes regardless of environment)
The battle we all had been waiting for. If your boss doesn’t think she deserves her codename, she will prove to you exactly why she is so feared. A master of combat in all forms, the boss is effective at as long as she is nearby, and forces you to adapt on the spot when she rules the fight. As this is the most difficult boss fight in the game, we highly recommend reading our boss guide to learn how to stop the mentors of Snake completely.
Knowing all Metal Gear Solid Delta bosses and their rewards, there should be no problem using handy tactics in action games to beat powerful Cobra units. While you’re here, you might want to learn about all the great games that will be released later this year and beyond.