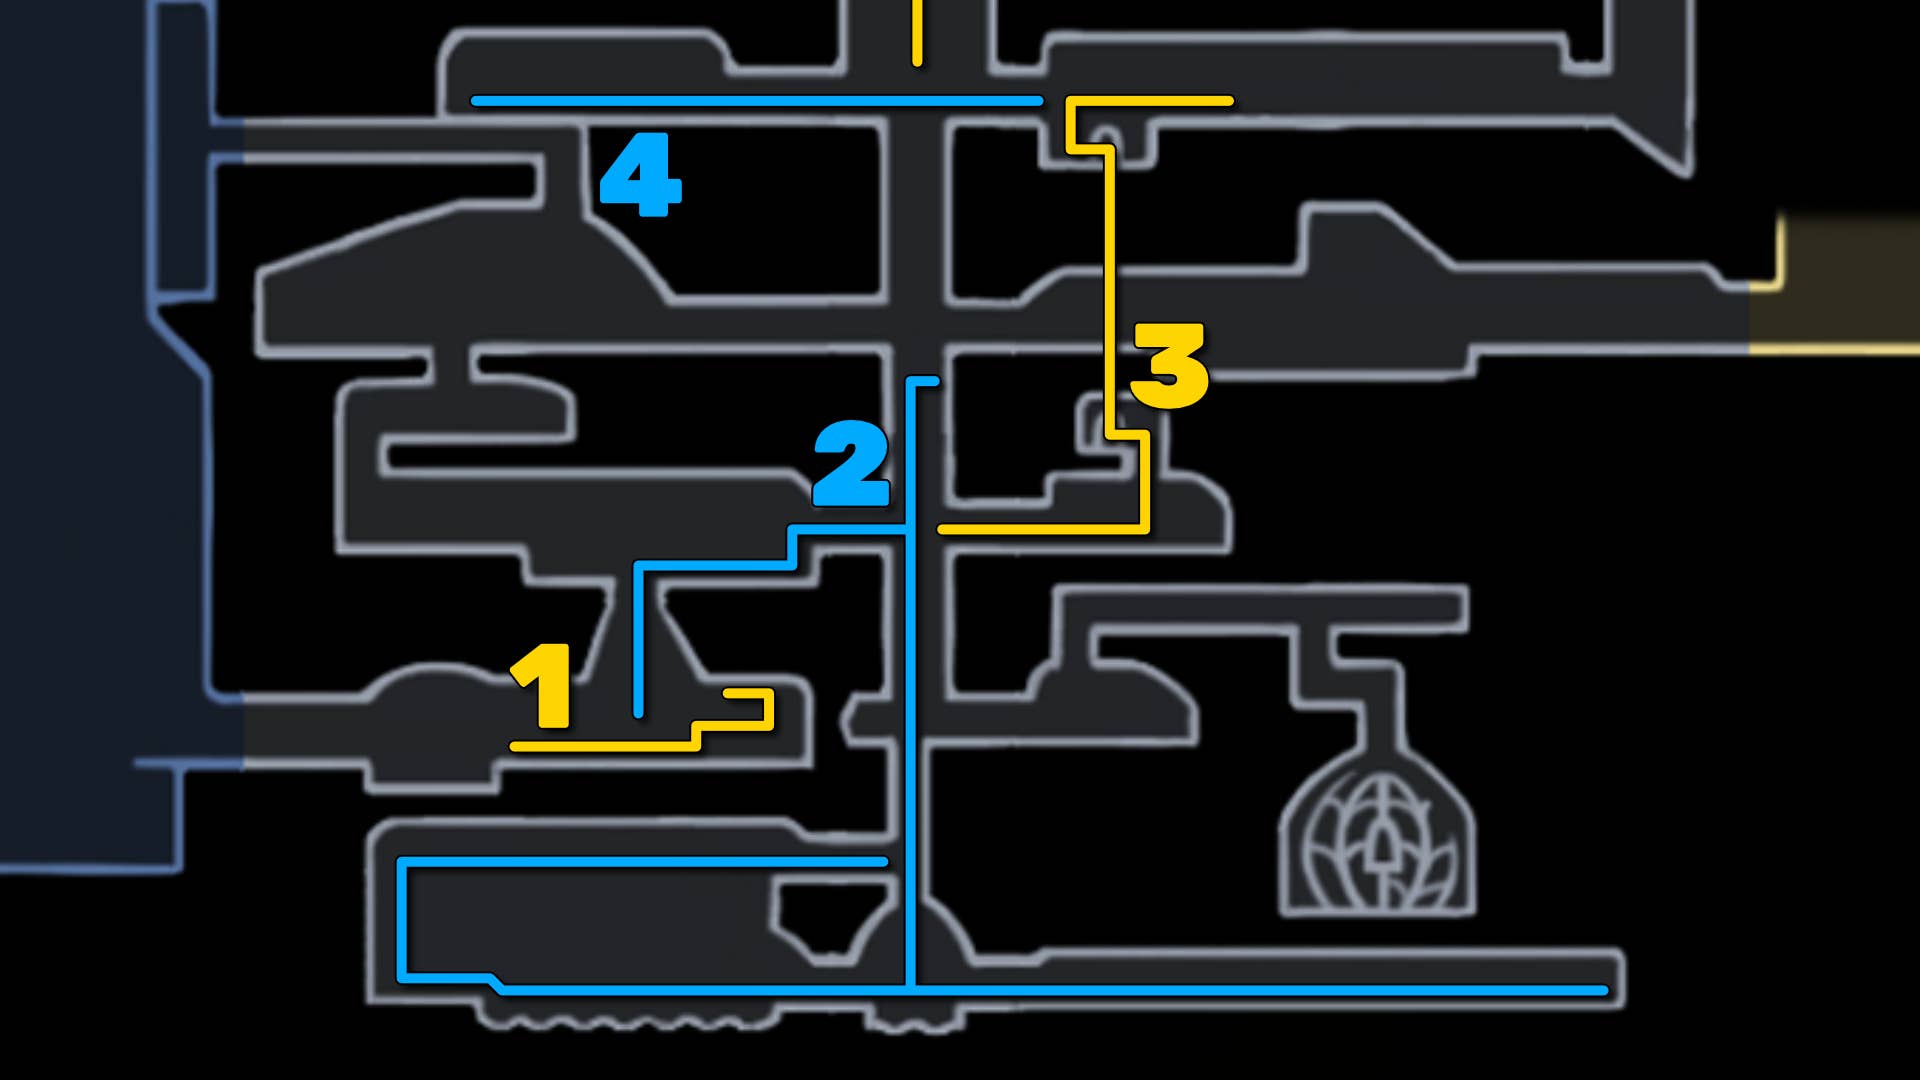
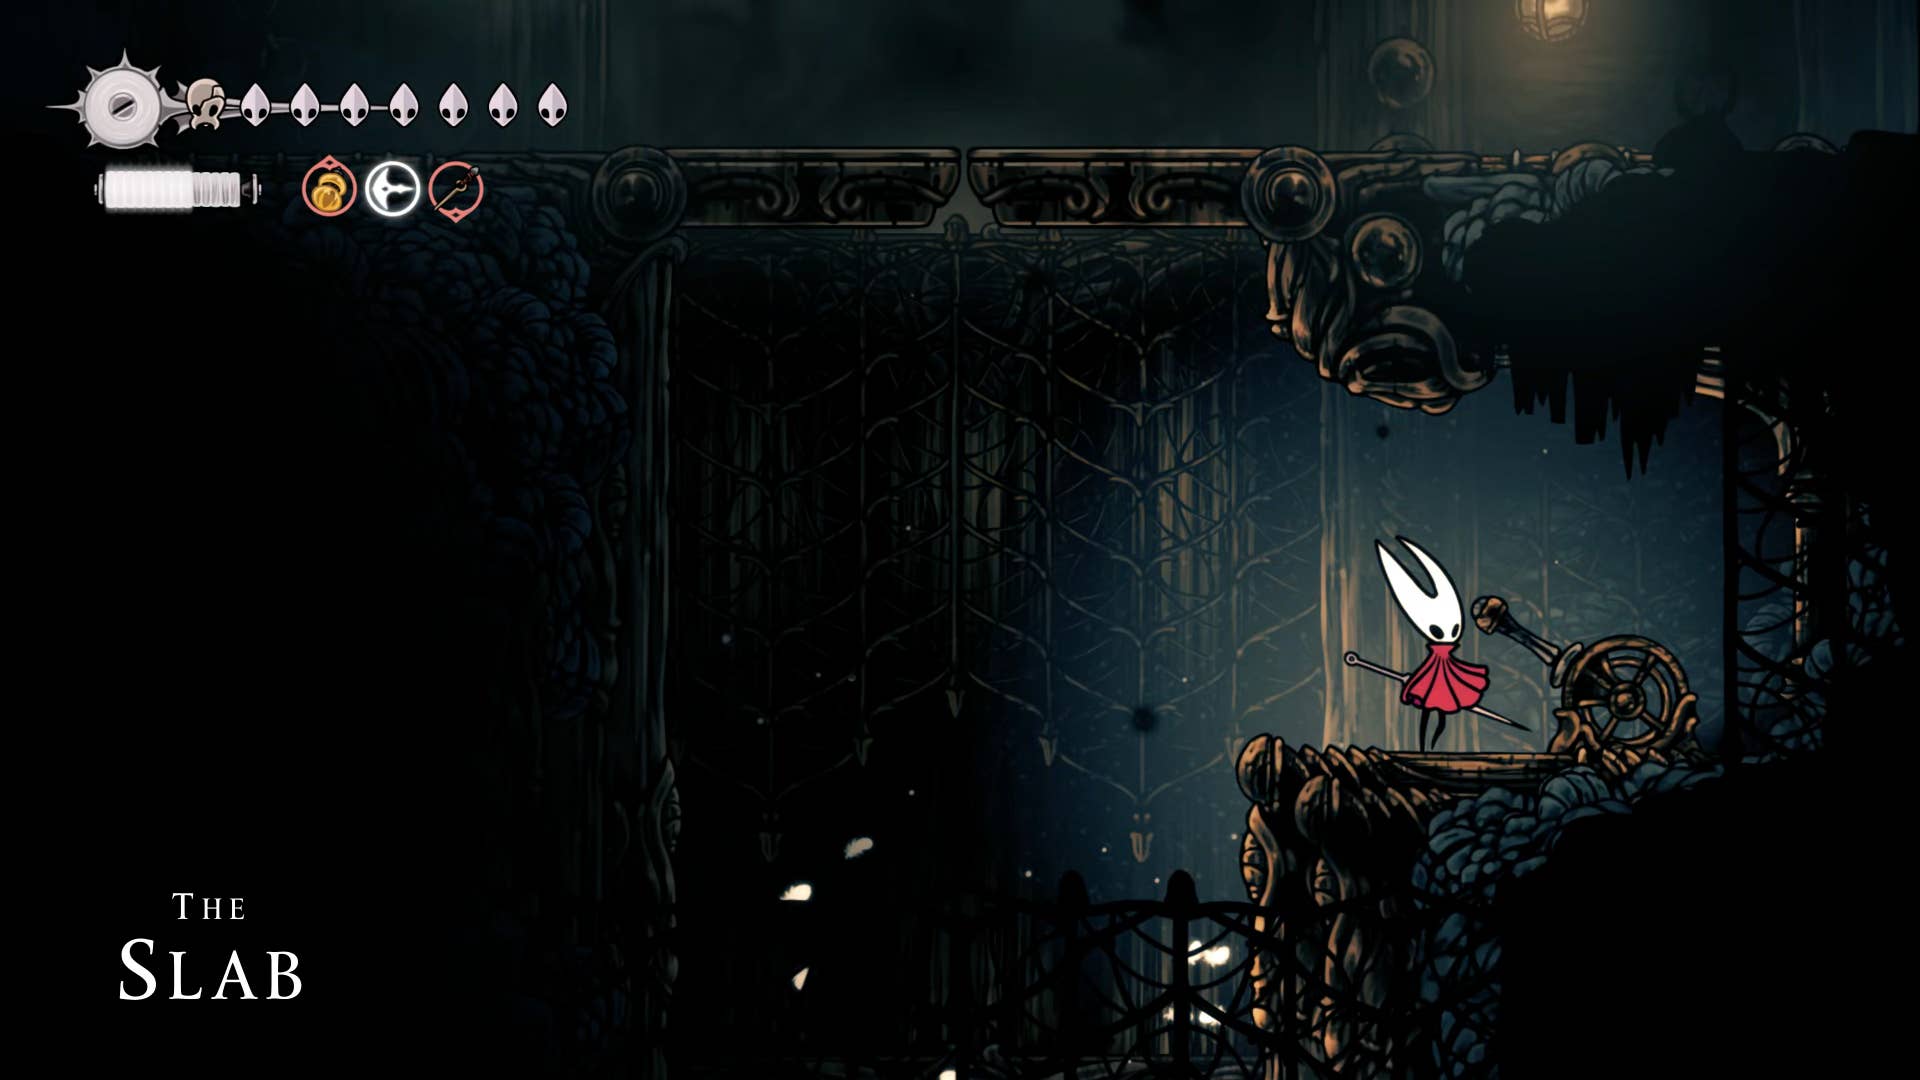
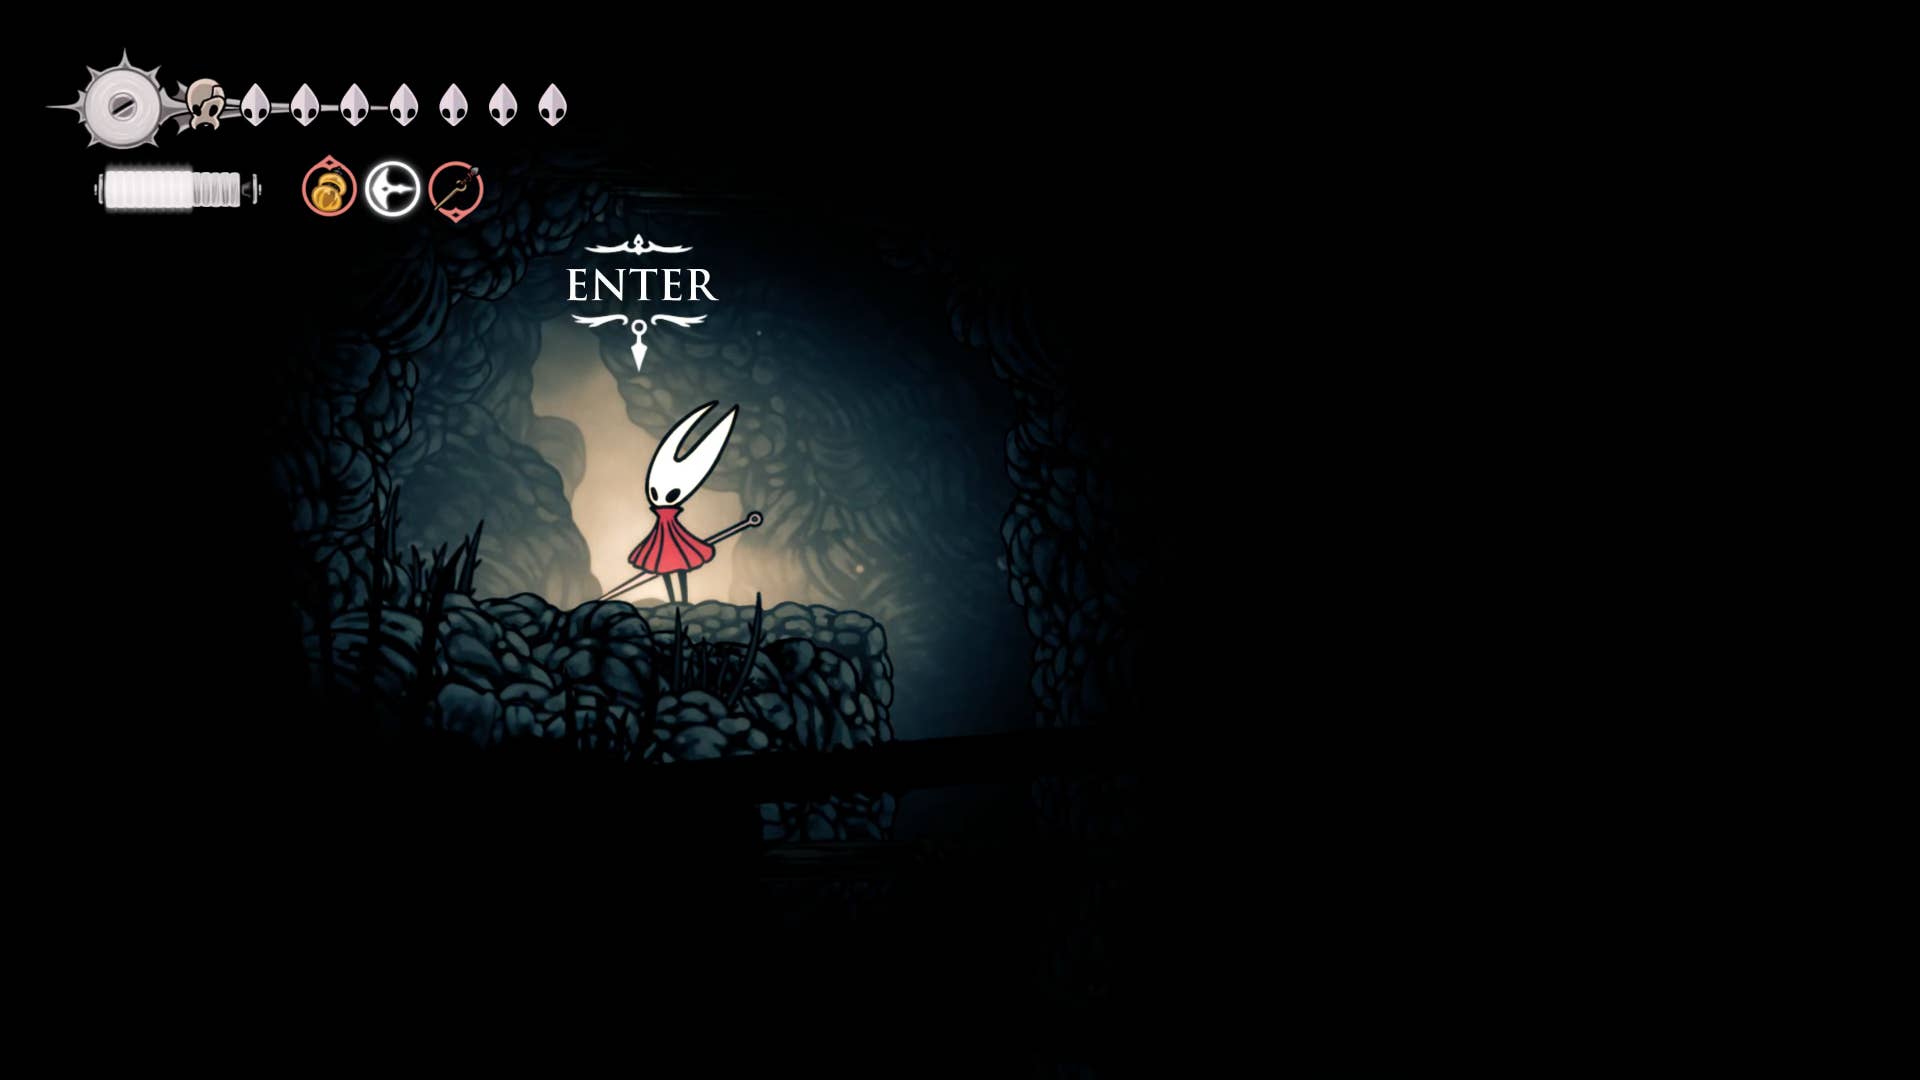
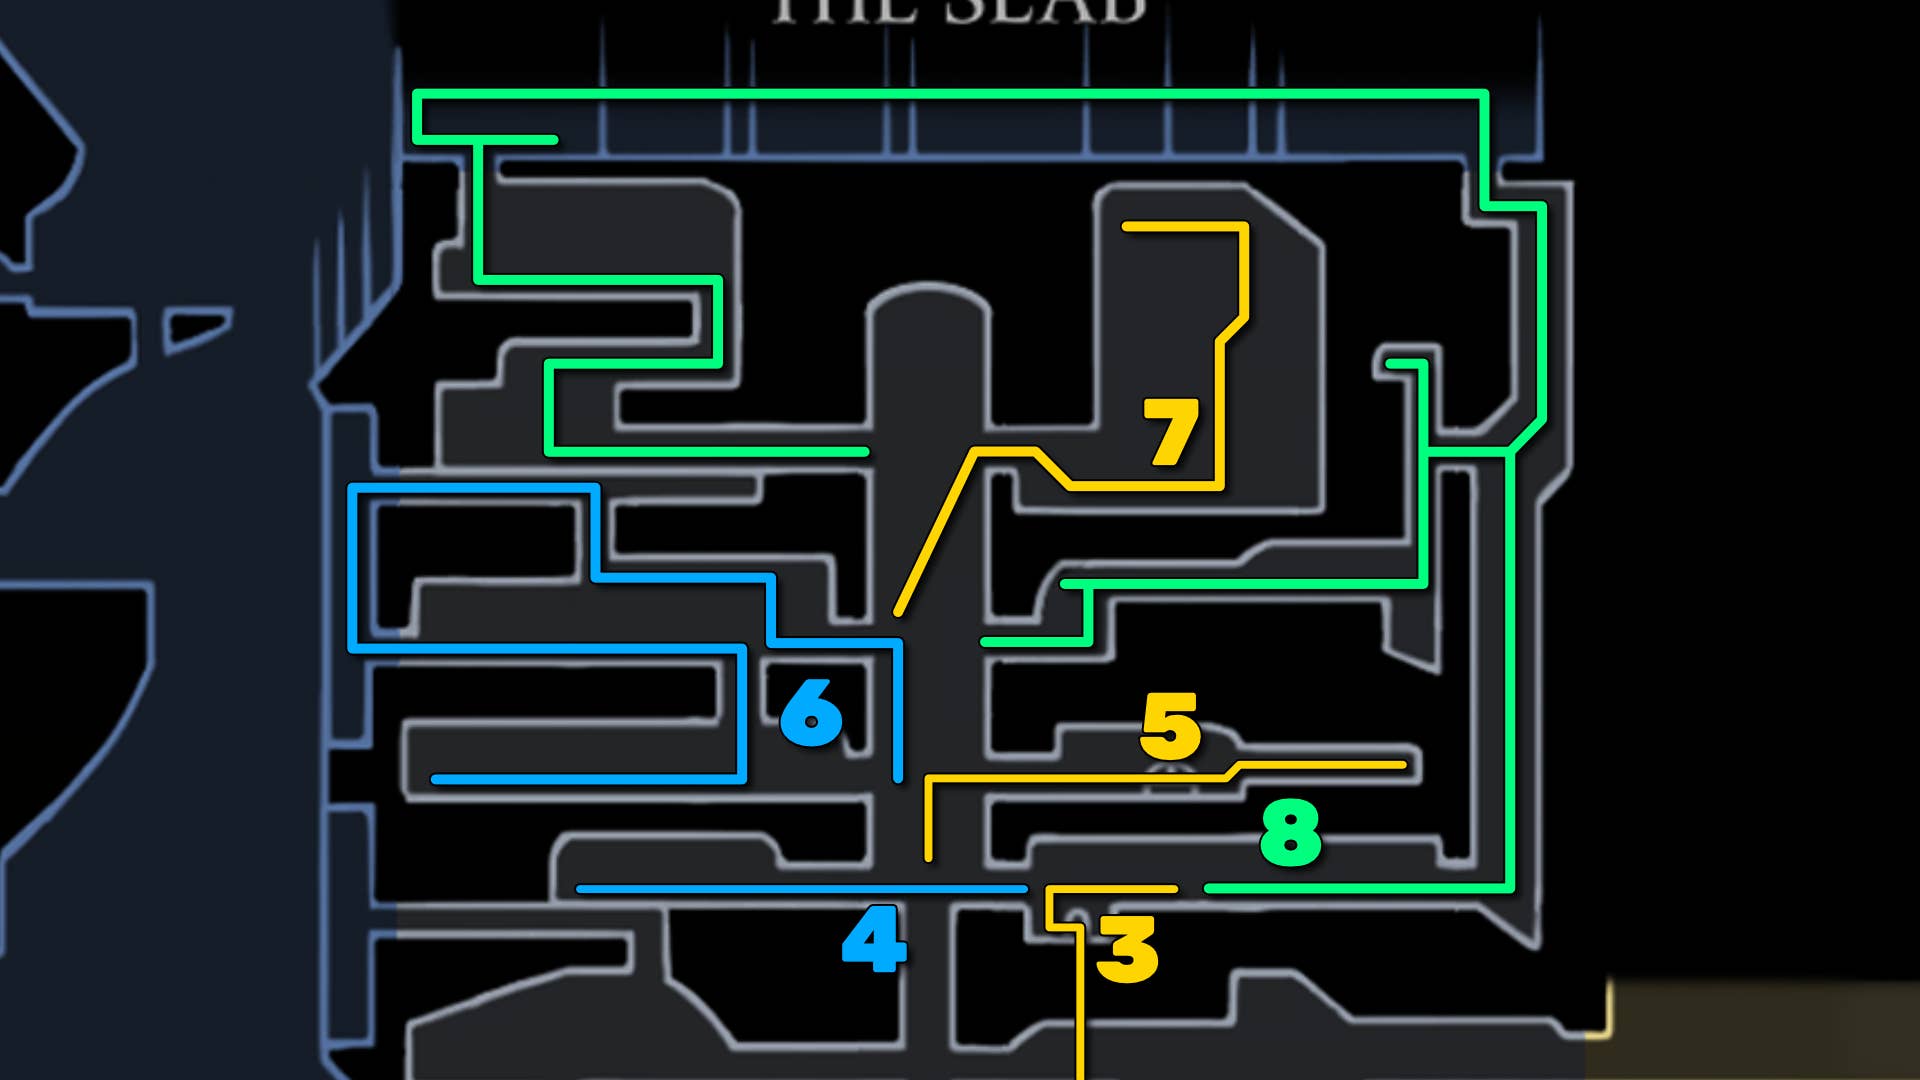
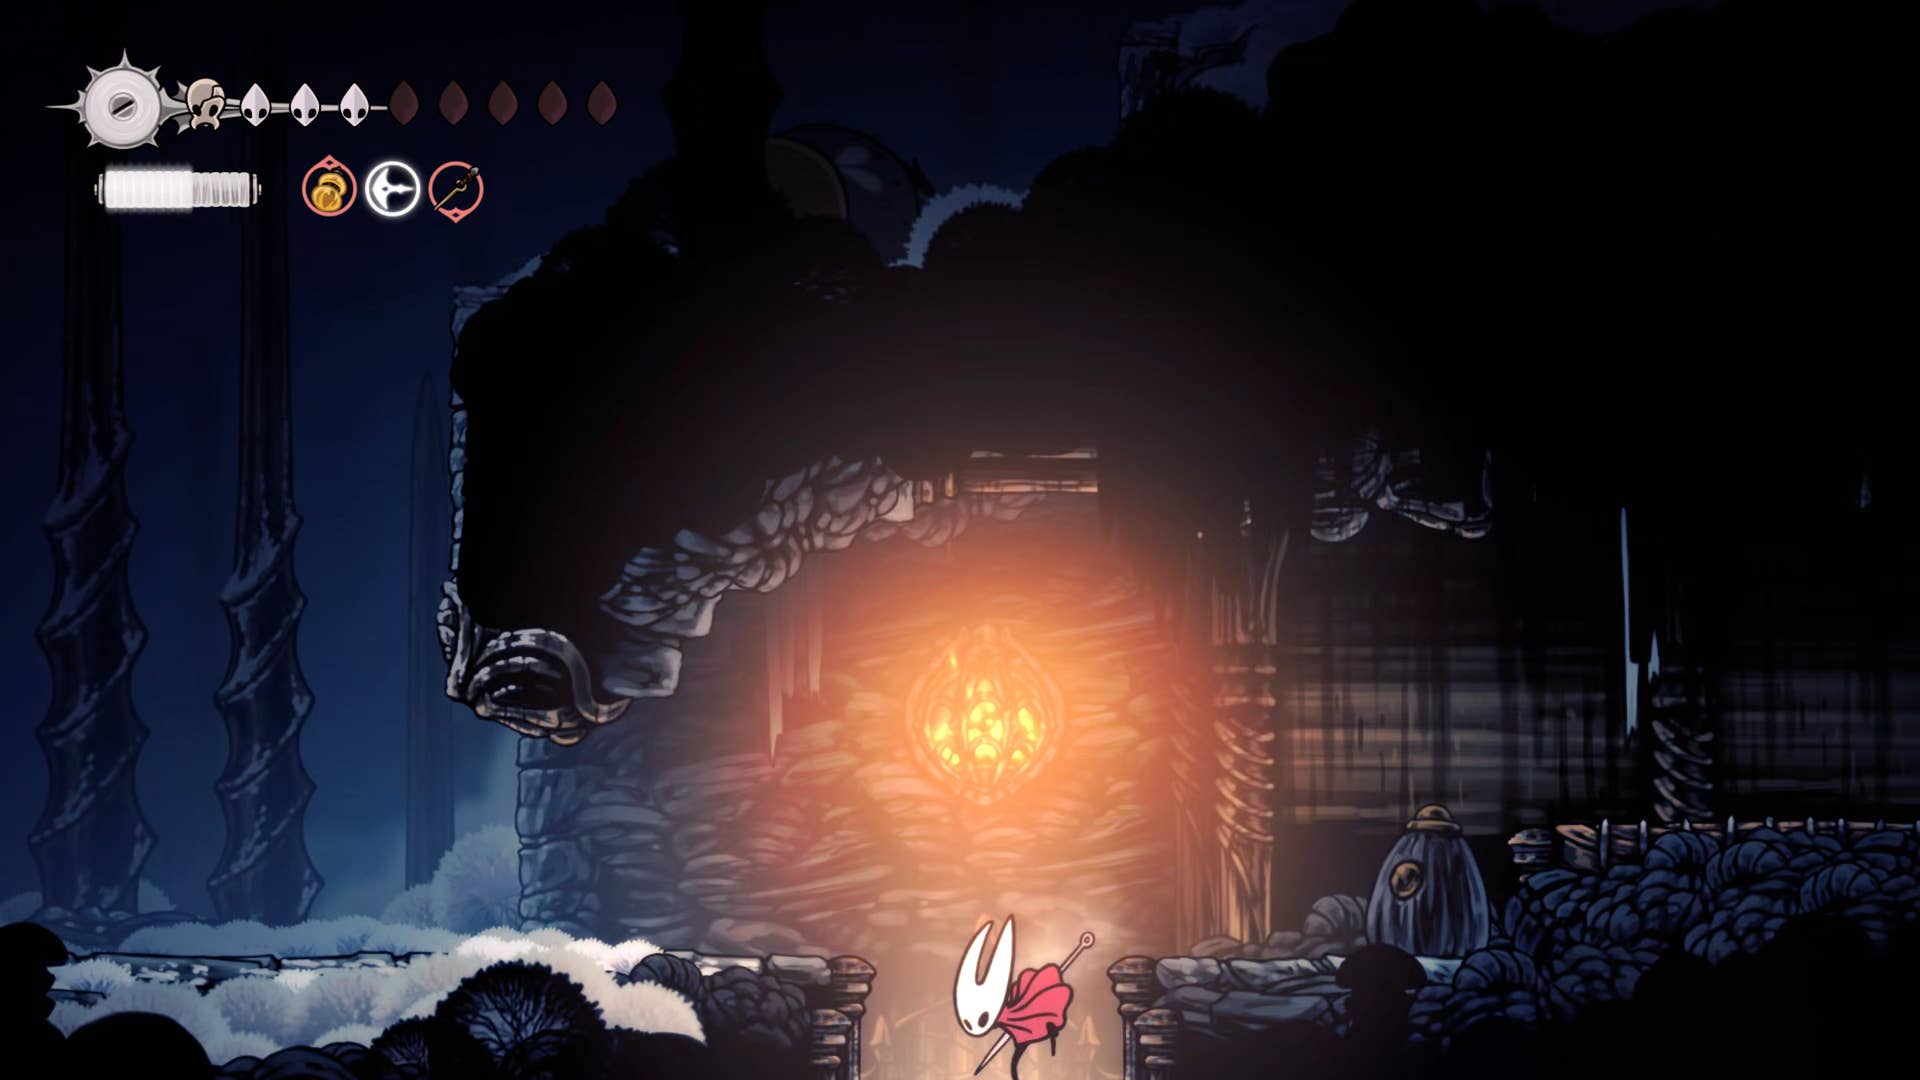
Hollow Knight: Find a way through Silksong’s slab? The slab is designed to be a bit of a maze. The central shaft runs from top to bottom through the area, but otherwise escape is almost impossible as the area is filled with trapped doors and maze tunnels. For those who aren’t Hornets anyway.
in Part 27 of Hollow Knight, Continuing to Expand: Silksong Walkthroughstep through precisely the places you go inside the slab. When using the apostasy key obtained from the top of Billwater, there are only two keys to collect (Indolent and Heretic). We’ll show you where to find both of them and how to discover the battles of the last lost flea, mask shard and climactic bosses in slabs.
Do you need a walkthrough in another area of the game? Check out Hollow Knight: Silksong Walkthrough Hub!
Slab Walkthrough Steps:
- Rescue the fleas on the Bellway bench.
- First explore the lowest level.
- Meet the old repentance.
- Rescue the second flea.
- Get the slab map past the bench.
- Gets an invalid key.
- Gets the mask shard.
- Get the key to heresy.
- Defeat the first sinner.
Note: This walkthrough assumes that you enter the slab during Act 2 by reaching yourself rather than being captured by Wardenfly. Later, I will revisit this page and take a look at exactly what I should do to get away from the slab if it is captured.
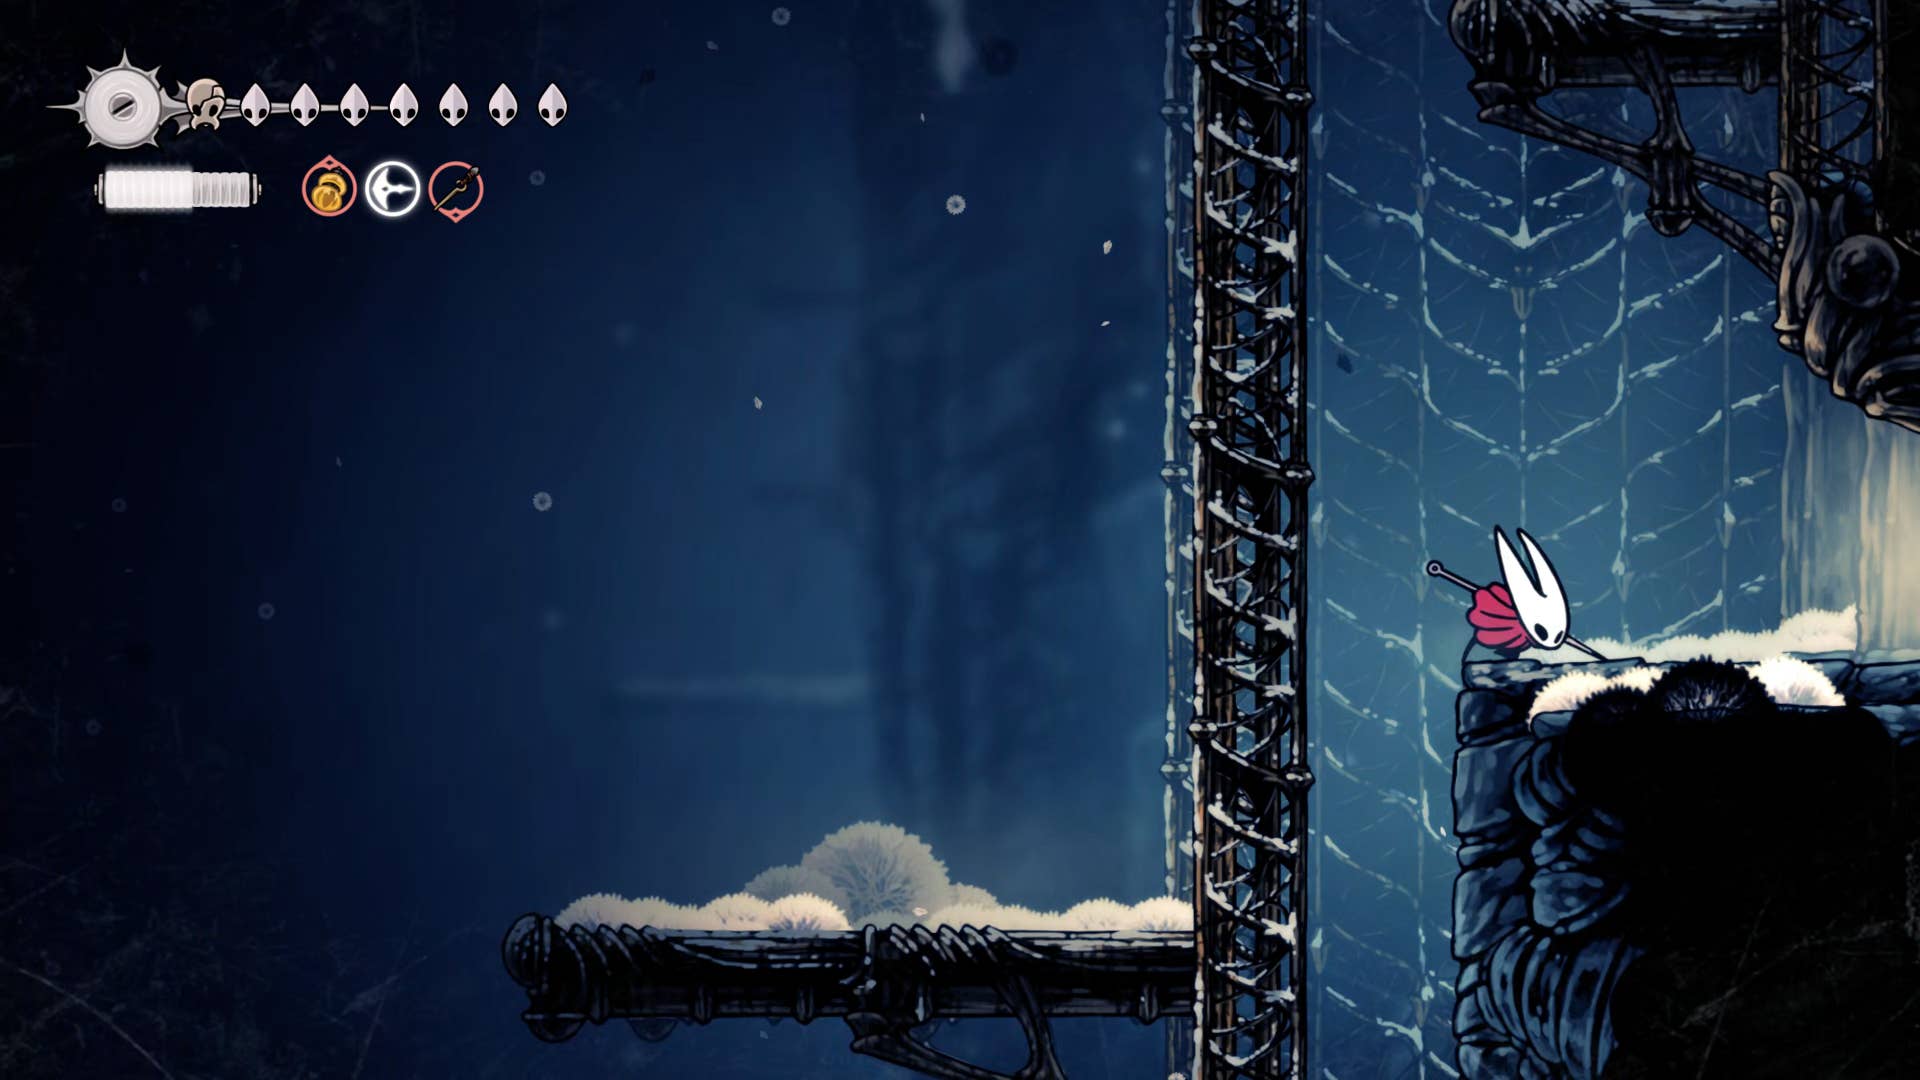
1. Rescue the fleas on the Bellway bench.
The first thing is to quickly move onto the Slab Bellway to rest on the bench and head right. Before proceeding, jump to the wall on the left side of the bench, then double jump through the hole in the ceiling to reach the platform where the chisels are lost. Attack and rescue the fleas, then return to the back filled with pride in your own altruism.
2. First explore the lowest level.
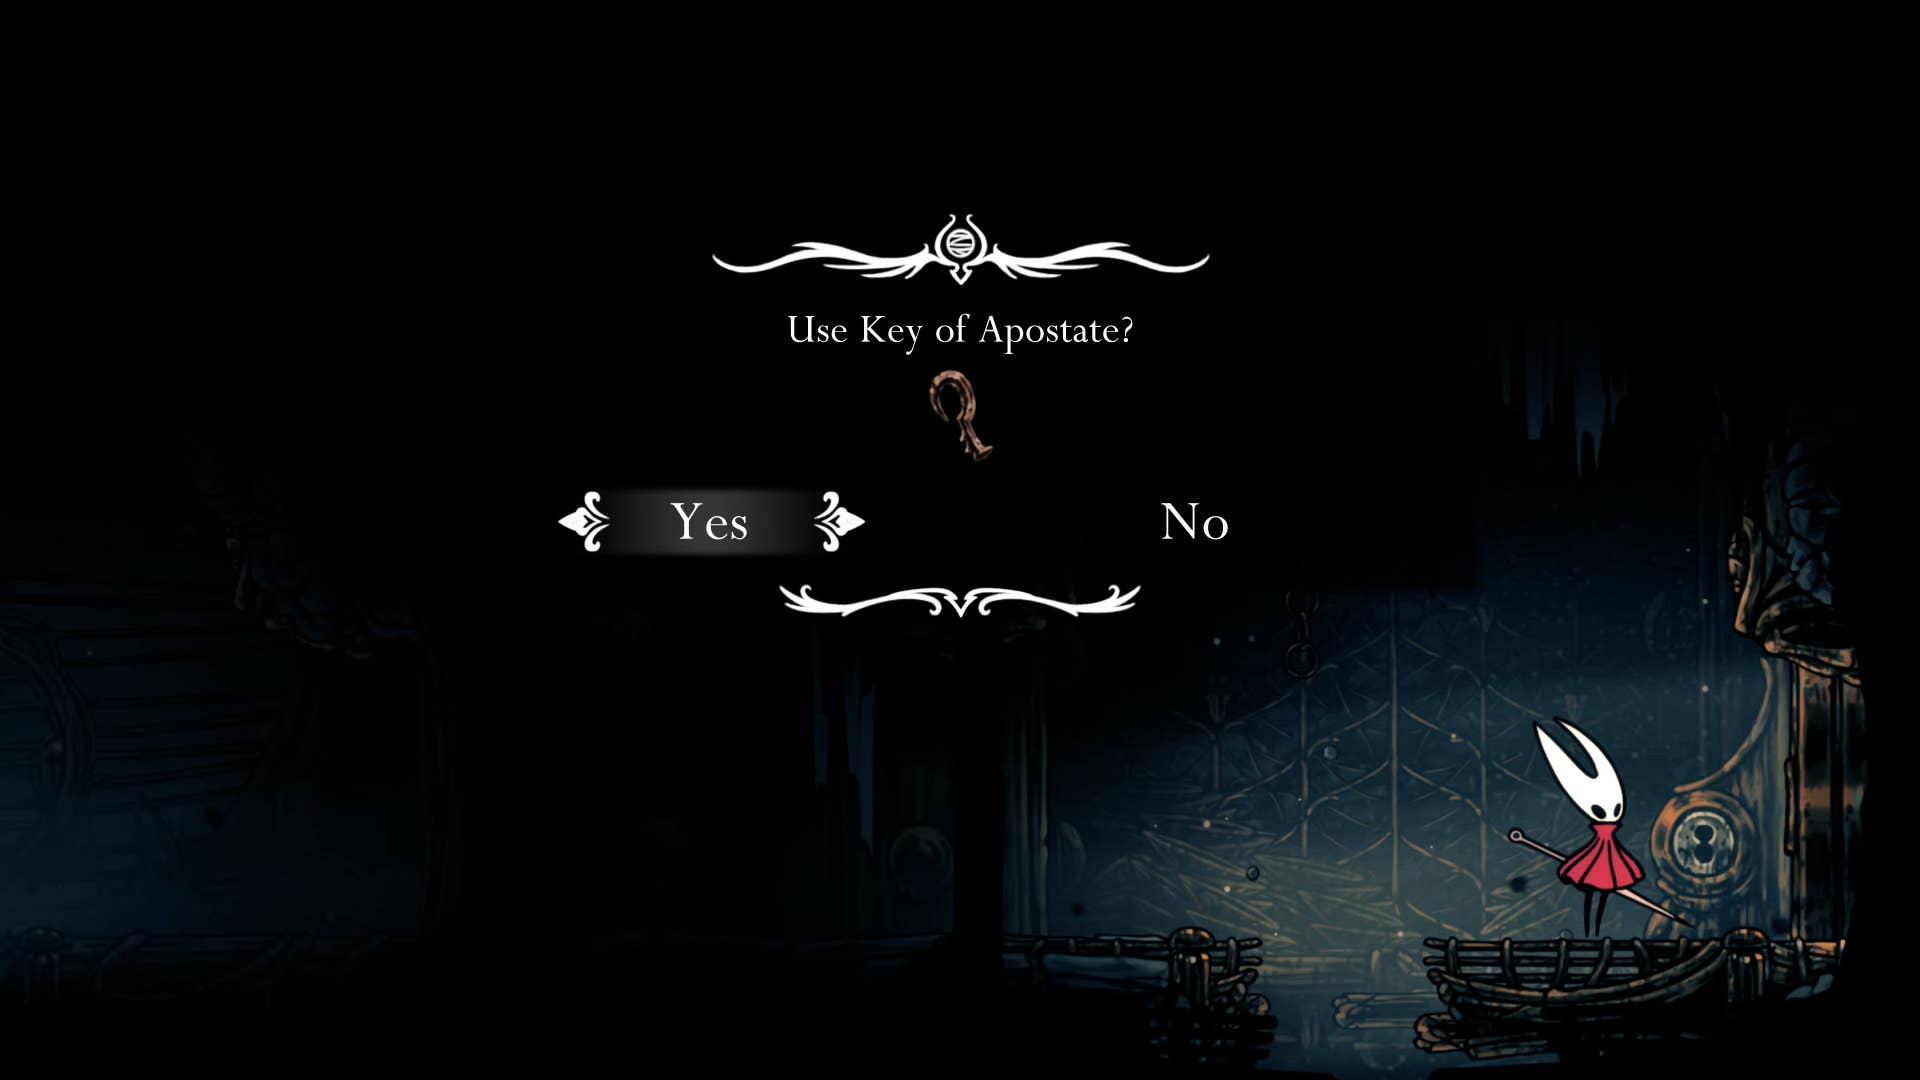
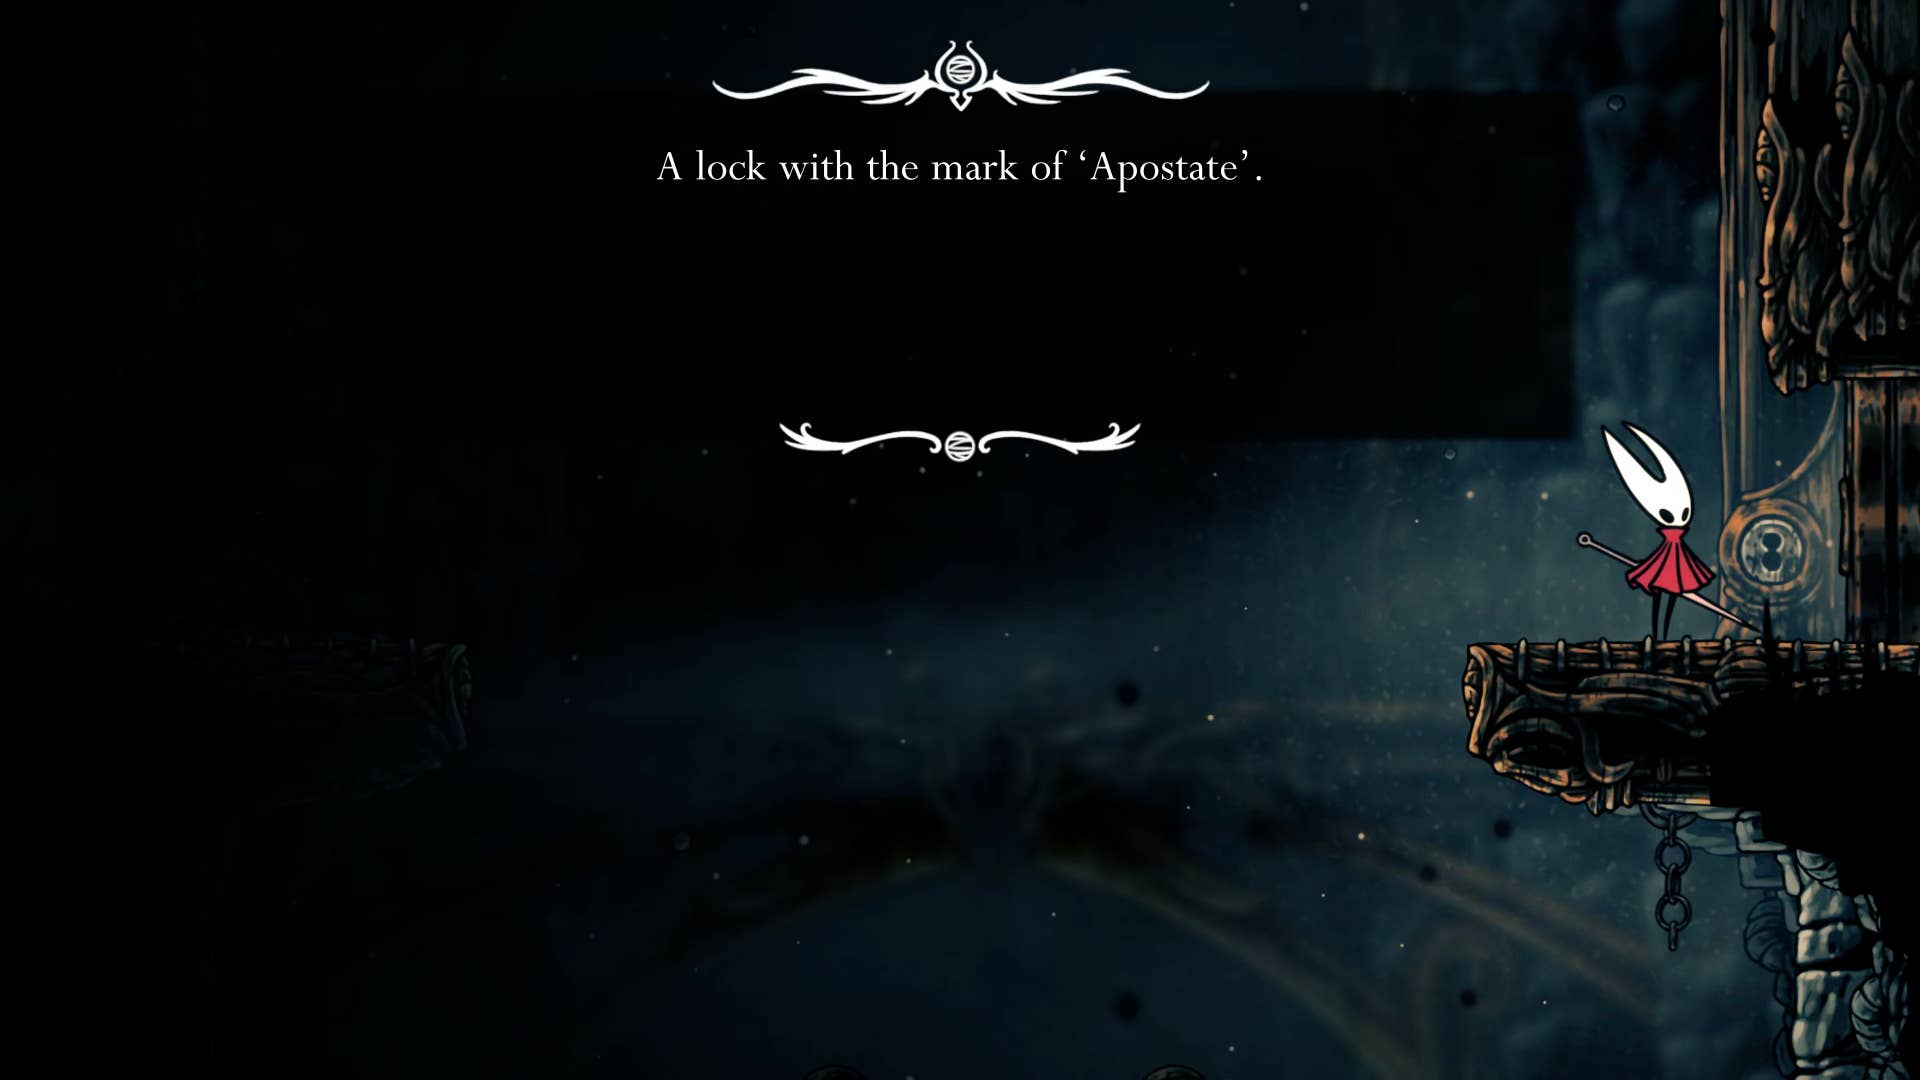
From the bench, climb to the room above. On the right is the locked door you passed in front of you. Because you didn’t have the correct key. Well, you do! Use the apostate key to open the door and pass by.
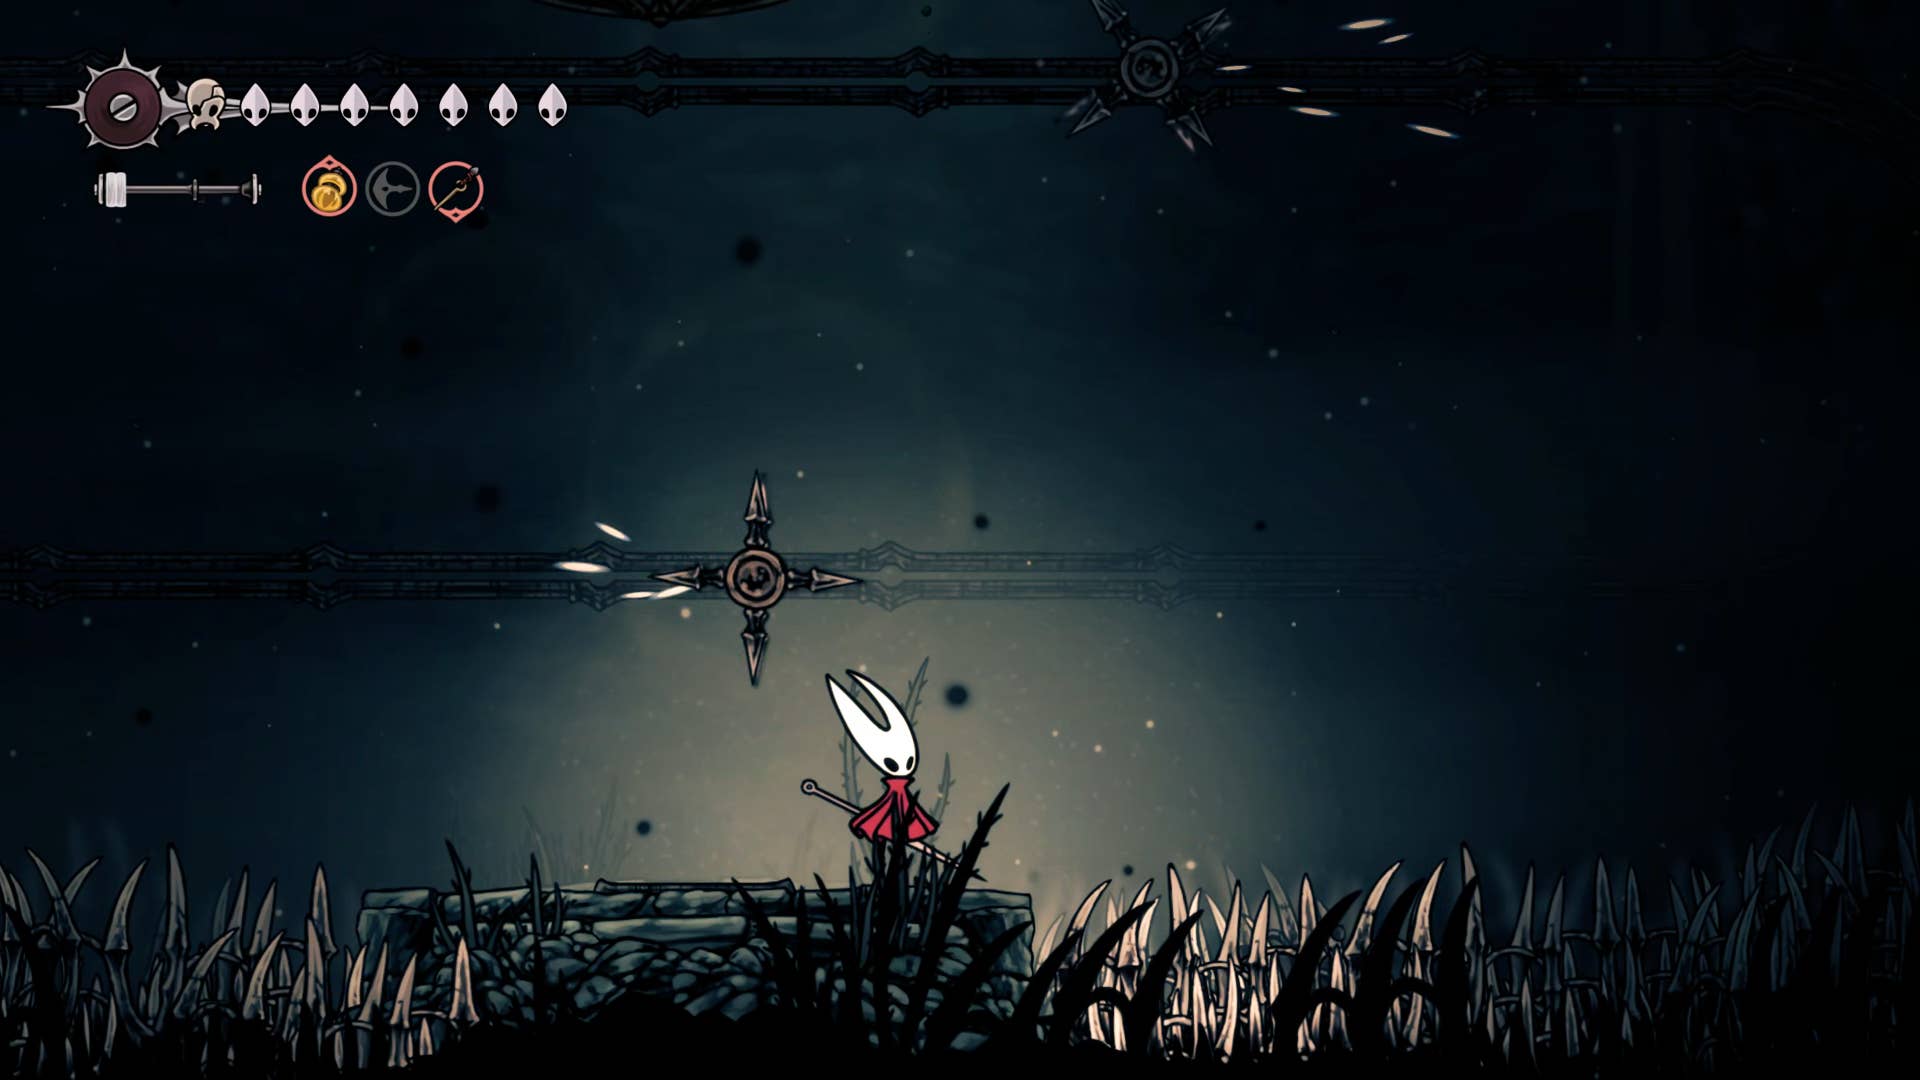
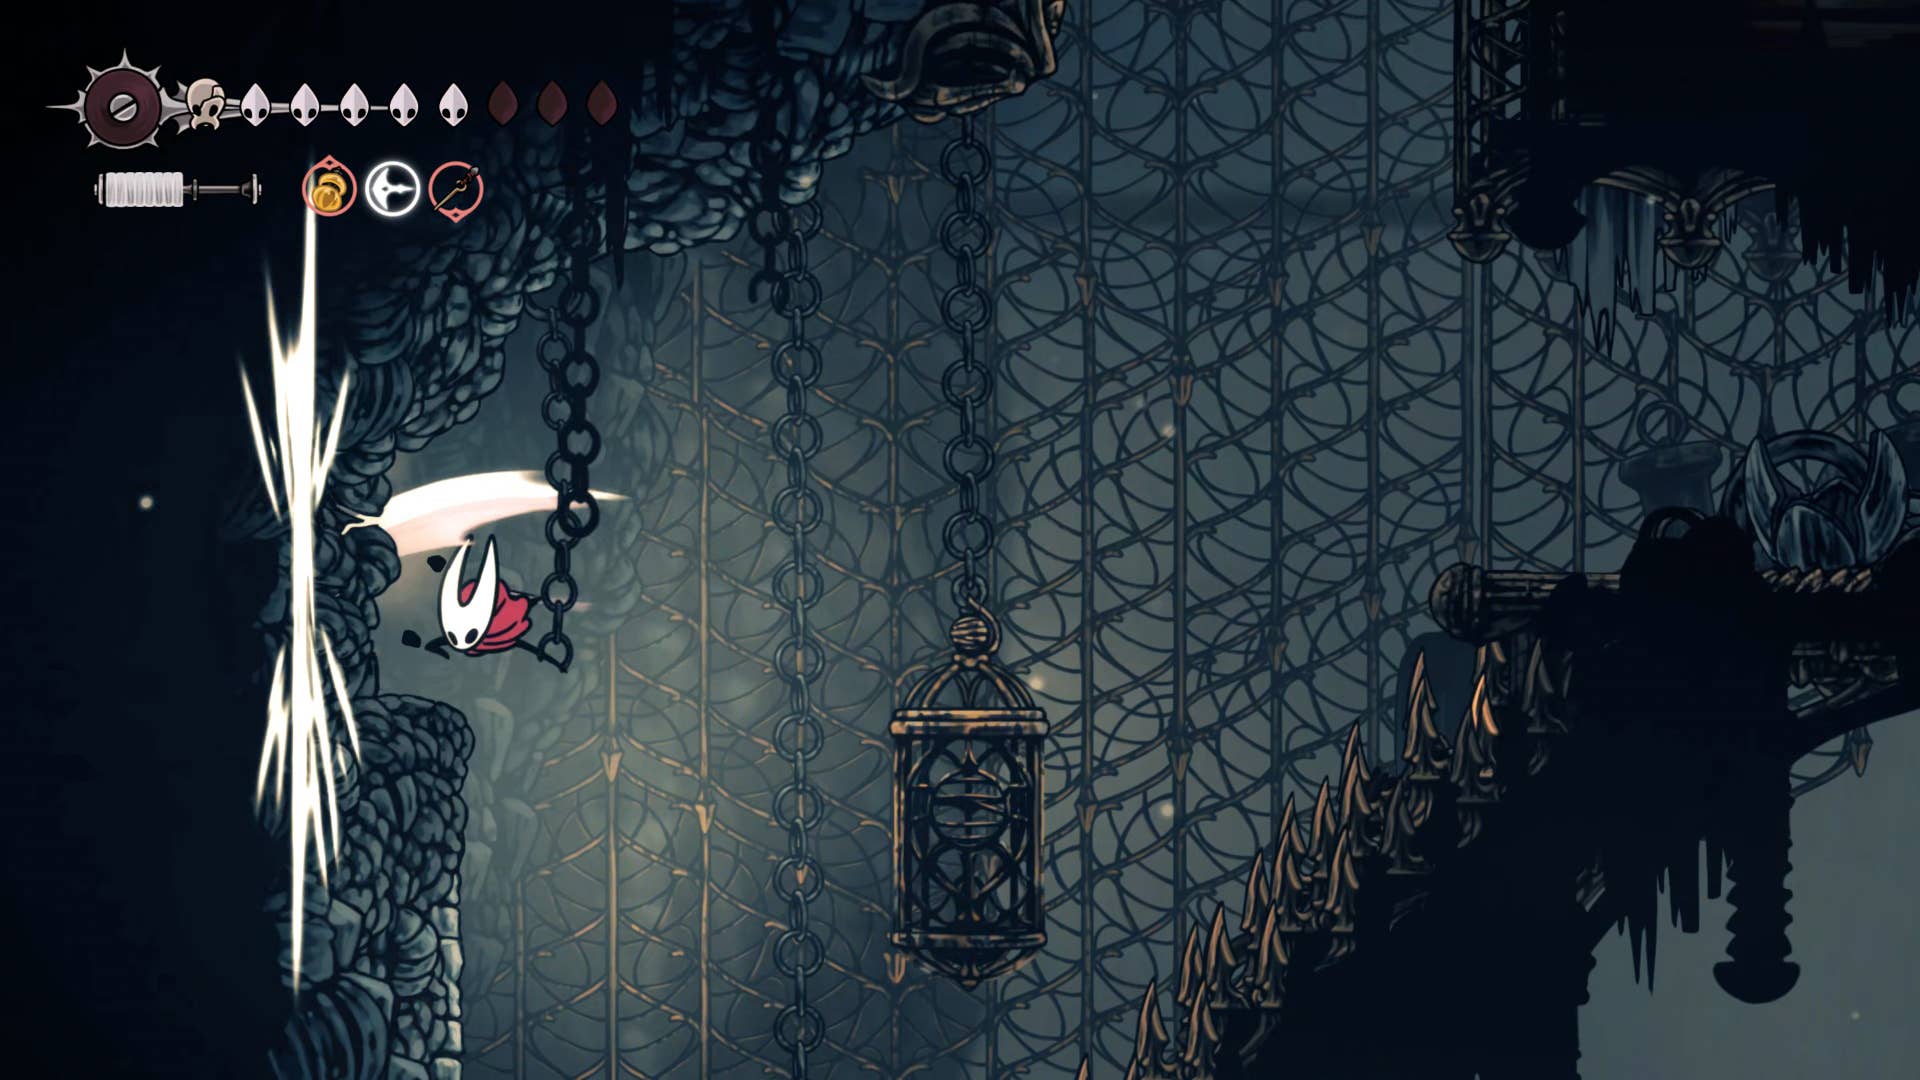
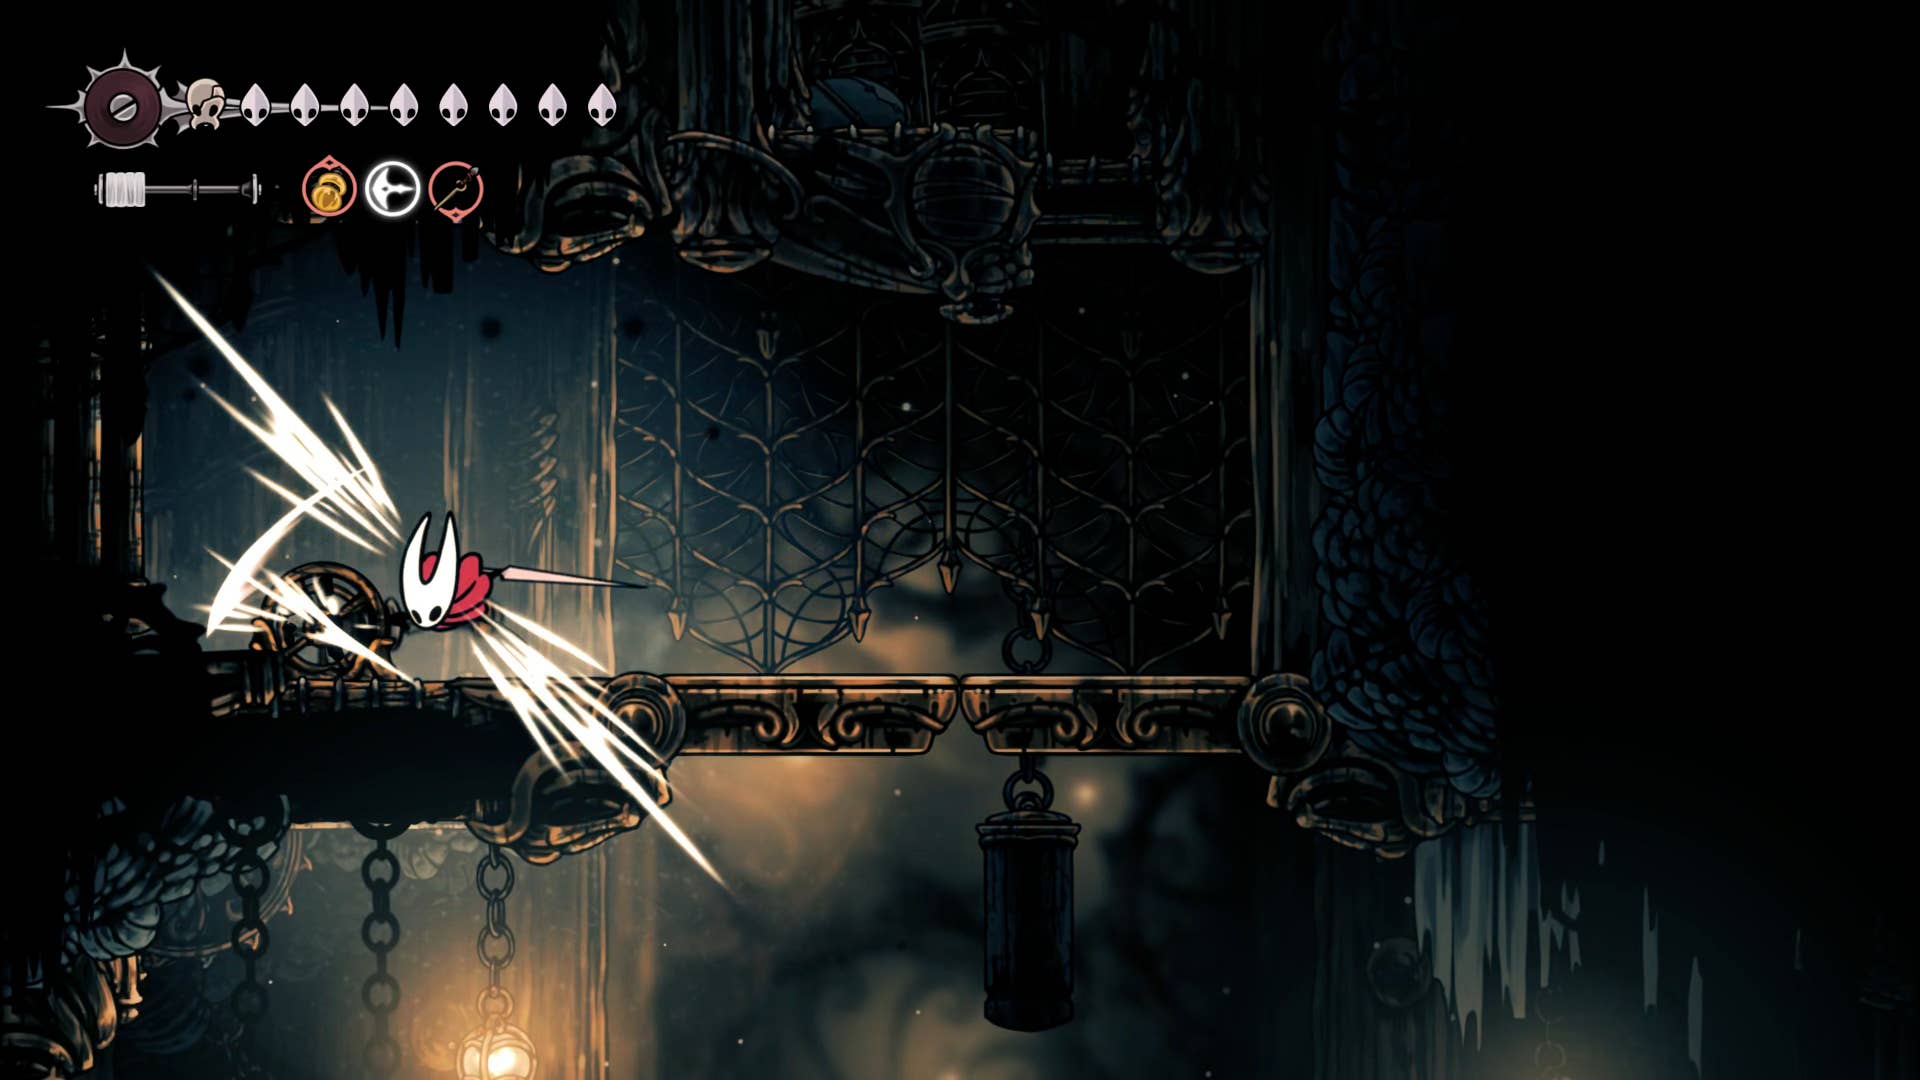
You are now on the central shaft that runs all the way through the slab. Turn it up and press the top lever to open the top trap door. This leads to the corridor that reached Bellway in the first place, but is not currently possible to go up.
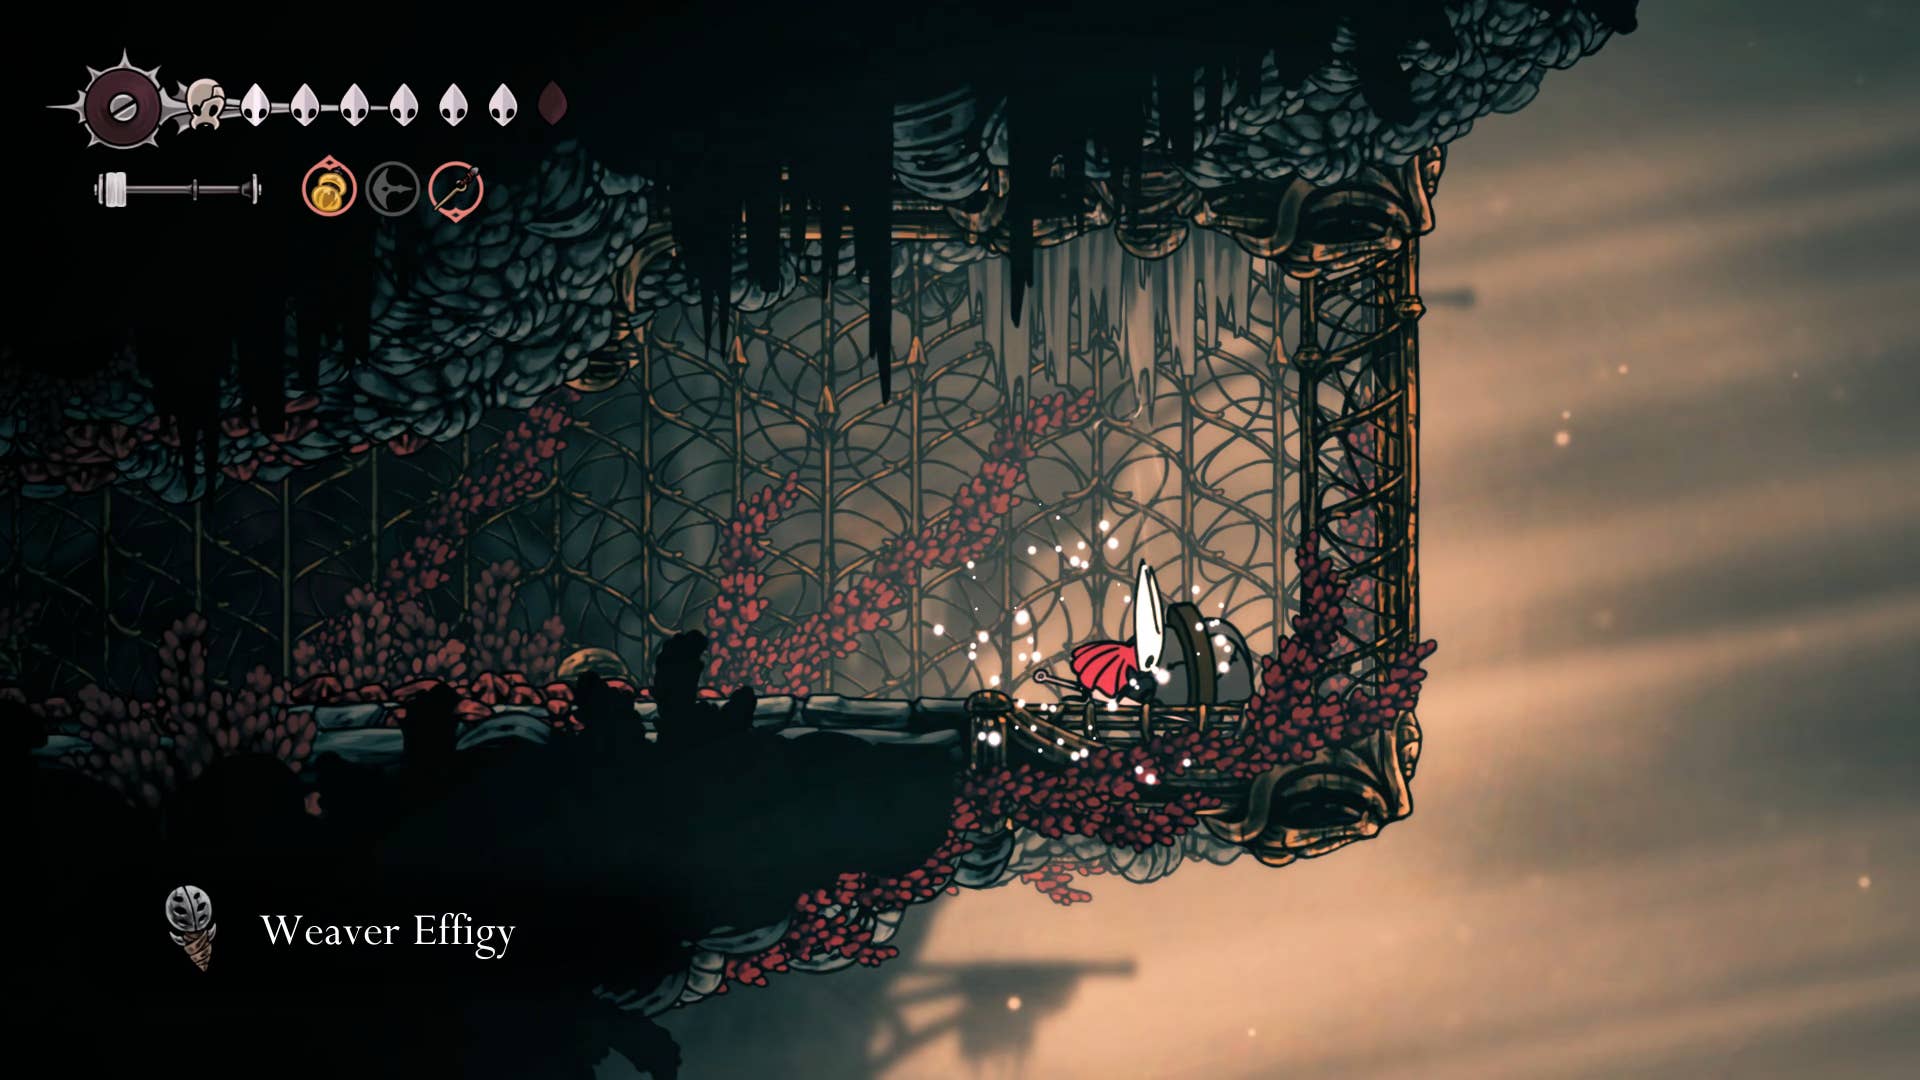
Return to the bottom of the shaft and break down the pointy wall on the right. Passing through the walls that bundle this path, you will see a lovely view at the end, and the weaving effect is there to hand over to knit the next time you are at Bell Heart.
Then go back to the shaft and take the left route if necessary. Apart from exploring this room, there’s no point in this room. There are a lot of such thorny and fragile things here, with some snitch-free at the top waiting to break up with you and your rosary. Kill both, then exit the passage on the right, break down the wall and return to the main shaft.
3. Meet old repentance.
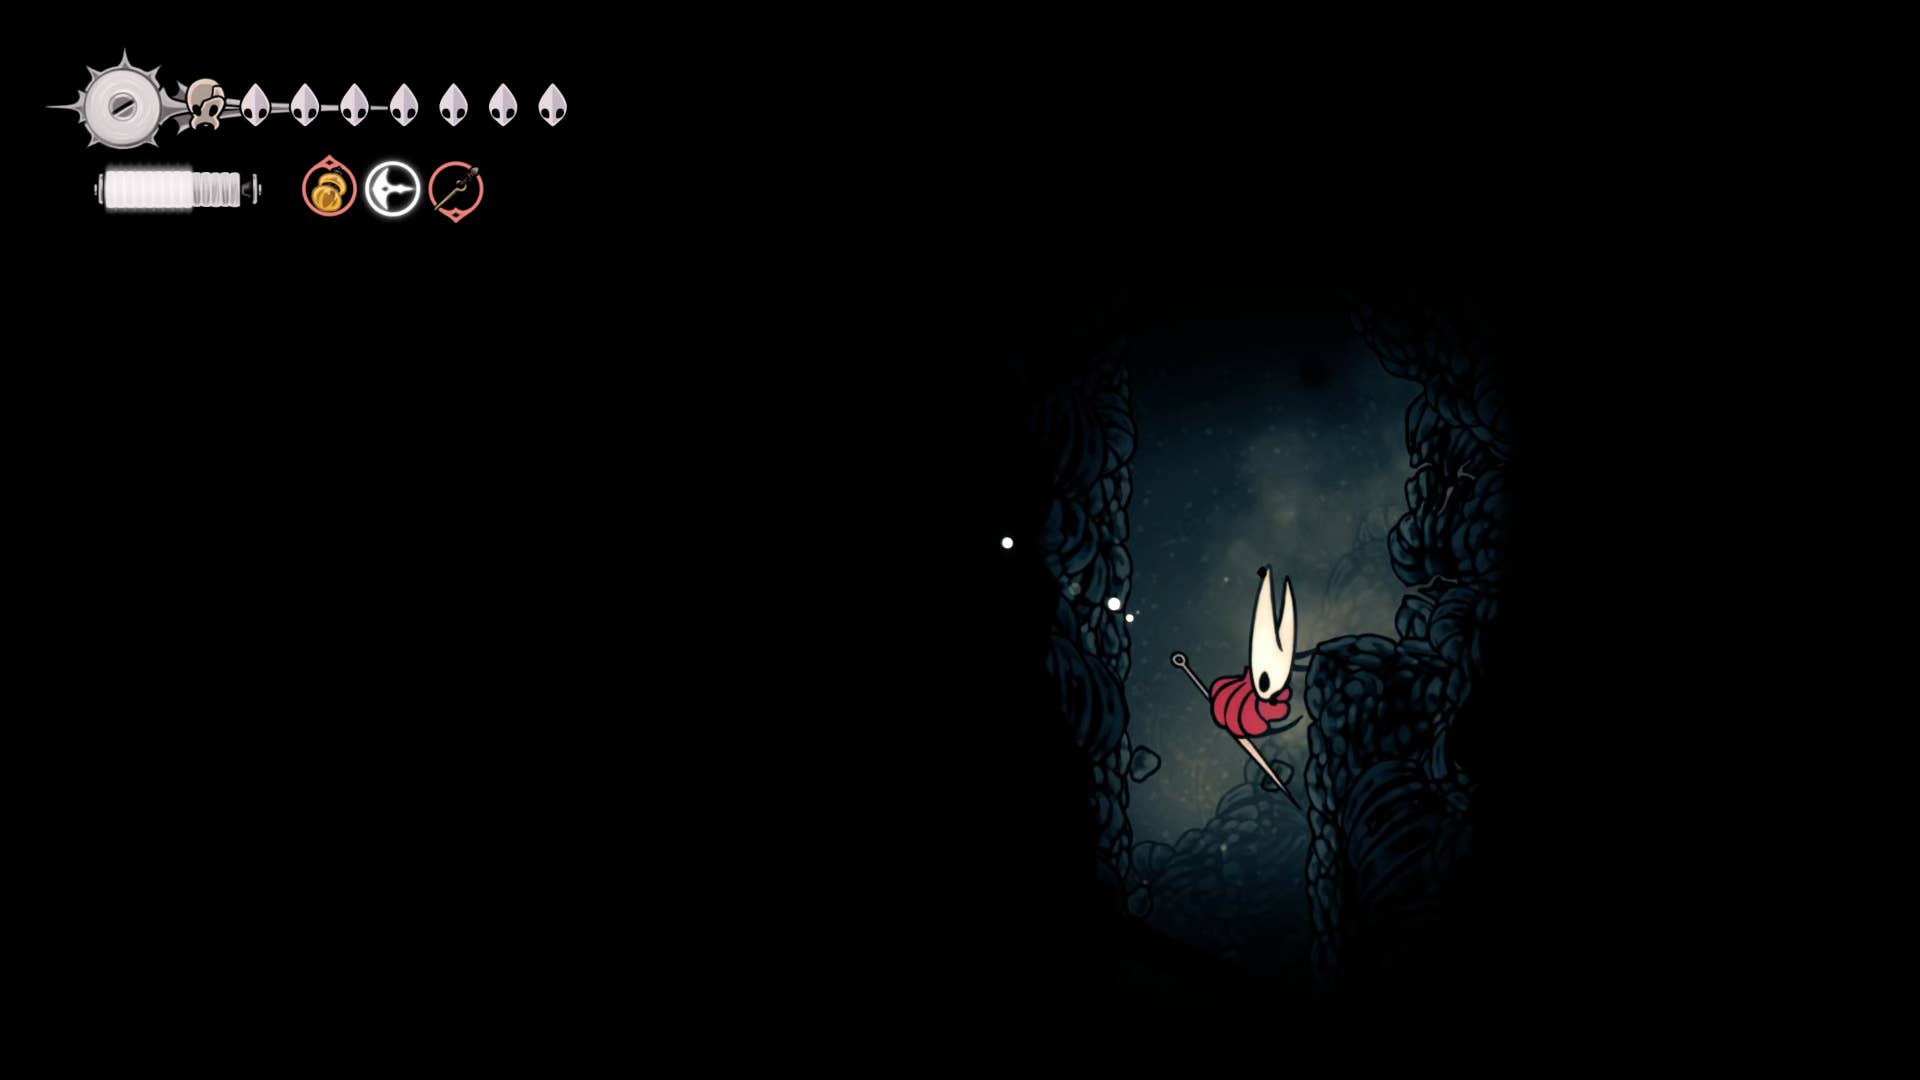
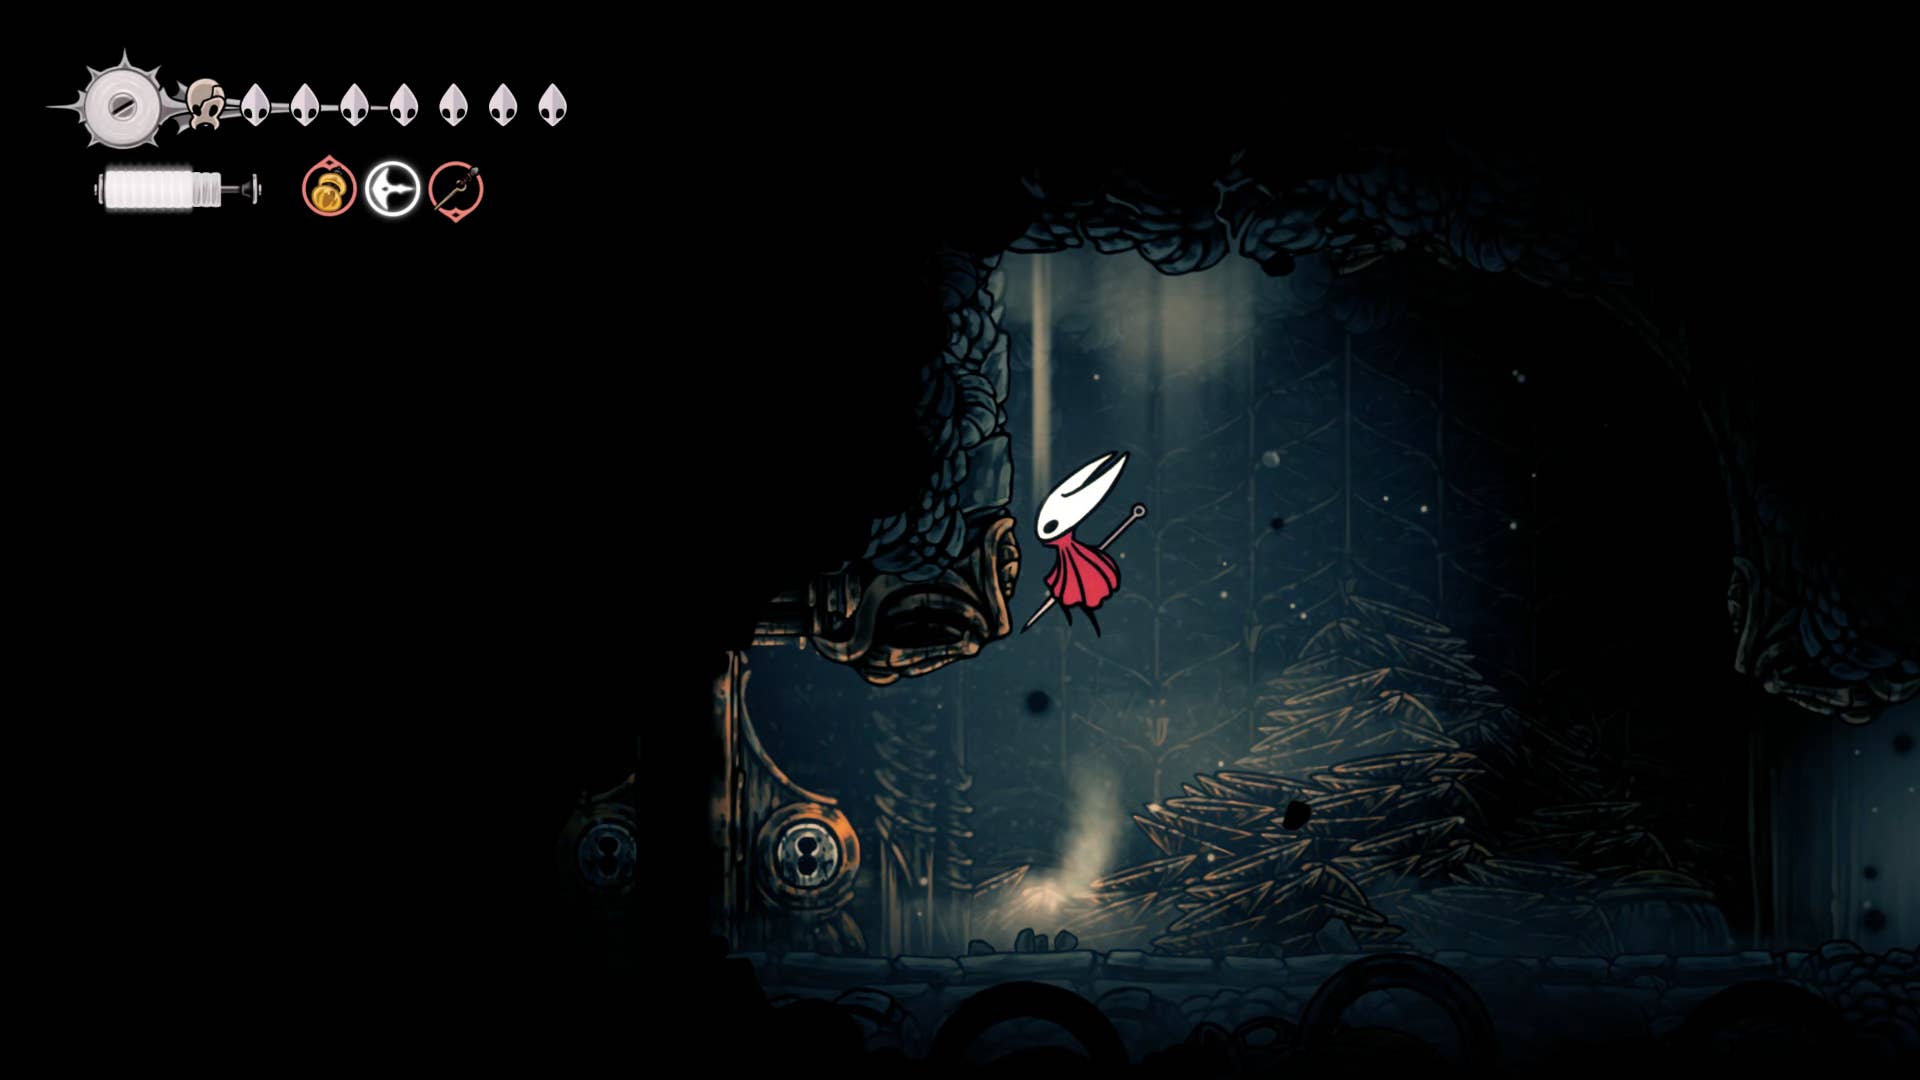
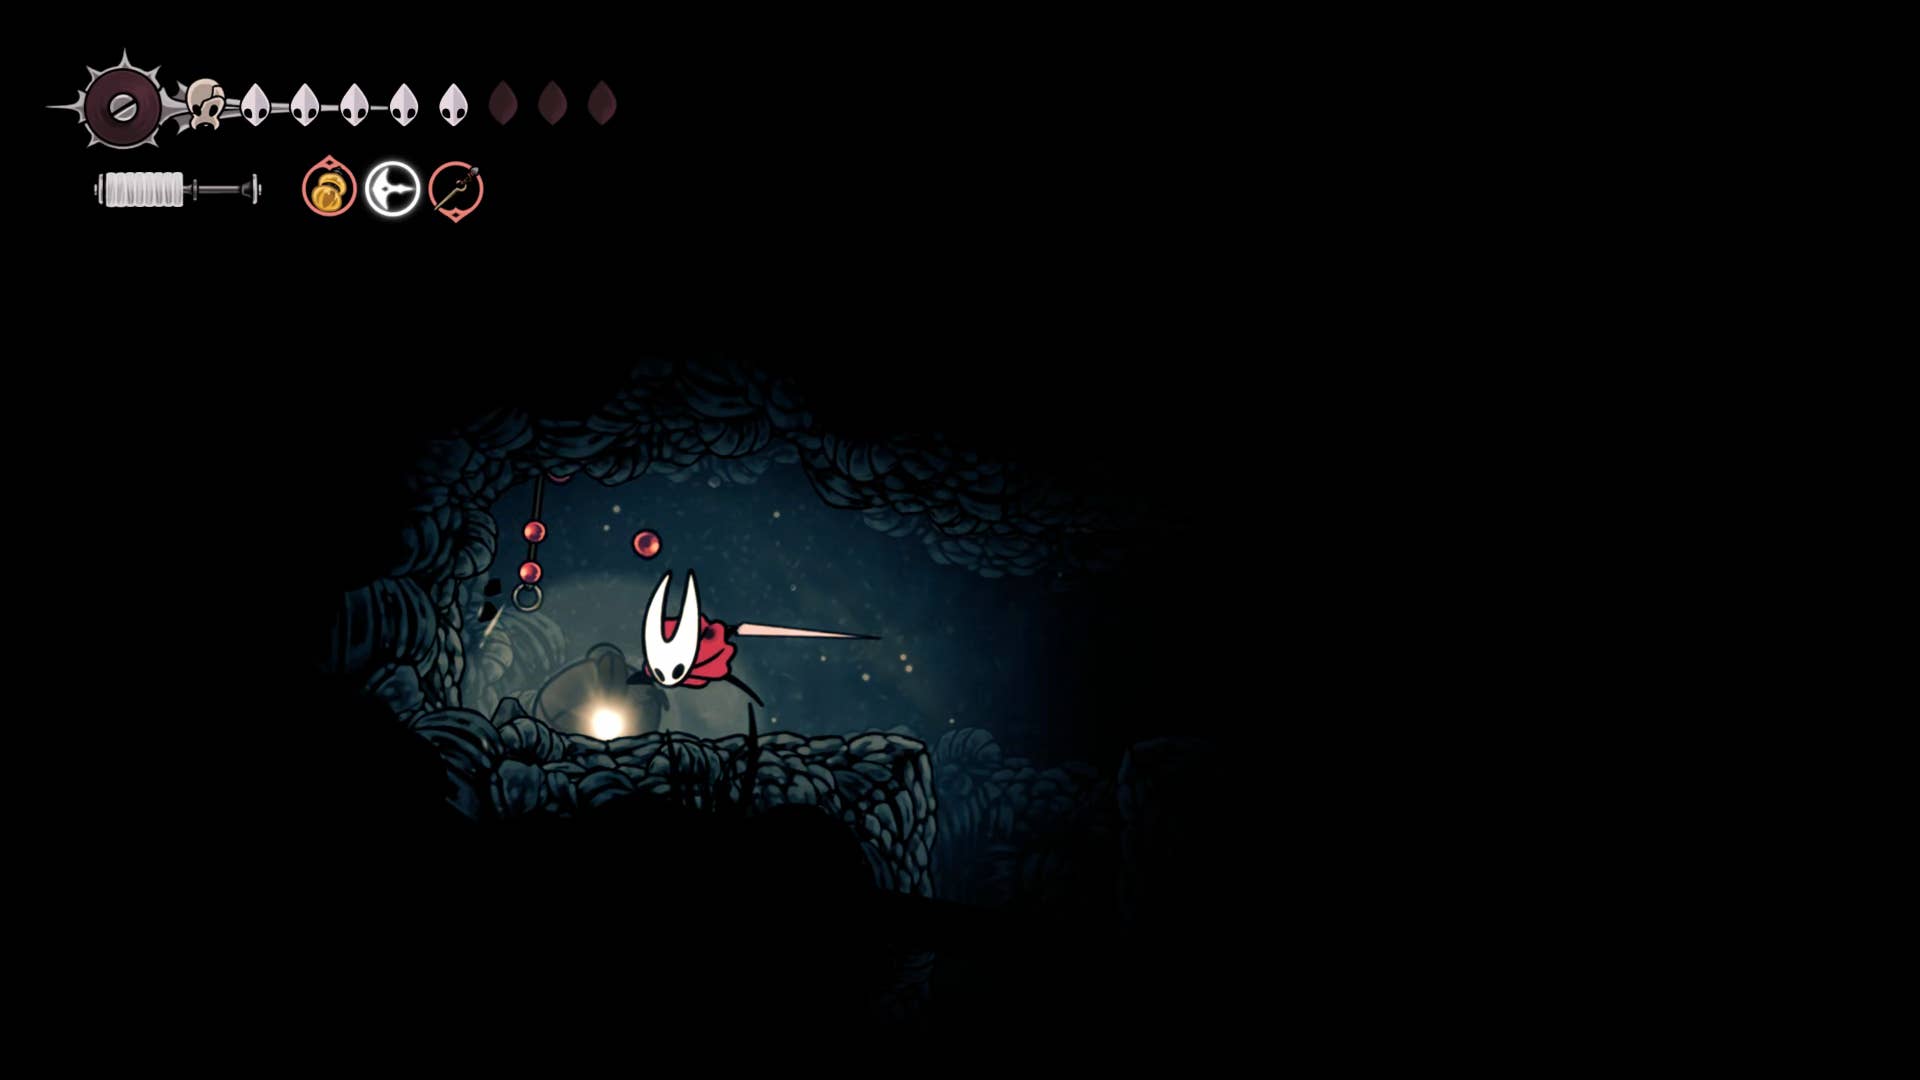
Now it’s time to explore a higher level that can be accessed through secret passages. Climb to the exit on the right, just below where you want to hit the lever. This room is nothing but some plaques in some lore, but double jumps into the hole in the ceiling to the left of the light filled with great spirits and follows the path of a secret passageway through the cave.
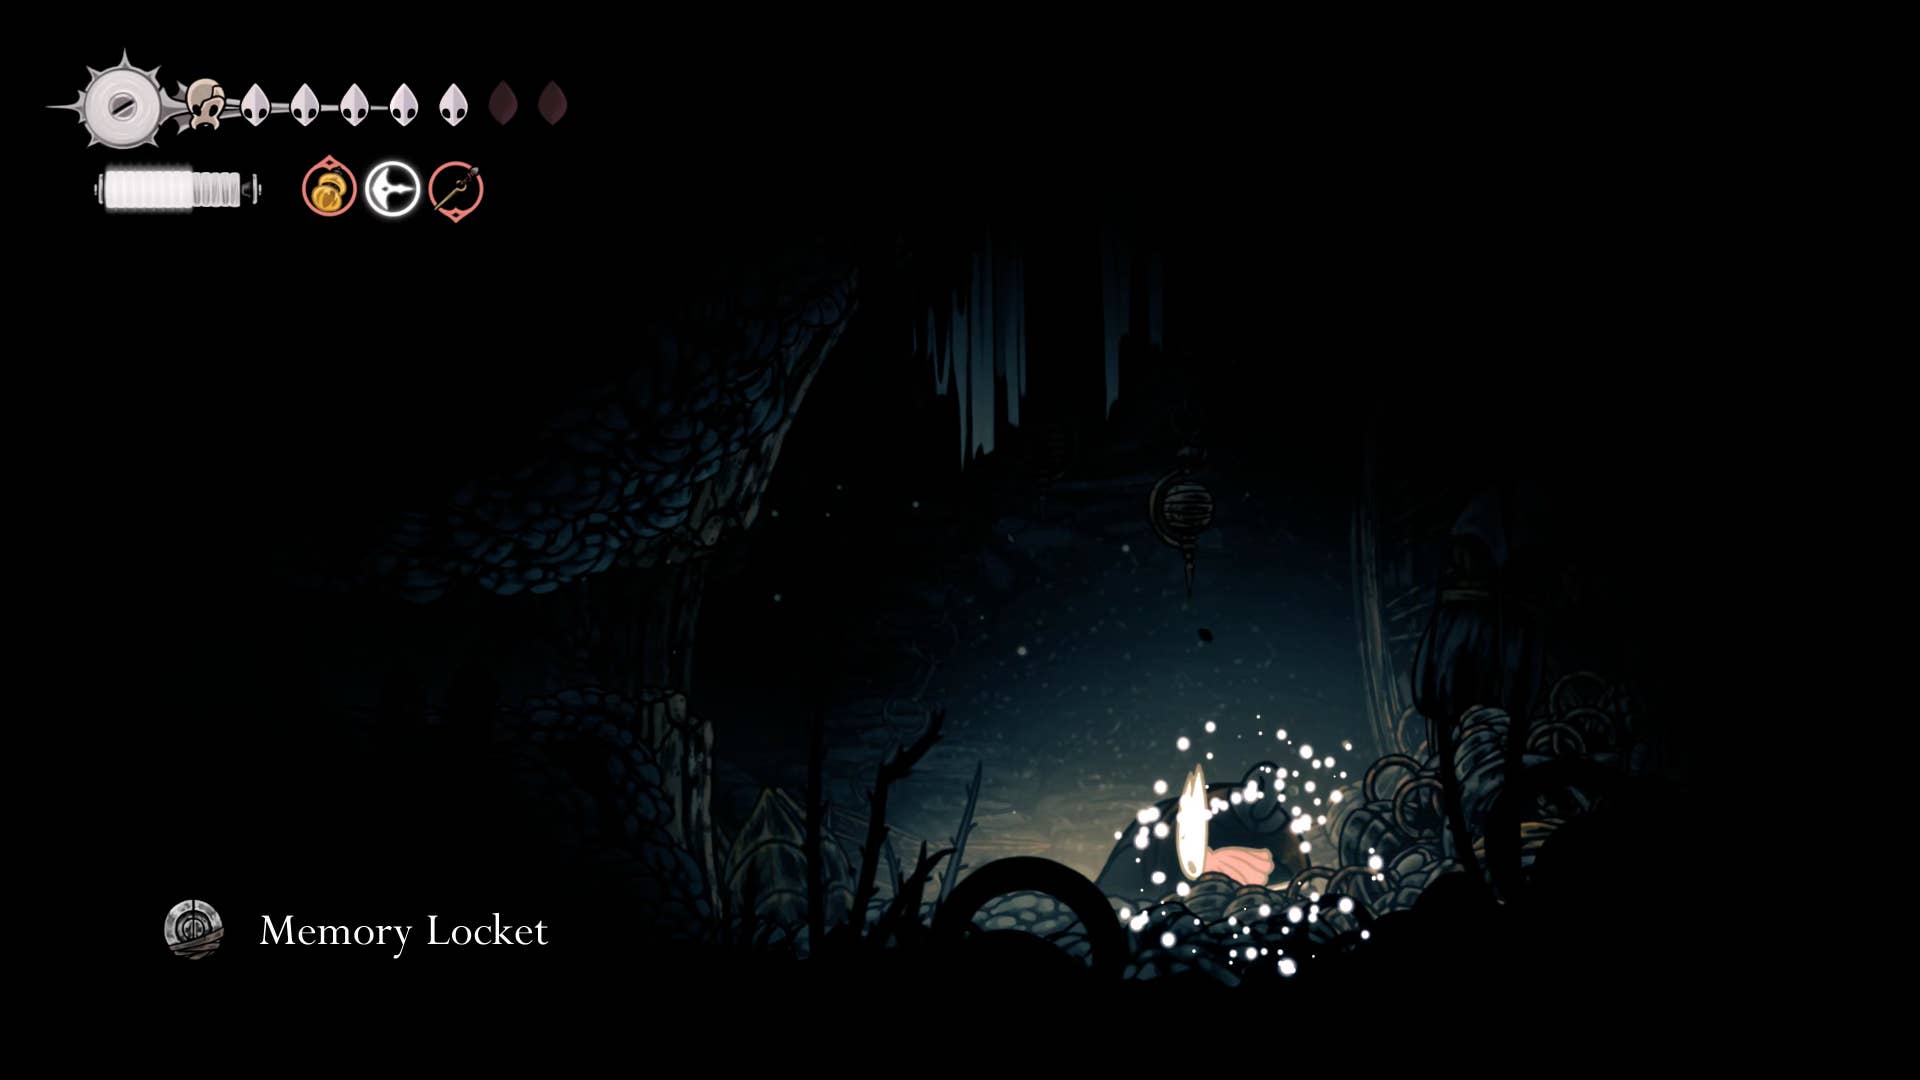
Once you enter the cave, be prepared for falling rocks. But otherwise there are no enemies. In the middle of the shaft you will see a rather obvious section of the fragile stone wall. Break through it and find the body of a pilgrim. This can be plundered for memory rockets.
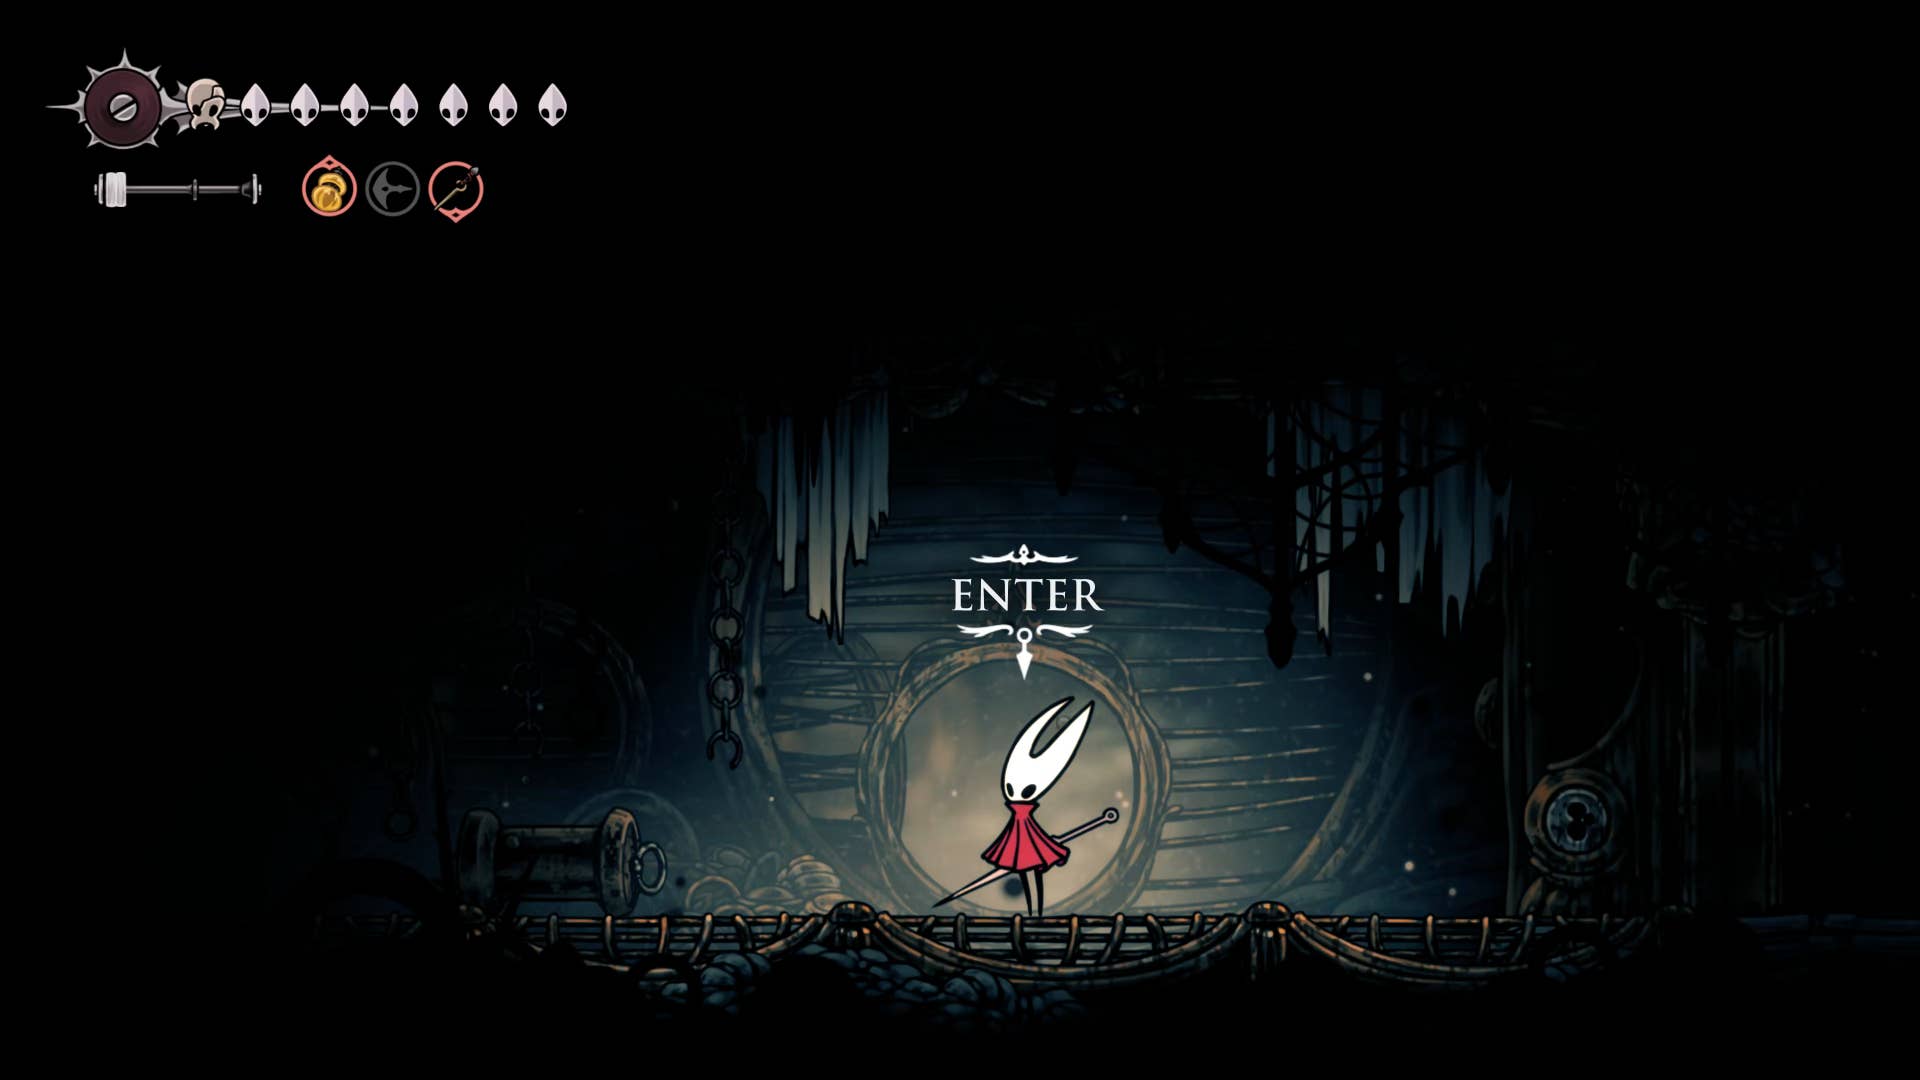
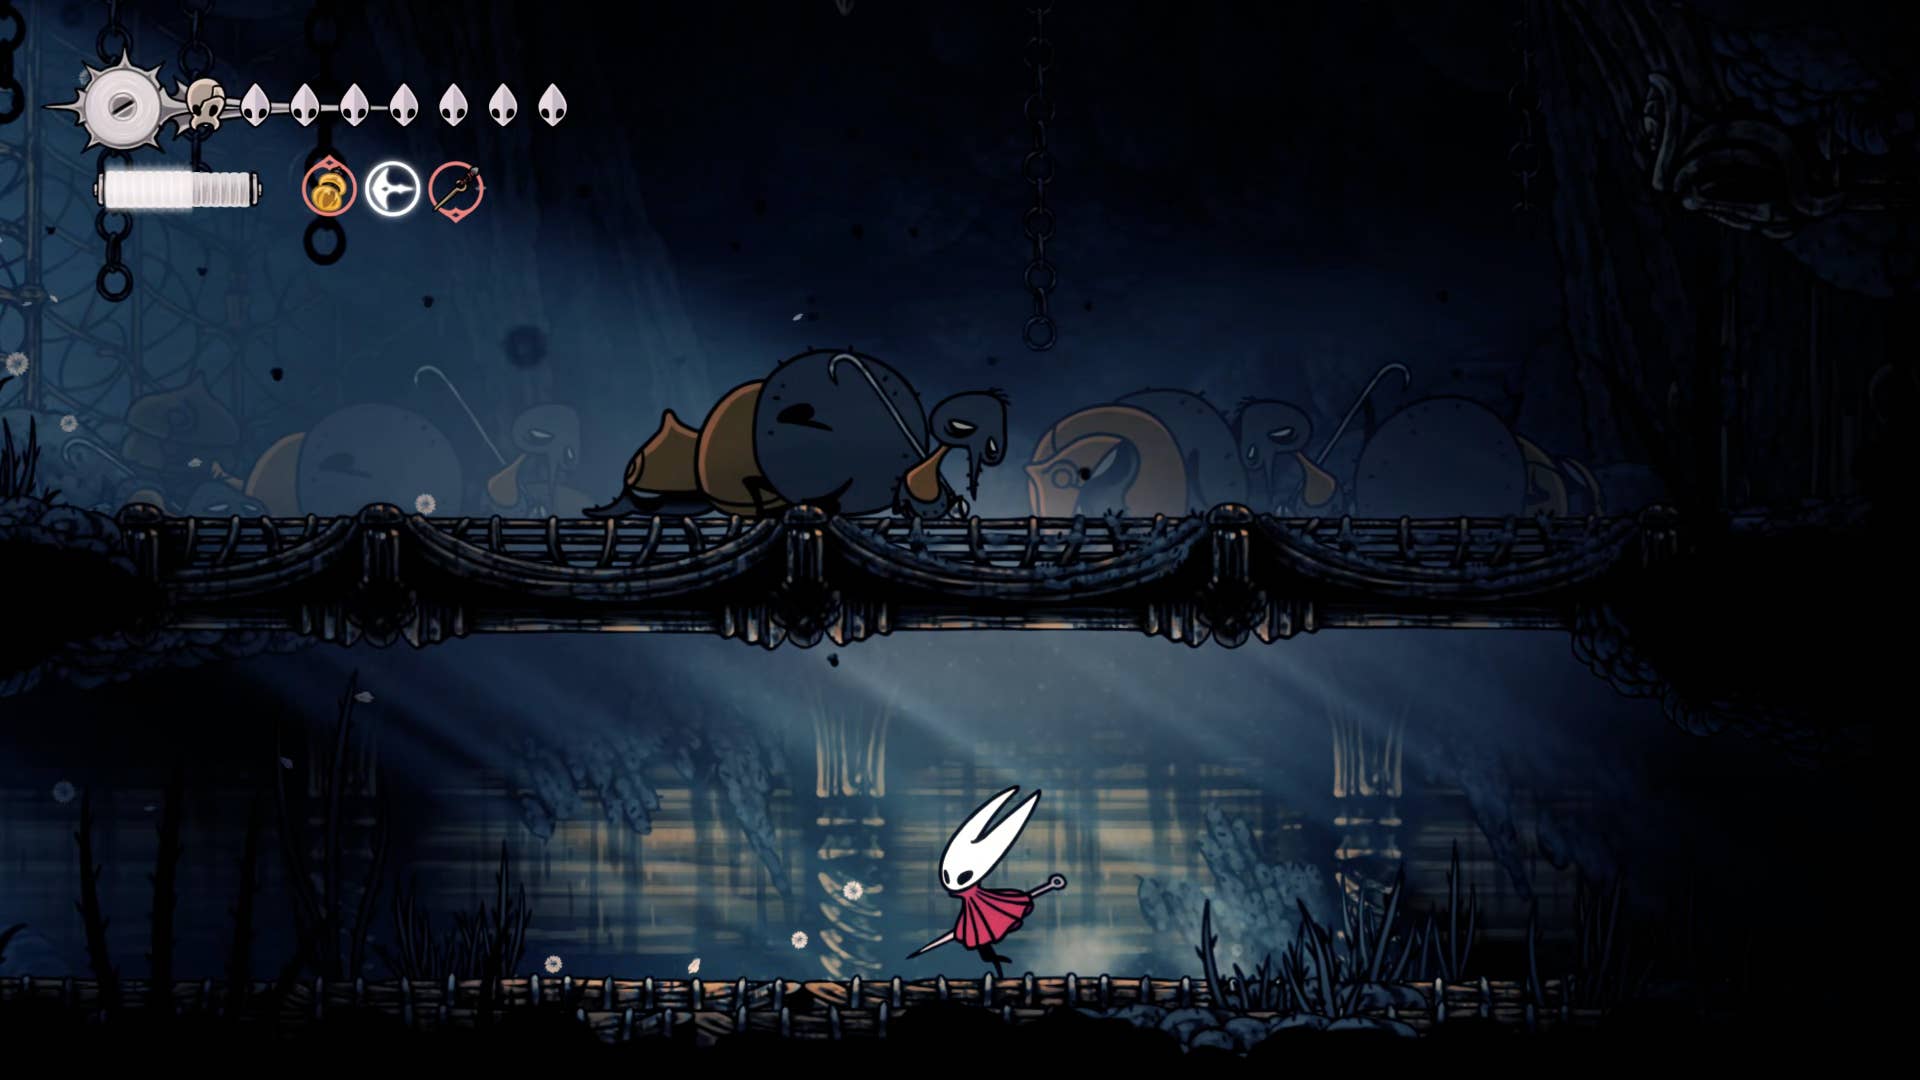
Then head to the top of the cave and leave. In the next room, get up and head right. Just before you reach the locked door (this time you need another key to what you have), you will find the entrance to a circular building. Head over there, stand towards the right side of the room and play Needlin. This encourages the appearance of the NPC – old repentance.
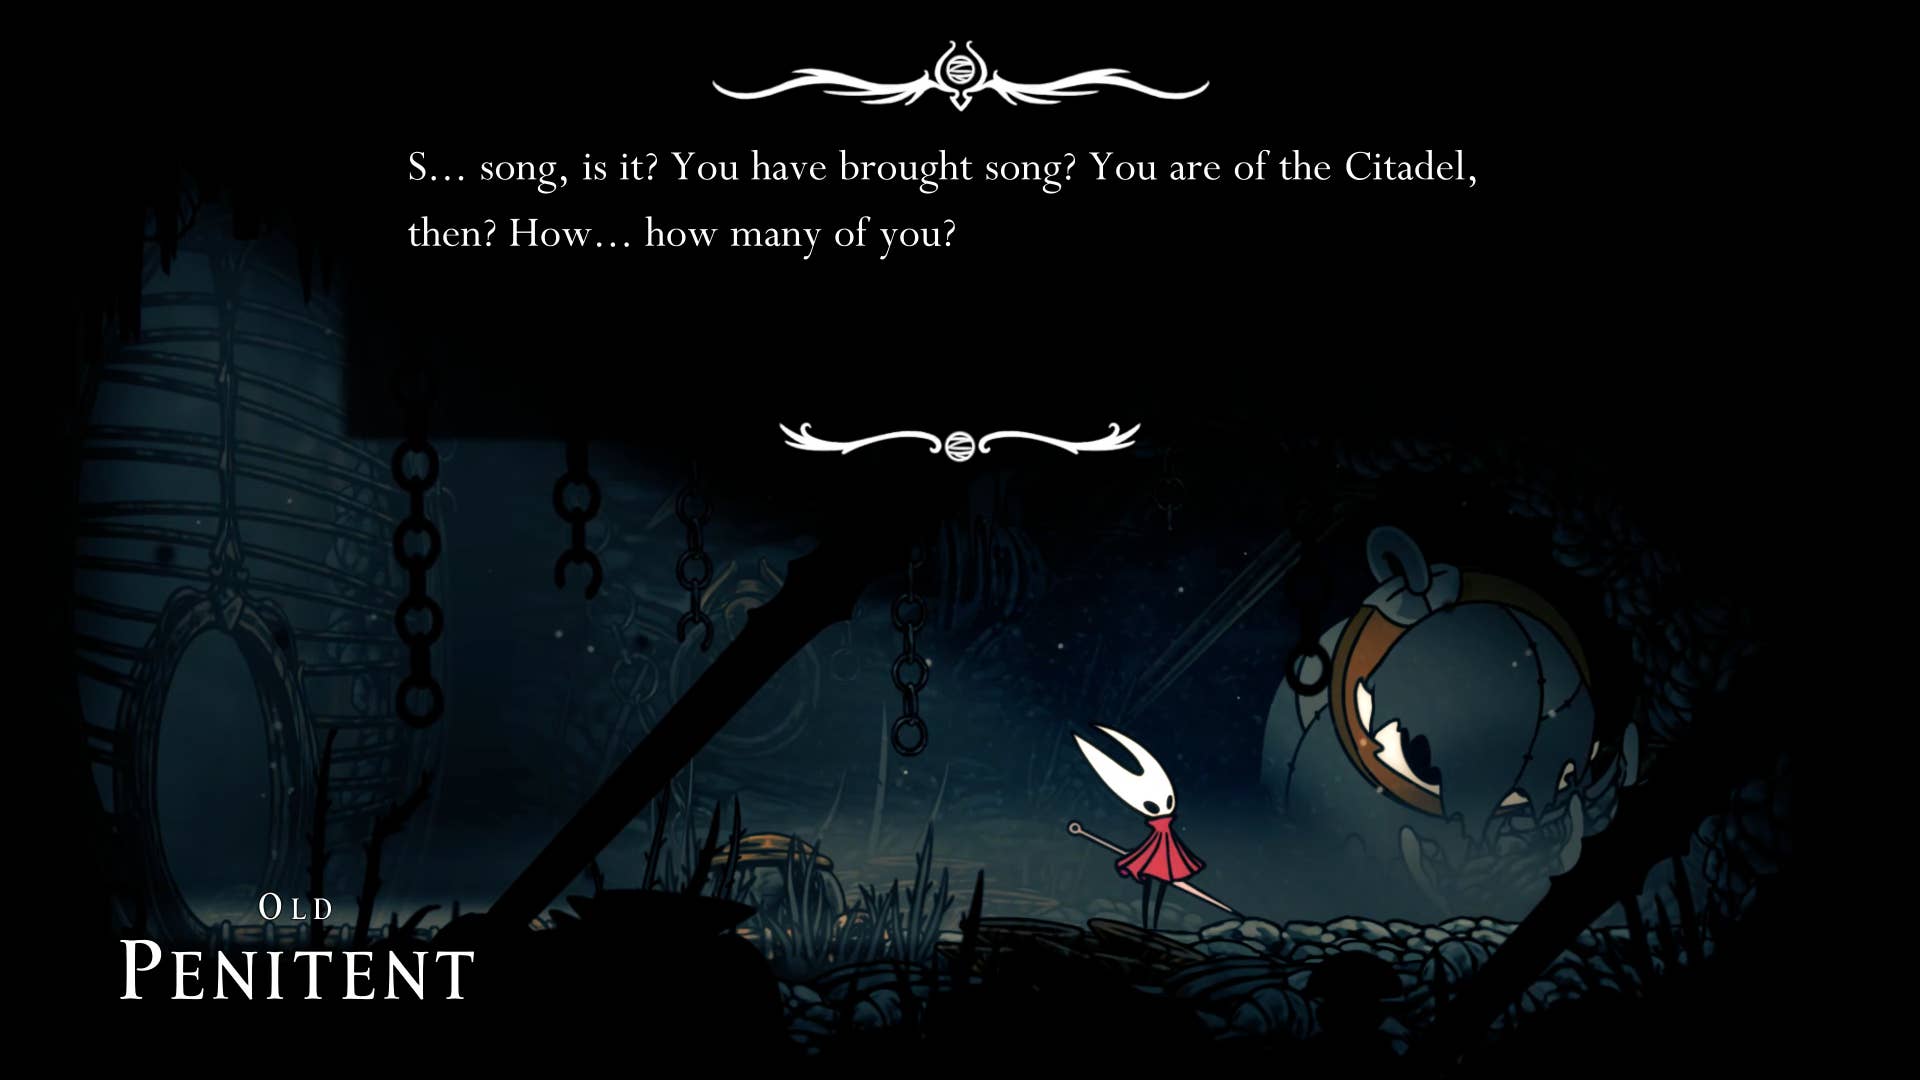
Due to some lore about the Slavs and the Citadel, weary old dialogues of repentance, leaving his cell to the left.
4. Rescue the second flea.
Now you’re on the trap door where you previously stopped getting high. There is clearly a keyhole that unlocks the trap door, but you can’t unlock it yet, so head to the room on the left.
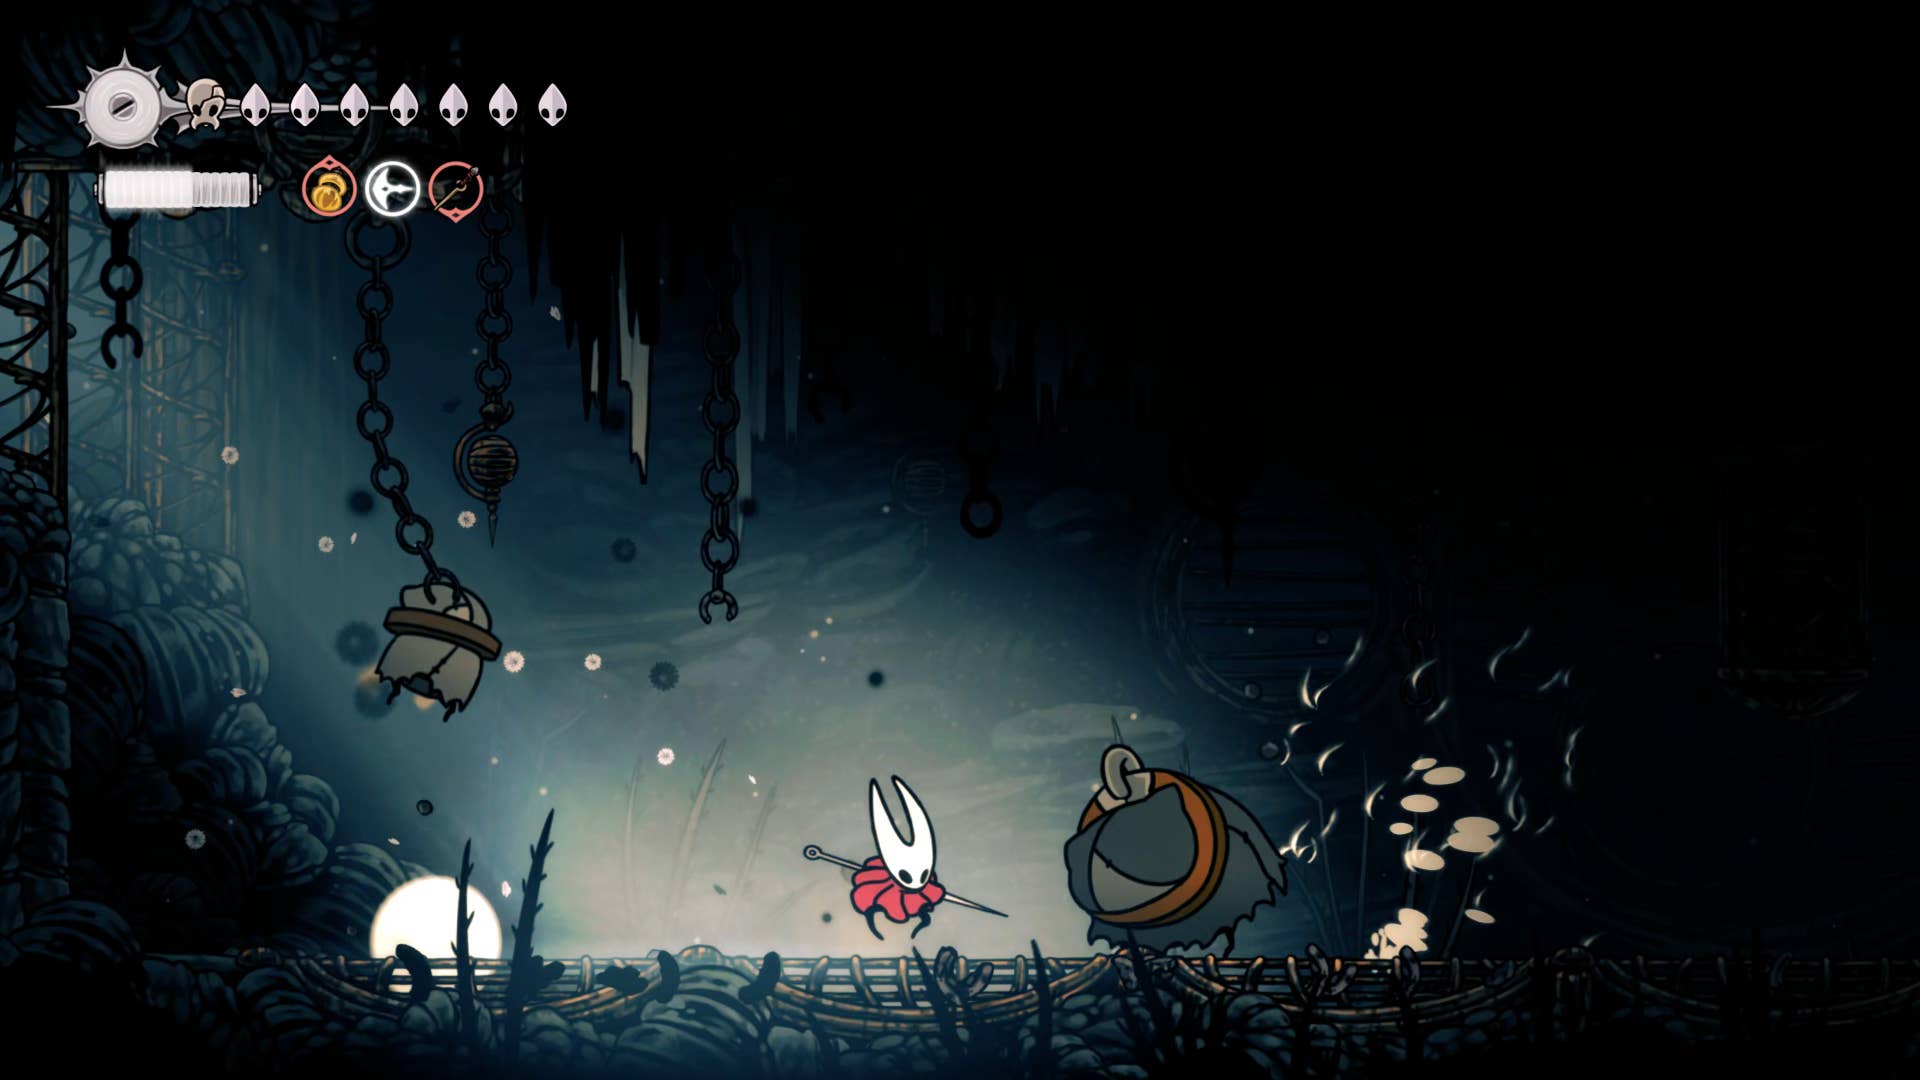
A little further away from this room is the guard fly for you to kill. Then head left and watch out for the well-structured pressure plate traps on the floor. Enter the cell at the edge of the path and you will find another chisel trapped in a small cage. Break the cage to release the chisels and backtrack it onto the main shaft.
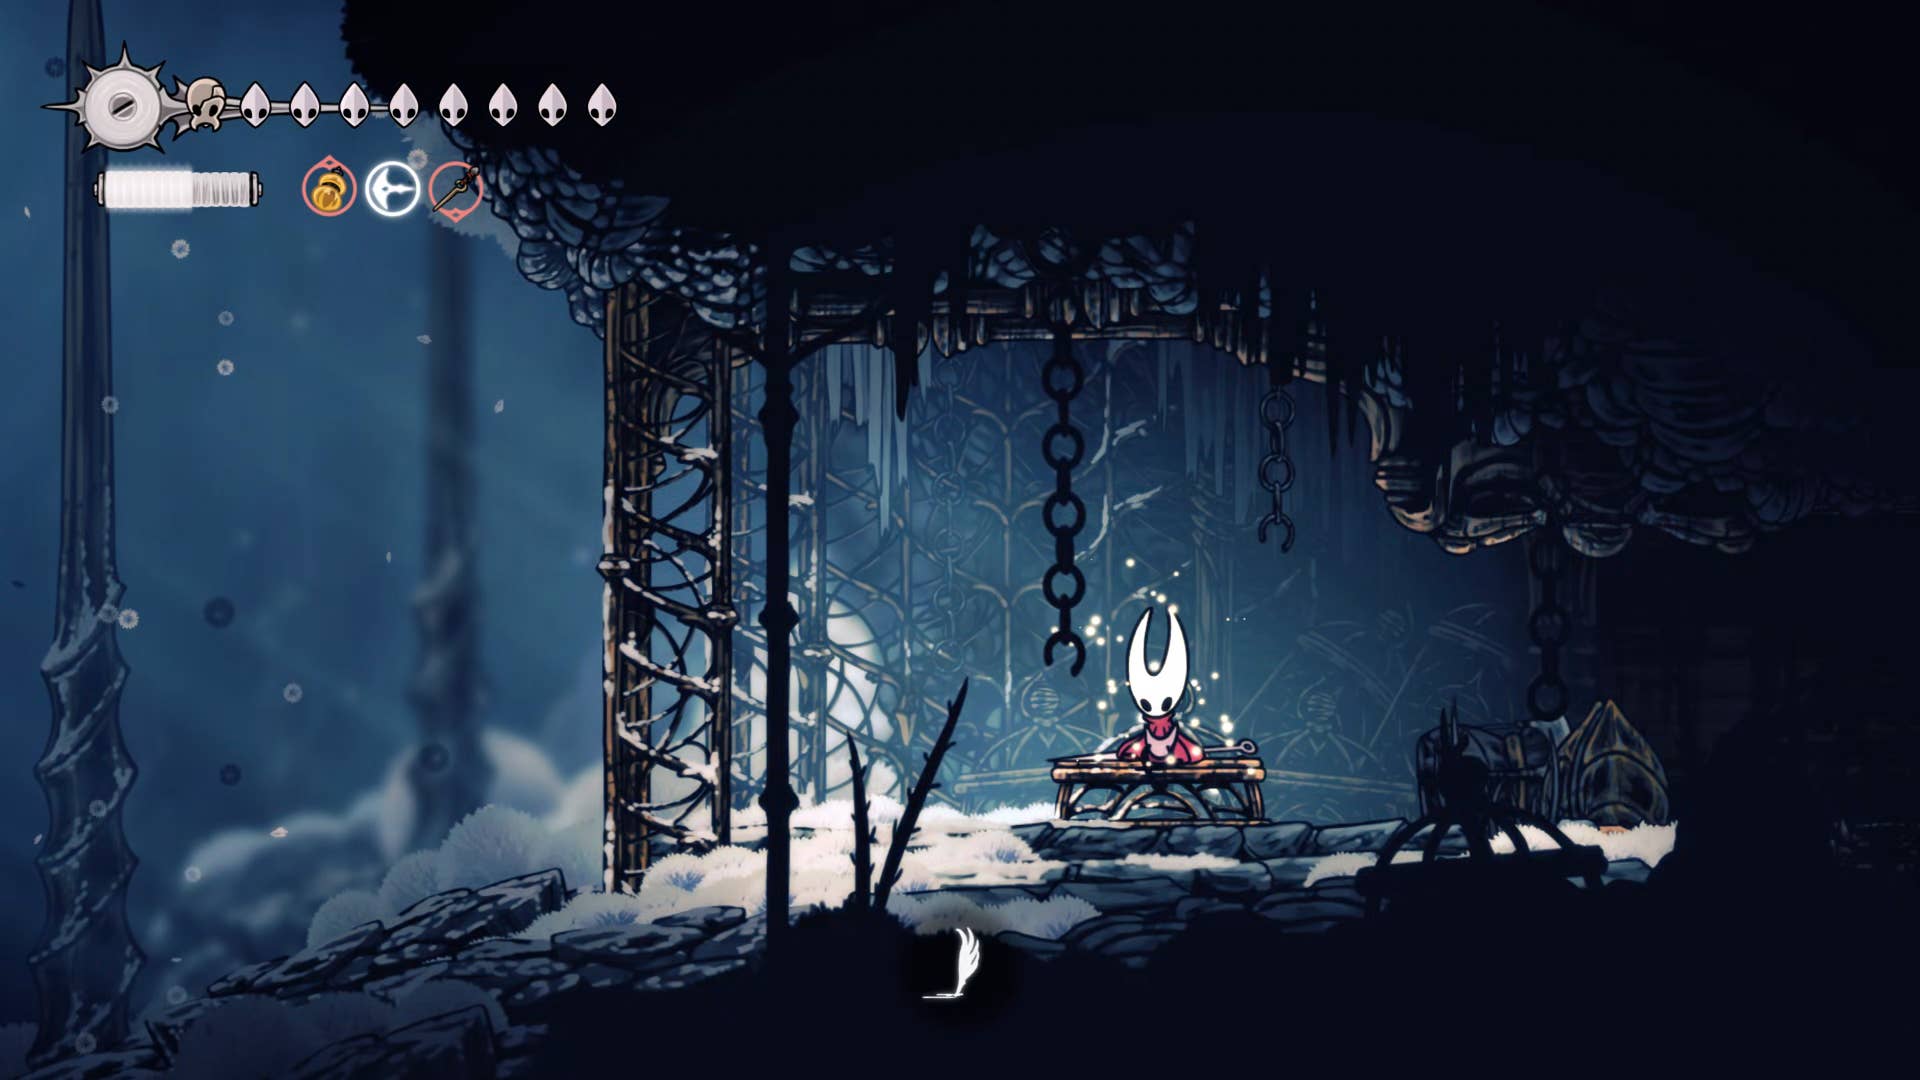
5. Get the slab map past the bench.
Return to the shaft, place the guard fly and climb onto the shelf, then take the door to the right (take the doorway on the left and there’s a different locked door for now).
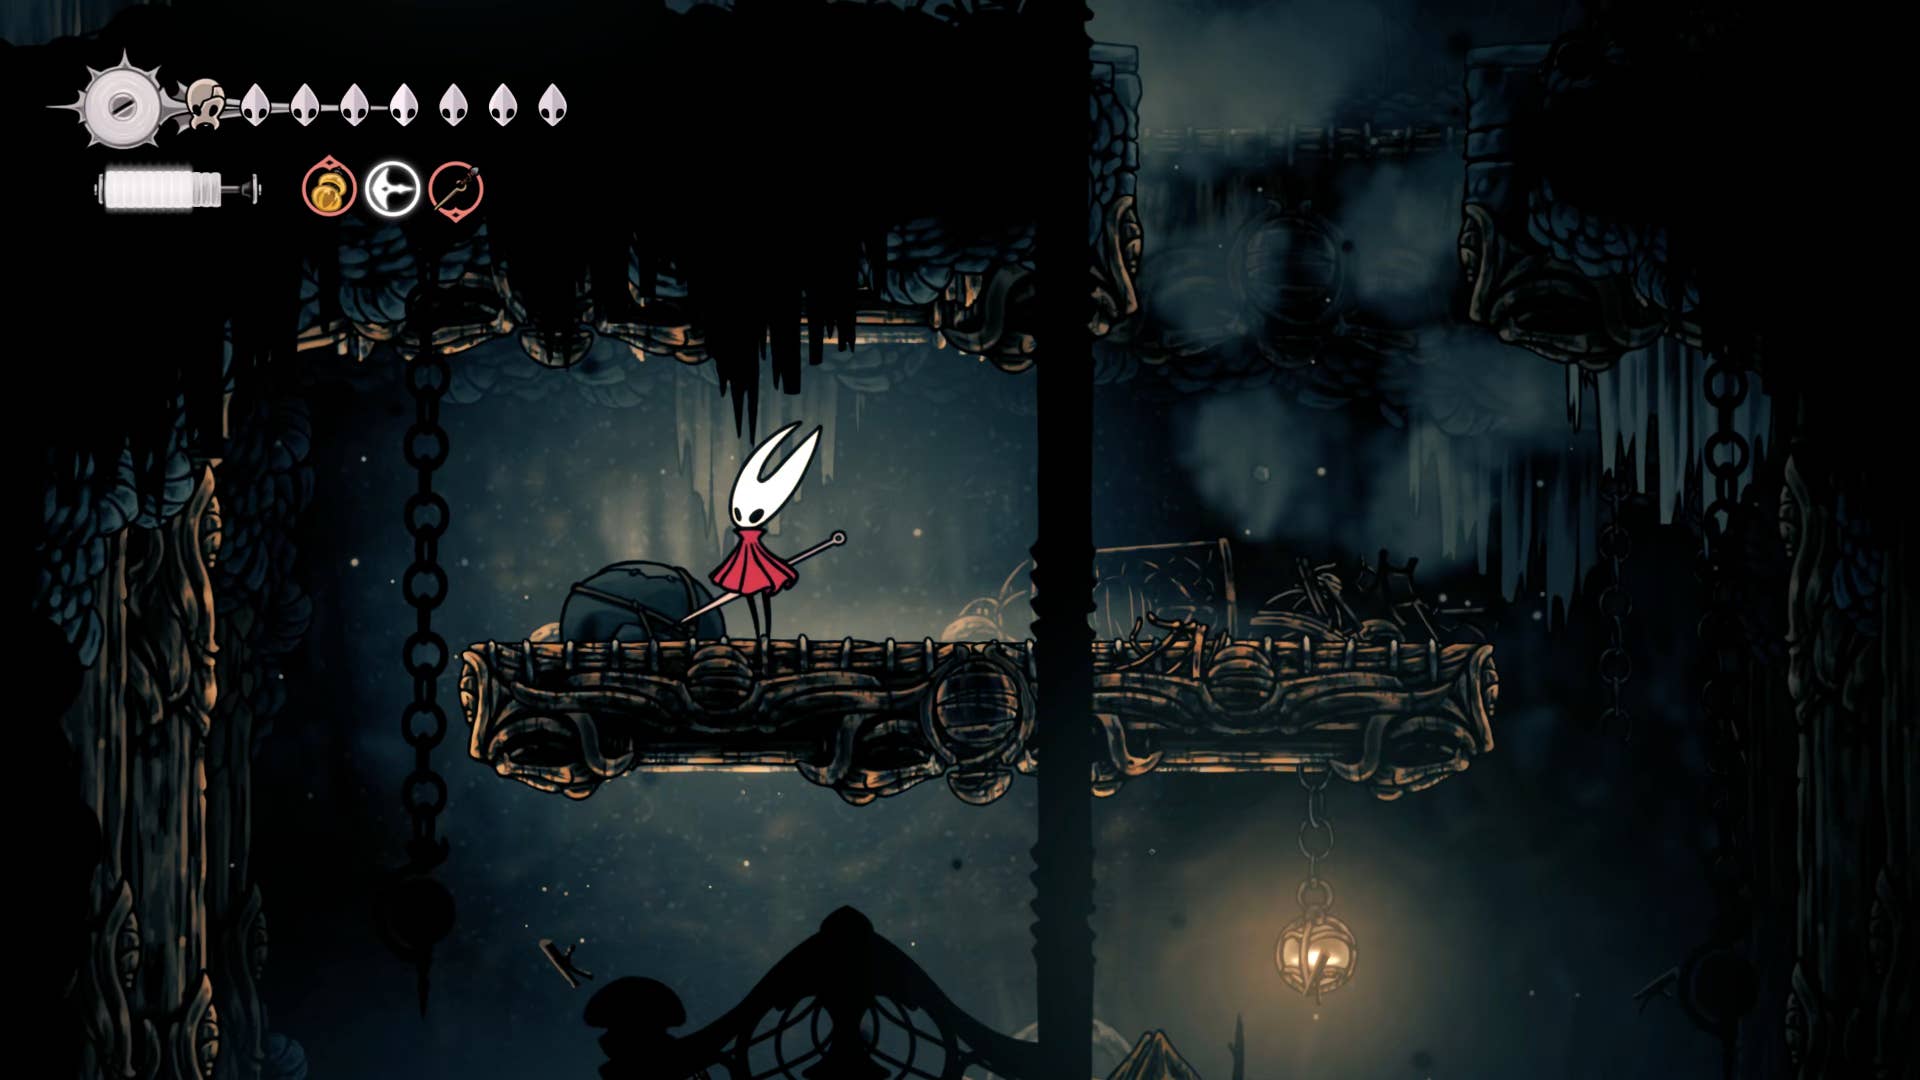
Inside this room there is another bench. How wonderful!
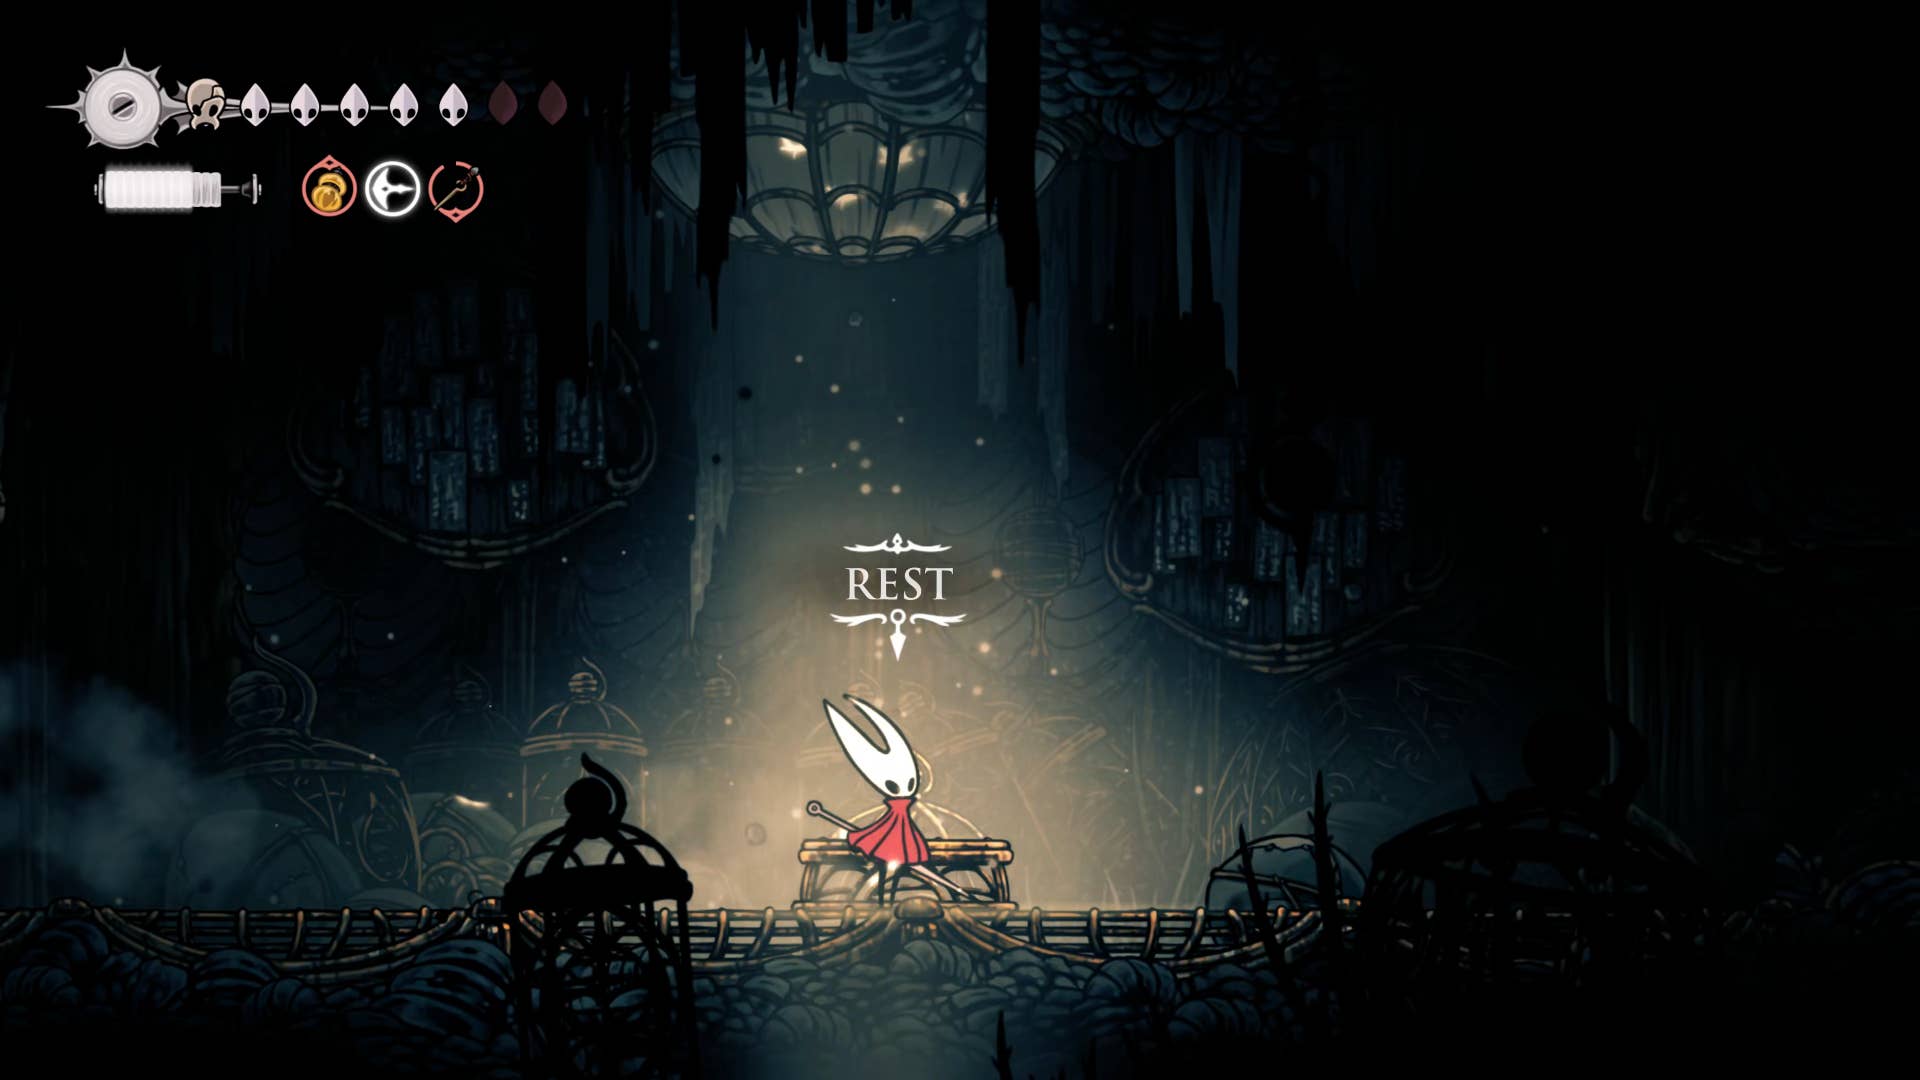
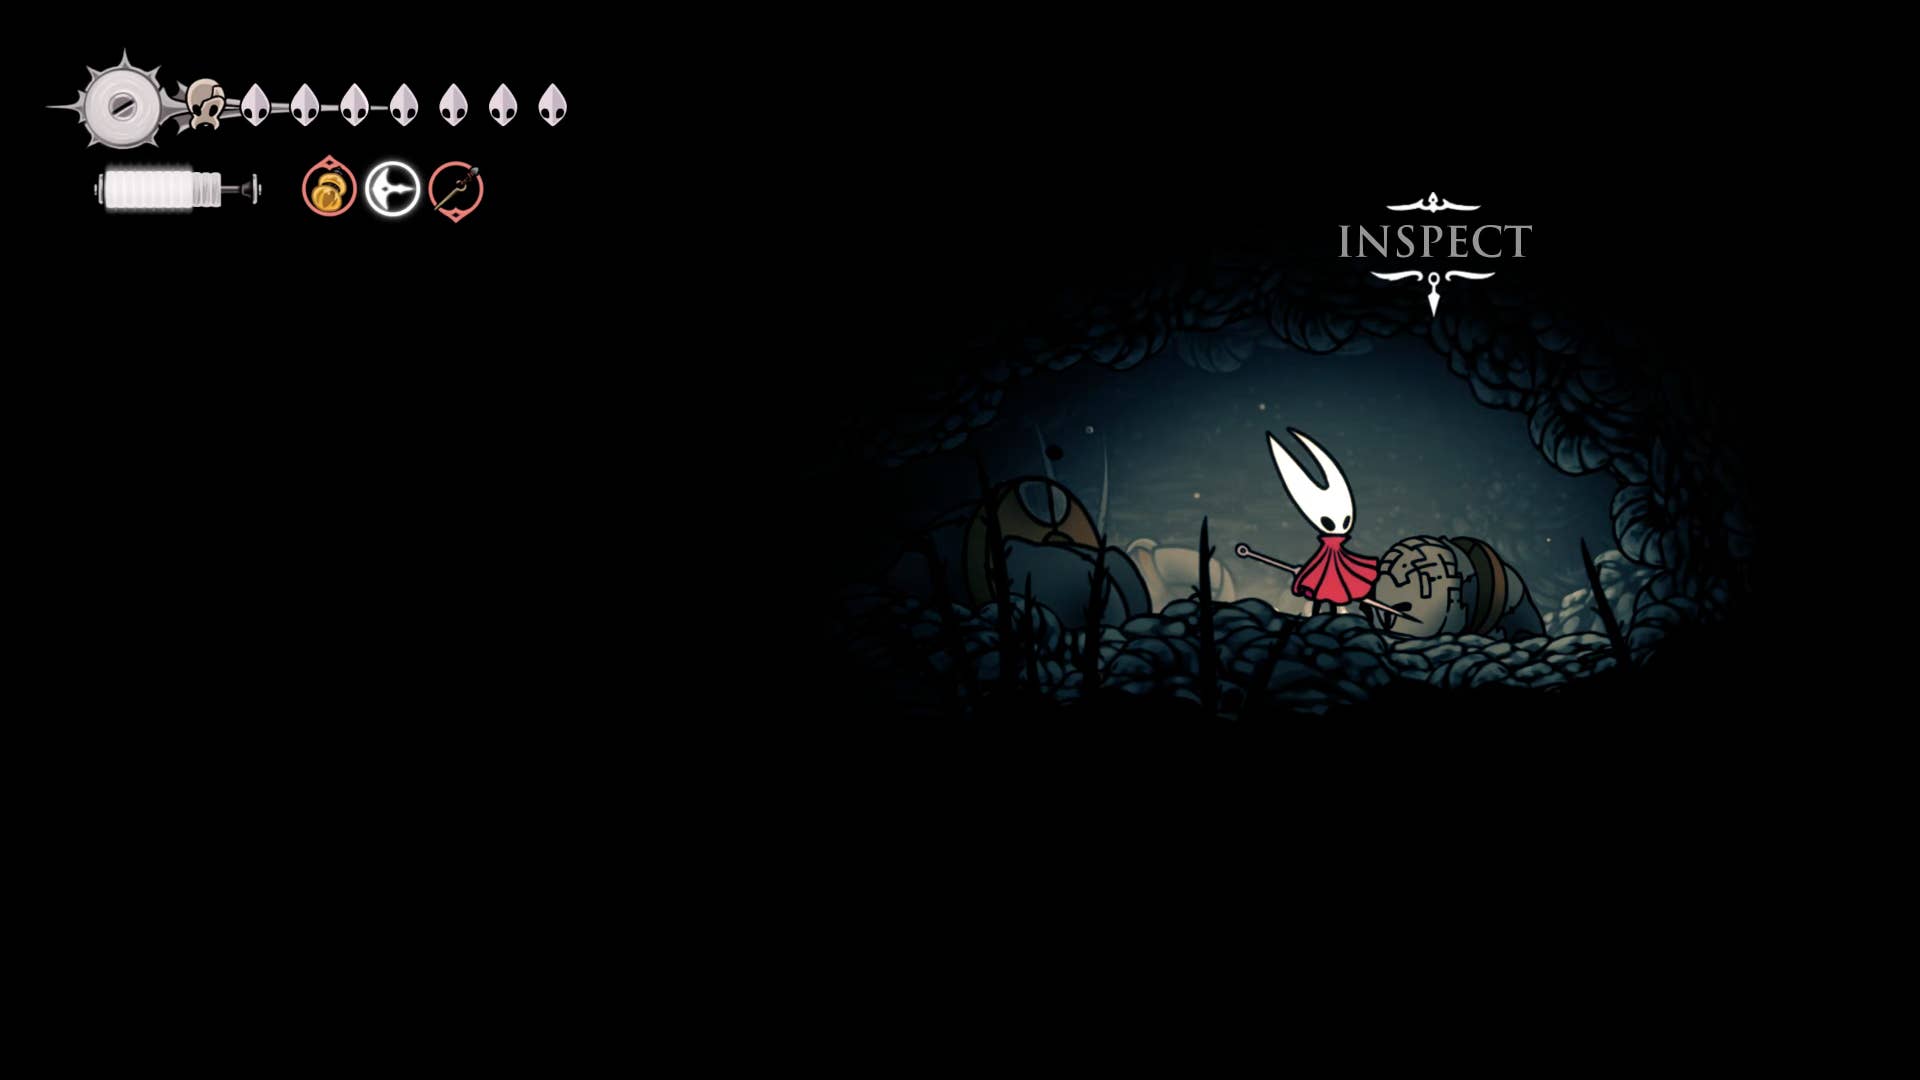
After resting, you pass the bench and jump onto the wall to the right to reveal a short secret passage. The only thing about this passage is at the end – the dead shell you can inspect (here, to make fun of, it means stripping off the scalp of the tattoo) will receive a map of the slab.
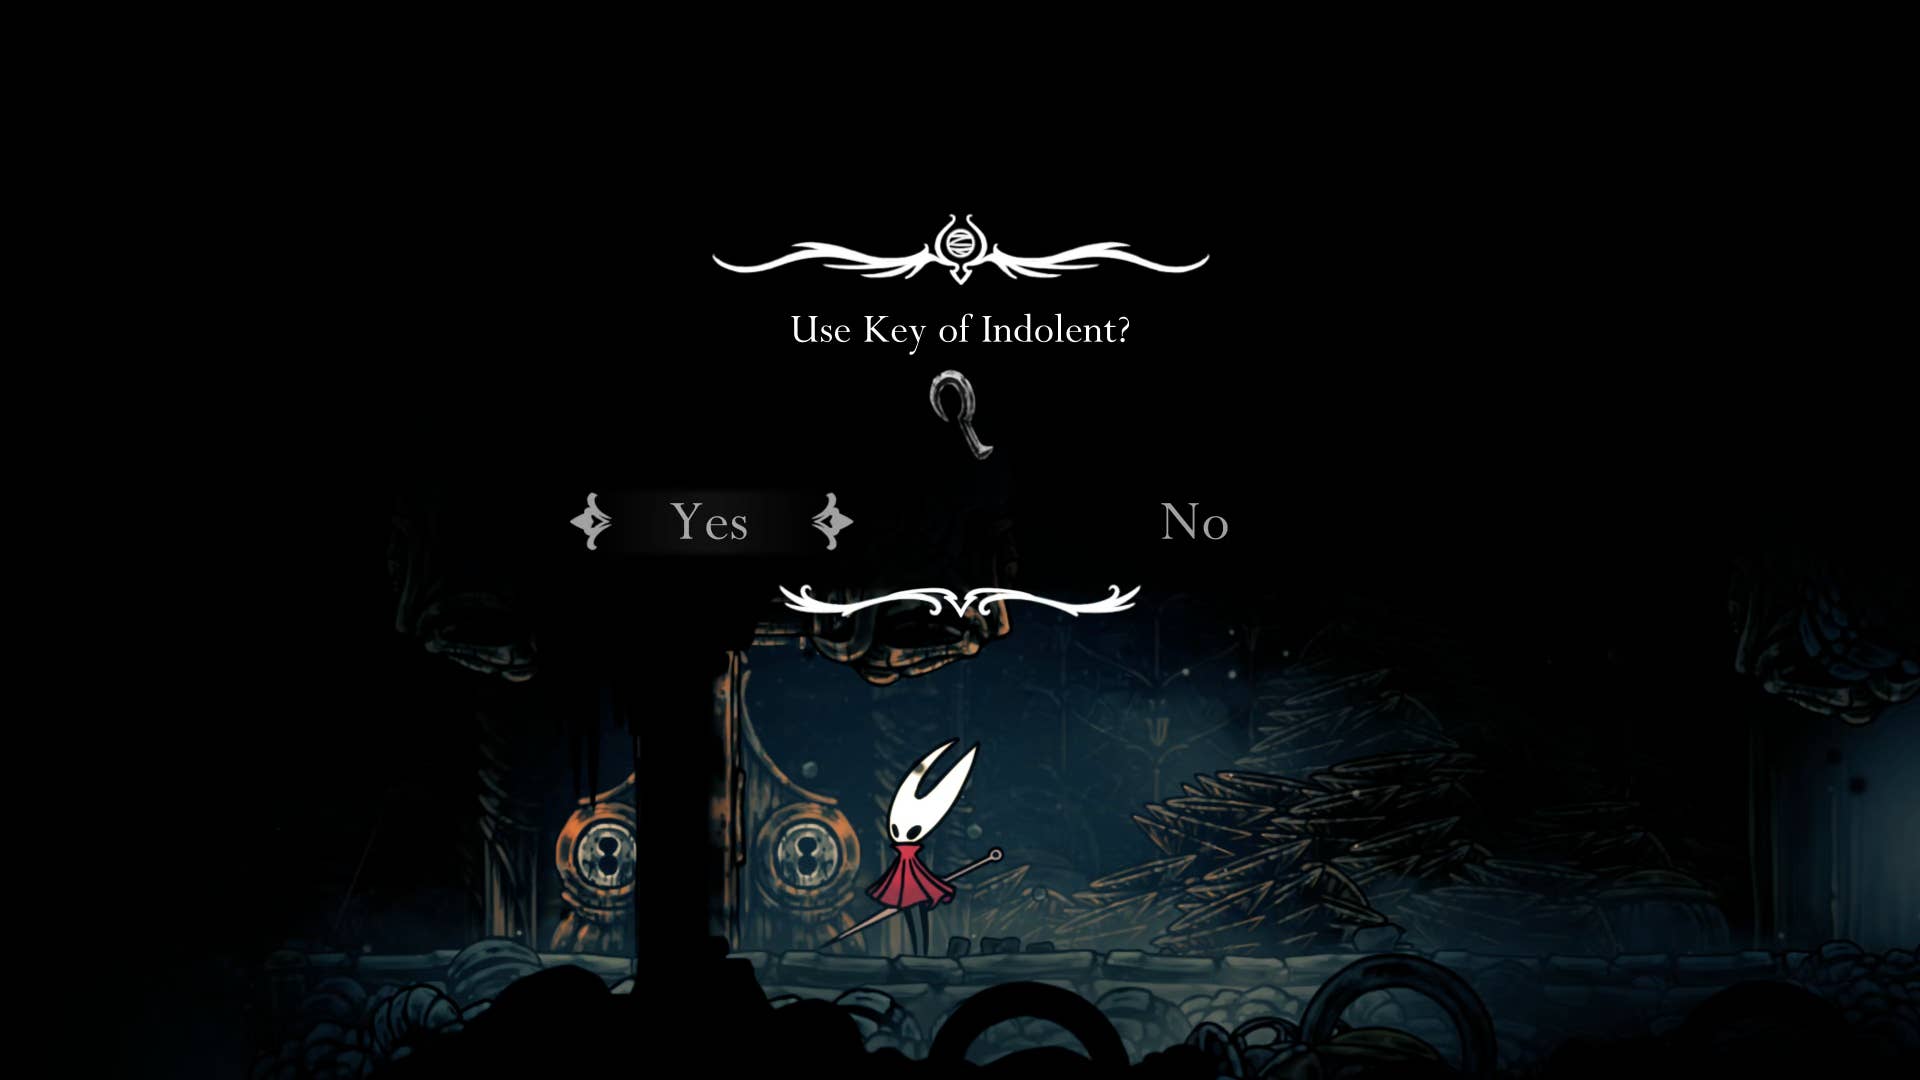
6. Get the lazy key.
Return to the shaft on the left side of the bench and climb onto the top shelf. Break the board at the top here and walk on a higher path. Immediately take the left exit and attack the ceiling above the locked door to reveal an upward pass.
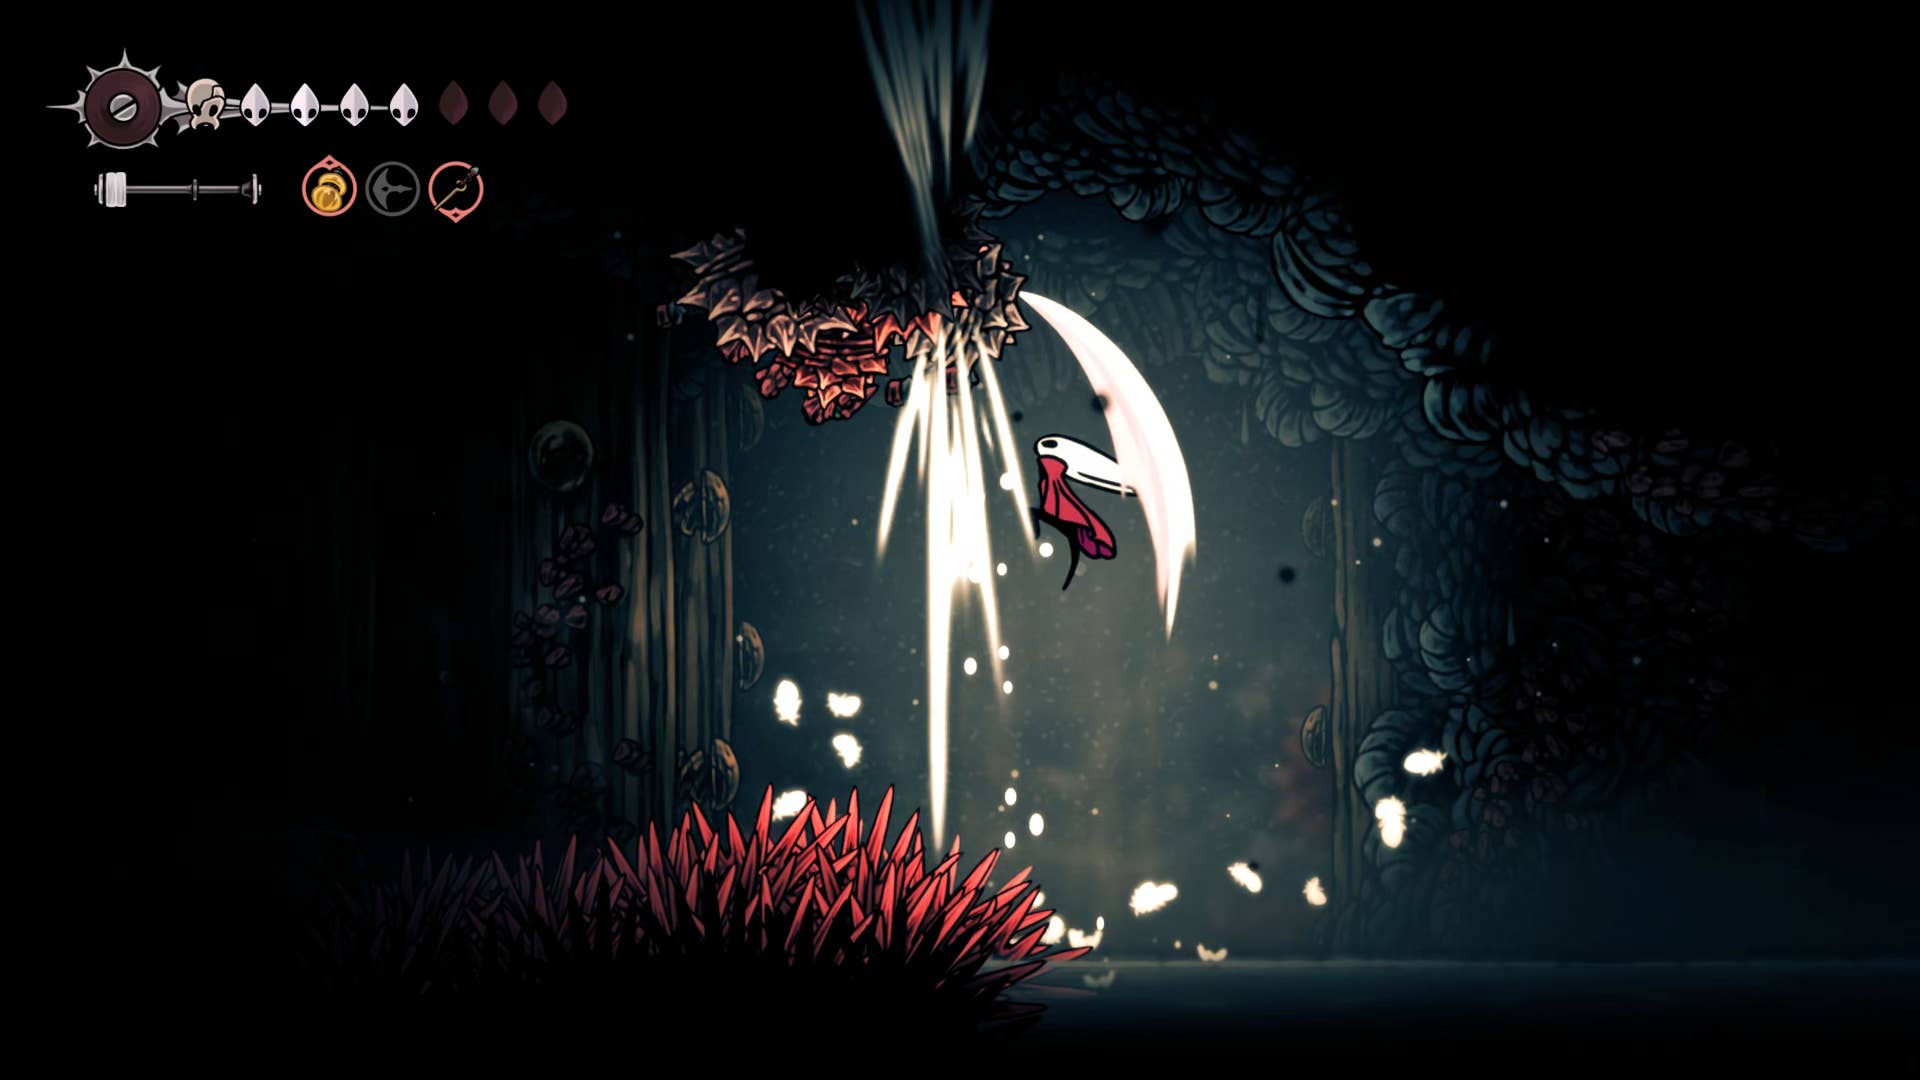
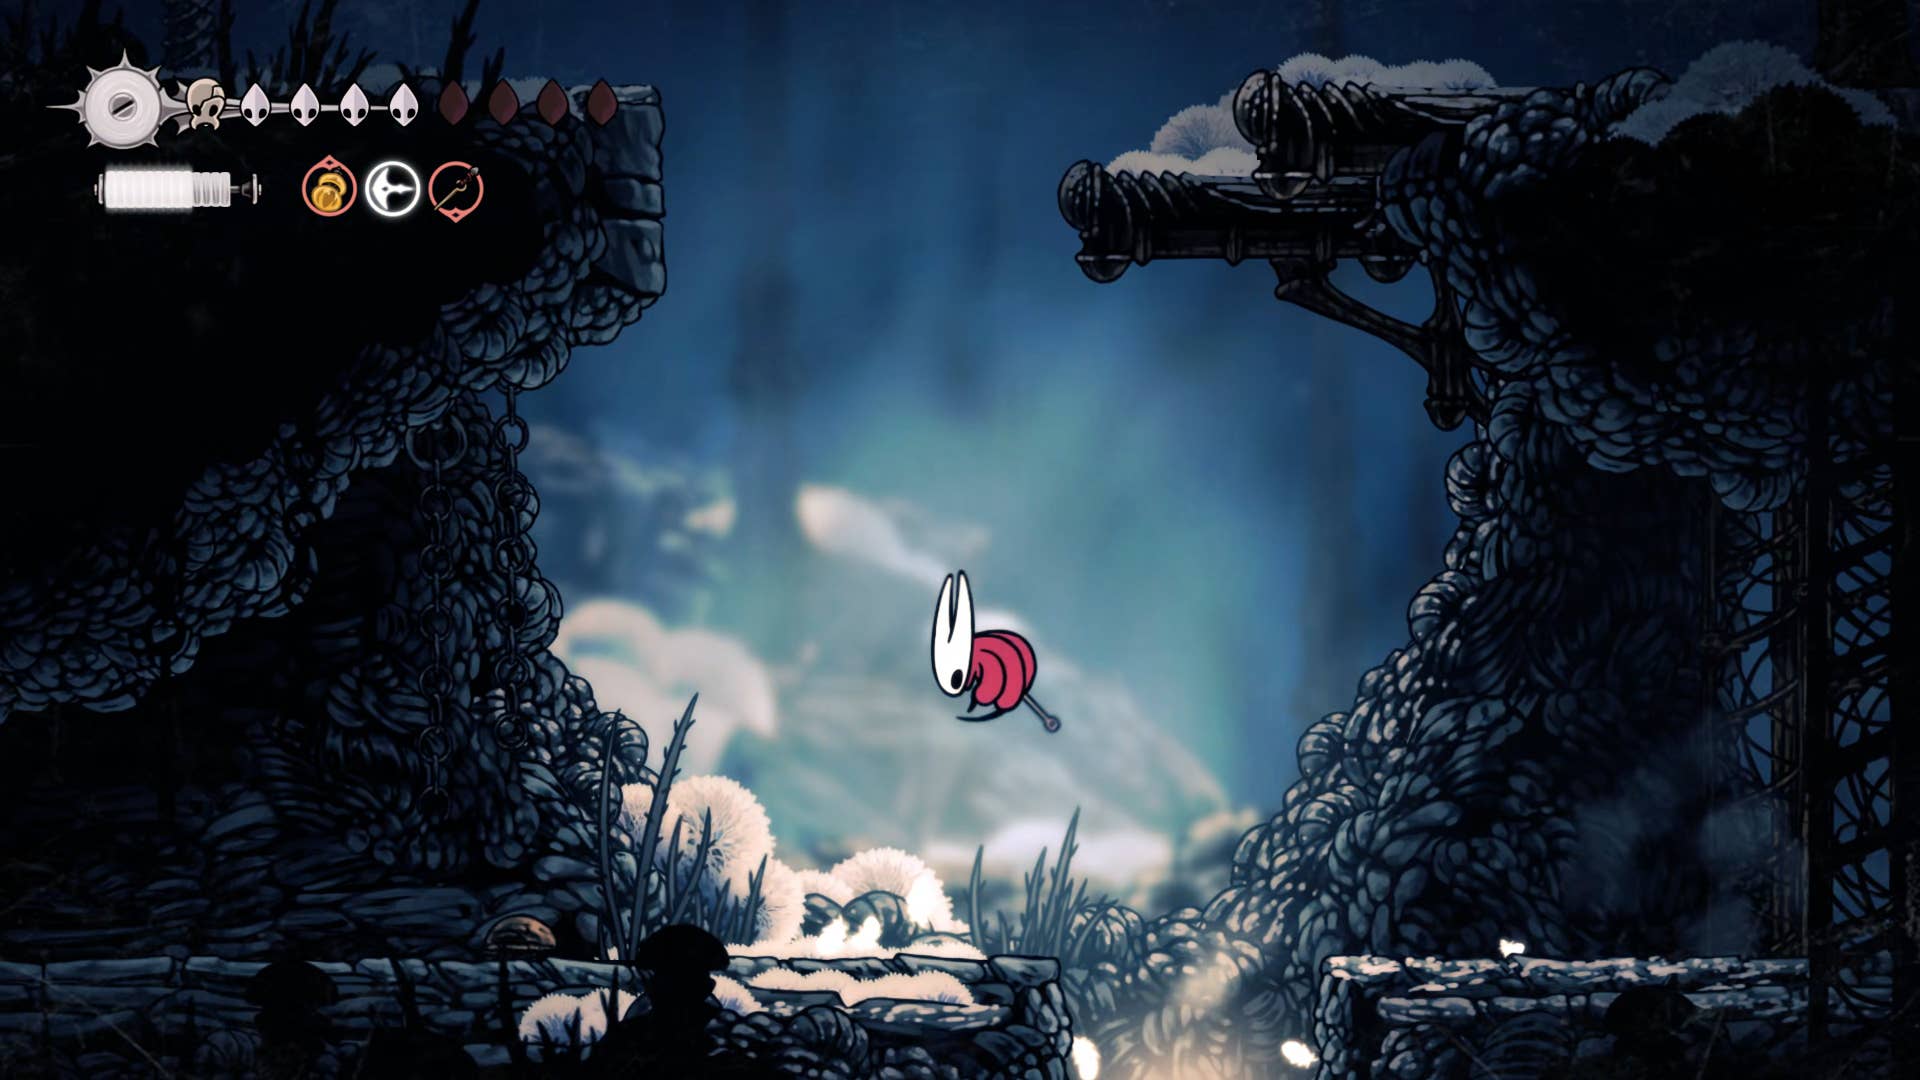
Sprint along this path, avoiding the traps of pressure plates along the way, and out onto the other side of the room. Here, head left and get into the cold on Mount Fay.
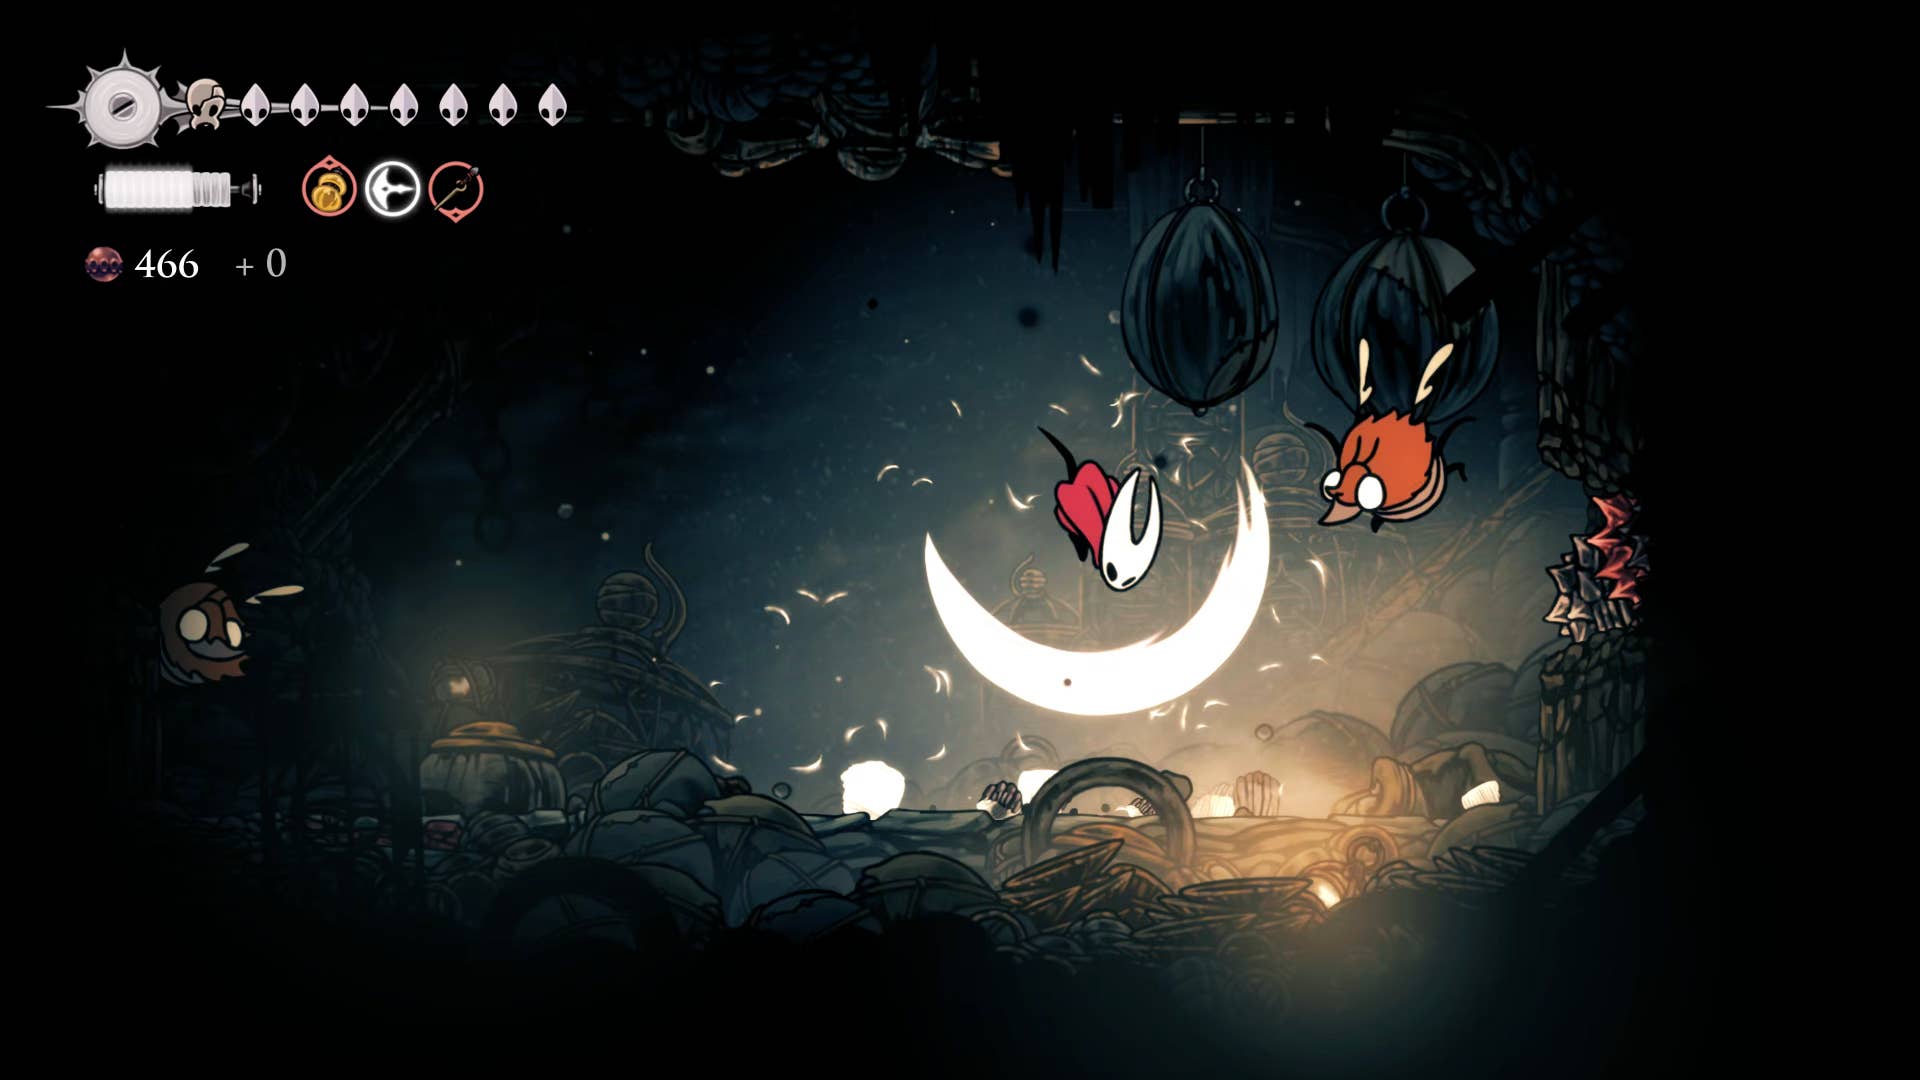
Drop down near the bottom of this off-shaft at the end of the slab and take the exit on the right. Inside there are several brawling enemies. This should not be a big problem at this stage.
Drop the final hole and head towards the edge of the path on the left. An item hanging from the ceiling is the second lazy key out of the three slab keys you need. When you attack it, you will be ambushed by two of the same kind of enemies as before.
Now use the lock in your hand to unlock the door towards the right and return to the main shaft. You can also take this moment and climb the same path as before and unlock other lazy door doors.
7. Get the mask shard.
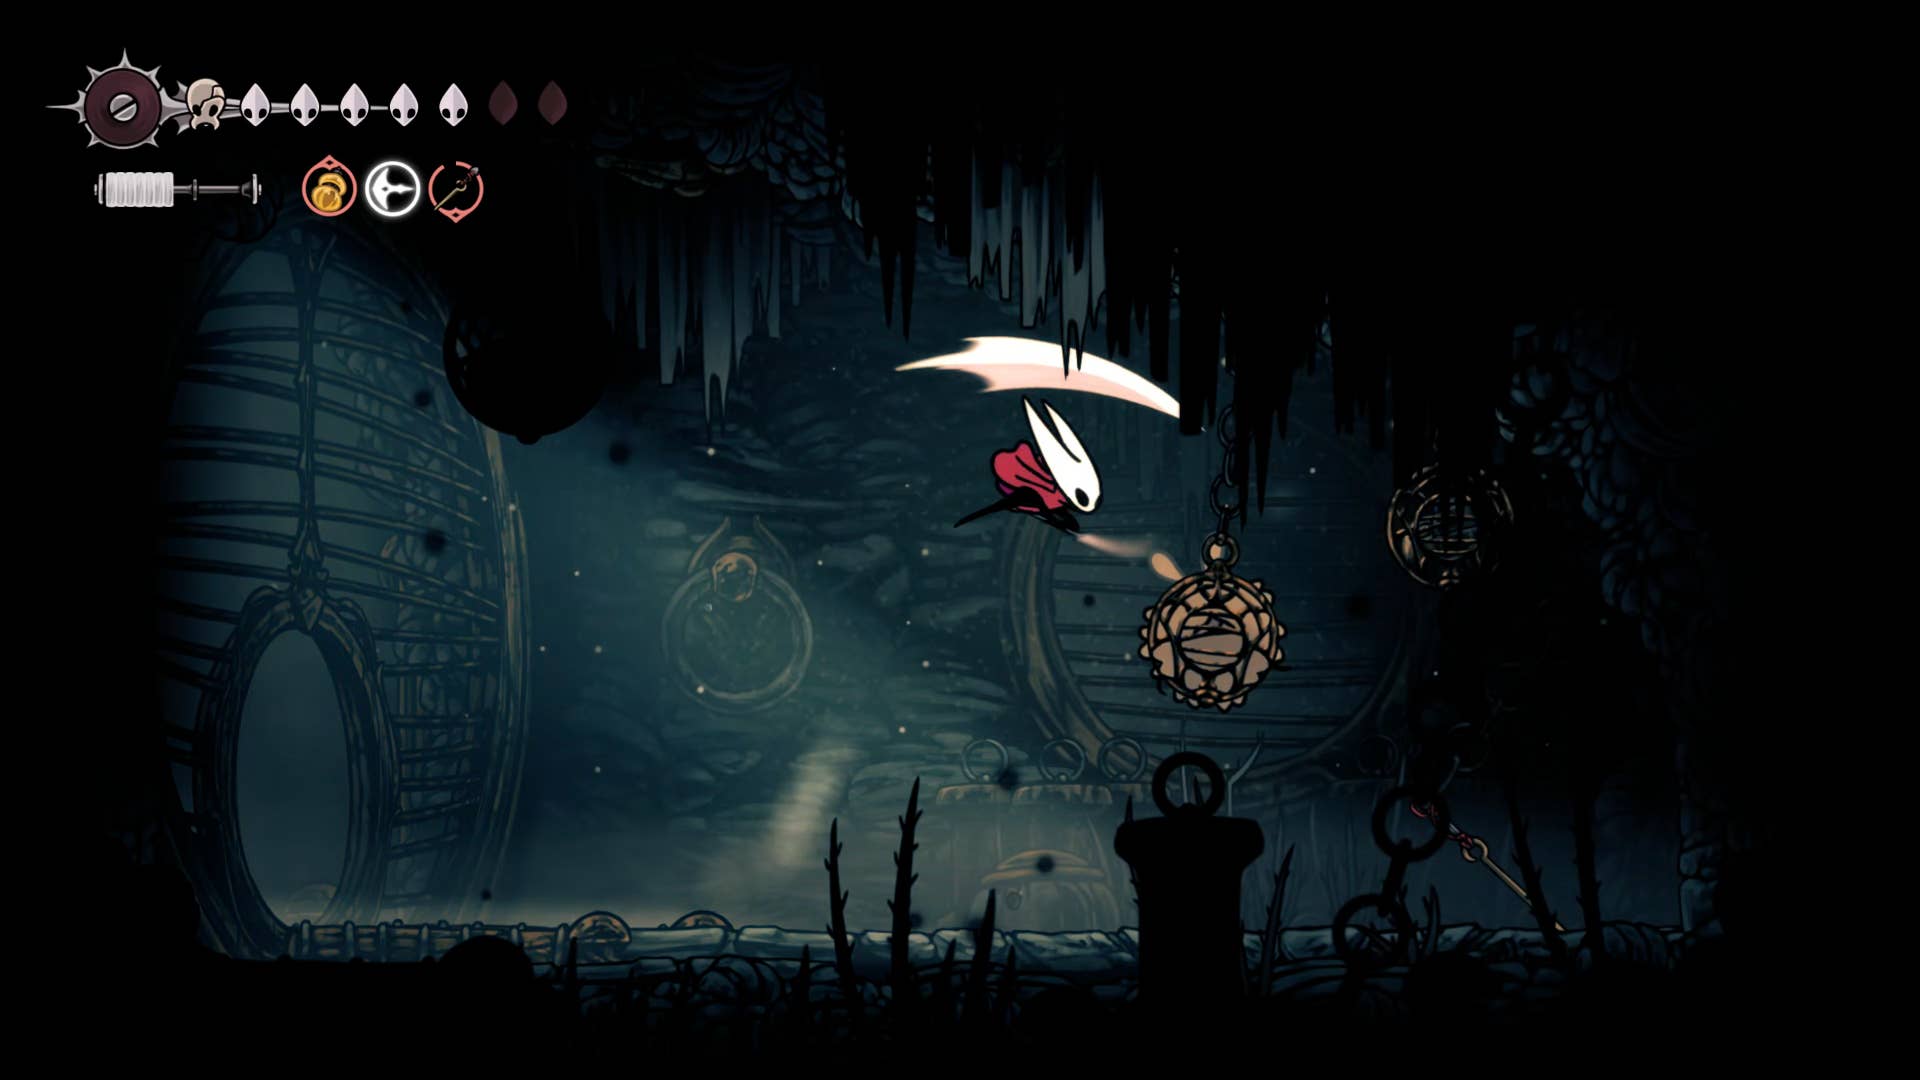
Return to the shaft and climb to the very top right exit and use the Apostasy key to unlock the door. This leads to a large room with unique mechanics. Stand on the pressure plate on the ground between the spikes. The spiked balls move slowly up the room and along the metal runway.
To release several spike balls at various intervals, you need to stand up several times on this pressure plate and stand in succession immediately. By choosing the right moment, you can raise your pogo from the next time:
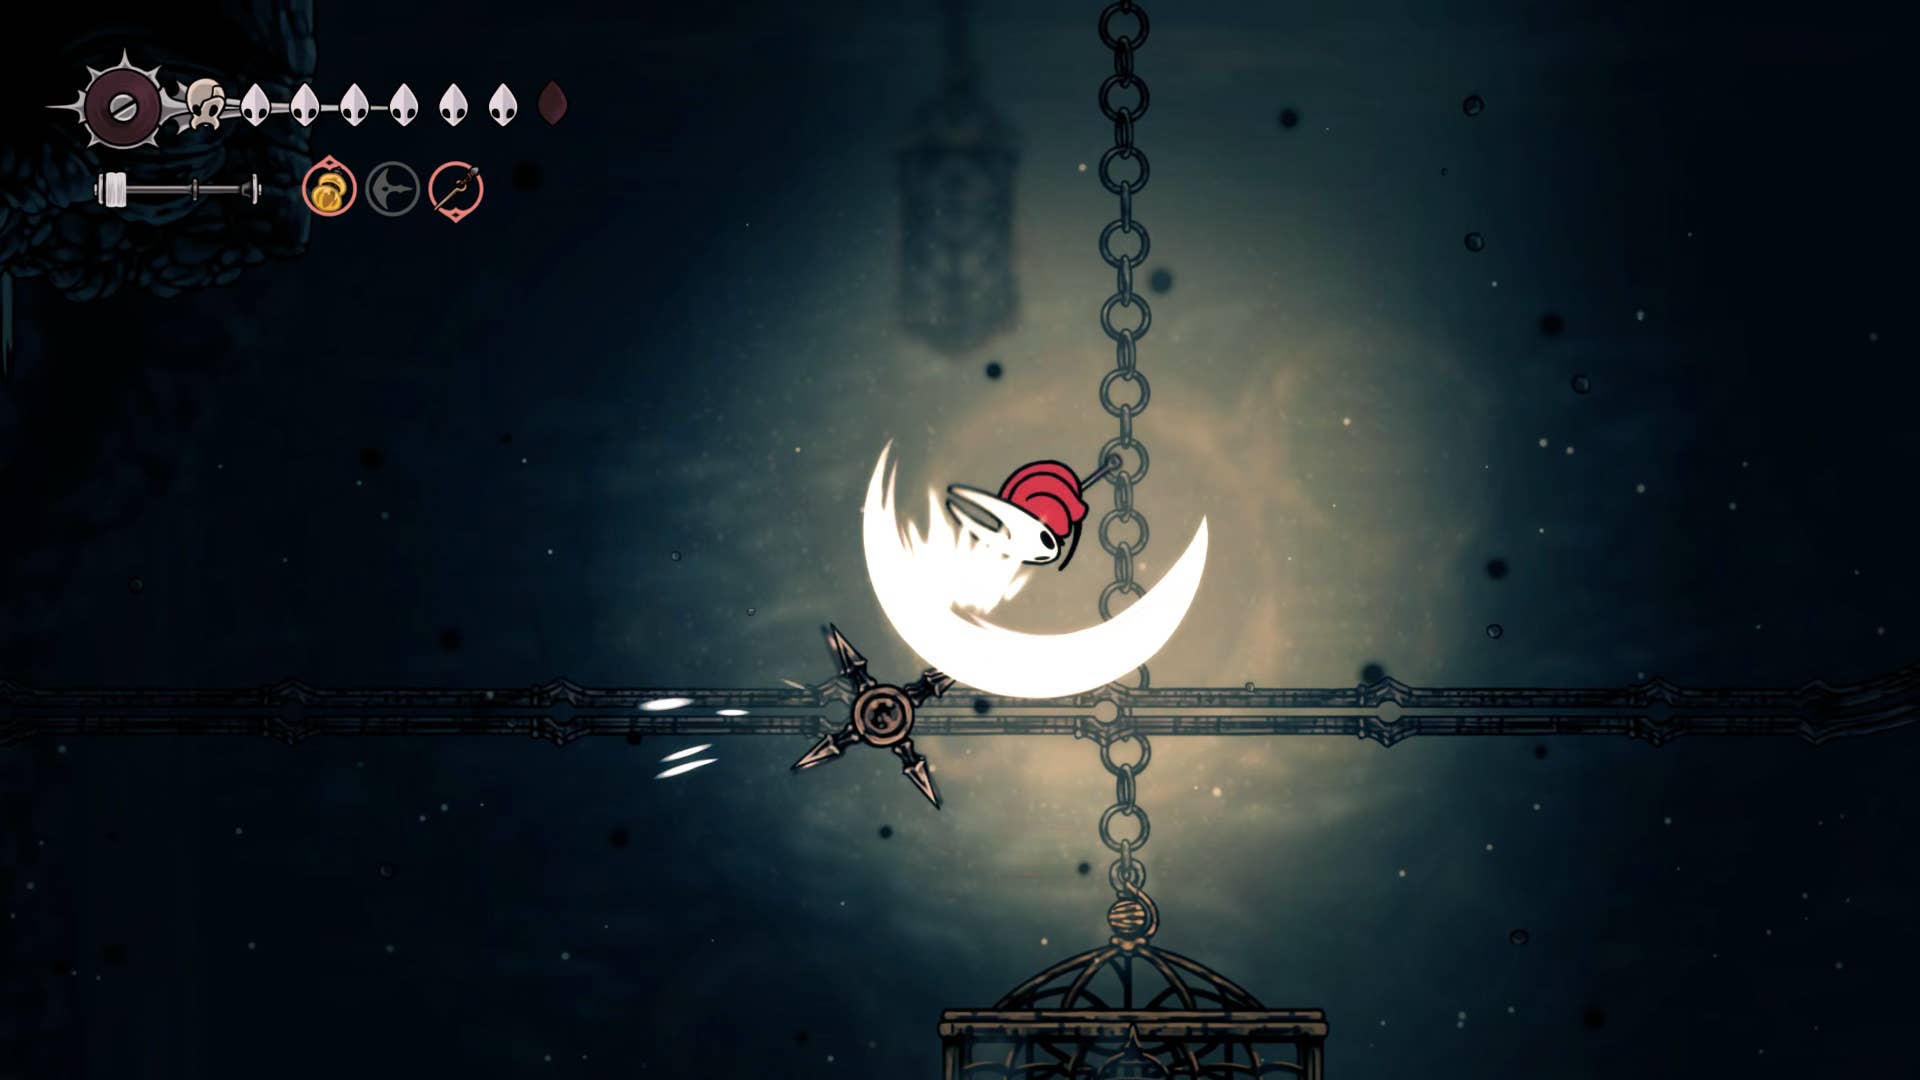
The way I found was that the best way to solve this Parcour puzzle is to hit the pressure plate once and then wait for the first ball to reach just above the head. Next, press again. Wait for the second ball to reach above your head, then press the third time to start climbing. At the top is a mask shard in a cage hanging from the ceiling.
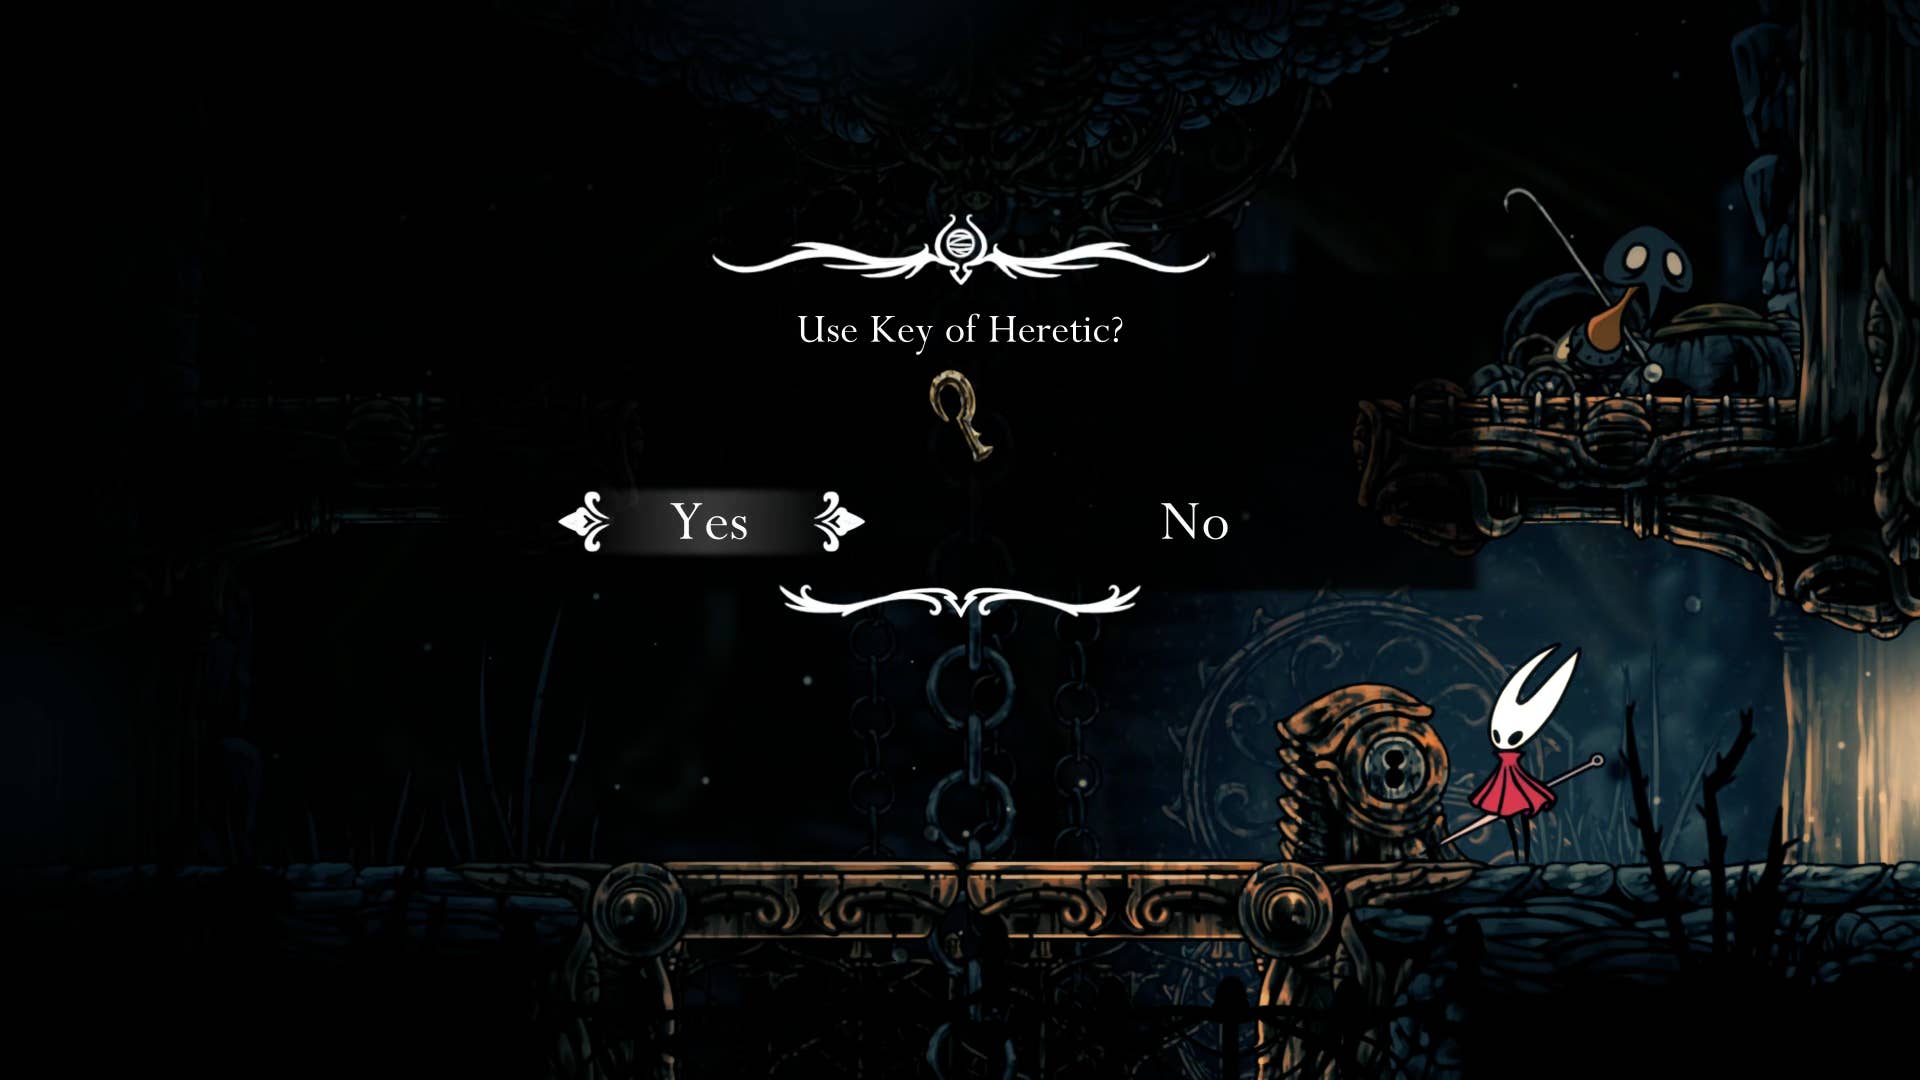
8. Get the key to heresy.
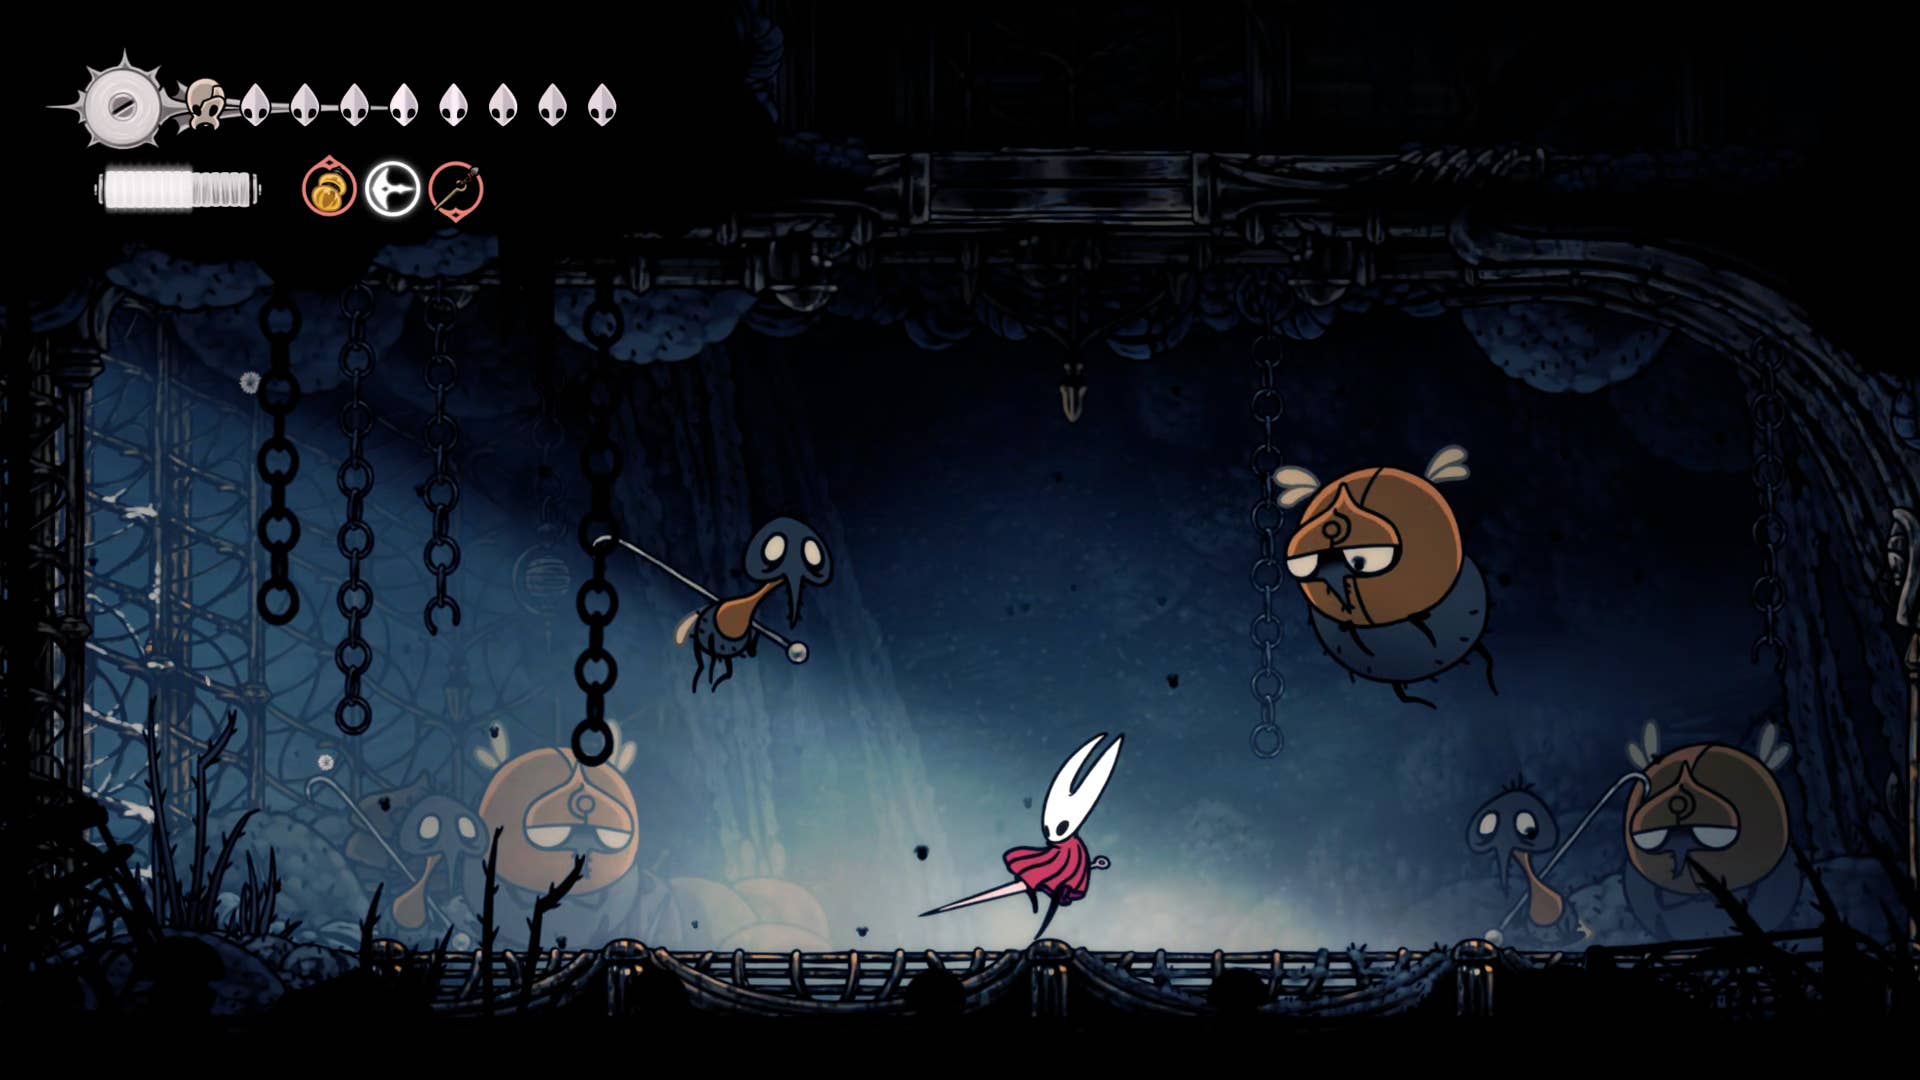
Return to the main shaft and follow the steps back to where you found the old cells of repentance. Unlock the door next to his cell with a lazy key and follow the path to the room where you have more of those metal runways for the spiked balls. If you try to leave this room via the right exit, the gate will be closed and trapped in the battle of the Arena Gauntlet.
This is actually quite fun. Standing on a pressure plate, a spiked ball cuts the enemy into shreds. Remember you also need to dodge the ball.
Once the enemy is killed, go to the right and climb the eastern edge of the slab. Once you reach the top, you may find some pressure plates on the wall – try double jumping over these to avoid these traps.
On the way on the other side of the Shell Shard cache there is a fragile wall that opens another temporary detour. In this next room, you first climb to the top for a shard of shells, then proceed through the path to the end due to the rosary thread worn out to the corpse and the fragile wall back to the main shaft. It’s a handy shortcut, but I’d like to backtrack outside and continue to climb to the top.
When you go out, you need to go all the way to the left. At the higher level, you will encounter several wardens – these will not be able to catch you, so eagerly destroy them.
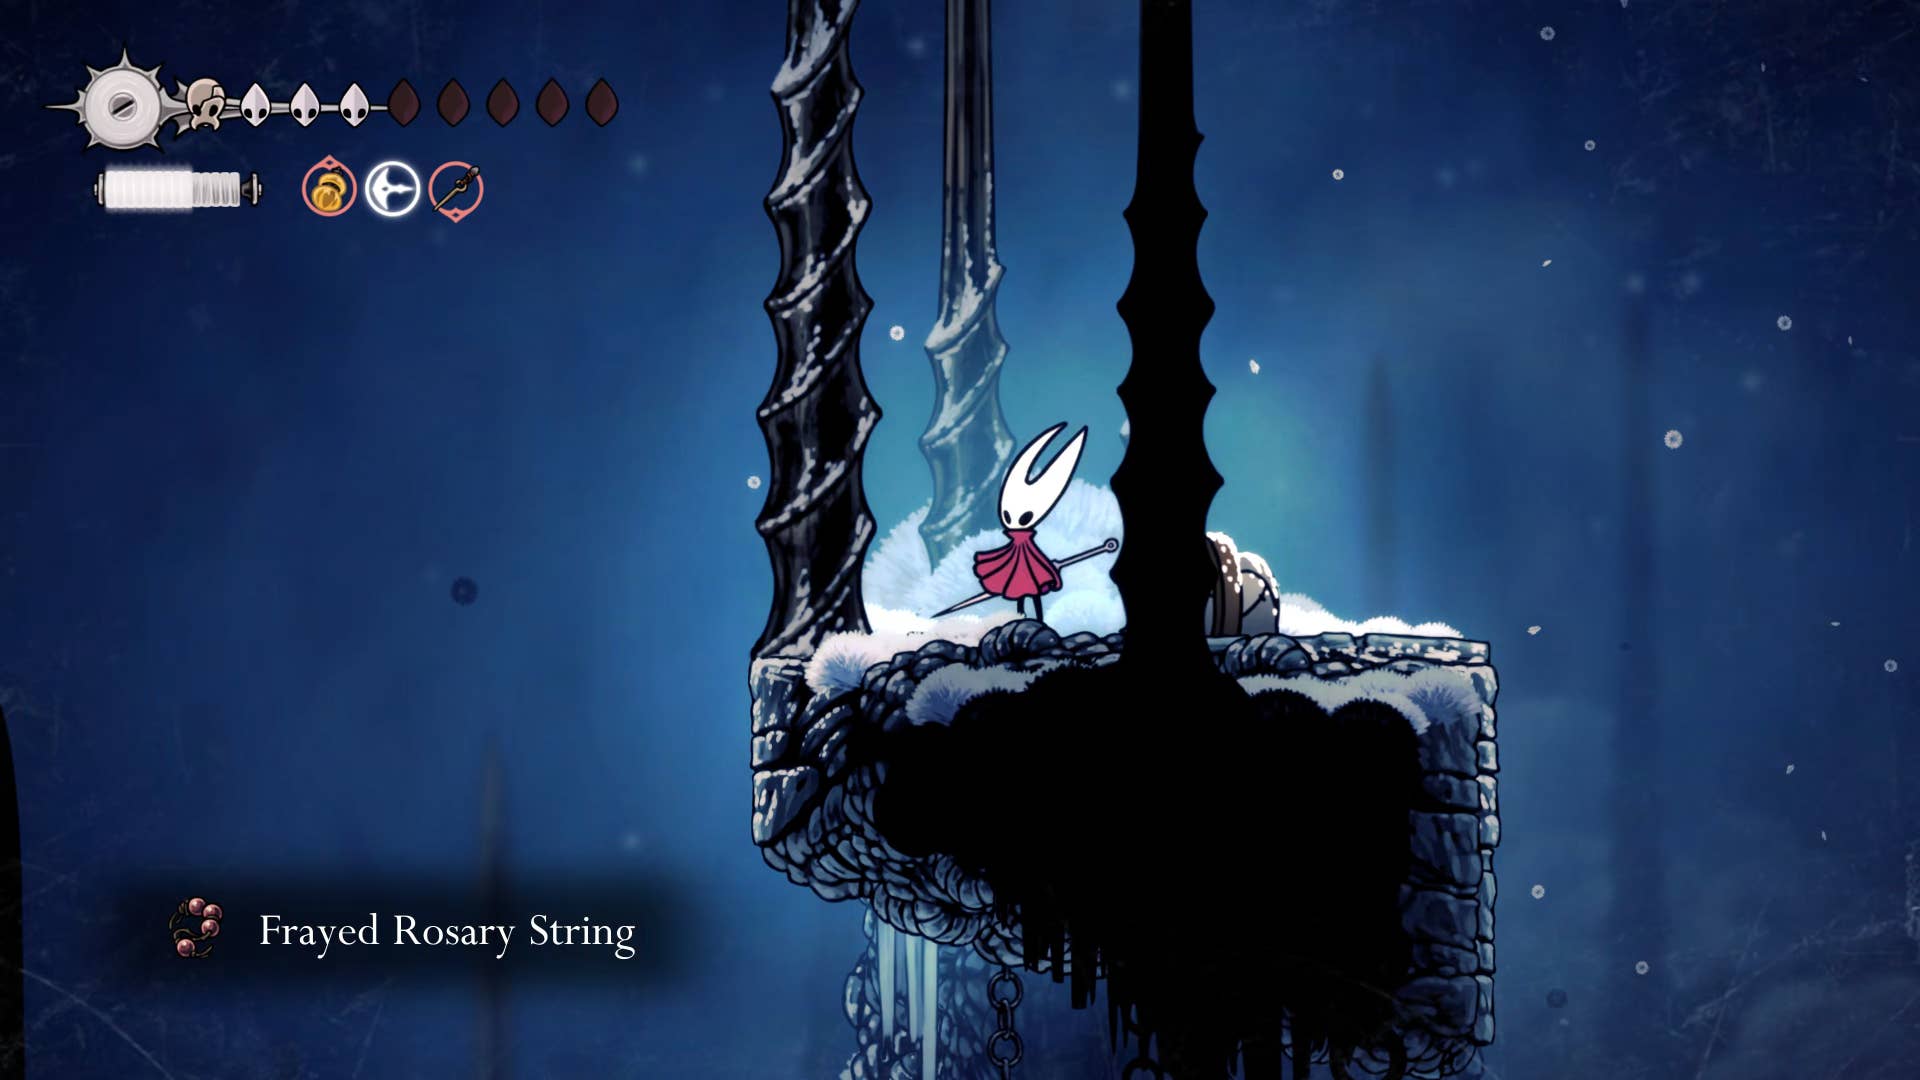
Along the way, at lower levels, there is a way to advance by a gate with a lever on the other side. Jump to the higher shelf and continue to go left and find a path to the other side. To the top left of this wide open room is a small platform where you can plunder the threads of another frayed rosary.
Continue until you reach the very far left side, then drop down to the ground level. Jump over the hole in the floor and press the lever to unlock the gate. Next, turn and lower the hole.
Remove the next hole and find a bench to rest if necessary. You can then head right and drop down the next shaft. You can follow the tunnel until you reach the edge, interact with the trapdoor and descend into another arena battle with more slab enemies.
The final enemy drops items – looting to get the heresy keys and completing the Slavic key collection.
Next, head right and rest on the bench there, unlock the door and reach the main shaft once more.

9. Defeat the first sinner.
Now I have explored all parts of the slab area, except for one little. This coincides with the region’s biggest challenges.
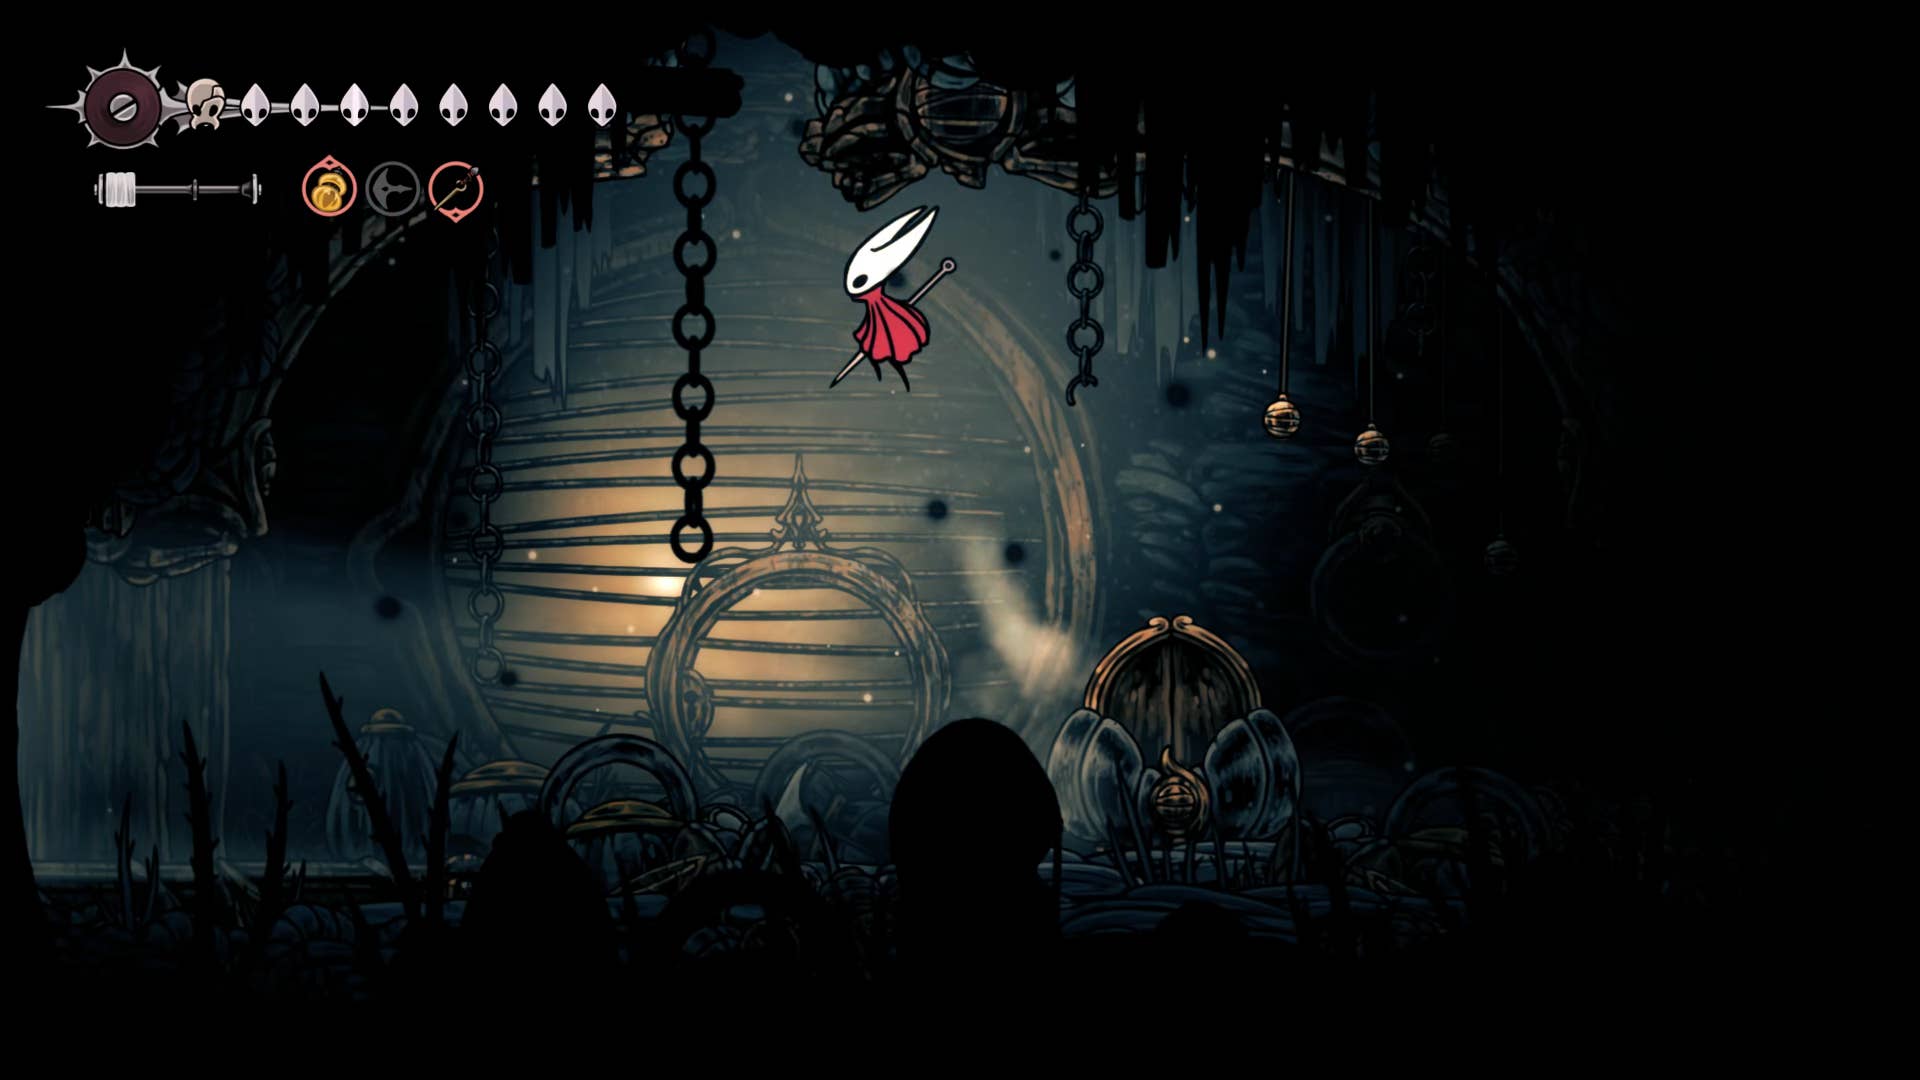
Drop the main shaft all the way down until you reach the trap door separating the top half from the top half and open them using the heresy key. Then, go further down and flick the lever on the left to open the other trap doors (I realized that up until this moment it wasn’t the same but two separate trap doors).
At this point it may be best to drop down at the bottom left exit back to the bench on the Bellway. If you’ve still rested and don’t have the boss battle tool selection yet, equip it.
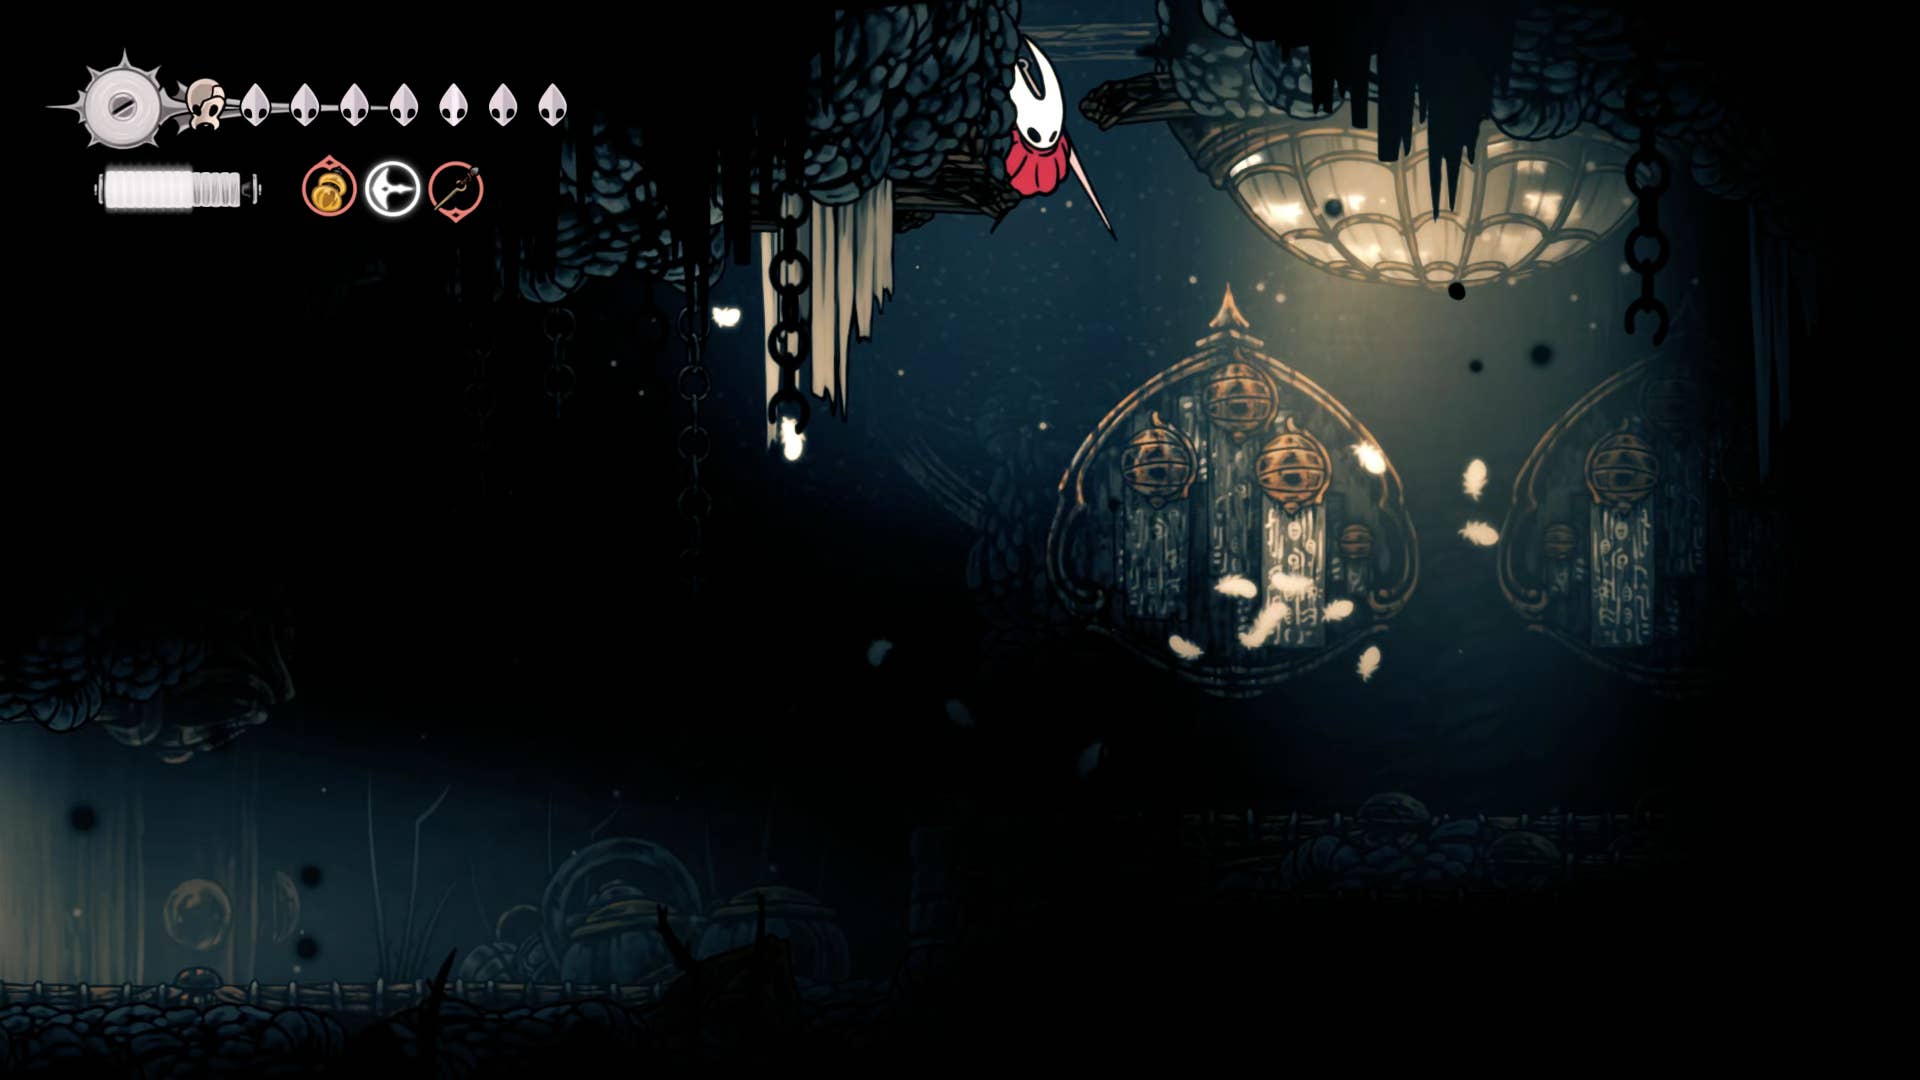
Return to the main shaft and drop down to the next exit on the right. This can be opened with heresy keys. Inside, there are many rosary hanging from the ceiling with chests filled with rosary. Pick them all up, then turn your eyes up to the hole in the ceiling.
You can stand on it and reach this hole Left end On the open chest, then double jump to reach the wall of the hole. From there, follow the path, to the right, and to the main part of this long forgotten room.
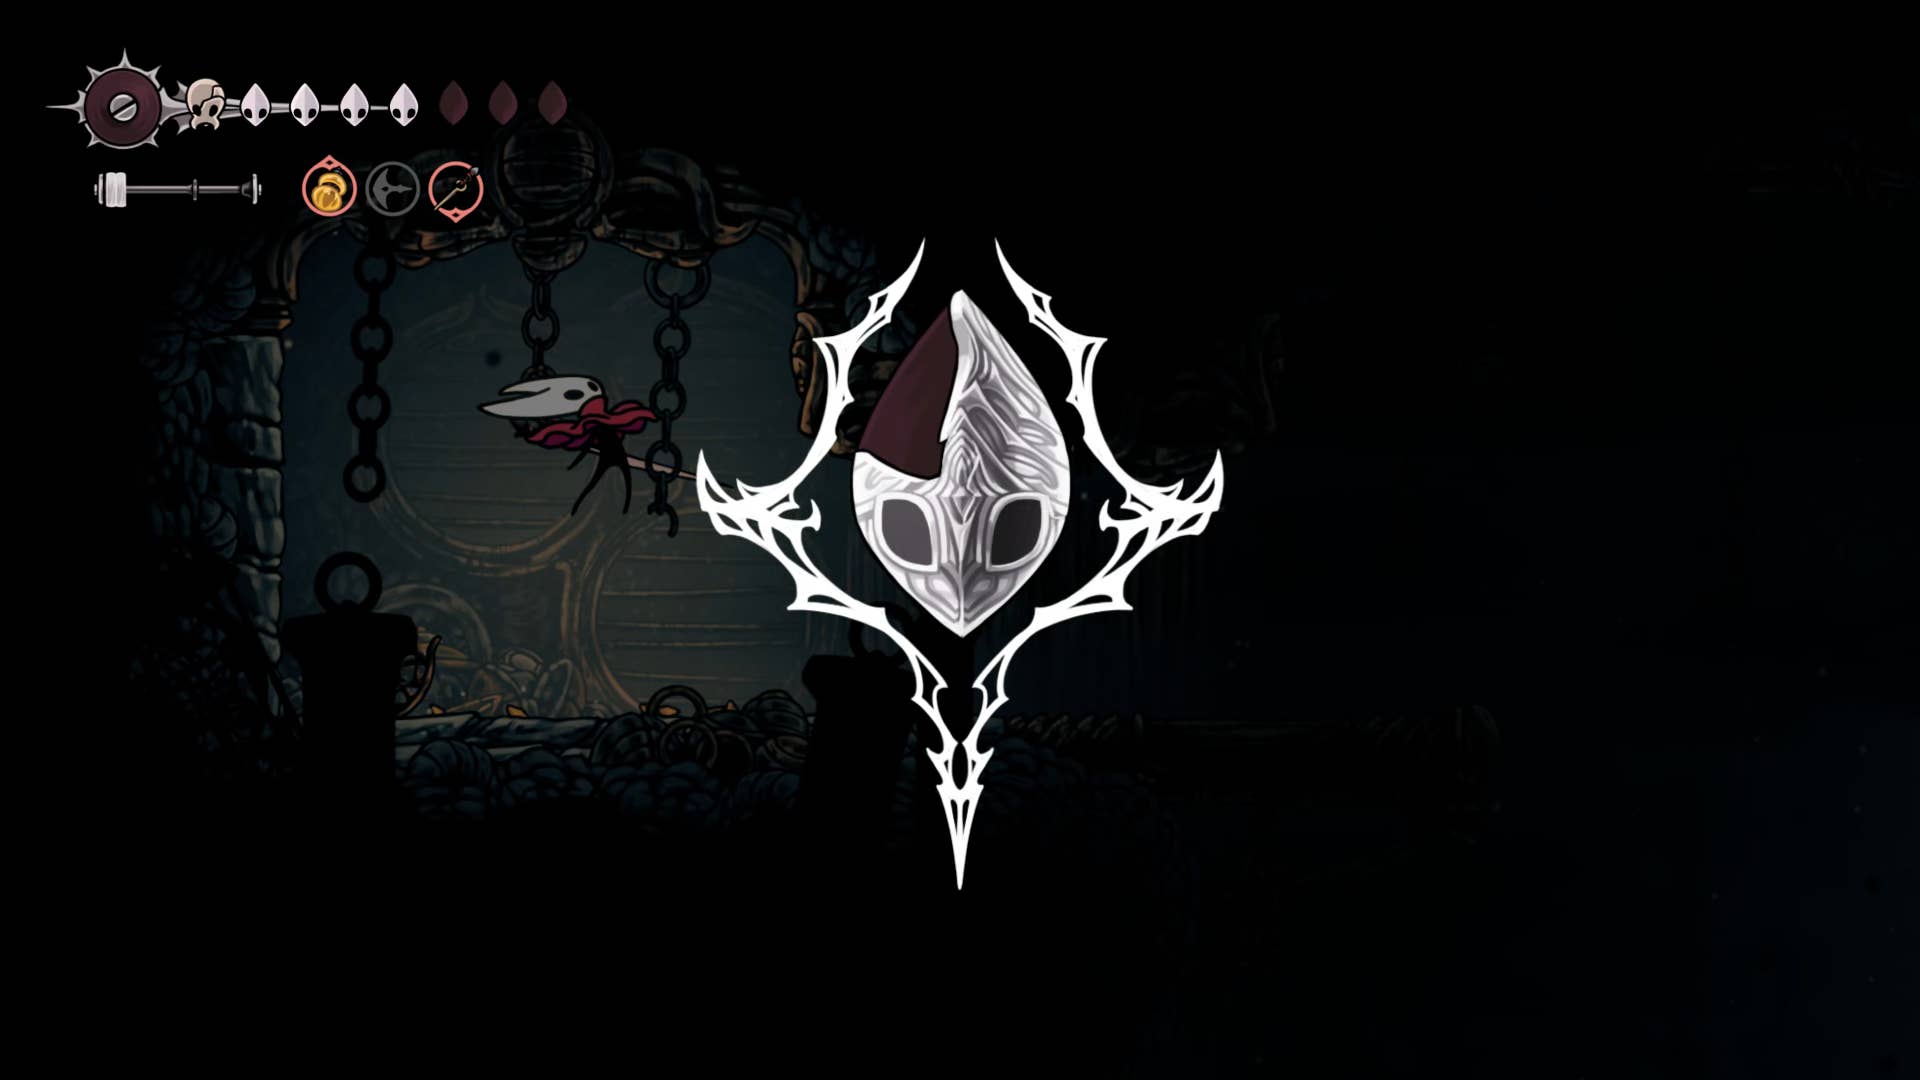
For lore that brings a sense of foreboding by interacting with the cell in the center of the room. Next, attack and destroy the anchor points on each chain that link to the cell’s door. Wait for the cell door to burst, then head inward.
Inside the cell is a monument that looks like something tied up to unlock new silk skills. You will begin to talk to it and tie it down – but in doing so, you simply summon the boss, the first sinner.
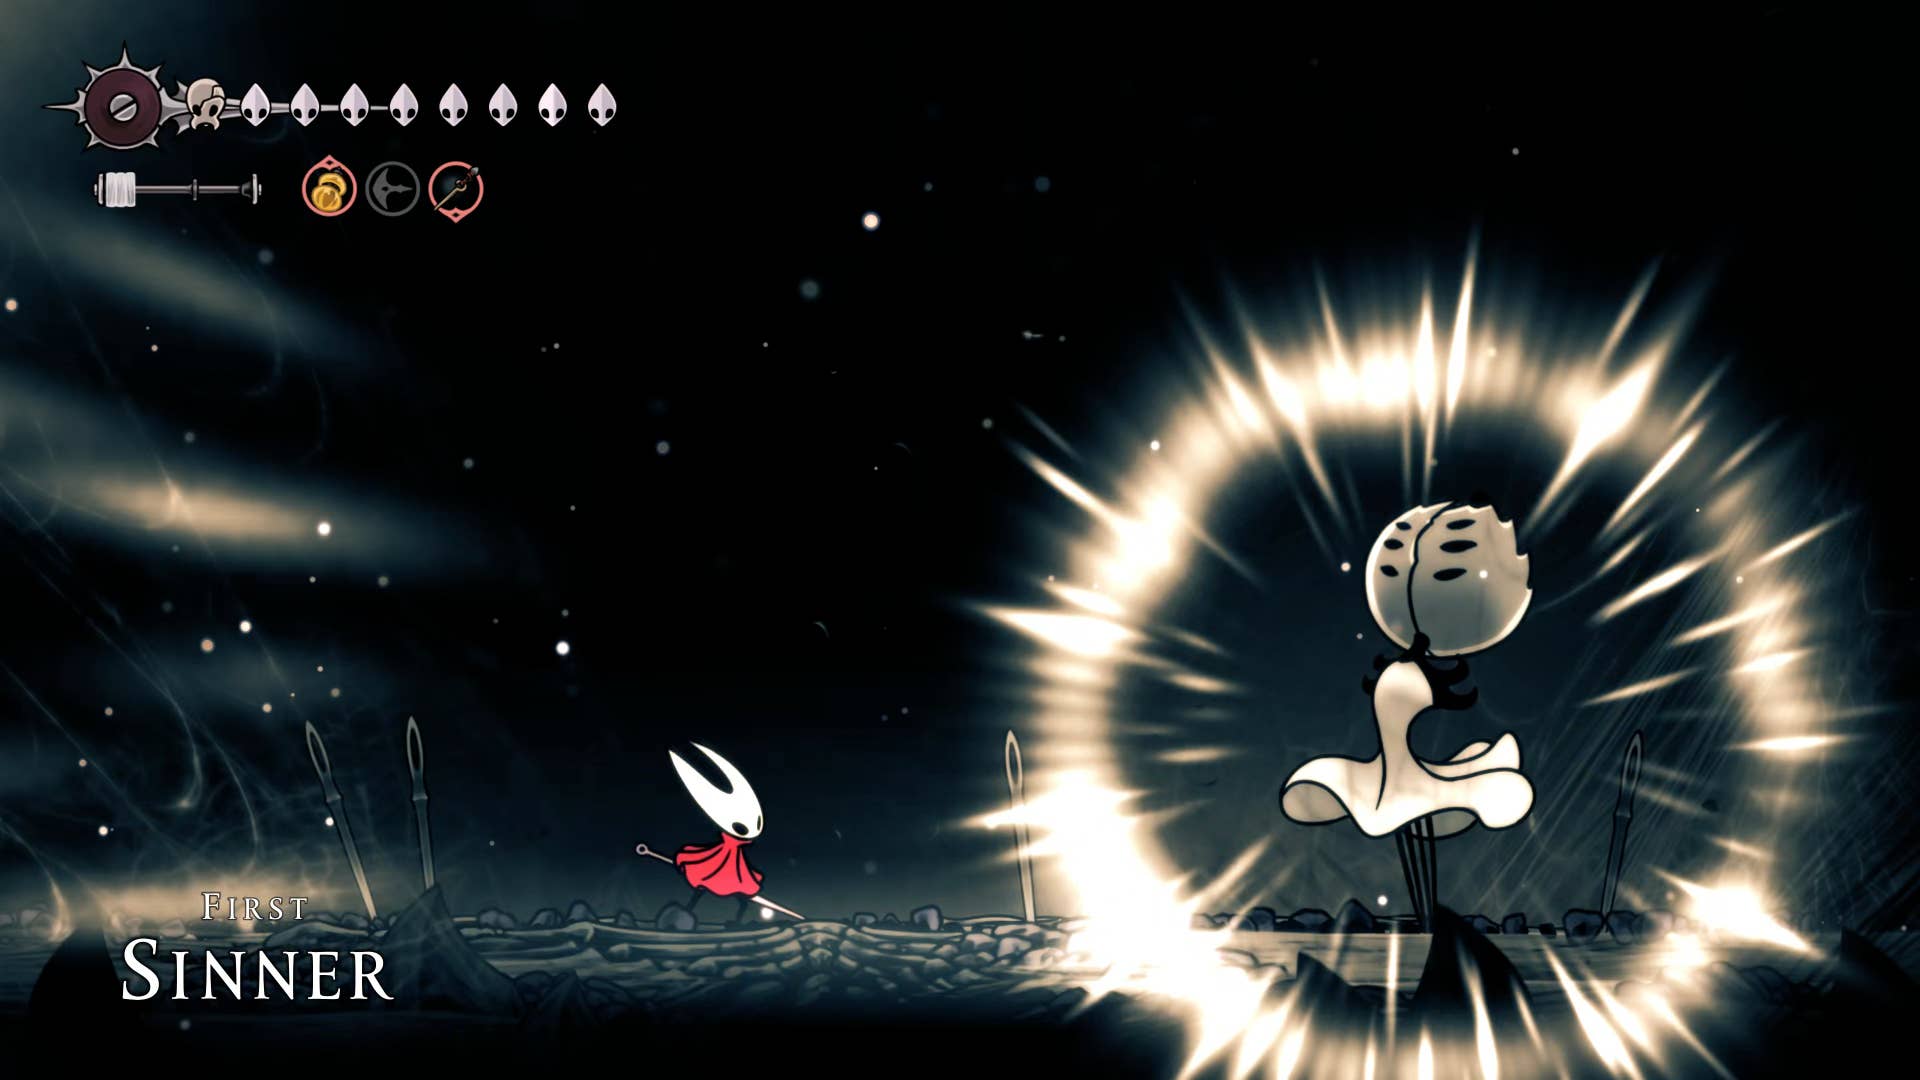
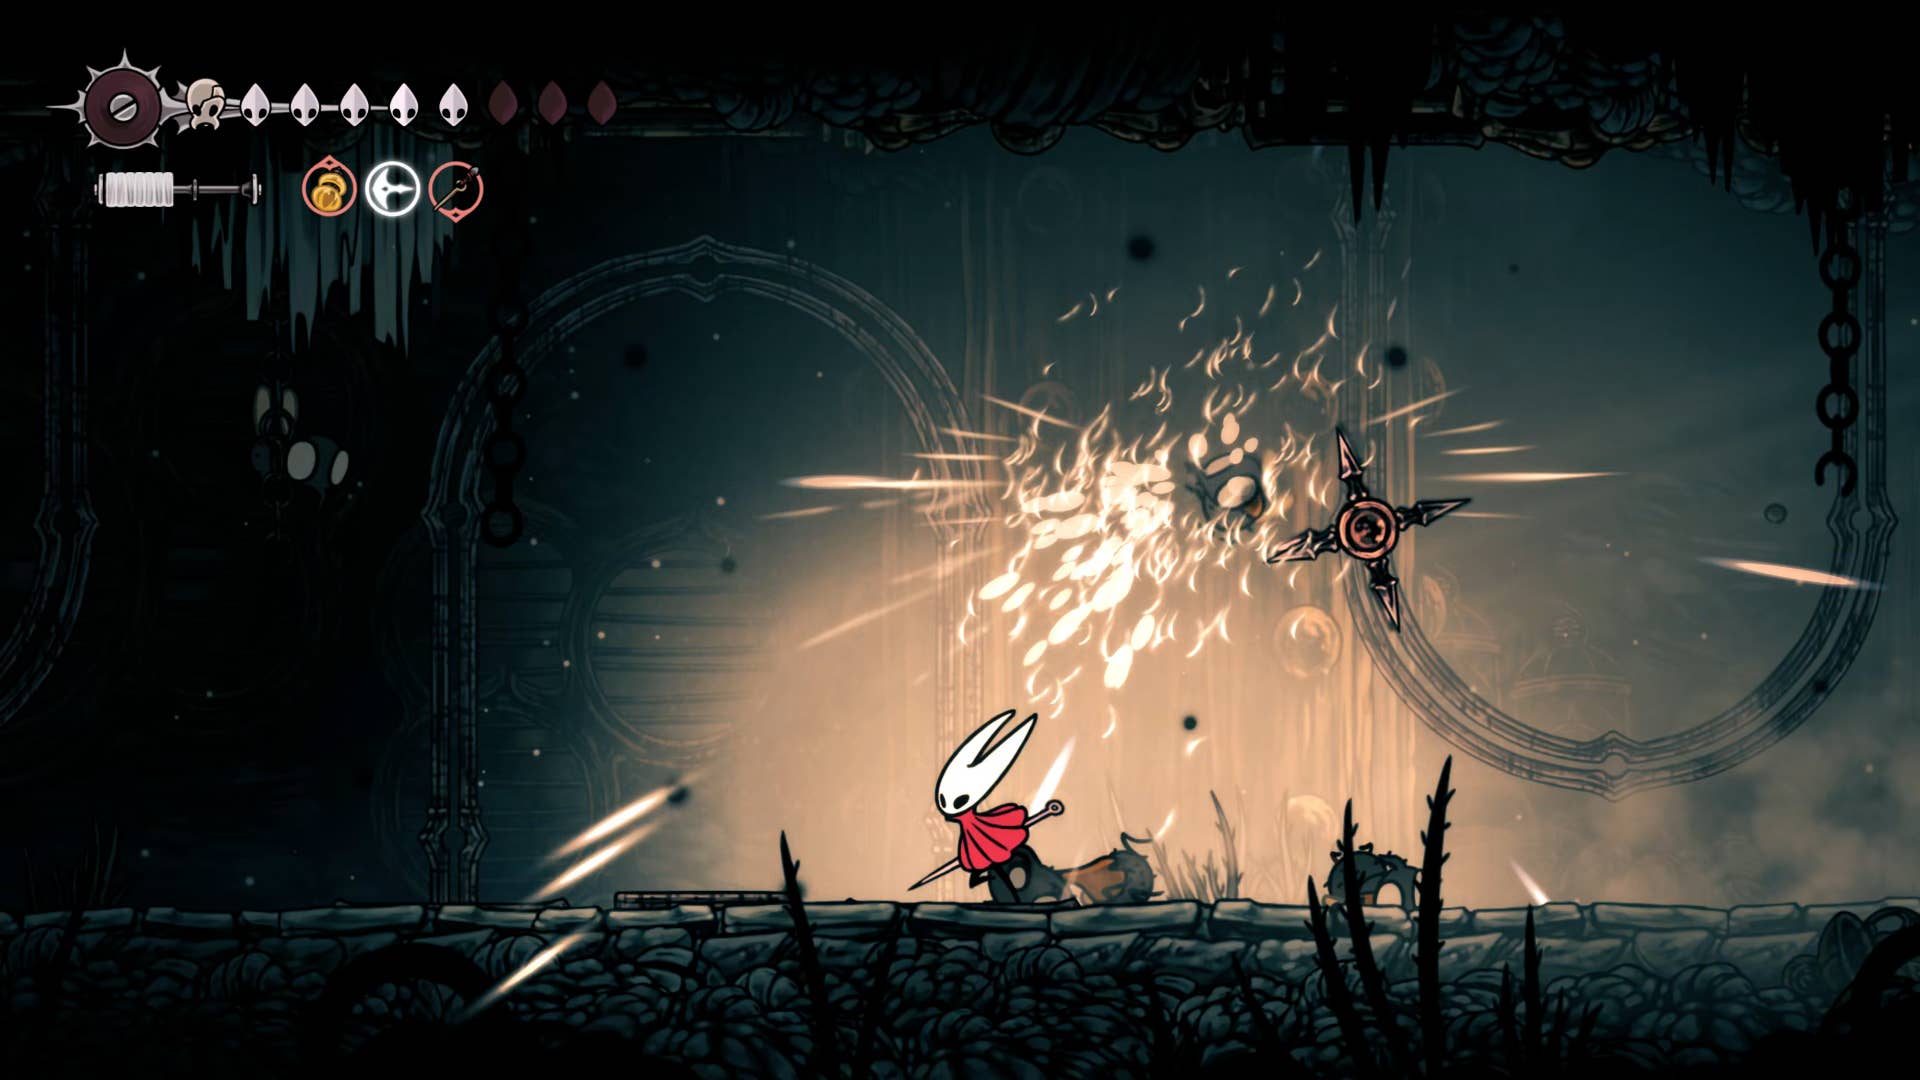
The good thing about this fight is that there are no runbacks. If you die, you simply awaken outside the cells of the first sinner. Otherwise, this is a very tricky battle. The first sinner moves fast, teleports constantly, bounces the arena with endless telekinetic needle attacks.
Attacks are extremely important to the first sinner. Otherwise, you will never be able to deal a blow to her. Usually, the moment you land a hit, she teleports to the other side of the room, so you need to dance constantly, avoiding the needle.
She should not give her a second to relax. She can heal. She has an animation that is very similar to Hornet’s binding, so we know when she began to heal. She doubles, and the noise of light surrounds her. If you see this, you need to surprise her to attack her immediately – if that means that she prevents healing, it is worth doing damage from the needle.

Aside from her needle attack, the first sinner also has two charge attacks. And what she does from the sky is facing diagonally downwards. For the former, a simple jump in her head is enough to avoid it. For the latter, run past her and along the ground.
Of course, she sometimes makes it tricky by using needle attacks meanwhile She charges you and there’s little room for you to pilot it. It could be a hit, but stay offensive and heal her to land enough hits on her and keep her stock of silk high.
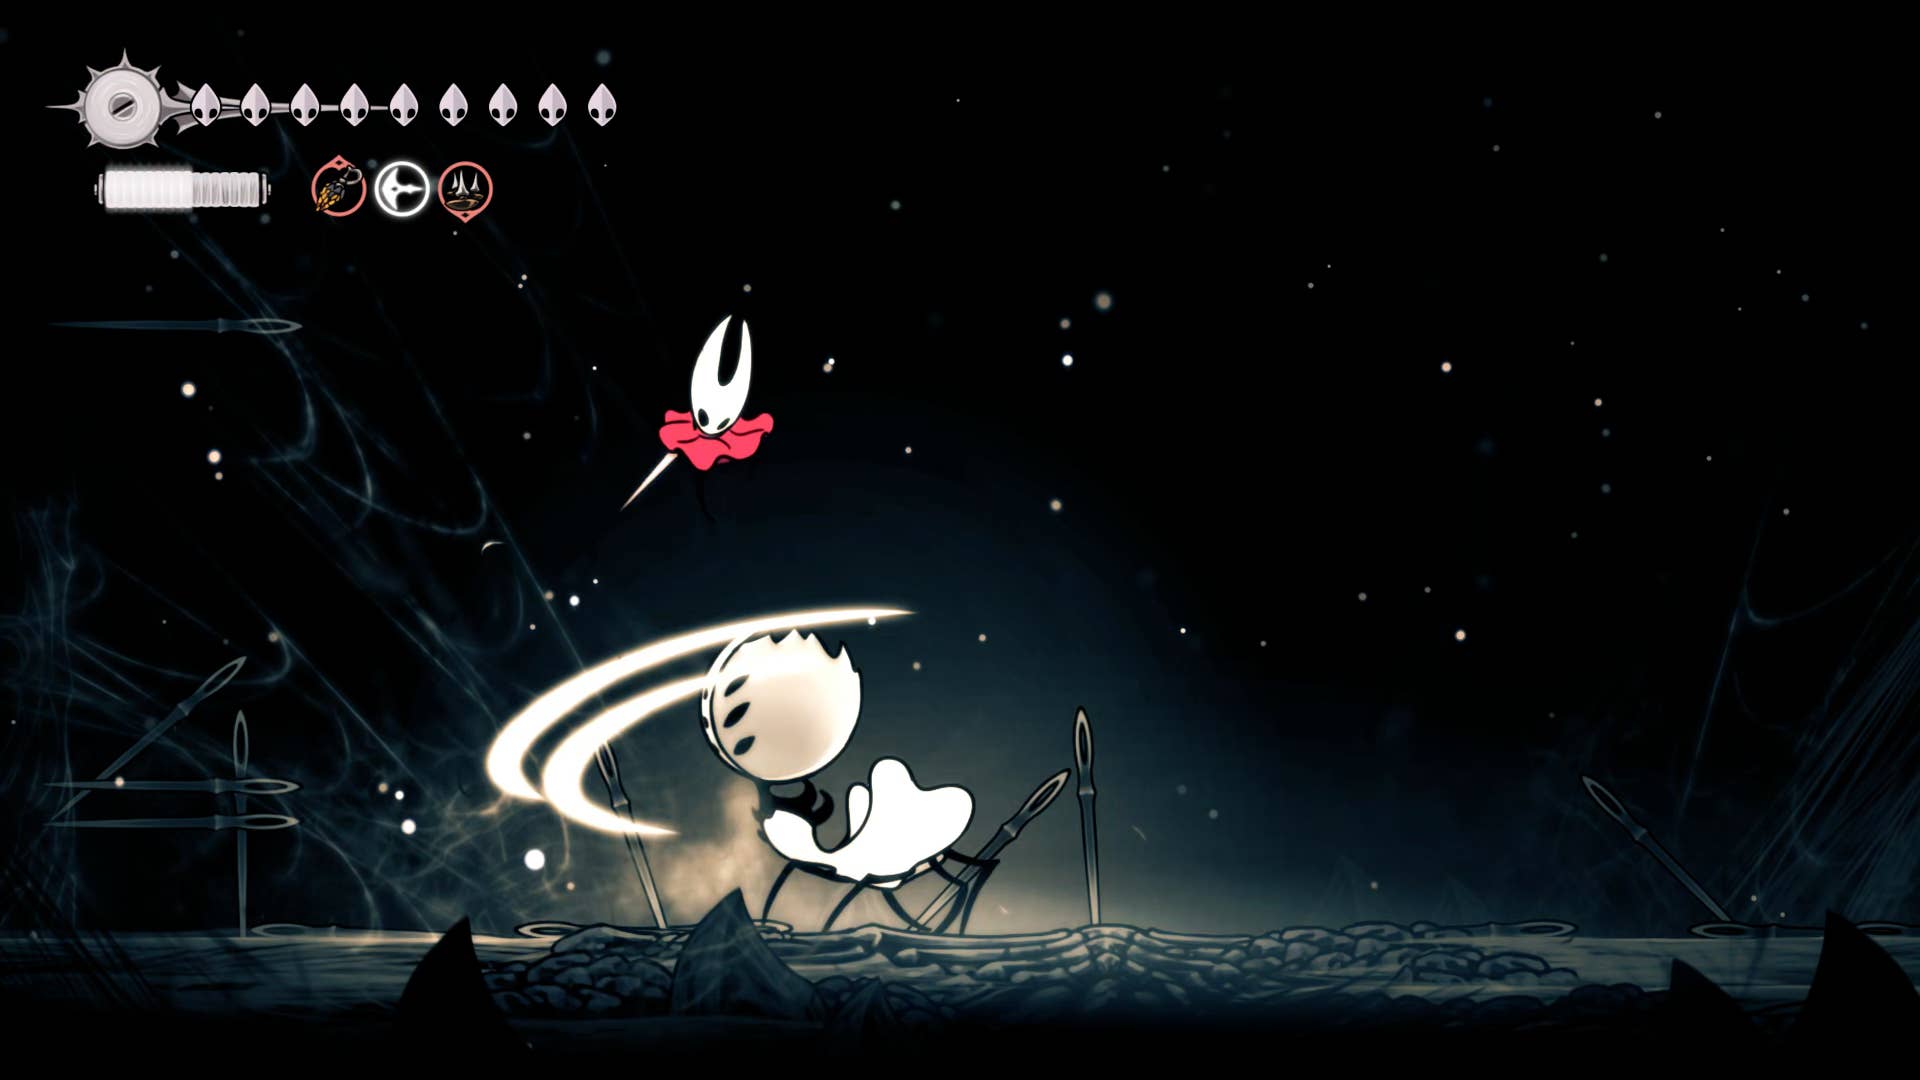
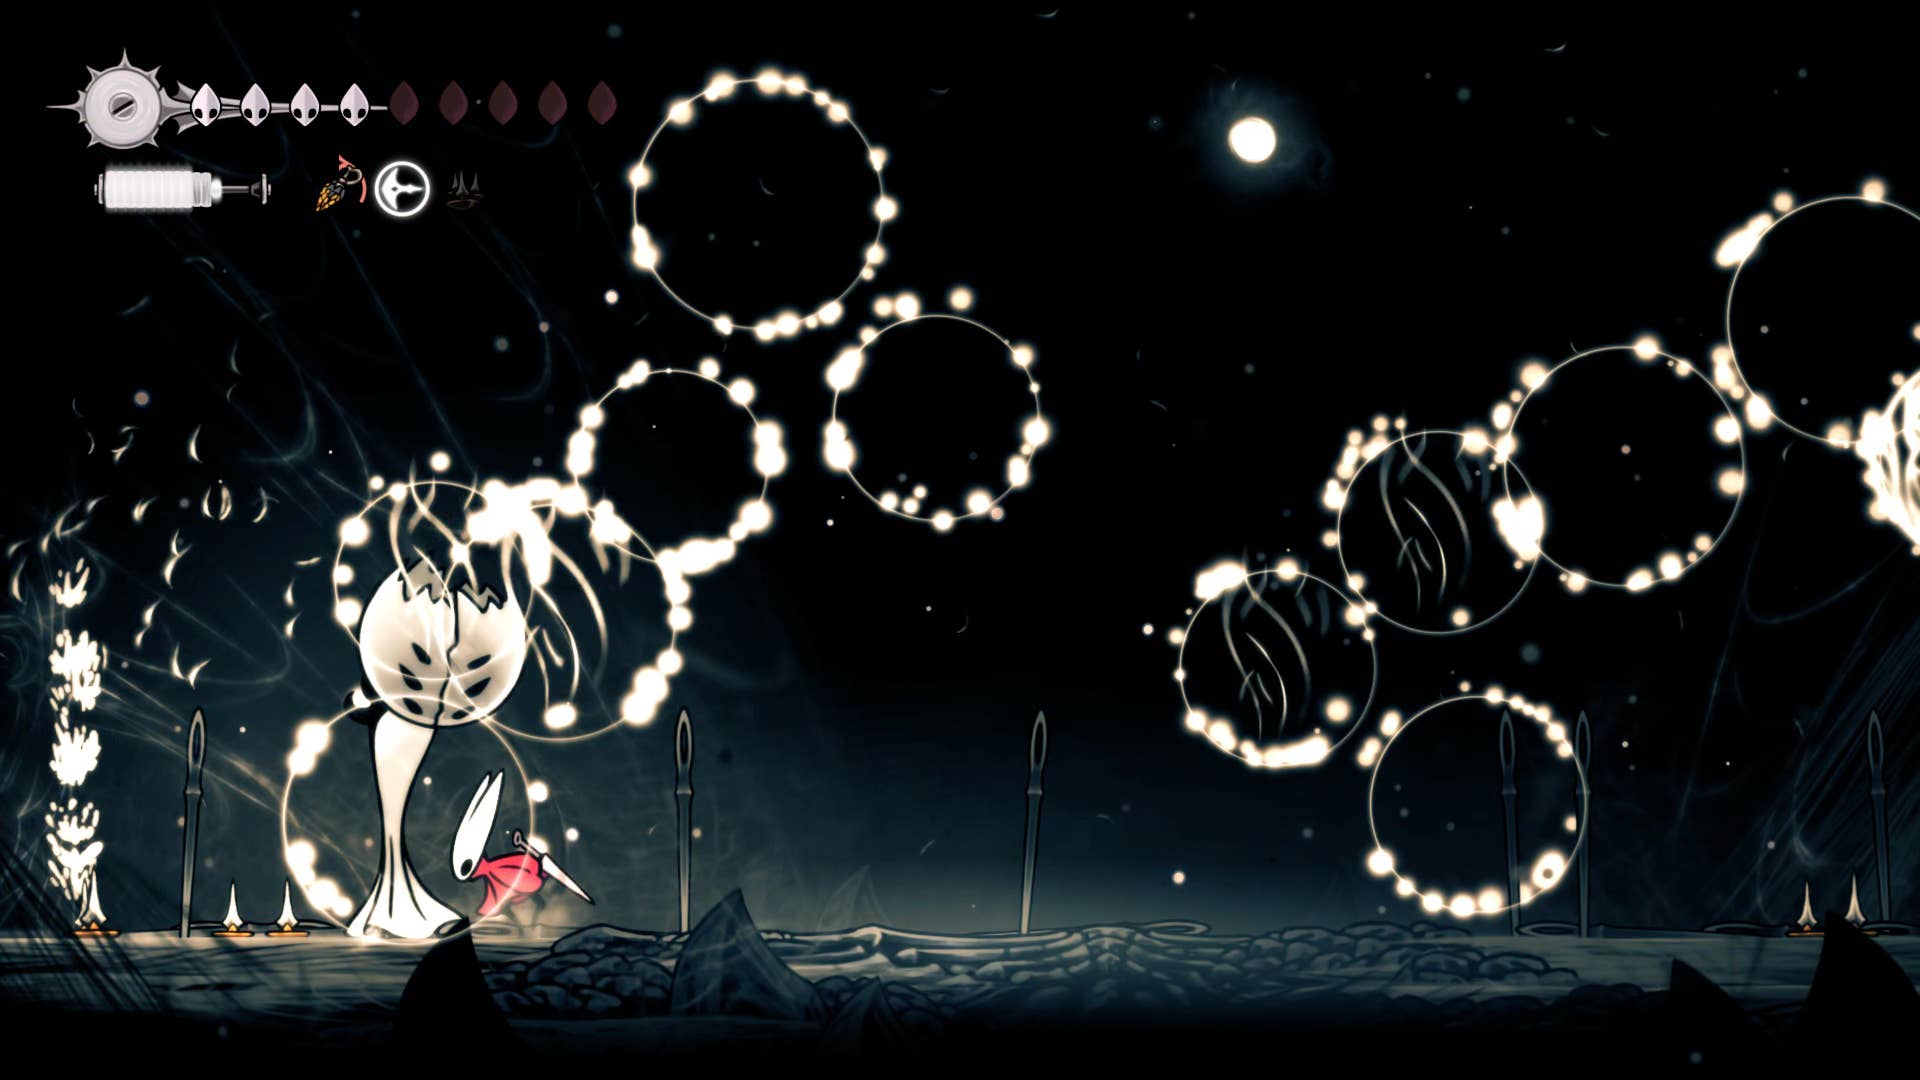
When you deal with what appears to be the final blow, that’s actually the beginning of the second phase. The first sinner disappears for a while and then returns even stronger. She loses her aggression even more by throwing more needles at once at this stage. She is also under new attacks that produce large orbs on top of the room.
As for the tools, despite her constant teleportation, Tuck is extremely useful for the first sinner. They’ve been saved for her second phase and then scattered on the floor. We also strongly recommend using flint slate to deal massive weapon damage at key moments (such as she is unsteady). Keep these tips in mind and make sure she doesn’t have time to heal. That way I’ll finish her.
After the fight, she reappears temporarily – but don’t panic. Interact with her and “accept” her – and you will appear in another dream-like silk world. Parcour rises to the end of the pass, interacting with items on the floor, leading to a new silk skill, Rune Rage.
This skill takes a little time, but fills the room with the same large orbs that the first sinner used against you. It’s not my favorite against bosses (but can be used to properly effect against very difficult-to-hit bosses), but it’s not that good for clearing small groups of enemies.
That’s all for Slabs! The next stop is not too far. Follow part 28 to find a path (and through) the sand of Hollonite: Silkson’s Carrak.
(TagStoTranslate) Hollow Knight: Silksong (T) Action Adventure (T) Indie (T) Nintendo Switch (T) PC (T) Platformer (T) Team Cherry