Hollow Knight: Looking for a walkthrough in the Shelwood area of Silksong? The reason for going through the Wormway in the front of the walkthrough was to get to Shellwood. We managed to reach Shelwood.
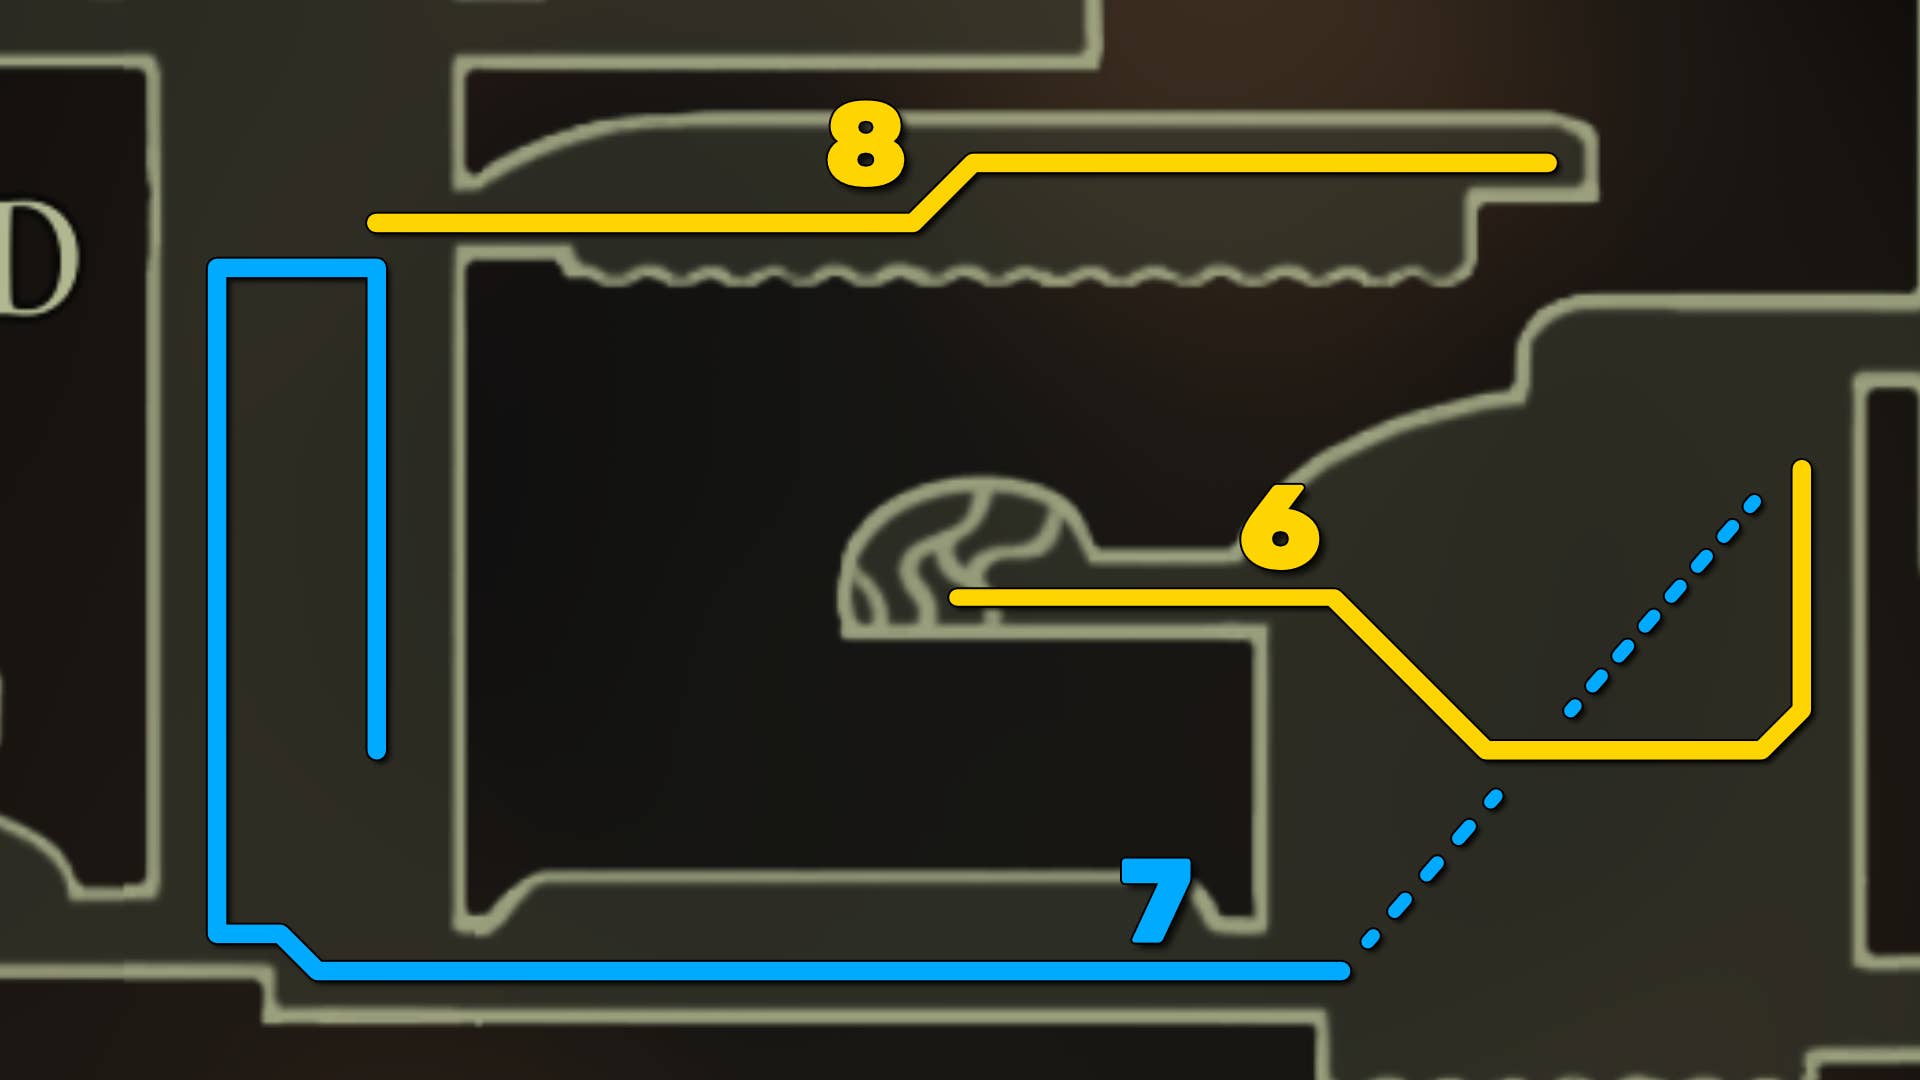
in Part 9 of the Silksong Walkthroughguiding the best route through Shellwood, pointing out key locations such as mask shards and all the porypip hearts needed to complete the mystical grey route quests.
Do you need a walkthrough in another area of the game? Check out Hollow Knight: Silksong Walkthrough Hub!
Shellwood Walkthrough Steps:
- Defeating the greedy pilgrims.
- Find Shakura on Shellwood Maps.
- Rest on the Bell Heart Bench.
- Survive the North Gauntlet.
- Find Greyroot and embrace their quest.
- PORYIP HEART #1.
- Save the fleas among the white flowers.
- Collect mask shards.
- Unlock the Bellway.
- PORYIP HEART #2.
- Take the elevator and rest.
- Defeat the sister Sprinter.
- PORYIP HEART #3.
- Obtain persistent grip skills.
- PORYIP HEART #4.
- PORYIP HEART #5.
- Get the long pin behind the wasp nest.
- Unlock the bench west of Bellway.
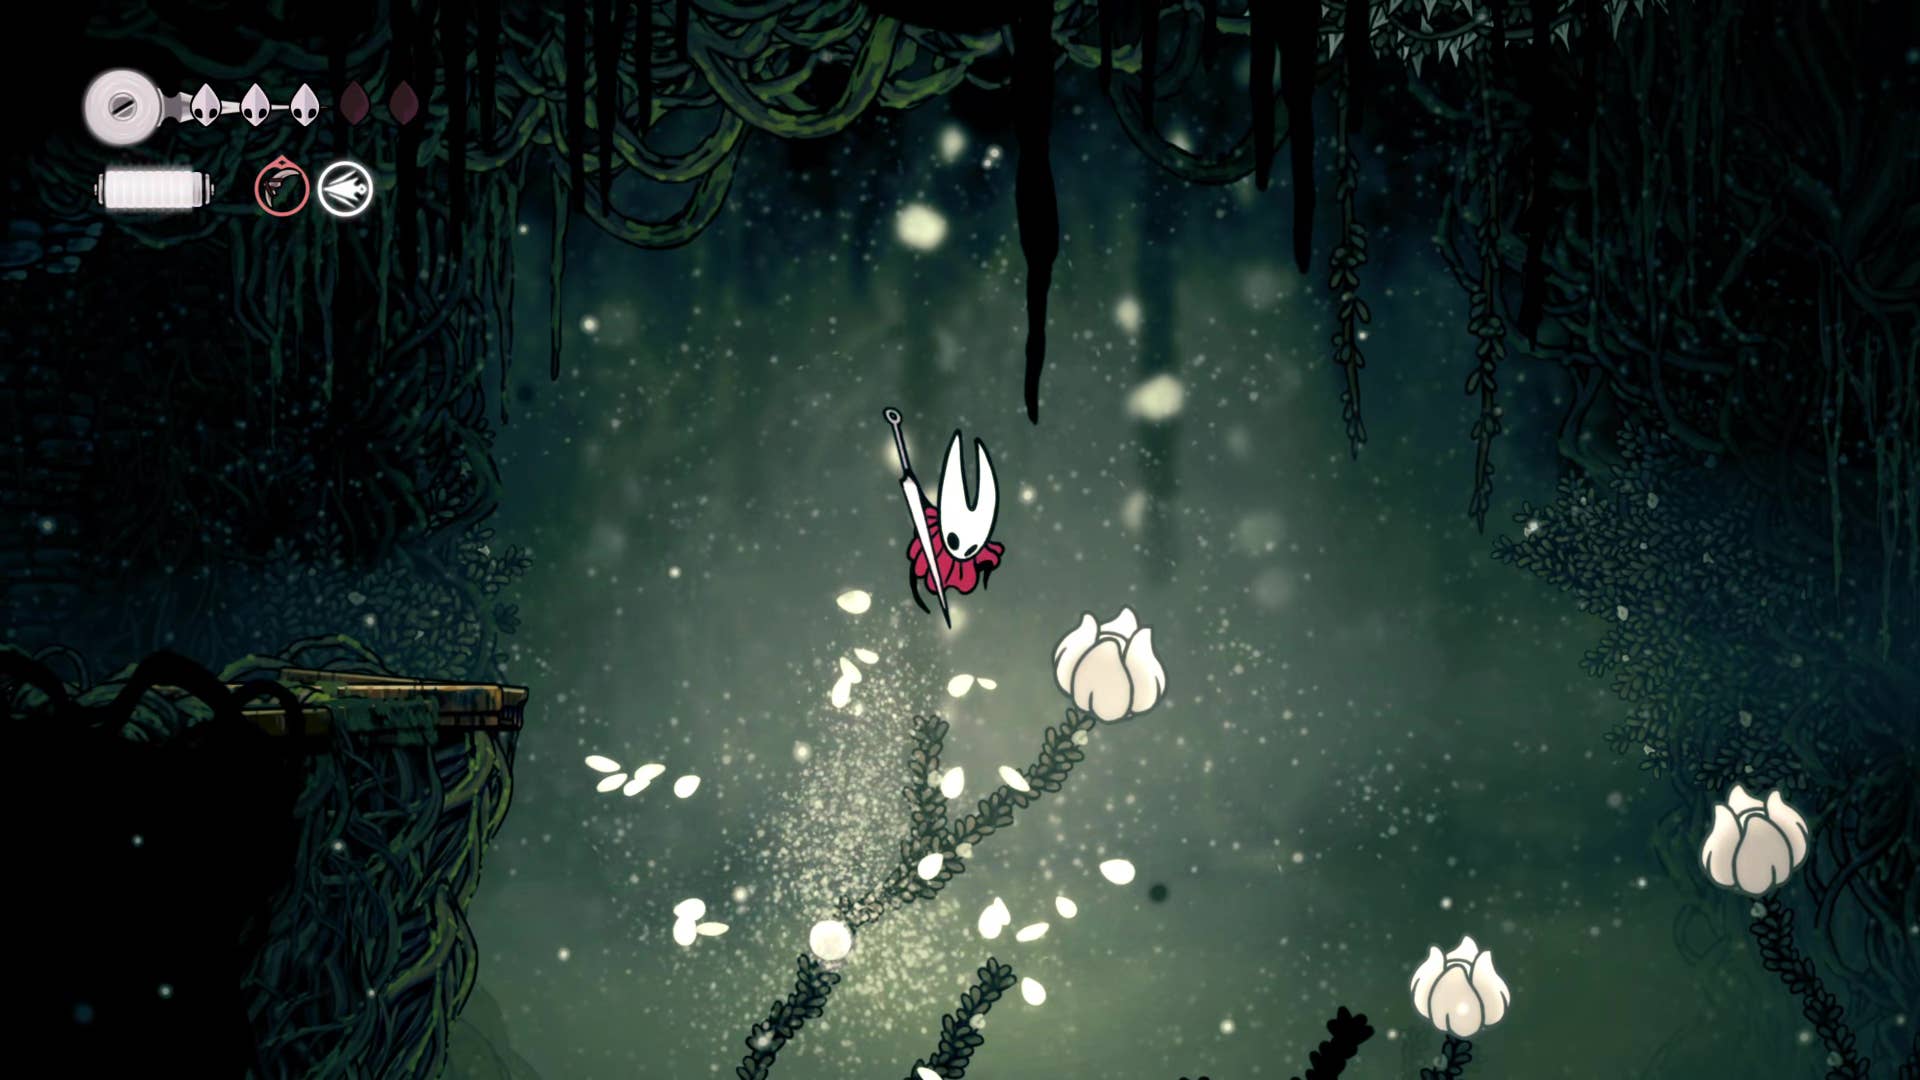
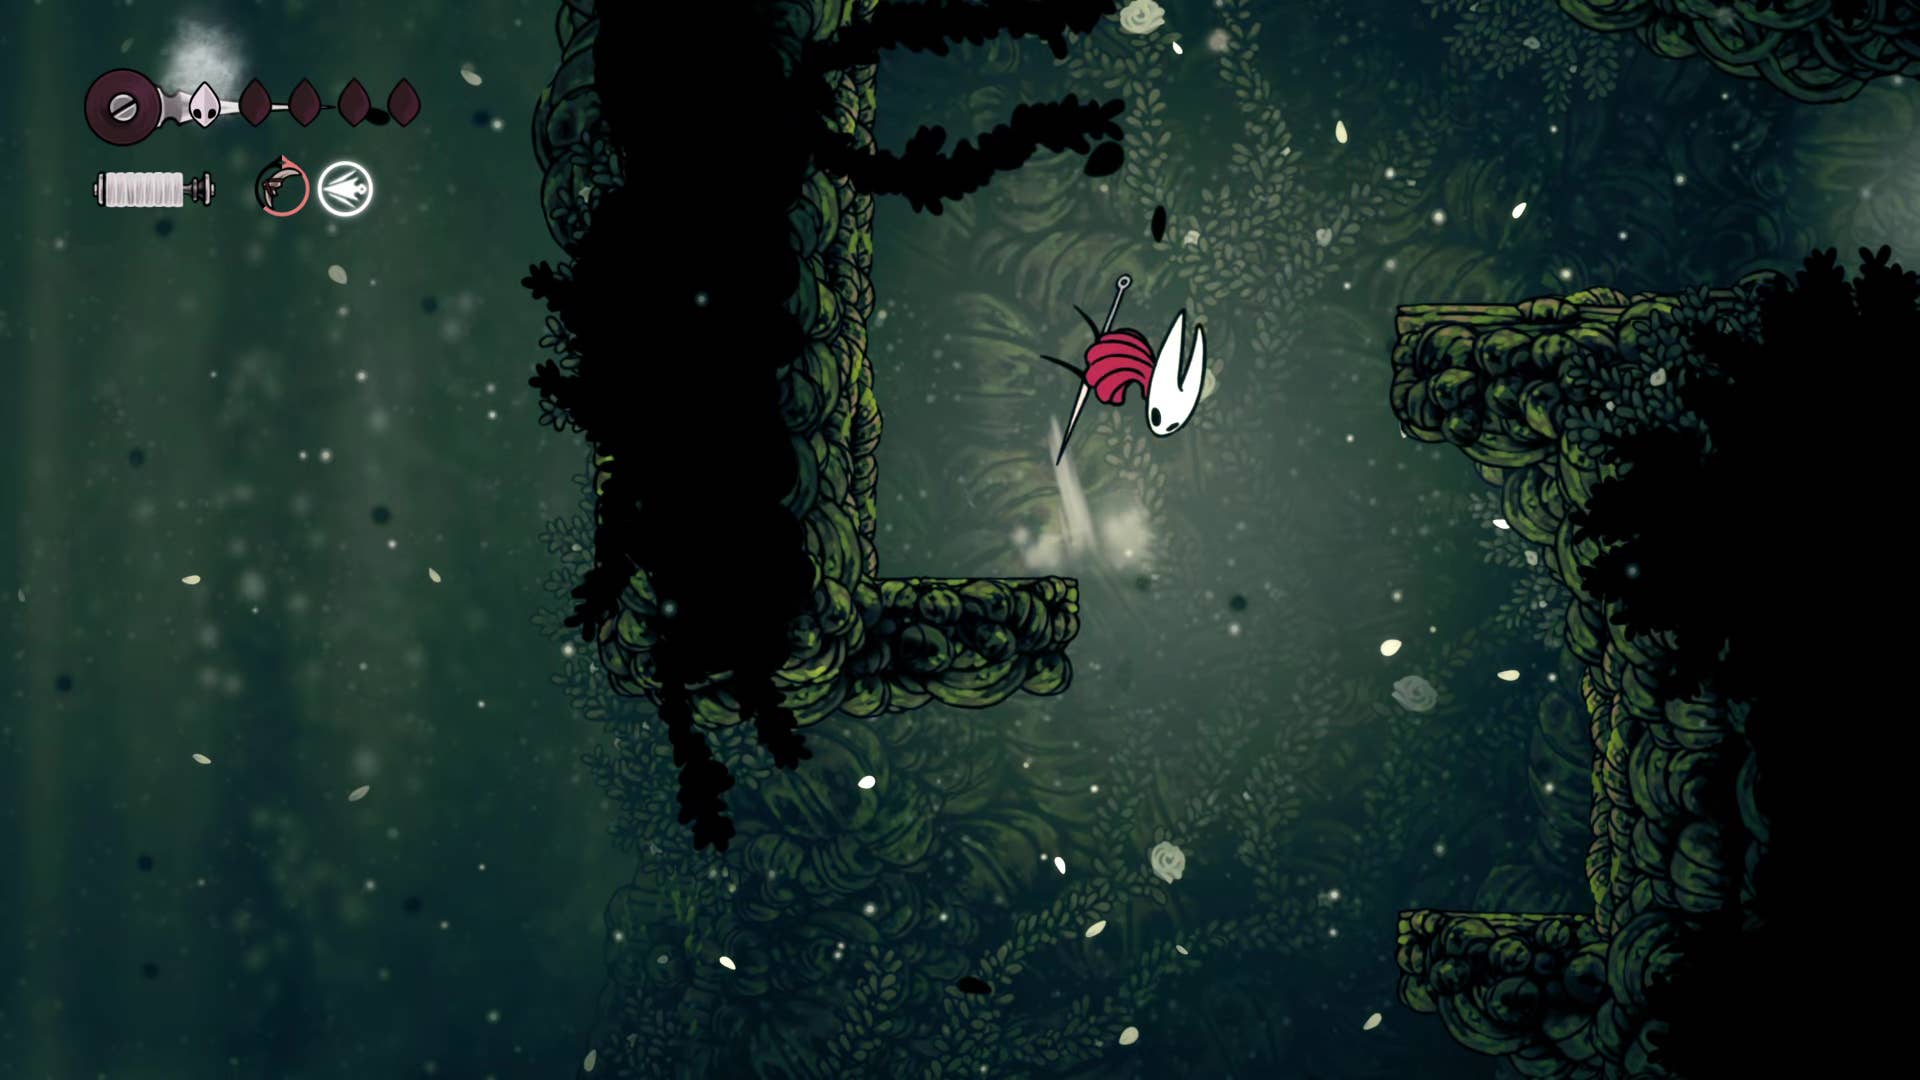
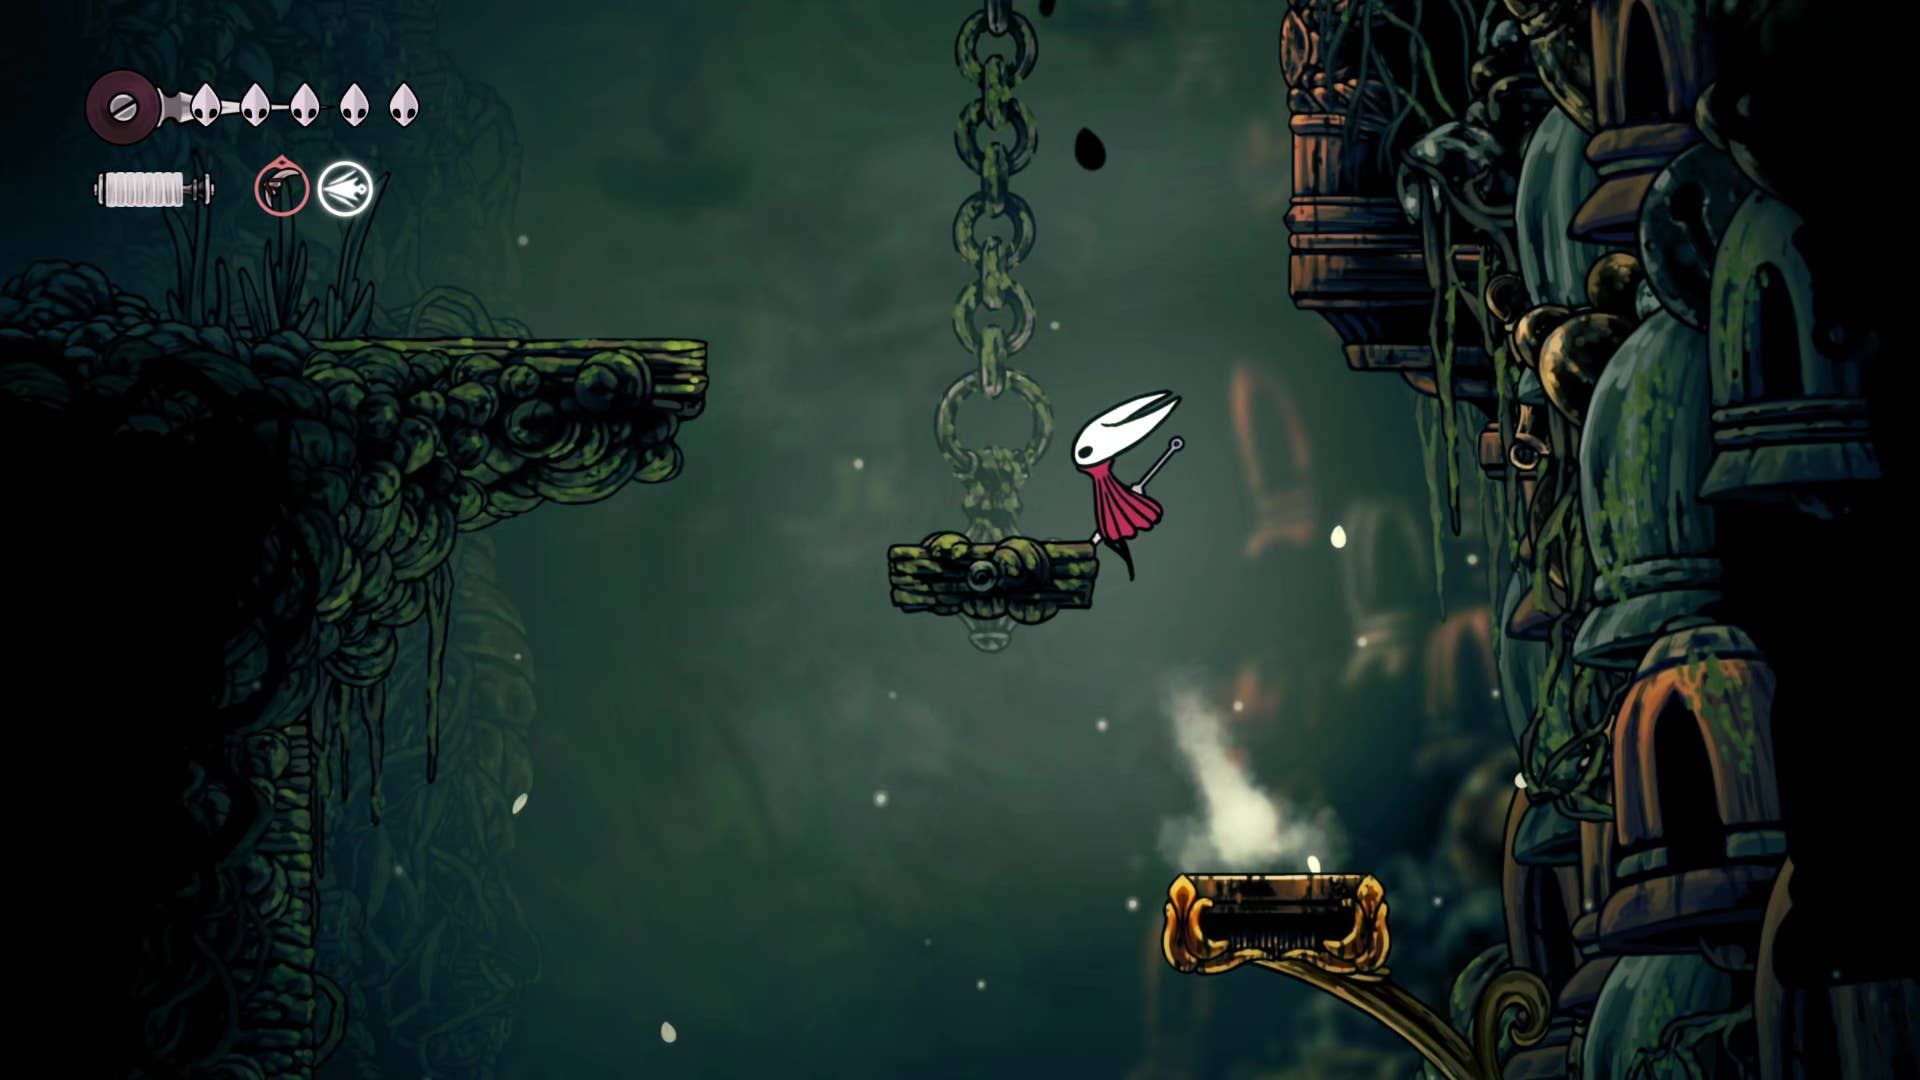
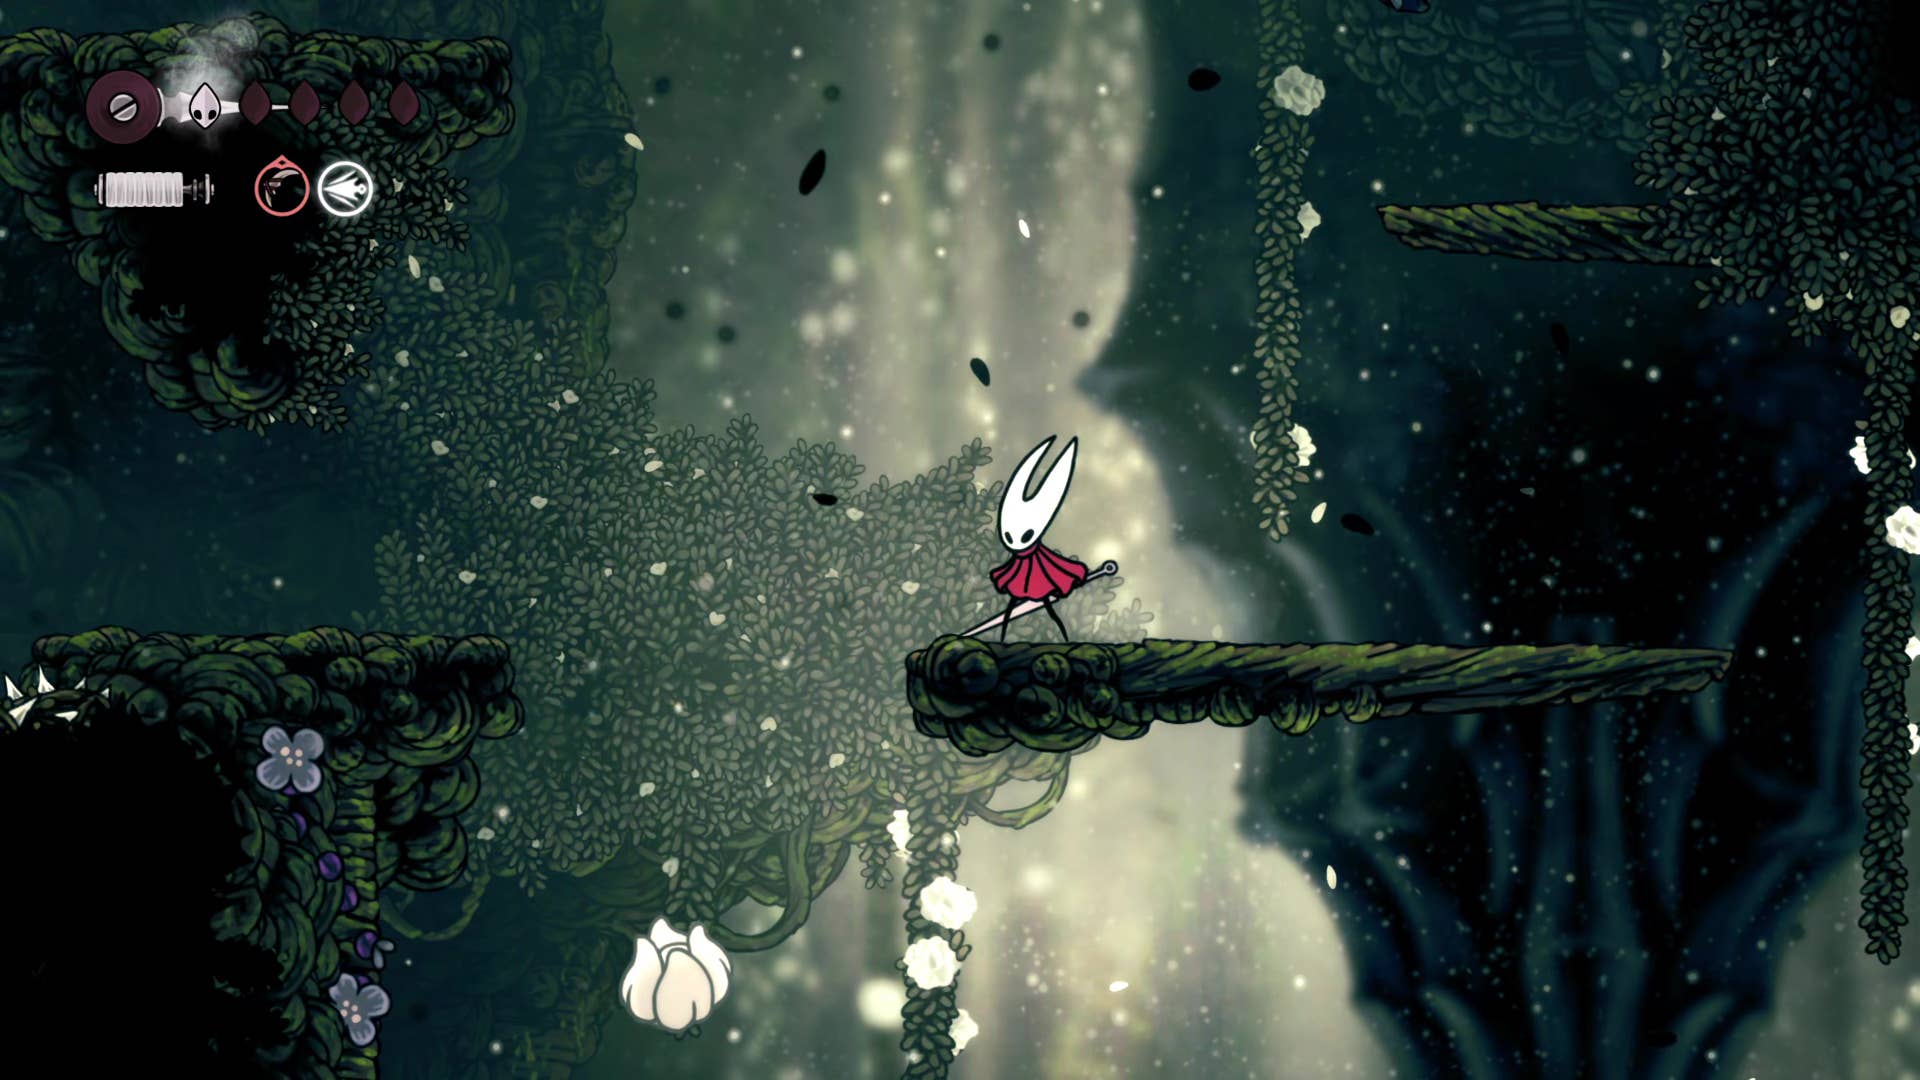
1. Defeating the greedy pilgrims.
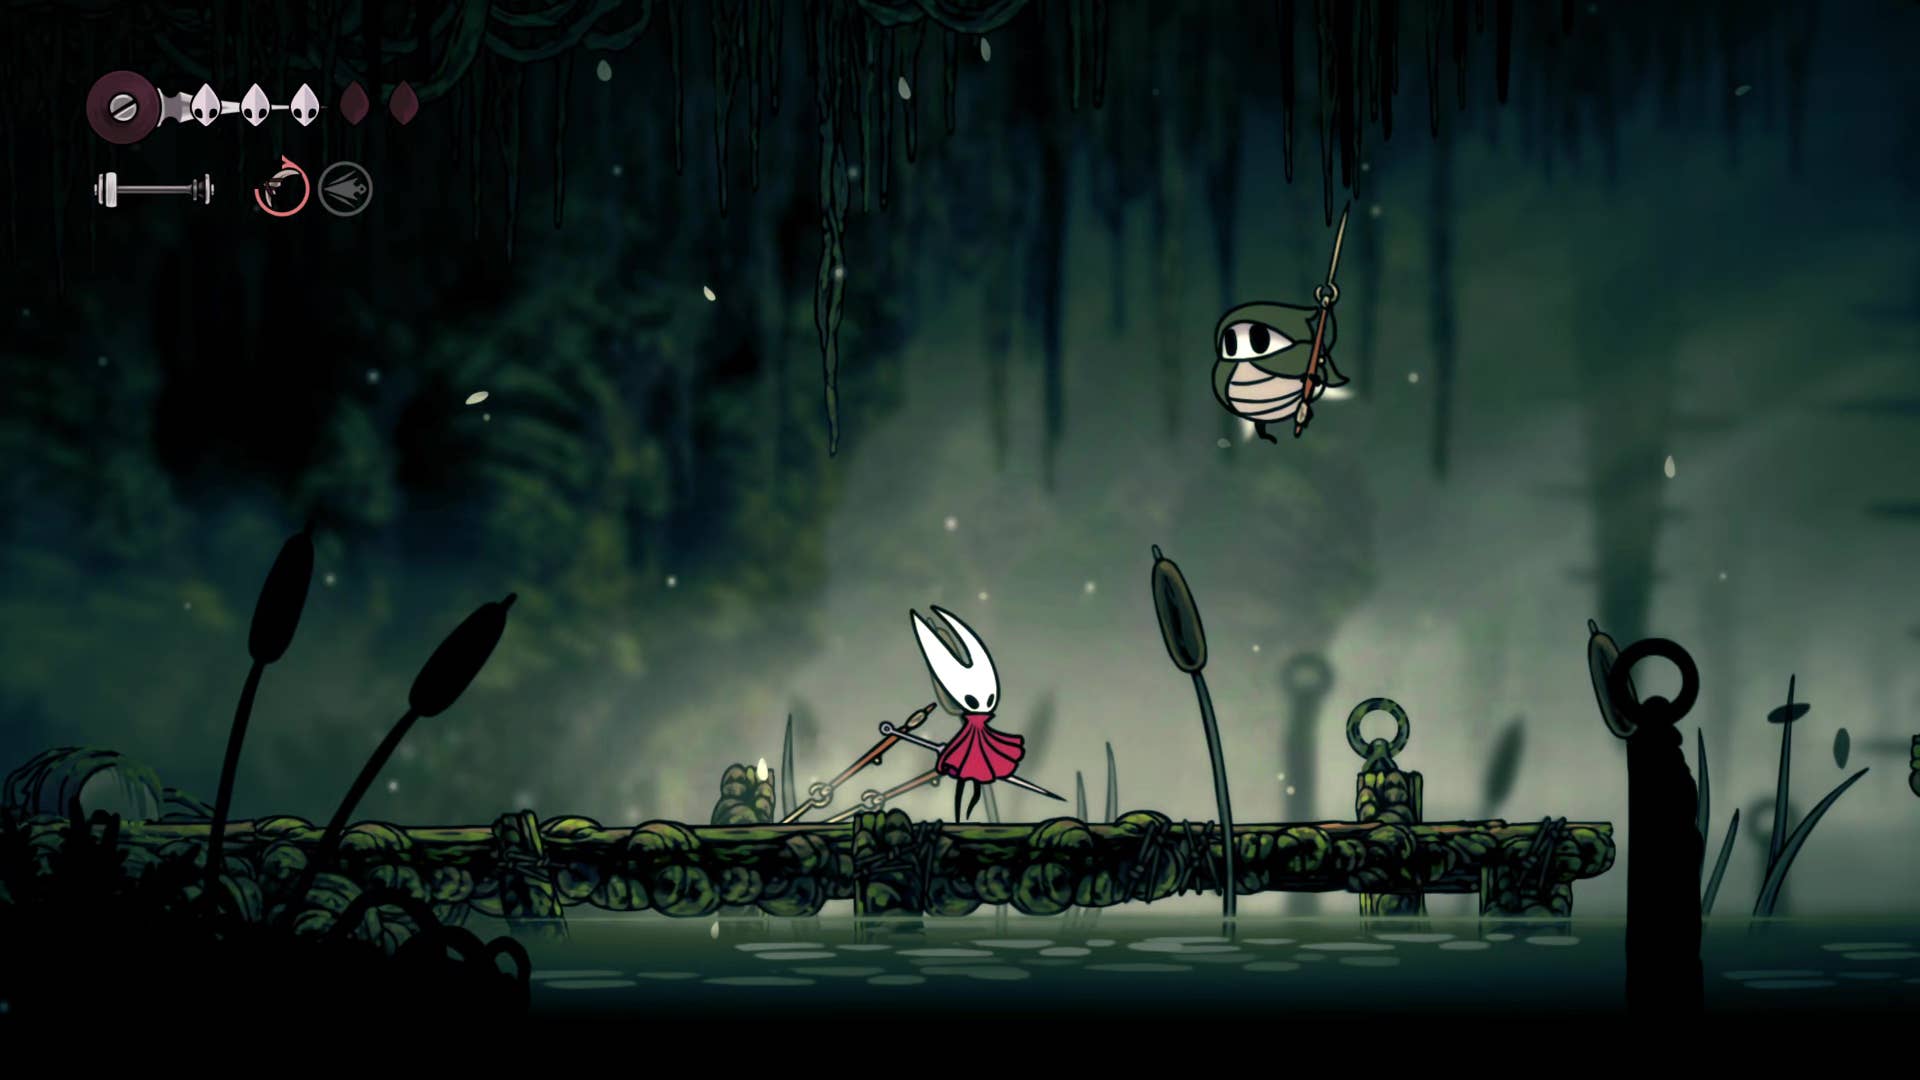
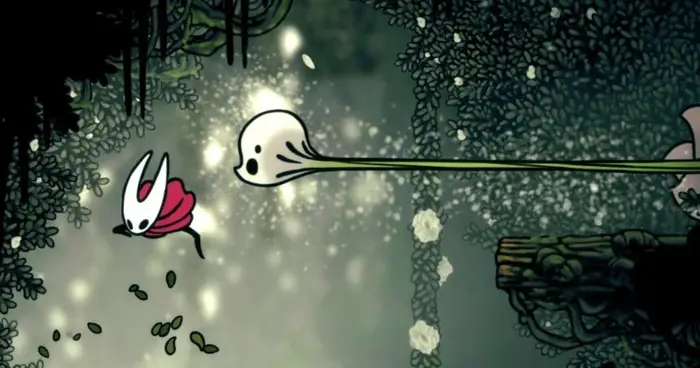
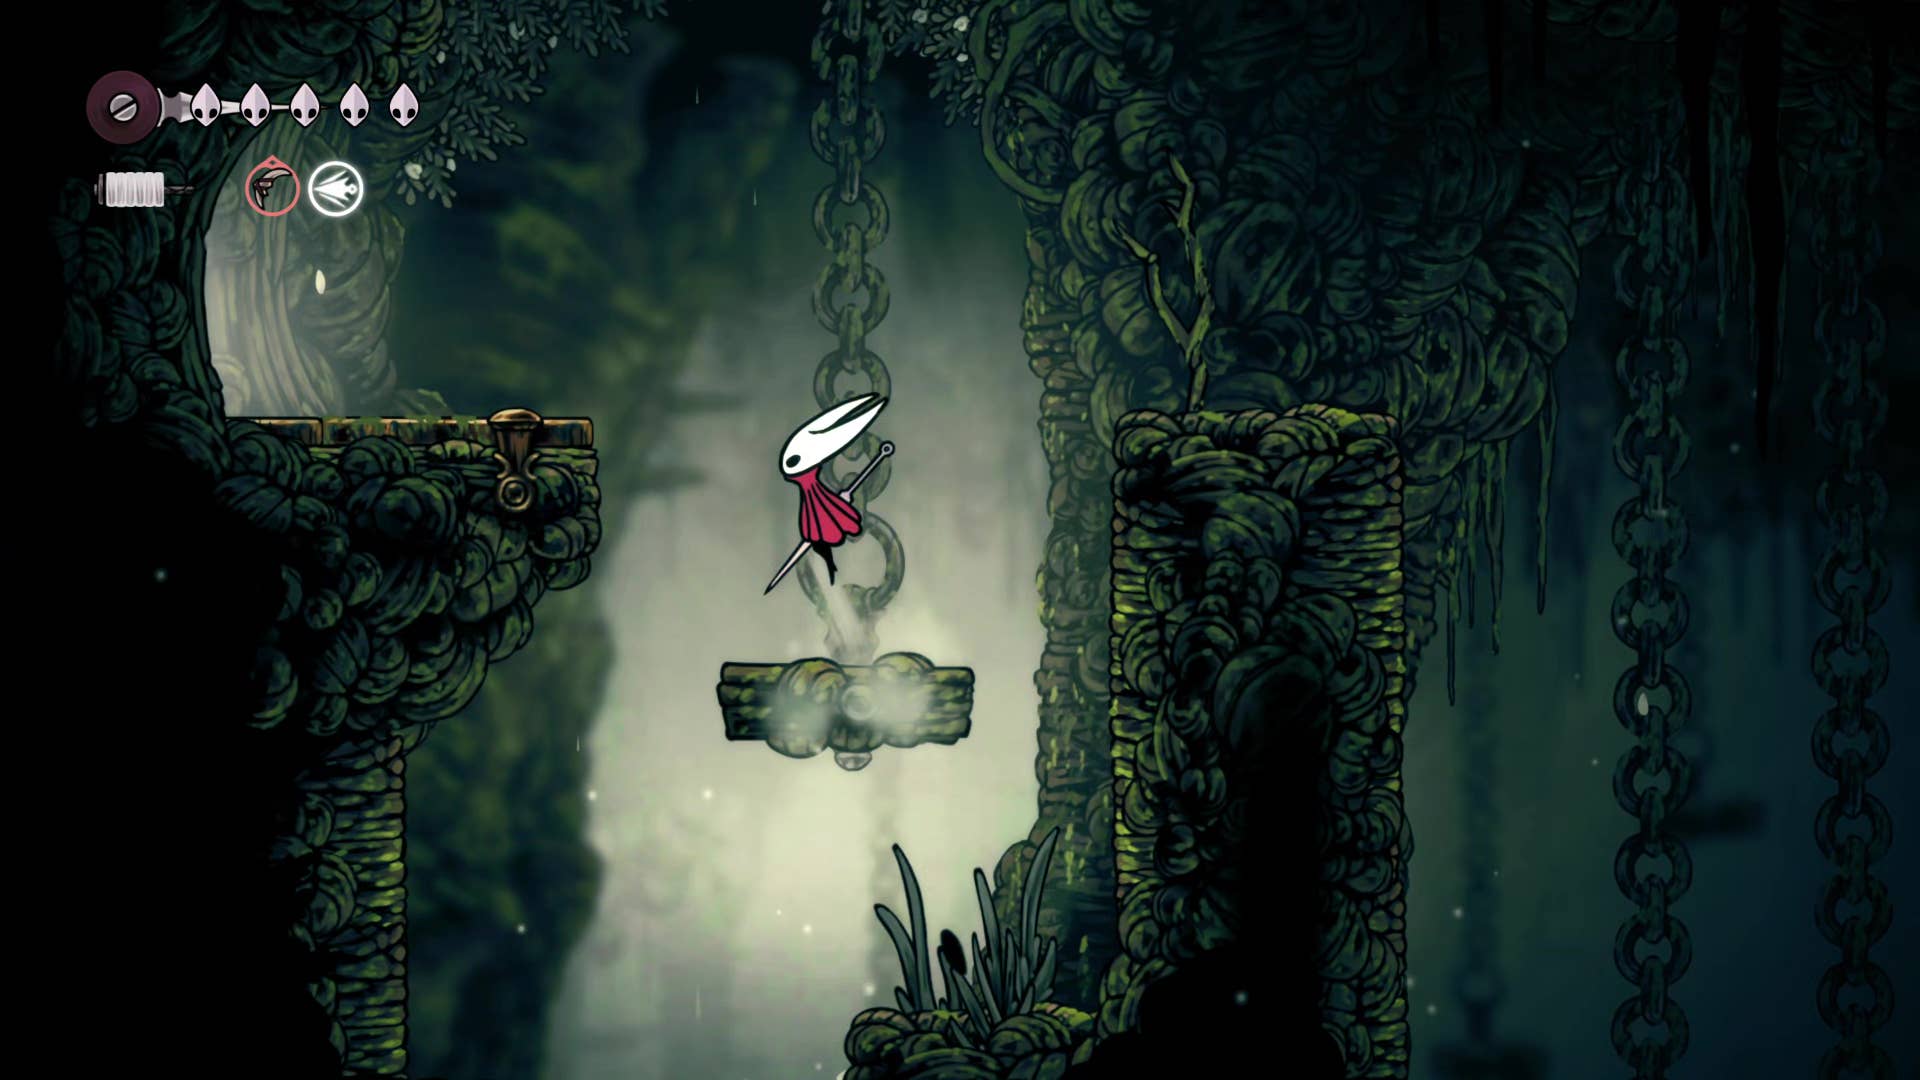
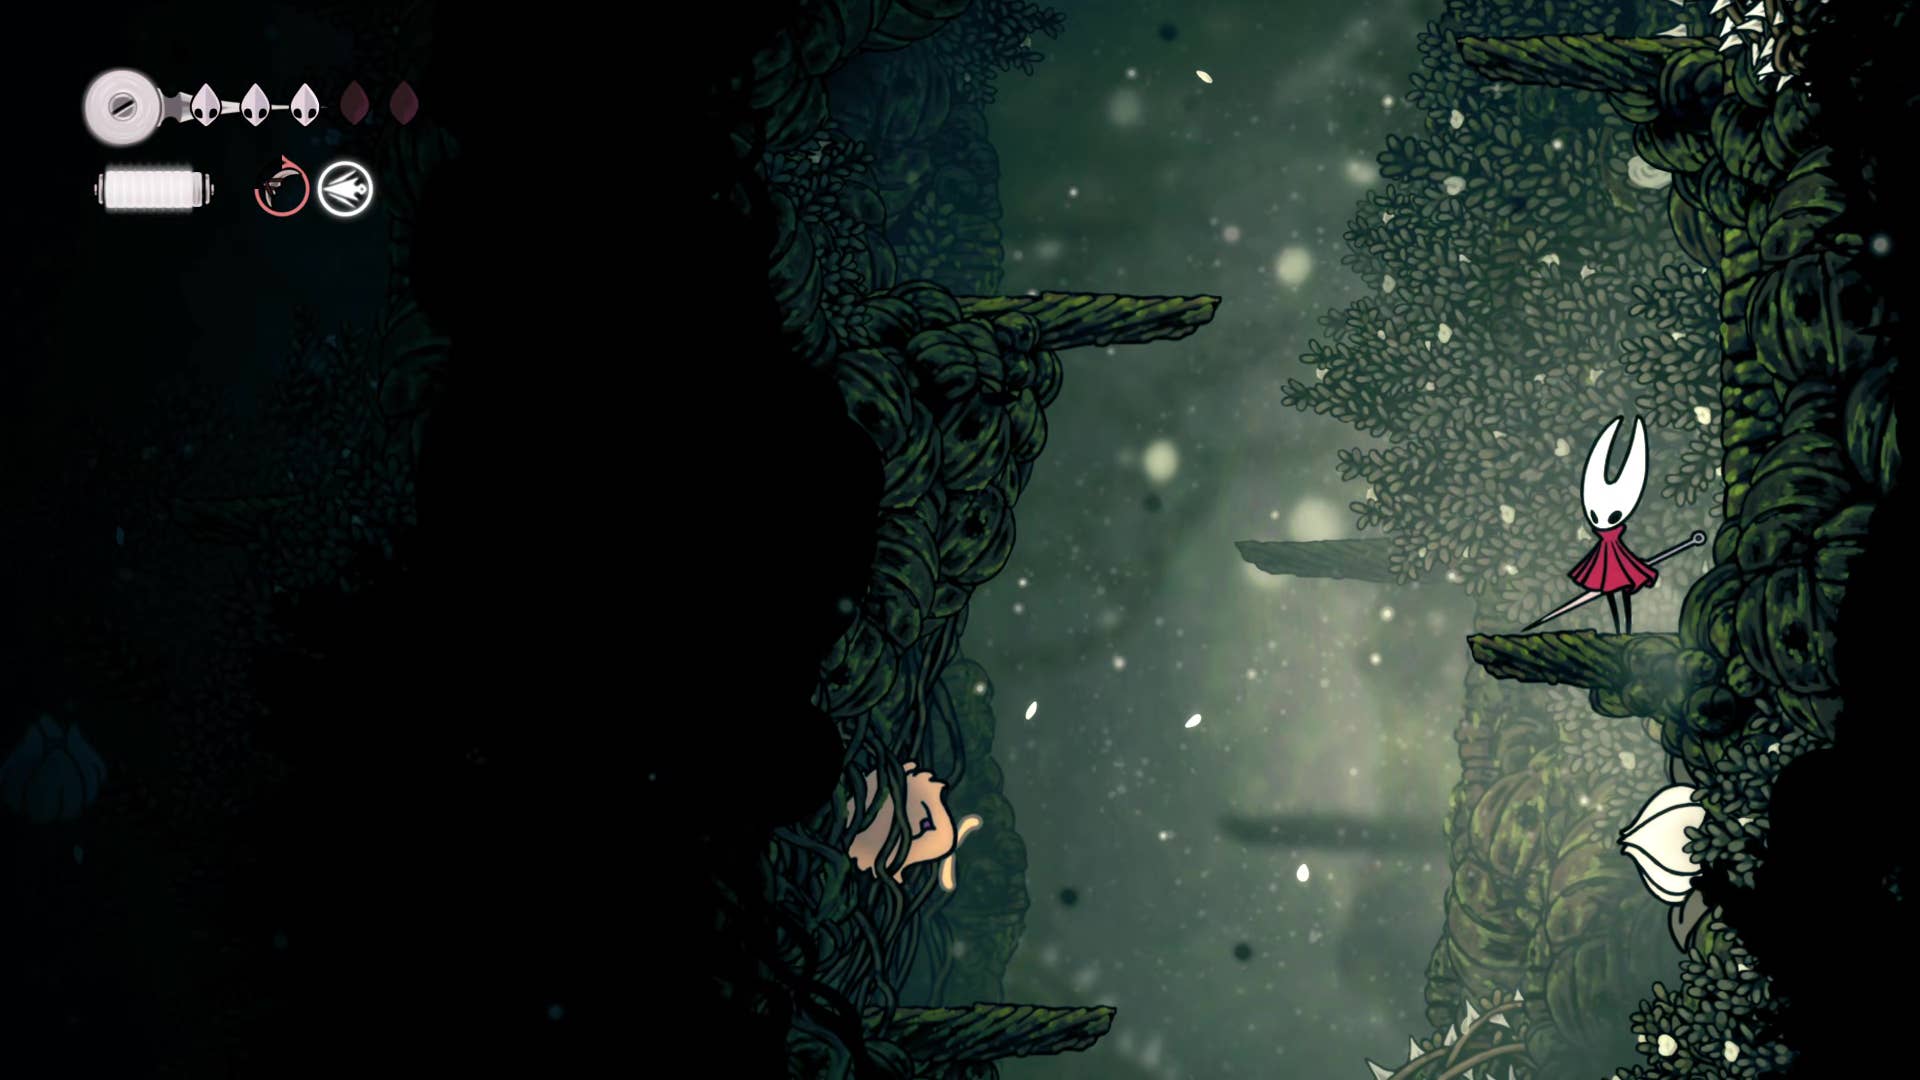
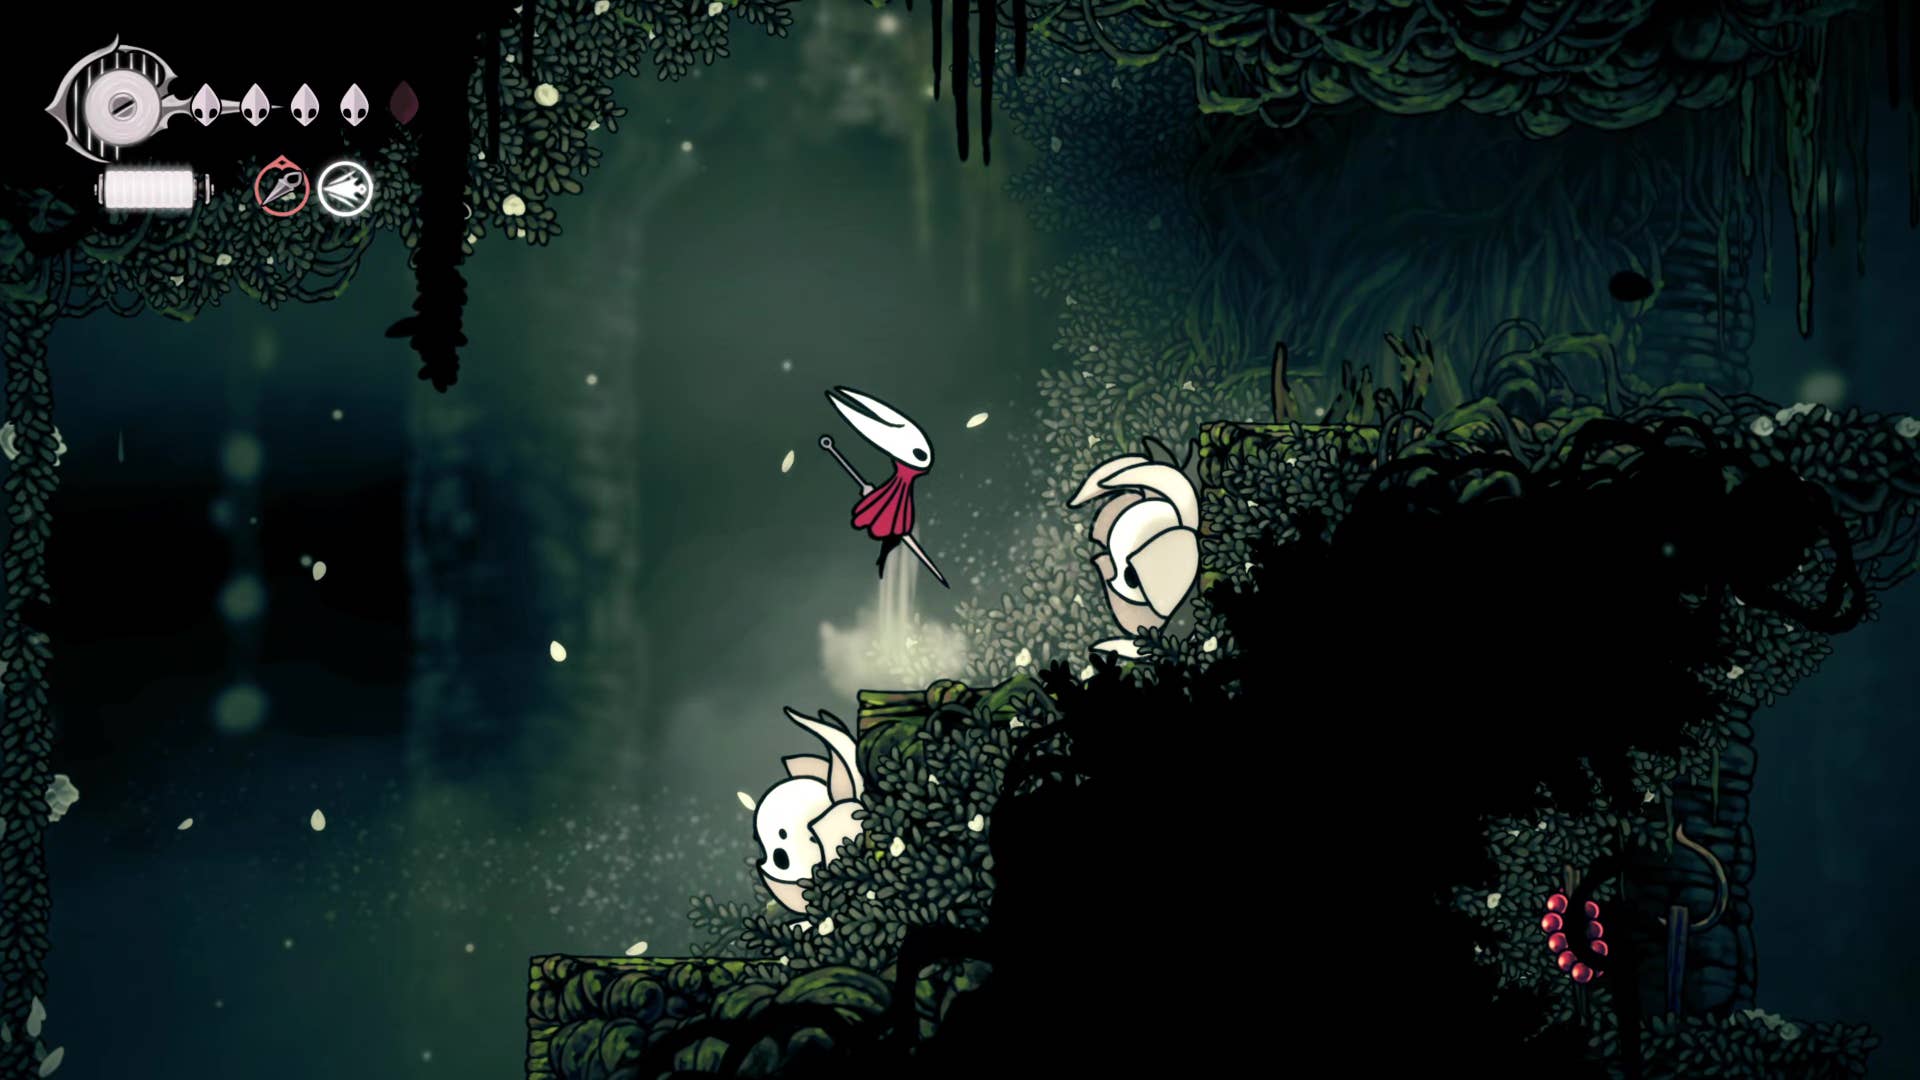
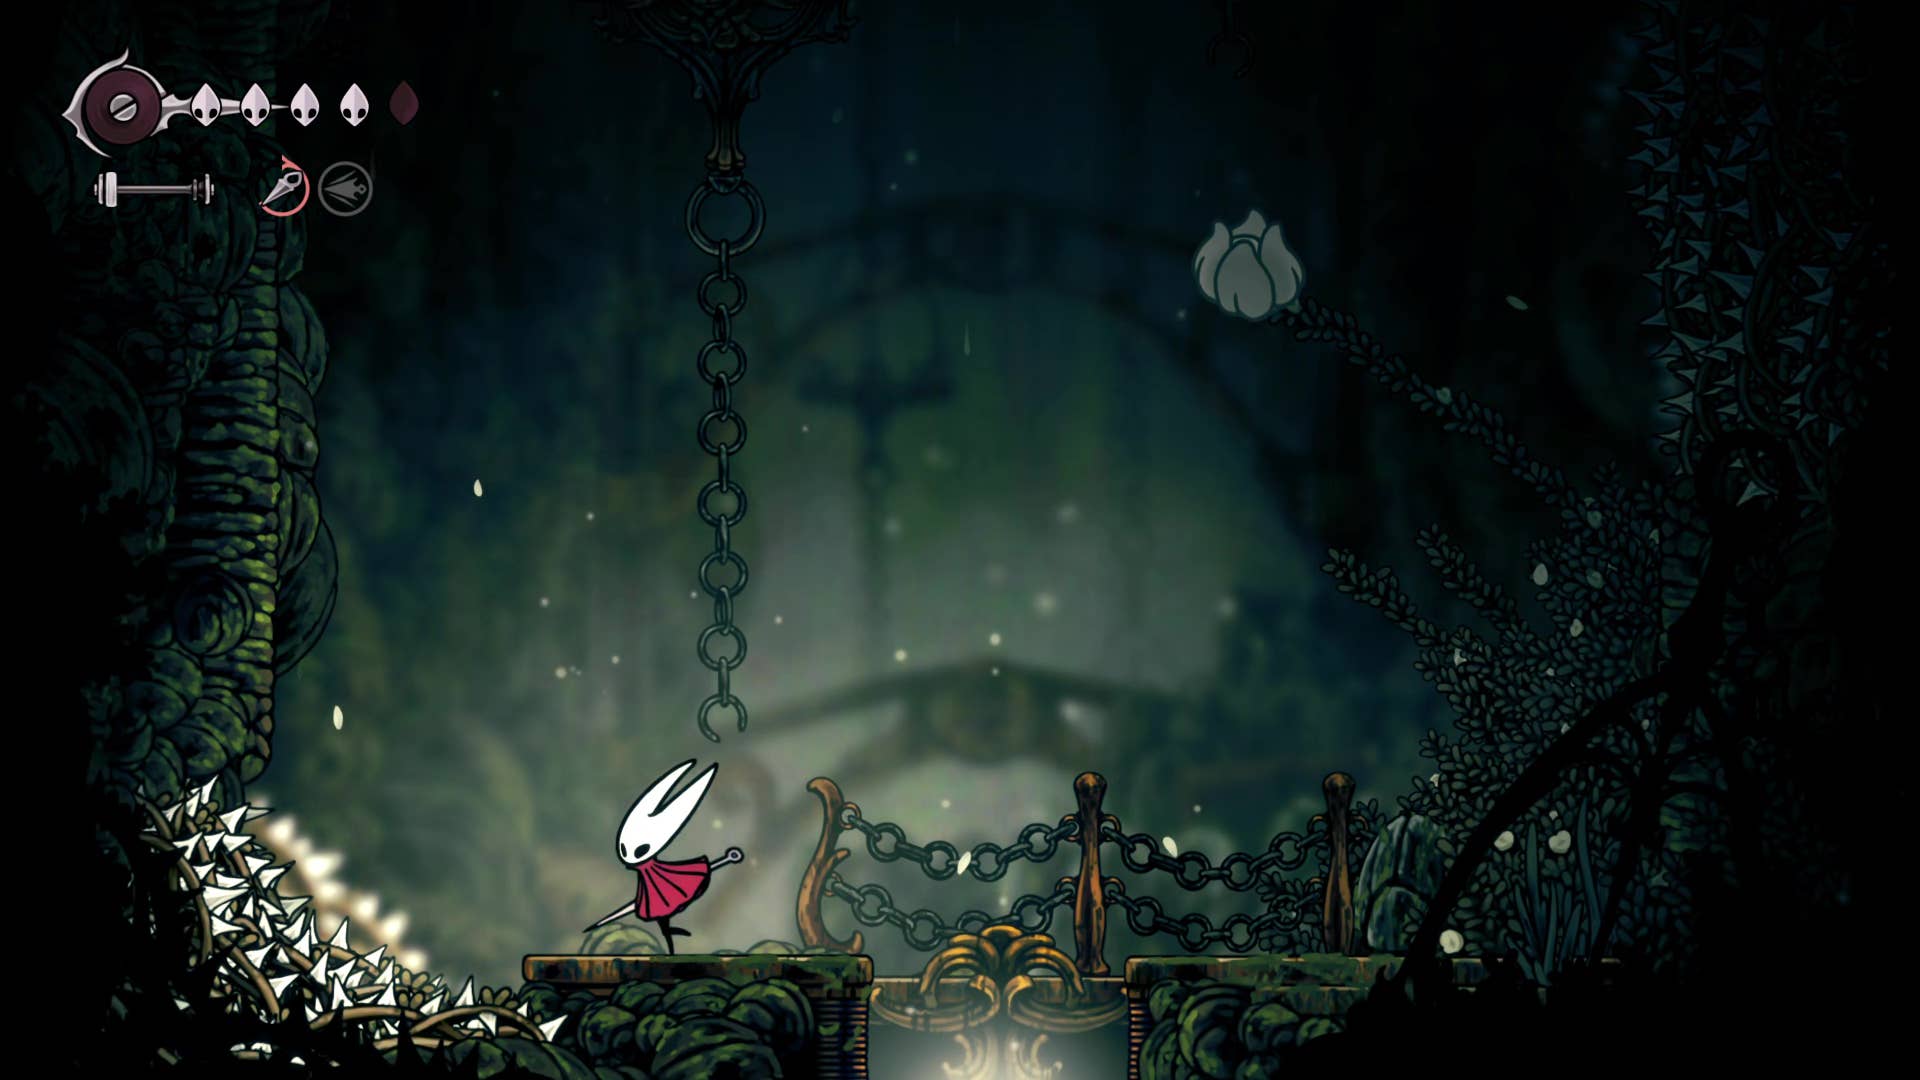
From the bench where you last rested, head right to the Shellwood itself. Continue to the end of the room and be careful not to underestimate the enemies in the flying pond. There is a slight randomness factor in the angle they throw their spears when they target you, so they can easily attack you despite you trying to avoid them.
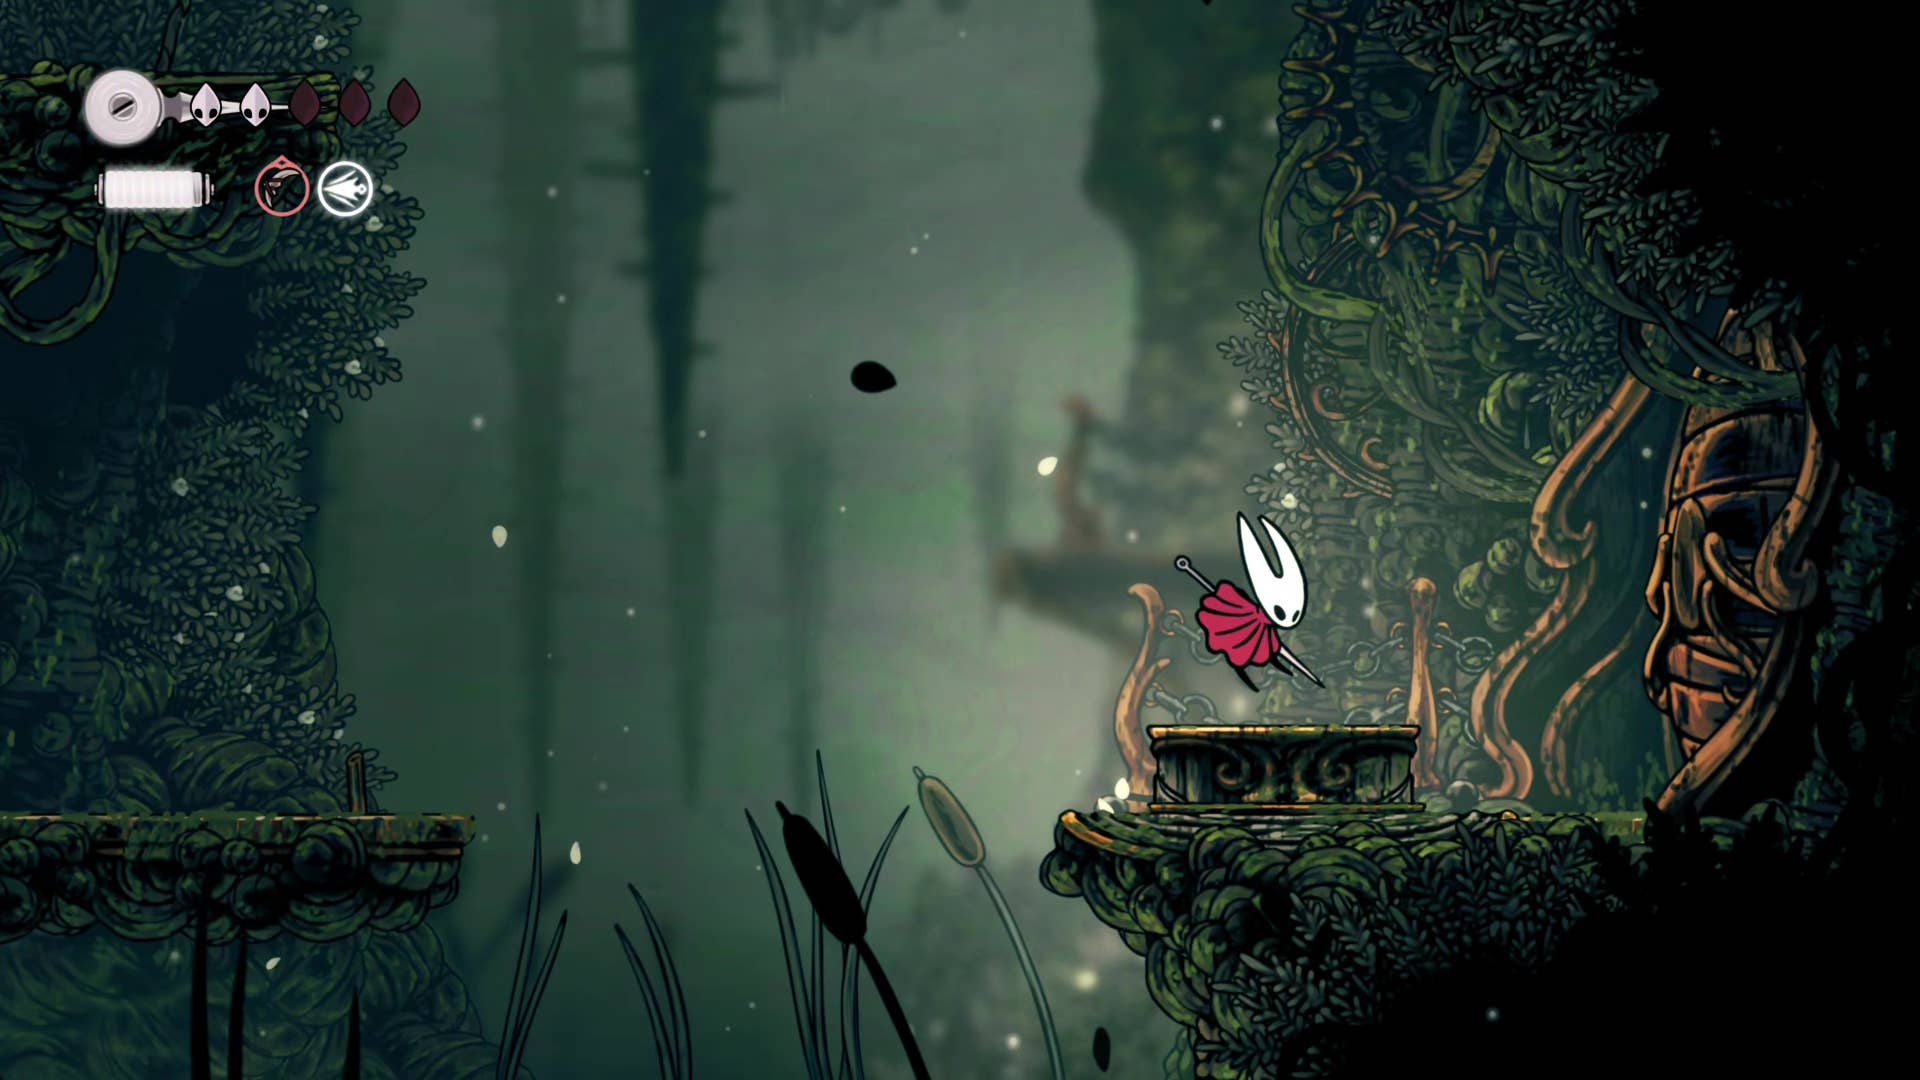
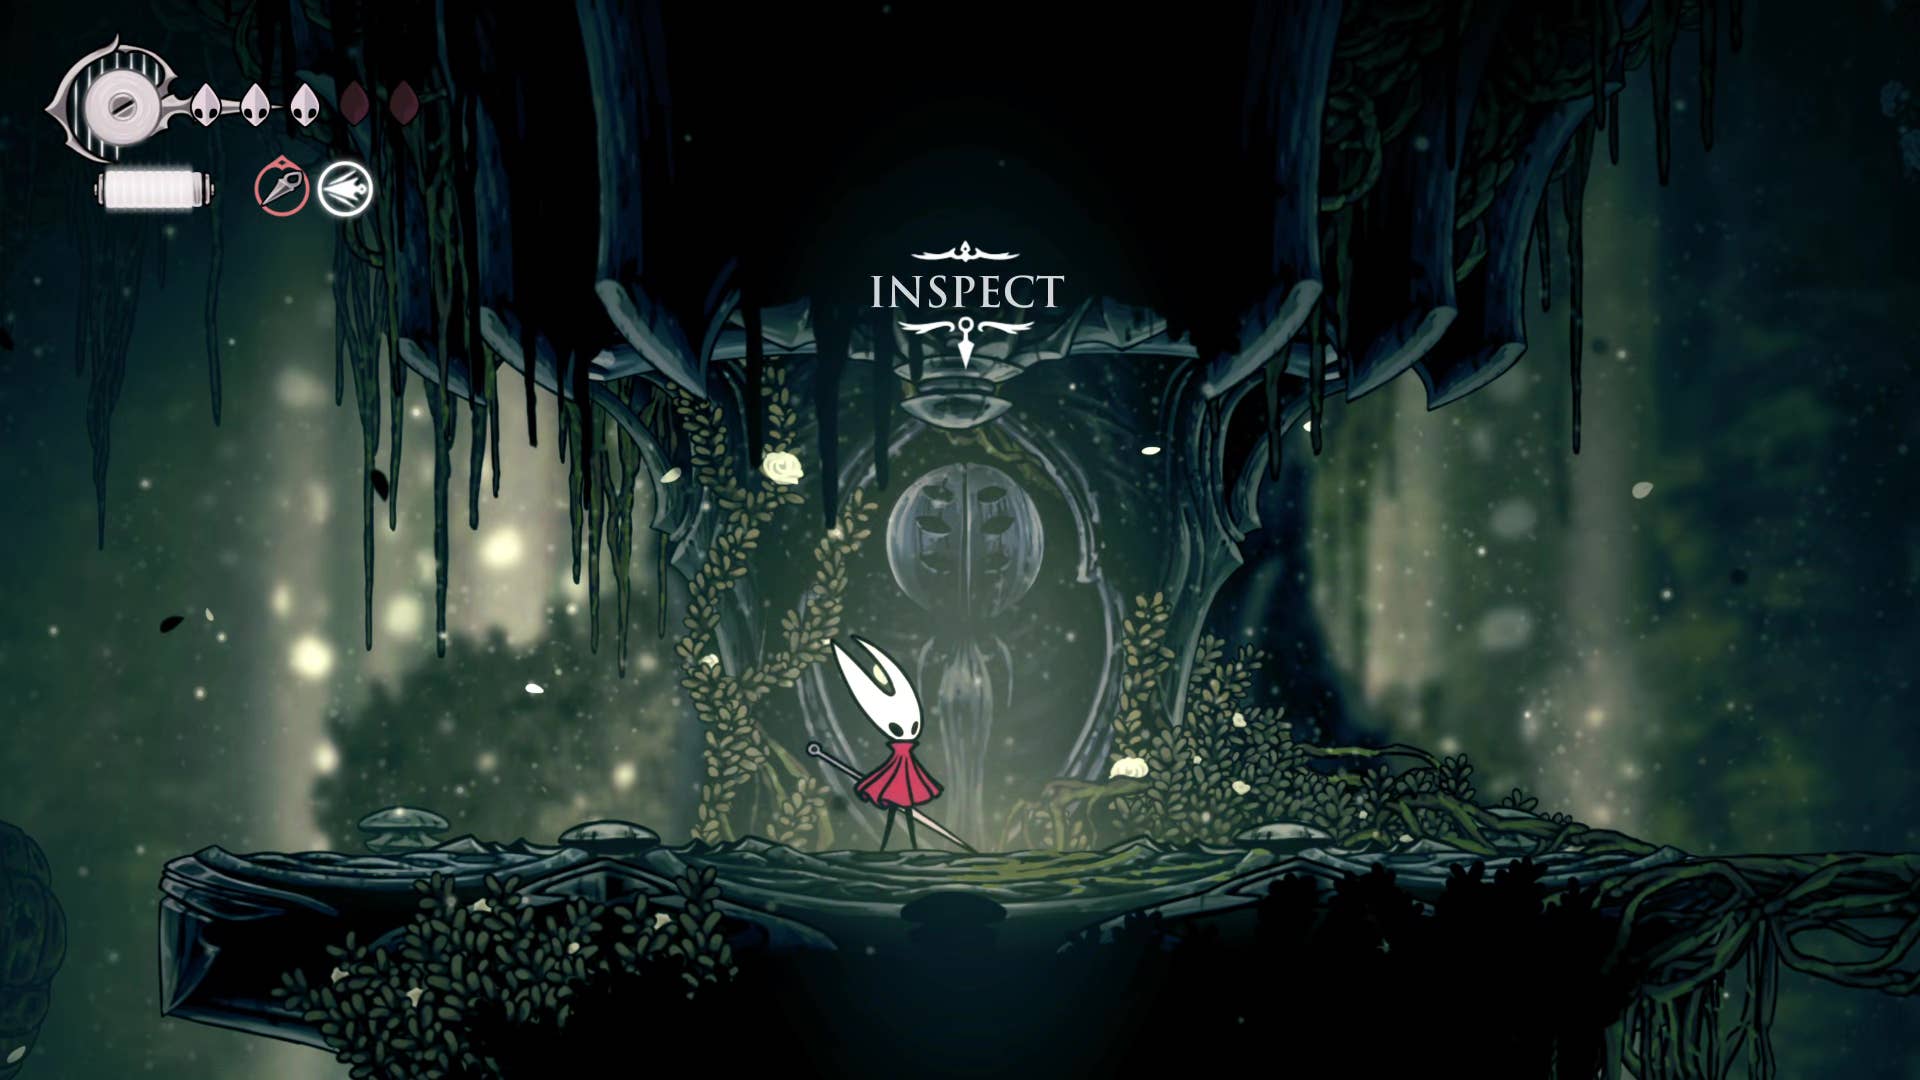
Once you reach the edge of the room, use the hanging platform to reach the room above you. Here you can read a tablet engraved for some lore before jumping over the shelf and facing a big greedy pilgrim.
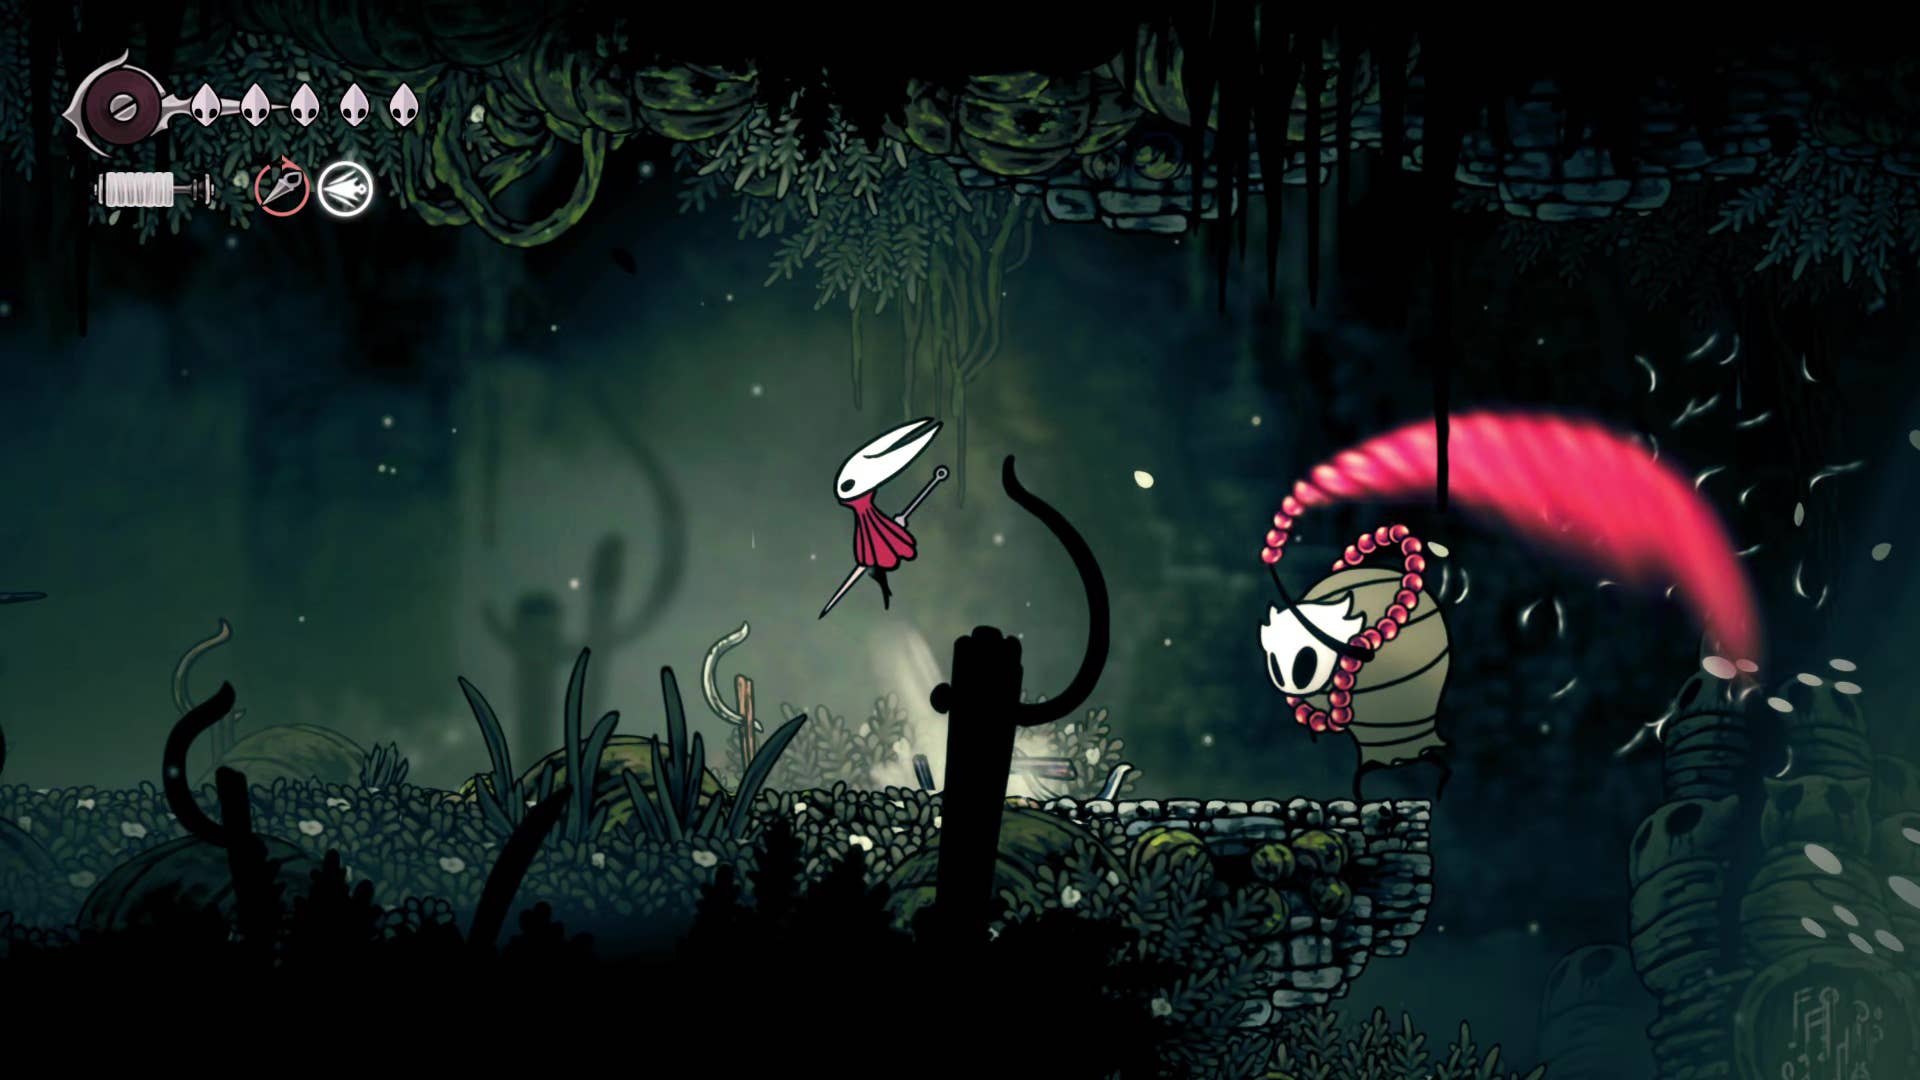
This large beef pilgrim uses a series of rosaries as whips. It has an incredible range and deals twice as much damage per hit, so take your time and use ranged tool attacks at your own pace to safely defeat them. When it is done it explodes into the Rosarios, so Hoover raises them all up before returning again to ground level in the first room.
2. Find Shakura on Shellwood Map.
The next step is to source Shellwood’s maps from Shellaus. Shakura is now merciless and easy to find. Head to the next room on the right and run all the way along the ground level and along the room beyond. Since the white plants of this area can be turned into pogo, use this tactic to reach the center of the room where Shakura is waiting.

Buy Shellwood Maps from her with 70x Rosary.
3. Rest on the Bell Heart bench.
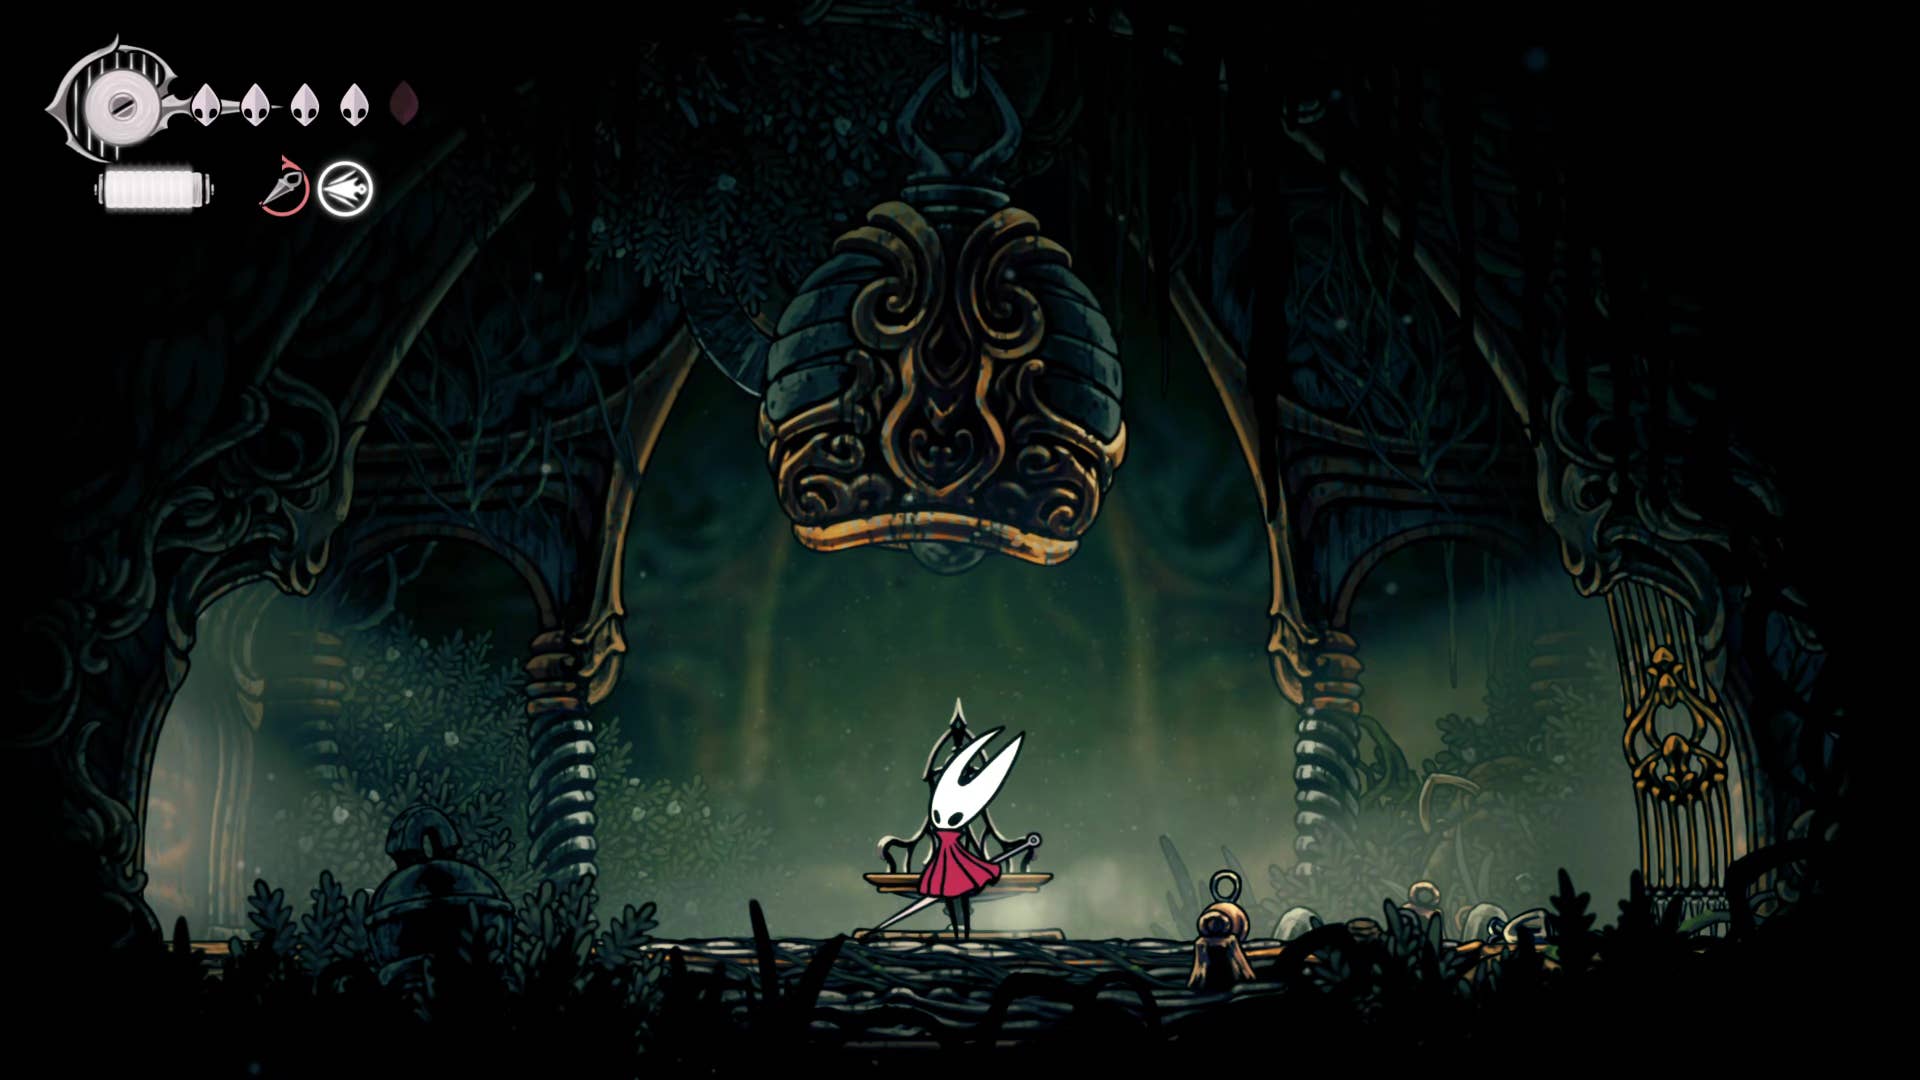
Continue to the next room, then follow the ground level of the room again and ignore what’s going on above you for now. Stand on the pressure plate at the edge of the room and unlock the door leading further east.
Then, once more, along ground level, through the door, and beyond the bell-ringing corridor. Enter the next room and you will be greeted by the chatty town of Bell Heart and treated like a rather intrusive movie.
We are not staying here. Once the cutscene was over, I rested on the bench right next to me, then went back to Shelwood again through the hallway.
4. Survive the Gauntlet to the North.
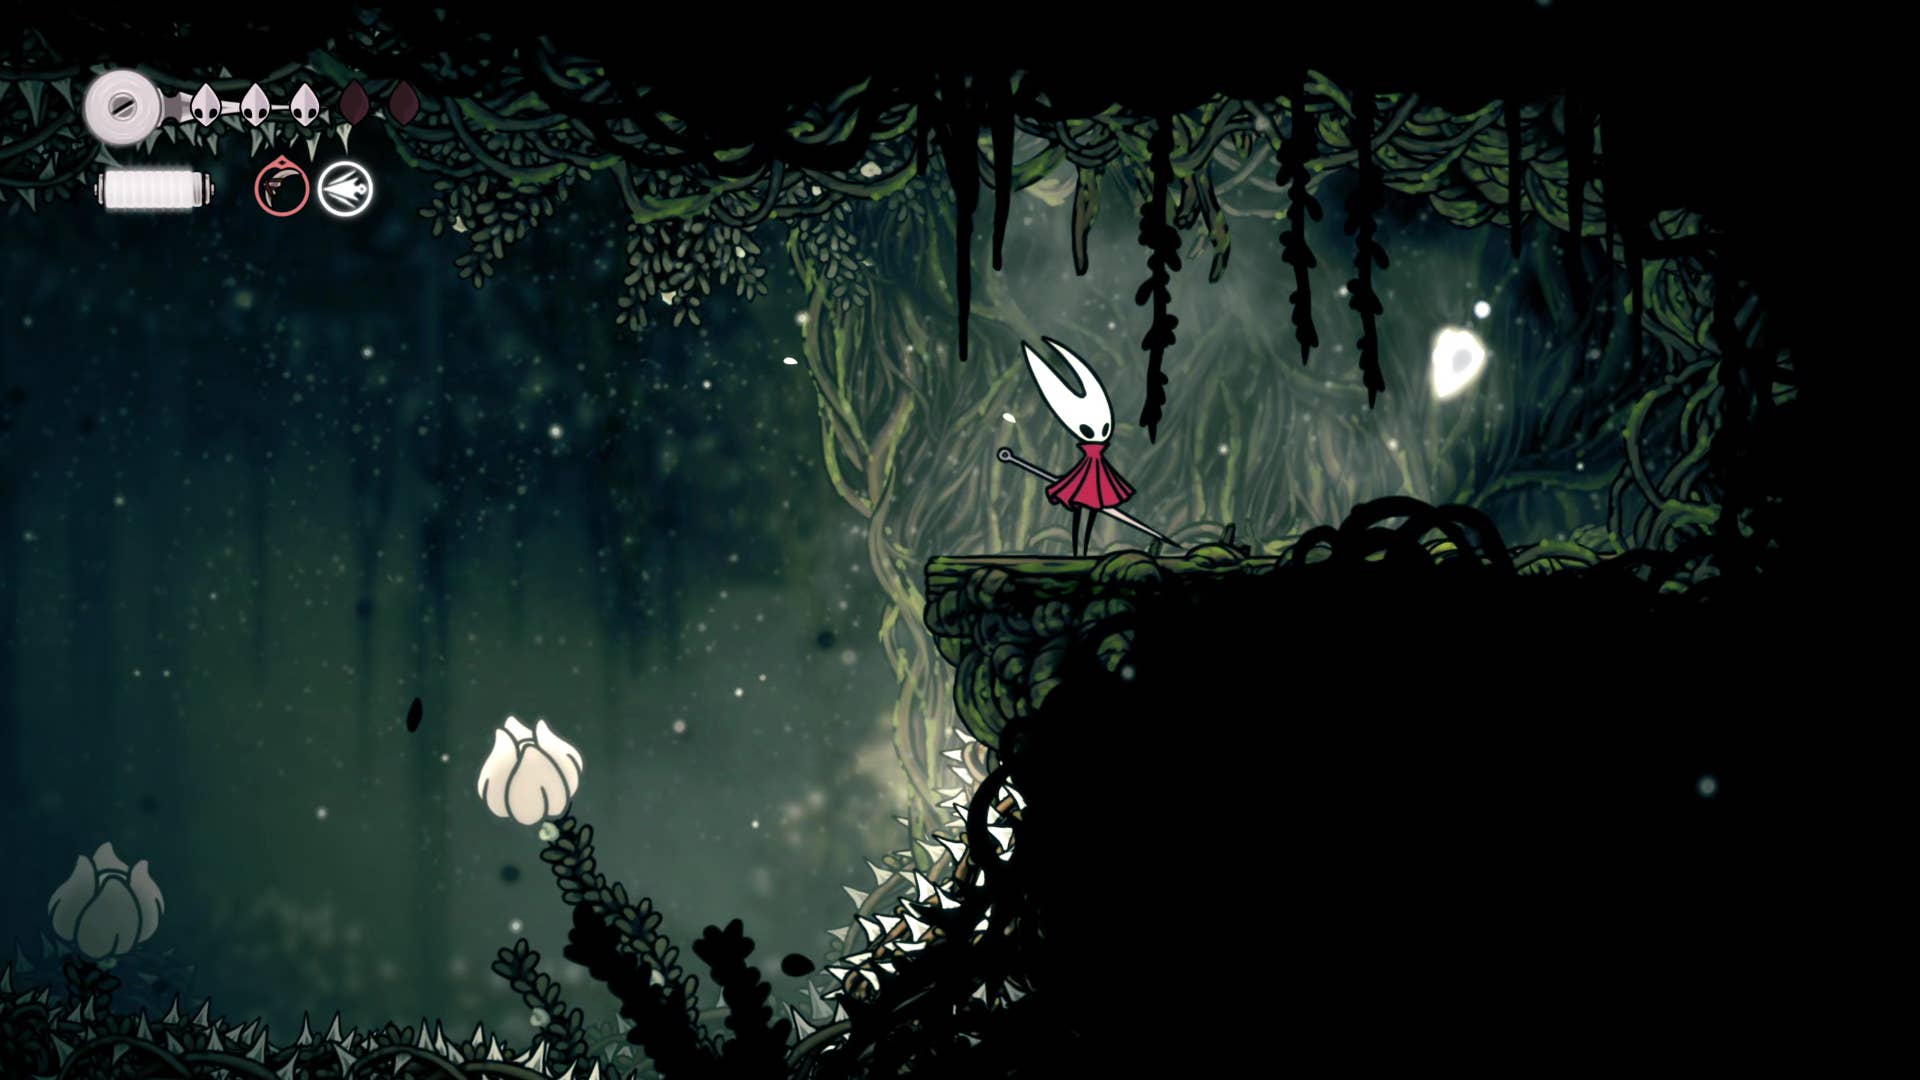
It’s finally time to begin your upward exploration. Return to the left side of the room and climb to the platform above you. They will lead you to the left and go back to the right. Notice the grey shells on the floor and ceiling. These are Shellwood gnats – the risk is low, but if you are not careful you can give points of damage.
Once you reach a place that is not high, drop some shelves (and hit a silver bell hanging from a nearby platform for some shell shards). A little further down, you can plunder the rosary strings worn out of the pilgrim’s body. Next, if you continue across the platform on the right, you will find the path to the exit in the top left corner.

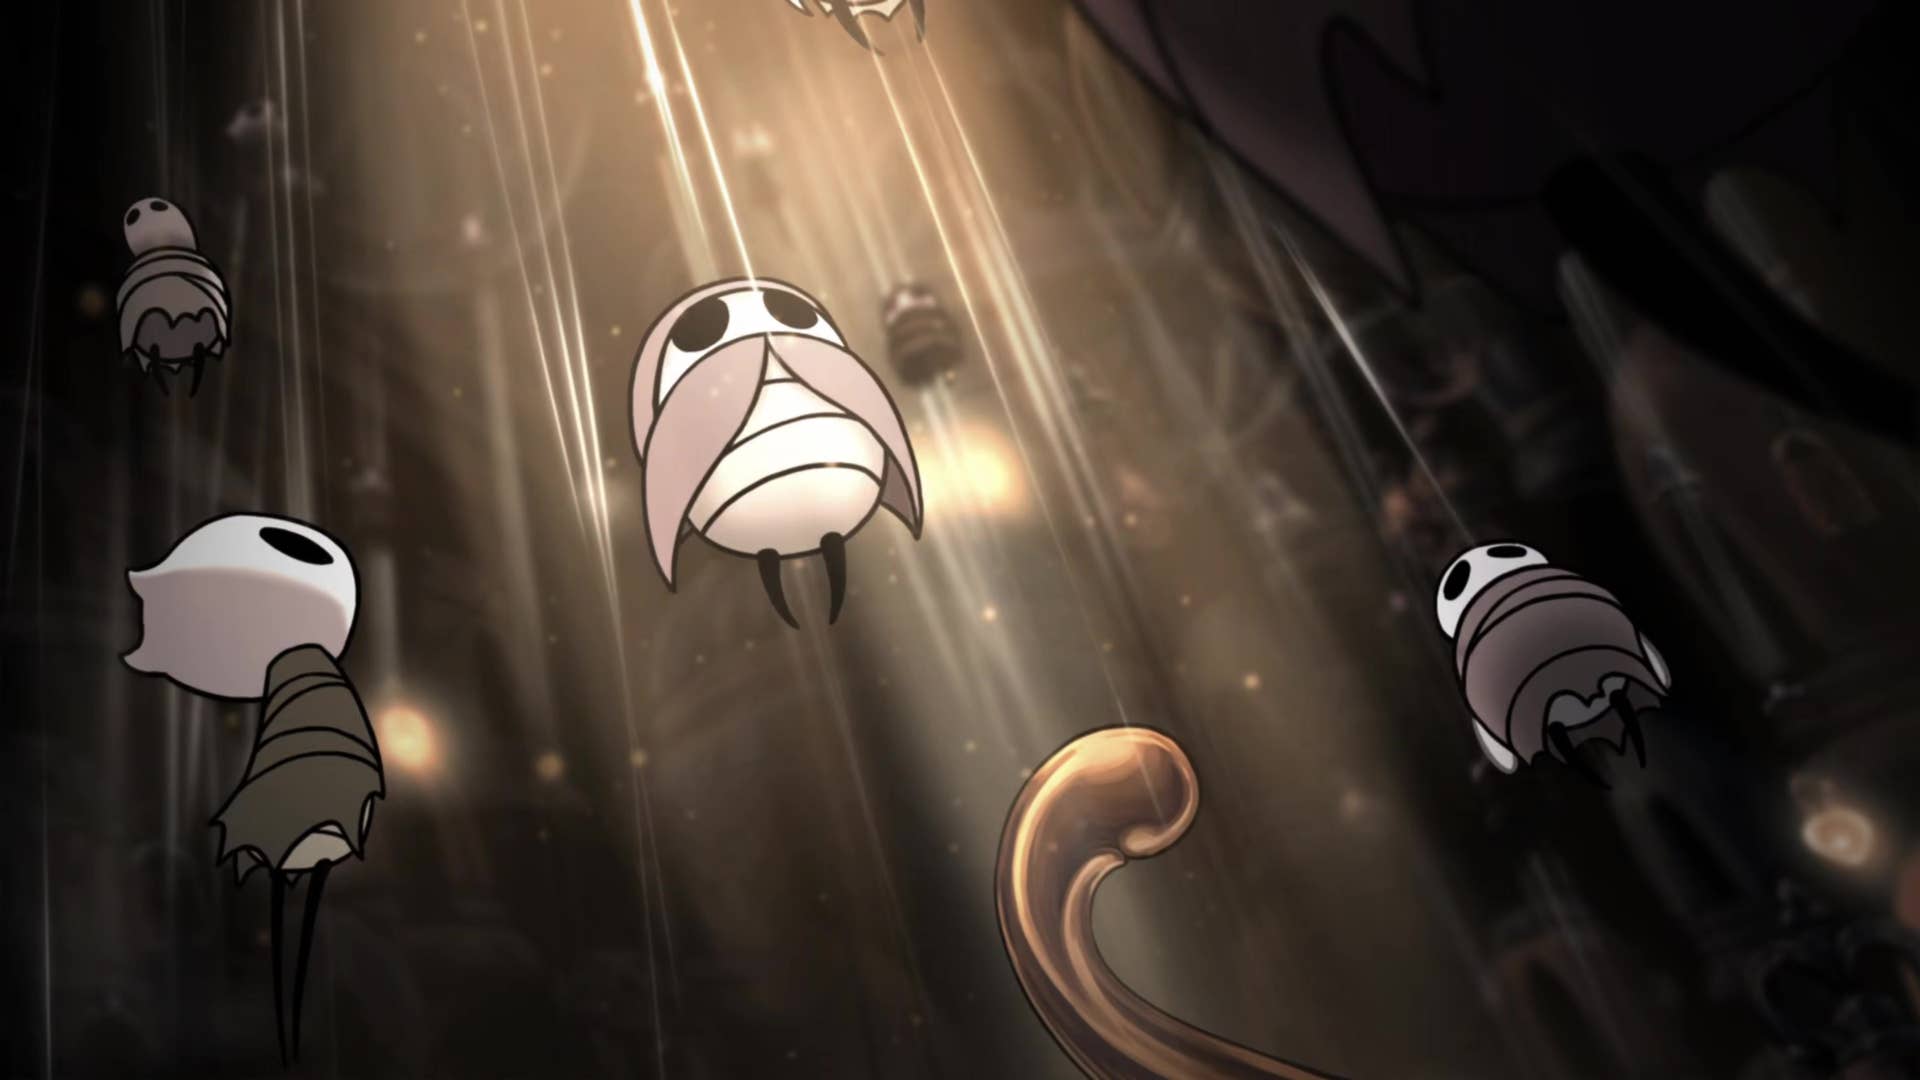
When you lower the hole in the next room, you will land in another gauntlet arena. There you will need to survive some of Shelwood’s enemy waves. Among them is a new class of enemies – shards. These stick insects are fast and dangerous, so keep your distance and use hit-and-run tactics to keep yourself safe.

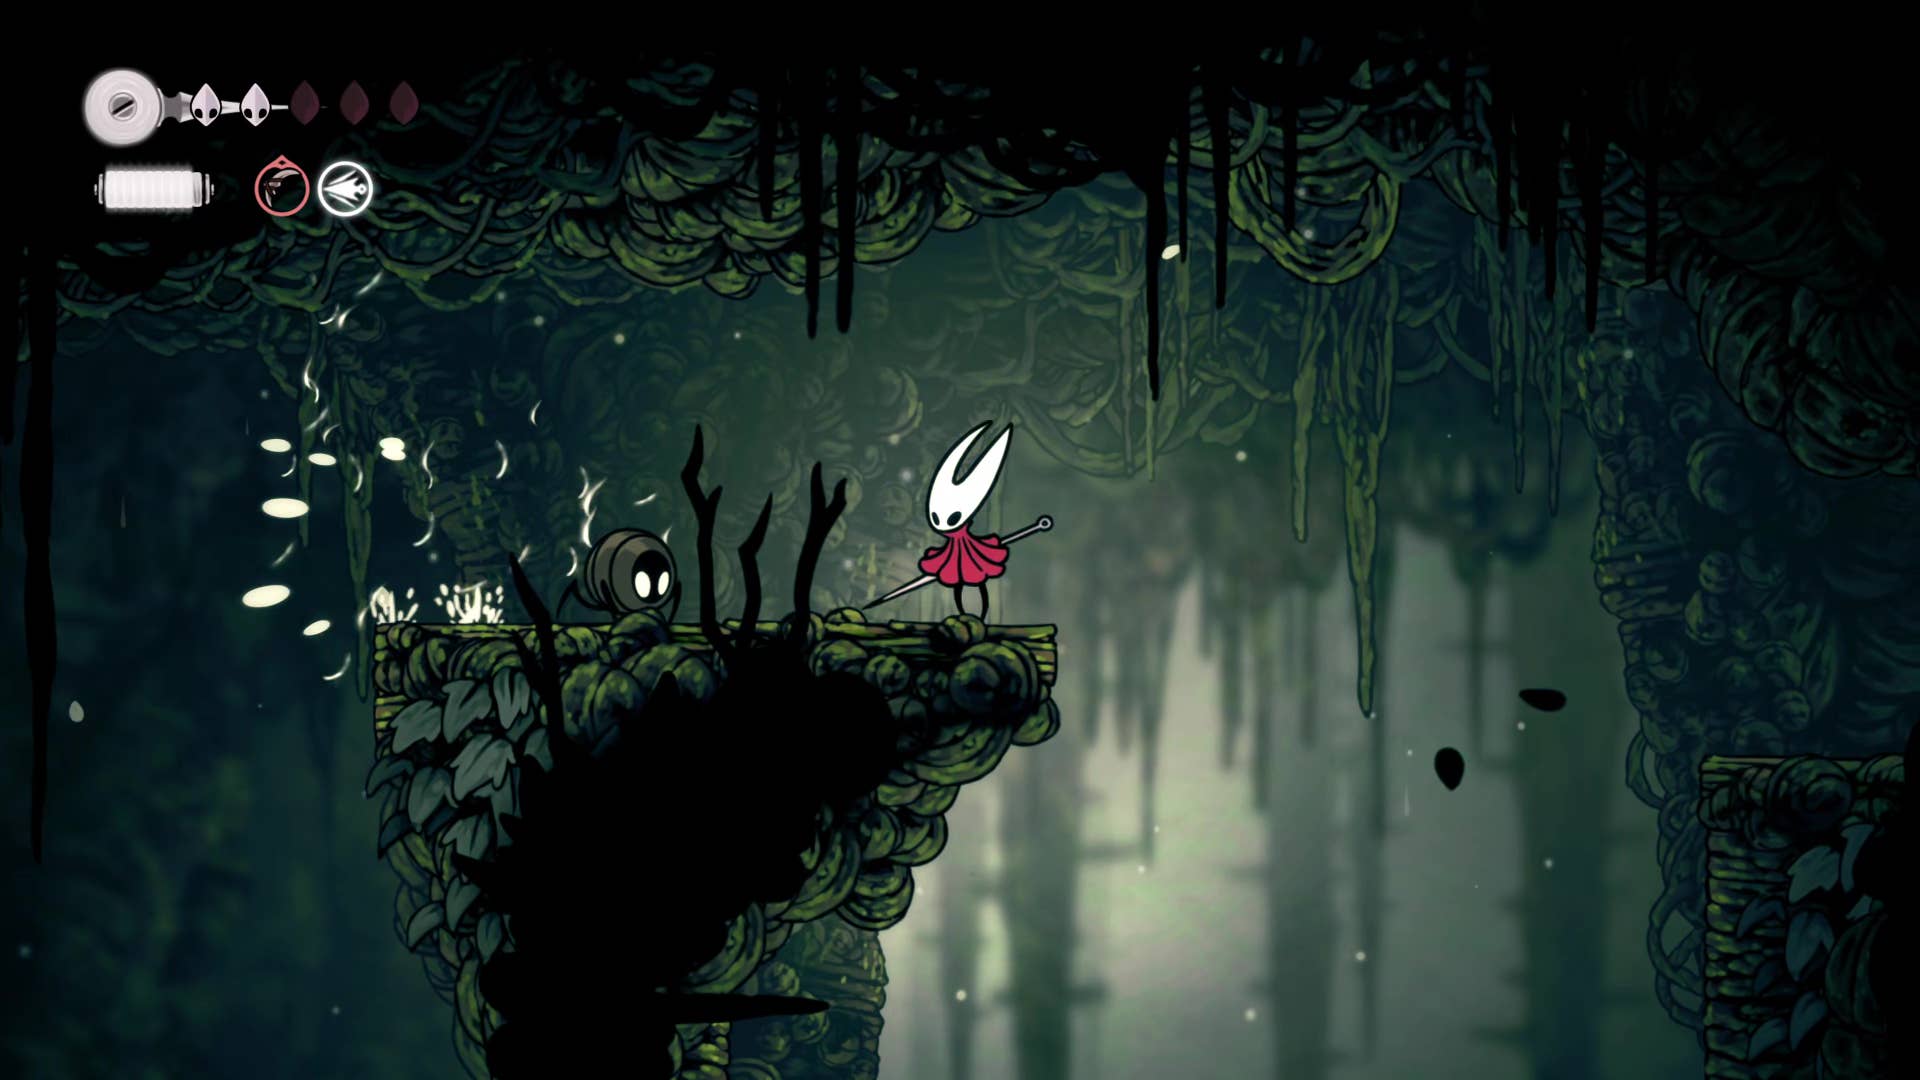
5. Find Grayroot and embrace their quest.
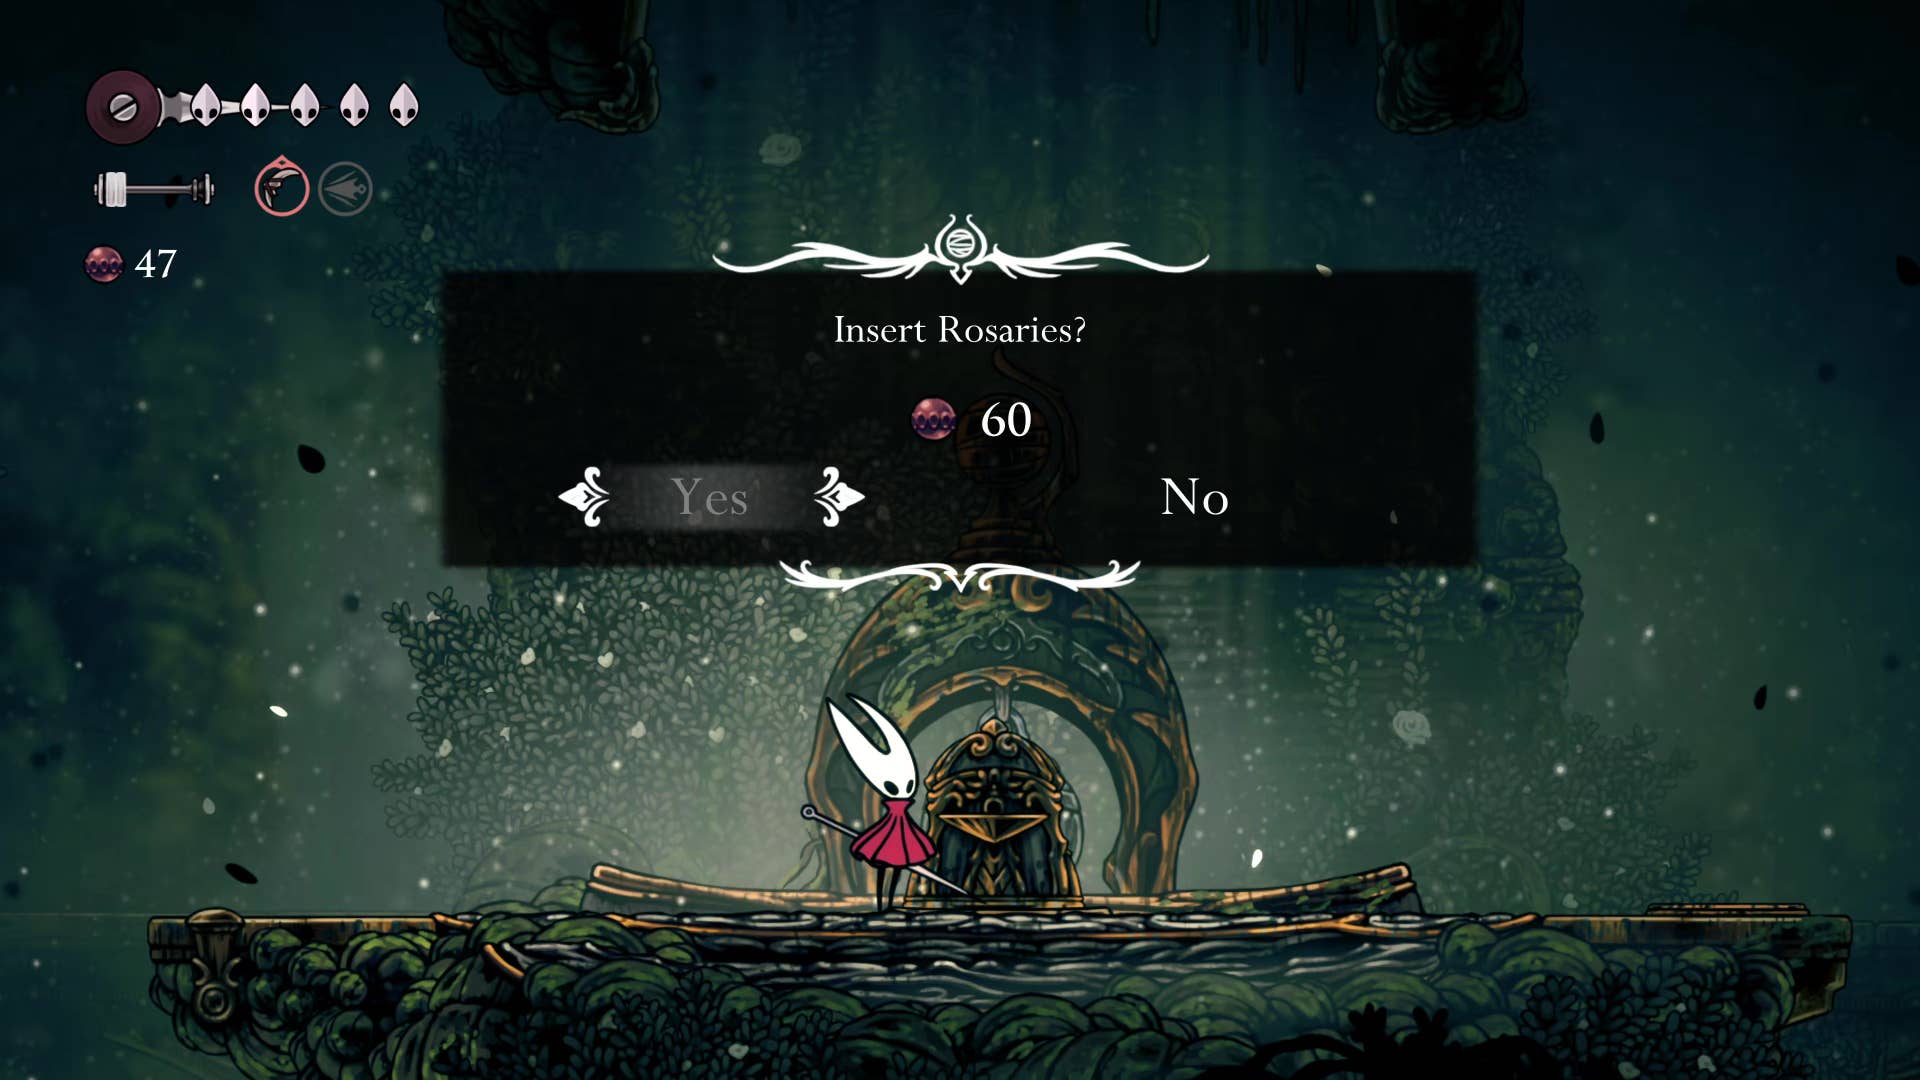
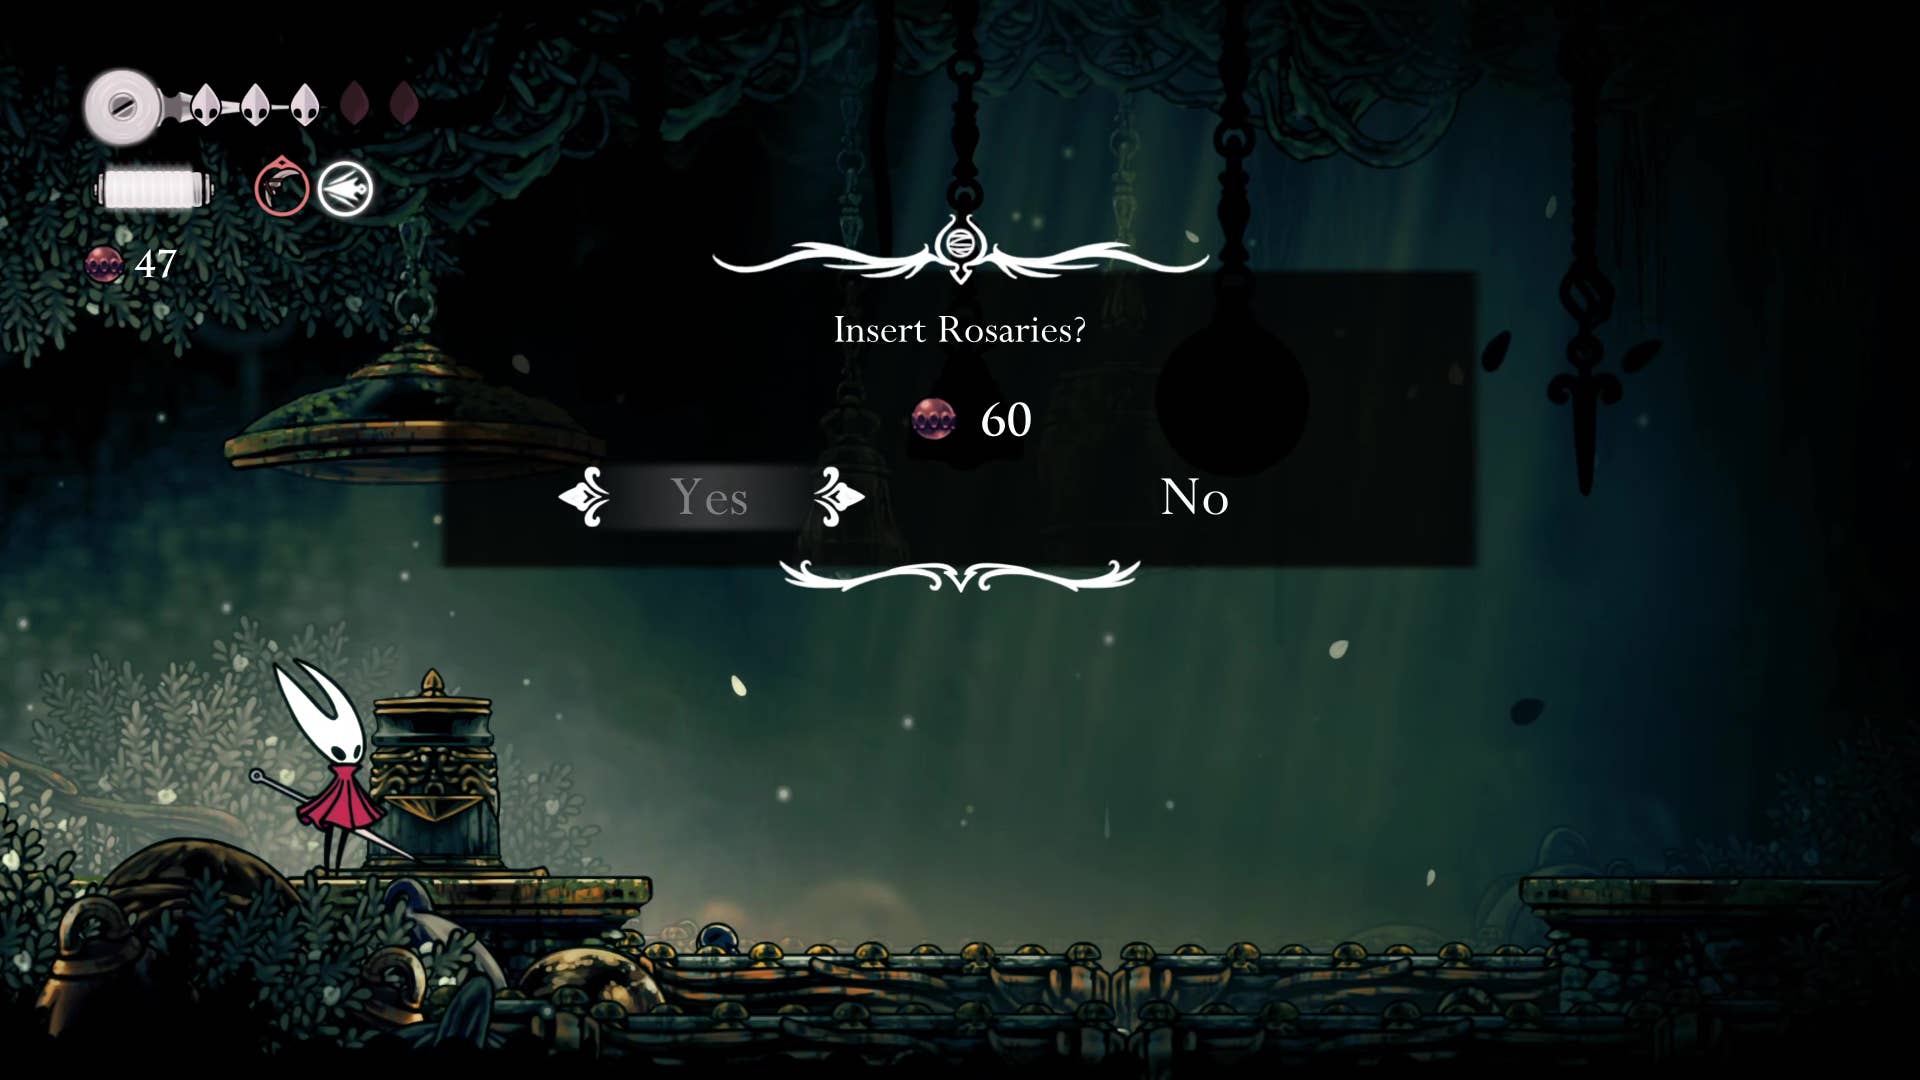
Once the gauntlet has cleared the enemy, you can go up the passage to your left and rest by paying 60 rosary to unlock the bench above you.
Then exit the left entrance and activate the elevator cage and ride on the bottom of one of the previously skirted rooms. Once you reach the bottom, climb up the elevator and use the shelf above to jump to the left.
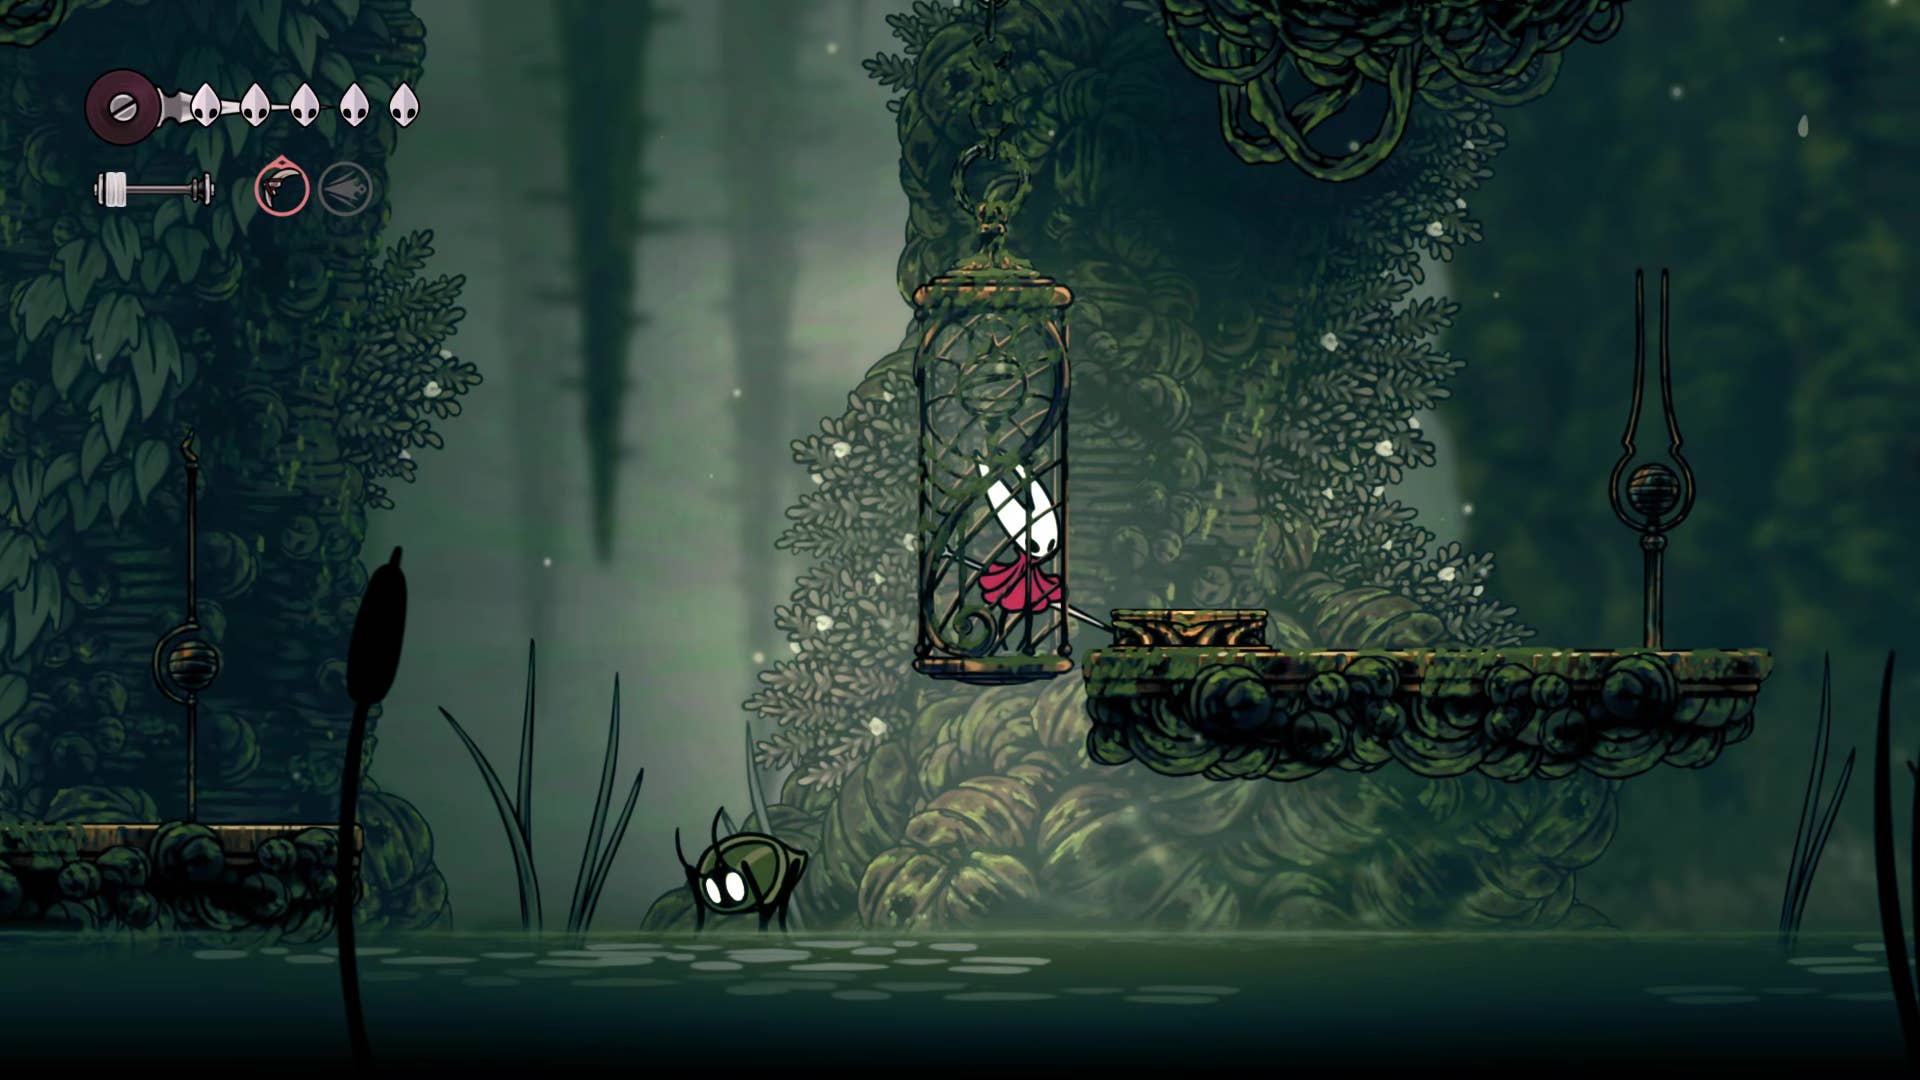
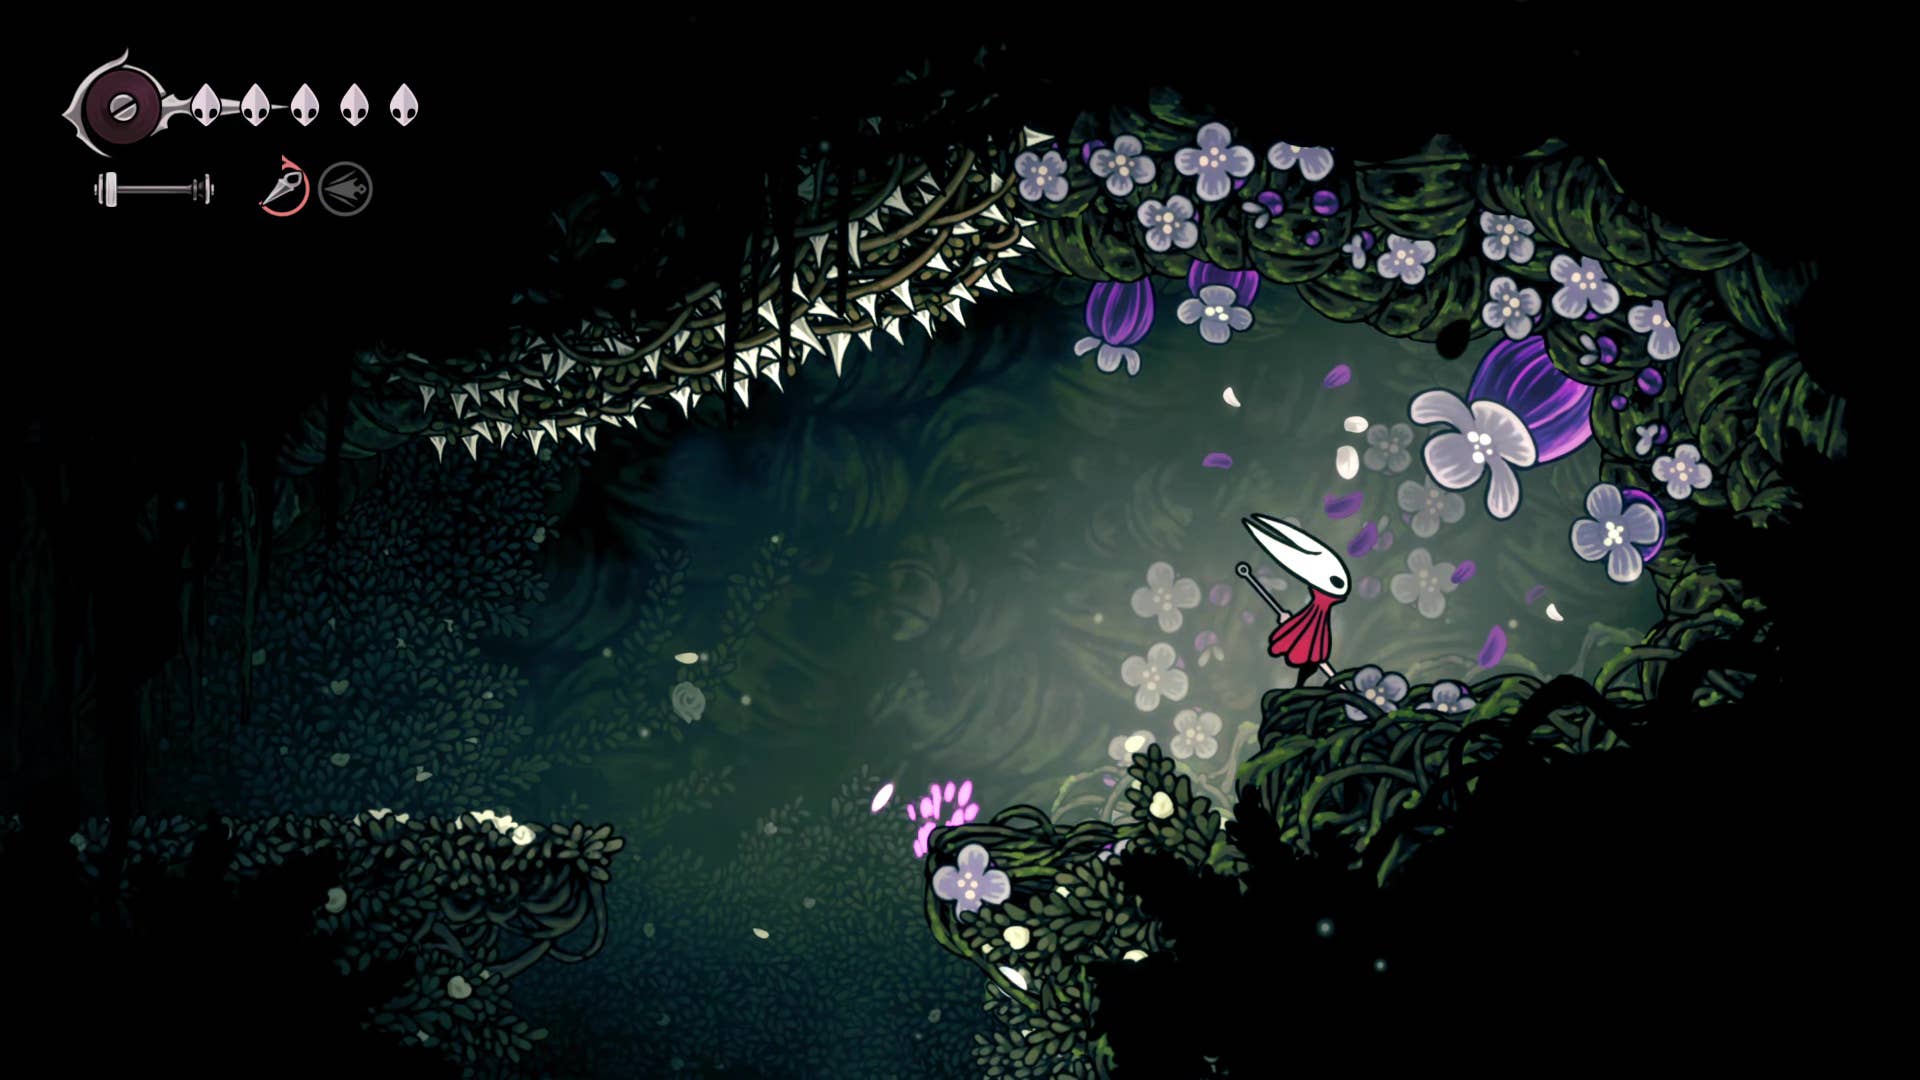
Continue climbing the platform on the left side of the room and there is an exit on the left, leading to a small cave, and white light is built at the edge.
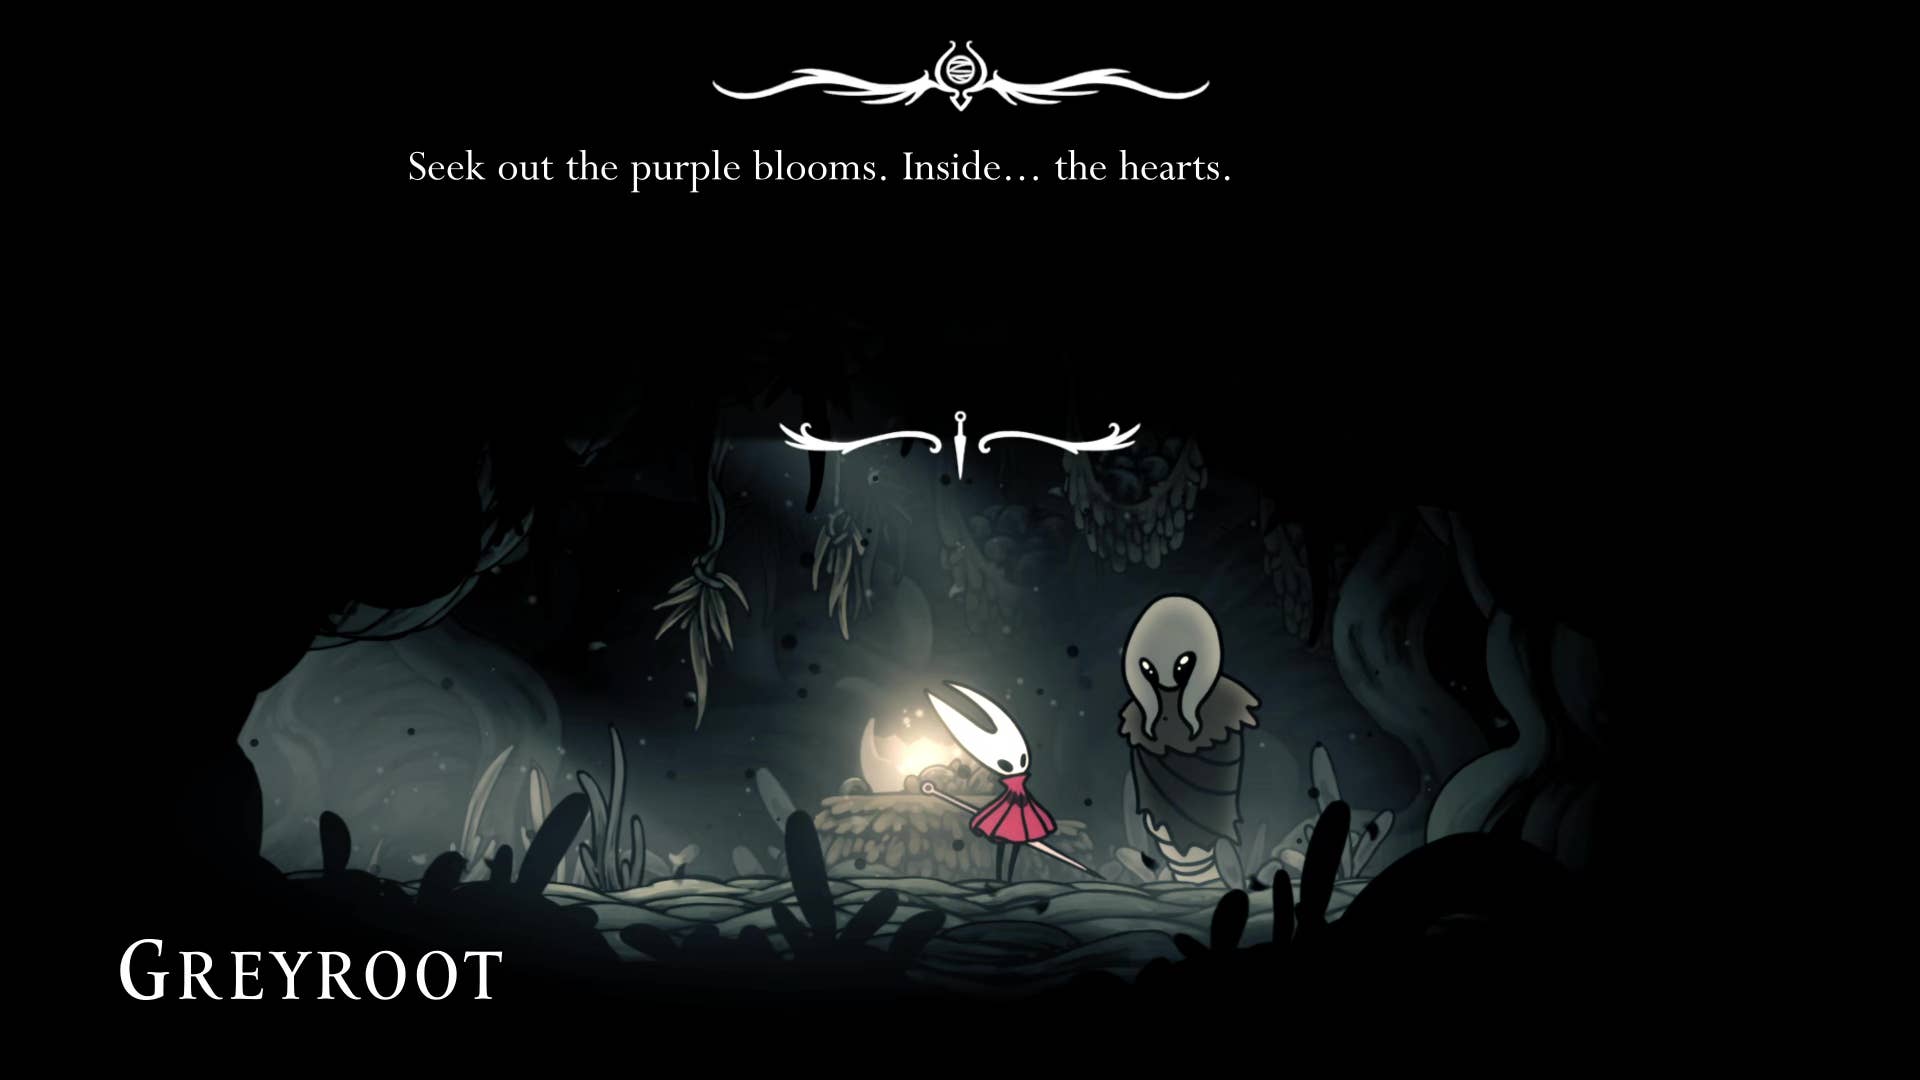
Once you enter the building you will find Greyroot -Unknown Origin’s new NPC. These polip hearts are extracted from the giant purple flowers scattered throughout the area. Continue the walkthrough and emphasize their location so they can collect everything.
6. PORYIP HEART #1.
The first Polip Heart is very close. Return to the main room and head towards the center of the room. There you can see GNAT floating above the central platform.
Move to the right of this platform and use the shelf above to climb upwards. There you will kill a nasty little purple wood hornet and attack the purple flowers to earn your first Polip Heart.
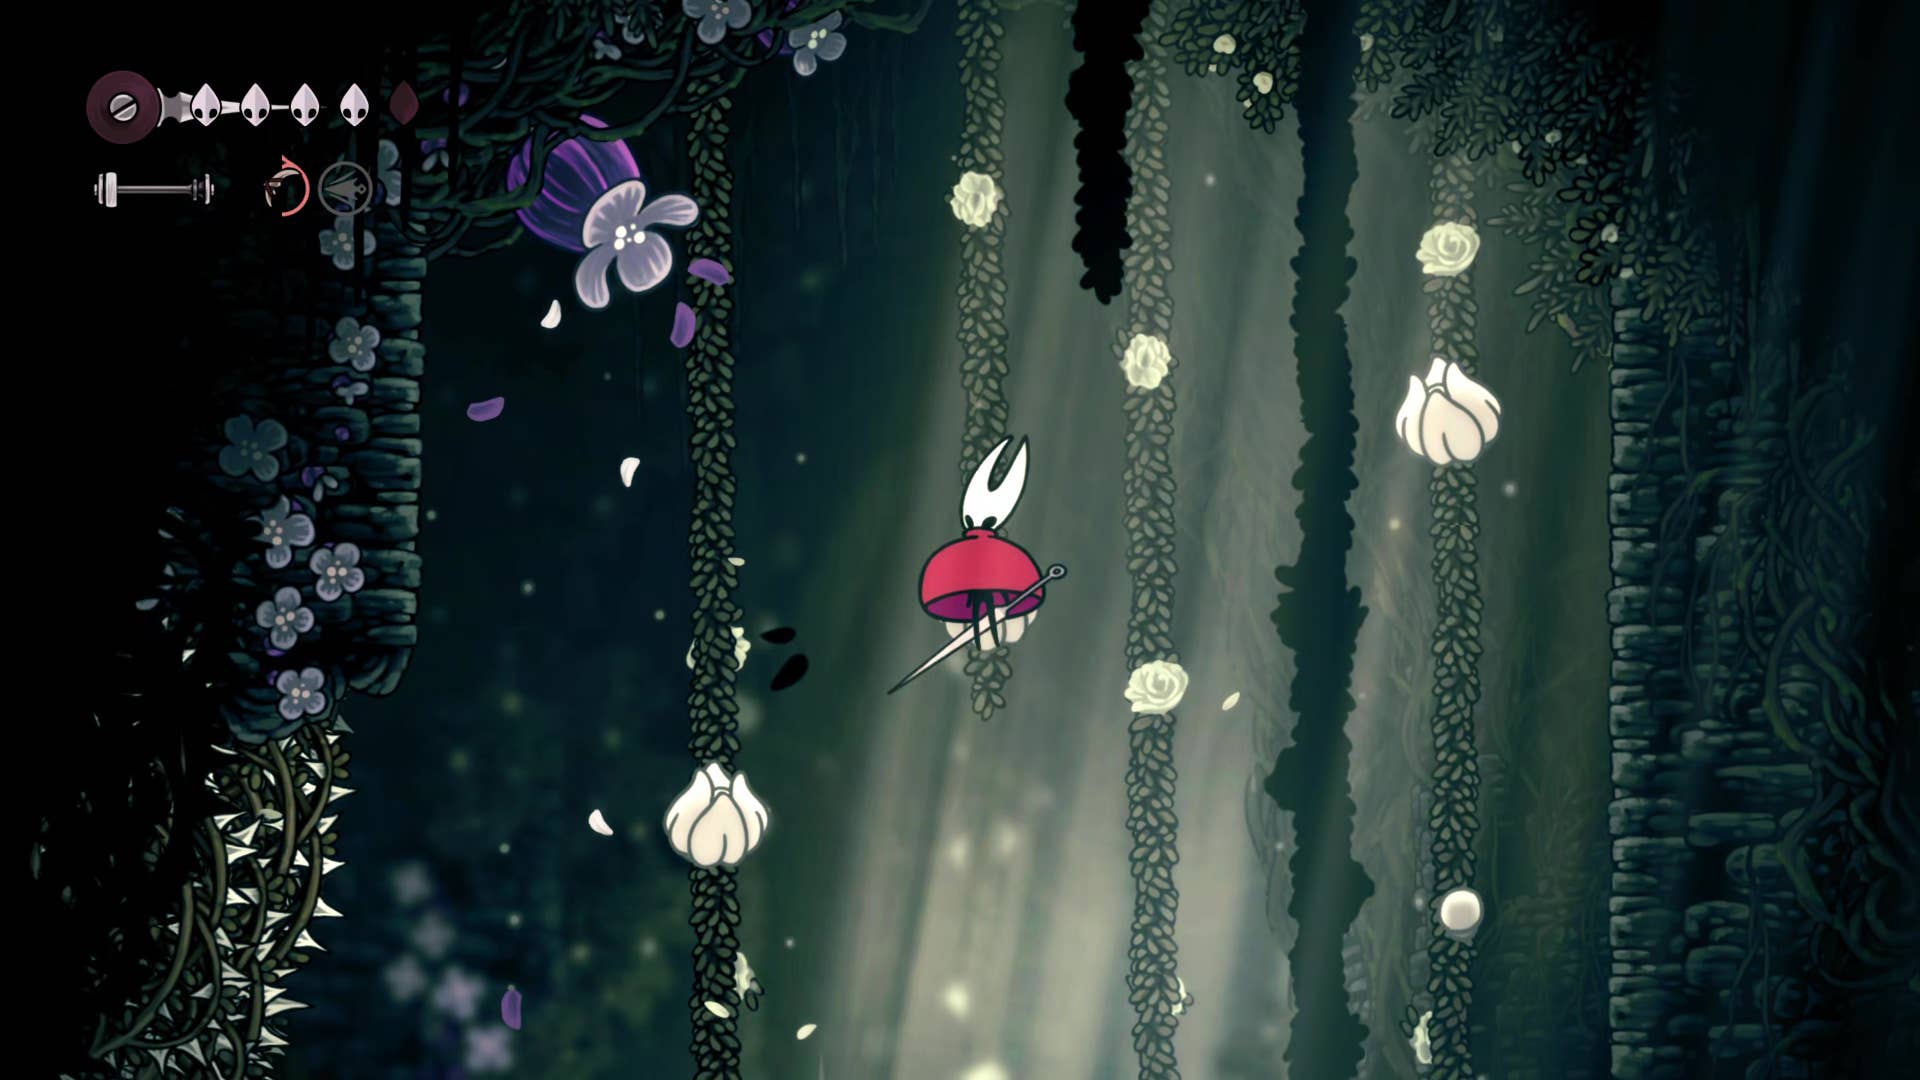
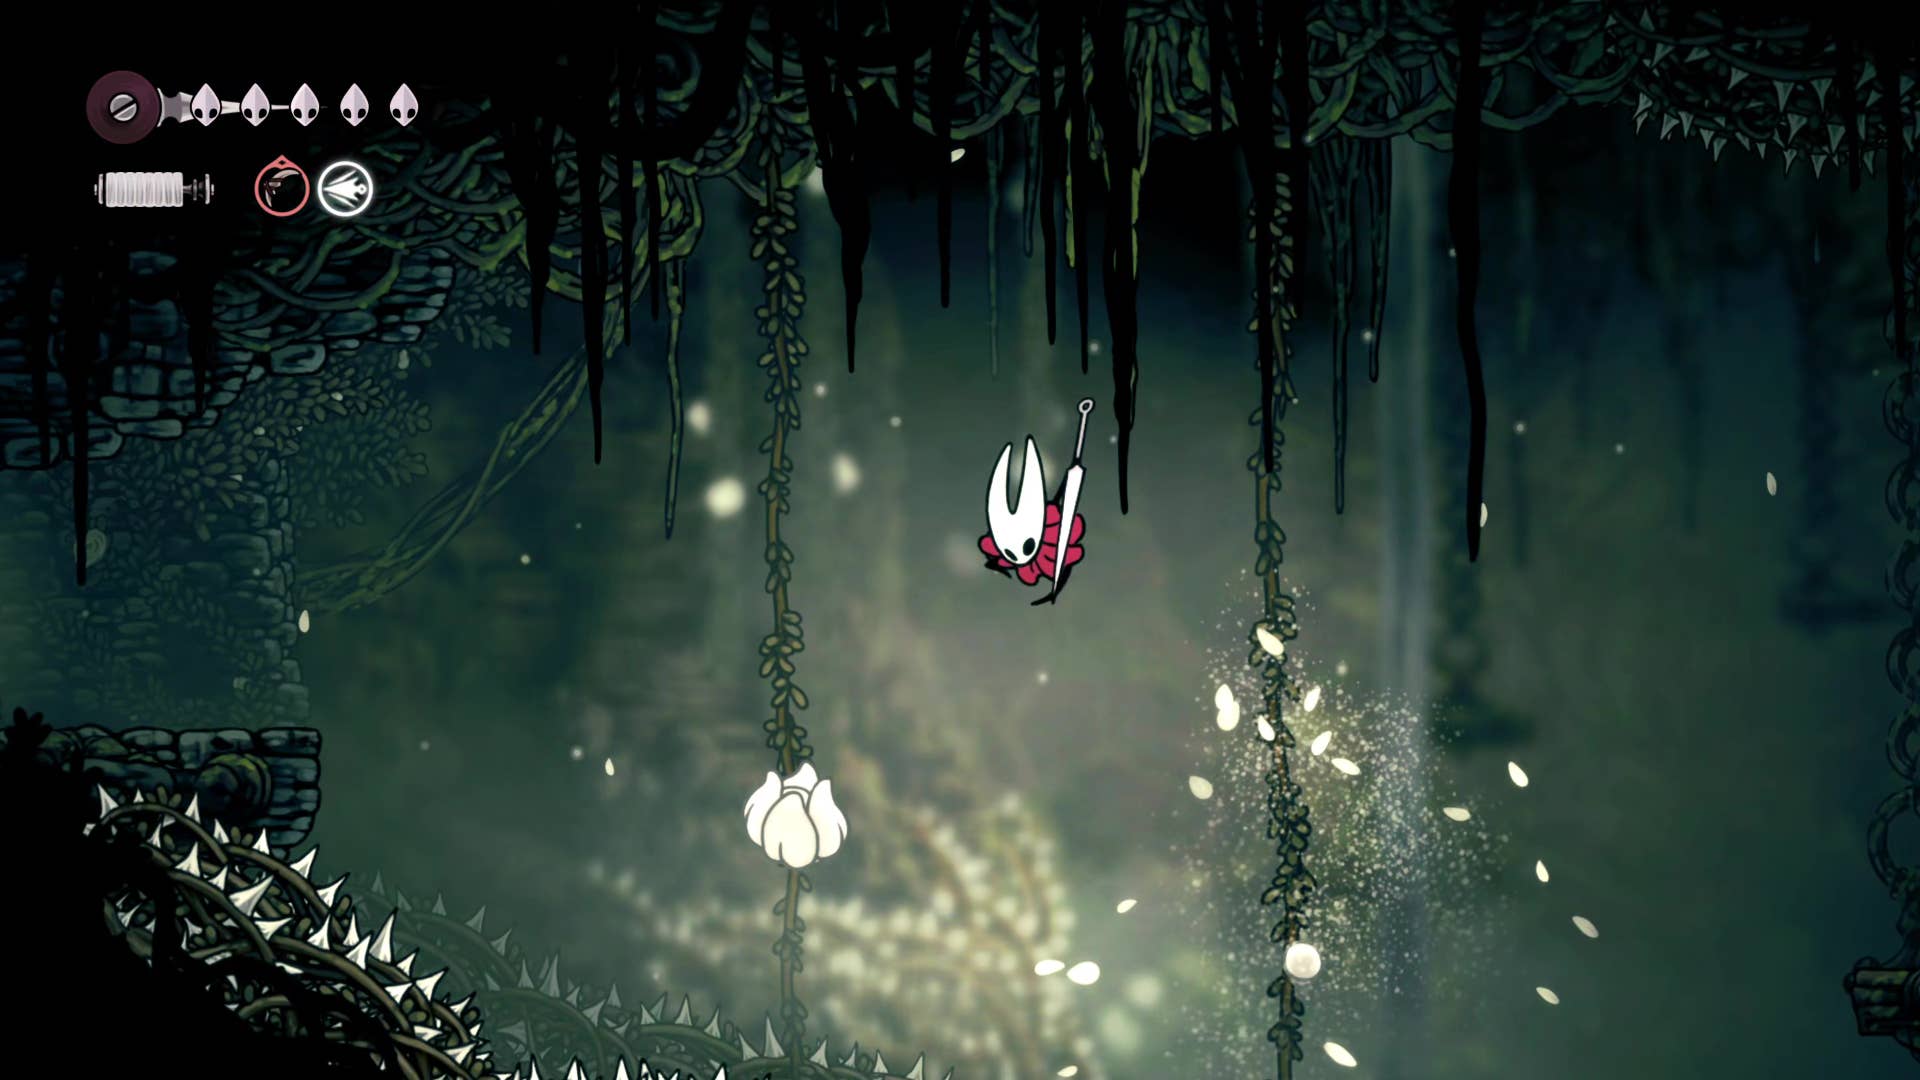
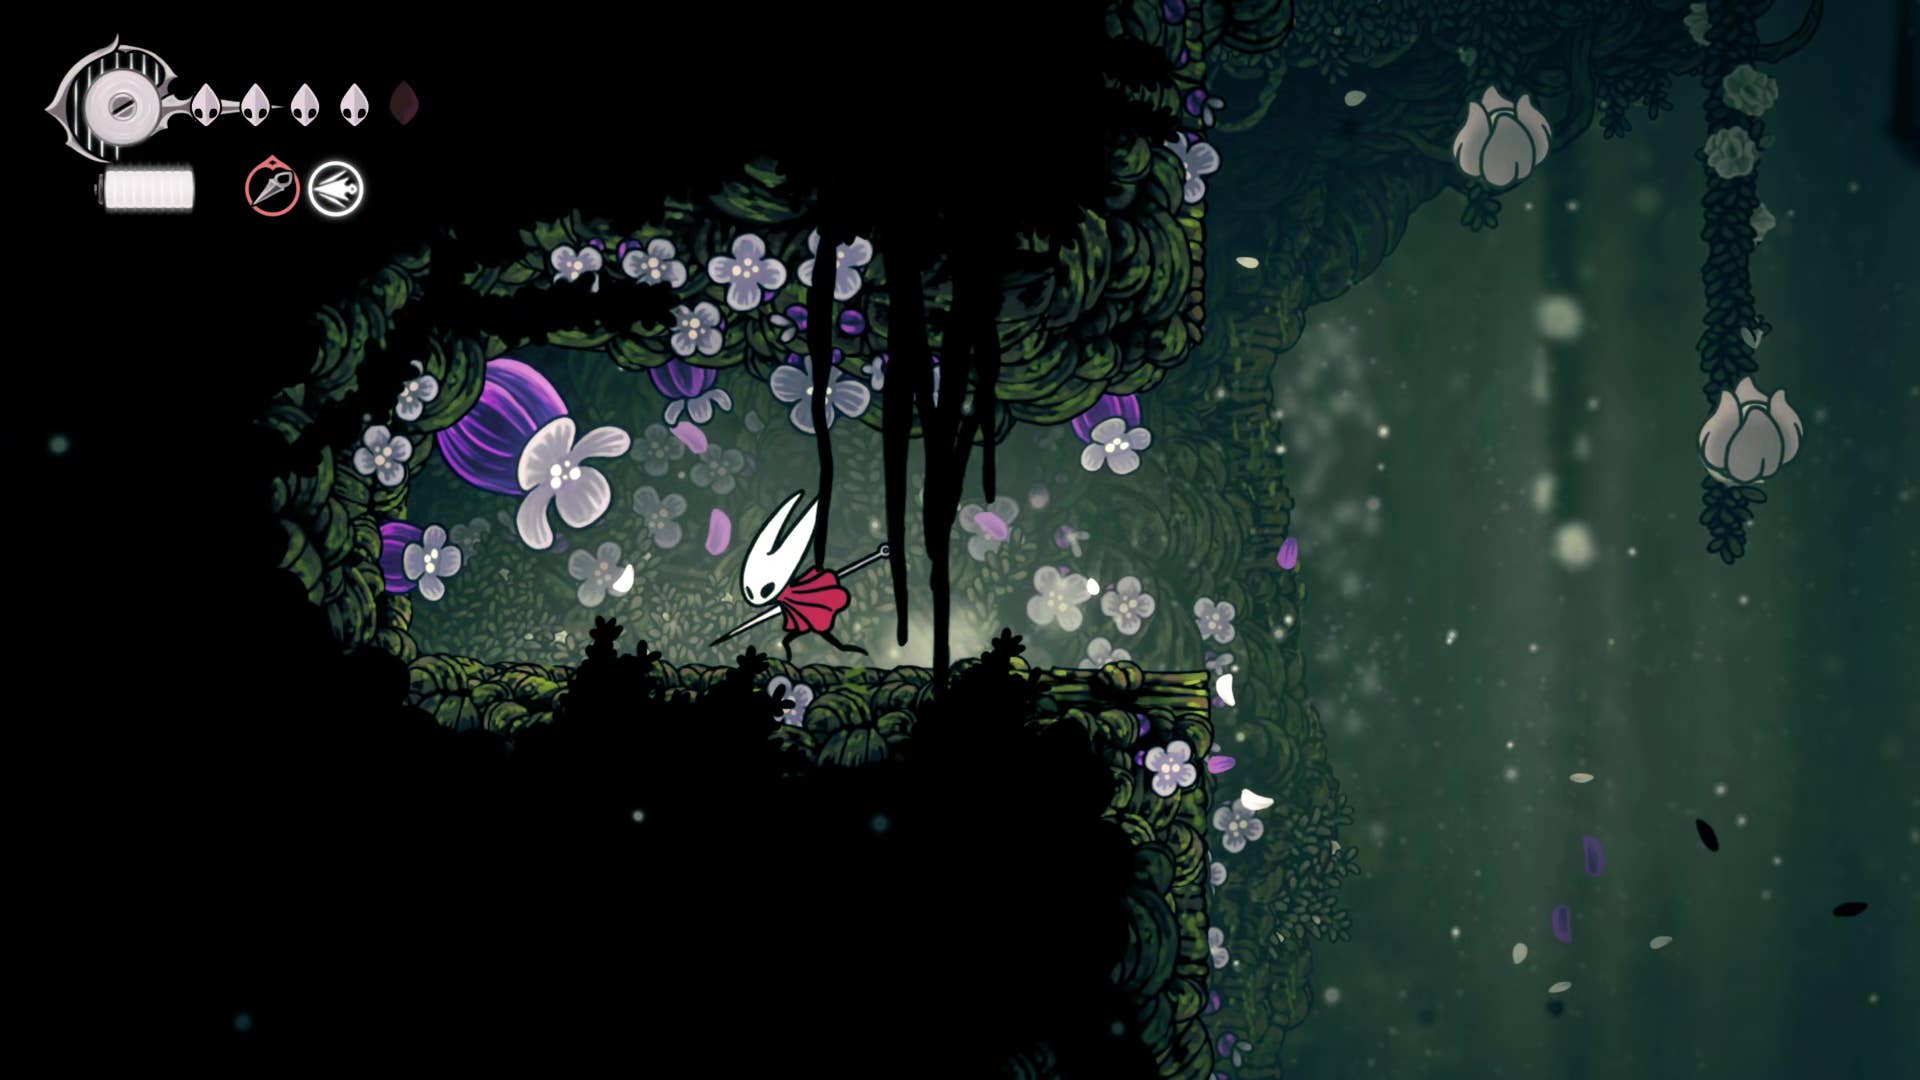
7. Rescuing the fleas among the white flowers.
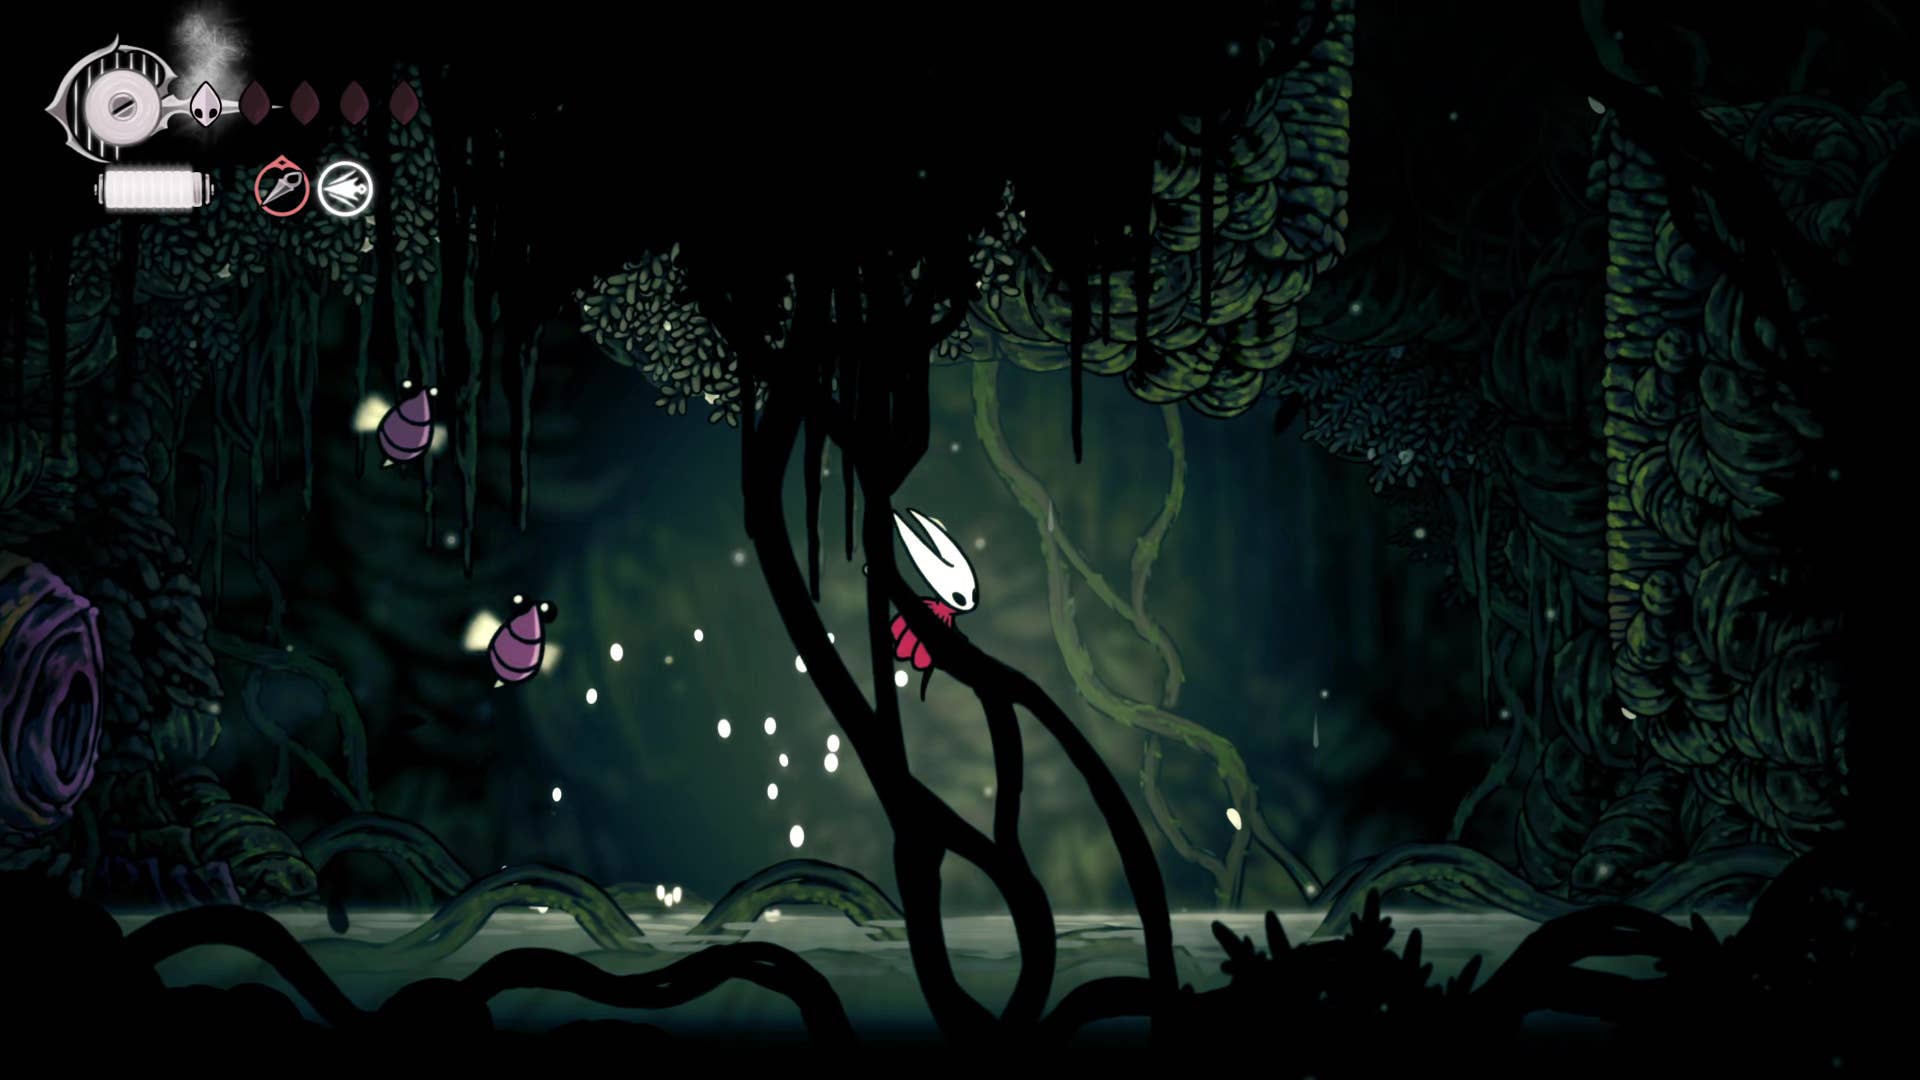
Go down to the bottom of the room and pass the next two rooms until you reach the large vertical shaft. Use the white flowers on the left to pogo your path and beware of the flowers that turn into fasia enemies as you draw closer.
Once you reach the center shelf, carefully drop it on the right side. On this side you have to fight with pollen c – the wall flower that spits out a yellow sinister sphere. At the bottom is a bed of spikes, and just above it is a flea trapped in a grape wall opposite another pollen. Kill pollen and release fleas before climbing.
8. Collect mask shards.
Once you’ve returned to the central shelf, jump into the exit on the right. Hack the pogo and grapes on the right across the next room to reveal the path that goes on further. Continue parsing to the edge of the pass. There is a mask shard there.

On the way back, some fascias will lay eggs, so take your time and use your Silkspeare skills and remote tools at your disposal to safely take them out.
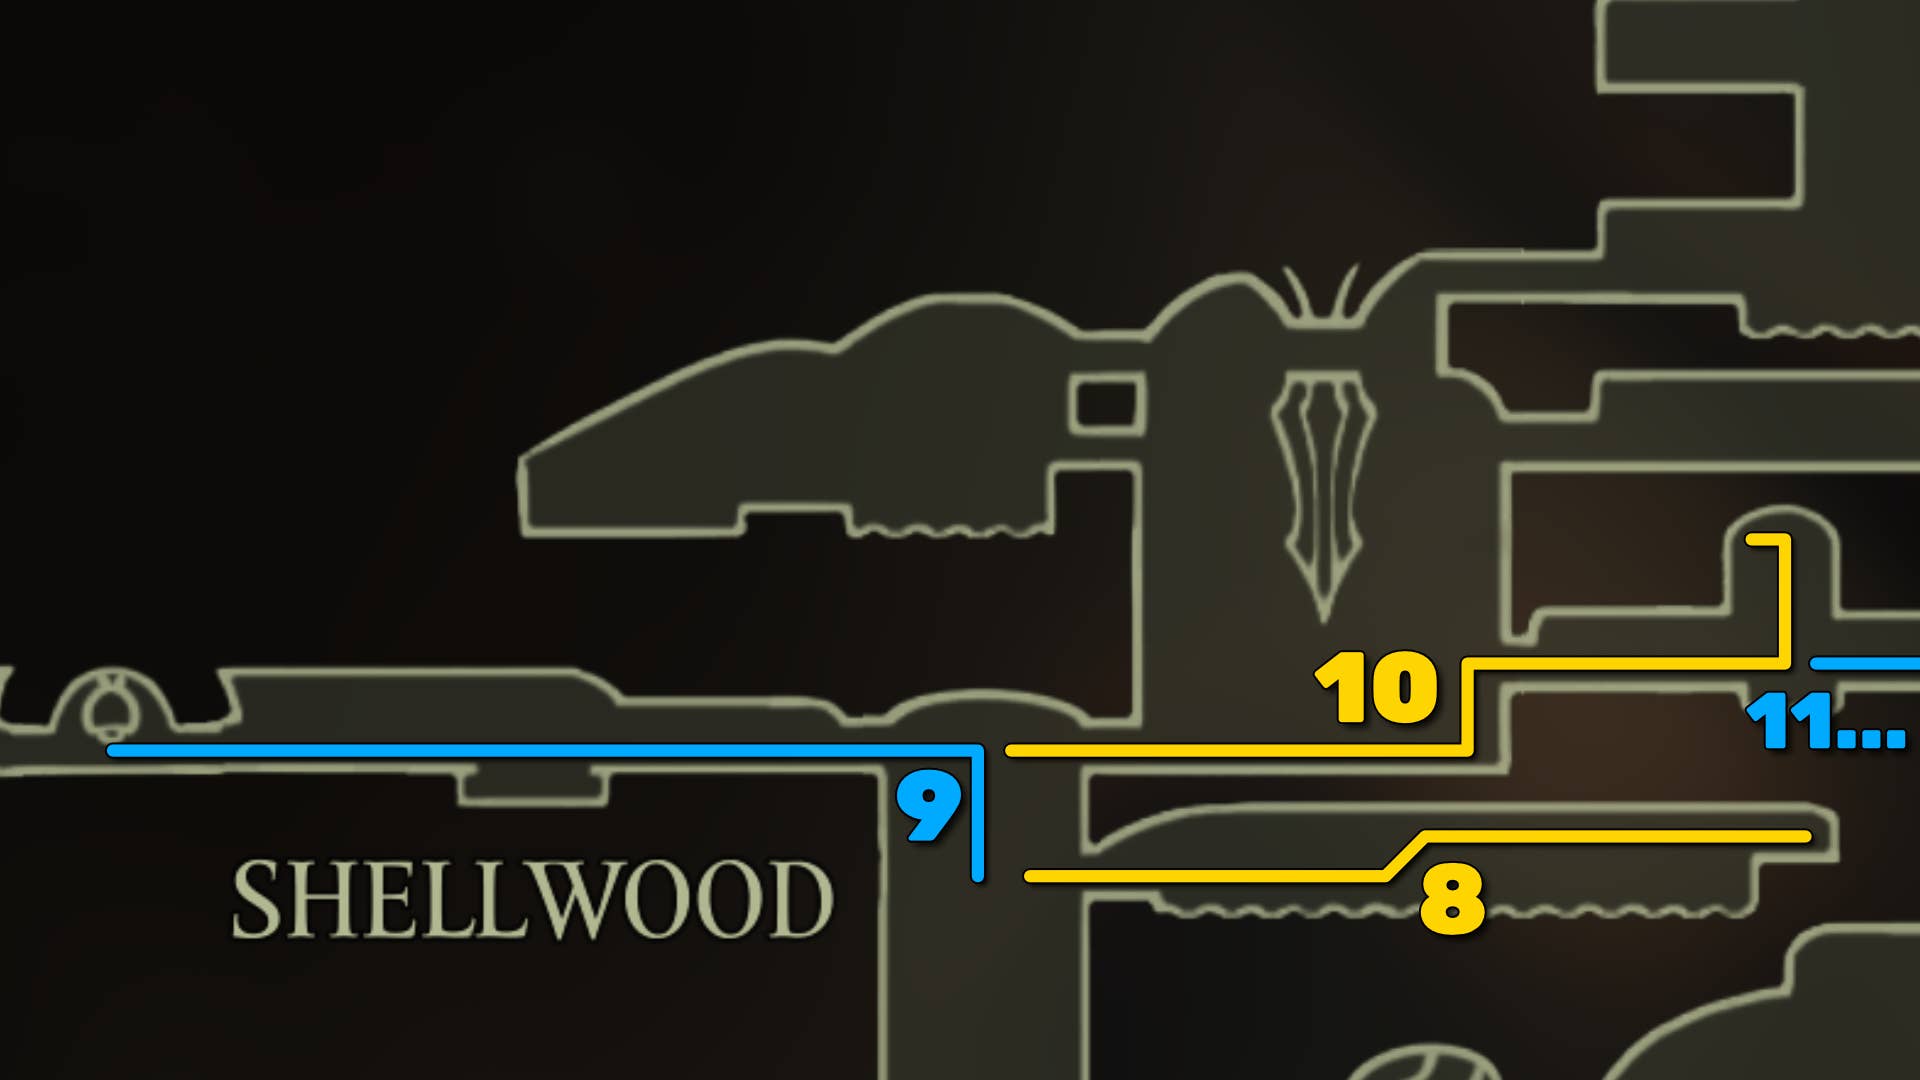
9. Unlock the Bellway.
Return to the vertical shaft and climb all the way to the top and take the left exit. Here you can pay 60 rosaries to unlock Shelwood Bellway.
Note that there is a locked door to the left of the Bellway. You can reach the other side of it and unleash it in the final step of this part of our walkthrough.
10. PoripHeart #2.
Return to the main shaft and back to the room on the other side of Bellway. At the far end there is a group of shelves that can be used to climb up to the next room.
The next room is at least peaceful, but you need to do a good Pogo Park to reach the second Polip Heart buried in the ceiling. If you’re not already there, it’s probably best to use Wanderer Crest for a simpler slash attack.
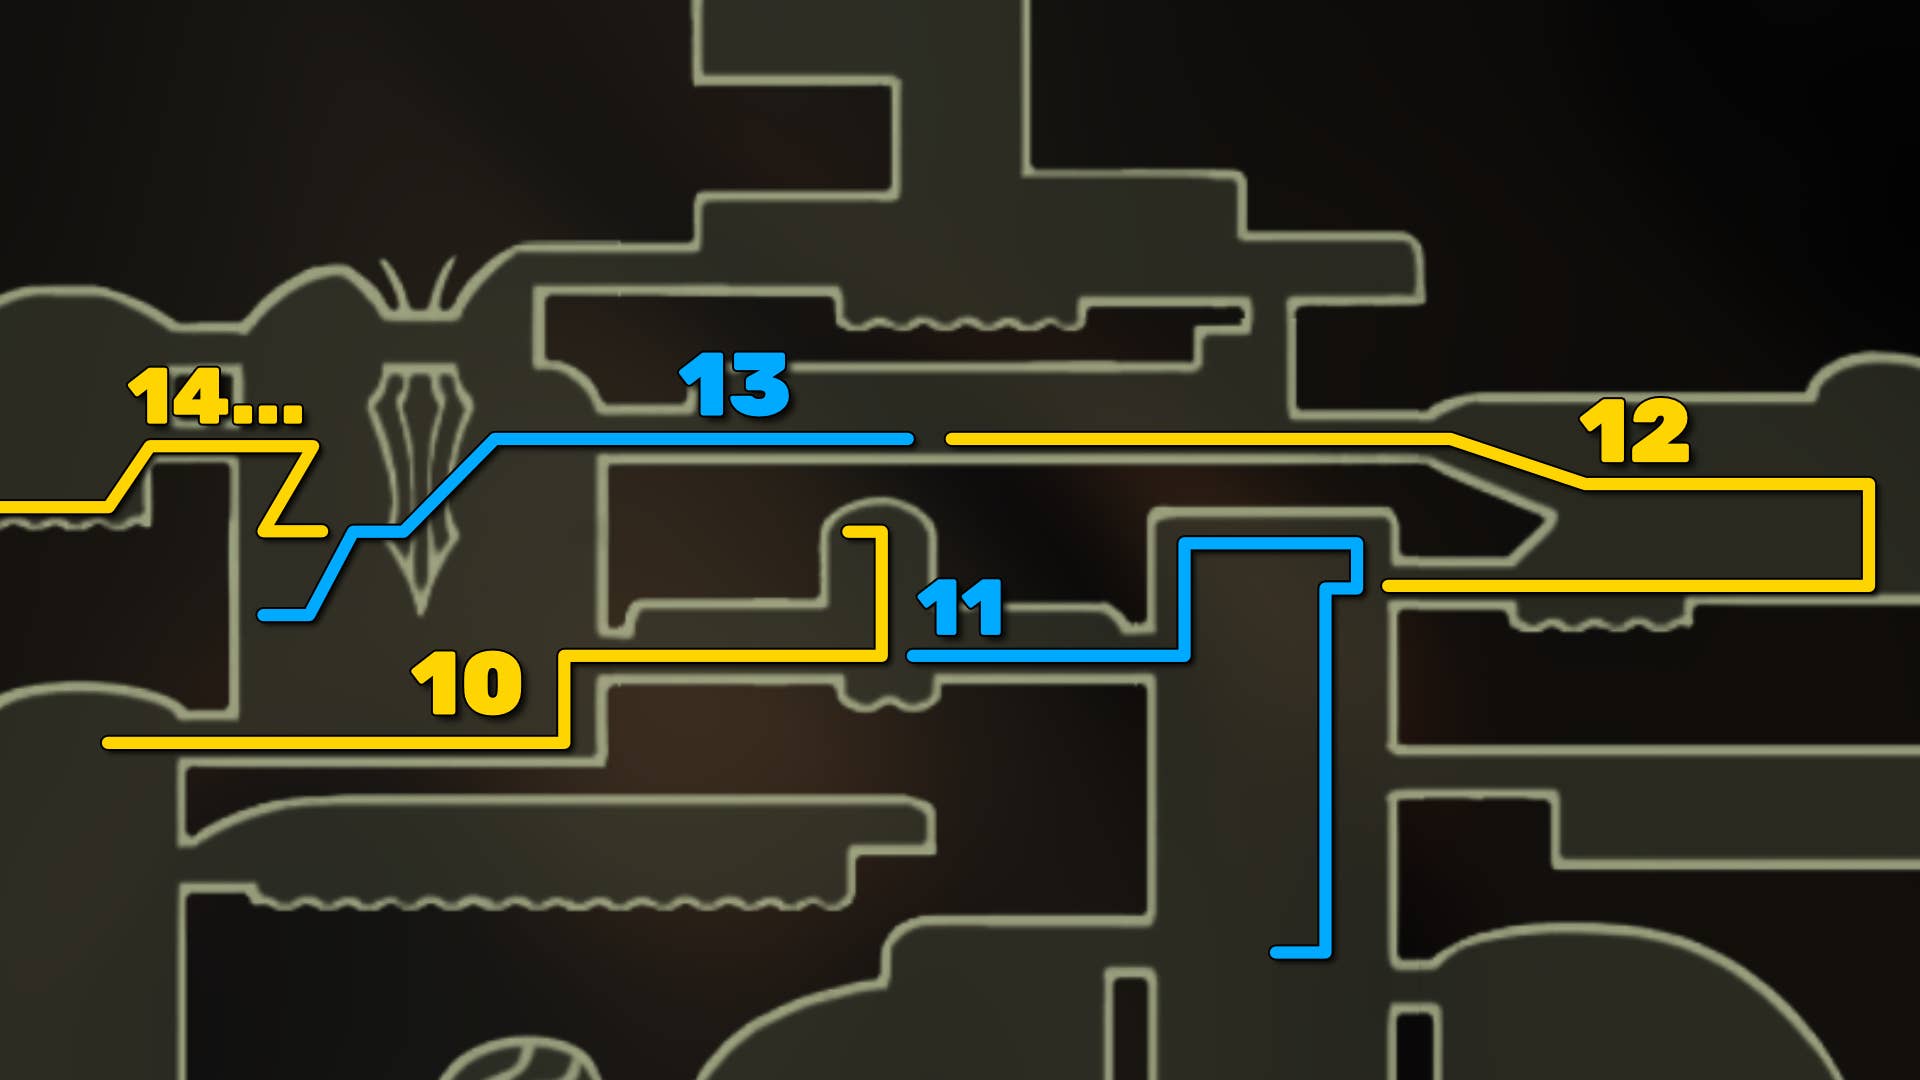
11. Take the elevator and rest.
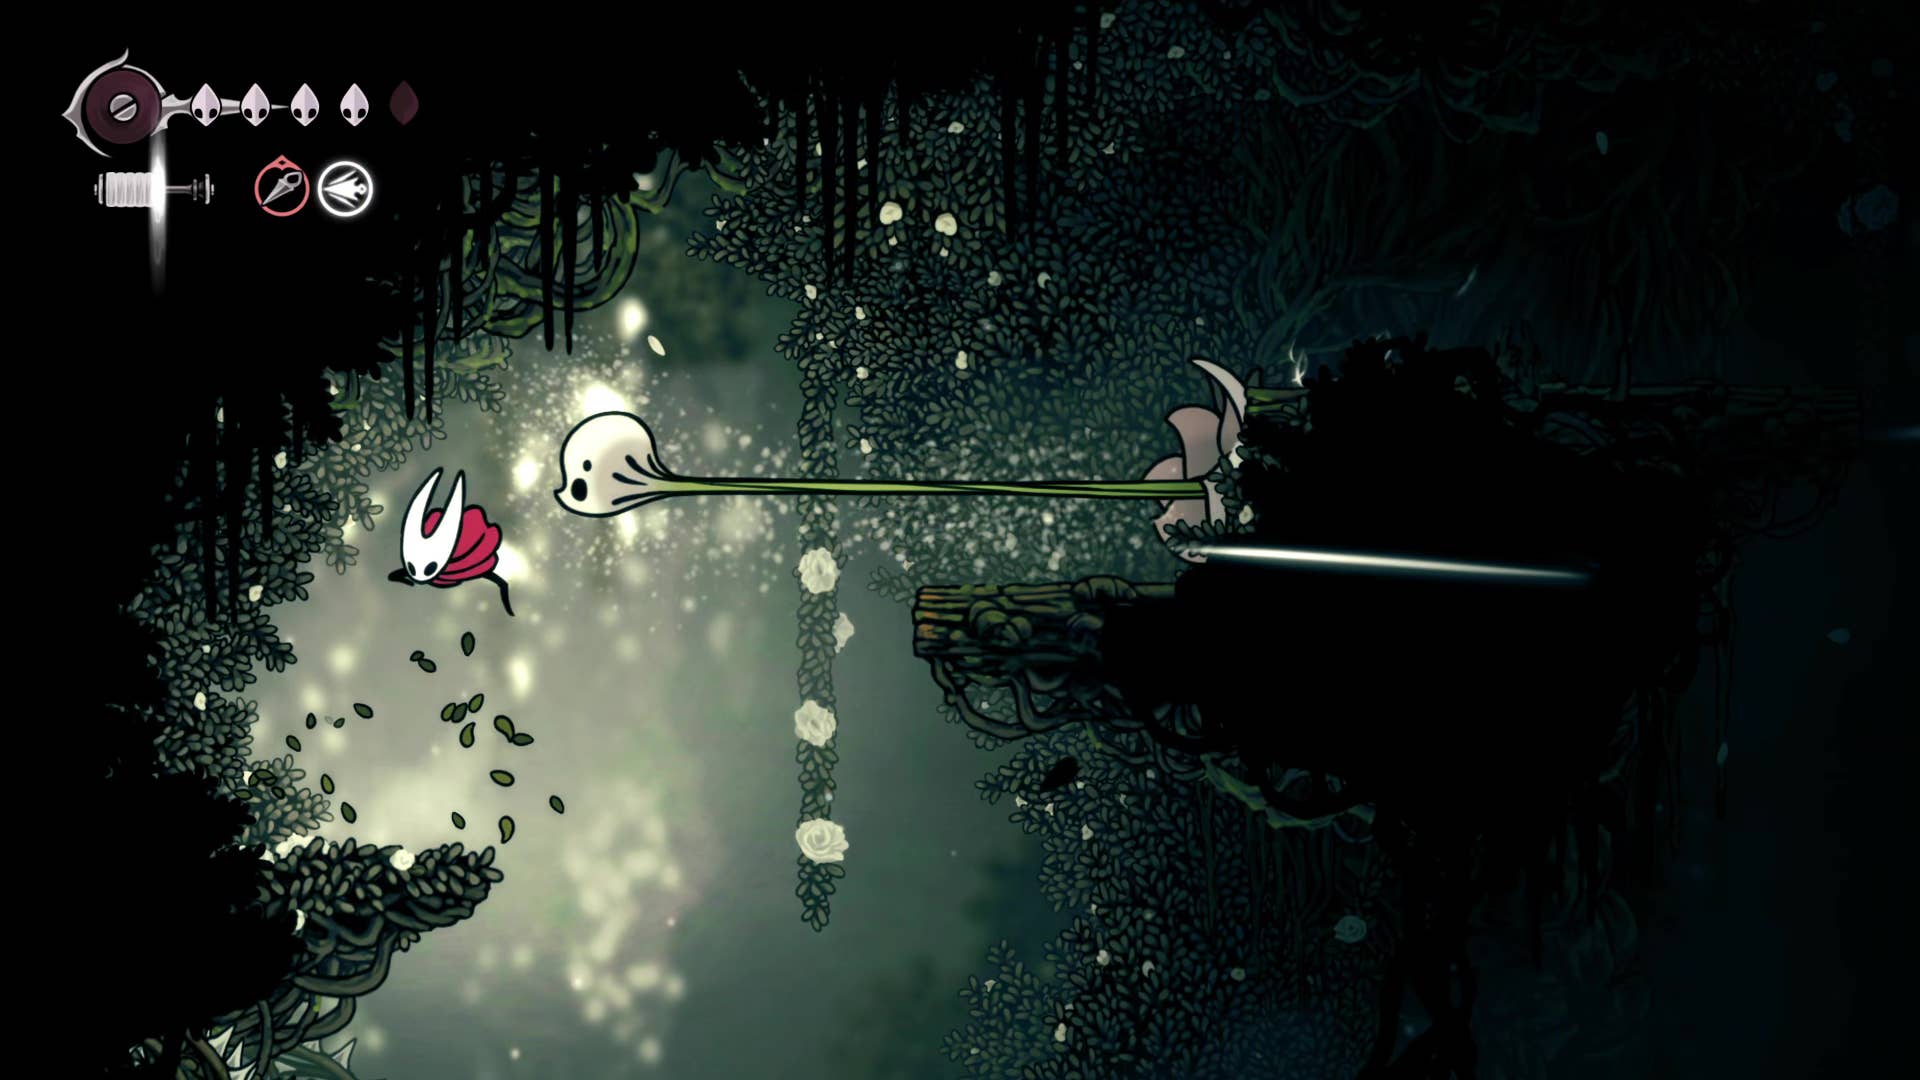
Leave the Polip Heart Room on the right and start climbing upwards. Beware of the white walled plants (called Gaulia) – when attacking, they extend far outward, so feed them before attacking.
Climb to the top, where you kill Fasia and drop down to the right to activate the elevator down. Take the elevator and rest there to the bench you previously unlocked. You are about to face your boss.
12. Defeat the sister Sprinter.
Take the elevator and head back up and head right. Follow the path on the shelf in the next room and after a few pogos on some spikes you will come to the boss room. Walk to the center of the arena and meet your sister Sprinter.
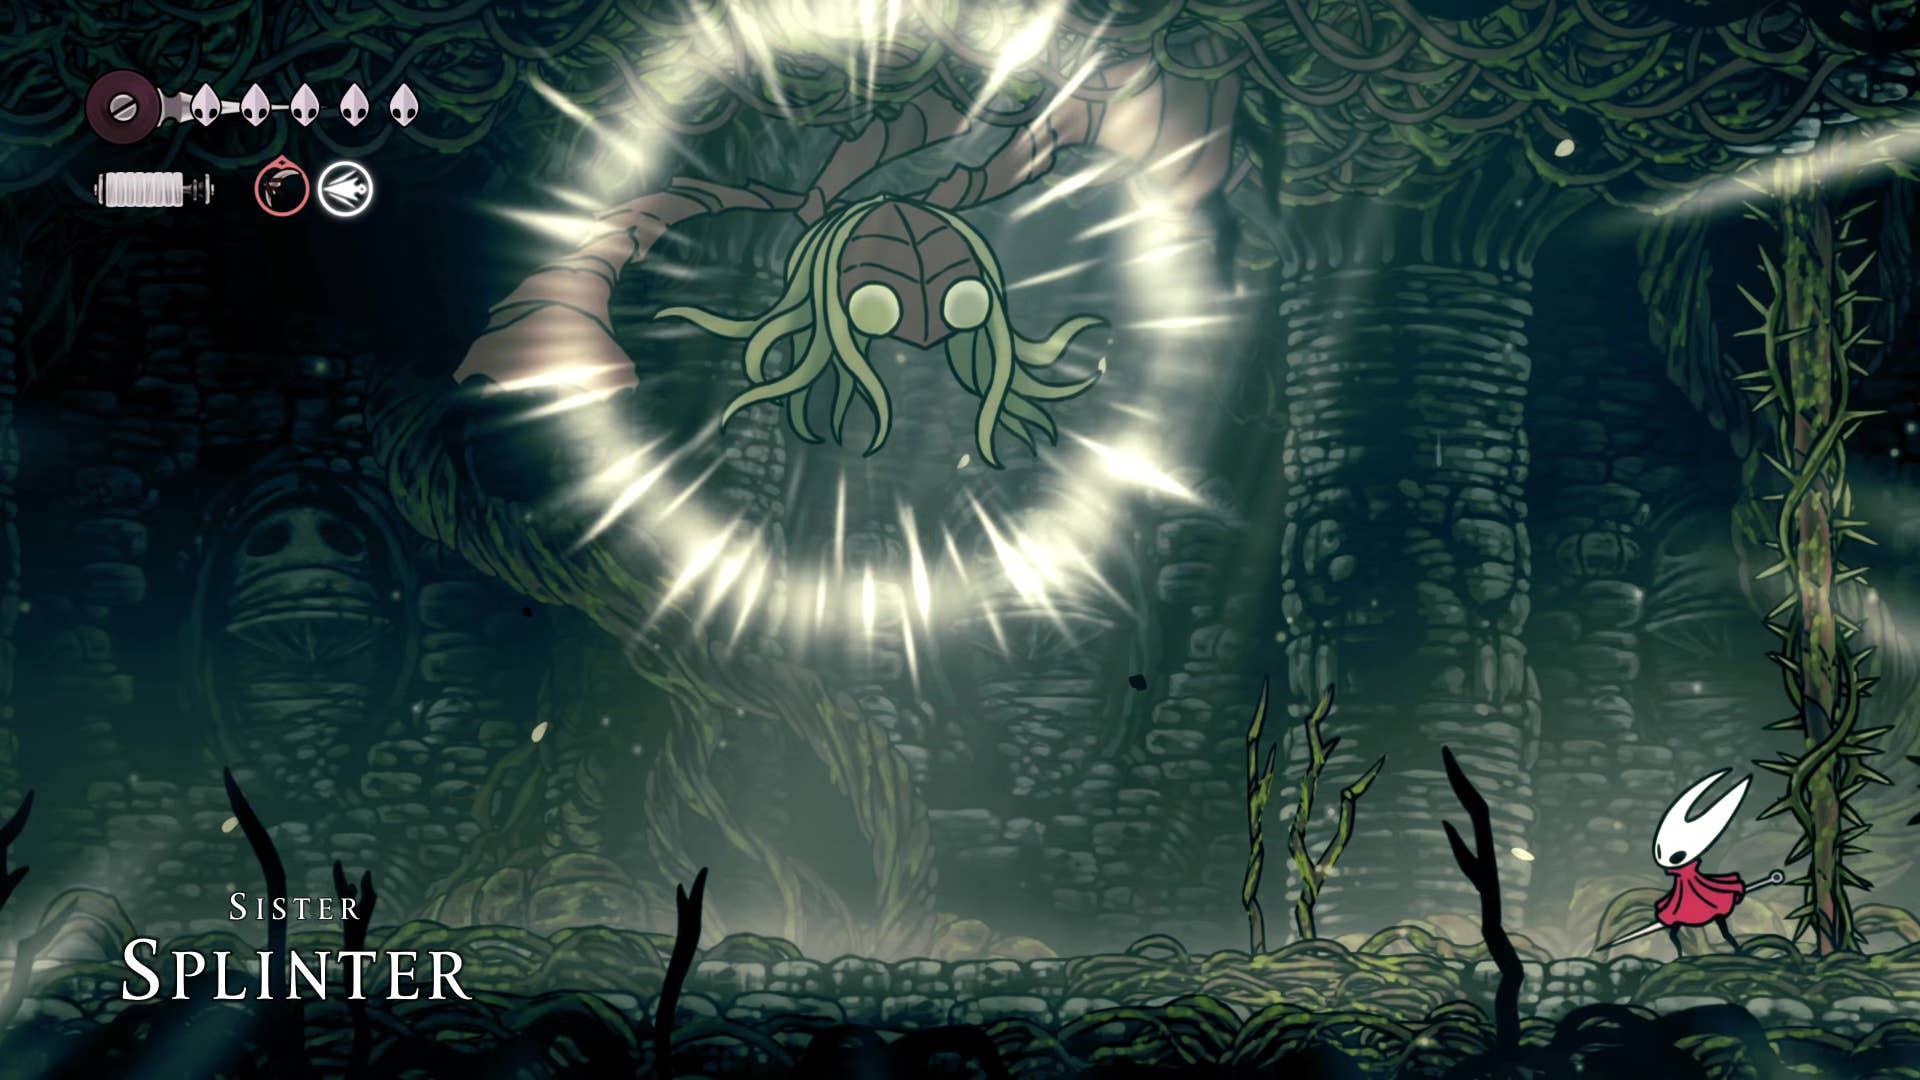
Luckily, Sister Splinter isn’t that difficult. She sends spiked grapes to you that you have to dodge, and while her combo punches can initially catch you off guard, they can actually dodge it very easily and you can get multiple hits every time she does it.
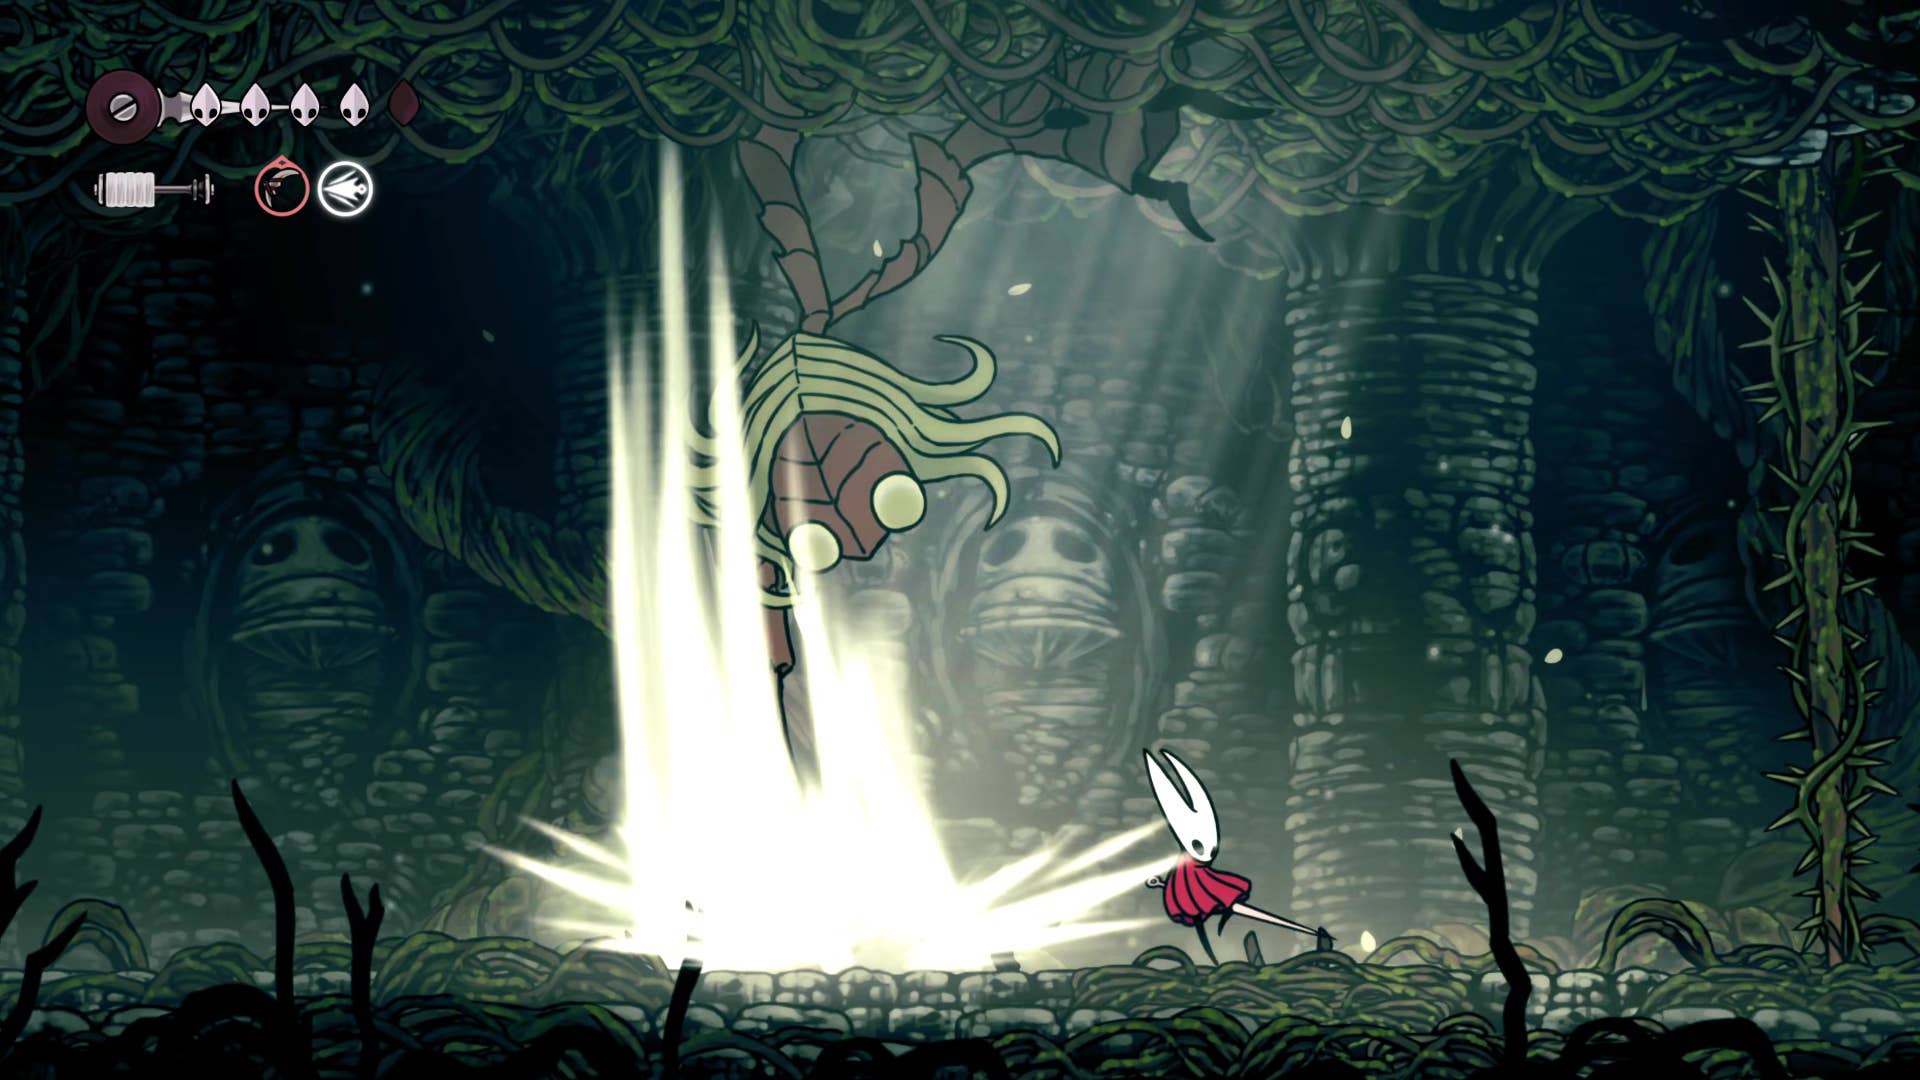
In her second stage, she reminds Hound and Harry of some Sprinter Burk’s minions, but as long as she doesn’t panic, she can do their short work when she gets in the way of a sister Sprinter’s ground attack.
You can eventually cut down the sister fragments and come out to the left.
13. PORYIP HEART #3.
In the next room, head diagonally to the bottom left, kill Gaul in your way, and lower the hole below it. Just below and on the left side, bright signs of flowers appear on the wall on the left, indicating that there is another Polip Heart nearby.
Drop down and glide to reach the bottom shelf where you can destroy the purple flowers and earn a third Polip Heart. Then use the white pogotable flowers to bounce back where you were.
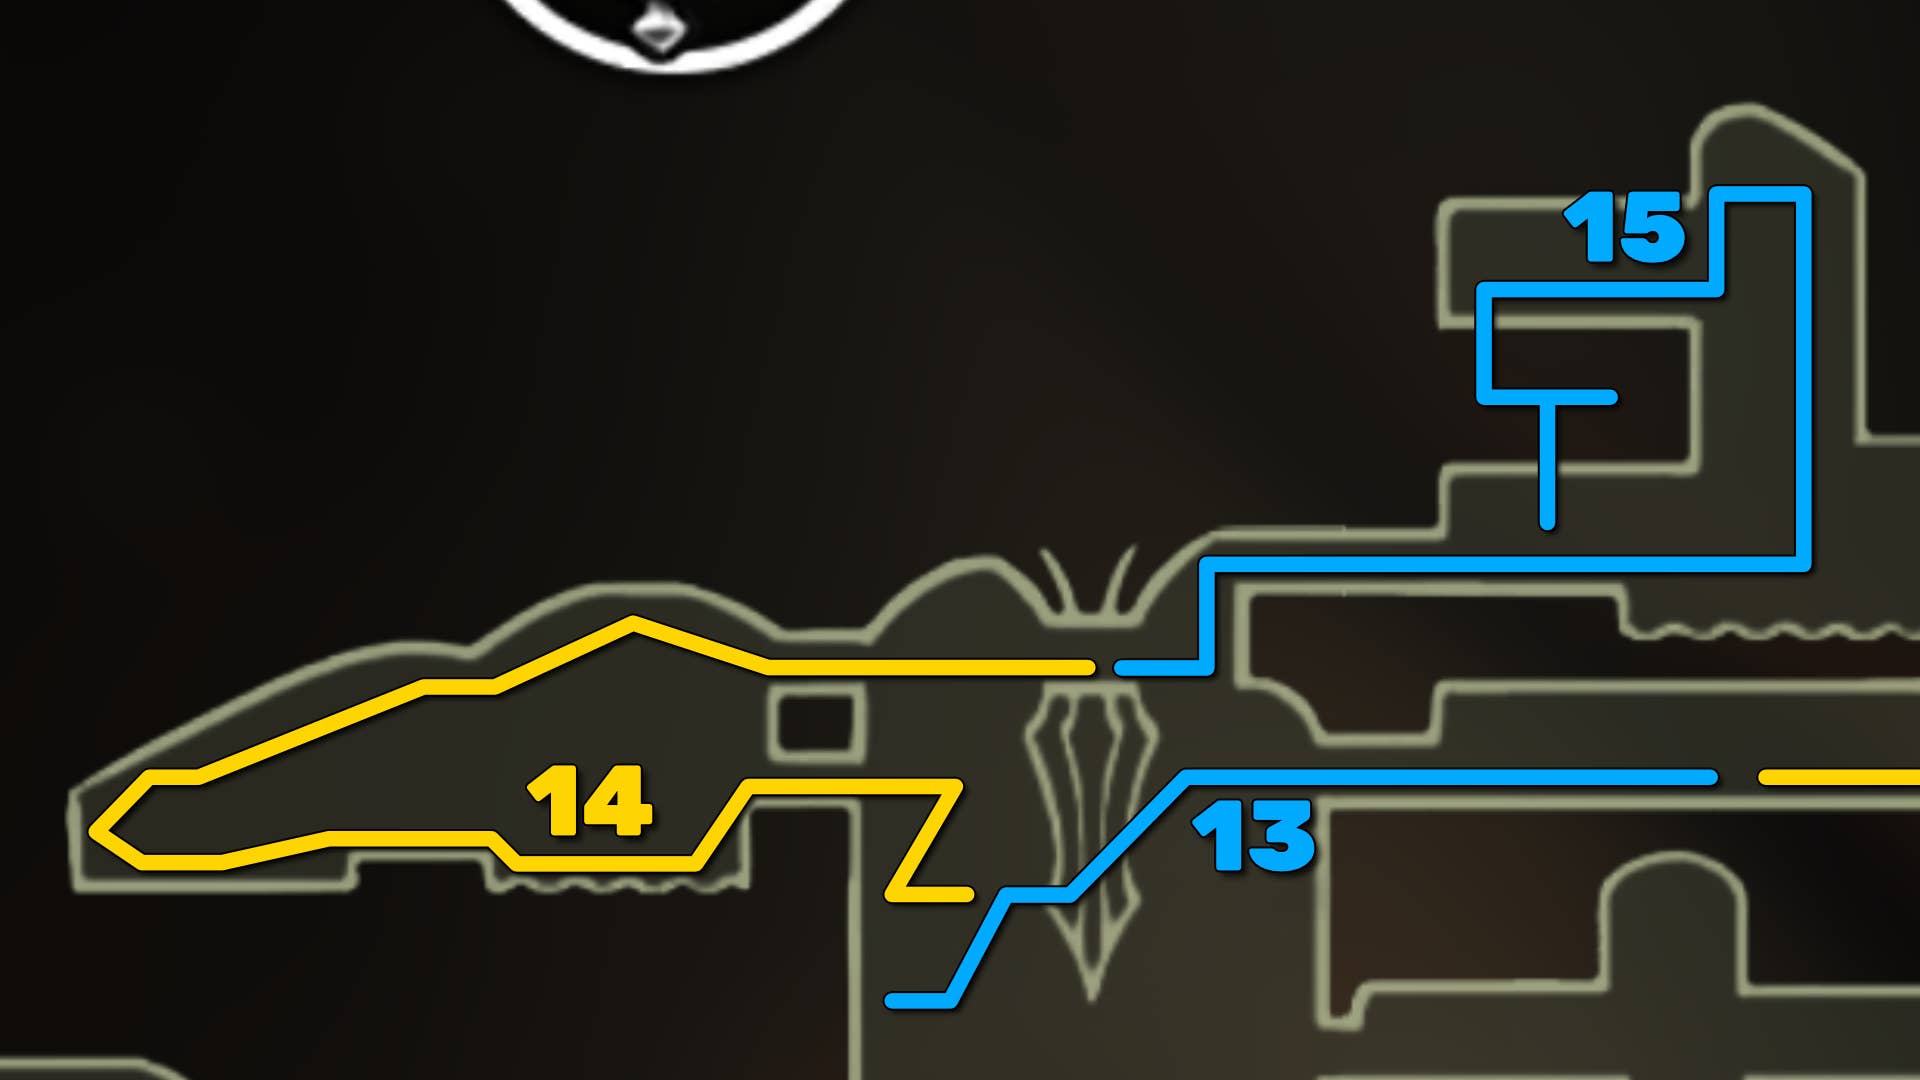
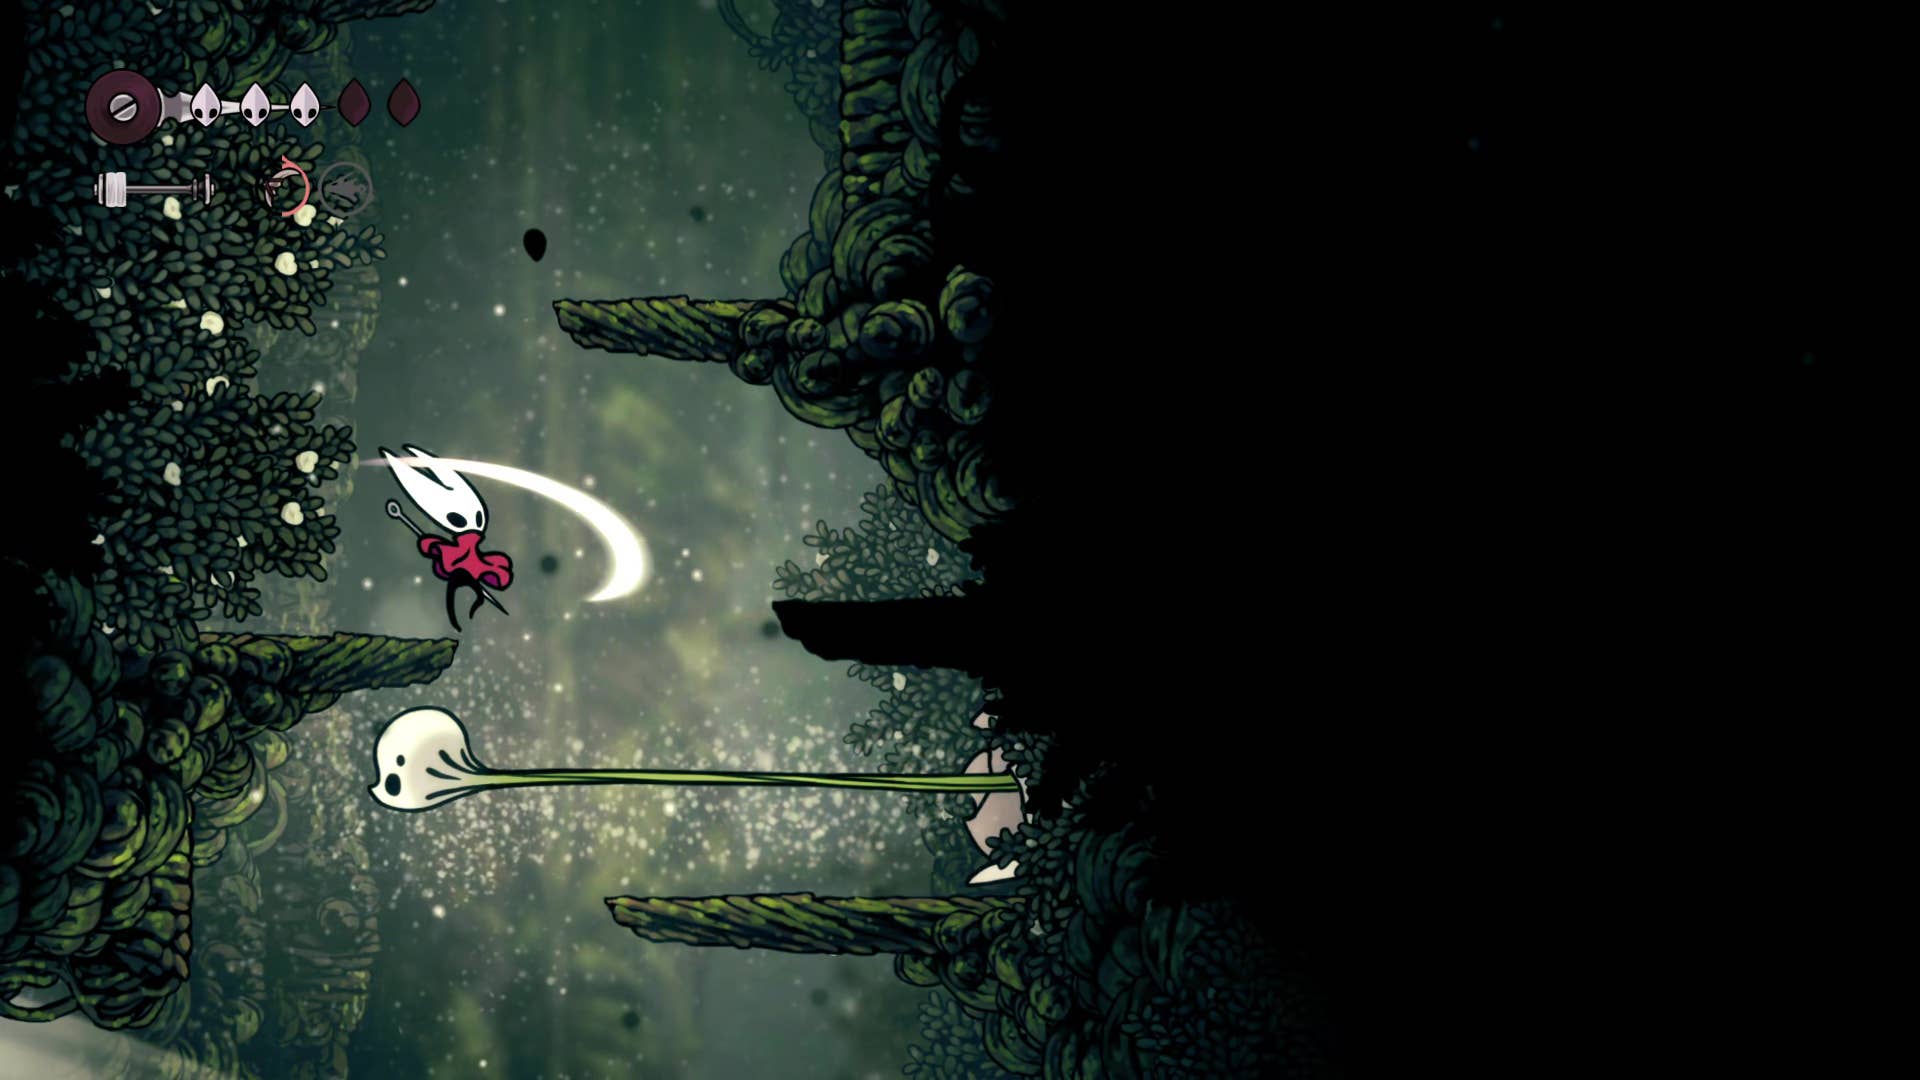
14. Obtain persistent grip skills.
Follow the path above you past the next three Gauls, then across the spikes to the room on the left. Swim on the other side of the room and proceed up the parkour course. Don’t forget to feed on Gaul before attacking. Patience is the best policy of these inspiring enemies.
You can quickly pass two Gauls before each other and drop the opposite side of the shelf to collect the rosary beads. Next, continue climbing up until you reach the corner exit on the top right.
Now jump over the gap, interact with the monument and receive another important skill. Tighten the grip. This ability allows you to easily pack a wall and climb flat walls. The Silkson world has grown much bigger.
15. PORYIPHEART #4.
Cling to the grip will allow you to reach the final Polip Heart. Head to the right of the monument and jump over a large rectangular rock in the middle of the room. Skirt under the underwater ground and reach a downward path with some rosary, but don’t take it.
Complete the rather simple wall climbing puzzle in this section and reach the top. Destroy the fragile wall in the upper left corner and fall into the water.
This bit is a bit troublesome. You need to fight against these purple wood nests. Attack and destroy the nest as quickly as possible, or continue spitting out new wasps. When they are all dead, they pass through the doorways opened by the destroyed nest and drop down into the secret area below. You can then drop at the bottom of the section and return to the monument.
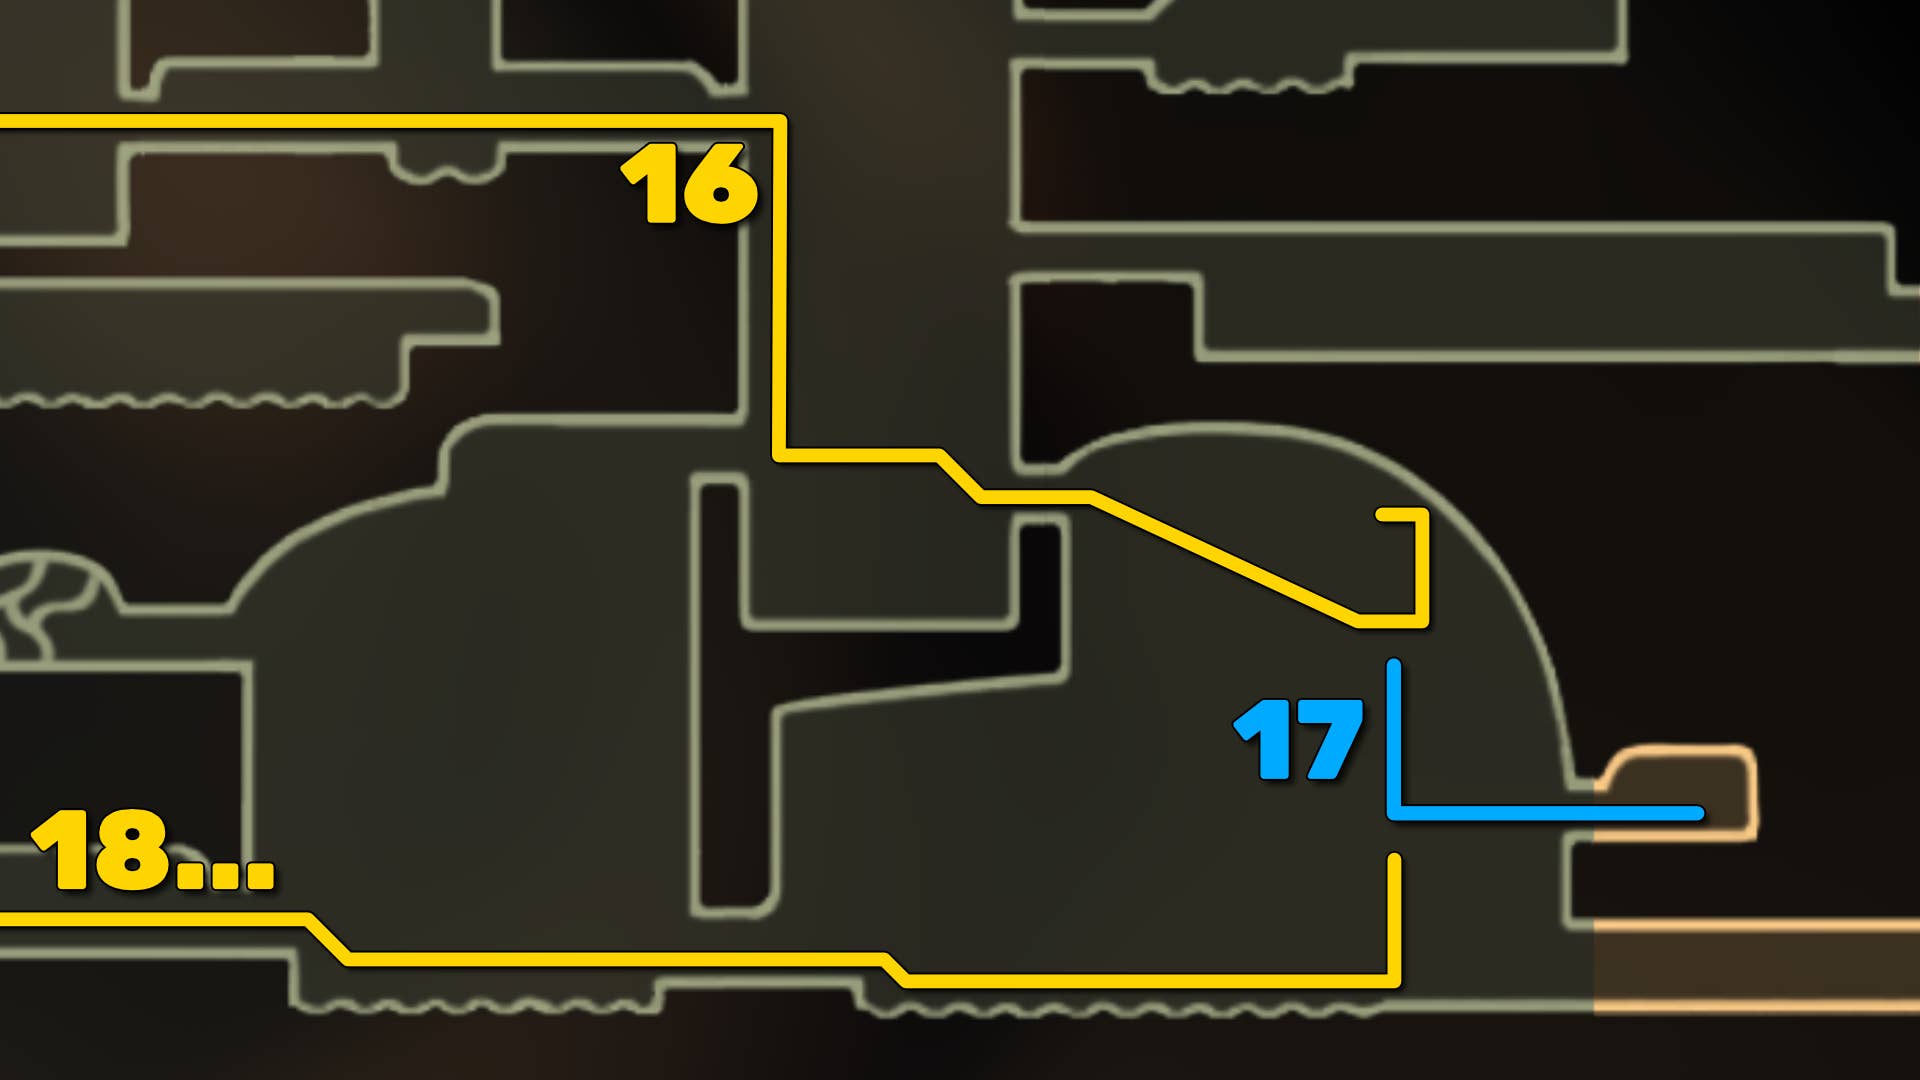
16. PORYIPHEART #5.
To reach Porsip Heart #5, drop to the bottom of the monument room and come out to the right. Cross the next hallway and drop down on a bench by the elevator (you can rest here while you’re there).
Drop the right side and go out to the room on the right side. Stay near the ceiling and see the purple flowers of the nearby Polip. The claw can grip up the right wall and reach the top area with a Polip Heart. Be careful, hornets too.
But where is Porsip Heart #6?
17. Get the long pin behind the wasp nest.
Drop down from the fifth Polip Heart position and multiply to the right as you descend. In the middle of the wall on the right side of the room there is another wood nest. Destroying the nest opens a passage to a small hidden room.
At the far end of the room there is a weapon rack, where you can get some very wonderful weapon tools – long pins. It’s like a basic straight pin. However, one slow will penetrate multiple enemies.
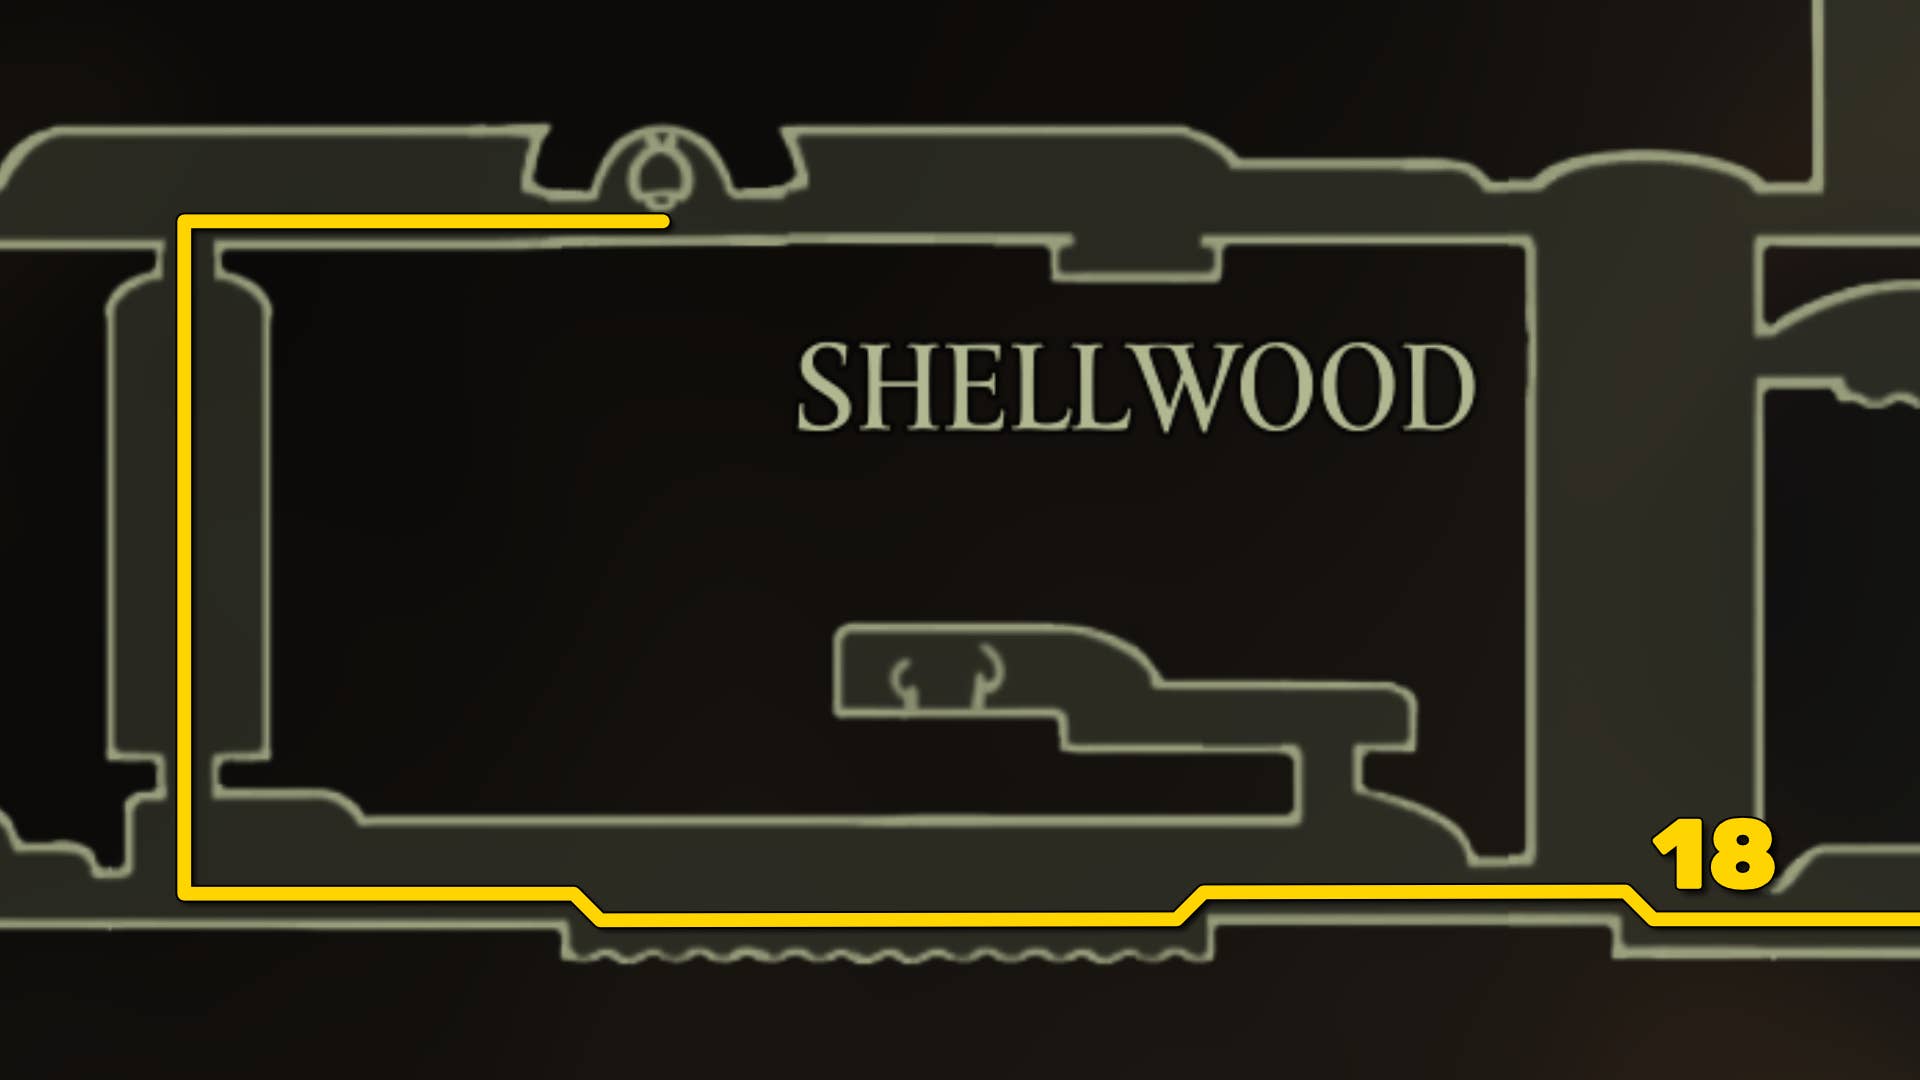
18. Unlock the bench west of Bellway.
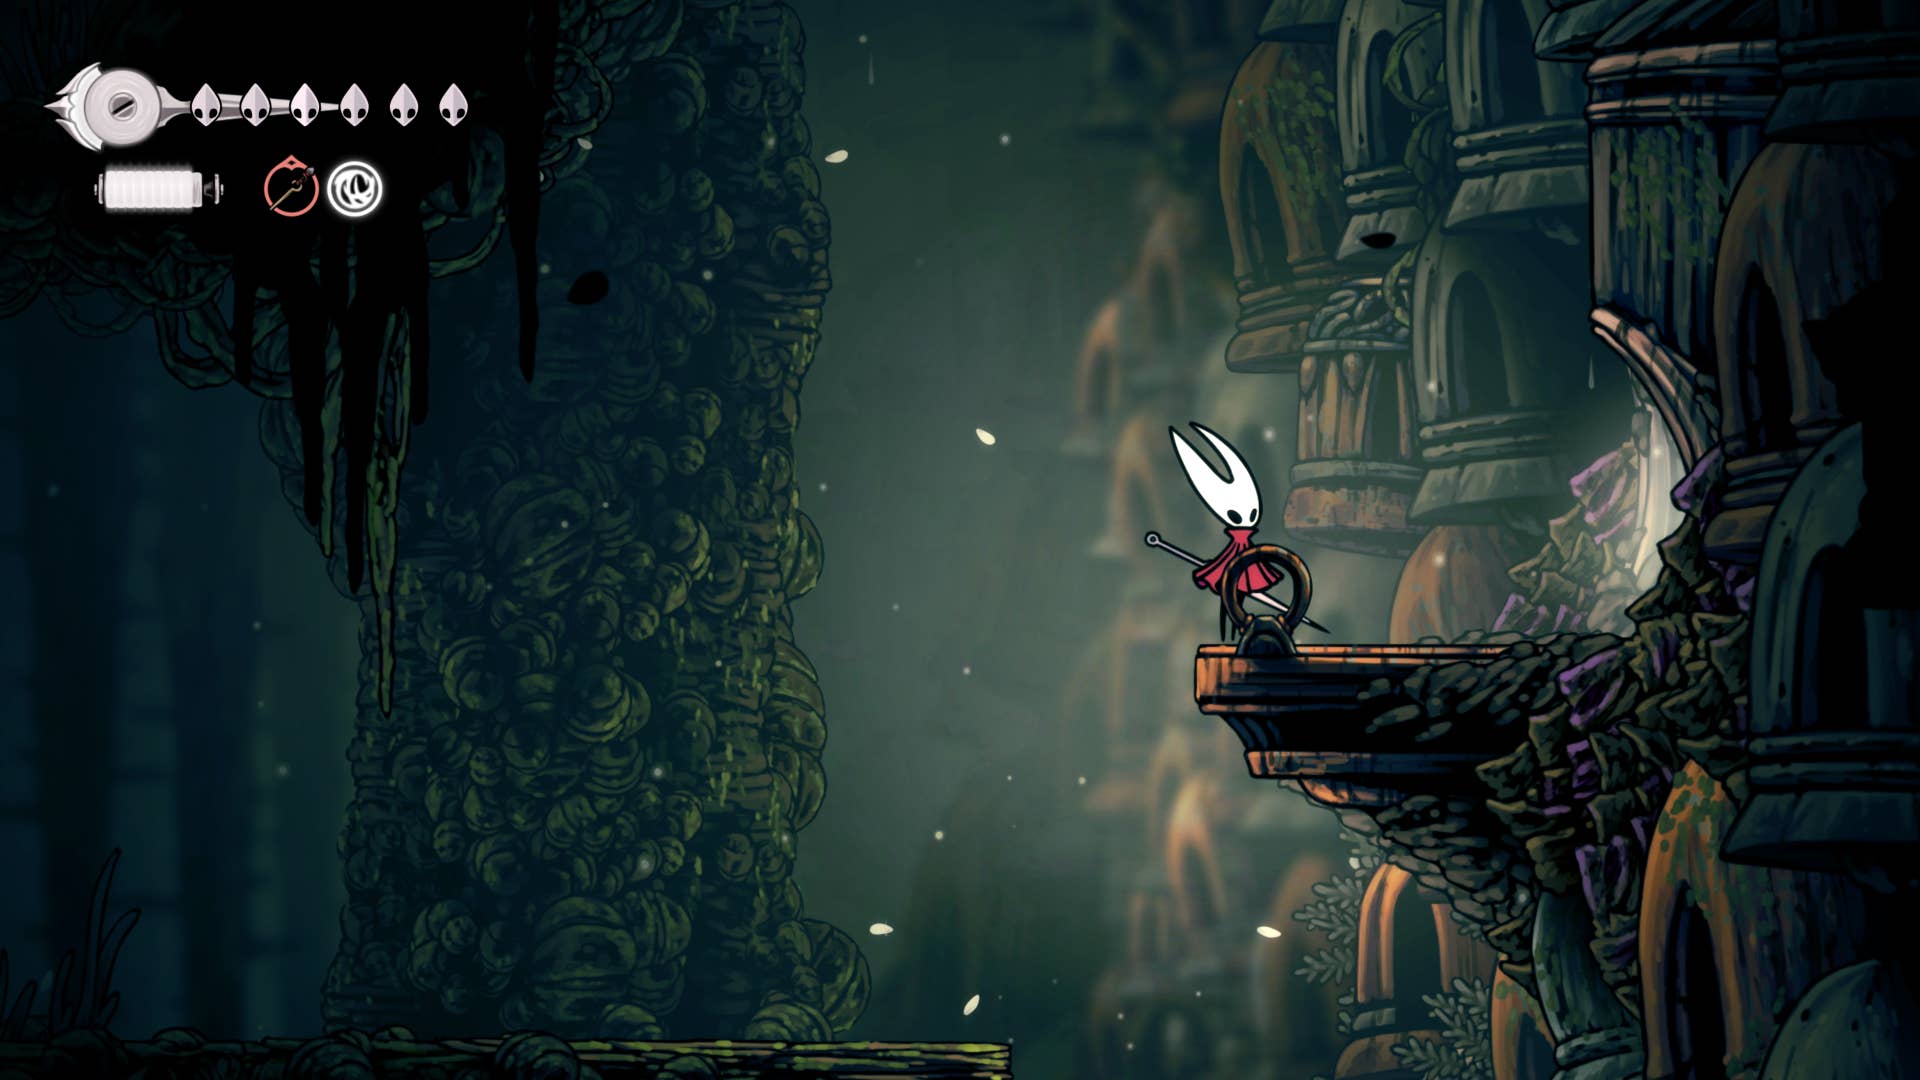
The final step in this part of the walkthrough is to find a way back to Bellway this time from the other side. Follow the steps to return to the beginning of Shellwood, near the western entrance.
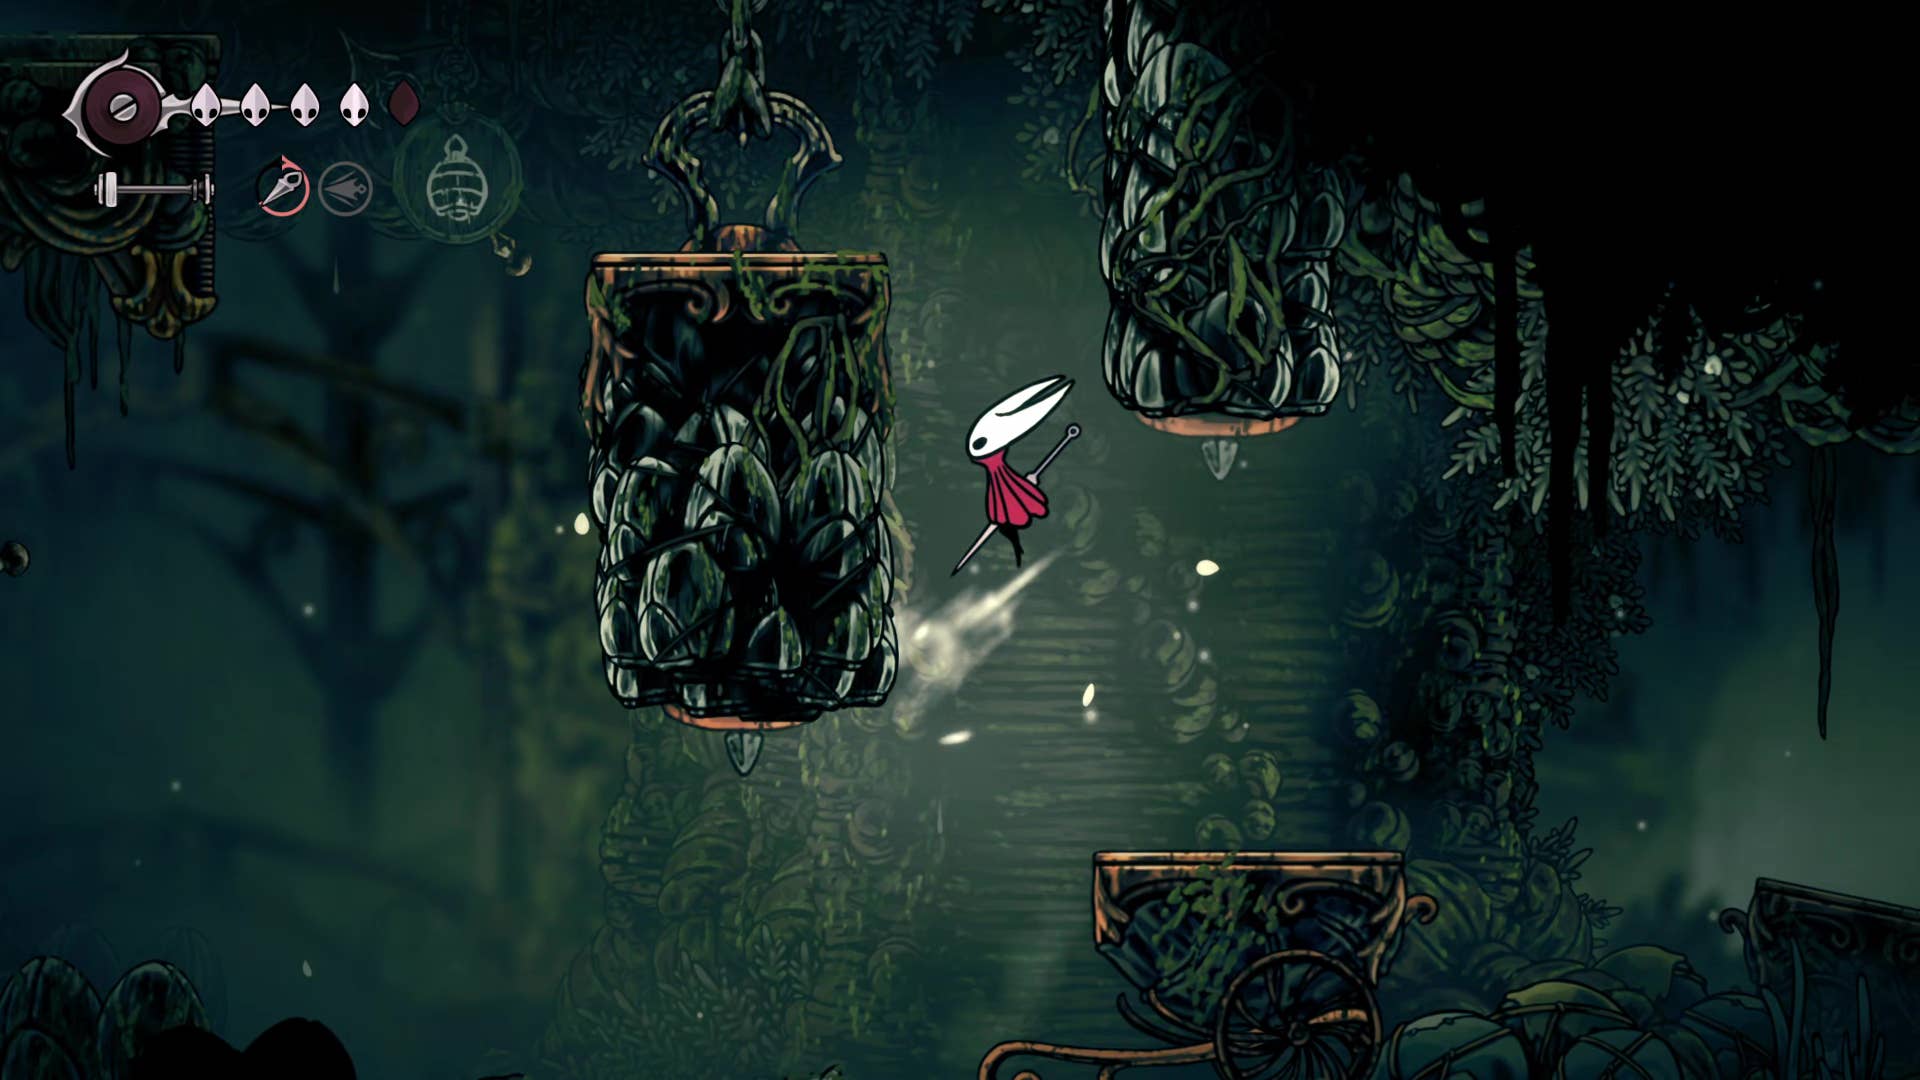
You may remember that there were some large hanging blocks of rock near the entrance to that first Shellwood Room, next to a golden cart on the ground. Now that you have the Claw Grip Skill, you can proceed there and enter the room above.
There’s not much to explain here – Parkour and Wall Crimes will steal and kill the winged pilgrim bells that approach you. If you’re in the room above you can head straight away to unlock the doorway to the new bench and Bellway. On the left is a new (and very windy) biome, but this walkthrough won’t be in there yet.
Now that we’ve fully mapped Shellwood (or close enough), it’s time to explore even more at Bell Heart and find ways to save the town. Join Part 10 of the Silk Song Walkthrough for these next steps!
(TagStoTranslate) Hollow Knight: Silksong (T) Action Adventure (T) Indie (T) Nintendo Switch (T) PC (T) Platformer (T) Team Cherry