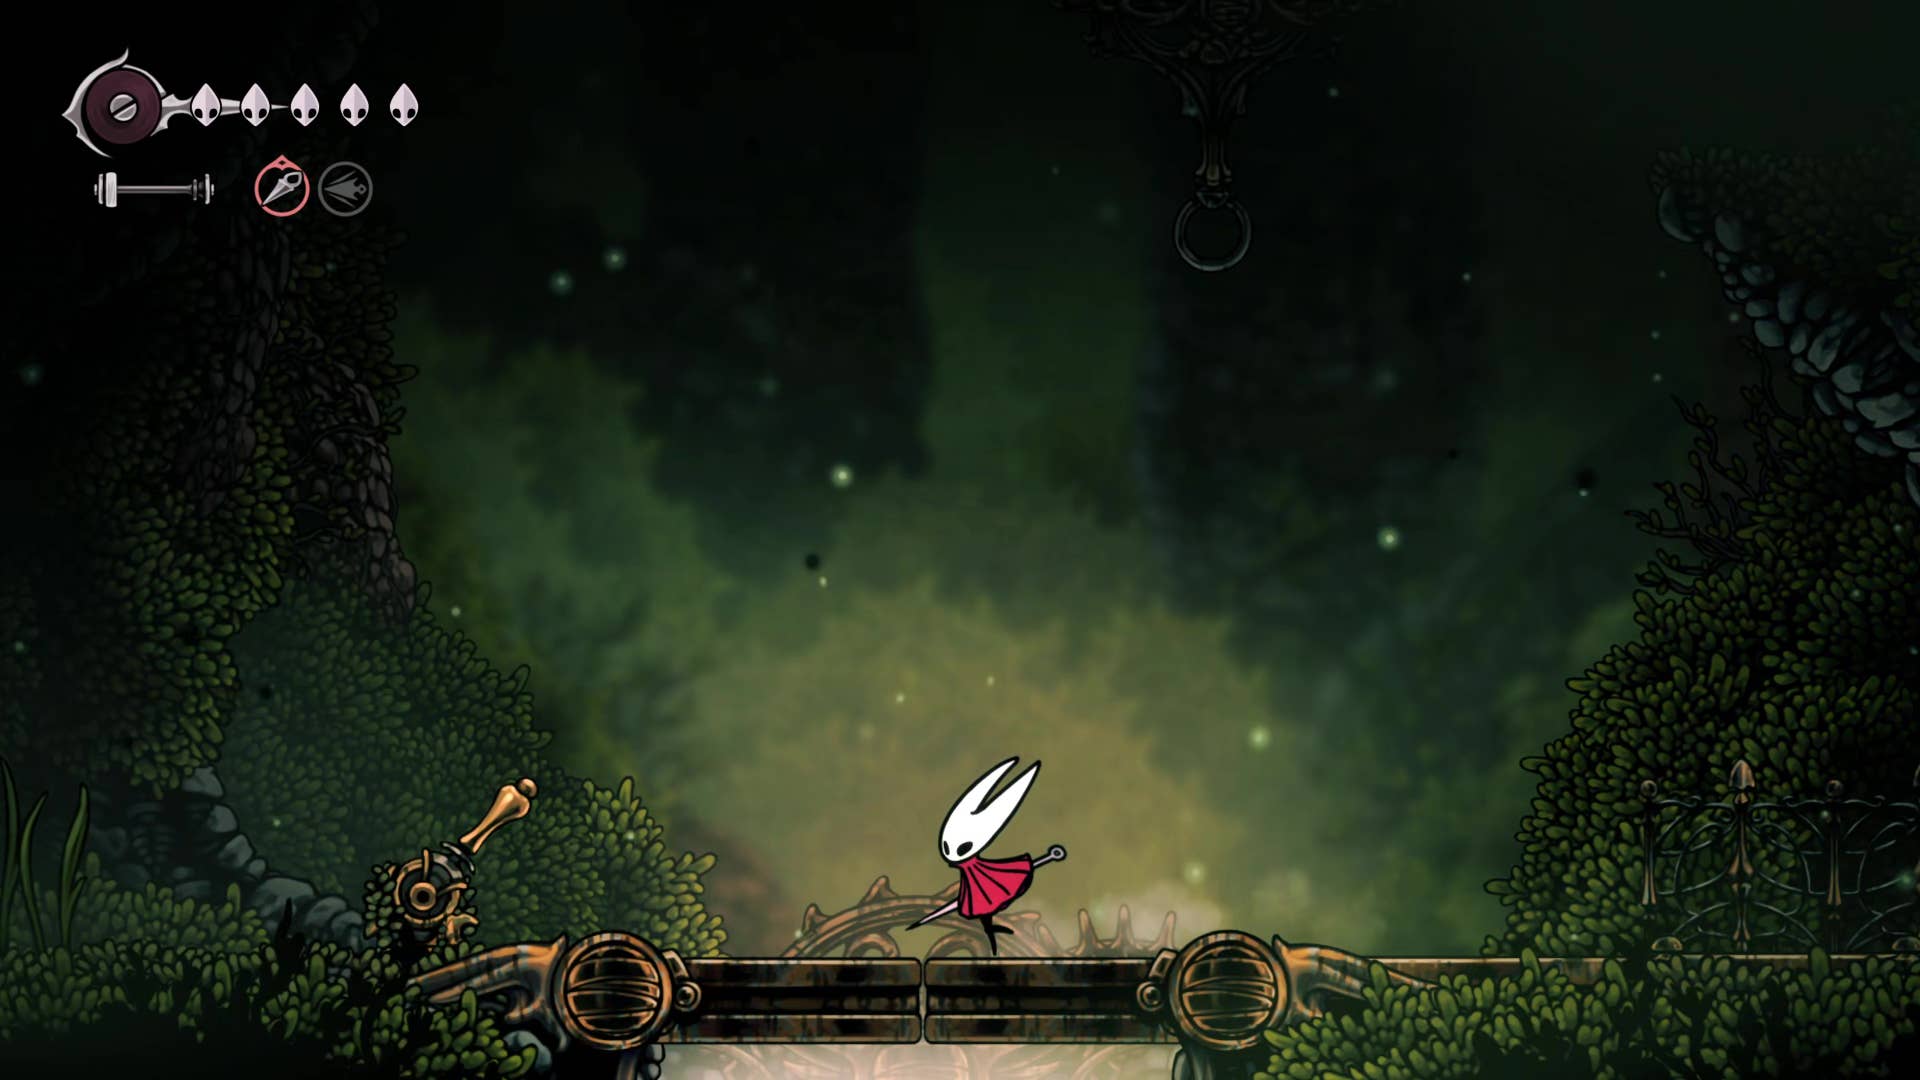
Hollow Knight: Need help finding a way through Silksong’s Far Fields? In the previous section of the Silksong walkthrough, we falsified roads through deep rocks, defeated nasty combatants in the race, and even further east to challenge new (and vast) areas of fields in the distance.
There is much to do in the far field, with several hidden compartments and secret areas containing many useful collectibles, from chisels to mask fragments. Farfield is also home to important NPCs and Questlines. This gives you access to one of the most enjoyable athletic abilities in Silksong. Follow us Part 7 Silkson Walkthrough Learn all the steps in a path through a distant field.
Do you need a walkthrough in another area of the game? Check out Hollow Knight: Silksong Walkthrough Hub!
Far Fields Walkthrough Steps:
- Find Shakura and buy the Far Fields map.
- Unlock the bench and bellway north.
- Rescue the third prisoner of war.
- Head towards the pilgrim rest.
- Explore south of the main shaft.
- Get the Word Bell.
- Head east and accept the Tailor’s Quest.
- Collect 25 spine cores.
- Return to the tailor for the castaway cloak.
- Place the wind on top for the mask fragment.
- Defeat the fourth chorus.
- Return to the pilgrim rest.
- Get on the air vent and go to Greymore.
1. Find Shakura and buy the Far Fields map.
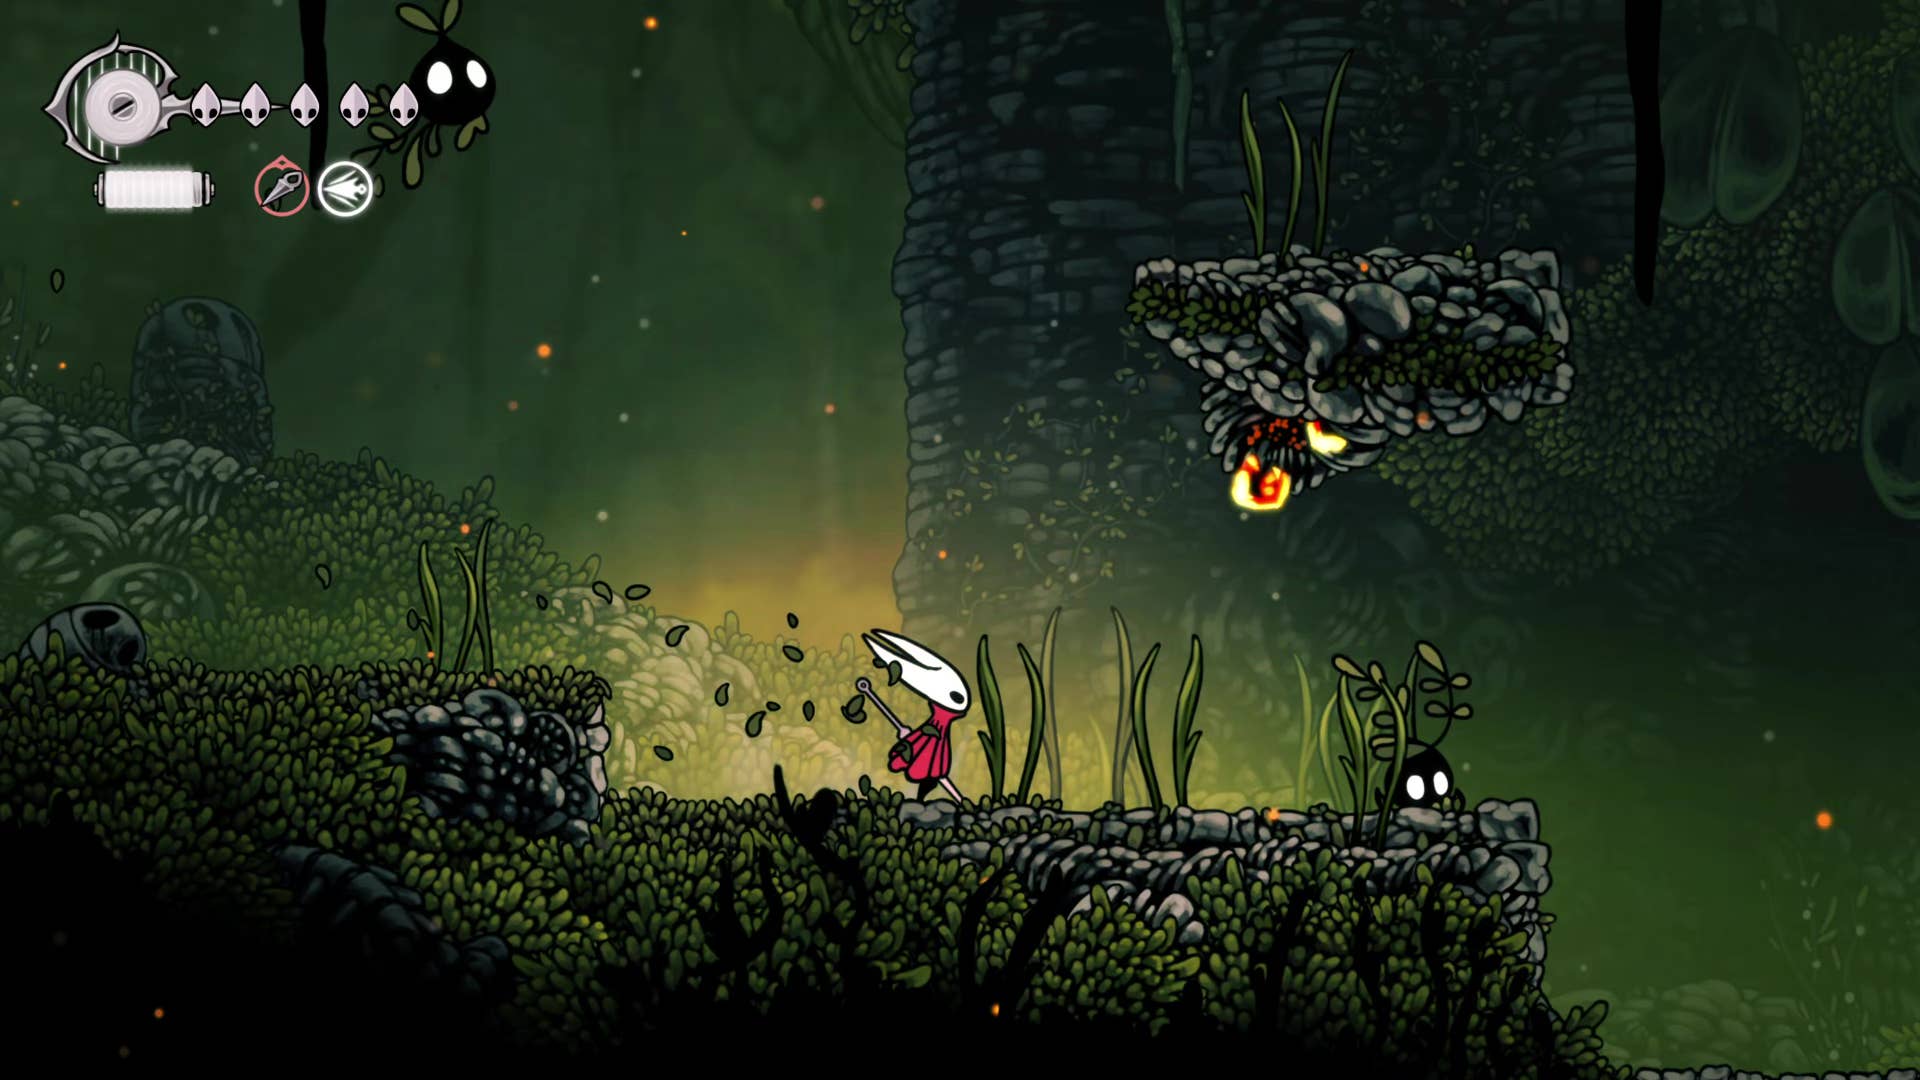
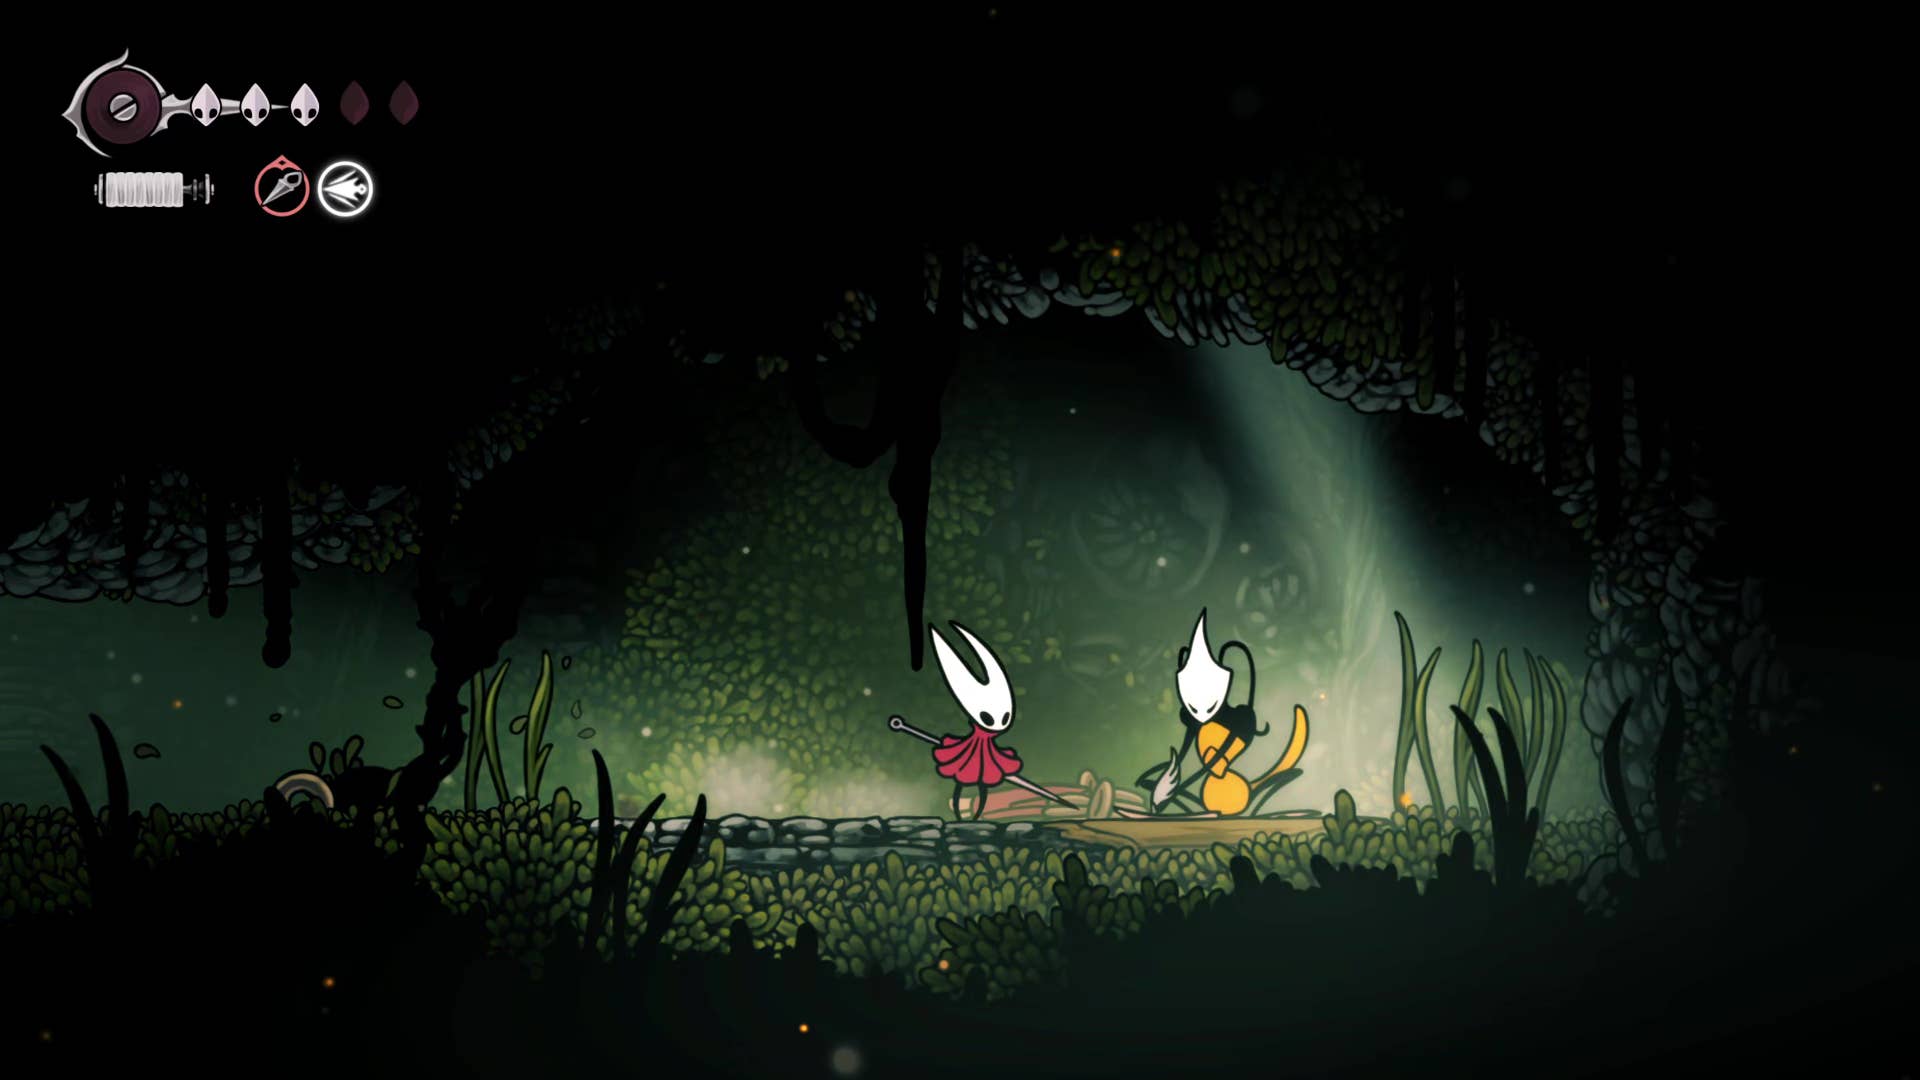
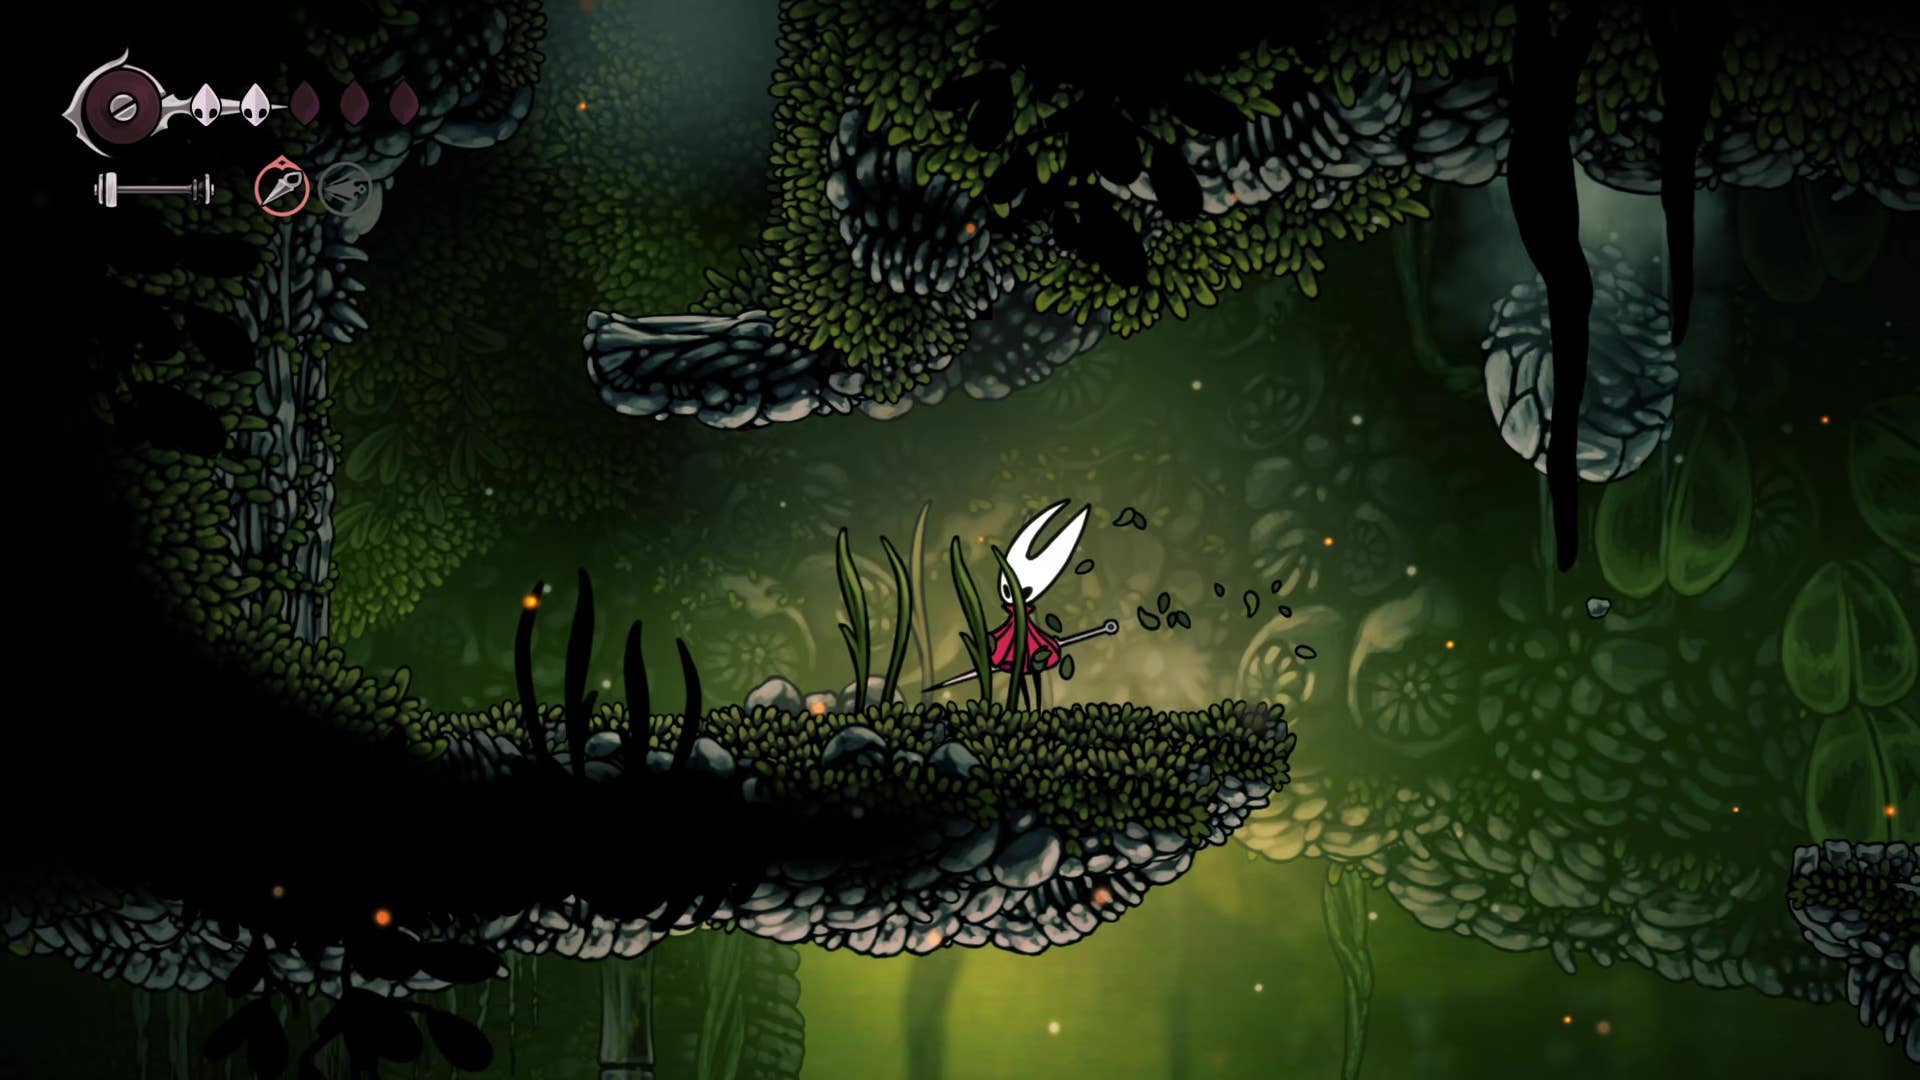
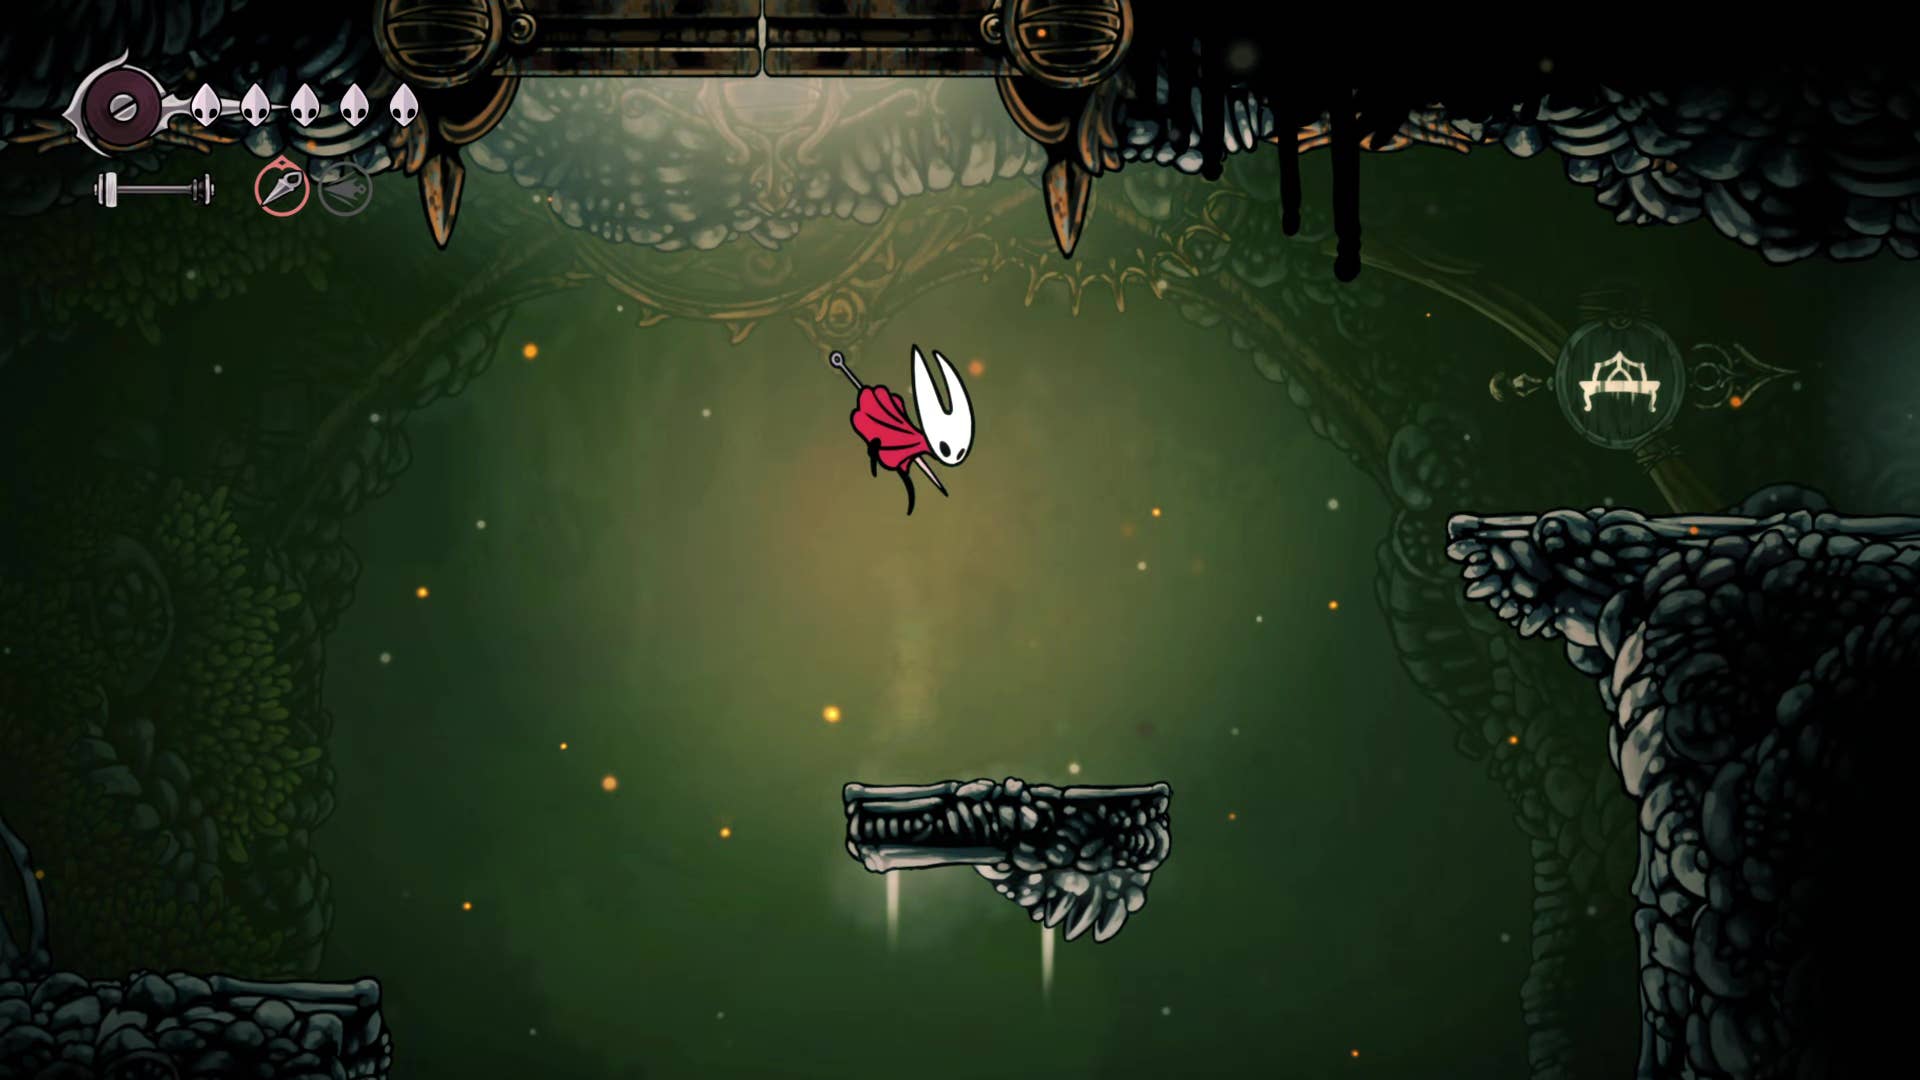
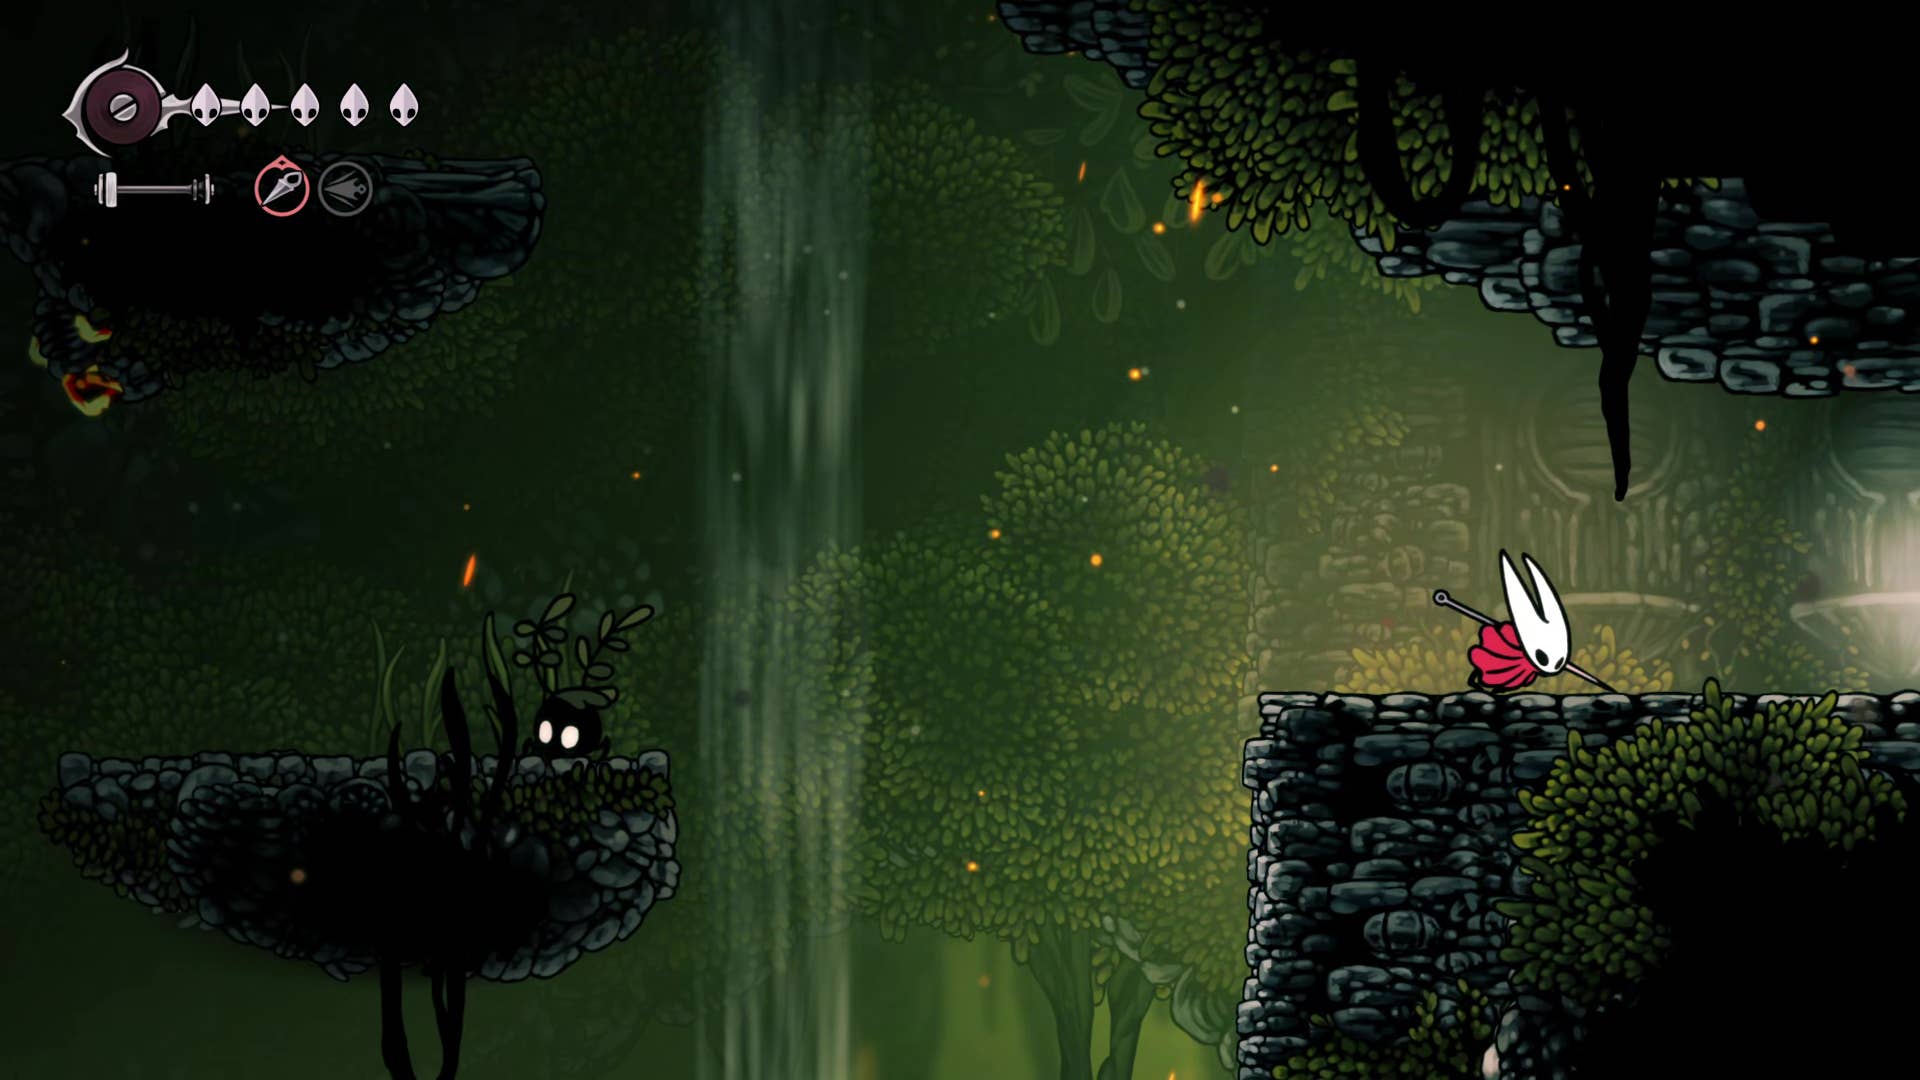
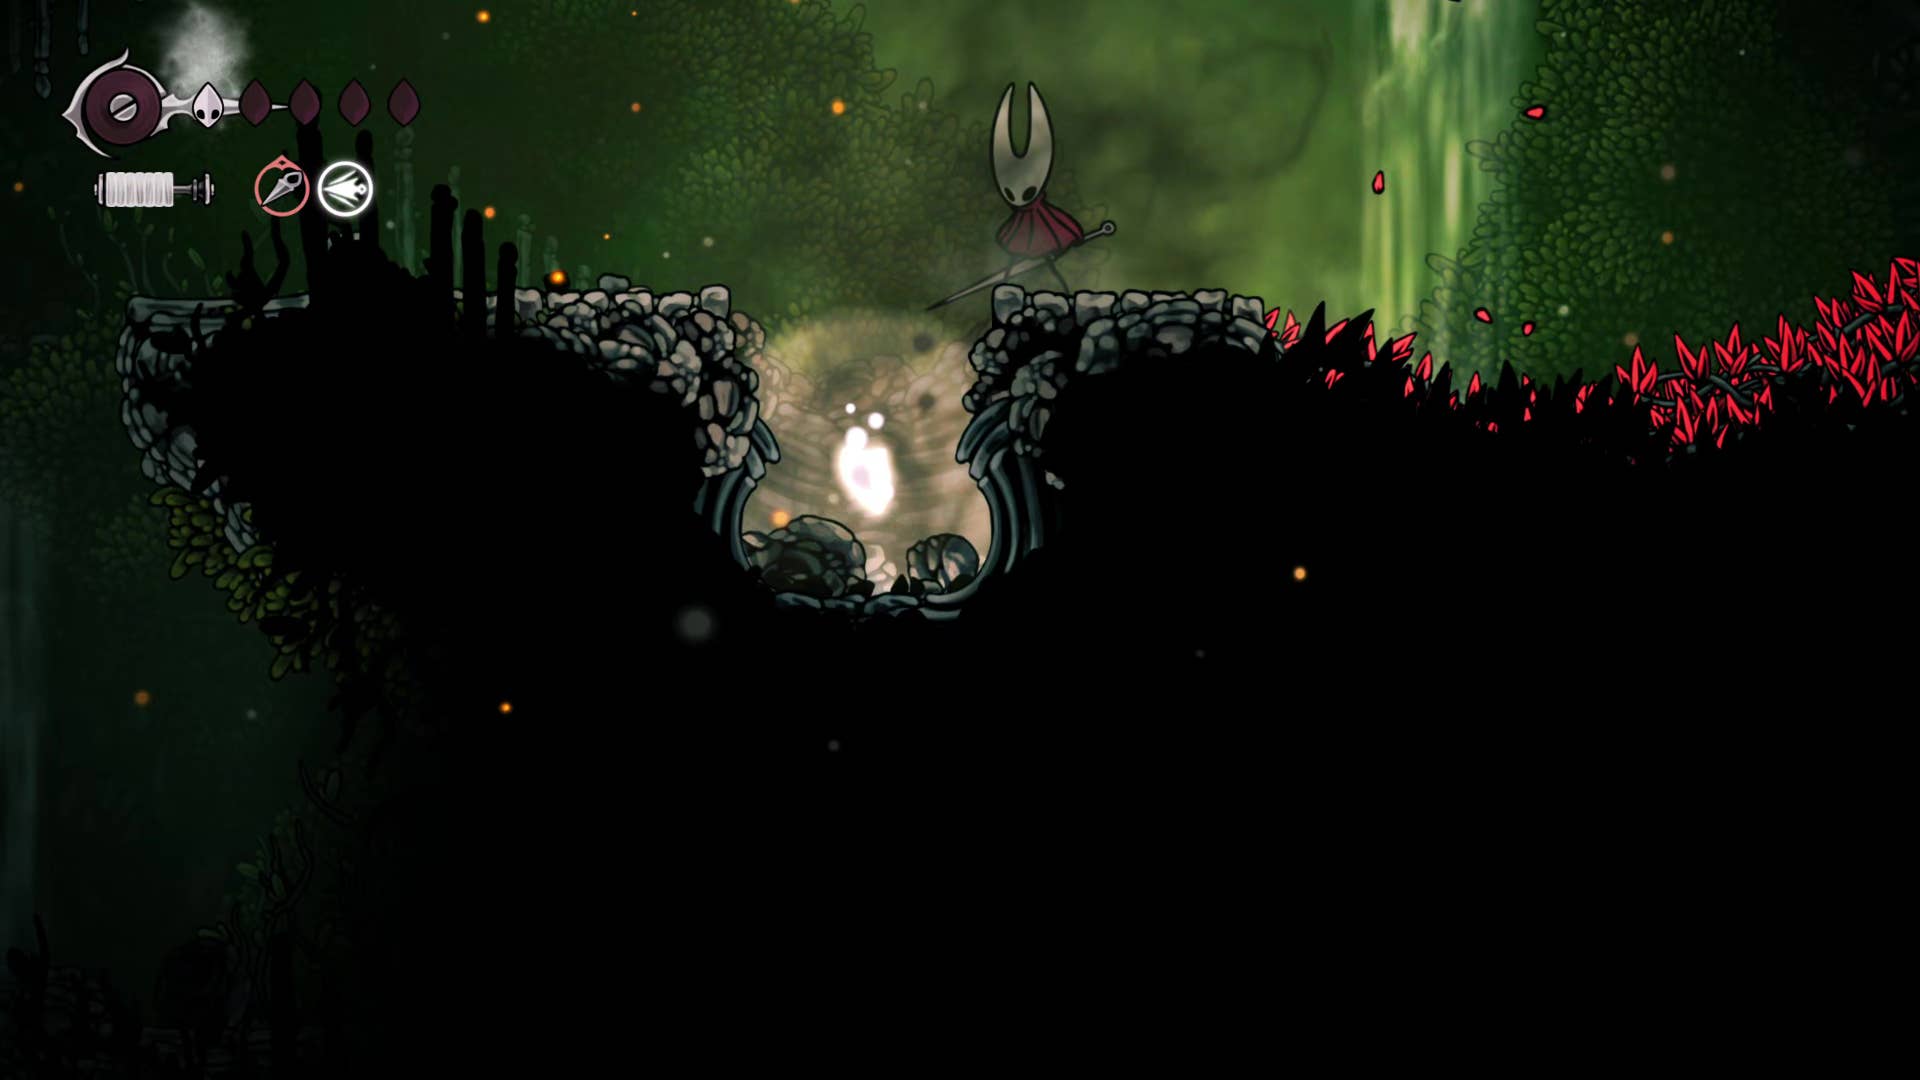
What you will soon notice in a distant field is a rare fauna. The black lush creatures of this area are not aggressive. In fact, they generally try to avoid you. However, when you’re cornered, they’re in the habit of running towards you right away, so be careful when dealing with them.
The Road to Shakura and the map of Farfield are wonderful and simple. From the entrance, cross the first room and head to the next room. Along the way along the second room, follow the path below to avoid potentially tricky battles with the enemies of the two ants above.
Once you reach the ant corpse near the lava, you can jump to the platform above and reach the shelf on the left to reach the Shell Shard statue. Next, head towards the edge of the room on the right.
The next room is a tall vertical shaft filled with various air vents. Jump over the shelf on your other side and enter a small room over there, where you can see Shakura busy drawing her next map. Talk to her and buy the Far Fields map for the 50x Rosary.
2. Unlock the bench and bellway north.
Leave Shakura’s room and return to the doorway where you came. As you proceed, you will be on a high shelf this time along with two ant enemies that you avoided for the first time. Kill or bypass them, jump to the shelf on the right, then climb onto the shelf above you via a wooden platform.
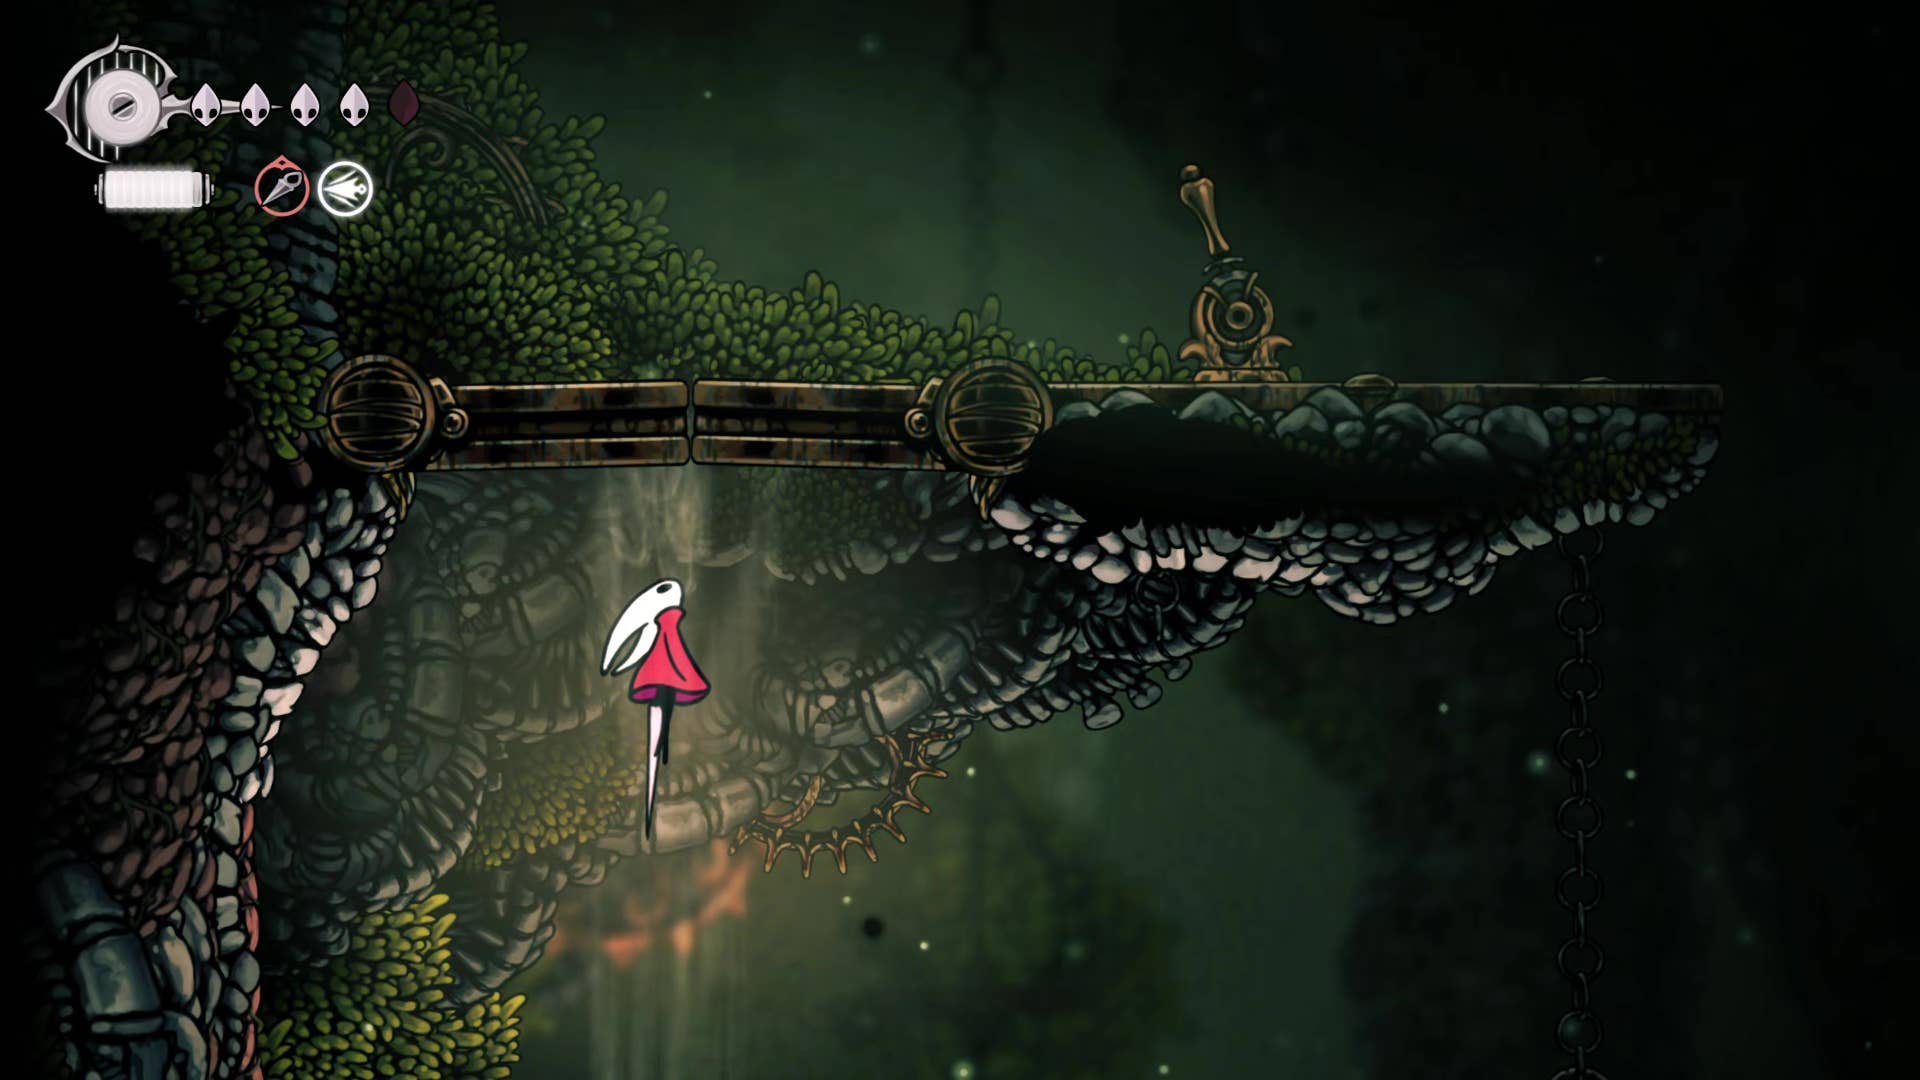
Head right and leave to the next room, caring about the little black creatures on your path as you go. This time, the vertical shaft is rising more than before. Follow the sign on the right to find the room that includes the bench and the bellway. If you have a rosary, go ahead and unlock both. If you need to select it, choose a bench for now.
3. Rescue the third breeding flea.
Next comes the fair trekking north to reach the top of the vertical shaft, but you cannot enlarge the room. You need to find another route.
Return to the room in front of the shaft to the left and follow the path on the top left until you find a way off the screen above. You will bump into the wall on the far right of the next room, unlocking a new way.
Use the platform to climb into this new room and explore every corner you arrive. If you come to the first pass to the right, beware of the white pressure plates that are barely visible on the ground. If activated, it will snare you with a trap while the ant enemy is nullified and attack you from behind.
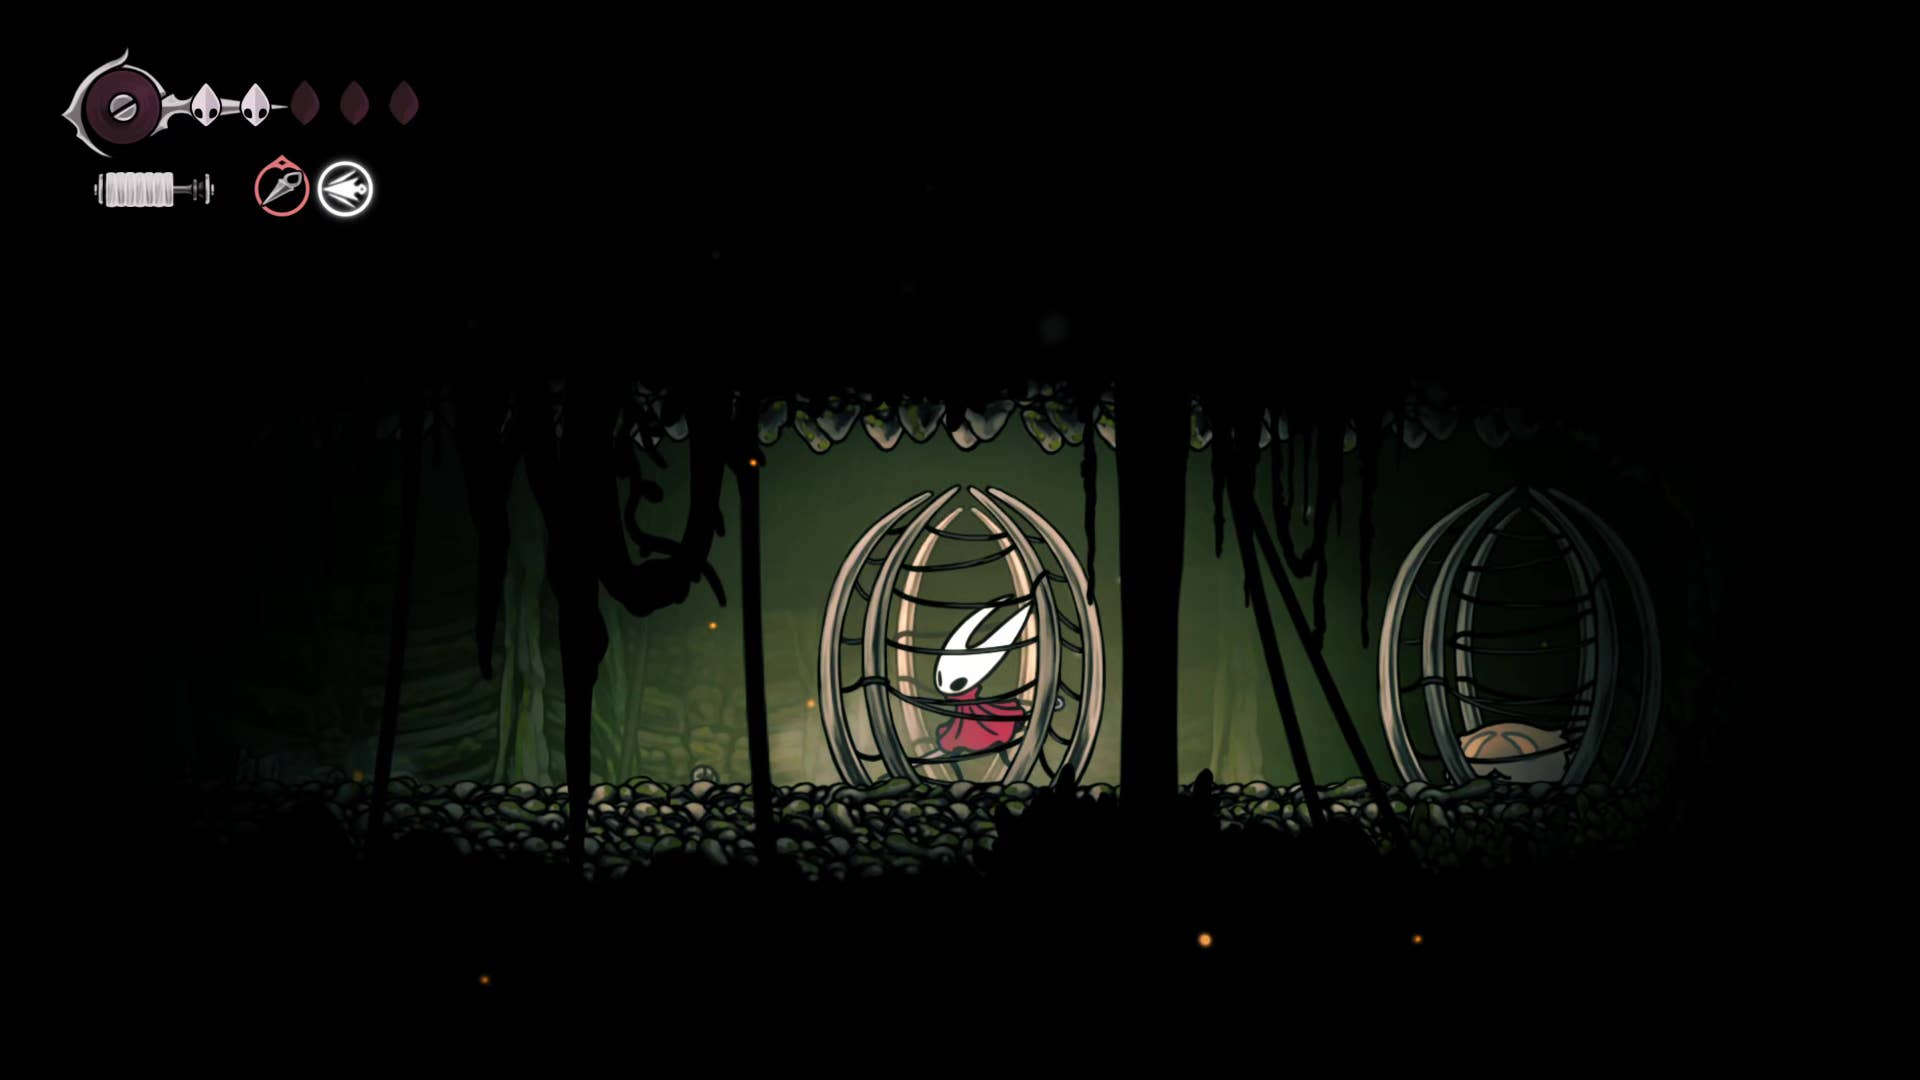
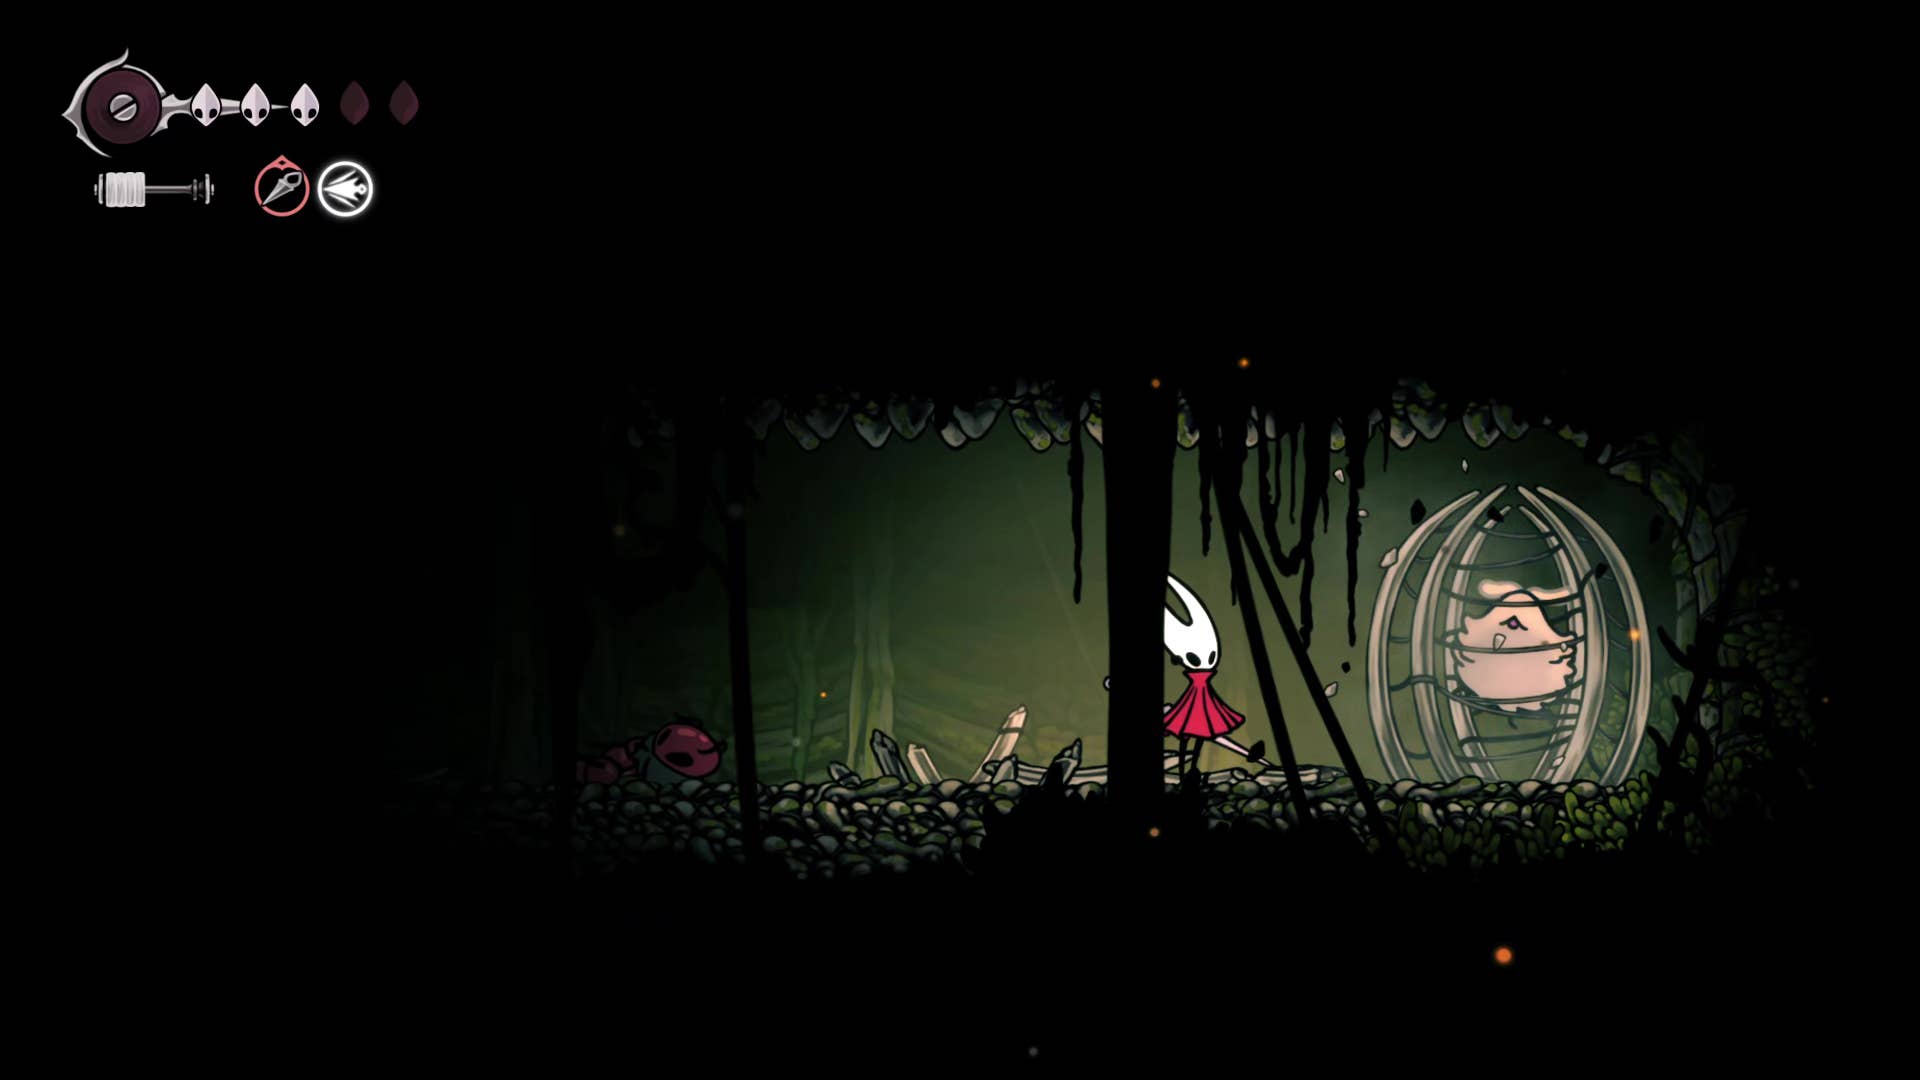
Dodge the traps, send ants, and release the fleas trapped in cages at the end of the path.
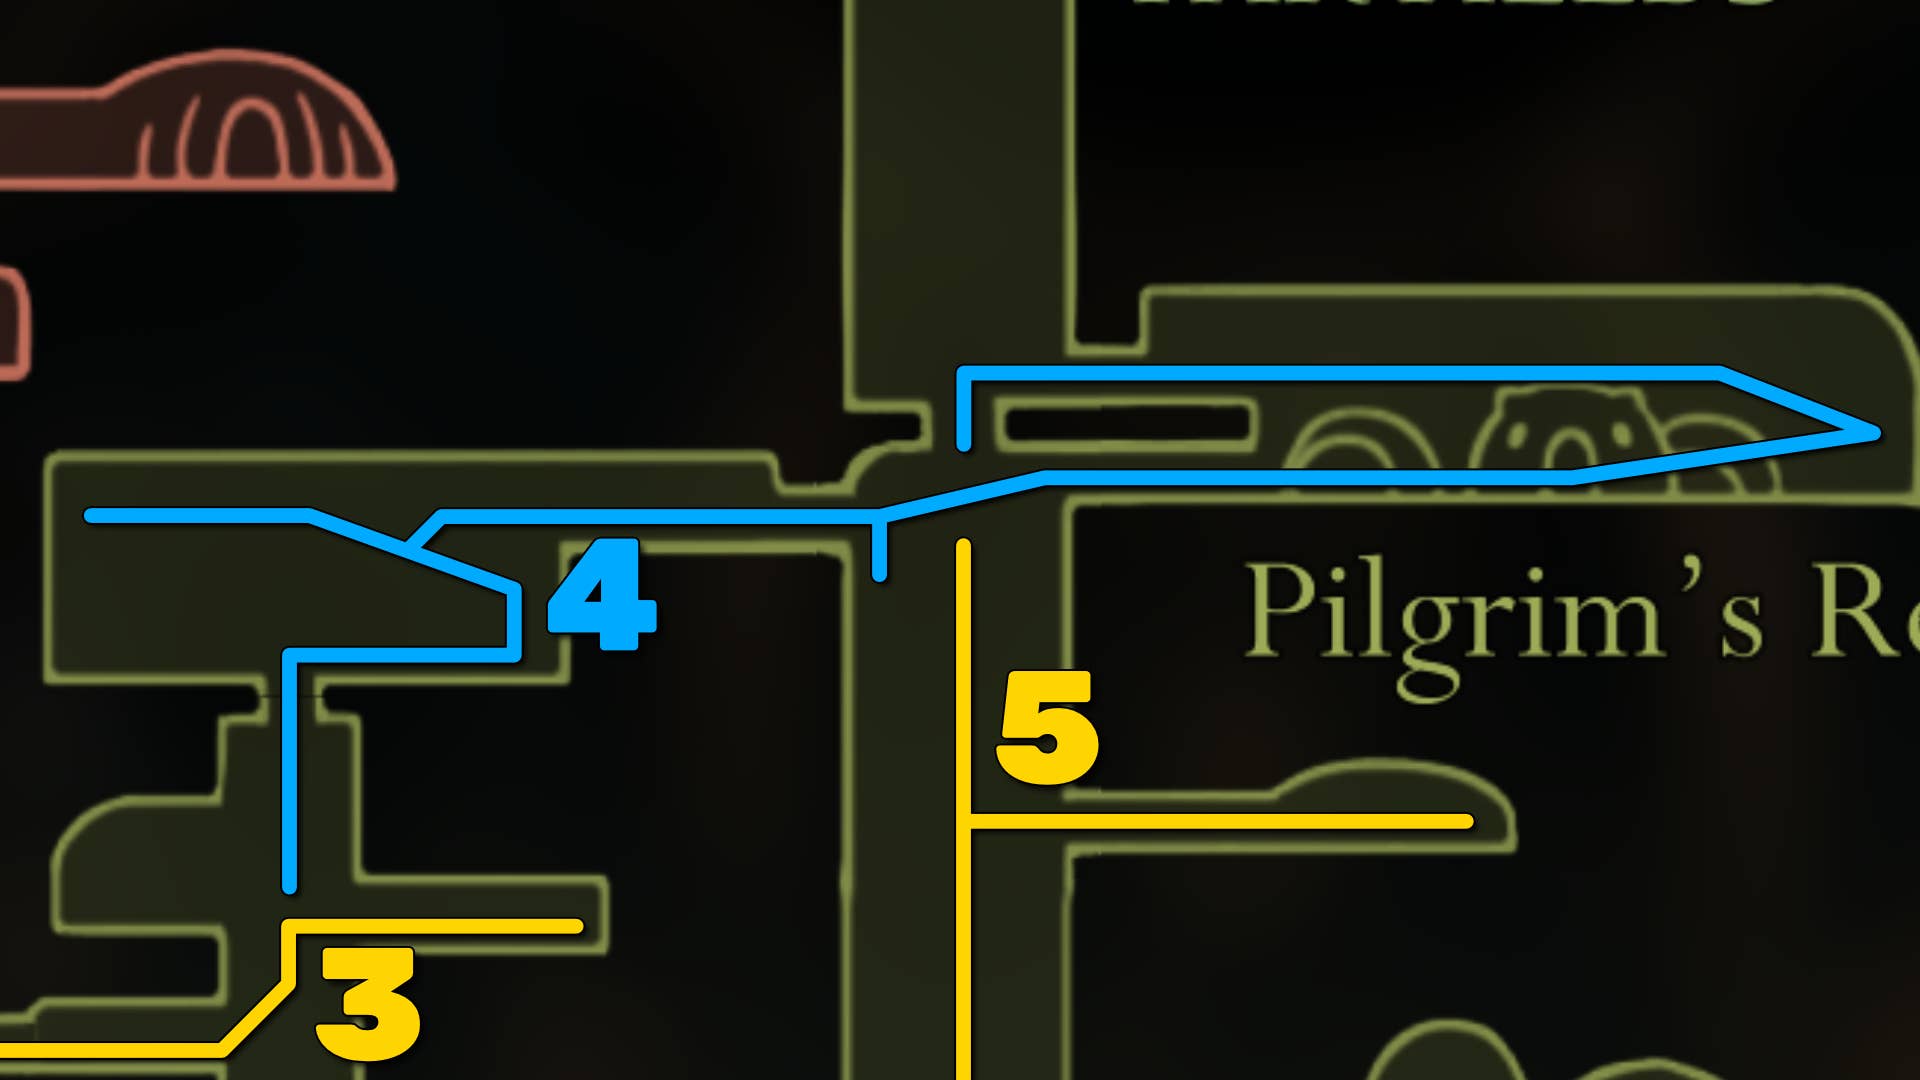
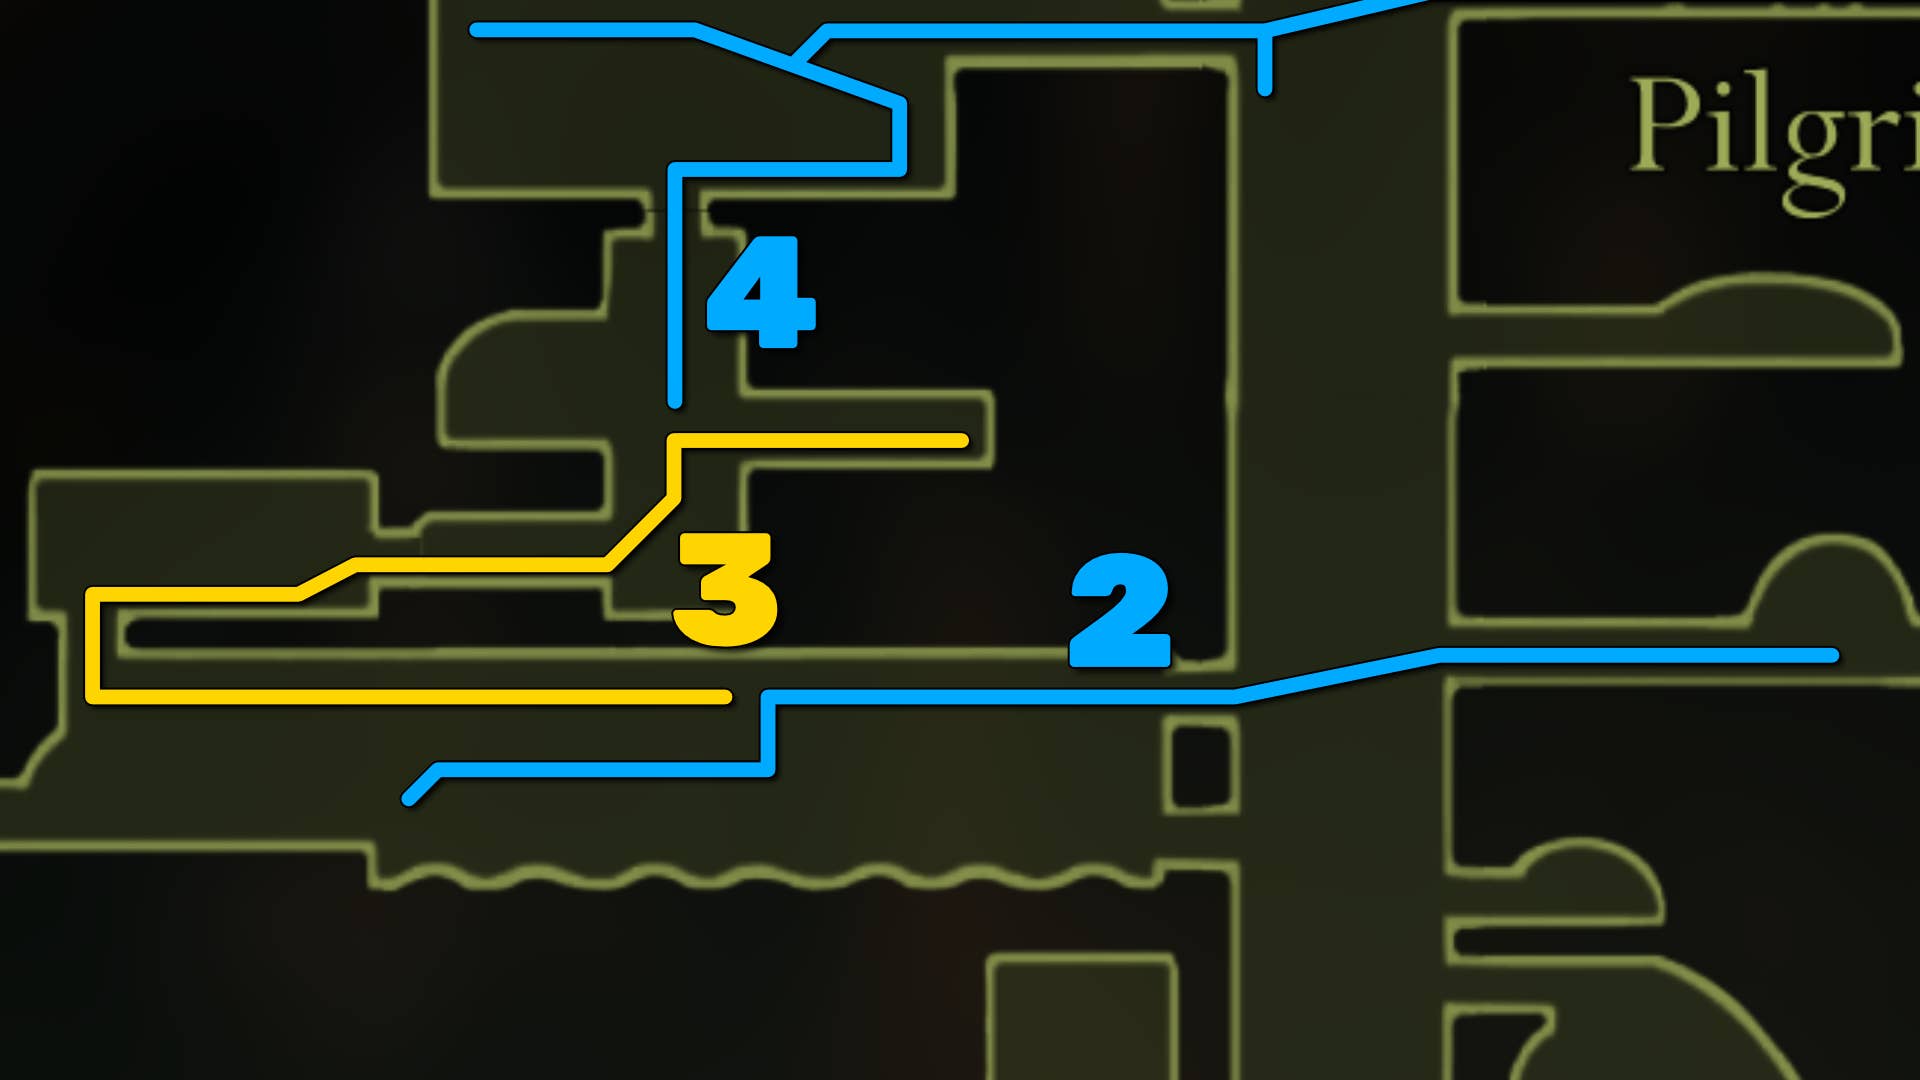
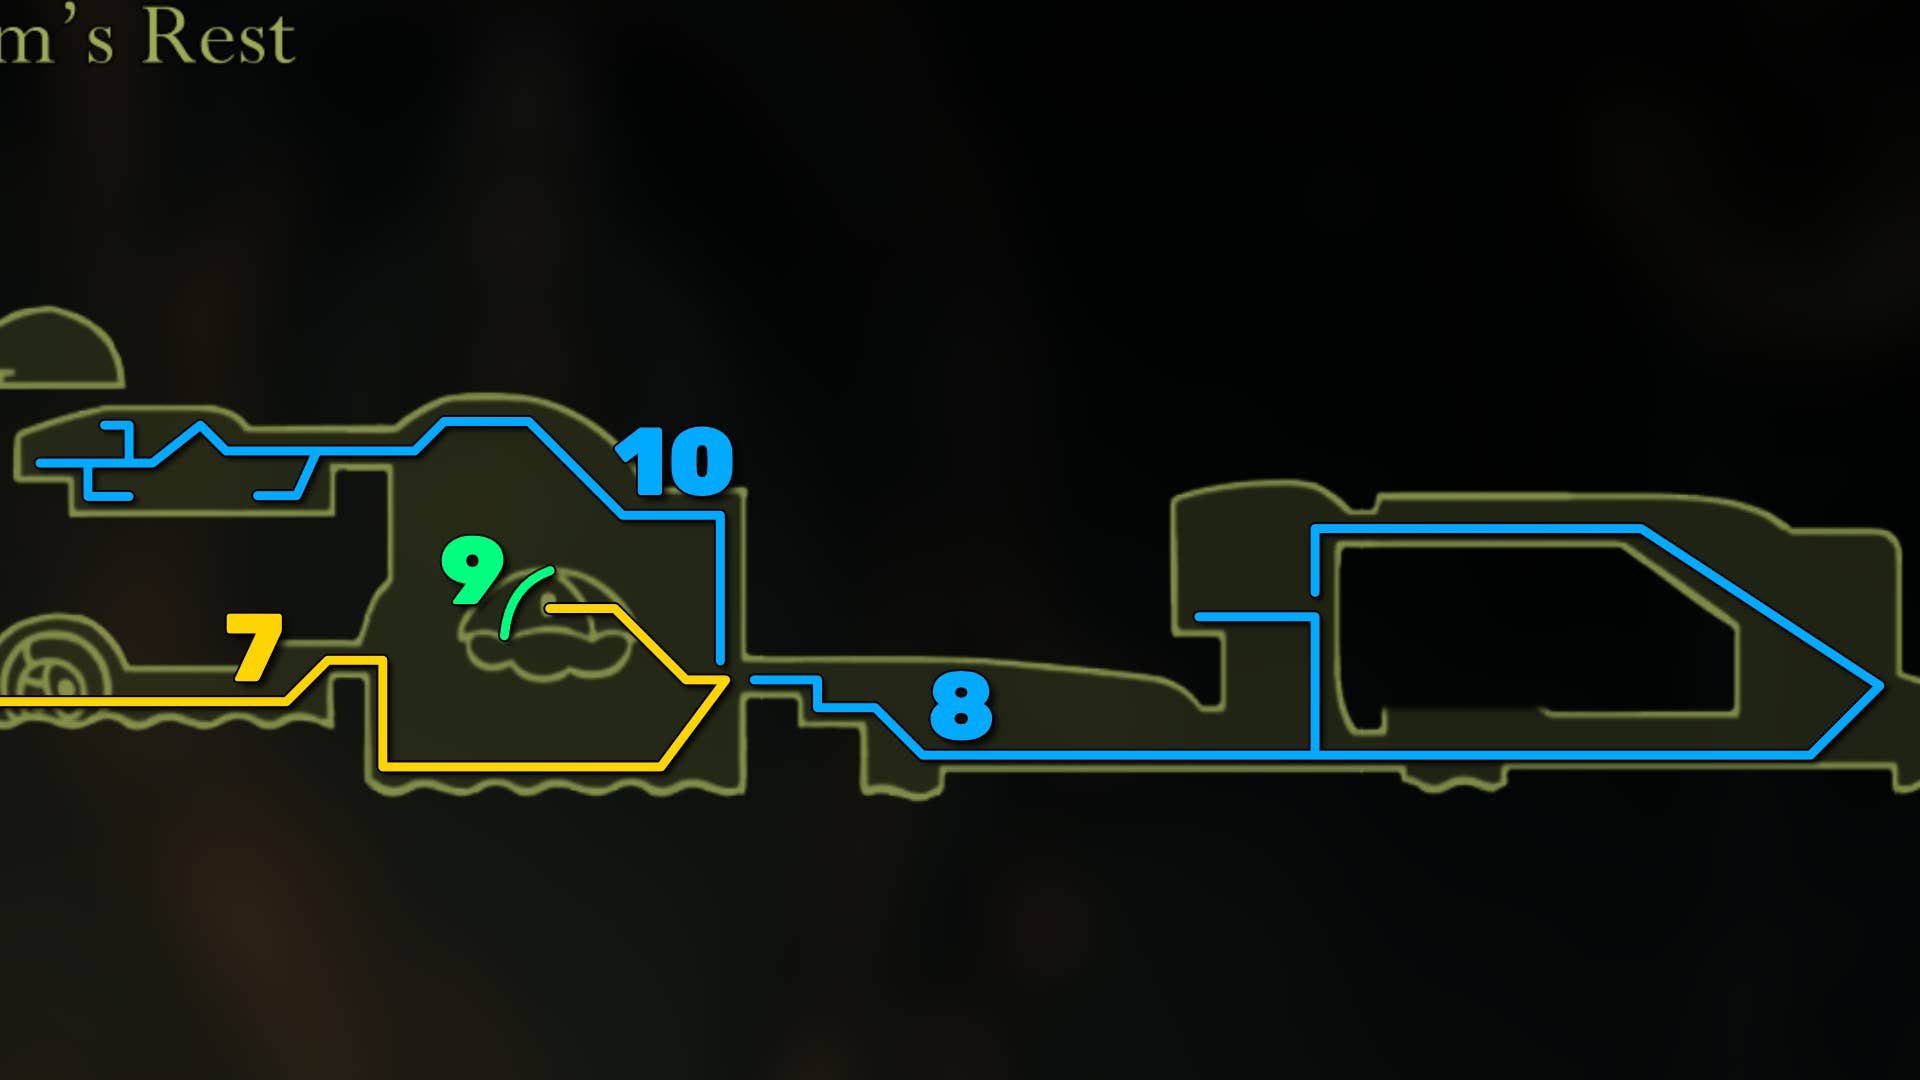
4. Head towards the pilgrim rest.
Continue climbing to the top of the room and you will arrive at the new room above. Continue the path on the right and use the top shelf to reach the left of some rosary beads. Ali soldiers are waiting at the ground level to ambush you, so be careful when you fall to collect them if you fall.
Next, head to the top right section of the room and go off-screen. For a few more rosaries, falling onto the shelf below and climb to the very top right corner exit with the bench sign.
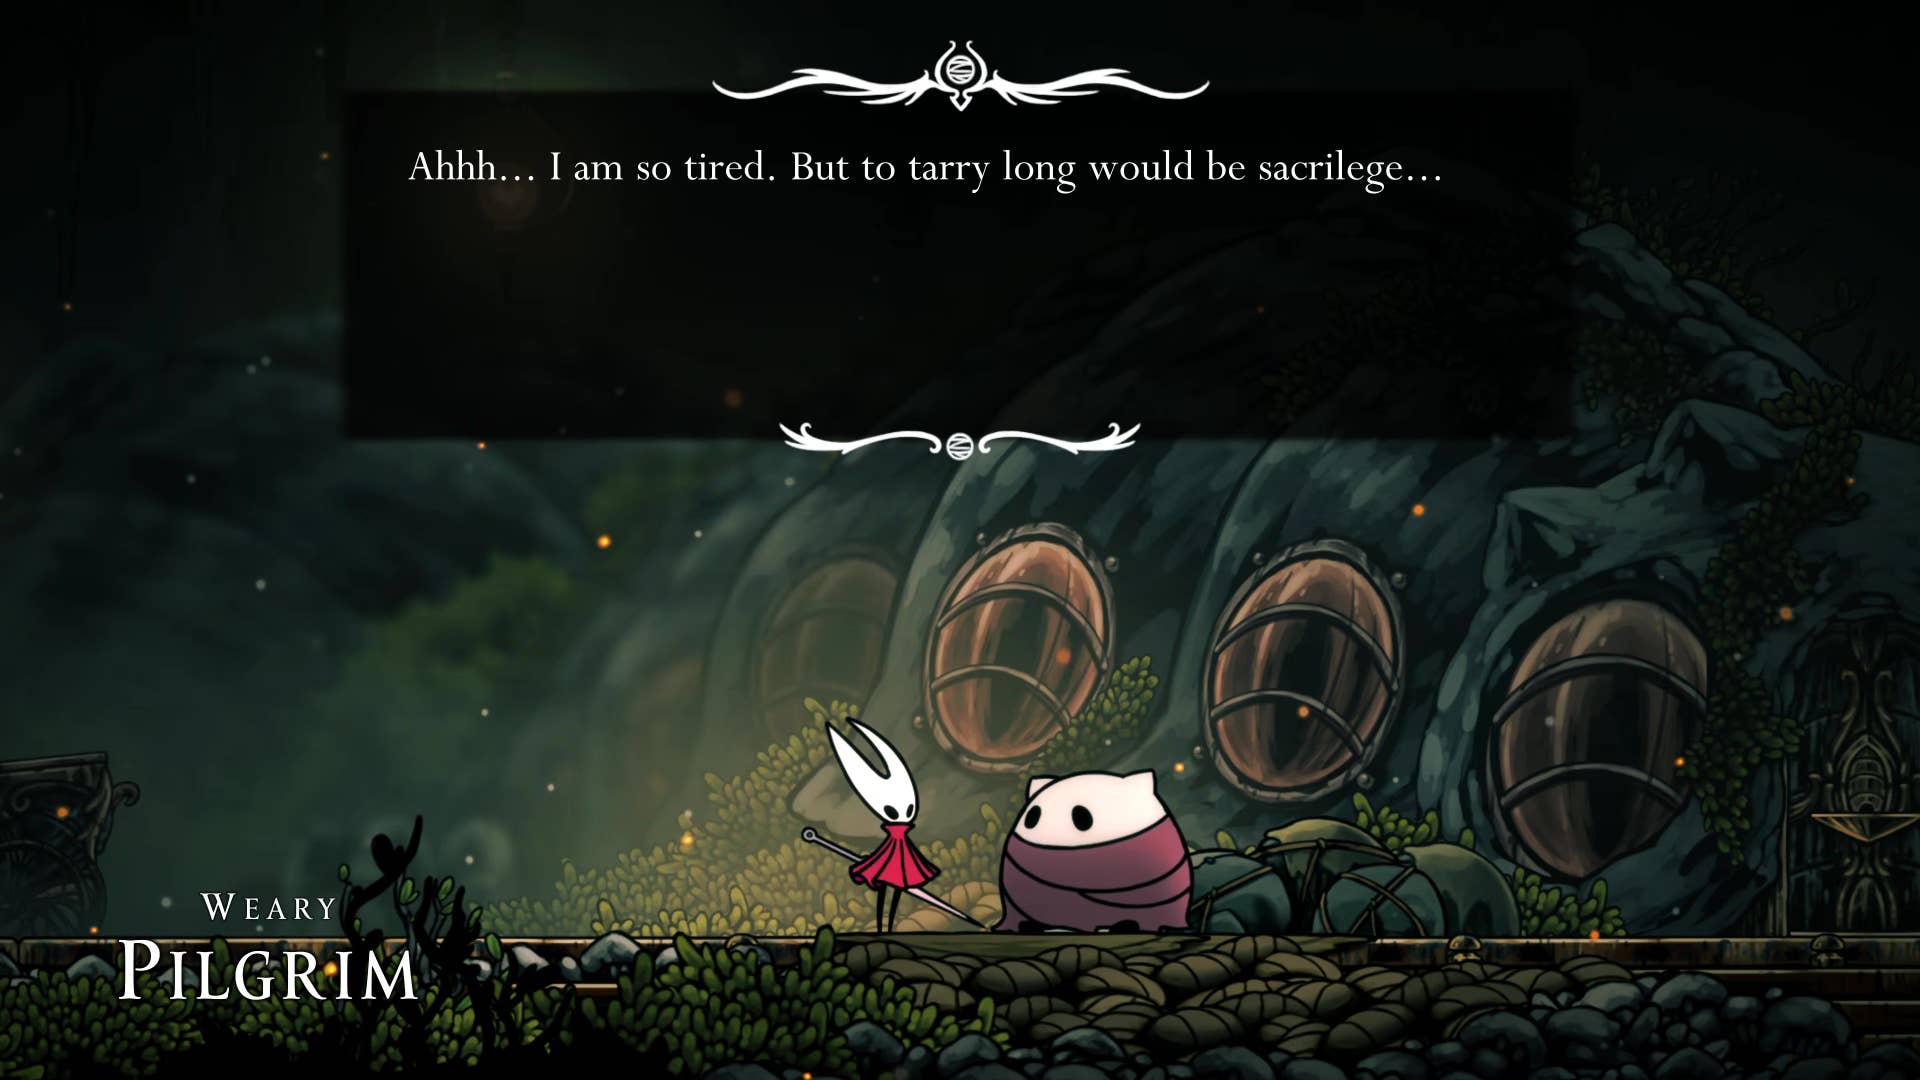
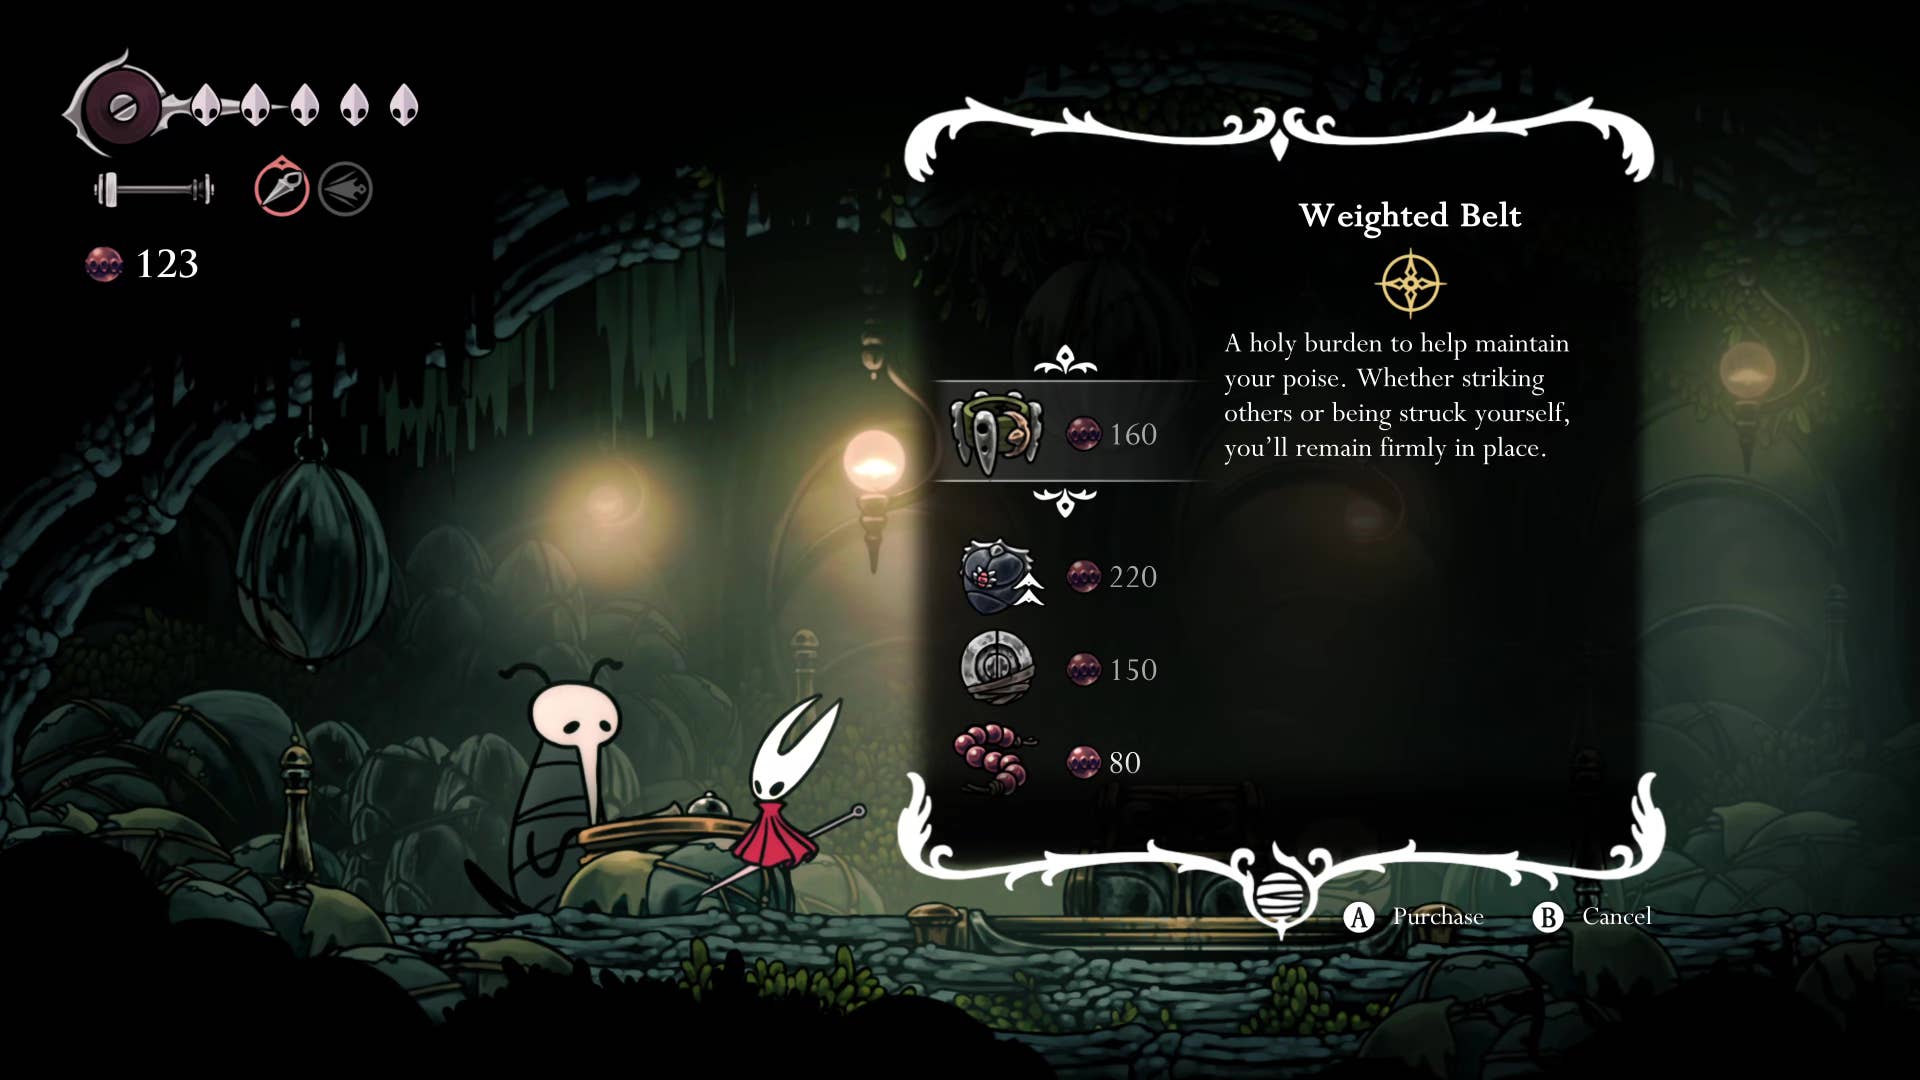
Welcome to Pilgrim’s Rest. This area allows you to talk to the tired pilgrims outside first and pay 30 rosaries to enter the building for the bench. His products are convenient, but expensive, so they are perfect for leaving them for now. If you are really swimming with Rosary Beads, you can take a weighted belt or memory rocket if you want, but it is not necessary.
Once you’ve finished socializing, you can explore the room a little more, but there’s nothing to do here. There’s a door on the right and I’m being pissed off by something on the other side, but I can’t communicate at this point.
Instead, I used the platform to get to where I reached the top left exit. Push the lever in the next room and pass through the top of the central shaft.
5. Explore south of the main shaft.
Drop down to the bottom of the shaft. There is a passageway to the right, which leads to a small training area for the ants. Two ants will attack you there, but nothing to collect except for fragments from your body and Rosarie. Return to the main room and pound the orange rock in the center of the ground, then explode open and descend further.
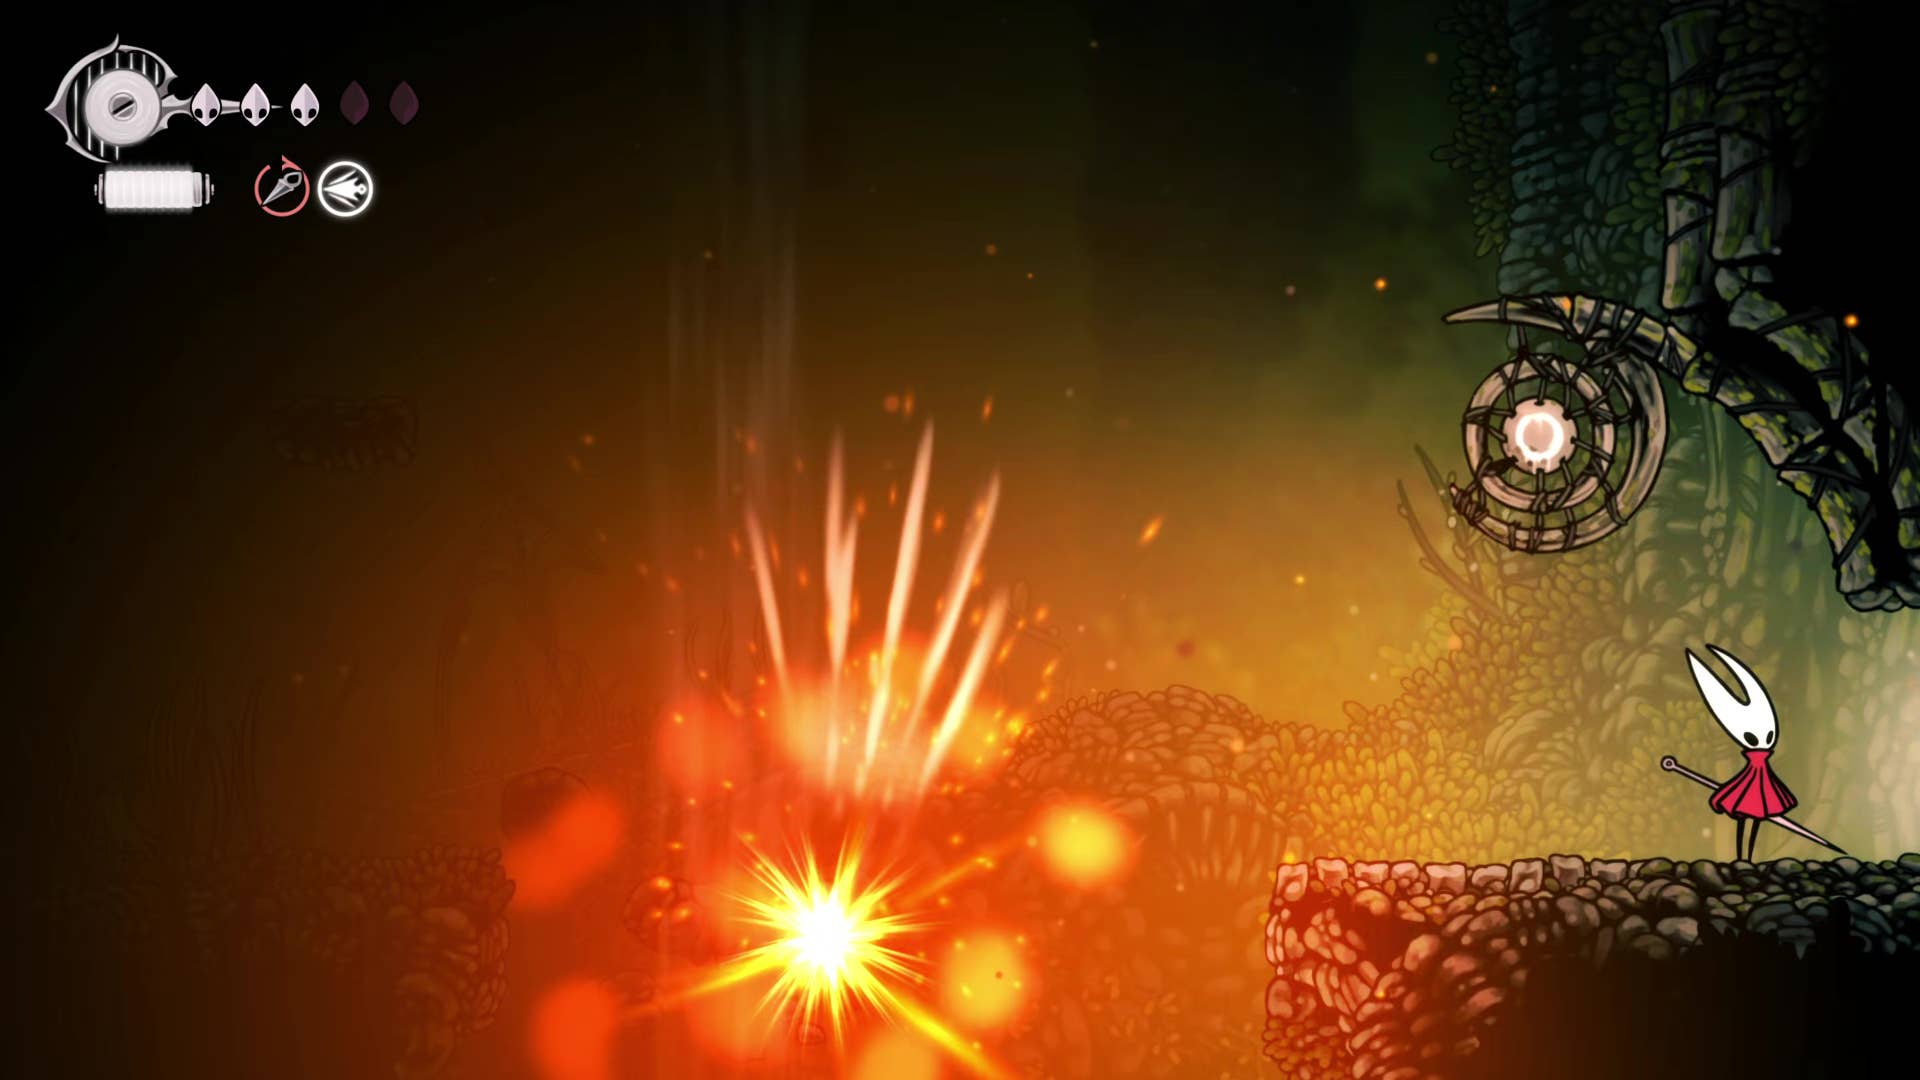
Proceed towards the bottom of the shaft and bump into more orange rocks as you go – they open the vents of air you will use later.
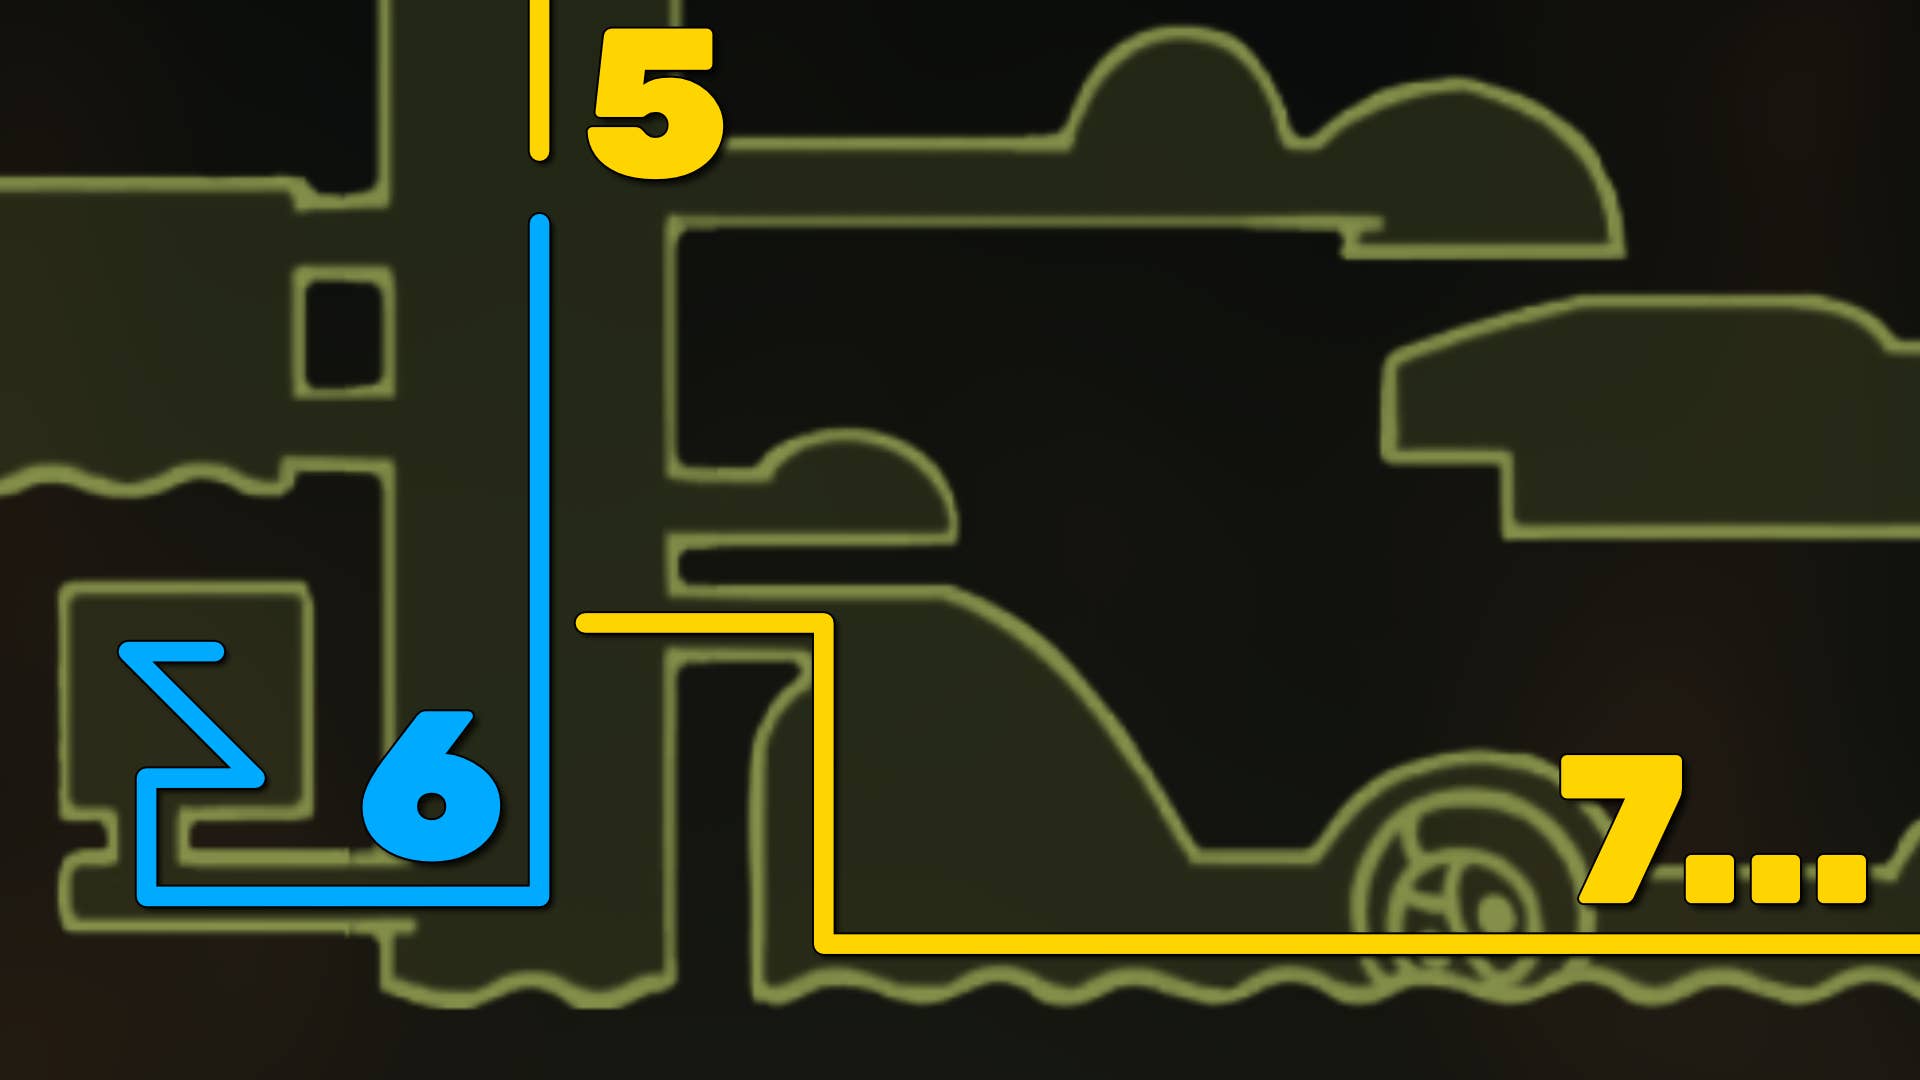
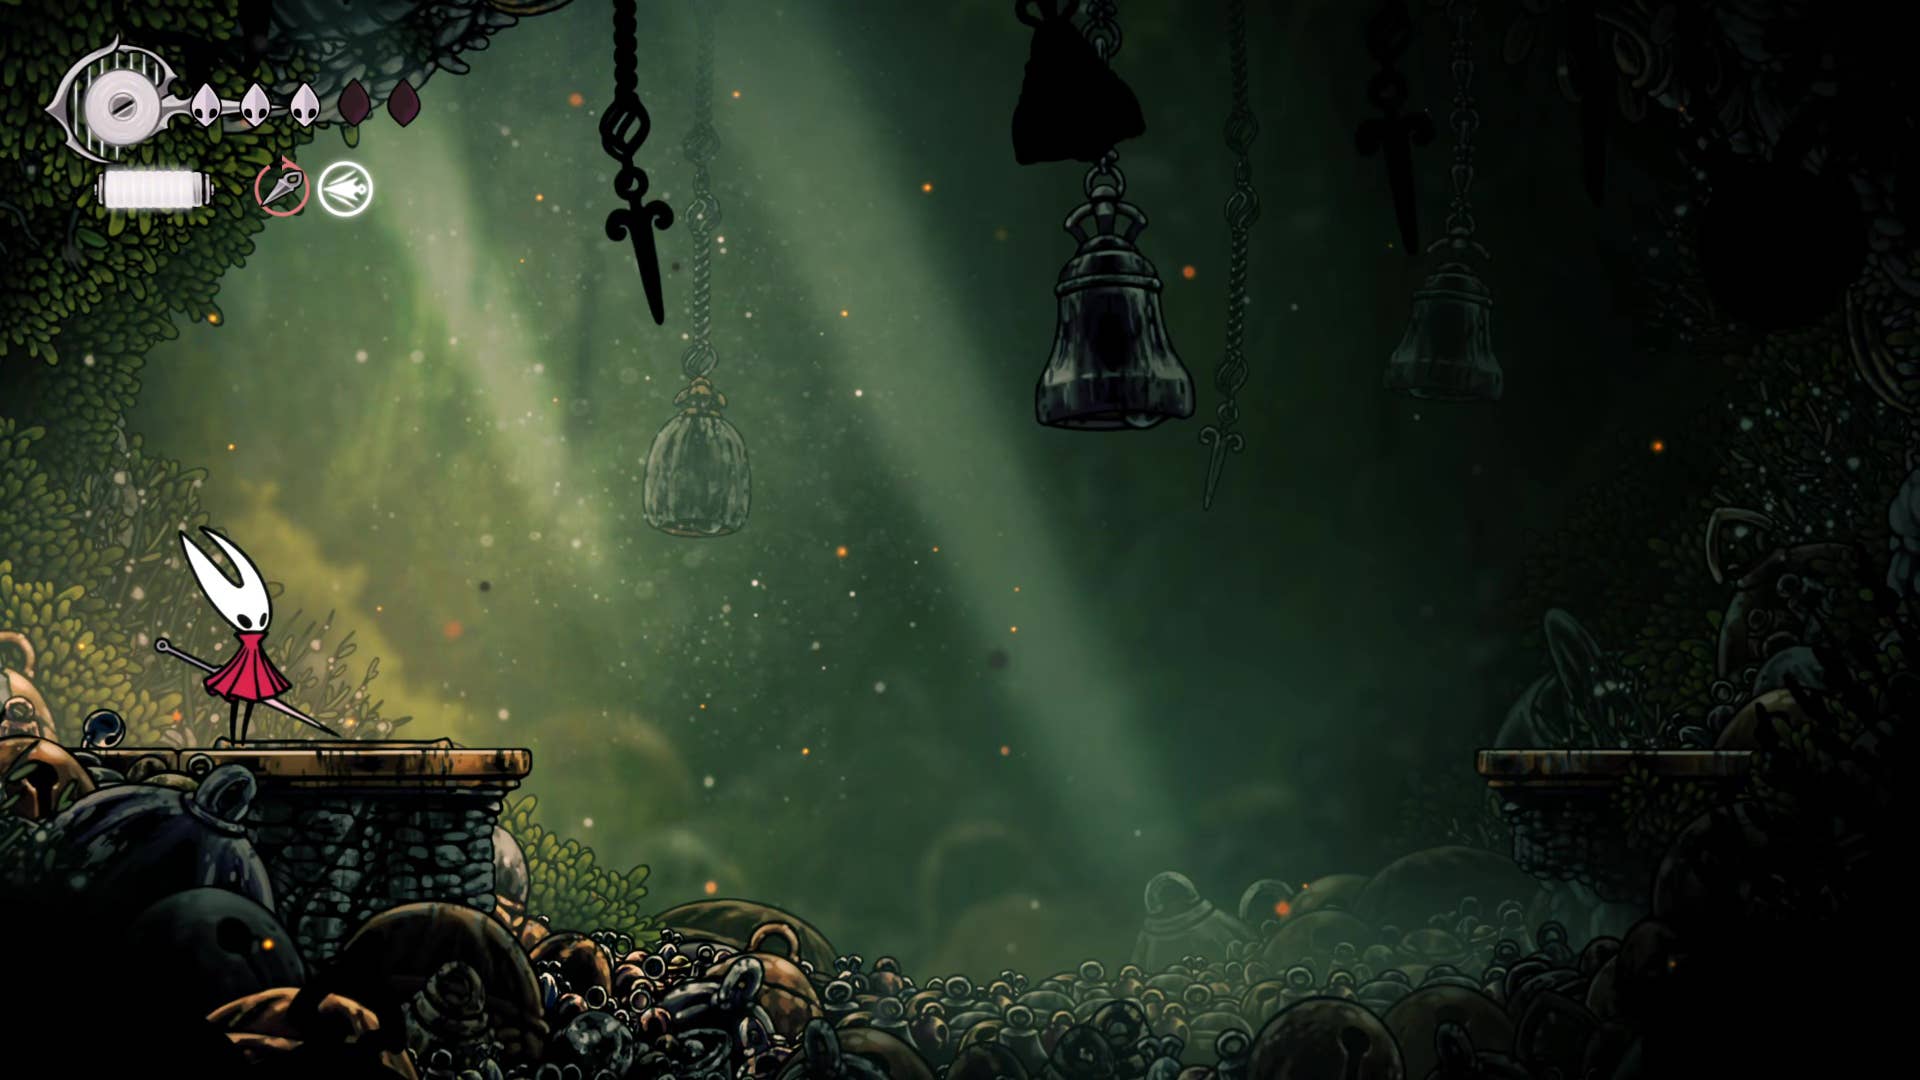
6. Get the word bell.
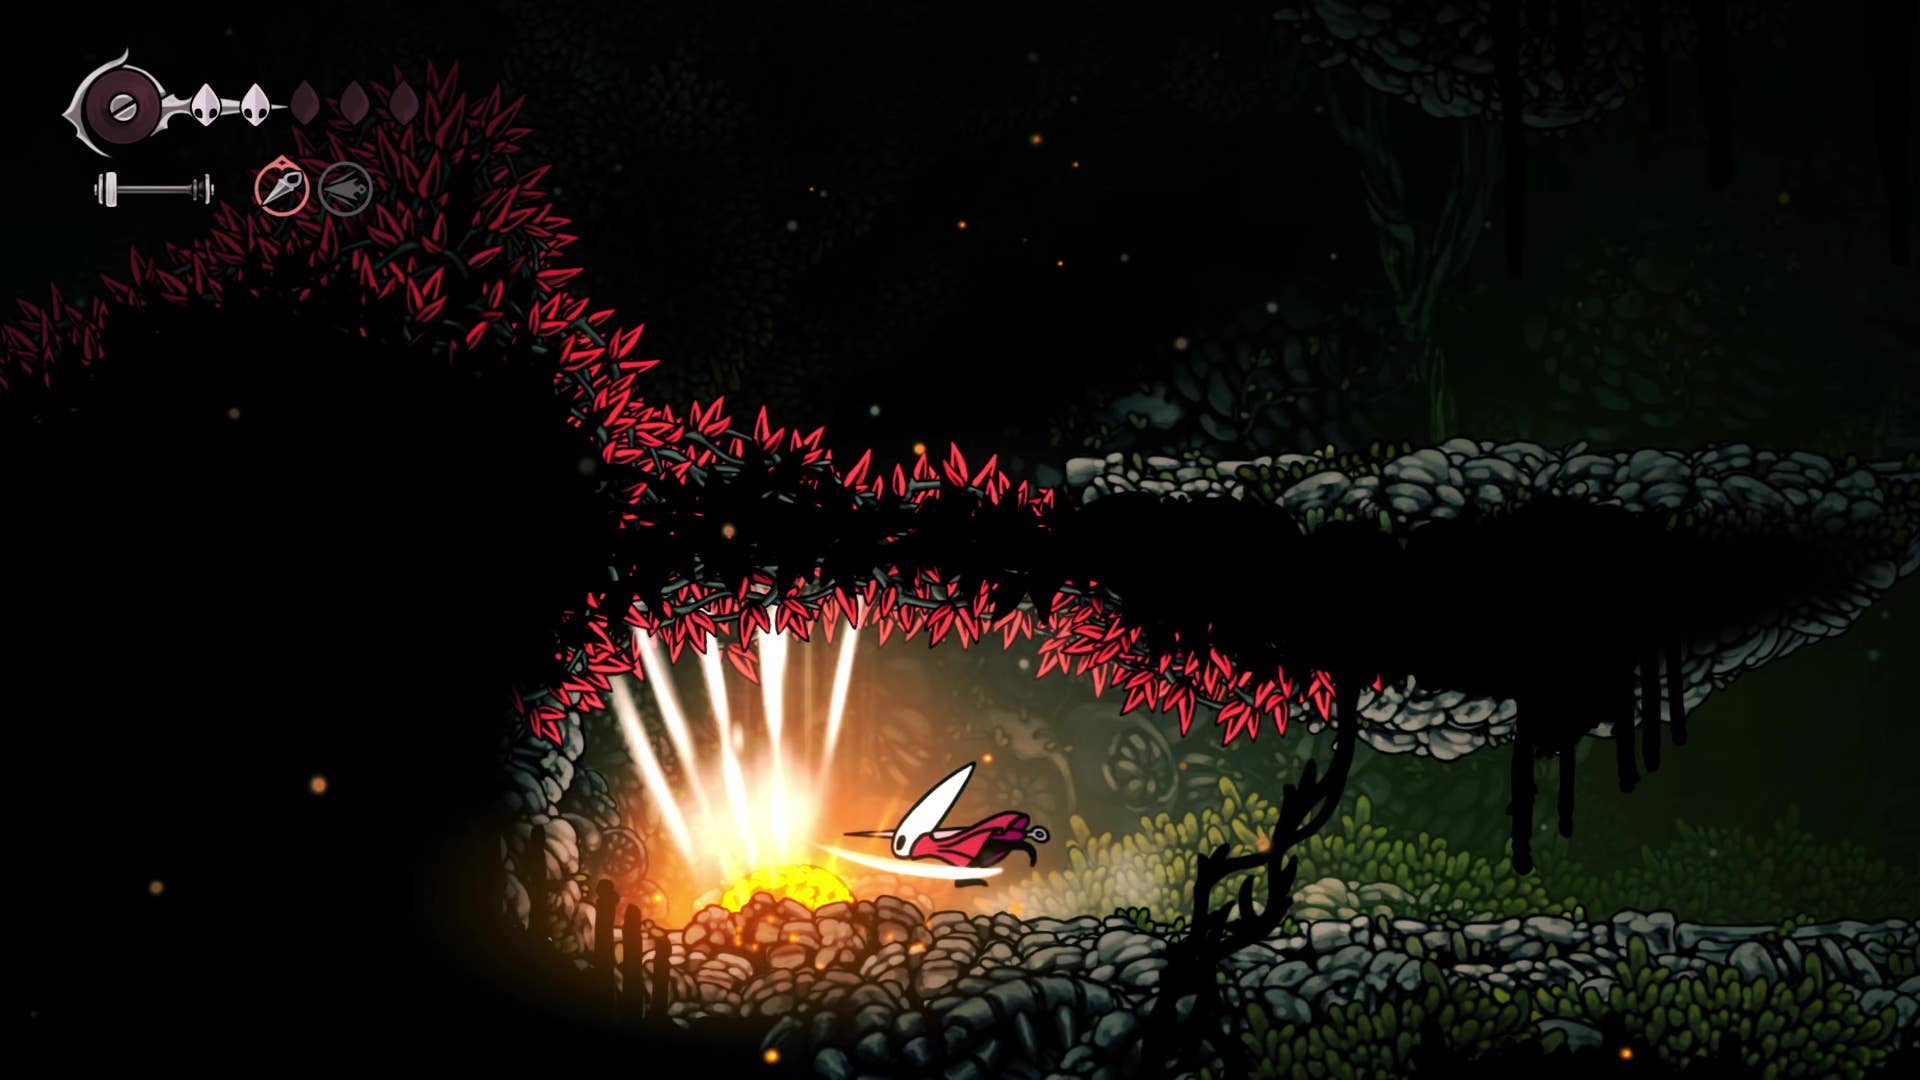
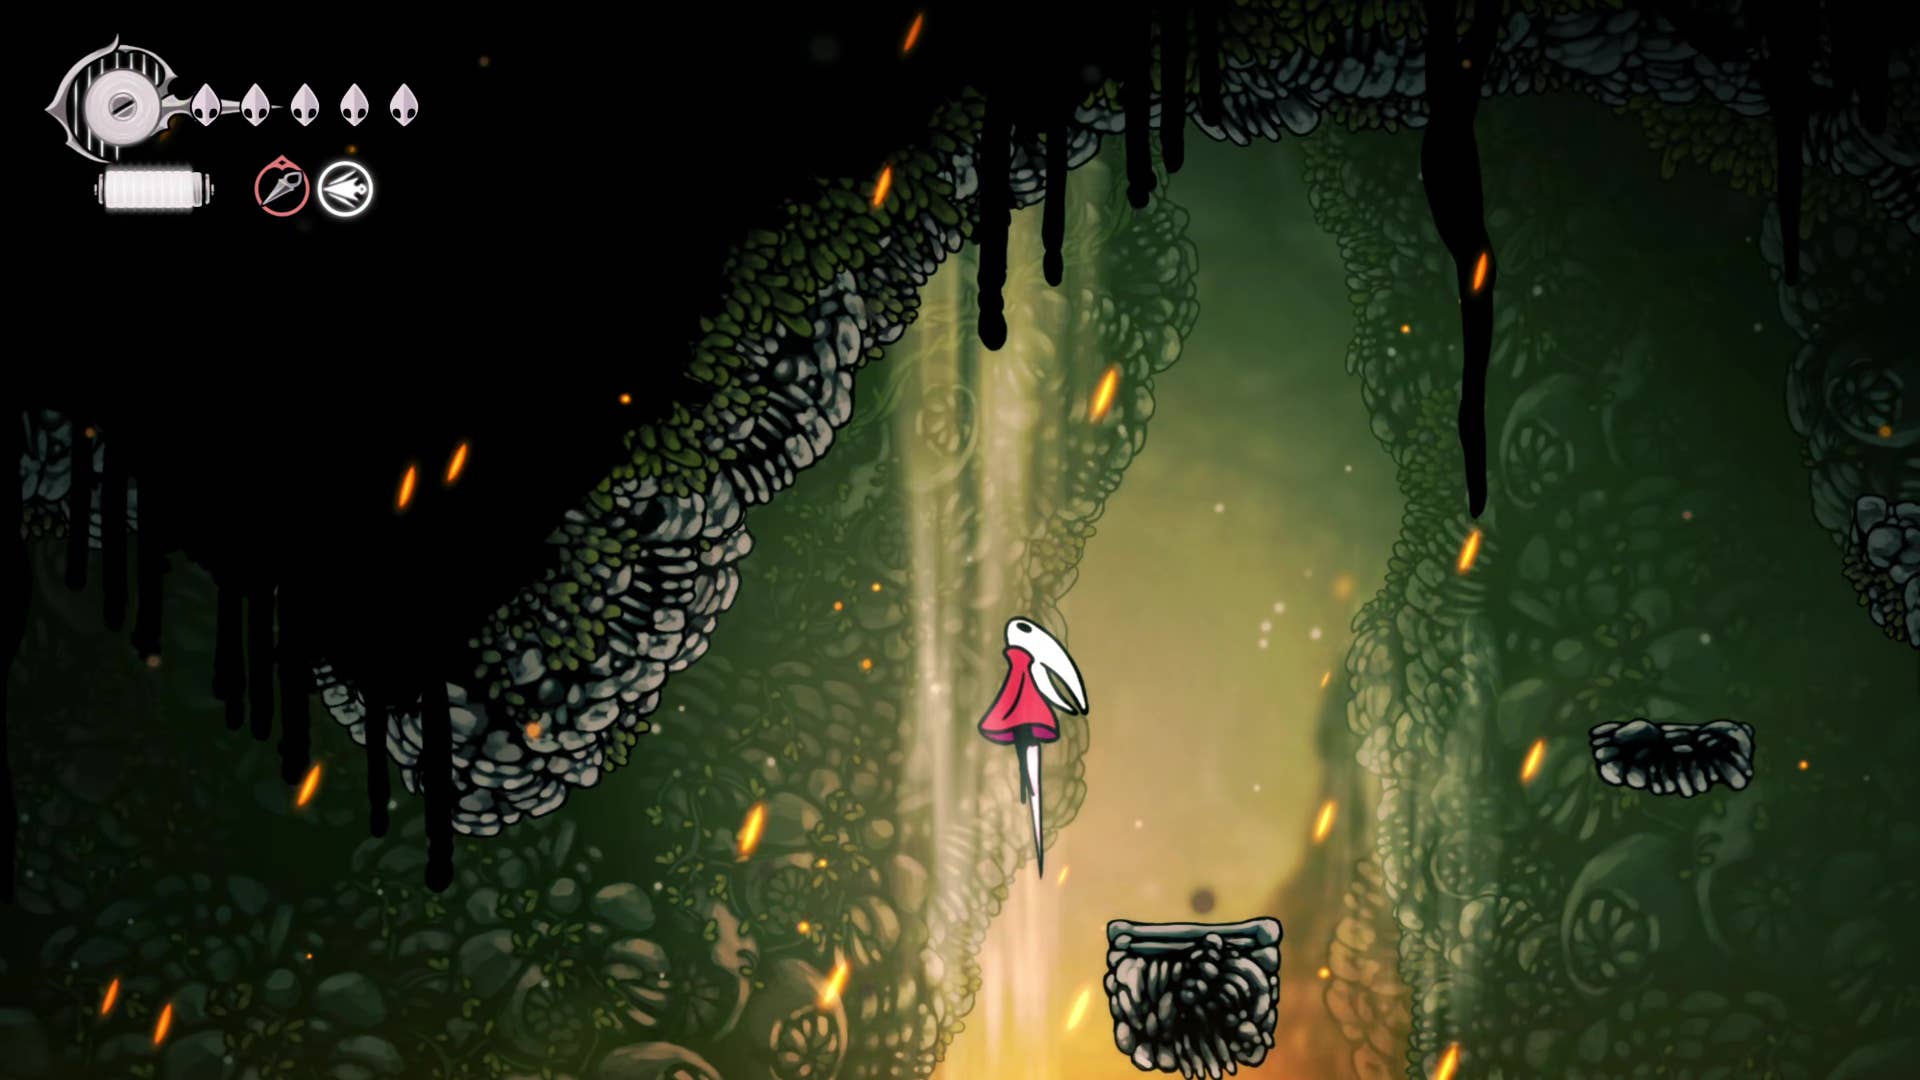
Drop down to the bottom of the shaft (but be careful of lava). Exit through the doorway on the left and walk to the edge of the path where the ray is cast, jump upwards to reveal the secret area.
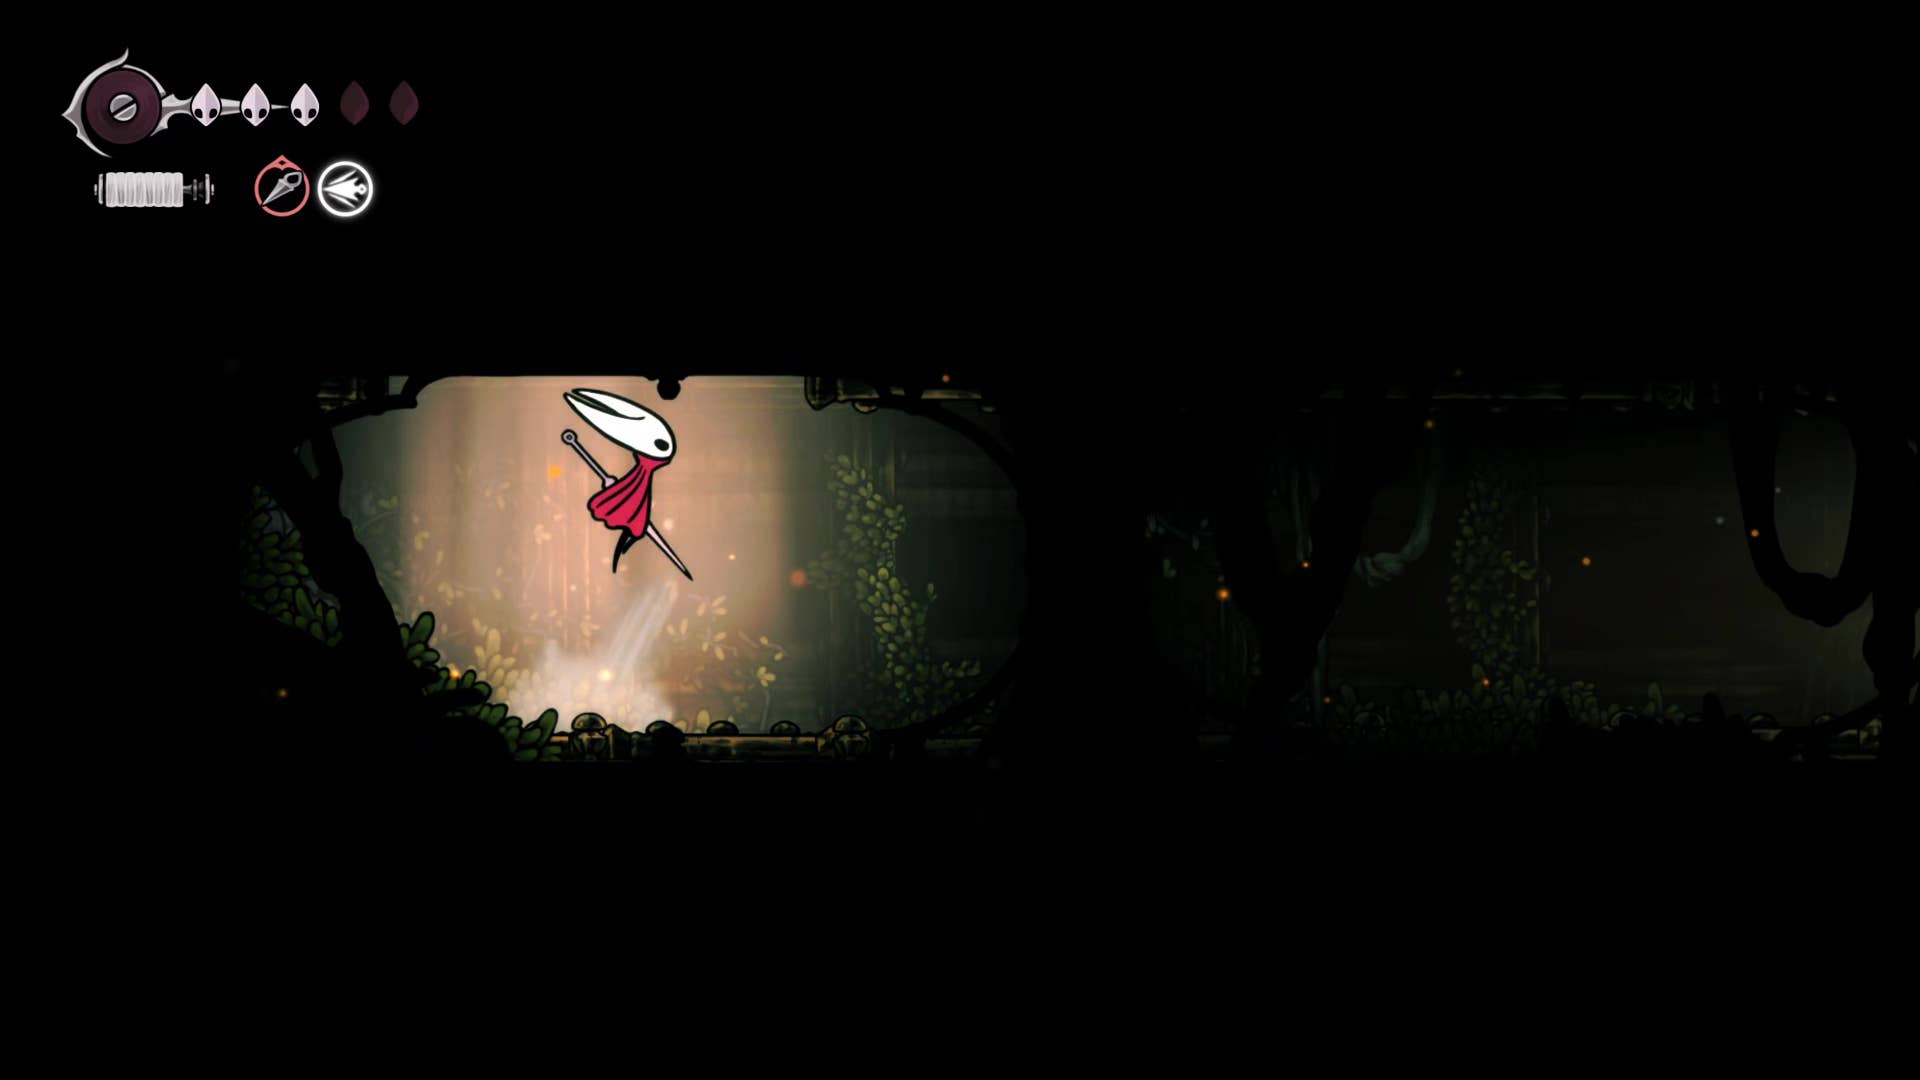

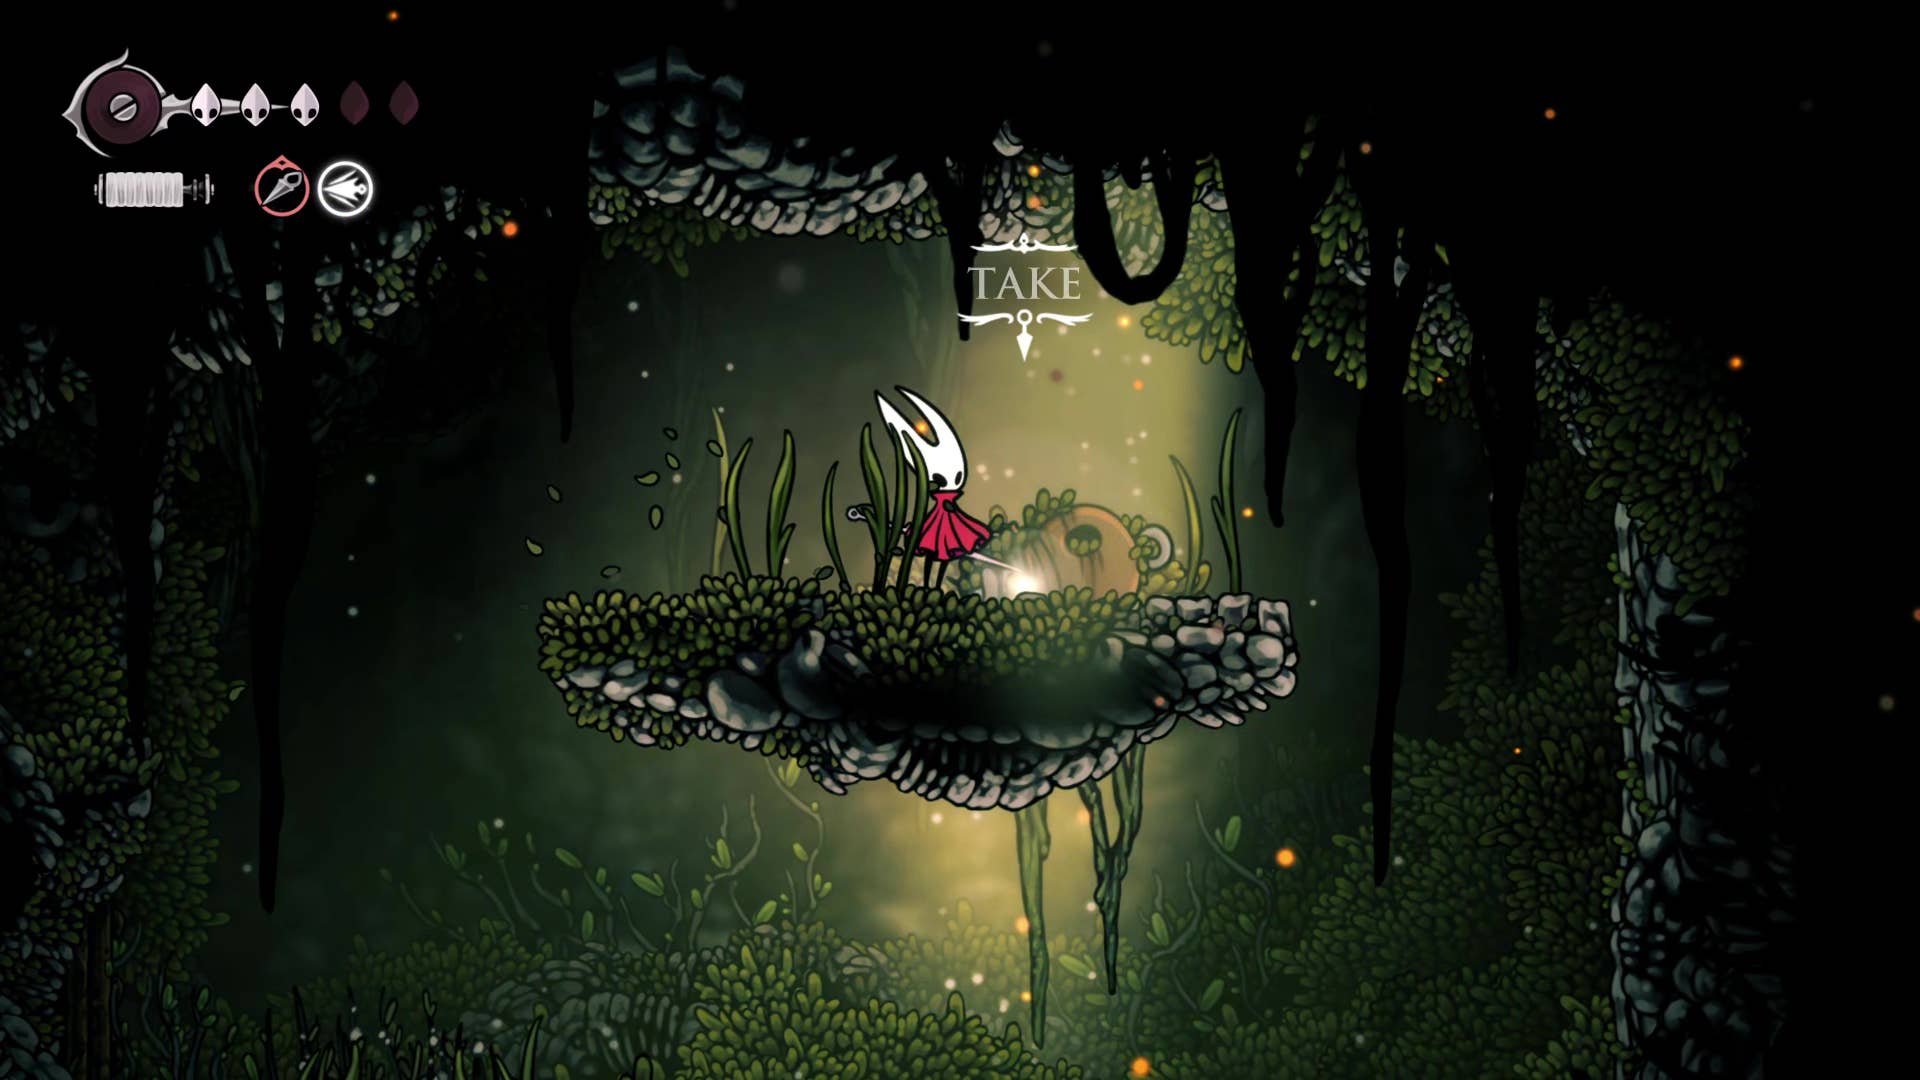
Climb onto the top platform, plunder items on the ground, and ring the bells. This handy tool, once equipped, immortalizes the Hornet while she is tied up to heal herself. If you’re using Wanderer Crest, this tool doesn’t have blue slots, but if you prefer long-range attacks from Hornet’s default Hunter Crest, the Warding Bell is a big advantage.
7. Head east and accept the Tailor’s Quest.

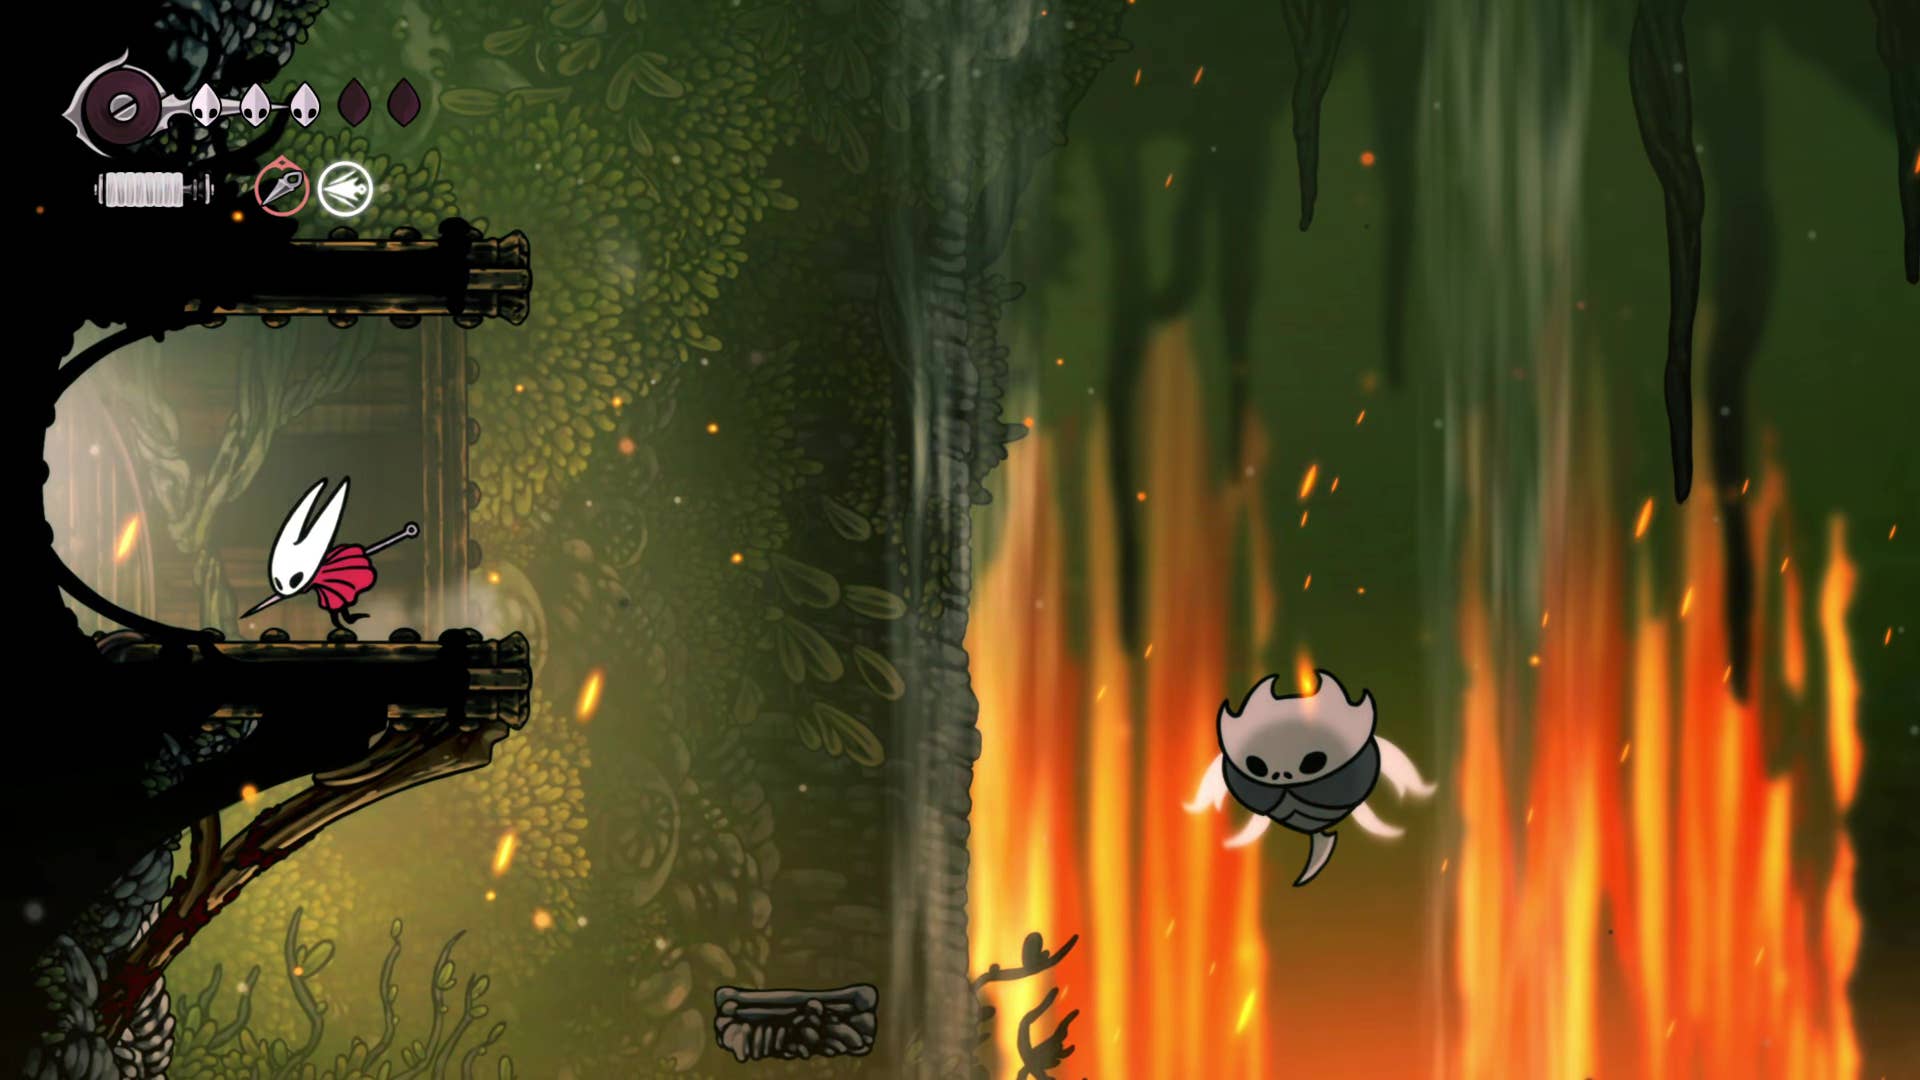
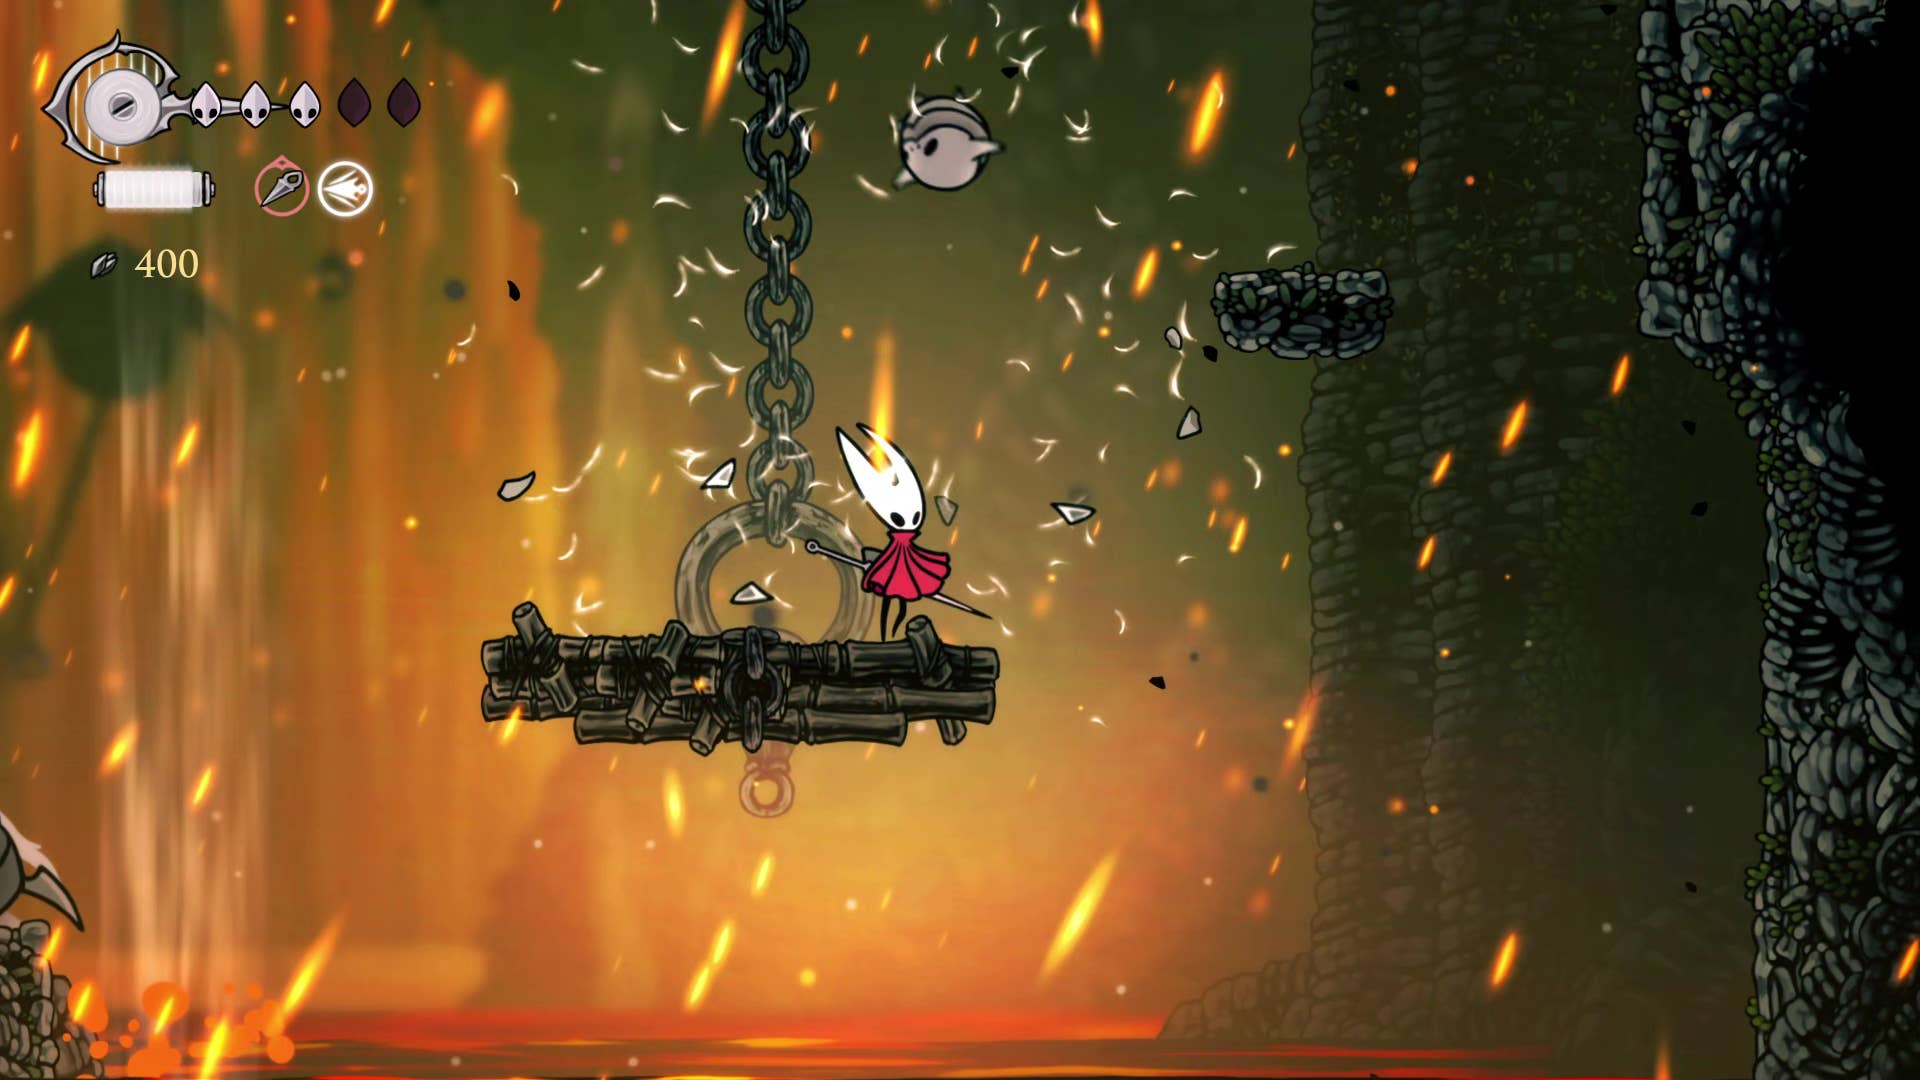
Return to the main shaft. Along the way, you will climb the shaft and fall to the exit on the right, just below the room where you found Shakura. Cross the next lava-filled room (nothing to attack you yet… nothing yet) and come out into another much larger room filled with hanging platforms.
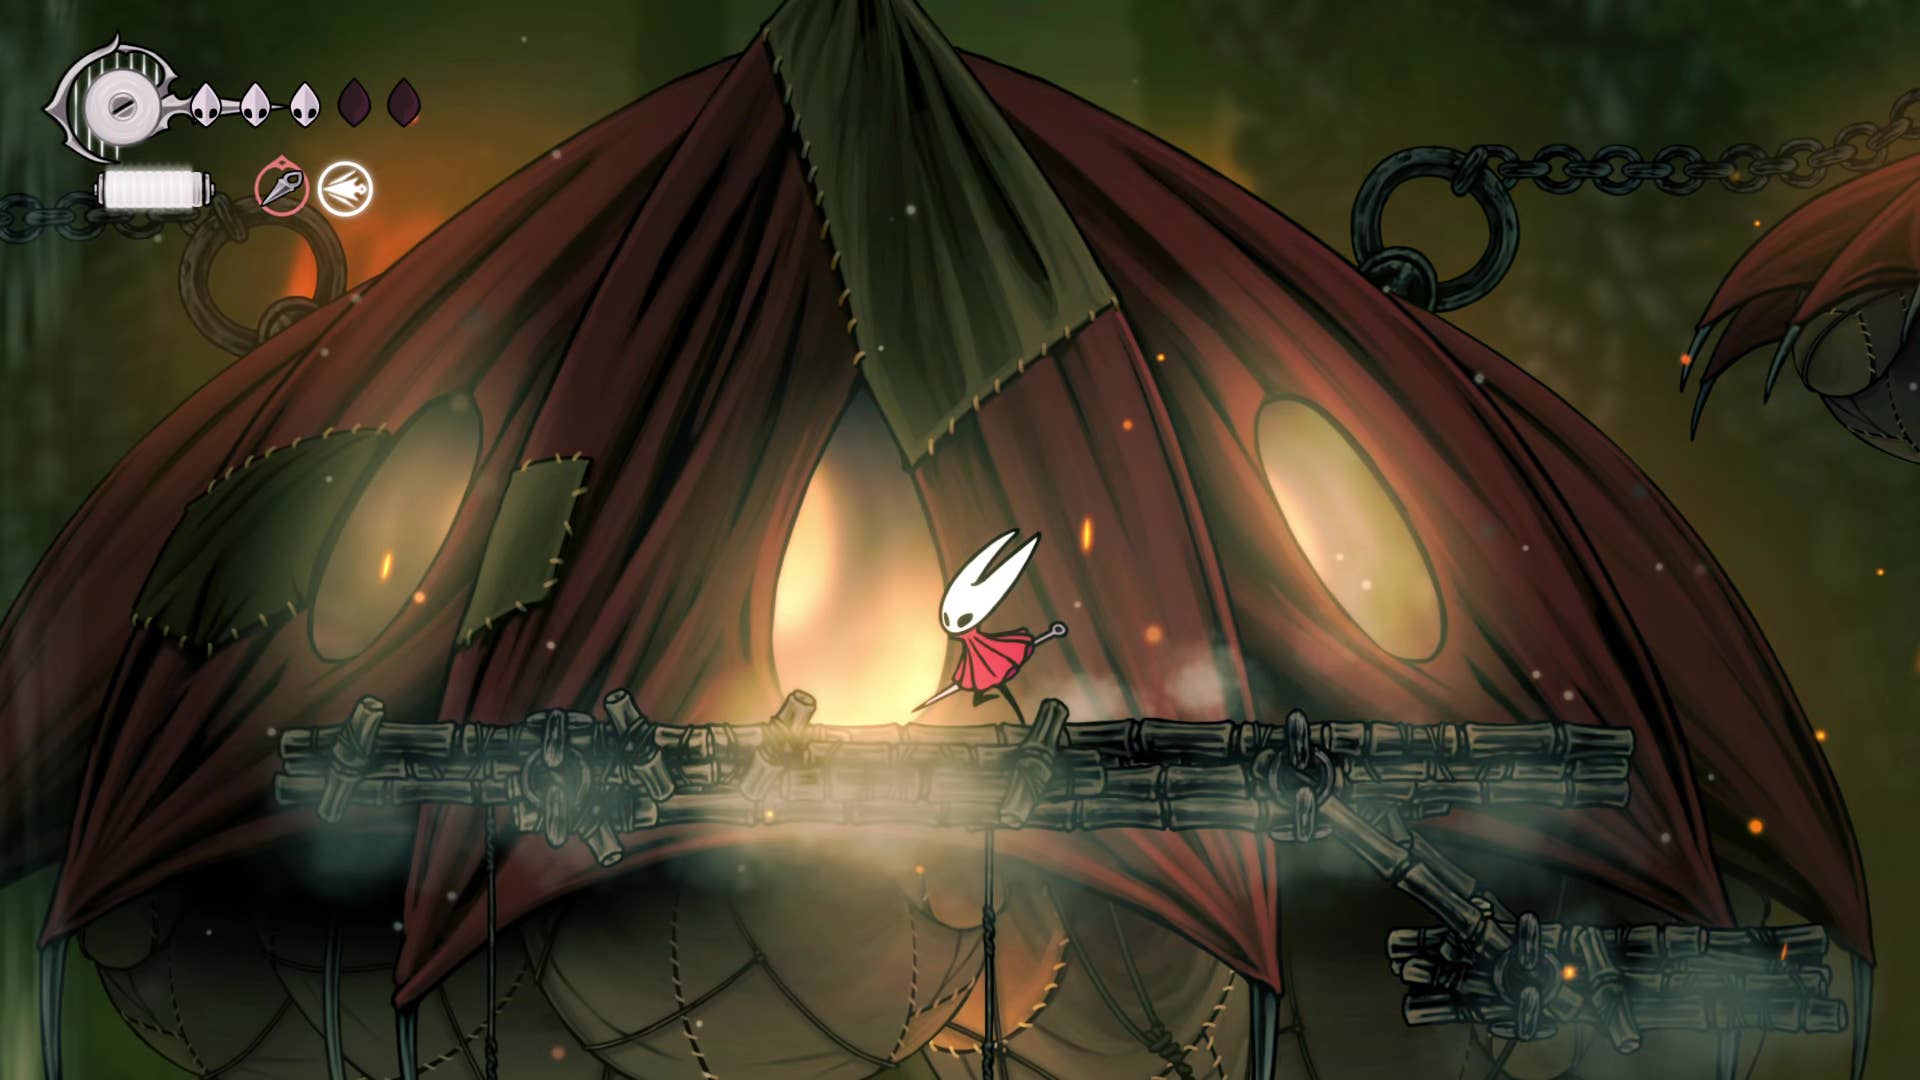
This room is dominated by a large balloon-like structure in the center. Drop on the ground level (beware of lava), head to the other side and use the platform to reach the entrance to this balloon structure. Inside, you will meet the new NPC: The Seamstress.
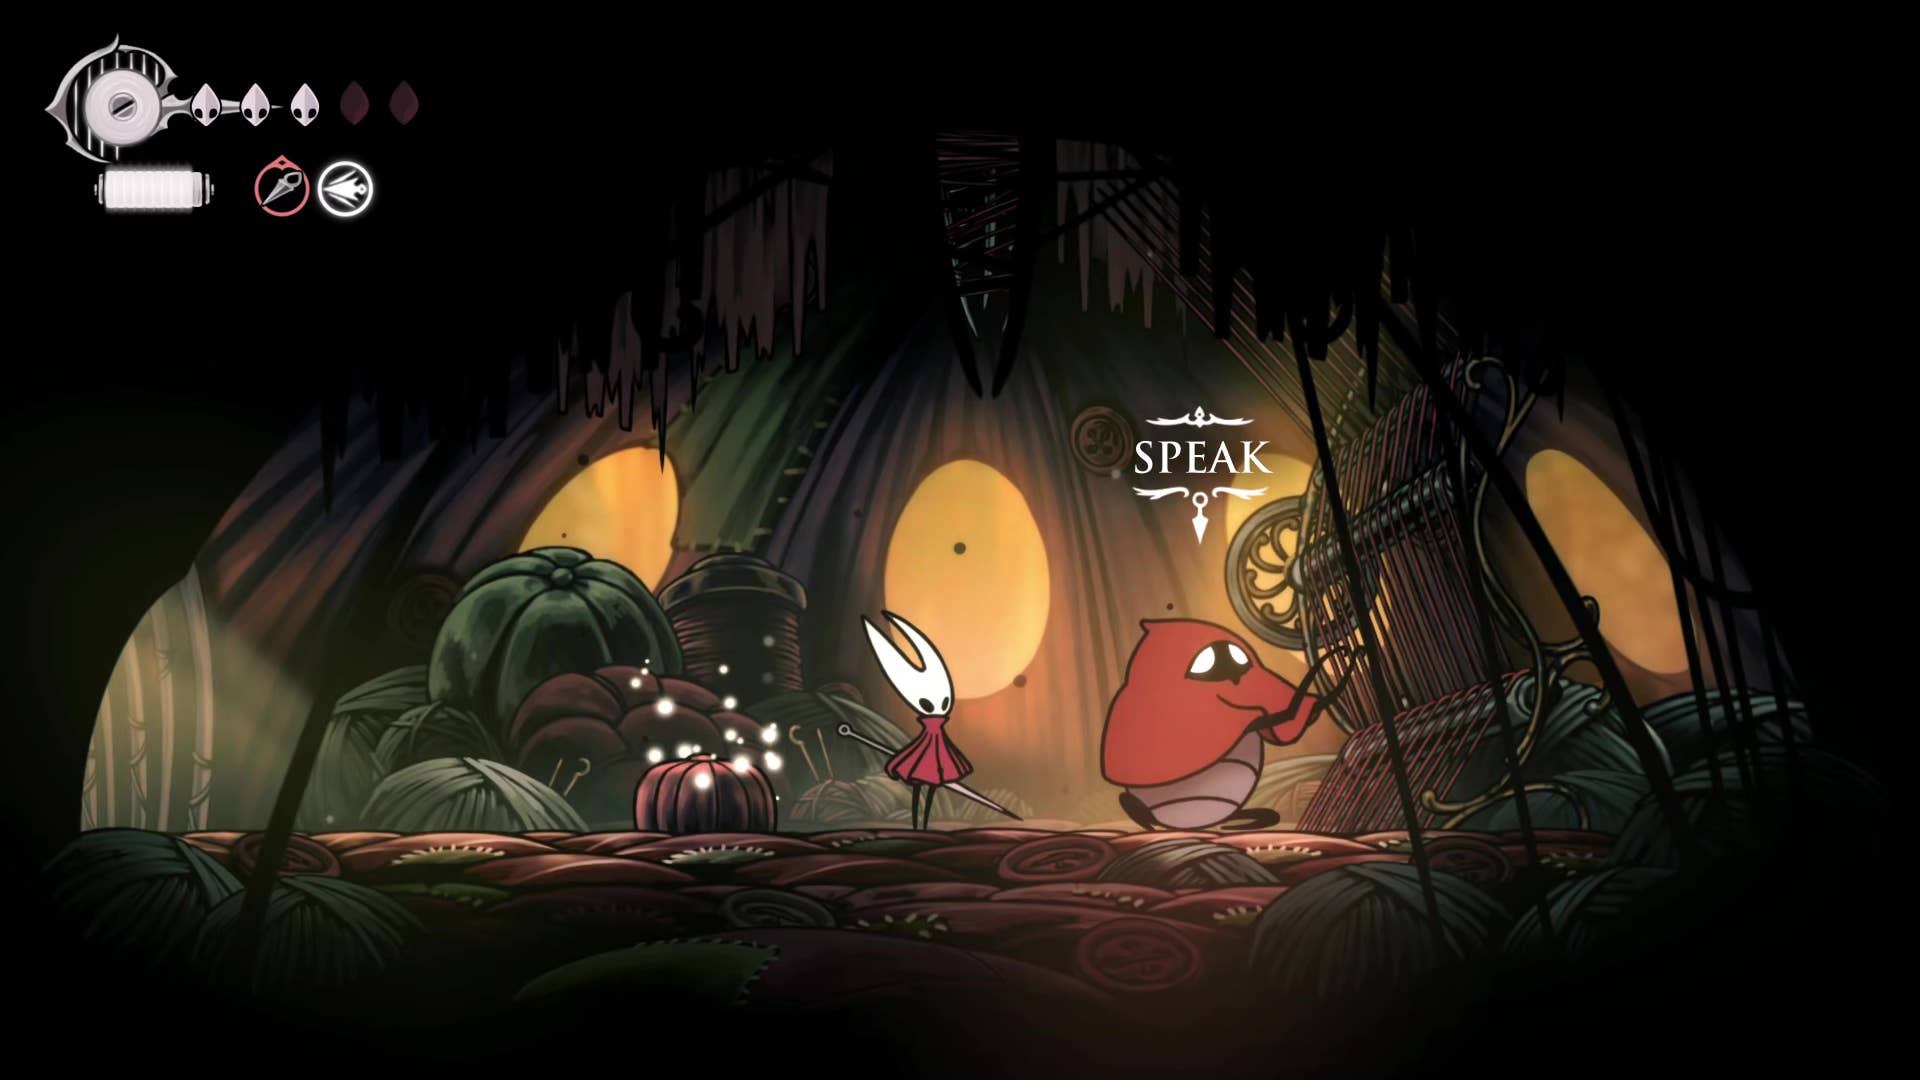
He embraces her quest to eliminate the tailor’s dialogue and gather 25 spine cores. This quest is the whole reason you are here. Because rewards unleash the ability to use their vertical currents everywhere they can be found in Silkson.
8. Collect 25 spine cores.
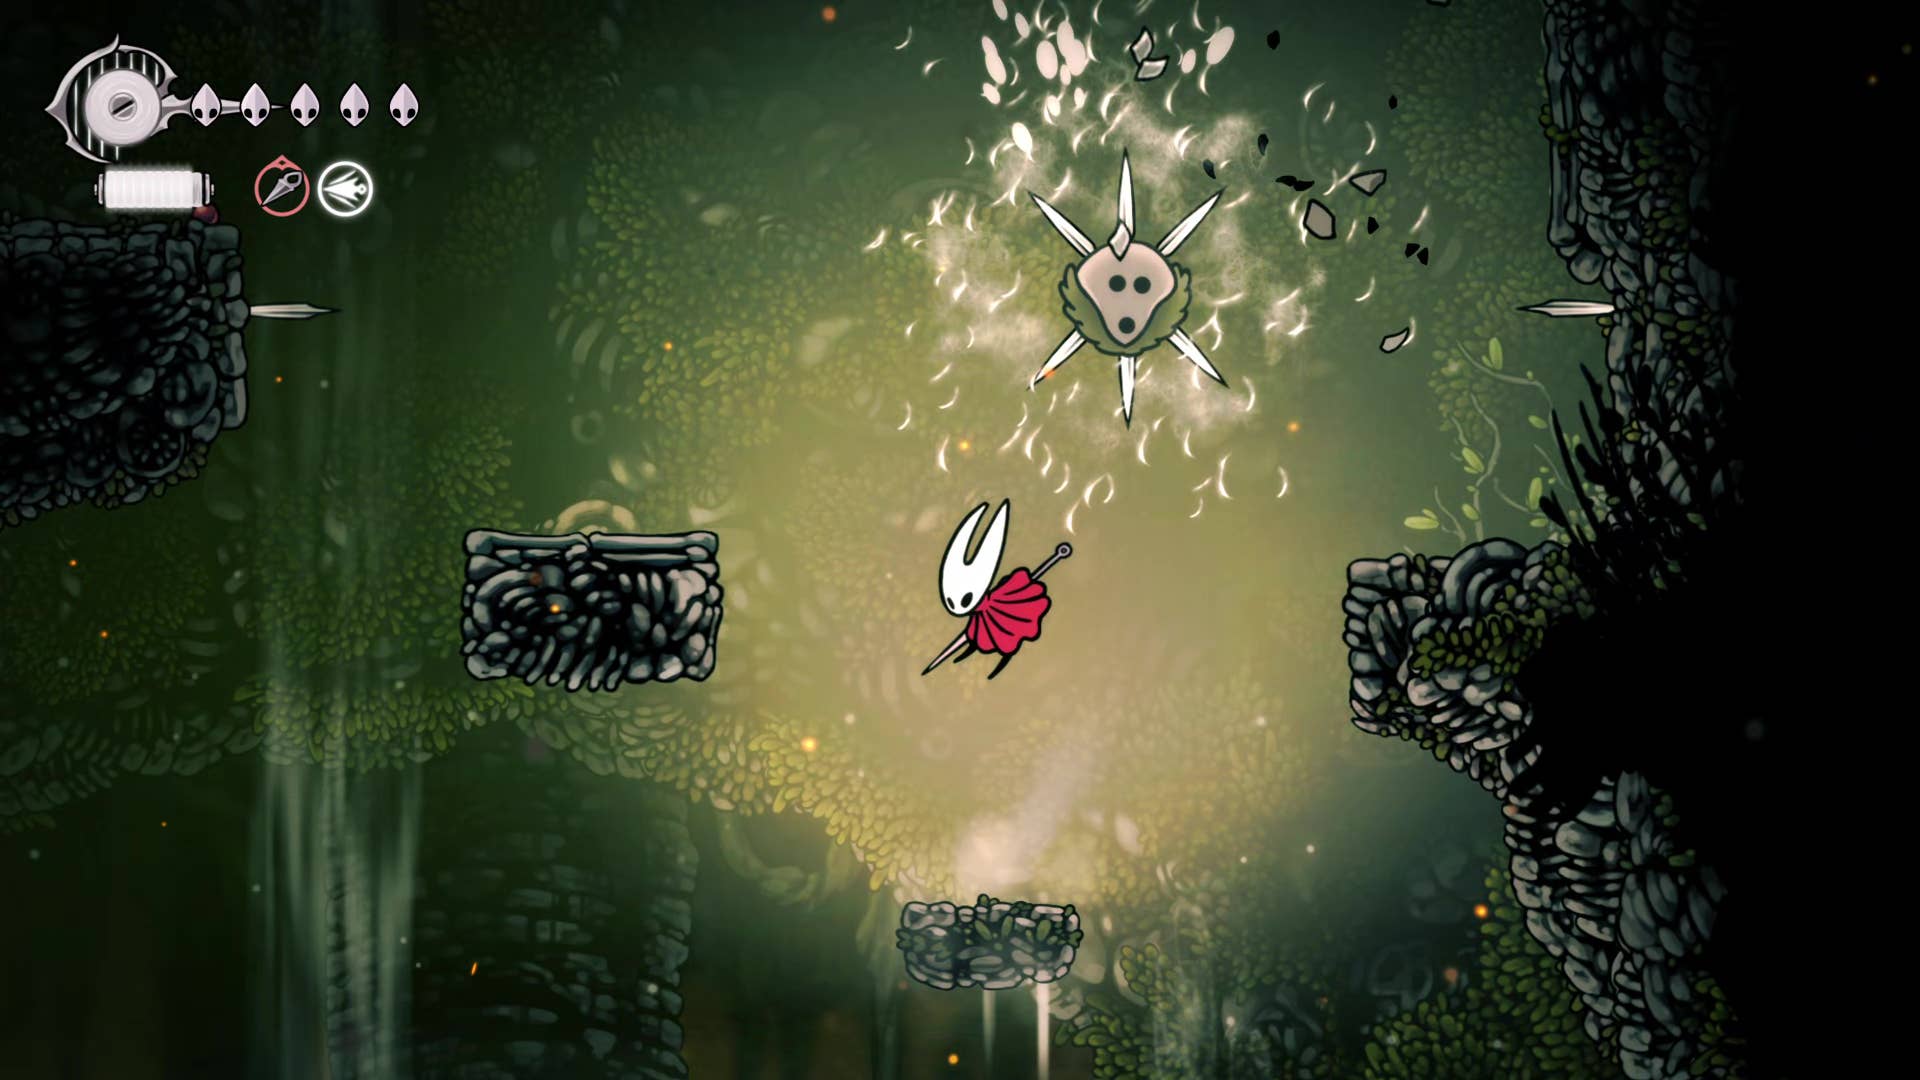
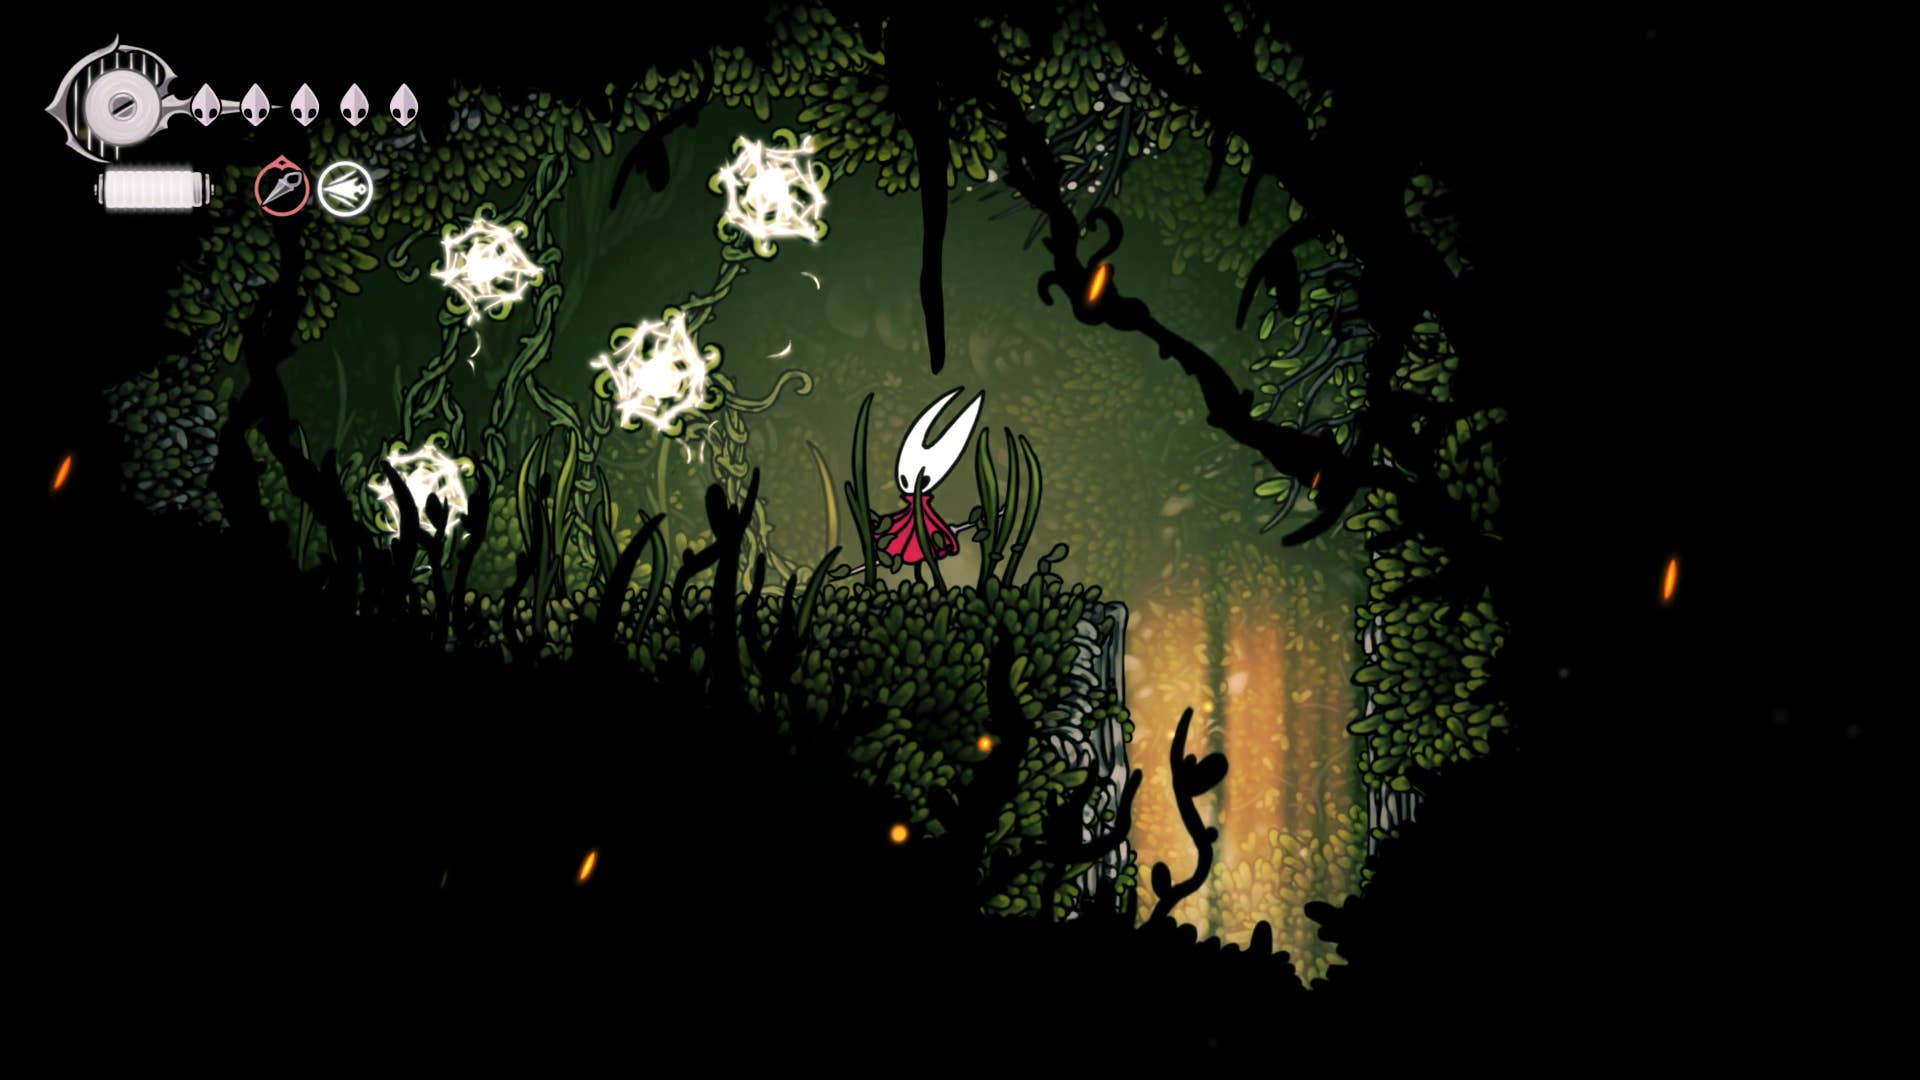
Leave the tailor’s house and head right to the right until you find an off-screen path. These next two rooms are where you find these 25 spine cores. The enemy you want is a furry floating ball that throws spikes in all directions. Kill them and harvest the spikes where they land.
Continue exploring these rooms and collecting spine cores until you have 25 rooms, but that doesn’t take long. Don’t forget if you see an orange rock. The one on the bottom right of the first room opens the passage to the next room.
The path will eventually return to the start of the cave, so finish when you have finished your exploration and collect all the spine cores you need.
9. Return to the tailor for the drifter’s cloak.
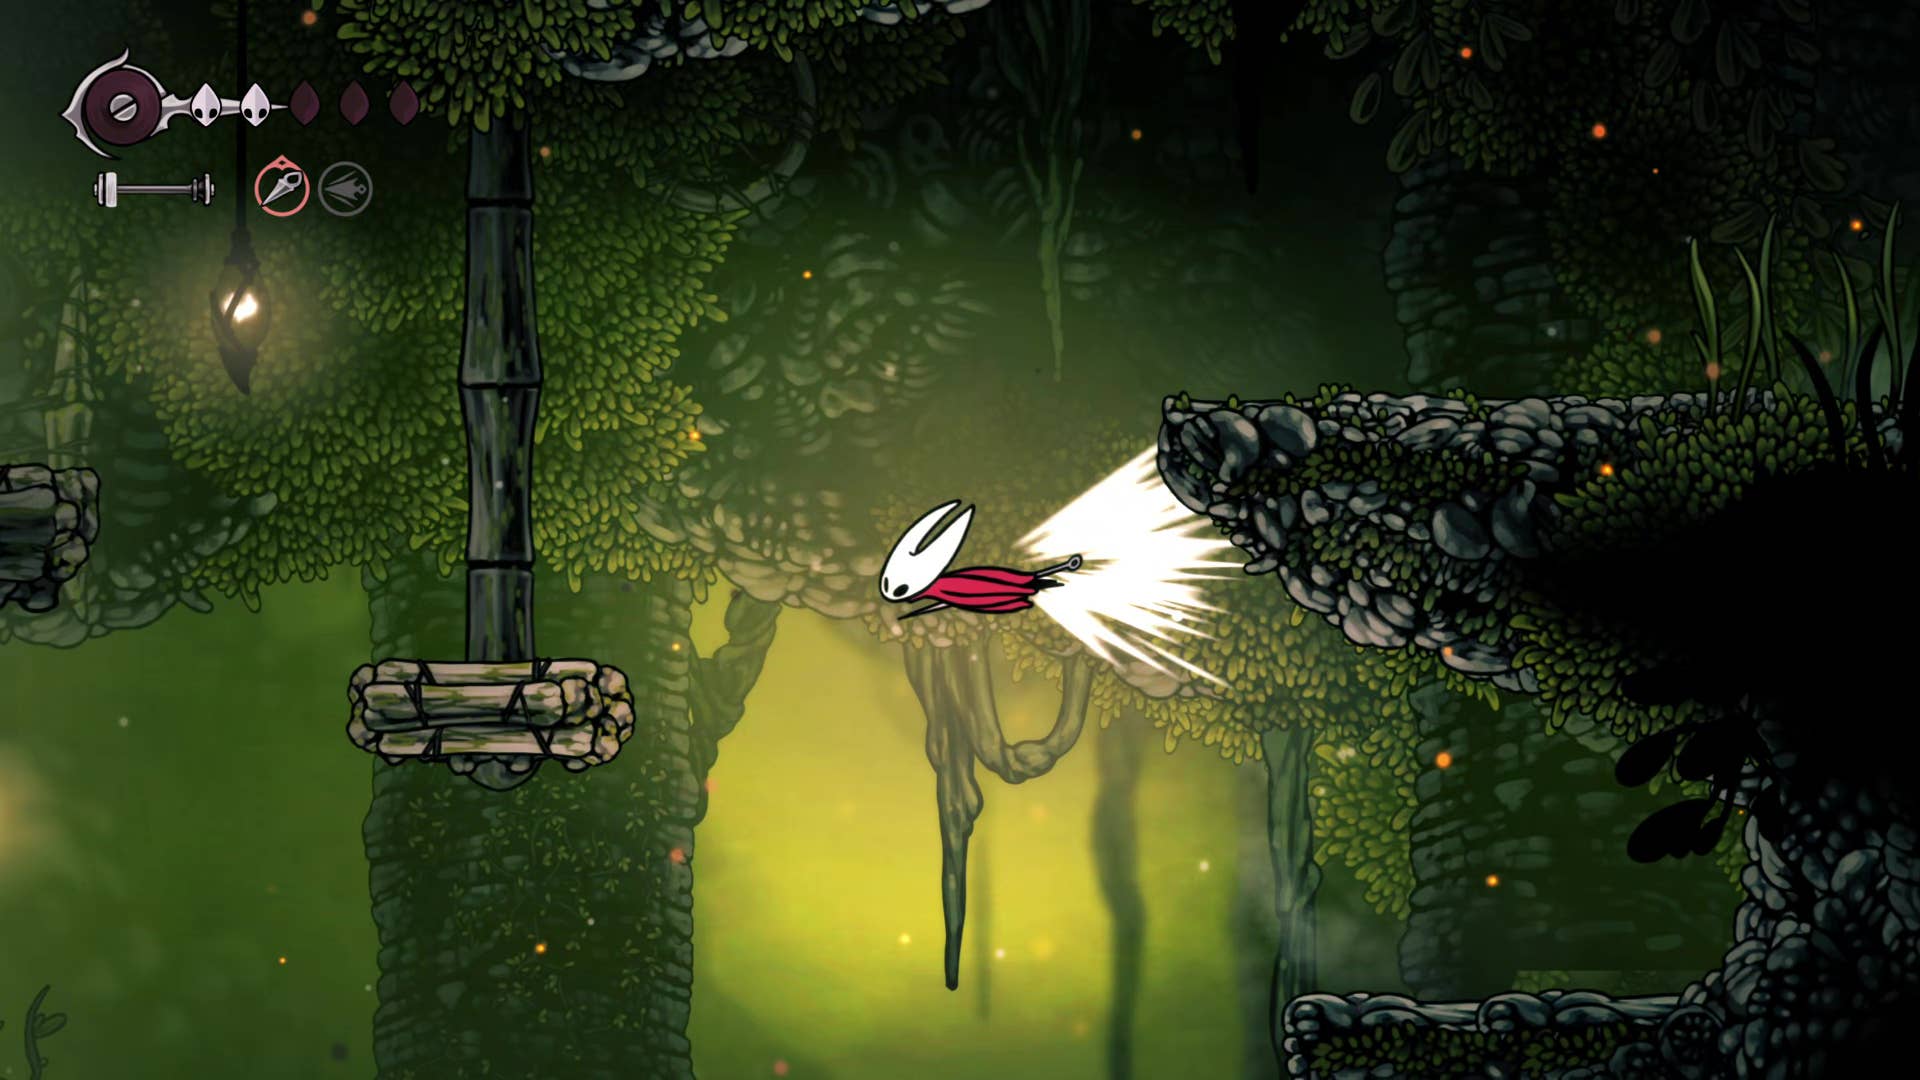
Returning to the tailor inside her hot air balloon house, she will make a great reward for you: the drifter’s cloak.
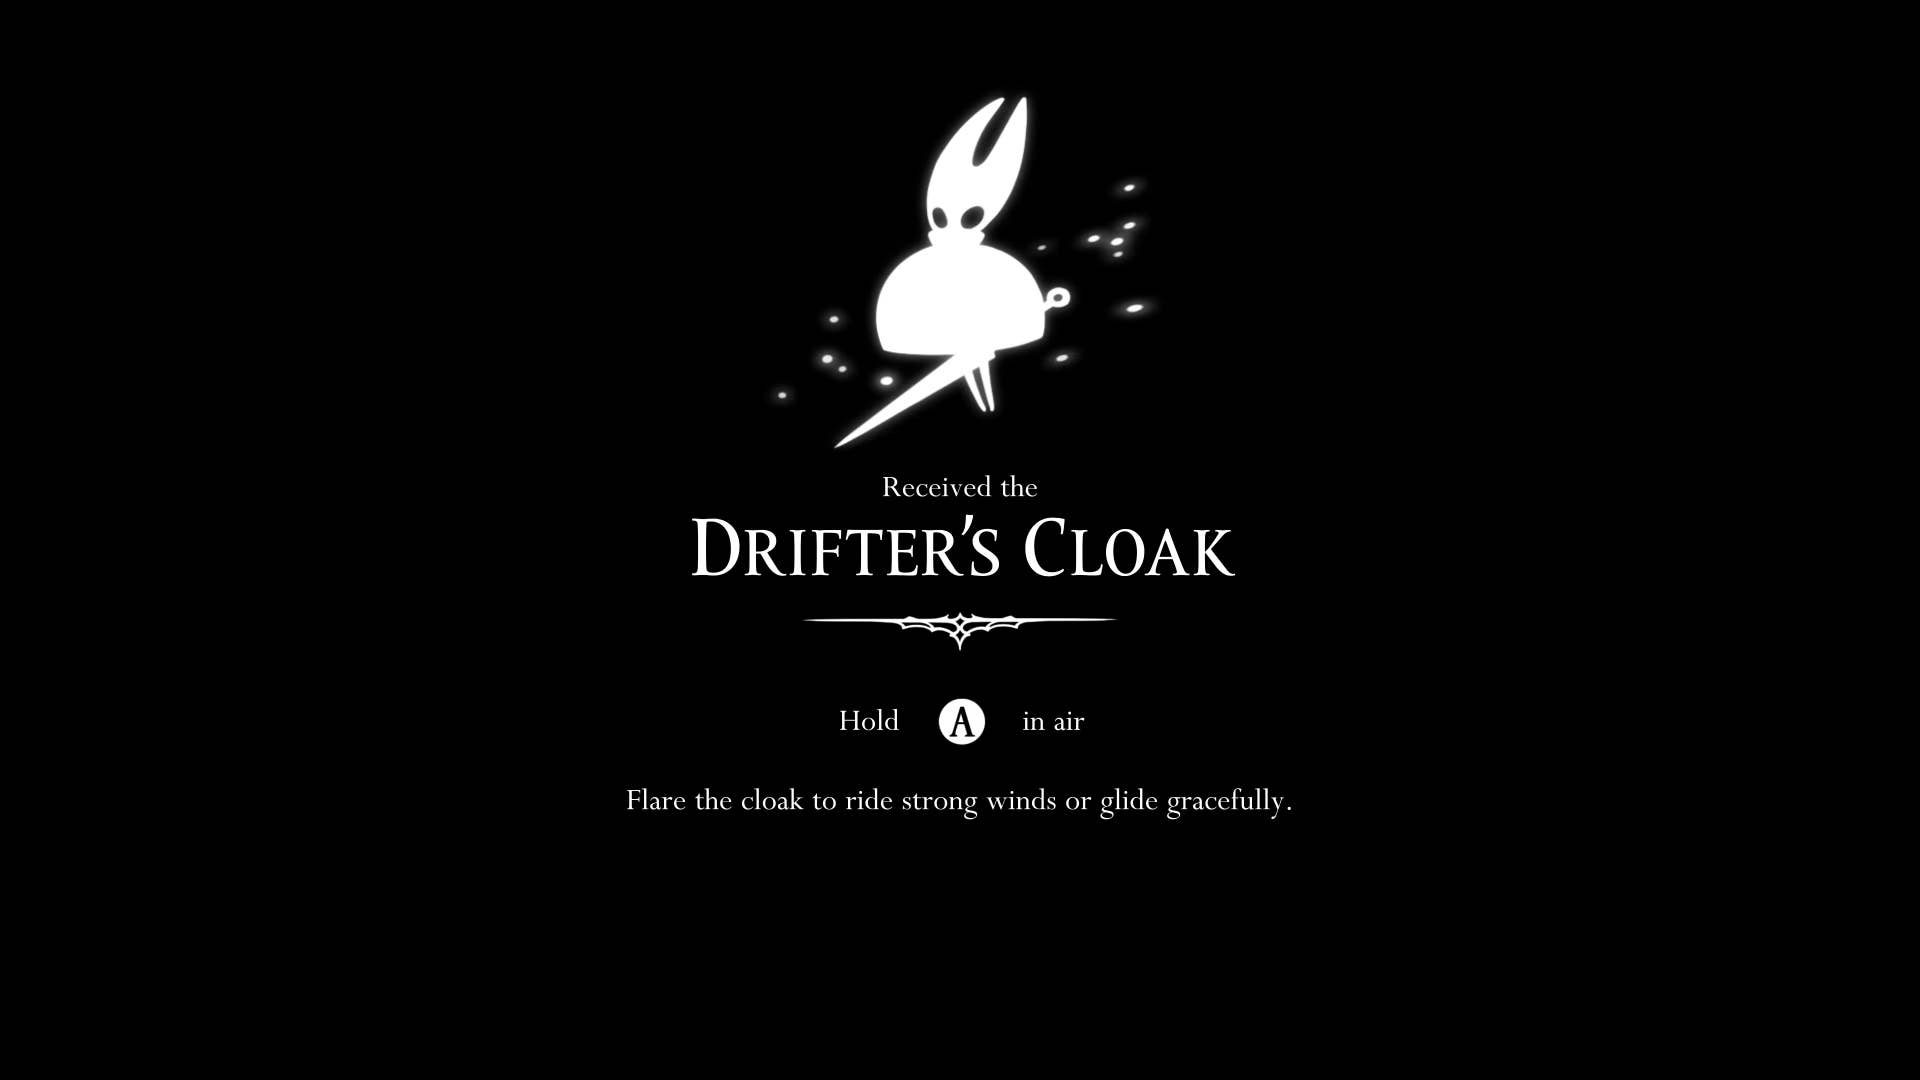
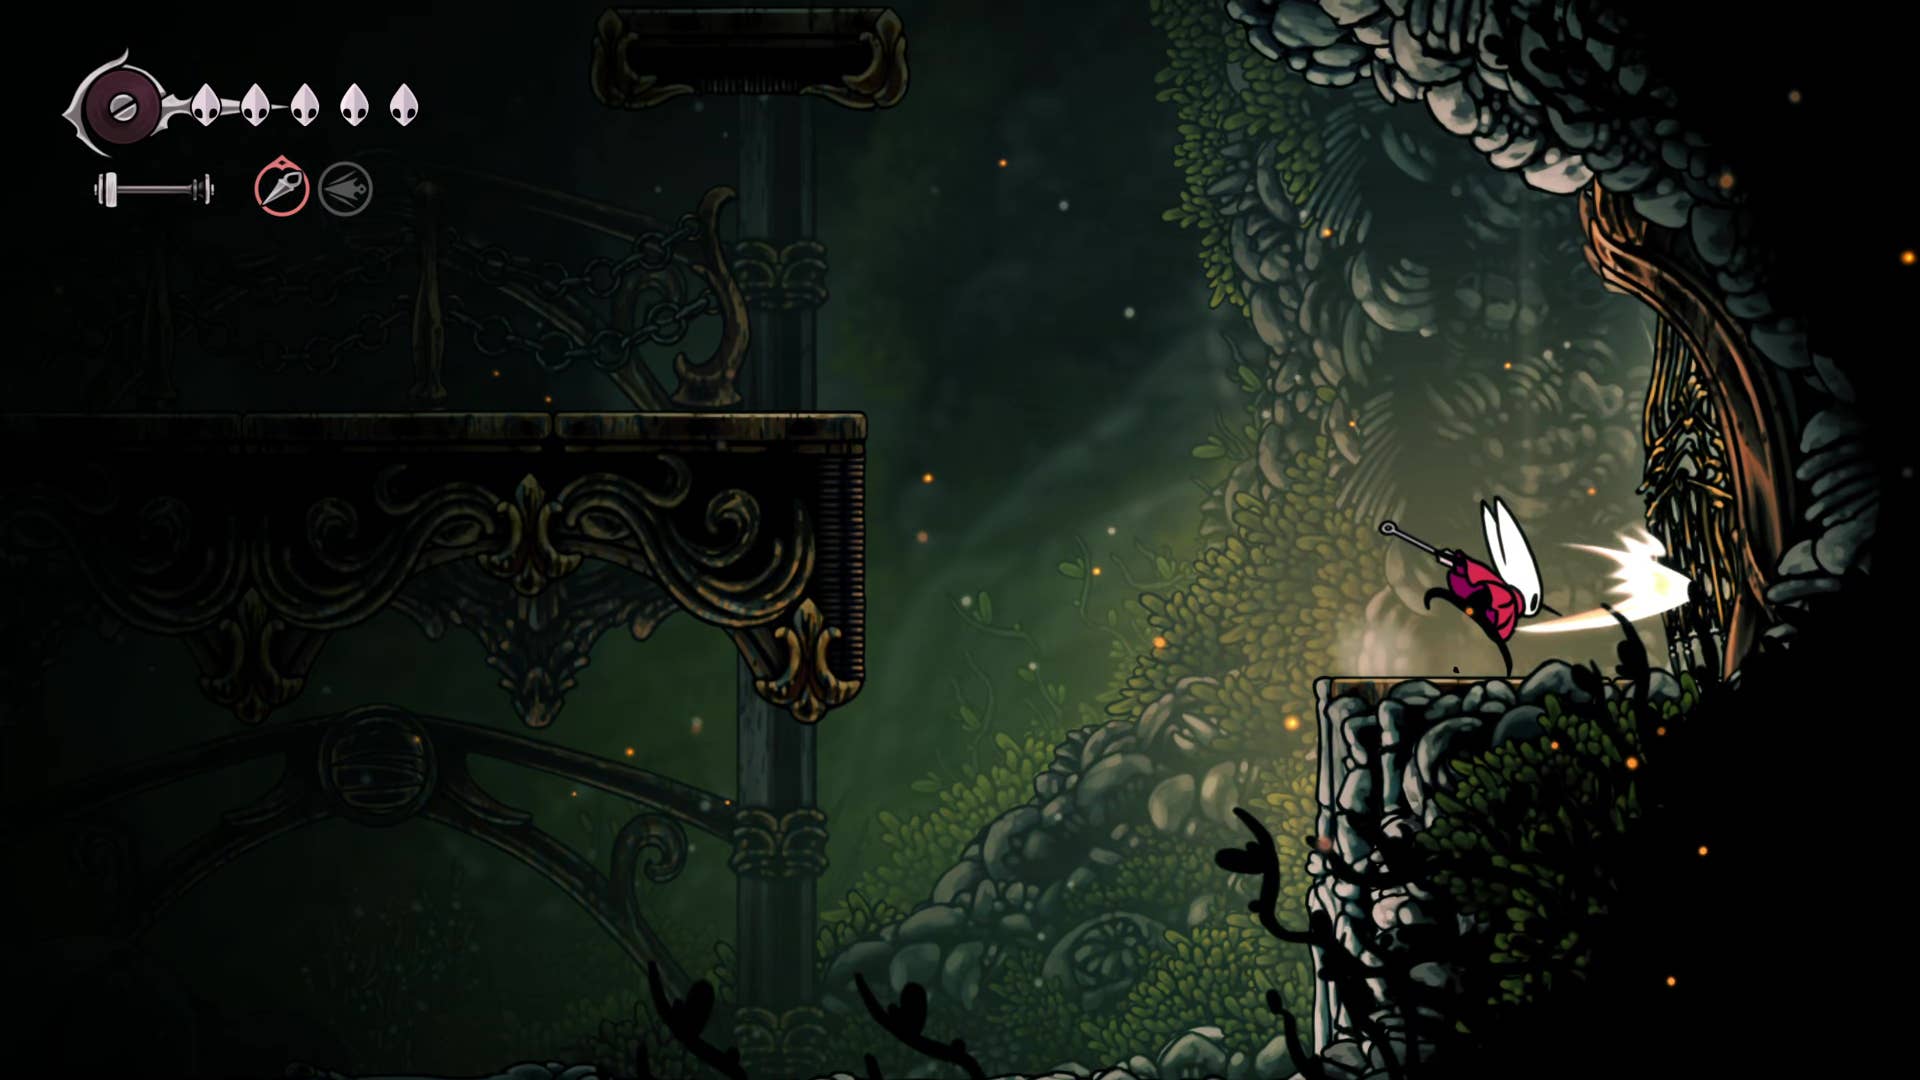
Now, holding a jump in the air will allow you to ride the wind flow. Even in the absence of wind, it can keep your jumps elegantly float, slow down your descent, and even reach areas that you cannot otherwise access. It’s just as innovative athletic mechanic as a quick step.
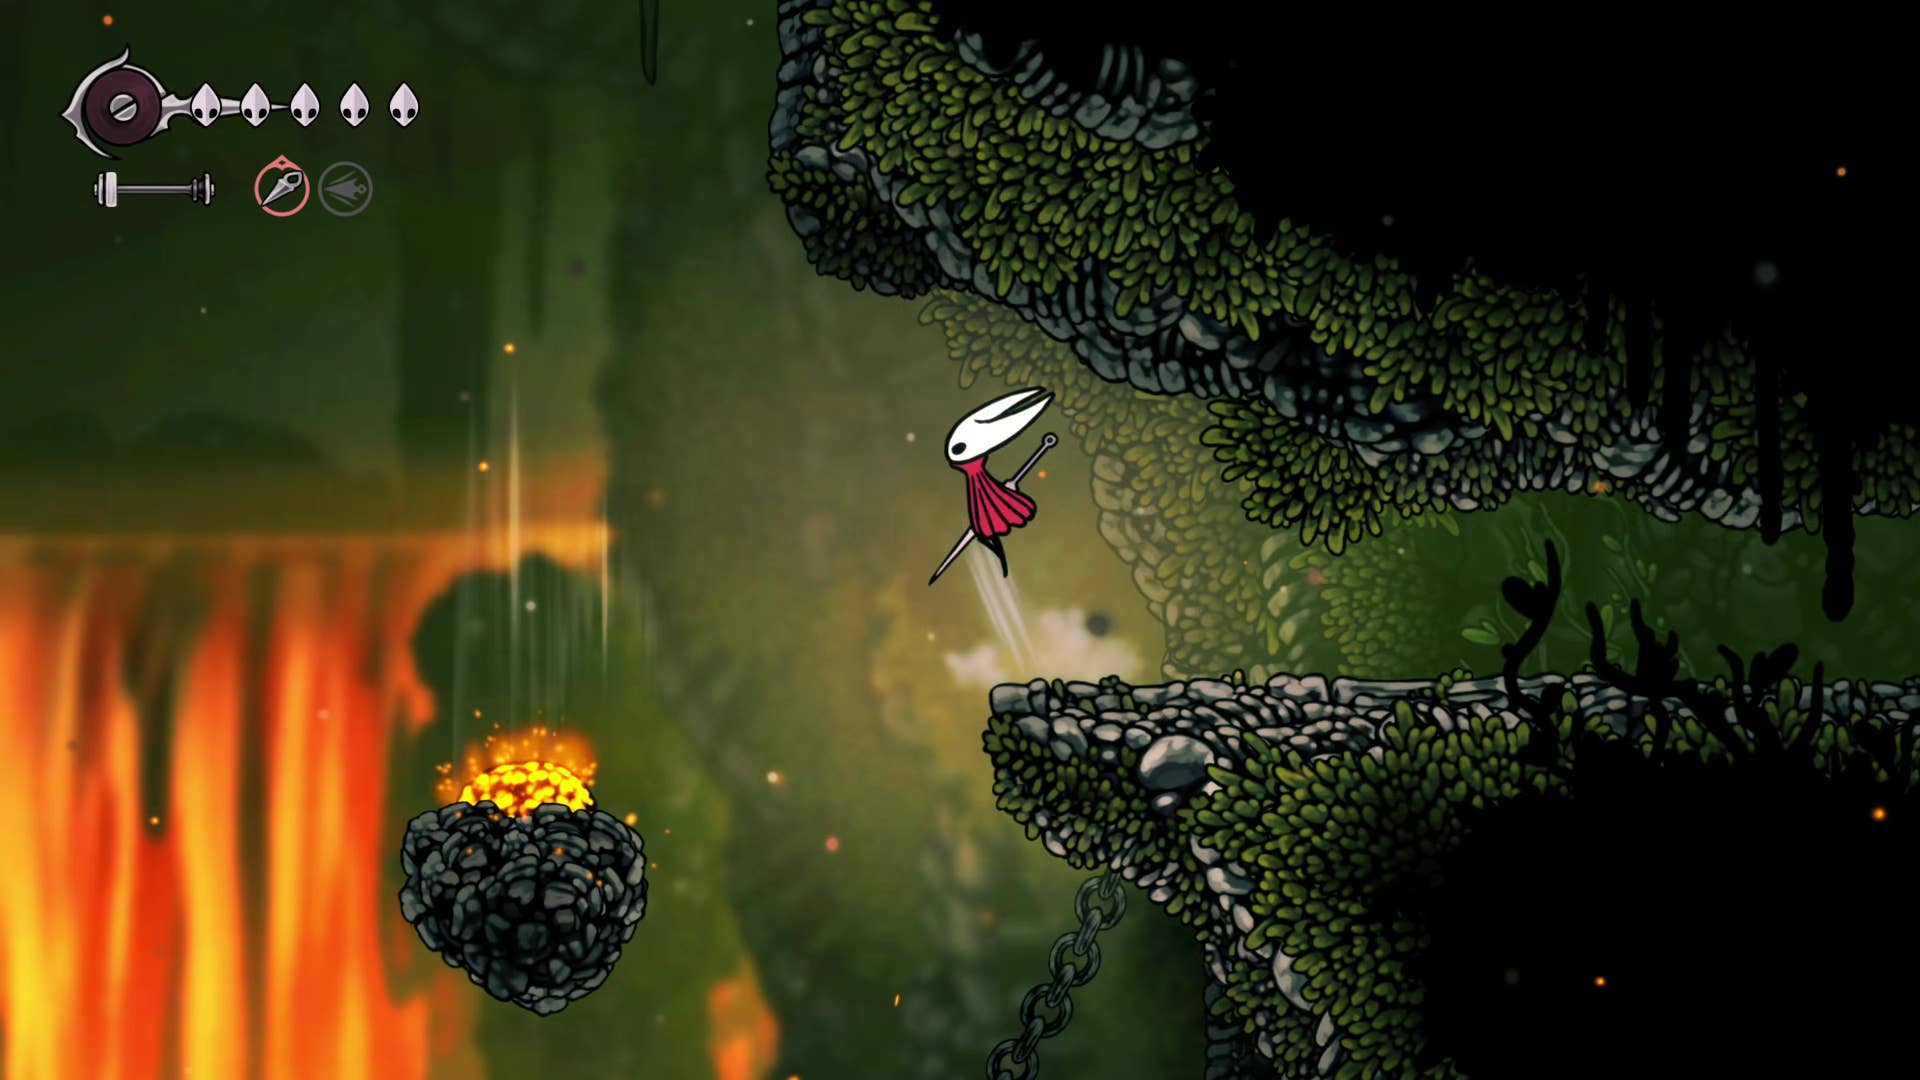
10. Place the wind on top for the mask fragment.
Before returning to the rest of the distant field, as you leave the tailor’s house, head down the stairs to your right and ride the wind. On top of the spike, you enter a hidden passageway with a second current. From here, you can pound the orange rock on a nearby floating platform to release another wind current.
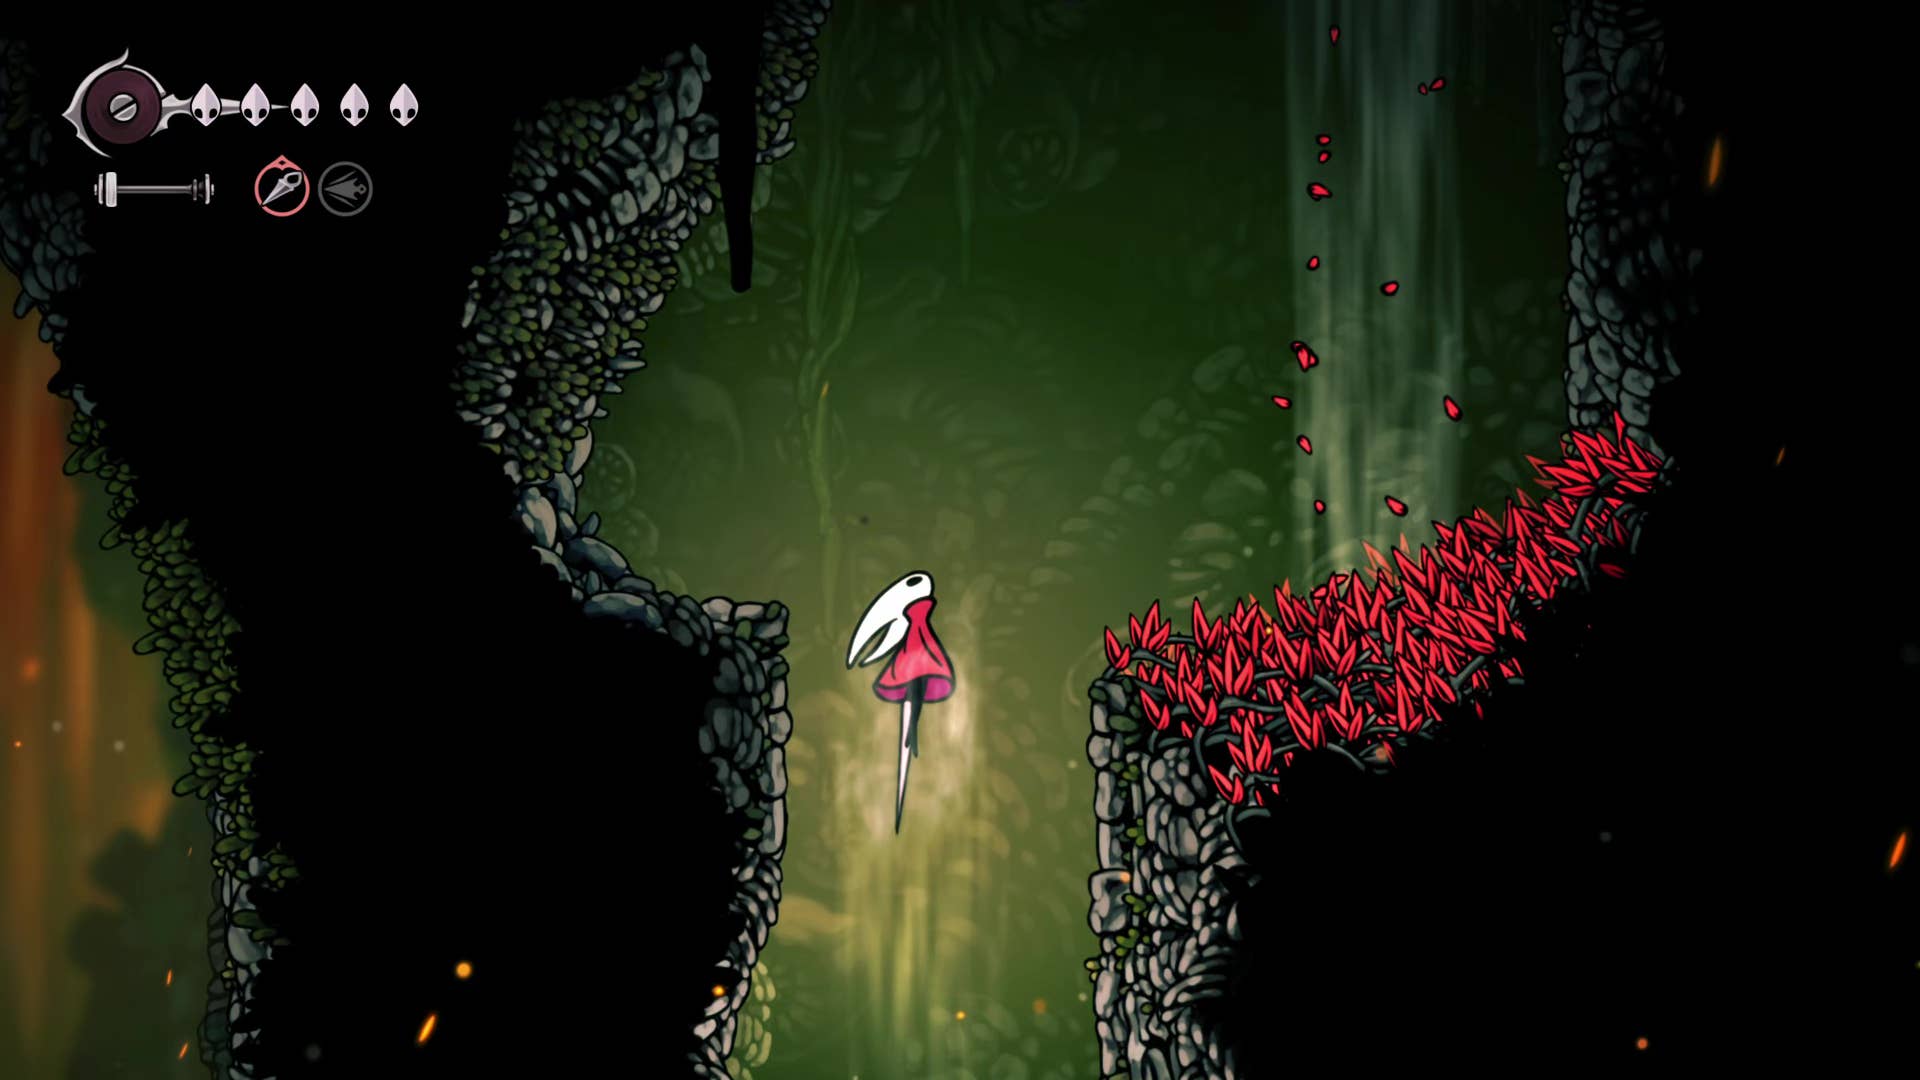
Put the current on the ceiling and float to the left to find two other currents that can be active. Place these at the very top left exit. The next room is full of red spikes, so take a careful step. It hits the orange rock below and rides past the spikes and into the wind.
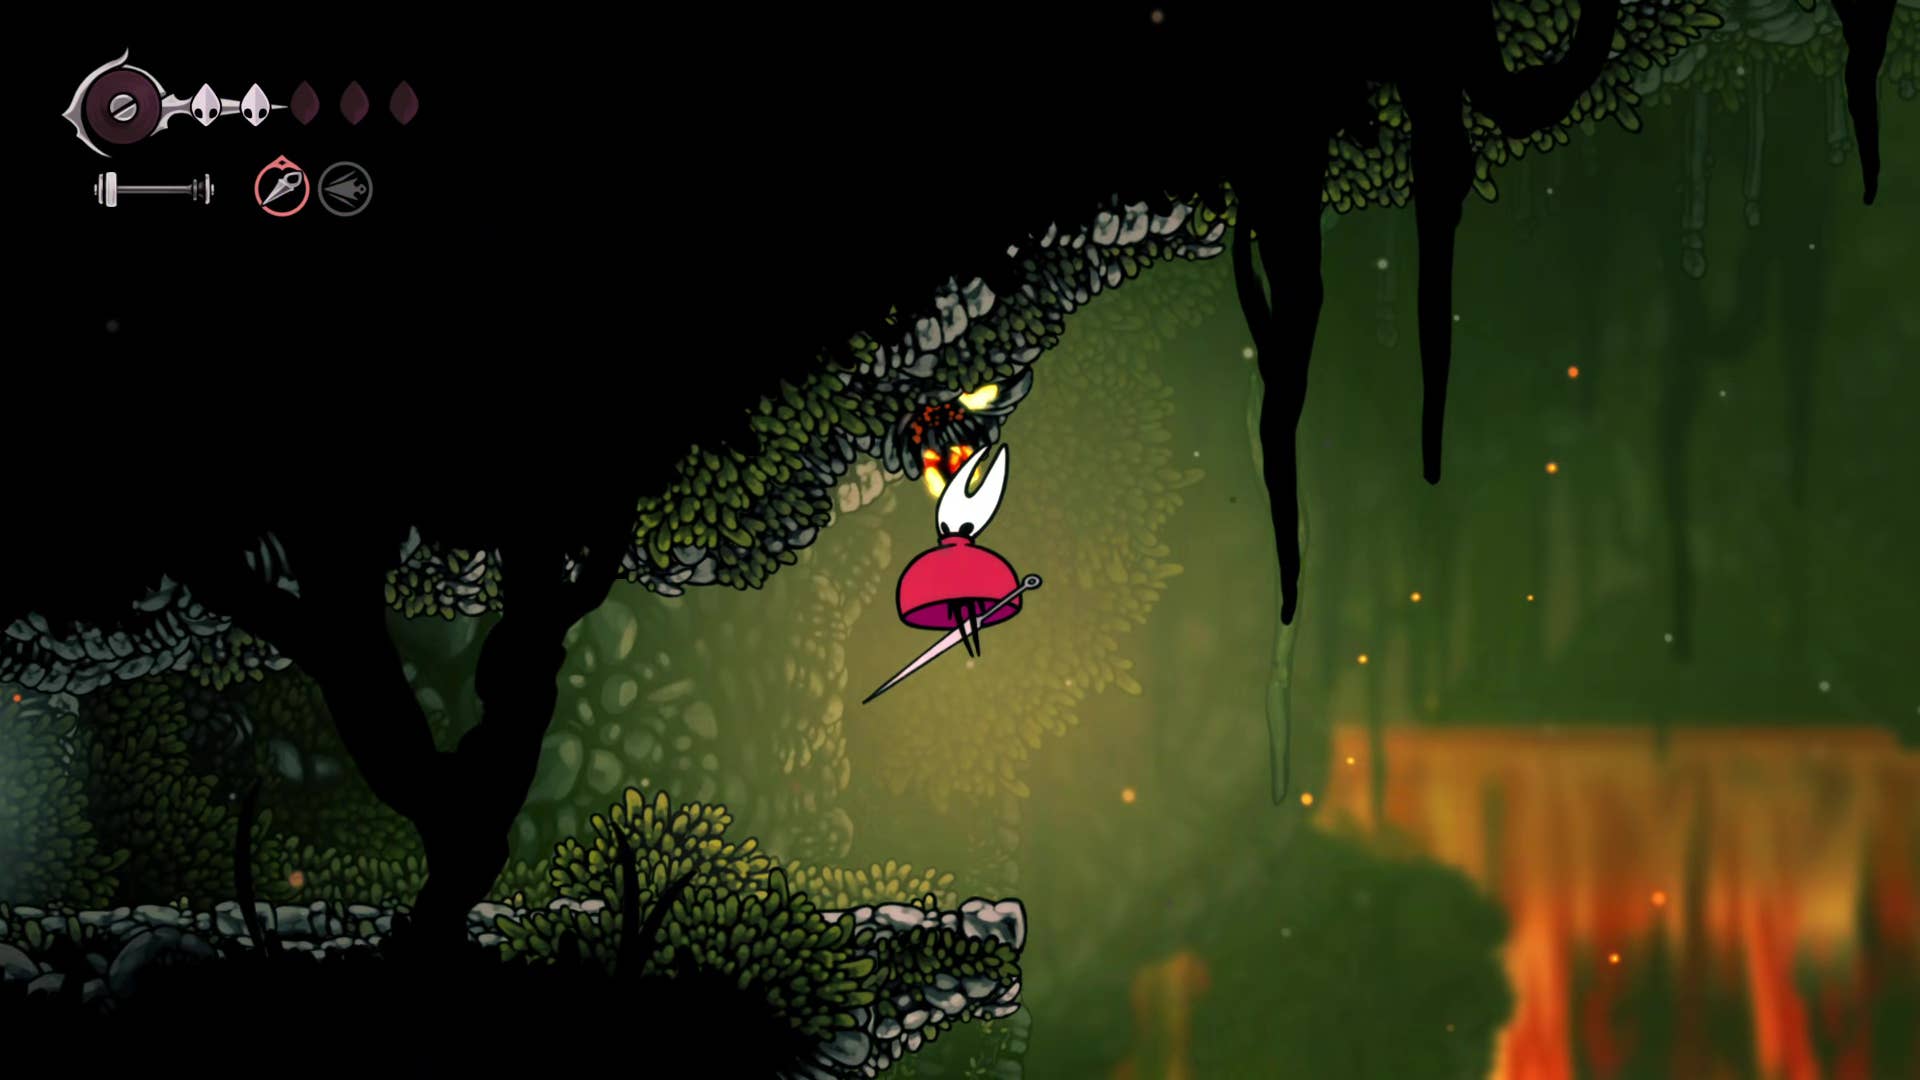
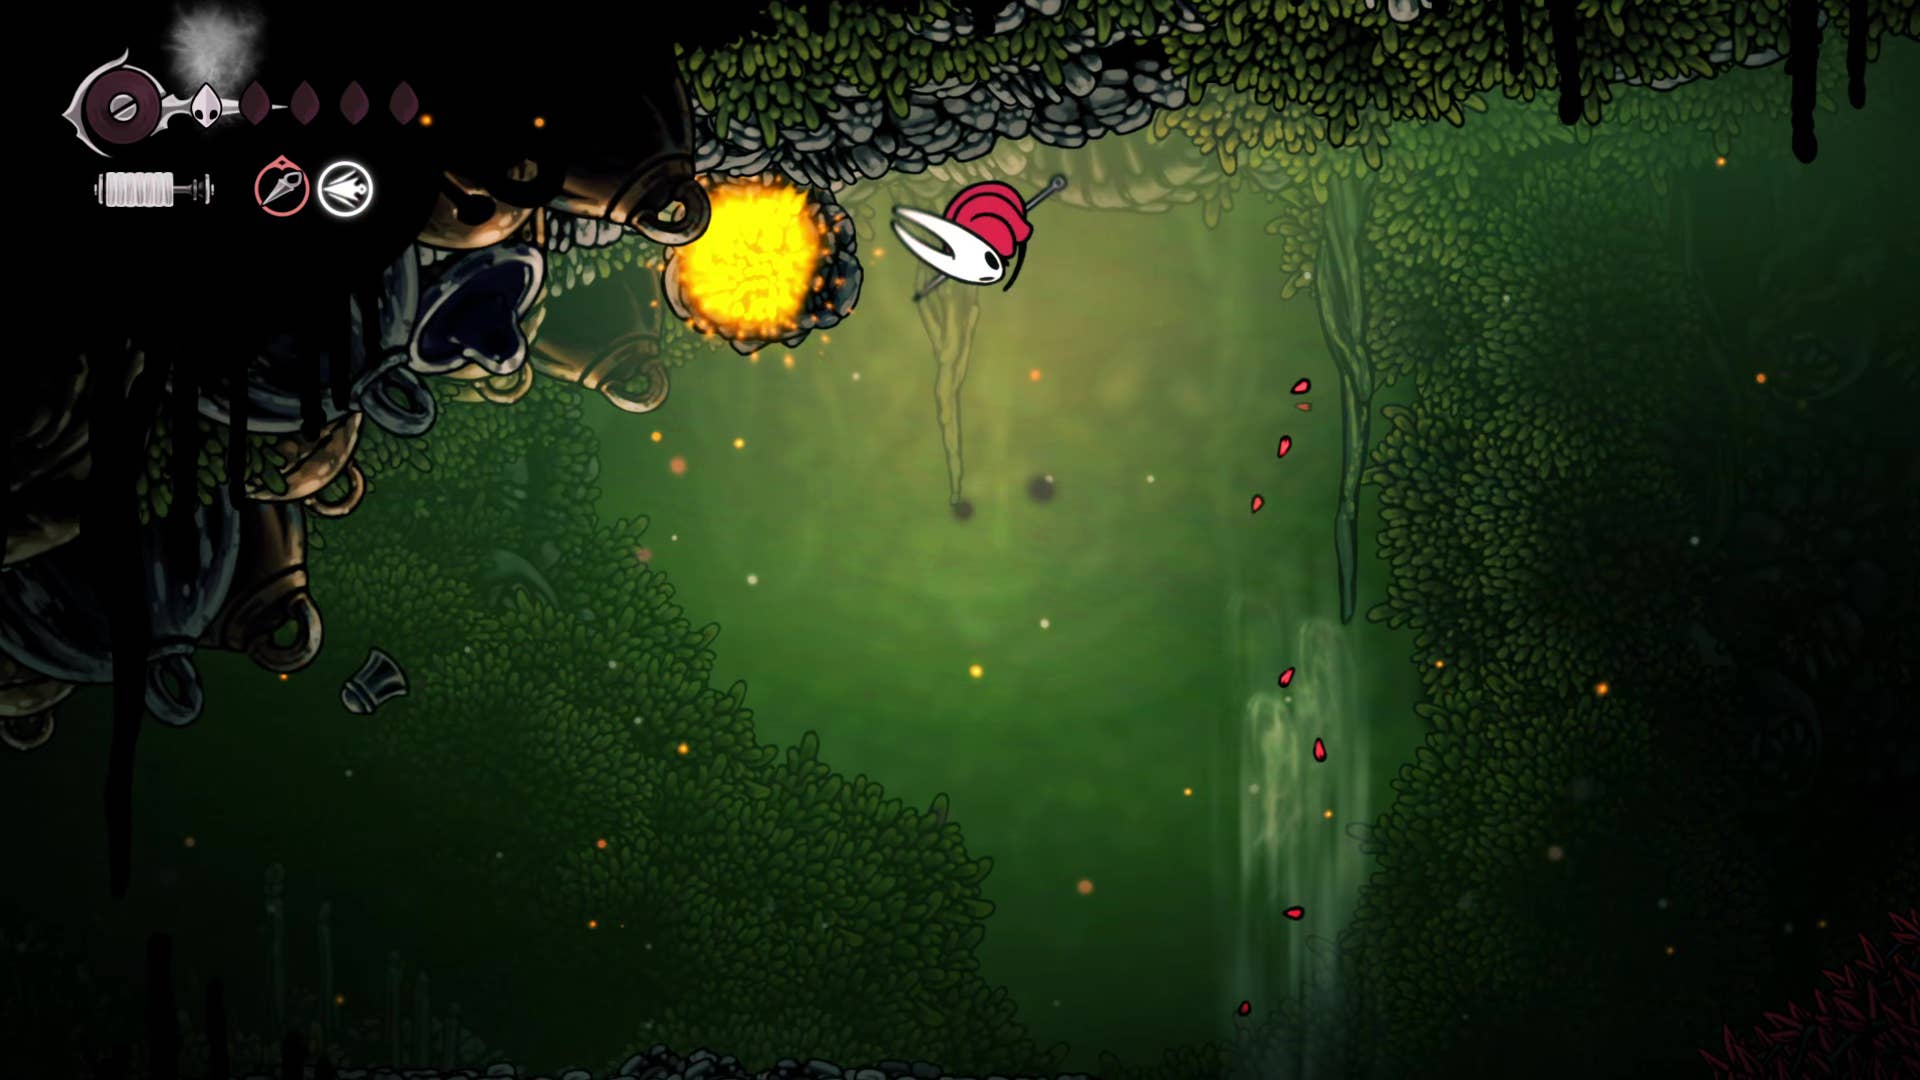
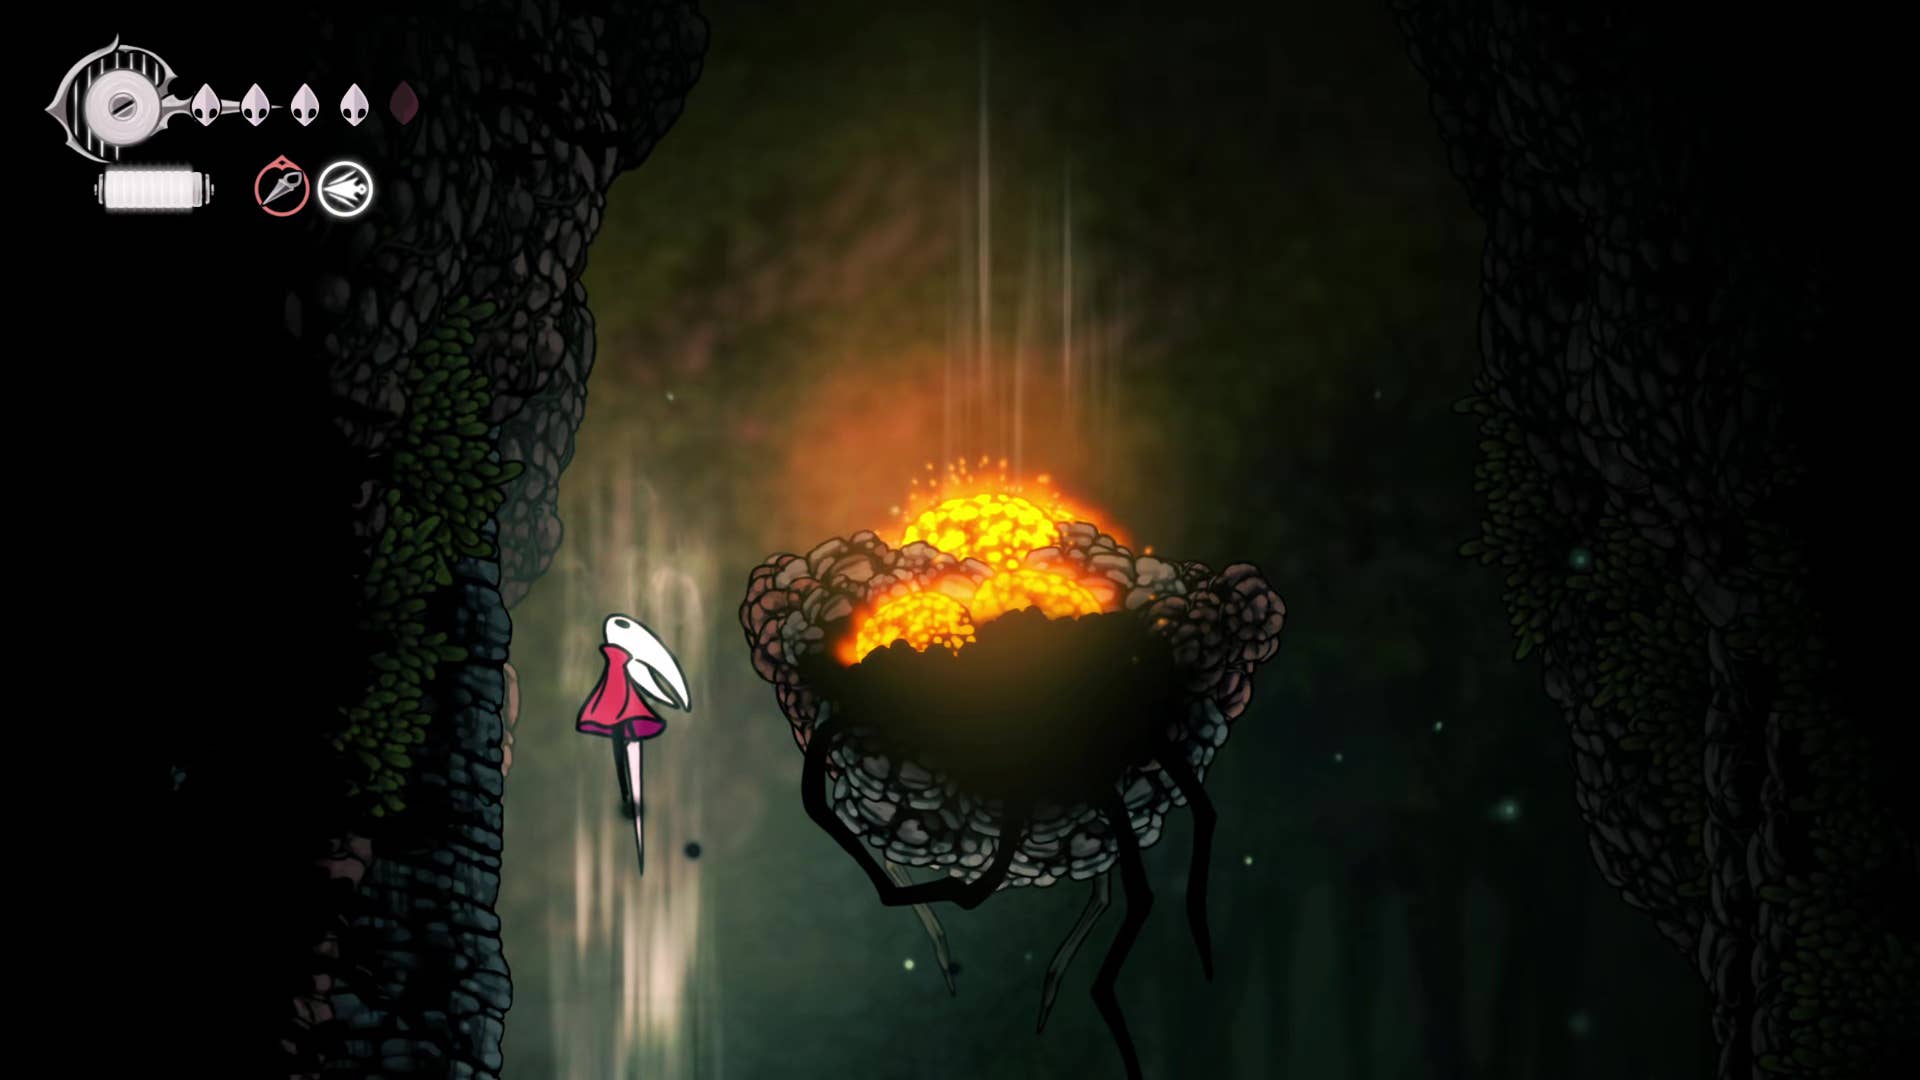
Collect the left net for silk if necessary, then drop down to activate the following two winds: Return to the higher shelves and let the air flow to the ceiling. From here you can reach a large orange explosion ball. Attack it and drop it on the ground, blowing it up the secret compartment containing the mask fragment.
Go back to the way you came until you’re back to the tailor’s house.
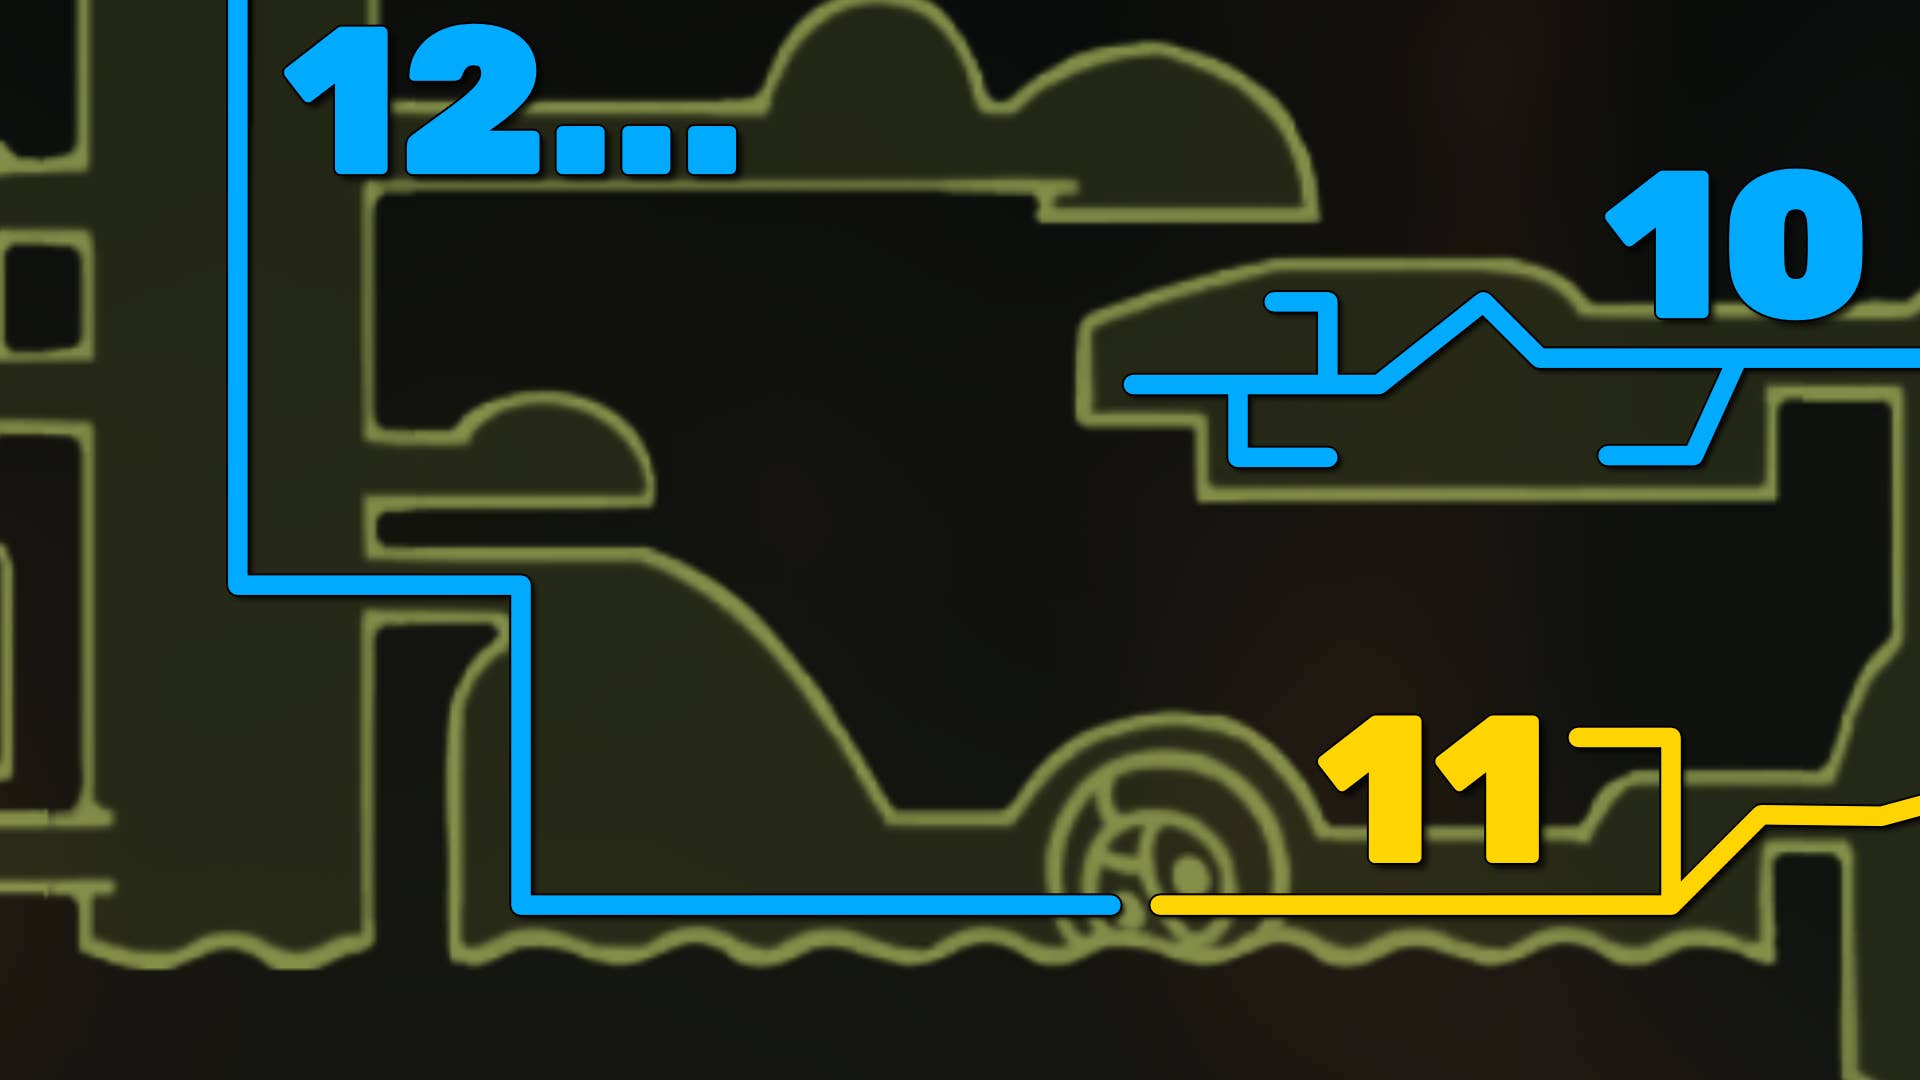
11. Defeat the fourth chorus.
Go back from the left exit that brought you to the tailor’s building in the first place. On the way back, ride a second flow of wind from the ceiling to prepare a secret area with plenty of webs to destroy for silk.
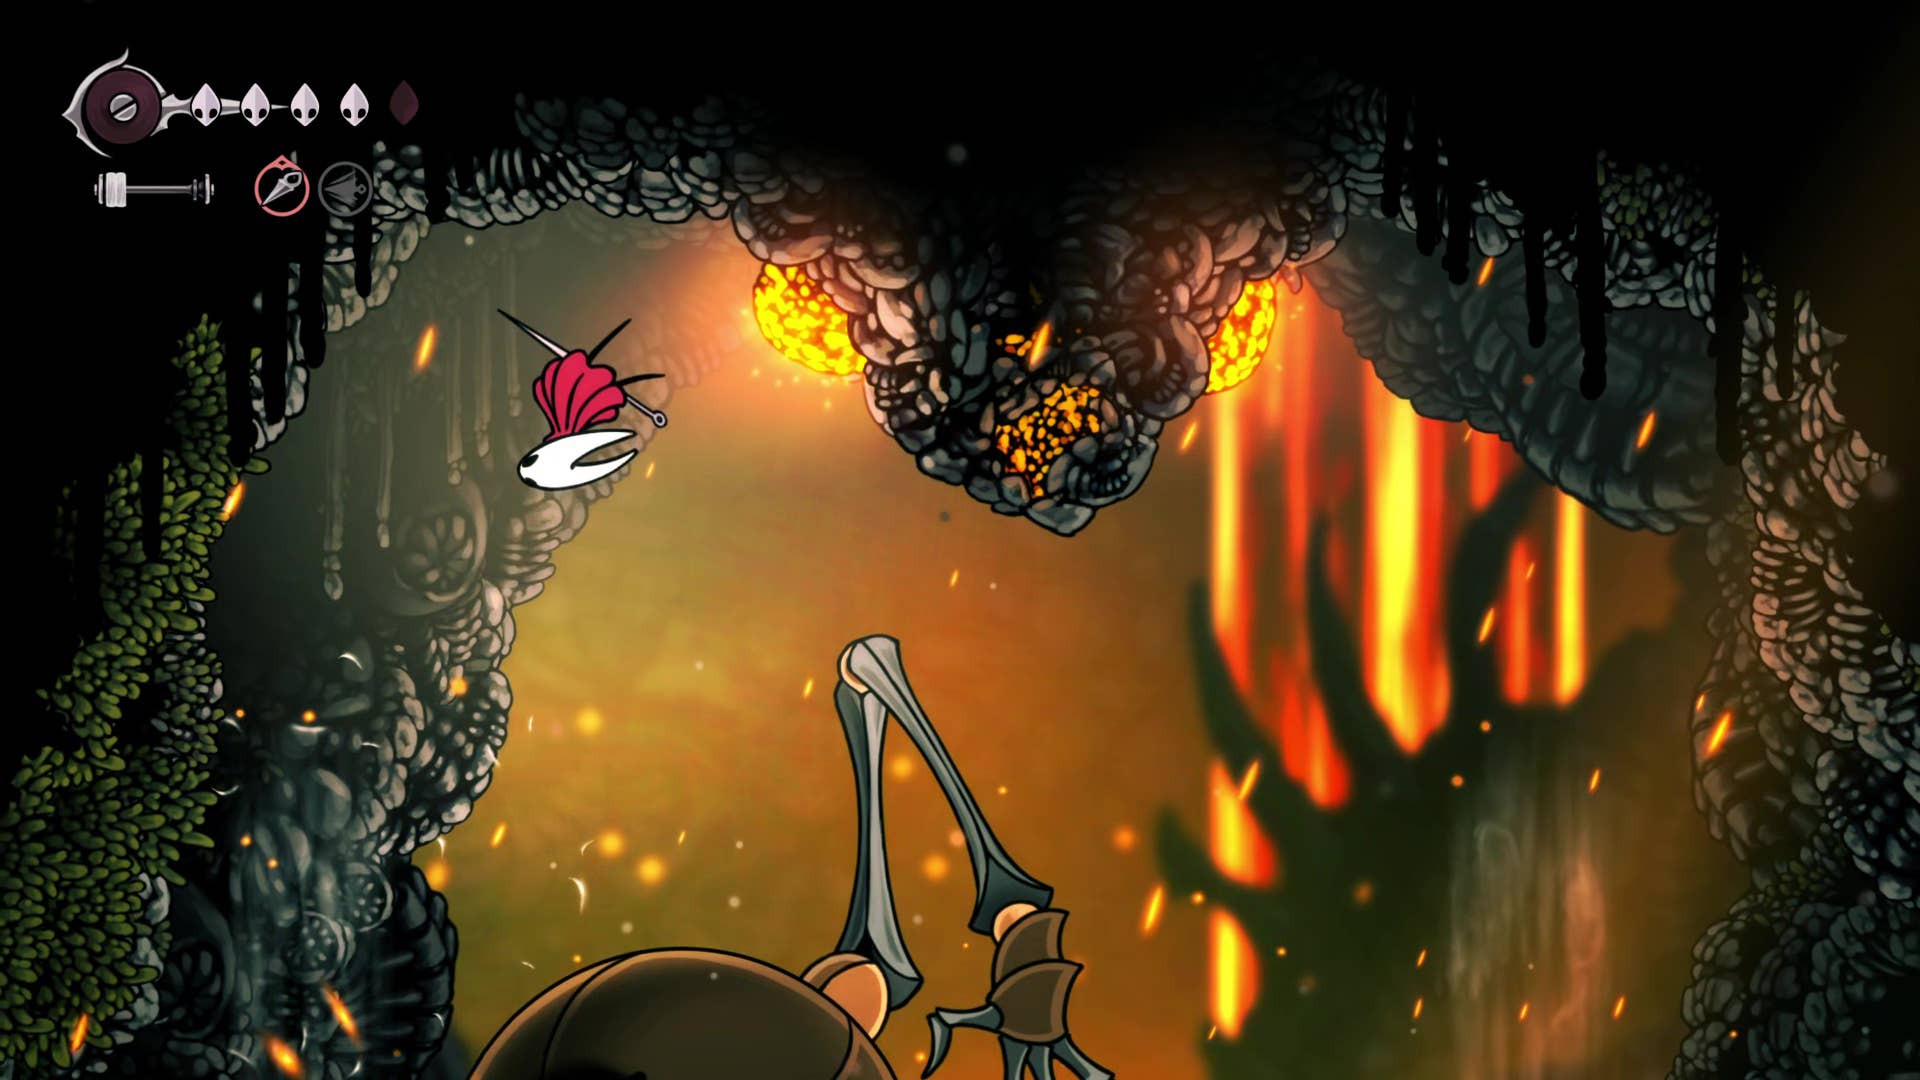
Cross the lava and go left. And then prepare for the battle. As you pass the giant background of a rock, it wakes up and attacks. This is the fourth chorus.
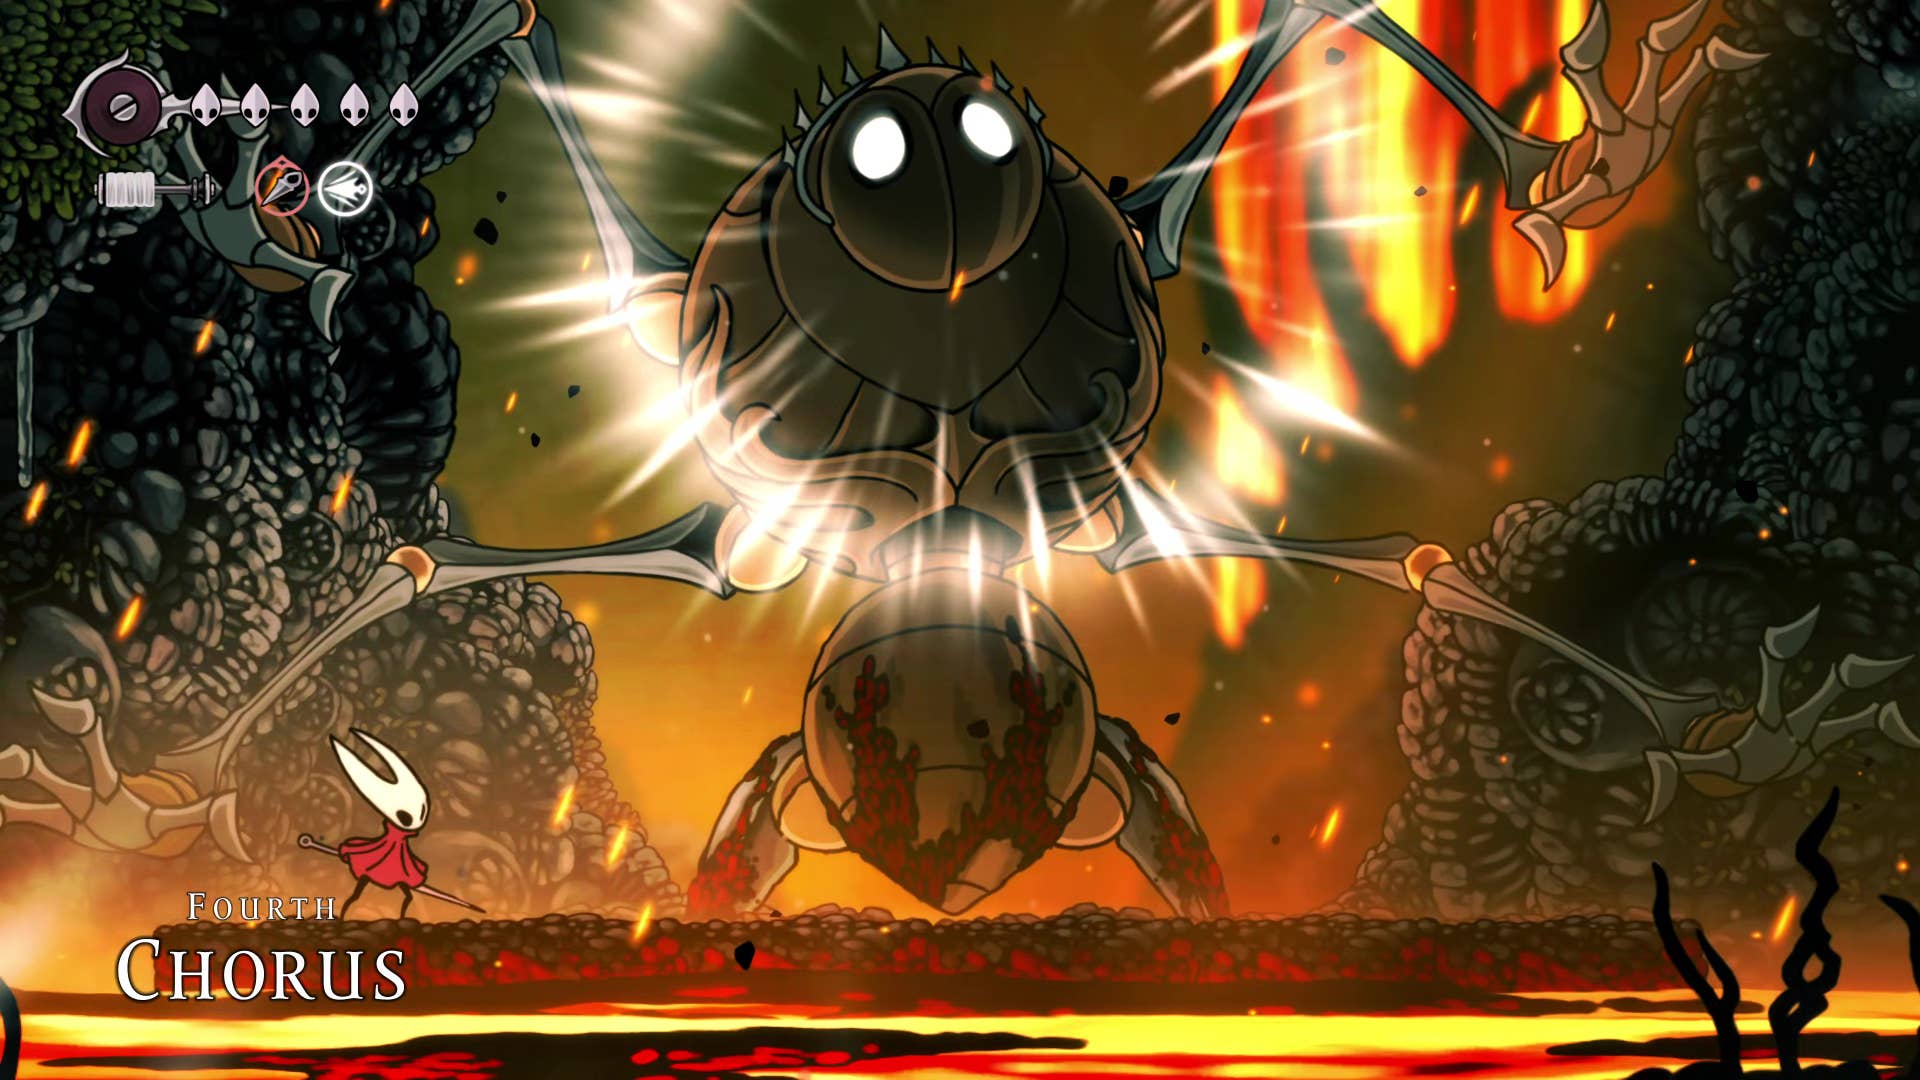
To fight the fourth chorus, you will need to make good use of your new floating abilities. If you attack with the upper limbs, it will become a slum that removes some of the platform you are standing in. This is a sweep required to jump and float when attacking with your lower limbs.
During that time, jump and attack your head as often as possible. In the second phase, the fourth chorus strengthens the attack with a ceiling smash that loosens the magma boulder that needs to be avoided.

In the final stage, two winds open on either side of the second chorus. Each wind current will destroy the orange rocks on the ceiling, crushing the boss and unloading the boulder that will win the battle.

12. Return to the pilgrim rest.
With the fourth chorus defeated, head left until you re-enter the main vertical shaft in the far field. Place a current of wind on the top where the ceiling gate is located, head right to return to the pilgrim rest.
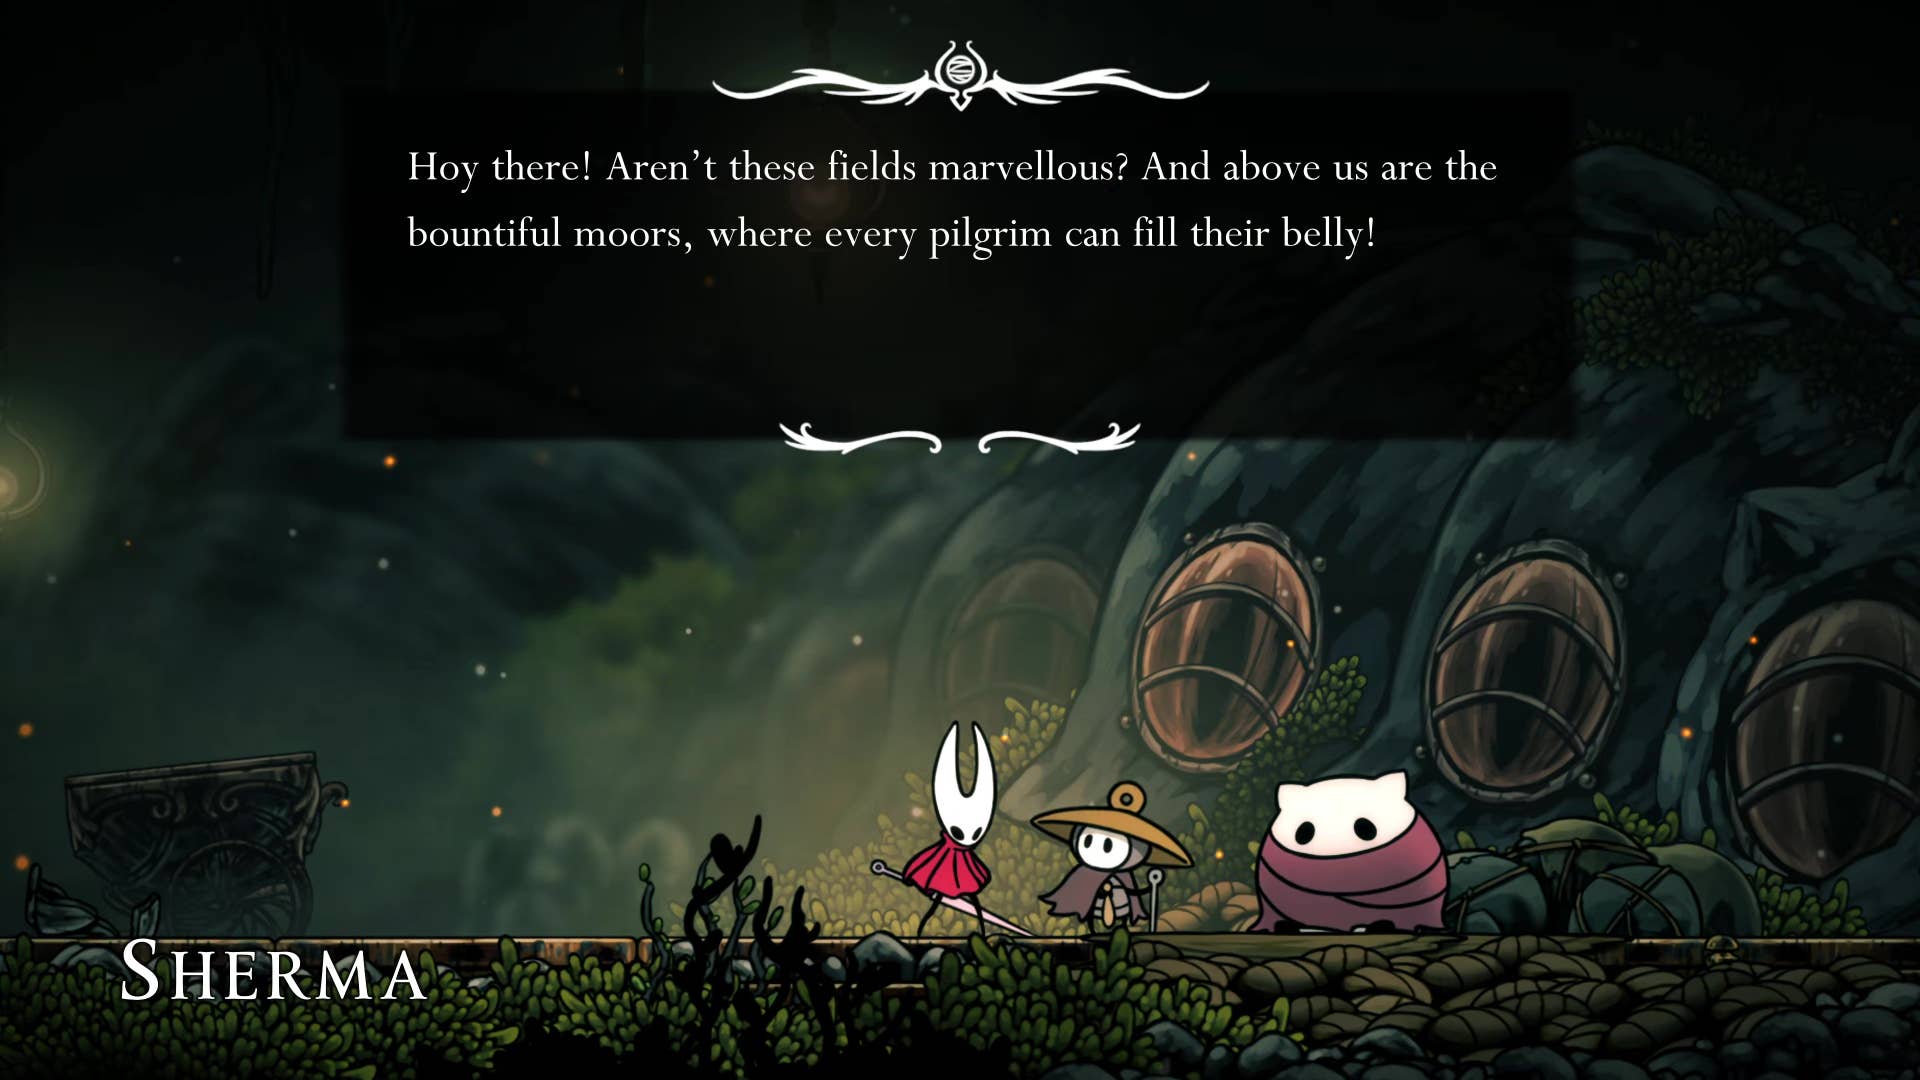
Nothing has changed here, but local flavours Sherma may find herself trying to boost the determination of the tired pilgrim in her own special way. You can also rest here and talk again with the traders, but you will need to pay an additional 30x rosary just to get back to the indoor area again.
13. Get on the air vent and go to Greymore.
When you’re ready, the last thing you need to do in a distant field is to pave the way to Greymore. We’re not actually going to explore Greymore next, but it’s good to see it now. Exit the pilgrim rest through the doorway on the top left and bring the winds to the top.
There are various rocks to destroy, and levers that pull along the way to open up more windy flow, but that’s all pretty self-evident. When you reach the top there is the last orange lock that opens big The wind current in the center. This current will make you much higher, and it will all rise all the way up to the boring areas of the outside world and Greymore.
Everything about the Far Field section of the Silk Song Walkthrough! I know you have itching to explore Greymore, but I would recommend leaving it for now. Hollow Knight: Silksong Part 7 I recommend following the walkthrough and heading out next!
(TagStoTranslate) Hollow Knight: Silksong (T) Action Adventure (T) Indie (T) Nintendo Switch (T) PC (T) Platformer (T) Team Cherry